Mastering Fluffy Gluten-Free Cinnamon Chip Scones: Your Ultimate Recipe Guide
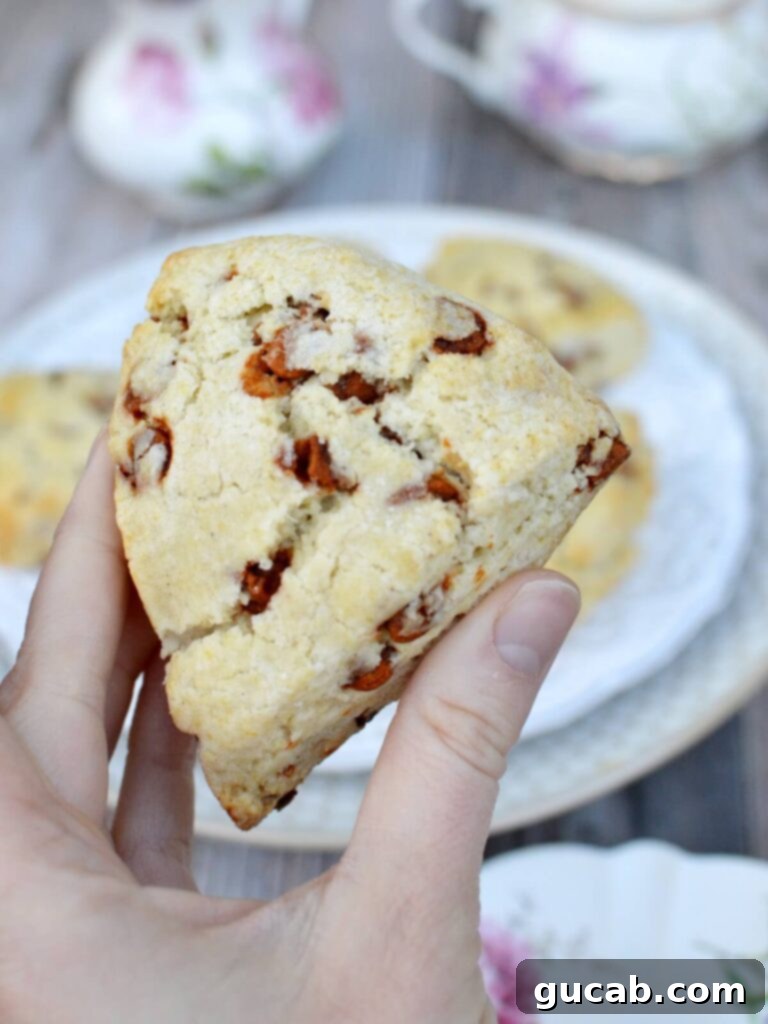
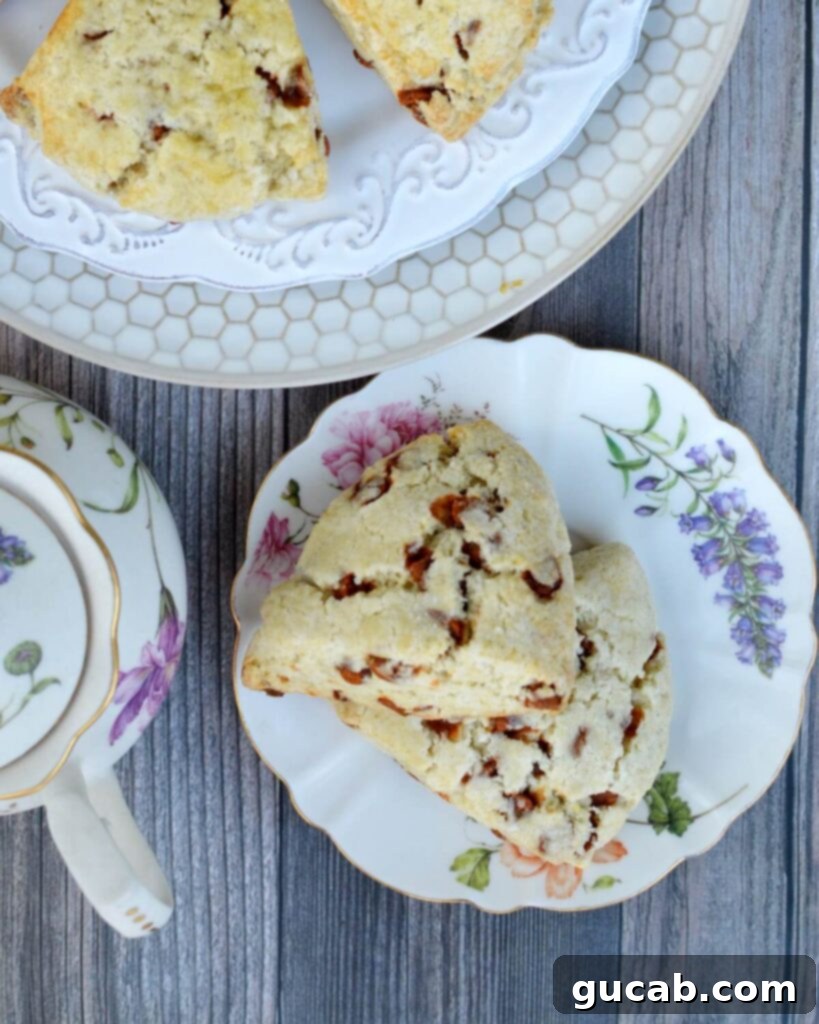
Imagine a perfect morning: the aroma of freshly baked goods filling your kitchen, and a plate of warm, tender scones waiting to be enjoyed. These gluten-free cinnamon chip scones are designed to deliver exactly that experience. With their incredibly soft texture and delightful bursts of sweet cinnamon chips, they are the ideal companion for your morning coffee or a relaxing cup of tea. Say goodbye to dry, crumbly gluten-free treats; this comprehensive guide will help you create bakery-quality scones that are both light and perfectly flaky.

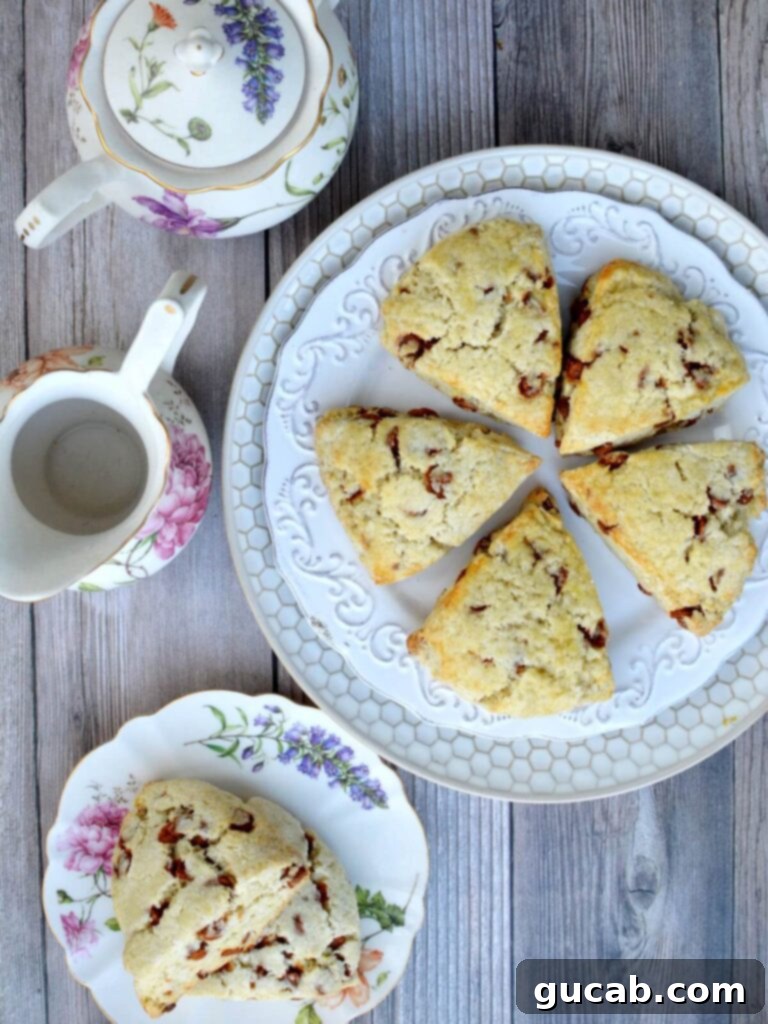
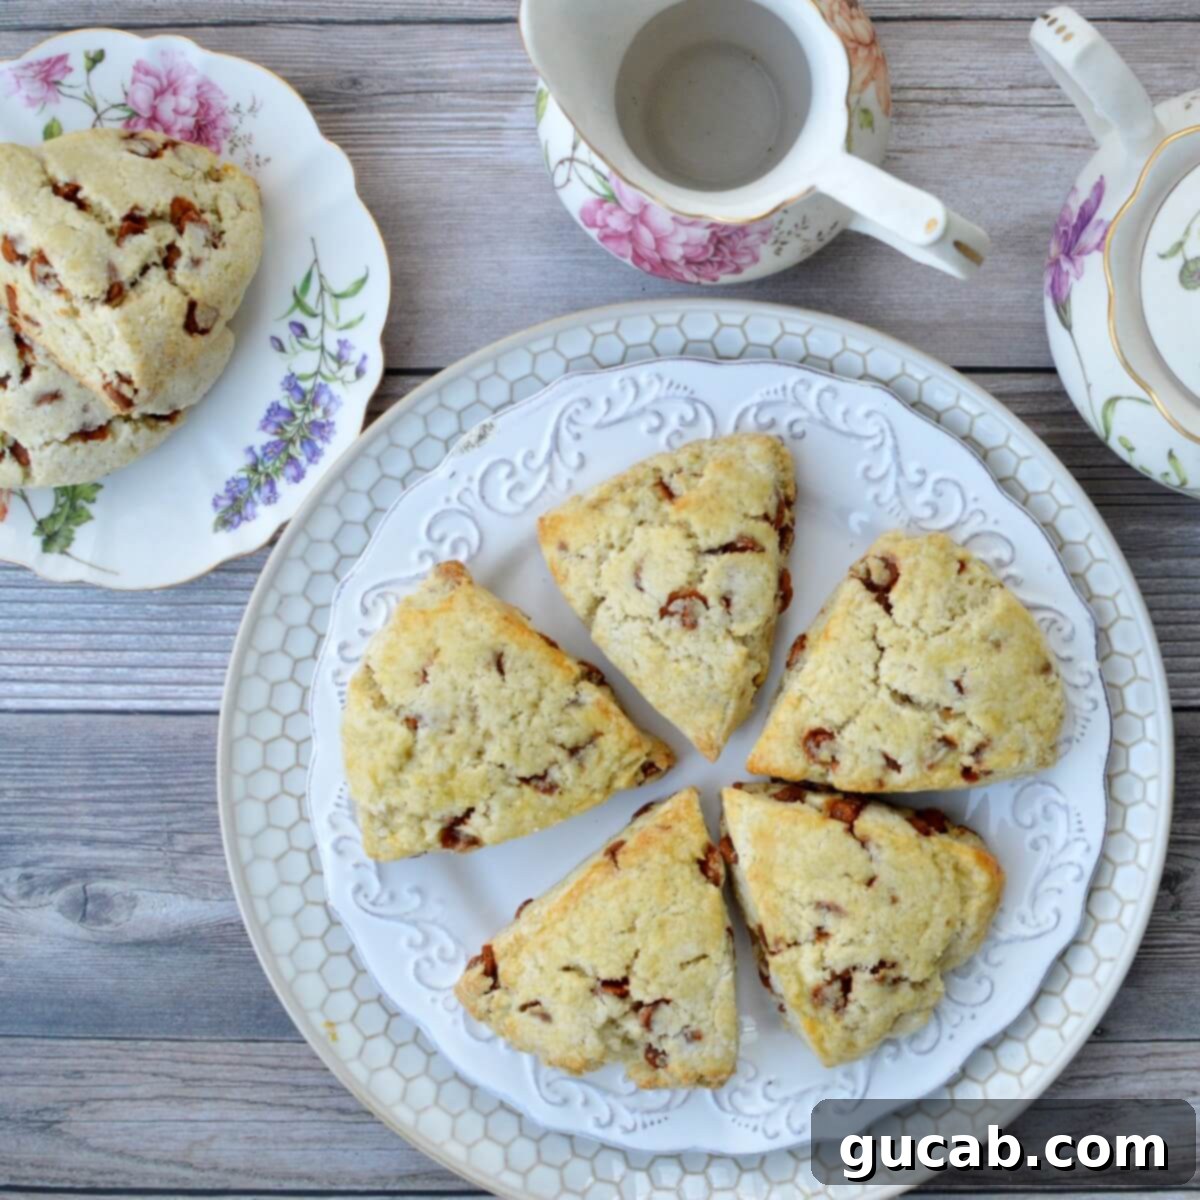
The term “scone” can refer to distinct types of pastries, and it’s important to clarify which style we’re baking today. This isn’t a recipe for traditional English scones, which are typically less sweet, denser, and often served with jam and clotted cream, akin to a rich biscuit. Instead, we’re focusing on the sweeter, more indulgent American-style scones. These are the delightful, often triangular, pastries that have become a staple at bakeries and coffee shops like Starbucks, celebrated for their tender crumb and generous flavor additions. Regardless of their origin, both styles share one undeniable quality: they pair wonderfully with a hot beverage.
Disclosure: This post contains affiliate links. This means that if you click a link and make a purchase, I will receive a commission at no additional cost to you. I only ever recommend products that I personally use, trust, and genuinely enjoy.
The Secret Weapon: Why Cold Ingredients are Essential for Perfect Scones
The single most important secret to baking the best scones, whether gluten-free or traditional, lies in using cold ingredients. This isn’t a mere suggestion; it’s a fundamental principle that directly influences the texture of your finished product. You’ll often notice that recipes specify butter temperature (melted, softened, or cold), and this is always for a reason. Each temperature yields a different result.
In scone making, our goal is to incorporate tiny, distinct pieces of cold butter into the dry flour mixture. This technique is similar to making flaky pie crusts. As these small butter pieces hit the hot oven, they rapidly melt and release steam. This steam then pushes apart the layers of dough, creating countless tiny air pockets and giving the scones their signature soft, tender, and flaky texture. If the butter is too warm and blends completely into the flour, it creates a more uniform, cake-like or chewy texture, rather than the desirable light and airy crumb.
For a deeper dive into the science behind butter’s role in baking and why its temperature matters so much, sources like Cook’s Illustrated offer excellent explanations. Understanding this principle is your first step towards mastering the art of scone making.

Gathering Your Ingredients for Gluten-Free Scone Perfection
Creating exceptional gluten-free cinnamon chip scones begins with selecting the right components. Here’s a breakdown of the key ingredients and why they’re important:
- Bob’s Red Mill 1:1 Gluten Free All-Purpose Flour: This is my go-to gluten-free flour blend, and for good reason. It’s specifically formulated to substitute traditional wheat flour in a 1:1 ratio, meaning it’s incredibly versatile and reliable. It includes xanthan gum, which provides much-needed structure and elasticity in gluten-free baking, preventing a crumbly result. Its taste and texture are consistently excellent, making it perfect for recreating conventional recipes with a gluten-free twist.
- Granulated Sugar: Beyond sweetness, sugar contributes to the tenderness of the scones by interfering with protein development and helps achieve that beautiful golden-brown crust.
- Brown Sugar: The molasses in brown sugar adds a richer, deeper flavor profile compared to white sugar. It also contributes extra moisture to the dough, resulting in a scone that is even more tender and moist.
- Frozen Unsalted Butter: This is the hero ingredient for flakiness. Using frozen butter is highly recommended because it’s much easier to grate, which creates perfectly sized small pieces. These small pieces stay cold longer as you incorporate them, ensuring they melt slowly in the oven to create those essential steam pockets. Unsalted butter allows you to control the exact amount of salt in your recipe.
- Baking Powder: This powerful leavening agent is responsible for the impressive rise and light, airy structure of your scones. Always check its freshness; if it doesn’t fizz when mixed with a little hot water, it’s time for a new container.
- Kosher Salt: A small amount of salt is vital. It balances the sweetness, enhances the flavor of the cinnamon, and generally brightens all the other ingredients.
- Large Egg: The egg acts as a binder, helping to hold the dough together. It also adds richness, color, and contributes to the overall structure and tenderness of the scones.
- Whole Milk: Whole milk adds richness and moisture to the dough. Like the butter, it’s crucial that the milk is very cold when added to help maintain the low temperature of your dough mixture.
- Cinnamon Chips: These sweet, warm-spiced chips are what make these scones truly special. They melt slightly during baking, infusing every bite with delicious cinnamon flavor. If you can’t find them, you can substitute with chocolate chips, butterscotch chips, or even a mix of dried fruits and nuts.
How to Bake Fluffy Gluten-Free Cinnamon Chip Scones: A Detailed Process
While the idea of baking gluten-free scones might seem daunting, the process is quite simple and incredibly rewarding. Follow these steps carefully for the best results:
Step 1: Preparation and Chilling
- Preheat Your Oven: Start by preheating your oven to 350°F (175°C). This ensures the oven is at the correct temperature when your scones are ready to go in, promoting a proper rise.
- Prepare Baking Sheet: Line a large baking sheet with a silicone baking mat or parchment paper. This prevents sticking and helps the bottoms of the scones bake evenly.
- Chill Wet Ingredients: In a liquid measuring cup or a small bowl, whisk together the large egg and the whole milk until fully combined. Place this mixture in the refrigerator immediately. Keeping these liquids as cold as possible is crucial for maintaining the overall low temperature of your dough, which is key to a flaky scone.
Step 2: Combining Dry Ingredients and Incorporating Butter
- Mix Dry Ingredients: In a large mixing bowl, thoroughly whisk together the gluten-free flour blend, granulated sugar, brown sugar, baking powder, and kosher salt. Whisking ensures all dry ingredients, especially the leavening agent, are evenly distributed throughout the flour.
- Grate and Cut in Butter: Retrieve your frozen unsalted butter. Using a box grater (the side with larger holes works best) or a handheld grater, grate the butter directly into the bowl of dry ingredients. Once all the butter is grated, use your fingertips or a pastry cutter to quickly work the butter into the flour mixture. The goal is a mixture that resembles coarse crumbs with some pea-sized pieces of butter still visible. Work quickly to minimize the butter melting. If your butter starts to feel too warm or sticky, place the bowl (and the butter itself) into the freezer for 10-15 minutes to re-chill.
- Add Cinnamon Chips: Gently fold in the cinnamon chips until they are evenly distributed throughout the butter-flour mixture.
Step 3: Bringing the Dough Together and Shaping the Scones
- Add Cold Liquid: Take your chilled egg and milk mixture from the refrigerator. Pour it into the dry ingredients. Using a sturdy spatula or your hands, mix the ingredients just until they come together into a shaggy dough. It’s imperative not to overmix; overworking gluten-free dough can lead to a tough or gummy texture. Stop as soon as there are no visible dry streaks of flour.
- Shape the Dough: Lightly dust a clean work surface with a small amount of gluten-free flour. Divide the scone dough in half. Take one half and gently form it into a circular disk, approximately 5 ½ inches in diameter and about ¾ to 1 inch thick. Repeat with the second half of the dough. The thickness is important for achieving tall, beautifully risen scones.
- Cut the Scones: Using a sharp knife or a bench scraper, cut each disk in half vertically. Then, cut each of those halves into three even triangles. This method will yield a total of 12 scones.
Step 4: Baking and Serving
- Prepare for Baking: Place 6 of the scone triangles onto your prepared baking sheet, ensuring there is adequate space between each scone for even baking.
- Egg Wash and Sugar Topping: In a small bowl, whisk a separate egg (or the remaining portion if you saved some from the liquid mixture) with a teaspoon of water to create an egg wash. Lightly brush the tops of each scone with this wash. This promotes beautiful browning and a glossy finish. For an extra touch of sweetness and crunch, sprinkle a small amount of granulated sugar over the egg-washed tops.
- Bake: Bake the scones for approximately 18 minutes, or until their tops are beautifully golden brown and appear slightly crackly. The internal temperature should register between 200-205°F (93-96°C) when tested with an instant-read thermometer.
- Cool and Enjoy: Allow the baked scones to cool on the baking sheet for a few minutes before carefully transferring them to a wire rack to cool completely. Serve them warm for the best experience, or at room temperature.

Crucial Tips for Mastering Gluten-Free Scones Every Time
Baking gluten-free requires a bit of attention to detail, but these proven tips will help you achieve perfect scones consistently:
- Embrace the Cold: As highlighted earlier, keeping all your ingredients—especially the butter and milk—as cold as possible is paramount. You can even place your mixing bowl in the freezer for 15-20 minutes before starting, or chill your dry ingredients. If your hands run warm, consider wearing food-safe gloves or using a pastry blender to minimize direct contact with the butter.
- Handle with Care (Don’t Overmix!): Overworking gluten-free dough is a common pitfall that can lead to tough, dense, or gummy scones. Mix the dough just until it barely comes together and no dry streaks of flour are visible. A slightly shaggy, uneven dough is perfectly acceptable and often preferable to an overmixed one. Gentle handling maintains the tenderness.
- Beware of Overbaking: Gluten-free baked goods are notoriously prone to drying out quickly. Monitor your scones closely during the final minutes of baking. Look for a light golden-brown color on the tops and edges, and a slightly crackly surface. They should feel firm but still tender. Remove them from the oven as soon as they meet these criteria; even a minute or two longer can make a difference.
- Customize Your Flavors: While cinnamon chips are incredibly delicious, this recipe serves as a versatile base for countless other flavor combinations.
- For a classic twist, simply swap the cinnamon chips for your favorite **chocolate chips** (dark, milk, or white).
- To create vibrant **gluten-free blueberry lemon scones**, fold in ½ cup of dried blueberries and the zest of one fresh lemon into the dry ingredients. The lemon zest adds a beautiful, zesty brightness that complements the sweet blueberries.
- Experiment with other additions like dried cranberries and orange zest, chopped nuts, or even a hint of cardamom for an exotic flavor profile.
- For a simple yet elegant finish, whisk powdered sugar with a small amount of milk, lemon juice, or water until a smooth, drizzly glaze forms, then drizzle it over cooled scones.
- Proper Storage: To keep your leftover scones fresh, store them in an airtight container at room temperature for up to 2-3 days. For longer storage, the freezer is your best friend.
- Freezing Instructions for Convenience: You can freeze unbaked scone wedges by arranging them on a baking sheet until solid, then transferring them to a freezer-safe bag. They can be baked directly from frozen (adding a few extra minutes to the baking time) for fresh scones anytime, up to 1 month. Baked scones can also be frozen for up to 3 months; simply thaw them at room temperature and gently reheat them in the oven for a few minutes before serving.
More Delicious Gluten-Free Treats to Explore
If you enjoyed baking and savoring these delightful cinnamon chip scones, you’ll surely love these other fantastic gluten-free recipes that are perfect for any occasion:
- Gluten Free Blueberry Muffins
- Gluten Free Cinnamon Rolls
- Gluten Free Chocolate Chip Muffins
Gluten-Free Cinnamon Chip Scones
By Carolyn
These cinnamon chip scones are the perfect brunch, breakfast, or treat. They’re soft, tender, and studded with sweet cinnamon chips.
Equipment
- Baking Sheet
- Silicone baking mat (or parchment paper)
- Box grater or handheld grater
- Large Bowl
- Knife
Ingredients
- 2 ¼ Cup Bob’s Red Mill 1:1 Gluten Free All Purpose Flour
- ¼ Cup Granulated Sugar
- 2 tbsp Brown Sugar
- 2 tsp Baking Powder
- ½ tsp Kosher Salt
- 8 tbsp Unsalted Butter, frozen
- 1 large Egg
- ⅔ cup Whole Milk, very cold
- ¾ cup Cinnamon Chips
- 1 large Egg (for egg wash)
Instructions
- Preheat your oven to 350°F (175°C). Line a baking sheet with a silicone baking mat or parchment paper.
- In a large bowl, whisk together the gluten-free flour, granulated sugar, brown sugar, baking powder, and kosher salt until well combined. In a separate liquid measuring cup, whisk together the cold large egg and cold whole milk, then refrigerate until ready to use.
- Grate the frozen butter directly into the dry mixture. Using your fingertips or a pastry cutter, quickly work the butter into the flour mixture until it resembles coarse crumbs with some pea-sized pieces of butter remaining. Stir in the cinnamon chips.
- Retrieve the chilled milk and egg mixture. Pour it into the flour mixture and mix gently with a spatula or your hands until it just comes together into a shaggy dough. Be careful not to overmix.
- Lightly dust a clean work surface with a small amount of gluten-free flour. Divide the dough in half. Gently form each half into a 5 ½-inch diameter disk, about ¾ to 1 inch thick. Cut each disk in half vertically, then cut each half into three triangles. You should have 12 scones.
- Arrange 6 scones on your prepared baking sheet, leaving some space between them. In a small bowl, whisk the remaining egg with a teaspoon of water for an egg wash. Lightly brush the tops of each scone with the egg wash and, if desired, sprinkle with a little extra granulated sugar for a sparkly finish.
- Bake for 18 minutes, or until the tops are golden brown and slightly crackly. The internal temperature should be 200-205°F (93-96°C).
- Let the scones cool on the baking sheet for a few minutes before transferring them to a wire rack to cool slightly. Serve warm and enjoy!
Tried this recipe?
Let us know how it was! Your feedback means a lot.
