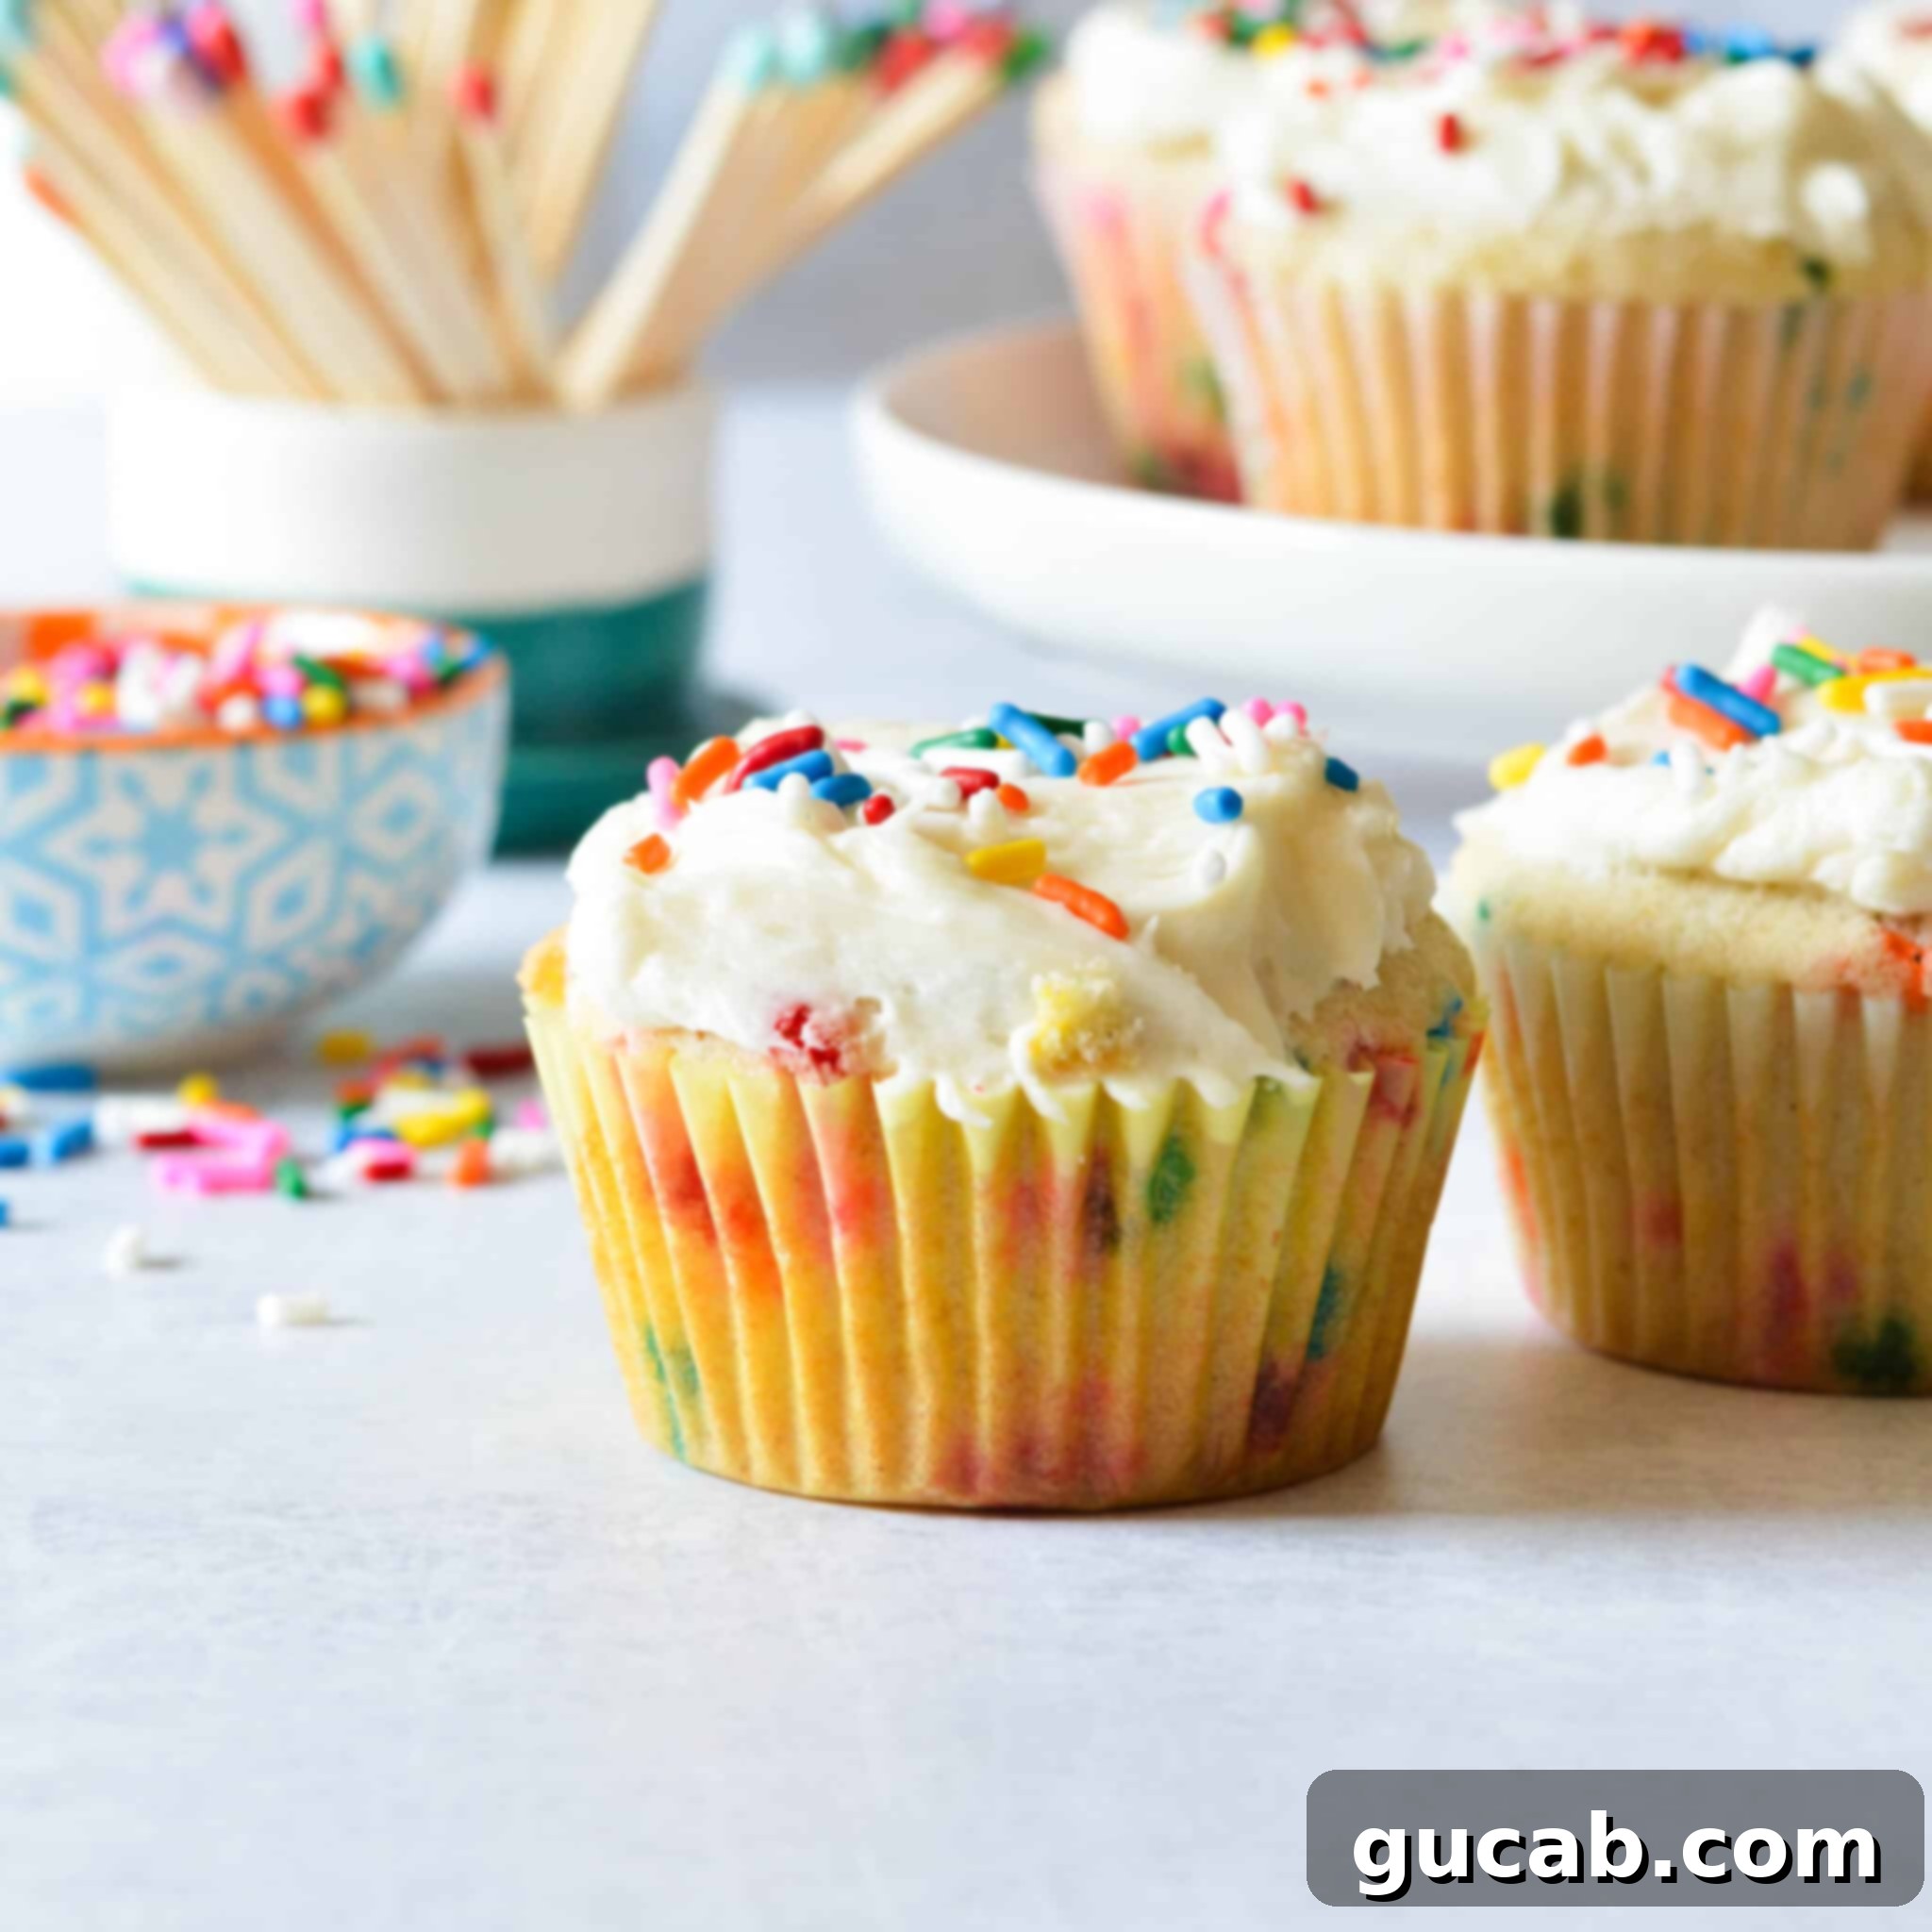
The Best Gluten-Free Funfetti Cupcakes: Your Guide to Perfectly Sprinkled Joy
Get ready to celebrate with the most delightful gluten-free funfetti cupcakes you’ll ever bake! These aren’t just any cupcakes; they are incredibly light, wonderfully fluffy, and bursting with vibrant, colorful jimmies. Imagine a symphony of soft vanilla cake speckled with joyous sprinkles, all culminating in a perfect bite that’s ideal for birthday parties, anniversaries, or any occasion that calls for a touch of edible happiness. The best part? They are surprisingly easy to make, even for novice gluten-free bakers!
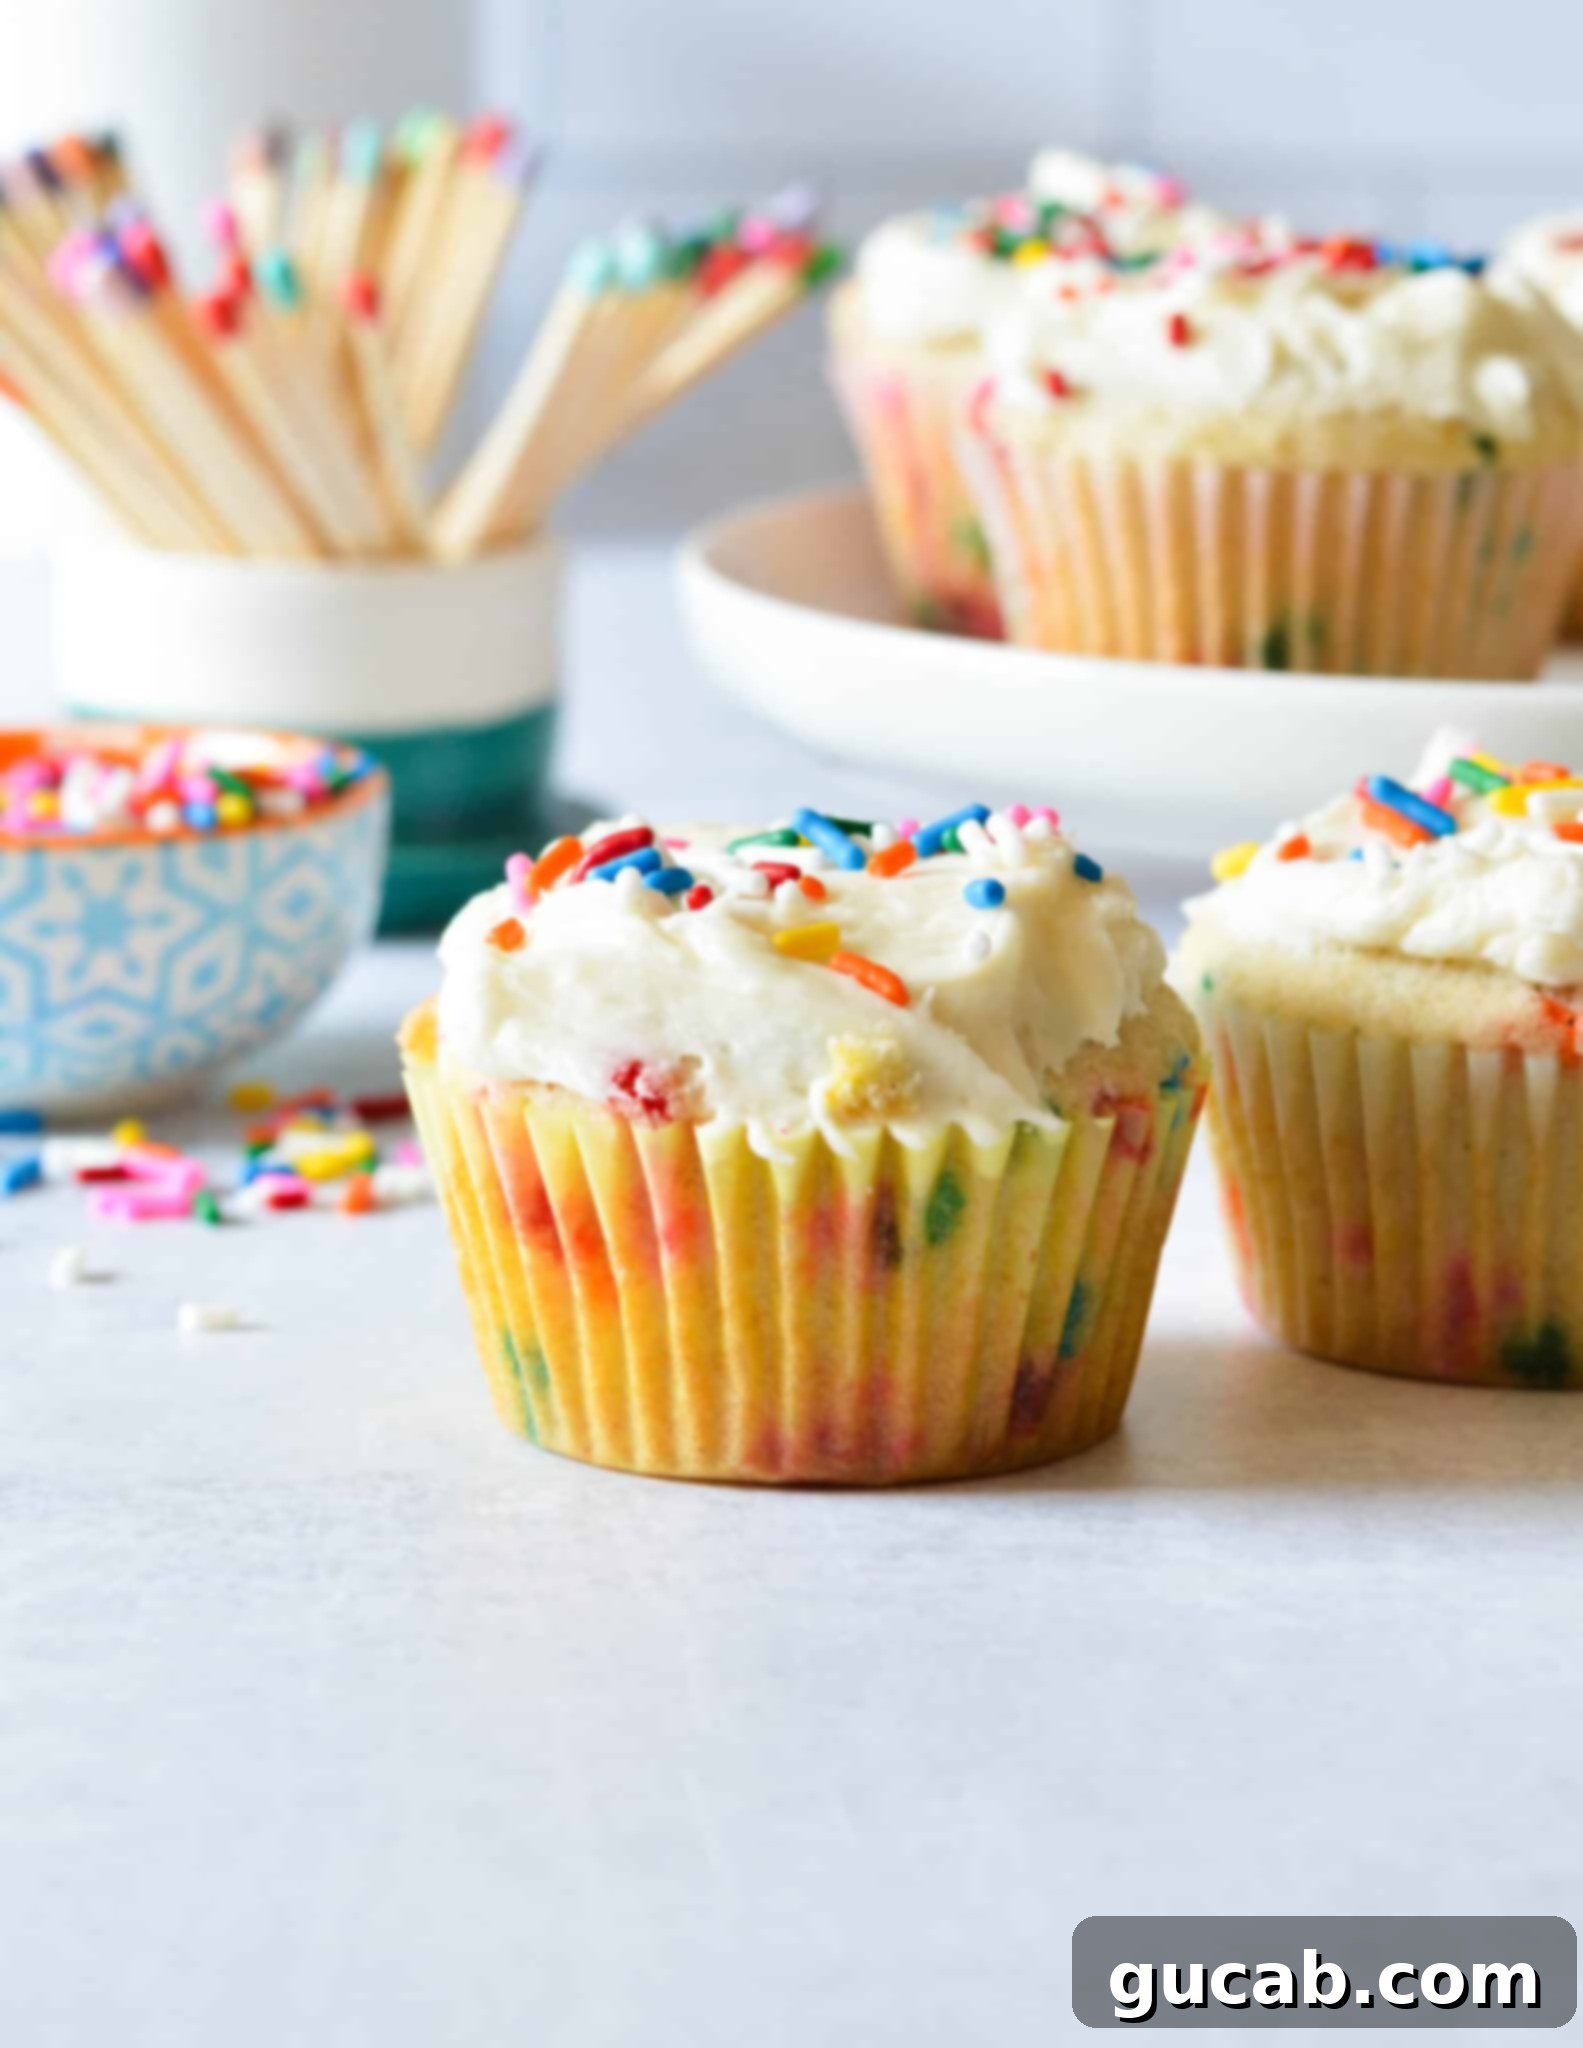
Why These Gluten-Free Funfetti Cupcakes Are a Must-Try
My love affair with sprinkles is no secret! They possess an almost magical ability to transform any dessert into something instantly fun and celebratory. These particular gluten-free sprinkle cupcakes are more than just pretty; they consistently deliver a delightful texture that’s often hard to achieve in gluten-free baking. Unlike some denser, heavier gluten-free options you might encounter, these funfetti cupcakes boast a light, airy crumb that melts in your mouth.
The secret to their perfect texture lies in a carefully balanced blend of ingredients, ensuring that every bite is moist, tender, and never dry. We’ll dive into the specific ingredients and techniques that make these the best gluten-free funfetti cupcakes you’ll ever bake. Whether you’re making them for someone with celiac disease, a gluten sensitivity, or simply because you want a delicious and vibrant treat, this recipe is guaranteed to be a hit. While classic rainbow jimmies are my personal favorite for that iconic funfetti look, feel free to use any brightly colored, gluten-free sprinkles you have on hand to match your party theme!
Essential Ingredients for Flawless Funfetti
Achieving the perfect gluten-free funfetti cupcake involves a thoughtful selection of ingredients. Each component plays a crucial role in creating the light texture, rich flavor, and moist crumb that makes these cupcakes irresistible. Here’s a detailed look at the core ingredients you’ll need:
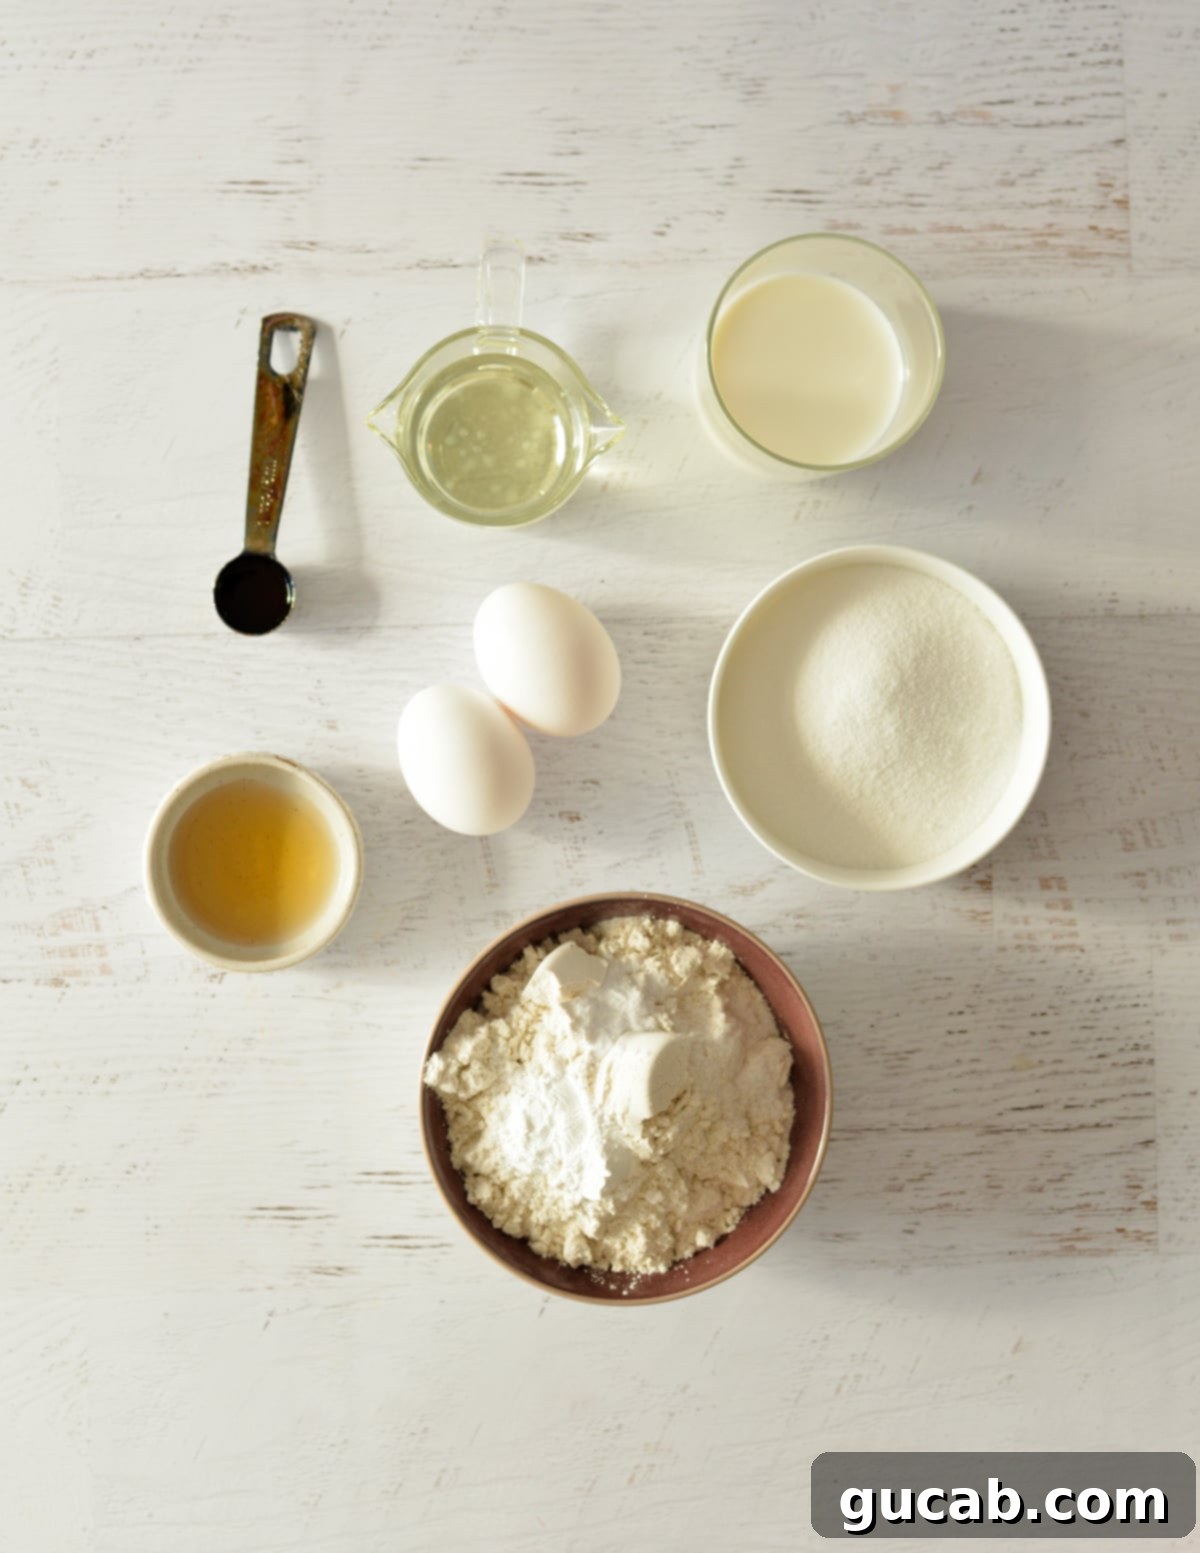
- Unsalted Butter: Butter is more than just a fat; it contributes significantly to both the rich flavor and the desirable fluffy texture of these cupcakes. Ensure your butter is at room temperature. This is crucial for properly creaming it with sugar, which incorporates air into the batter, leading to a lighter cupcake.
- Vegetable Oil: To achieve maximum moisture without sacrificing flavor, this recipe uses a combination of butter and oil. Vegetable oil is key to keeping the cupcakes moist and tender, preventing the dry texture sometimes associated with gluten-free baked goods. It also helps to keep the cupcakes soft for longer.
- Vanilla Extract: High-quality vanilla extract is a must! It enhances all the other flavors in the cupcake, providing that classic, comforting taste. I always recommend keeping a large bottle on hand (Costco is a great source!) so you’re never without this essential ingredient.
- Eggs: You’ll need two large eggs for this recipe. Eggs act as a binder, provide structure, add moisture, and contribute to the leavening of the cupcakes. Always use large eggs unless a recipe specifically states otherwise, as egg size can significantly impact the balance of ingredients.
- Gluten-Free All-Purpose Flour: This is arguably the most critical ingredient in any gluten-free baking recipe. Not all gluten-free flour blends are created equal! They vary significantly in their composition (different starches, alternative flours, and presence of xanthan gum). For the absolute best results with this recipe, I highly recommend using Bob’s Red Mill’s 1 to 1 Gluten Free Baking Flour. This blend has been tested extensively and provides the ideal texture for these funfetti cupcakes. Substituting with a different brand may lead to varying results.
- Buttermilk: Buttermilk is essential for these cupcakes’ tender crumb and subtle tang. Its acidity reacts with the baking soda, creating lift and softness. I’ve specifically developed this recipe using store-bought buttermilk; homemade substitutes (like milk with lemon juice or vinegar) may not yield the same consistent results due to differences in acidity and thickness.
- Sprinkles (Jimmies): Of course, you can’t have funfetti without sprinkles! It’s vital to choose a brand that is certified or explicitly labeled gluten-free, especially if you or your guests have celiac disease or severe gluten sensitivity. Betty Crocker’s rainbow sprinkles are a reliable gluten-free option. Jimmies (the cylindrical ones) are preferred over nonpareils (the tiny round ones) as they tend to hold their color and shape better within the batter during baking, preventing the colors from bleeding.
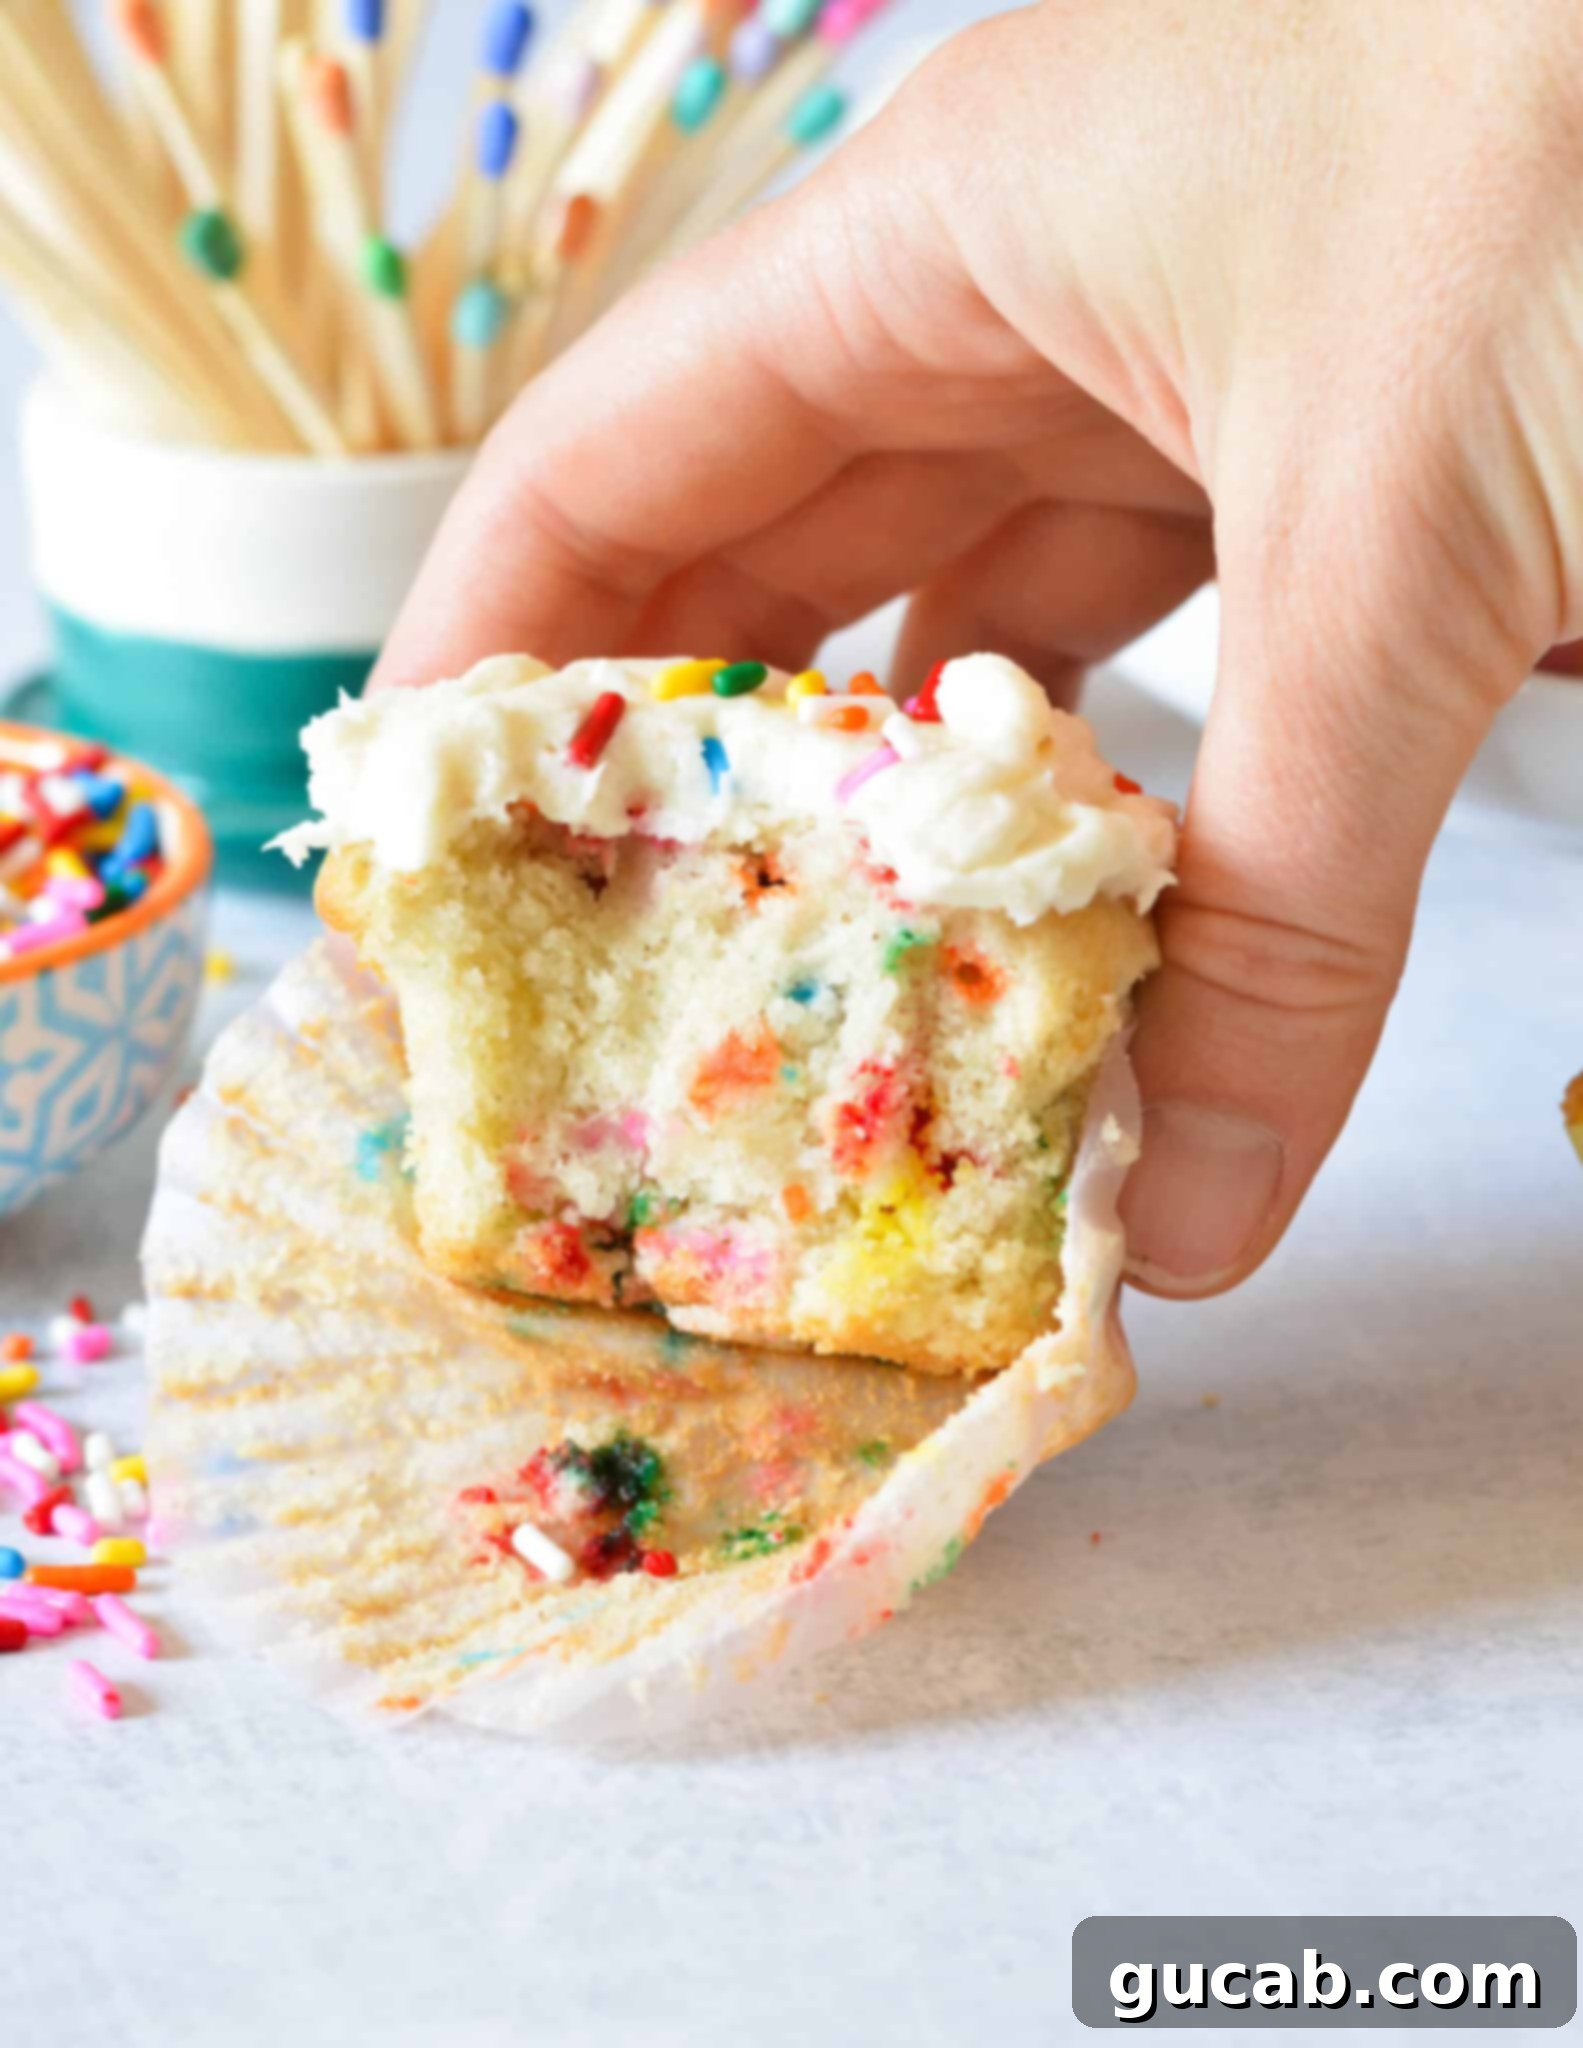
Step-by-Step Guide: How to Bake Your Gluten-Free Funfetti Cupcakes
Baking these vibrant gluten-free funfetti cupcakes is a straightforward process, but following each step carefully will ensure perfect results. Get your kitchen ready, and let’s make some magic!
- Prepare Your Dry Ingredients: Begin by preheating your oven to 350°F (175°C) and lining a standard 12-cup muffin tin with cupcake liners. In a medium bowl, whisk together your gluten-free all-purpose flour (ideally Bob’s Red Mill’s 1 to 1 Gluten Free Baking Flour), baking powder, baking soda, and kosher salt. This step ensures all leavening agents and seasonings are evenly distributed.
- Cream the Fats and Sugar: In the bowl of a stand mixer fitted with the paddle attachment (or using a hand mixer), combine the room temperature unsalted butter, vegetable oil, sugar, and vanilla extract. Beat these ingredients together on medium-high speed for about 2 minutes, until the mixture is visibly light in color and fluffy in consistency. This creaming process incorporates air, which is vital for a light cupcake.
- Incorporate the Eggs: Add the large eggs one at a time, beating well after each addition until fully incorporated. Scrape down the sides of the bowl with a spatula after adding the eggs to ensure everything is thoroughly mixed.
- Alternate Dry and Wet Ingredients: With the mixer on low speed, add half of the dry flour mixture to the wet ingredients and beat until just combined. Next, pour in the buttermilk and mix until smooth. Finally, add the remaining flour mixture and continue to beat on low speed until the batter is just incorporated and smooth. Be careful not to overmix, as this can lead to tougher cupcakes.
- Fold in the Sprinkles: Gently fold in the gluten-free jimmies using a spatula. You want to distribute them evenly throughout the batter without crushing them or causing their colors to bleed excessively.
- Scoop and Bake: Divide the batter evenly among the 12 prepared cupcake liners. Fill each liner about two-thirds full. Bake in your preheated oven for approximately 18 to 20 minutes, or until a wooden toothpick inserted into the center of a cupcake comes out clean. Once baked, remove the muffin tin from the oven and let the cupcakes cool in the pan for a few minutes before transferring them to a wire rack to cool completely.
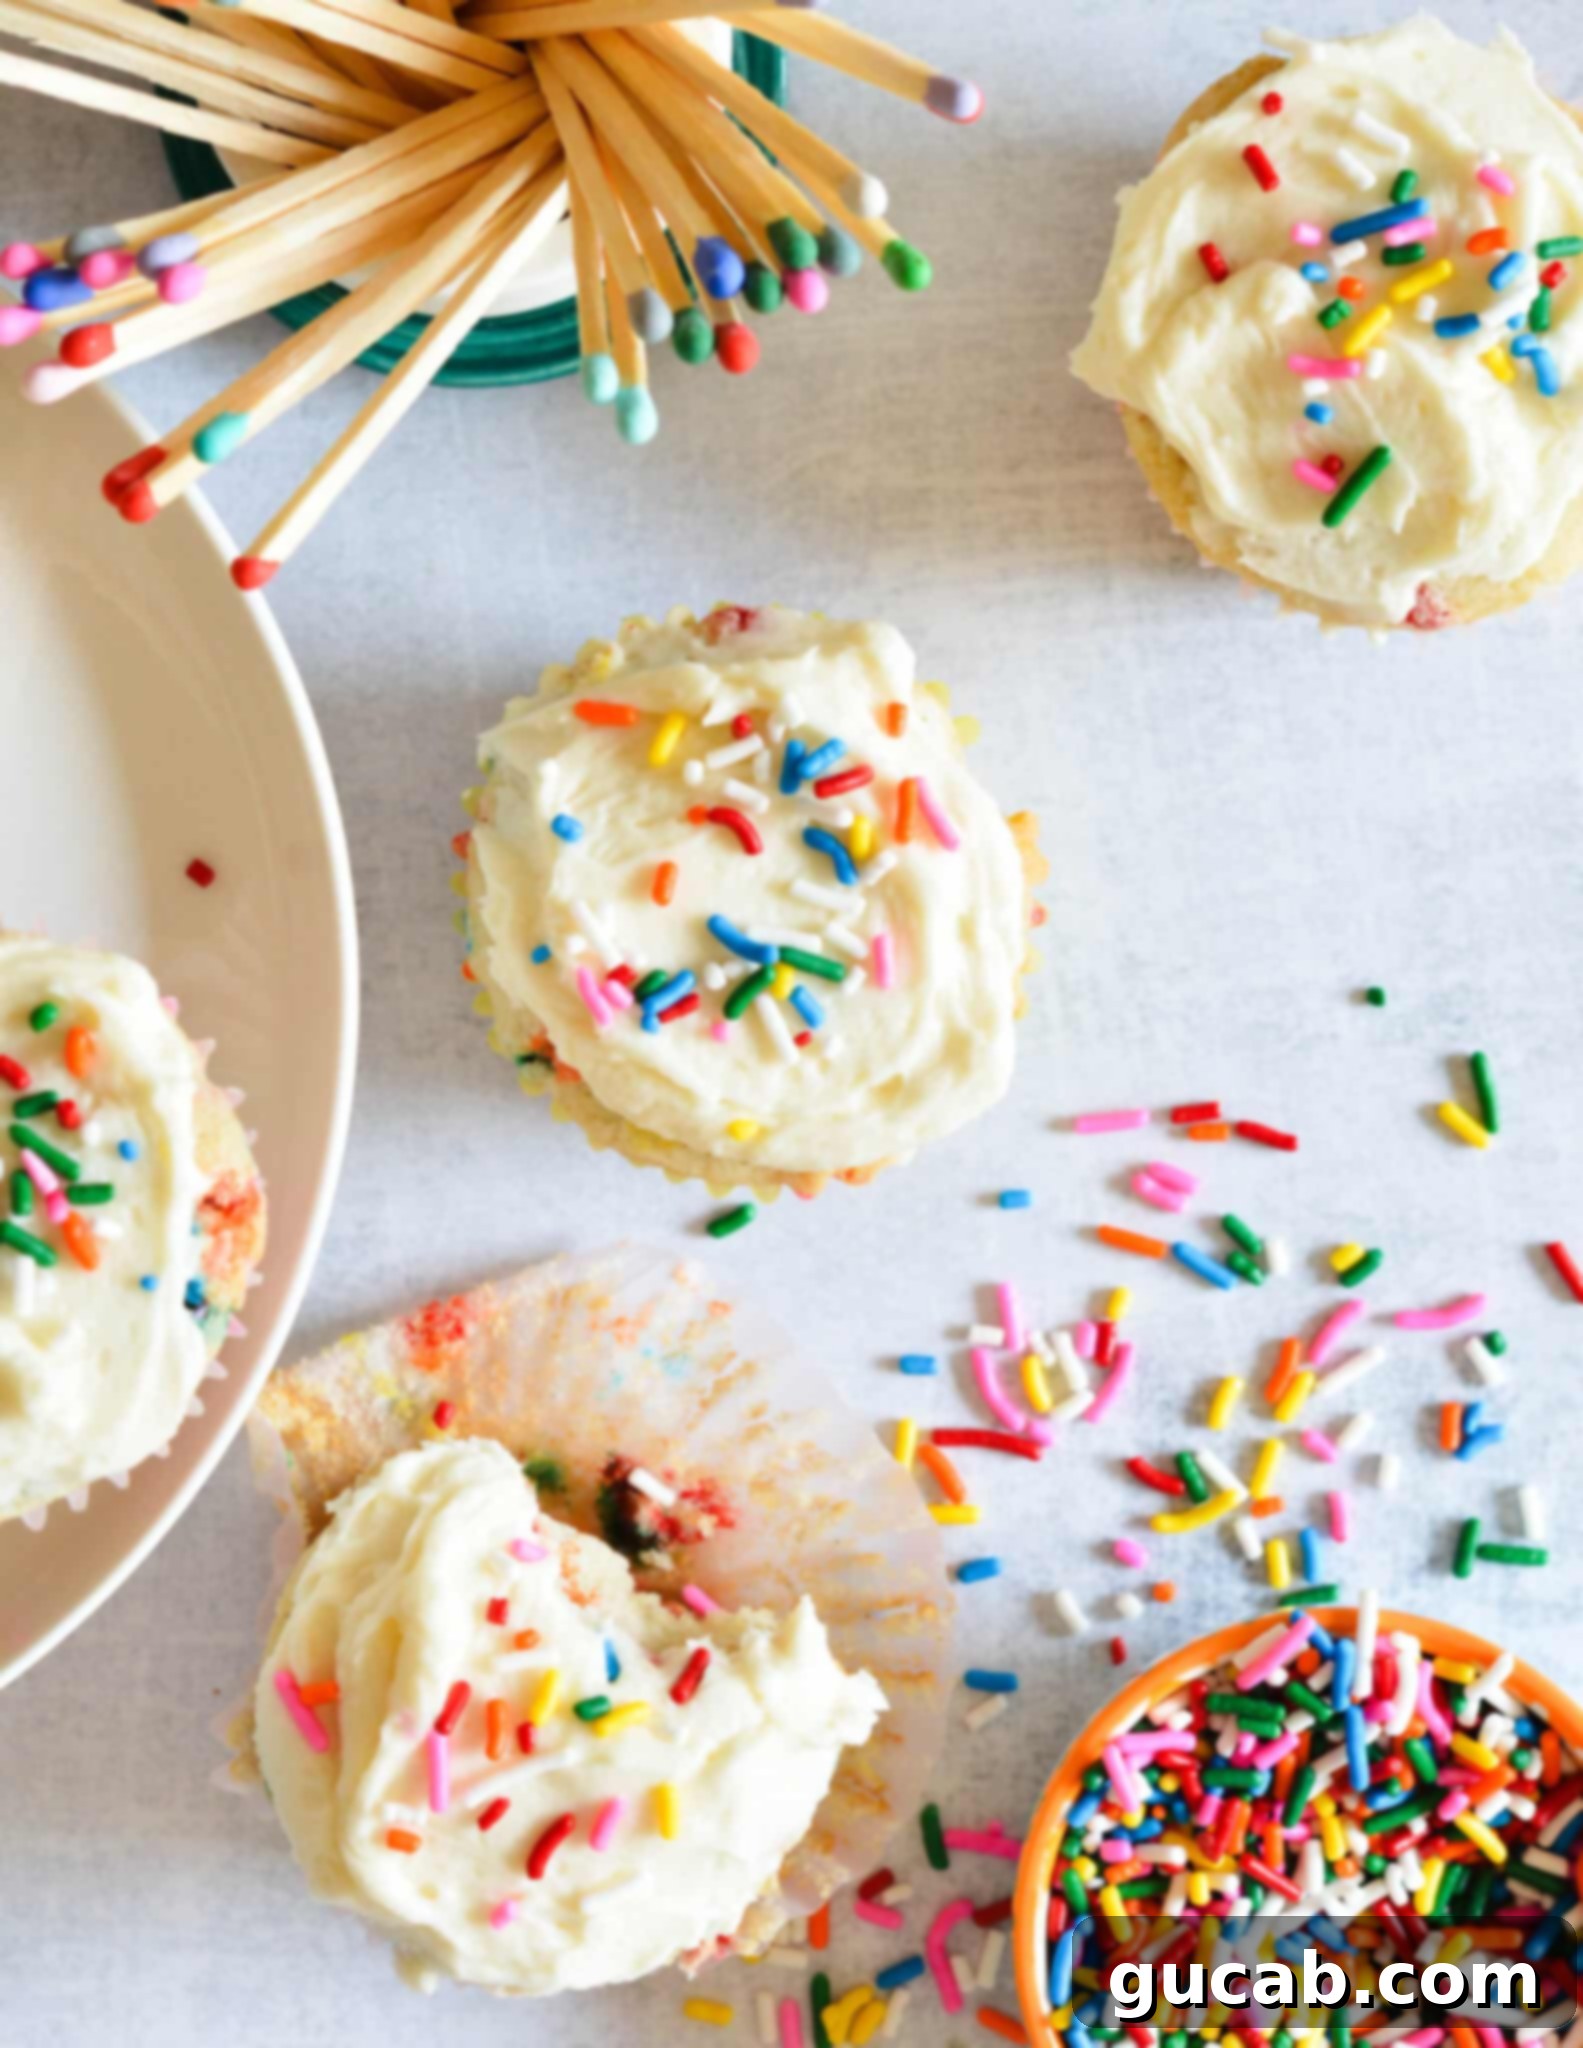
Understanding Gluten-Free Flour Blends: A Baker’s Insight
Baking with gluten-free all-purpose flour is fundamentally different from baking with traditional wheat-based flour, and understanding these differences is key to successful gluten-free recipes like these funfetti cupcakes. The primary distinction lies in their composition. Standard all-purpose flour is a single-ingredient product derived solely from wheat, offering consistent results regardless of the brand you choose.
Gluten-free all-purpose flour, however, is a carefully crafted blend. It typically consists of a combination of starches (like potato starch, tapioca starch, or cornstarch), various alternative flours (such as rice flour, sorghum flour, or millet flour), and often a binding agent like xanthan gum. The precise ratios and types of these ingredients vary significantly from brand to brand. This means that one brand’s “all-purpose gluten-free flour” may perform very differently from another’s. Some blends might be better suited for cookies, while others excel in cakes or breads.
For this gluten-free funfetti cupcake recipe, I specifically developed and tested it using Bob’s Red Mill’s 1 to 1 Gluten Free Baking Flour. This particular blend is formulated to mimic the properties of wheat flour in many recipes, often including xanthan gum within the blend, which helps to provide elasticity and structure that gluten usually offers. When a recipe calls for a specific gluten-free flour blend, it’s always best to stick to that recommendation for optimal results. If you must substitute, look for a “1-to-1” or “cup-for-cup” gluten-free blend that also contains xanthan gum, and be prepared for slight variations in texture.
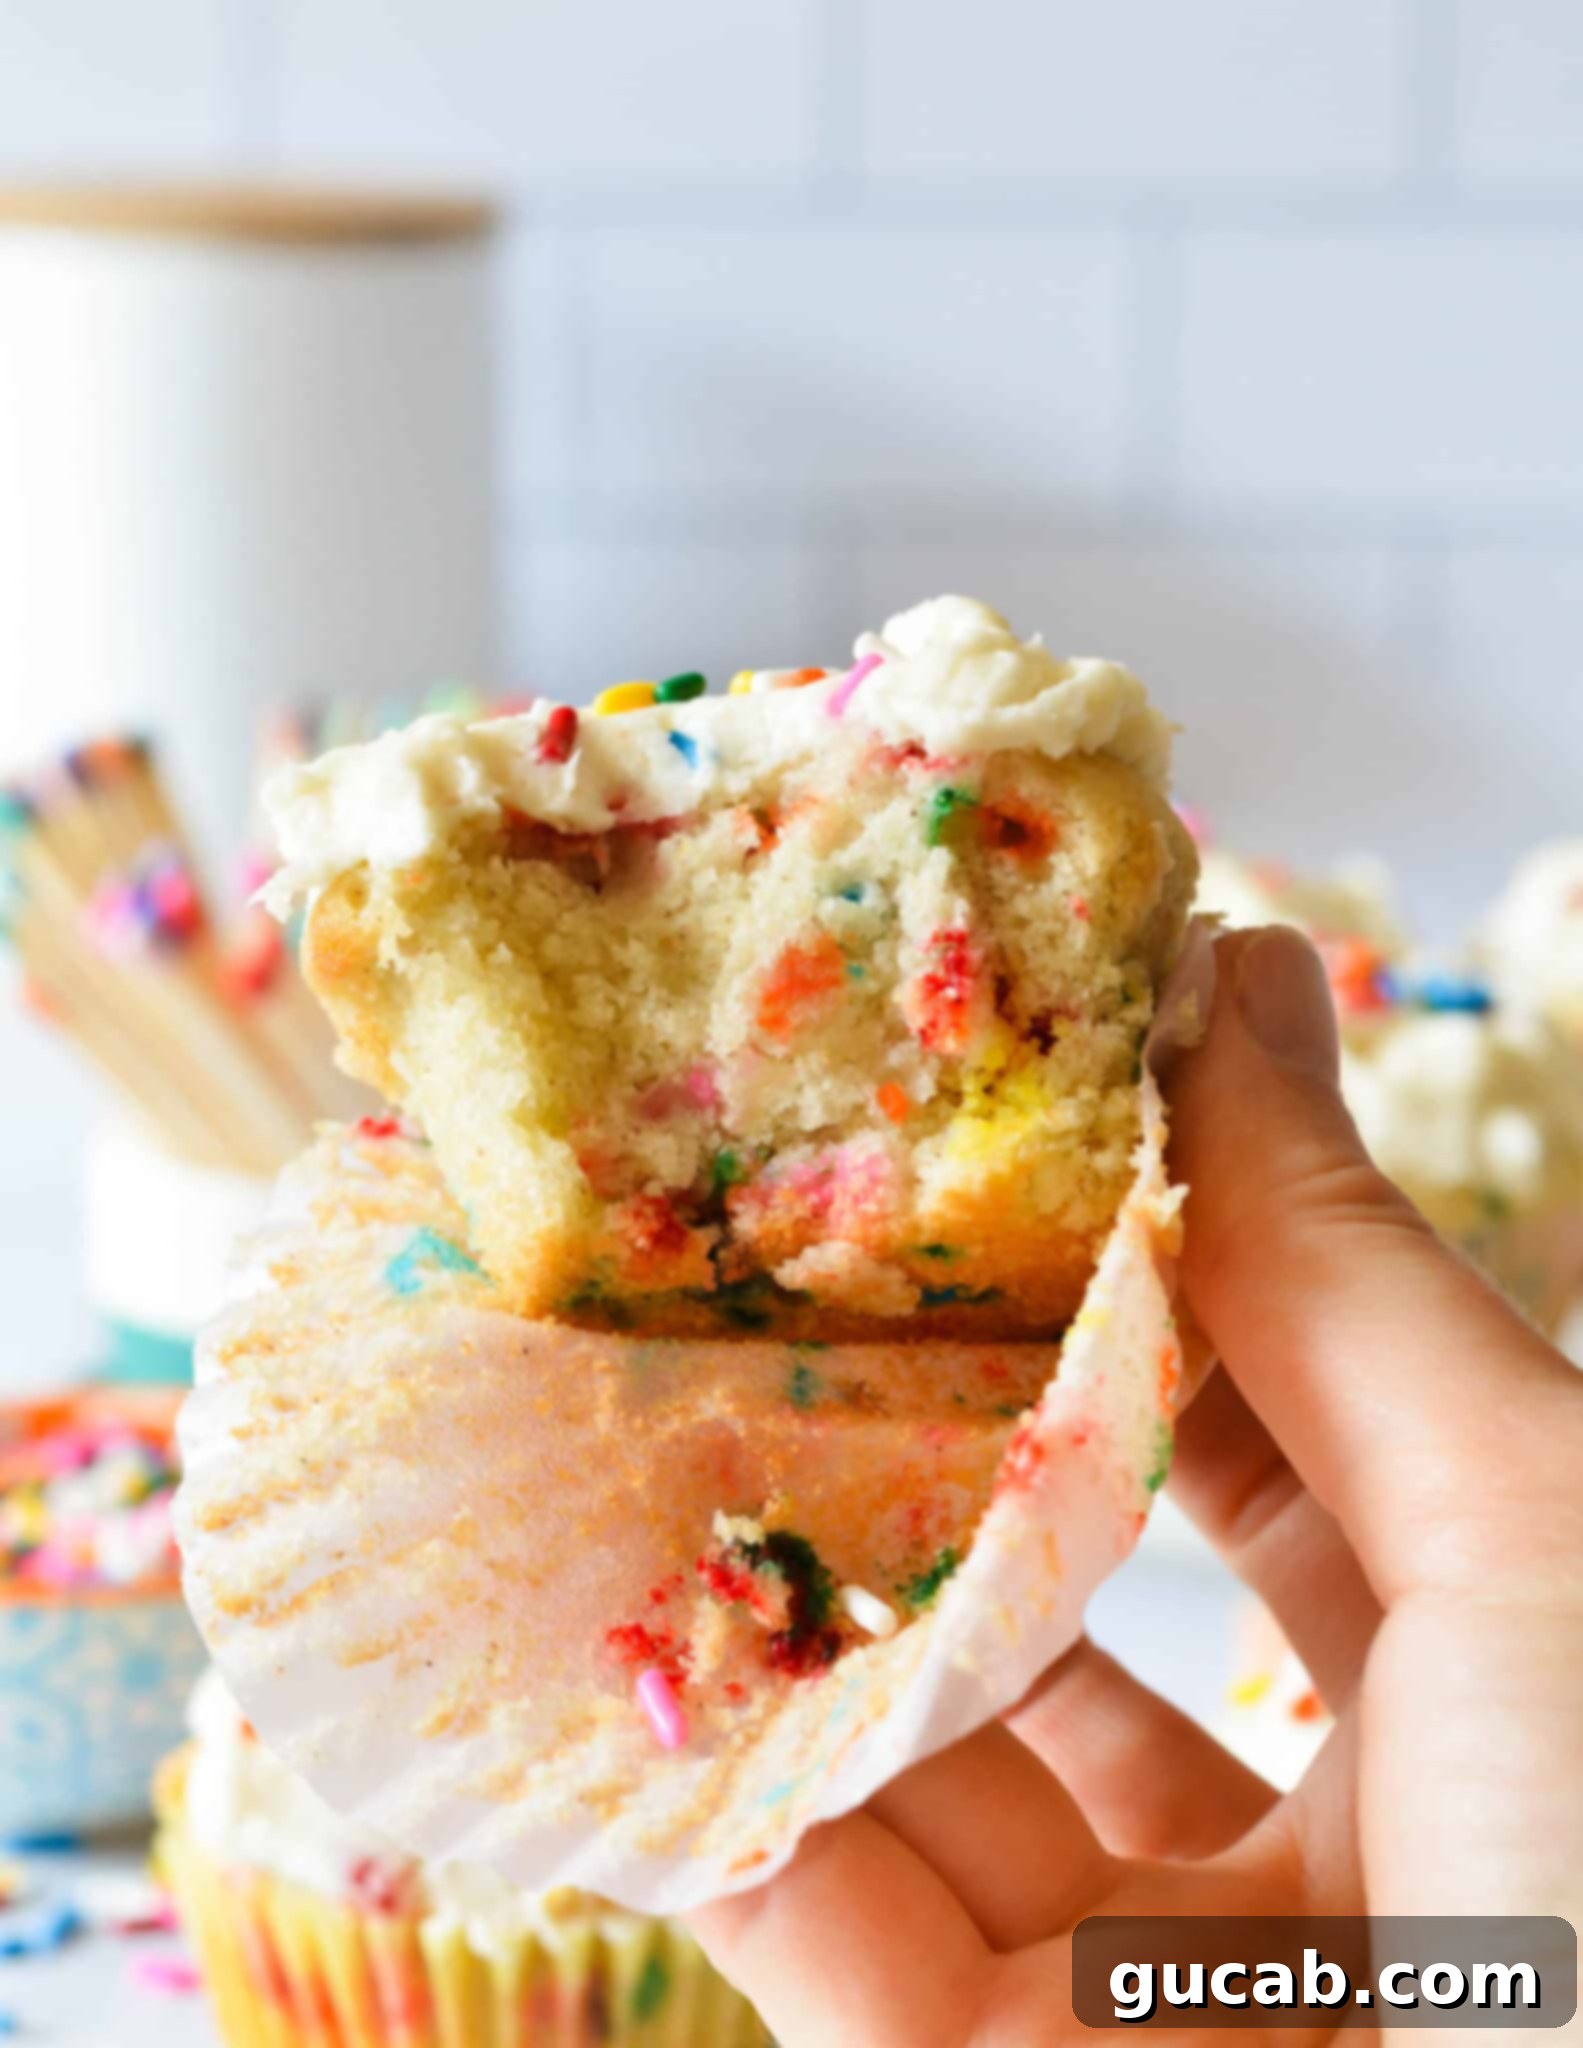
Are Sprinkles Truly Gluten-Free? What You Need to Know
When you’re baking for someone with celiac disease or a gluten sensitivity, every ingredient matters, including something as seemingly innocuous as sprinkles. While the base ingredients of most sprinkles – sugar, cornstarch, and coloring – do not inherently contain gluten, it’s a more nuanced situation than you might think.
Many sprinkle brands don’t contain gluten in their ingredient list, but they may not be explicitly labeled as “gluten-free.” This distinction is critical for those with celiac disease due to the risk of cross-contamination during manufacturing. Products labeled “gluten-free” in the U.S. have been tested and verified by the FDA to contain less than 20 parts per million (ppm) of gluten, which is the generally accepted safe threshold for individuals with celiac disease.
Therefore, for the safest and most enjoyable experience, always make sure to:
- Check Labels Diligently: Look for a clear “gluten-free” label or certification on the sprinkle packaging. This provides assurance that the product meets the necessary safety standards.
- Be Mindful of Ingredients: Even if not labeled “gluten-free,” review the ingredient list for any potential gluten-containing items or “may contain” statements (e.g., wheat starch, barley malt, or shared facility warnings).
- Choose Reputable Brands: Opt for brands known for their commitment to allergen-friendly products. Many companies now offer clearly labeled gluten-free sprinkles. For this recipe, Betty Crocker’s rainbow sprinkles are generally considered gluten-free and safe for most.
By taking these precautions, you can ensure your delicious gluten-free funfetti cupcakes are safe and enjoyable for everyone!
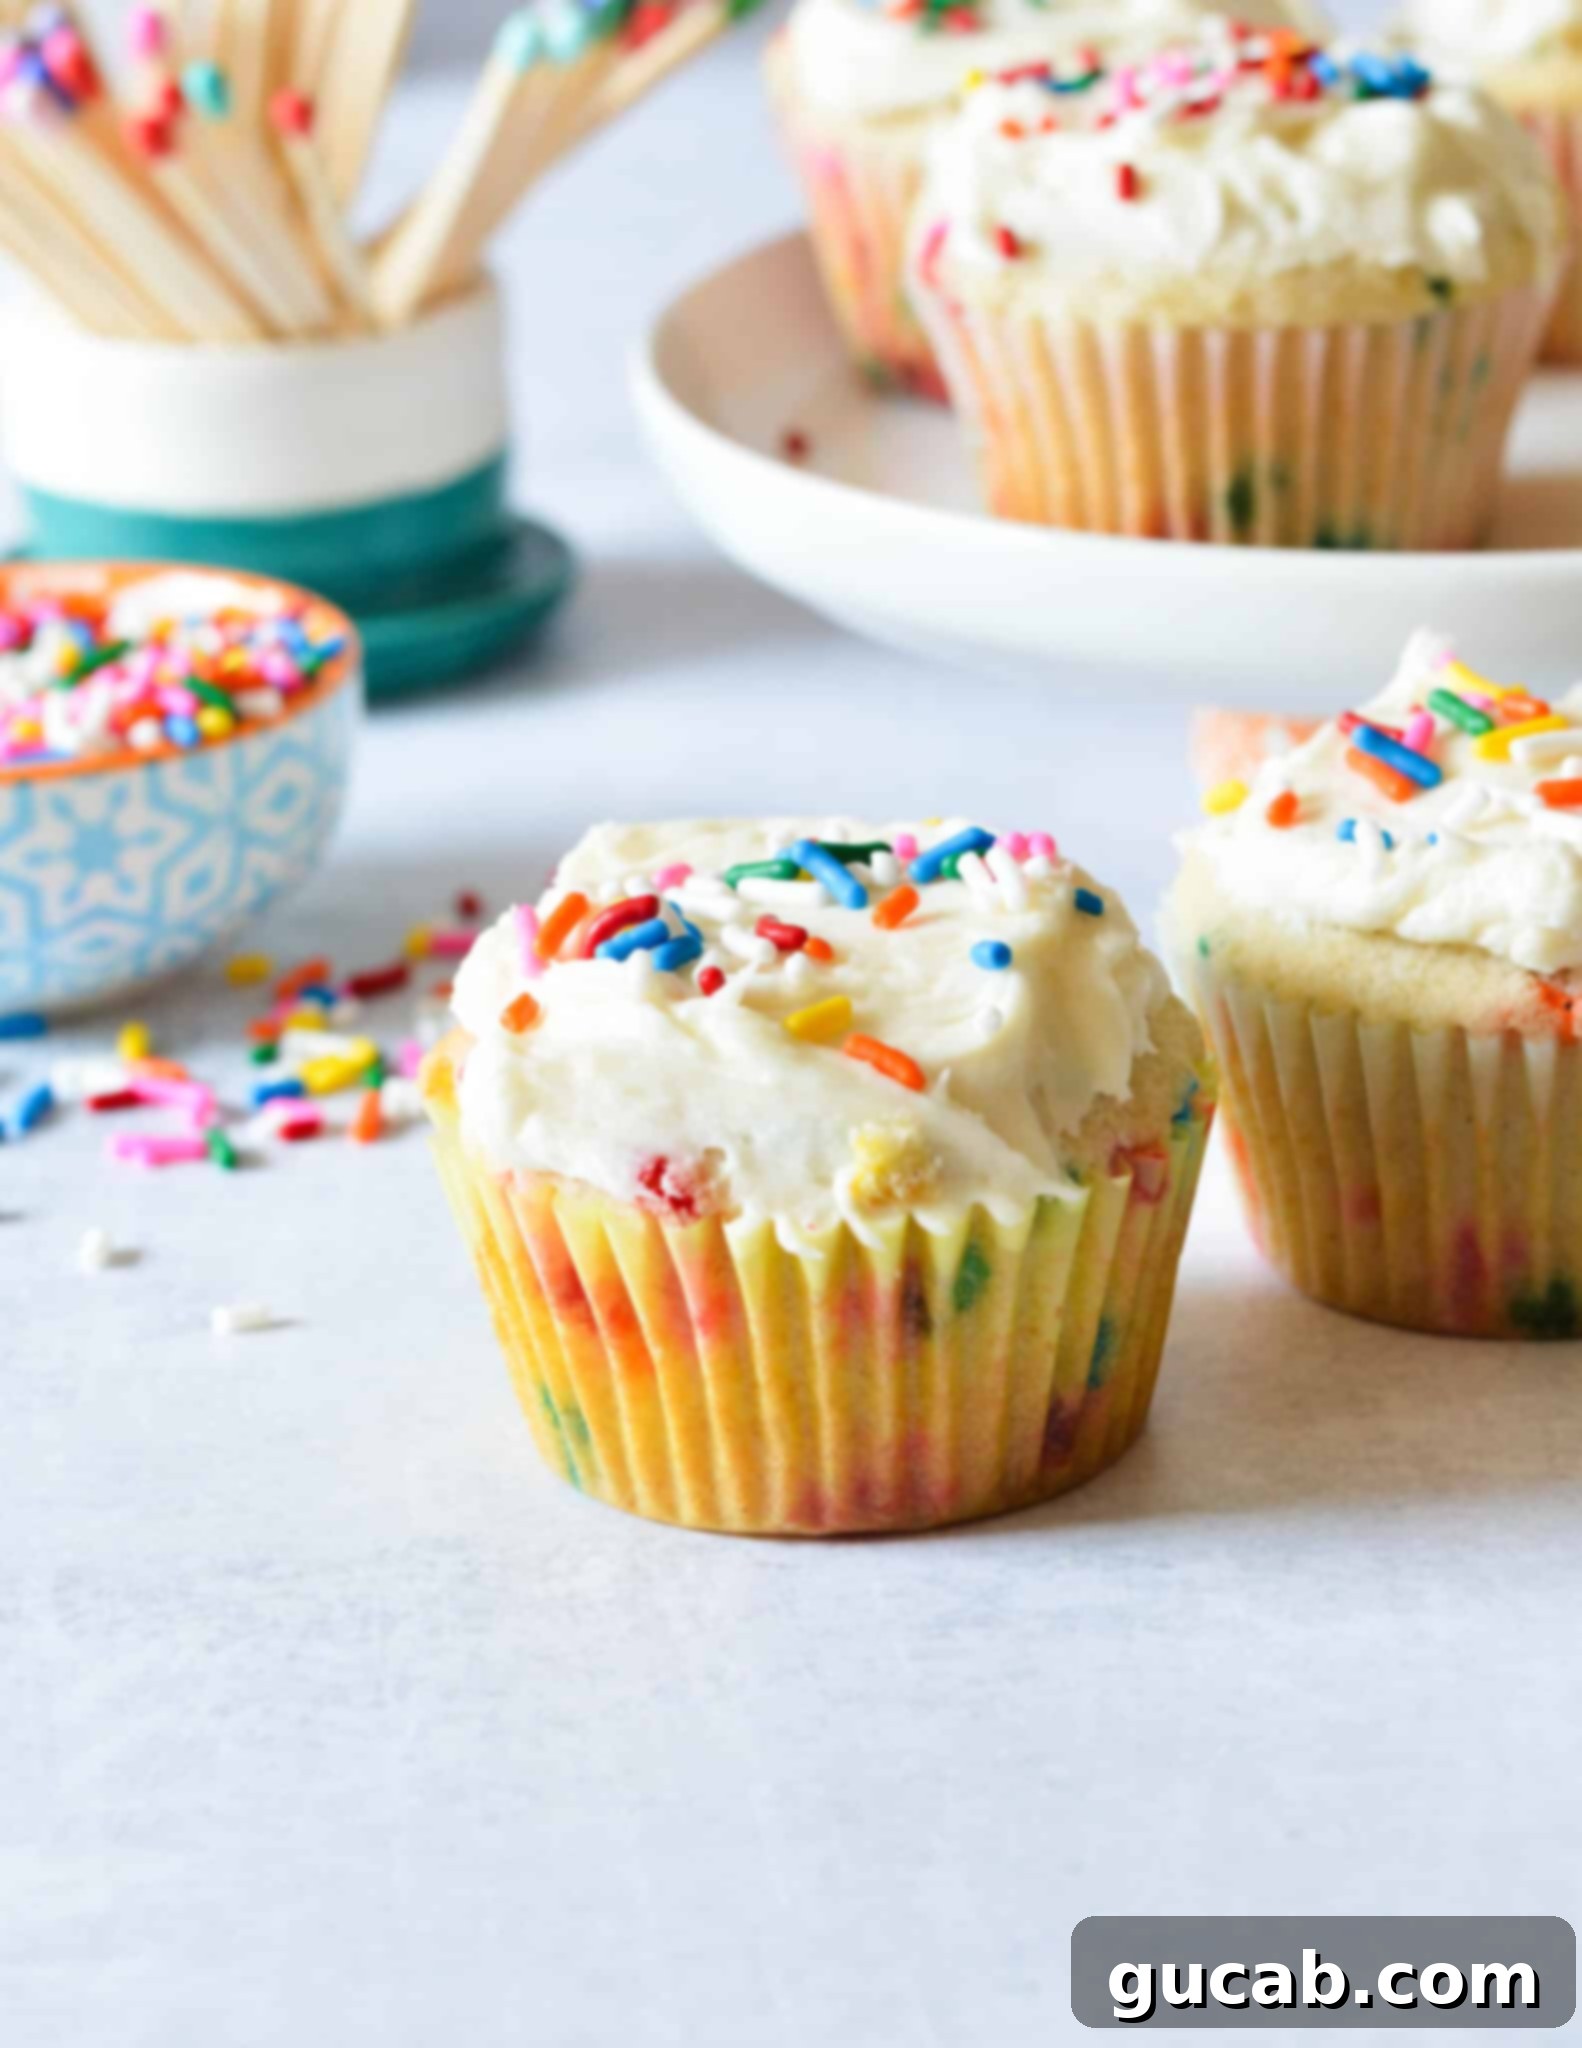
Expert Tips for Gluten-Free Cupcake Perfection
Baking gluten-free doesn’t have to be daunting. With a few key tips, you can ensure your funfetti cupcakes turn out perfectly every time:
- Chill Out Before Frosting: This is a non-negotiable step! Always allow your cupcakes to cool completely before attempting to frost them. Frosting warm cupcakes will cause the butter in your frosting to melt, resulting in a runny, messy disaster. Patience is a virtue here!
- Flour Matters: As discussed, the type of gluten-free flour blend you use is crucial. For this specific recipe, using Bob’s Red Mill’s 1 to 1 Gluten Free Baking Flour will yield the best, most consistent results. This blend is designed to be a direct substitute for wheat flour in many recipes, simplifying gluten-free baking. You can typically find it at major retailers like Target and Walmart, or conveniently online through Amazon.
- Measure Flour Accurately: For all baking, especially gluten-free, precise measurement is key. Always use the “spoon and level” method for your flour. Spoon the flour into your measuring cup until it overflows, then level off the top with a straight edge (like the back of a knife). Do not scoop flour directly with the measuring cup, as this can compact it and lead to too much flour, resulting in dry cupcakes.
- Room Temperature Ingredients: Ensure your butter, eggs, and buttermilk are all at room temperature. This allows them to emulsify properly, creating a smooth, uniform batter that traps air efficiently, leading to a lighter, fluffier cupcake.
- Don’t Overmix: Once you add the flour, mix only until just combined. Overmixing gluten-free flour can sometimes activate starches in a way that leads to a gummy texture.
- Fill Correctly: Filling cupcake liners about two-thirds full prevents overflow and ensures a nice dome-shaped top, perfect for frosting.
Storing Your Delicious Funfetti Cupcakes
To keep your gluten-free funfetti cupcakes fresh and moist for as long as possible, proper storage is essential. Nobody likes a dry cupcake!
- At Room Temperature is Best: Unlike some desserts, frosted cupcakes generally fare better at room temperature than in the refrigerator. Refrigerating cake and cupcakes can actually dry them out faster due to the starch retrogradation process that occurs in cooler temperatures.
- Airtight is Key: To store leftover cupcakes, cover the entire plate tightly with plastic wrap, making sure to seal both the top and bottom. Alternatively, transfer the cupcakes to an airtight container. This prevents air exposure, which causes staling and drying.
- Shelf Life: Stored correctly at room temperature, these cupcakes will remain fresh and delicious for 2-3 days.
- Freezing for Longer Storage: If you need to store them for a longer period, you can freeze unfrosted cupcakes. Once completely cooled, wrap each cupcake individually in plastic wrap, then place them in an airtight freezer bag or container. They can be frozen for up to 2-3 months. Thaw at room temperature before frosting and serving.
Variations and Customizations for Your Gluten-Free Funfetti Cupcakes
While the classic funfetti recipe is perfect as is, there’s always room for a little creativity! Here are some ideas to customize your gluten-free funfetti cupcakes:
- Frosting Flavors: While vanilla buttercream is traditional, consider other frosting options like cream cheese frosting, chocolate buttercream, or even a lemon-flavored frosting for a zesty twist.
- Color Schemes: Beyond rainbow jimmies, choose sprinkles that match a specific holiday (e.g., red and green for Christmas, pastels for Easter) or party theme.
- Extract Variations: Substitute half of the vanilla extract with almond extract for a subtle nutty flavor, or a few drops of lemon extract for a brighter taste.
- Mini Cupcakes: For smaller treats, use a mini muffin tin and adjust baking time accordingly (usually 10-12 minutes).
- Dairy-Free Option: If you need to make these dairy-free, substitute unsalted butter with a high-quality dairy-free butter stick (like Miyoko’s Kitchen or Earth Balance sticks) and buttermilk with a dairy-free buttermilk substitute (e.g., almond milk mixed with 1 tablespoon of lemon juice or apple cider vinegar). Ensure your sprinkles are also dairy-free.
Frequently Asked Questions (FAQ)
Here are answers to some common questions about baking these gluten-free funfetti cupcakes:
- Can I use a different gluten-free flour blend?
While I strongly recommend Bob’s Red Mill 1 to 1 Gluten Free Baking Flour for consistency and optimal results, you can try other 1-to-1 or cup-for-cup gluten-free all-purpose blends that contain xanthan gum. However, be aware that the texture may vary slightly. - What if I don’t have buttermilk?
As mentioned in the ingredients section, store-bought buttermilk is best. If absolutely necessary, you can make a homemade substitute by adding 1 tablespoon of lemon juice or white vinegar to a liquid measuring cup, then filling it with regular milk to the 1/3 cup mark. Let it sit for 5-10 minutes until it slightly curdles. However, for the best tender crumb, I highly recommend real buttermilk. - Can I make these vegan?
To make these vegan, you would need to replace the butter with a vegan butter substitute, the eggs with a flax egg or other egg replacer, and the buttermilk with a dairy-free buttermilk substitute. You’d also need to ensure your sprinkles are vegan. This would significantly alter the recipe, and specific testing would be required to guarantee similar results. - What kind of sprinkles are best for funfetti?
Jimmies (the stick-shaped sprinkles) are ideal for funfetti cupcakes. They tend to hold their shape and color better during baking compared to nonpareils (the tiny round ones), which can sometimes melt or bleed into the batter. - Can I make the batter ahead of time?
It’s generally best to bake cupcake batter shortly after mixing. The leavening agents (baking powder and baking soda) start to react once combined with wet ingredients, and letting the batter sit for too long can result in less rise and a denser texture.
More Delicious Gluten-Free Cake Recipes
If you’ve enjoyed these gluten-free funfetti cupcakes, you’ll love exploring more of our delicious and easy-to-follow gluten-free baking recipes. Expand your repertoire with these delightful options:
- Gluten Free Vanilla Cupcakes
- Gluten Free Red Velvet Cupcakes
- Gluten Free Pumpkin Cupcakes with Cinnamon Maple Frosting
- Gluten Free Italian Cream Cake
- Soft Gluten Free Chocolate Cupcakes
Gluten Free Funfetti Cupcakes
Carolyn
Pin Recipe
Equipment
-
Muffin tin
-
Stand Mixer with the Paddle Attachment
Ingredients
For the cupcake batter:
- ¼ cup unsalted butter (4 tablespoons) room temperature
- ¼ cup vegetable oil
- ¾ cup sugar
- 1 teaspoon vanilla extract
- 2 large eggs
- 1¼ cup Bob’s Red Mill’s 1 to 1 Gluten Free Baking Flour or gluten-free all-purpose flour blend
- ½ teaspoon baking powder
- ¼ teaspoon baking soda
- ¼ teaspoon kosher salt
- ⅓ cup buttermilk
- ⅓ cup gluten free jimmies
For the frosting:
- 4 ounces unsalted butter (8 tablespoons) room temperature
- 1¾ cup powdered sugar
- 2 teaspoons vanilla extract
- 1 to 3 tablespoons whole milk
Instructions
For the cupcakes:
-
Preheat oven to 350 degrees Fahrenheit. Line a muffin pan with cupcake liners. In a medium bowl, combine the gluten-free flour, baking powder, baking soda, and salt.
-
In the bowl of a stand mixer, beat the butter, oil, sugar, and vanilla until light and fluffy – about 2 minutes.
-
Add the eggs, one at a time, beating after each addition. Stop the mixer and scrape the sides of the bowl with a spatula.
-
Add half of the flour mixture and beat until combined. Add the buttermilk and beat until combined.
-
Add the remaining flour mixture and beat until incorporated. Add the rainbow sprinkles and mix to combine.
-
Divide the batter evenly between the 12 cupcake liners. Bake until a toothpick comes out clean, about 18 to 20 minutes.
For the vanilla frosting:
-
In a large bowl, beat the butter until light and creamy.
-
Add 1 cup of powdered sugar and 1 tablespoon of milk and beat for another 30 seconds.
-
Add the remaining powdered sugar and vanilla. Beat again for 30 seconds. If needed, add another tablespoon or two of milk. Beat until smooth.
Nutrition
