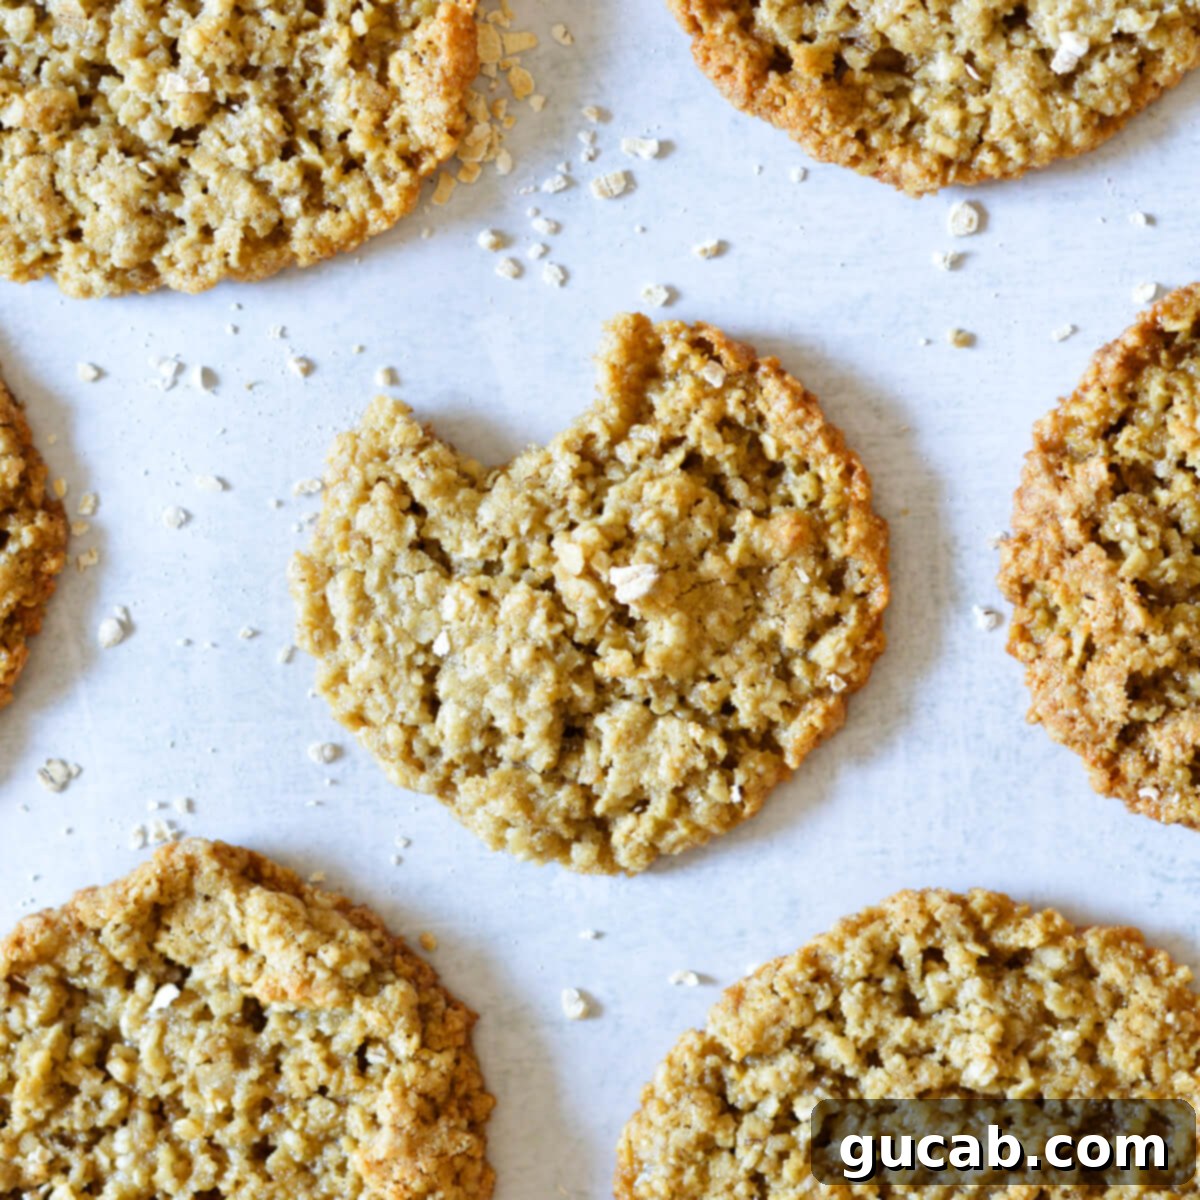
Irresistibly Chewy Flourless Oatmeal Cookies (No Peanut Butter Needed!)
Prepare yourself for a delightful indulgence! These flourless oatmeal cookies are a true revelation, offering the perfect amount of chewiness without a speck of traditional flour. Exceptionally easy to whip up and even easier to devour (consider yourself warned!), these no-flour oatmeal cookies have quickly become a staple in my kitchen. They prove that you don’t need gluten or nut butter to achieve an absolutely heavenly cookie experience.
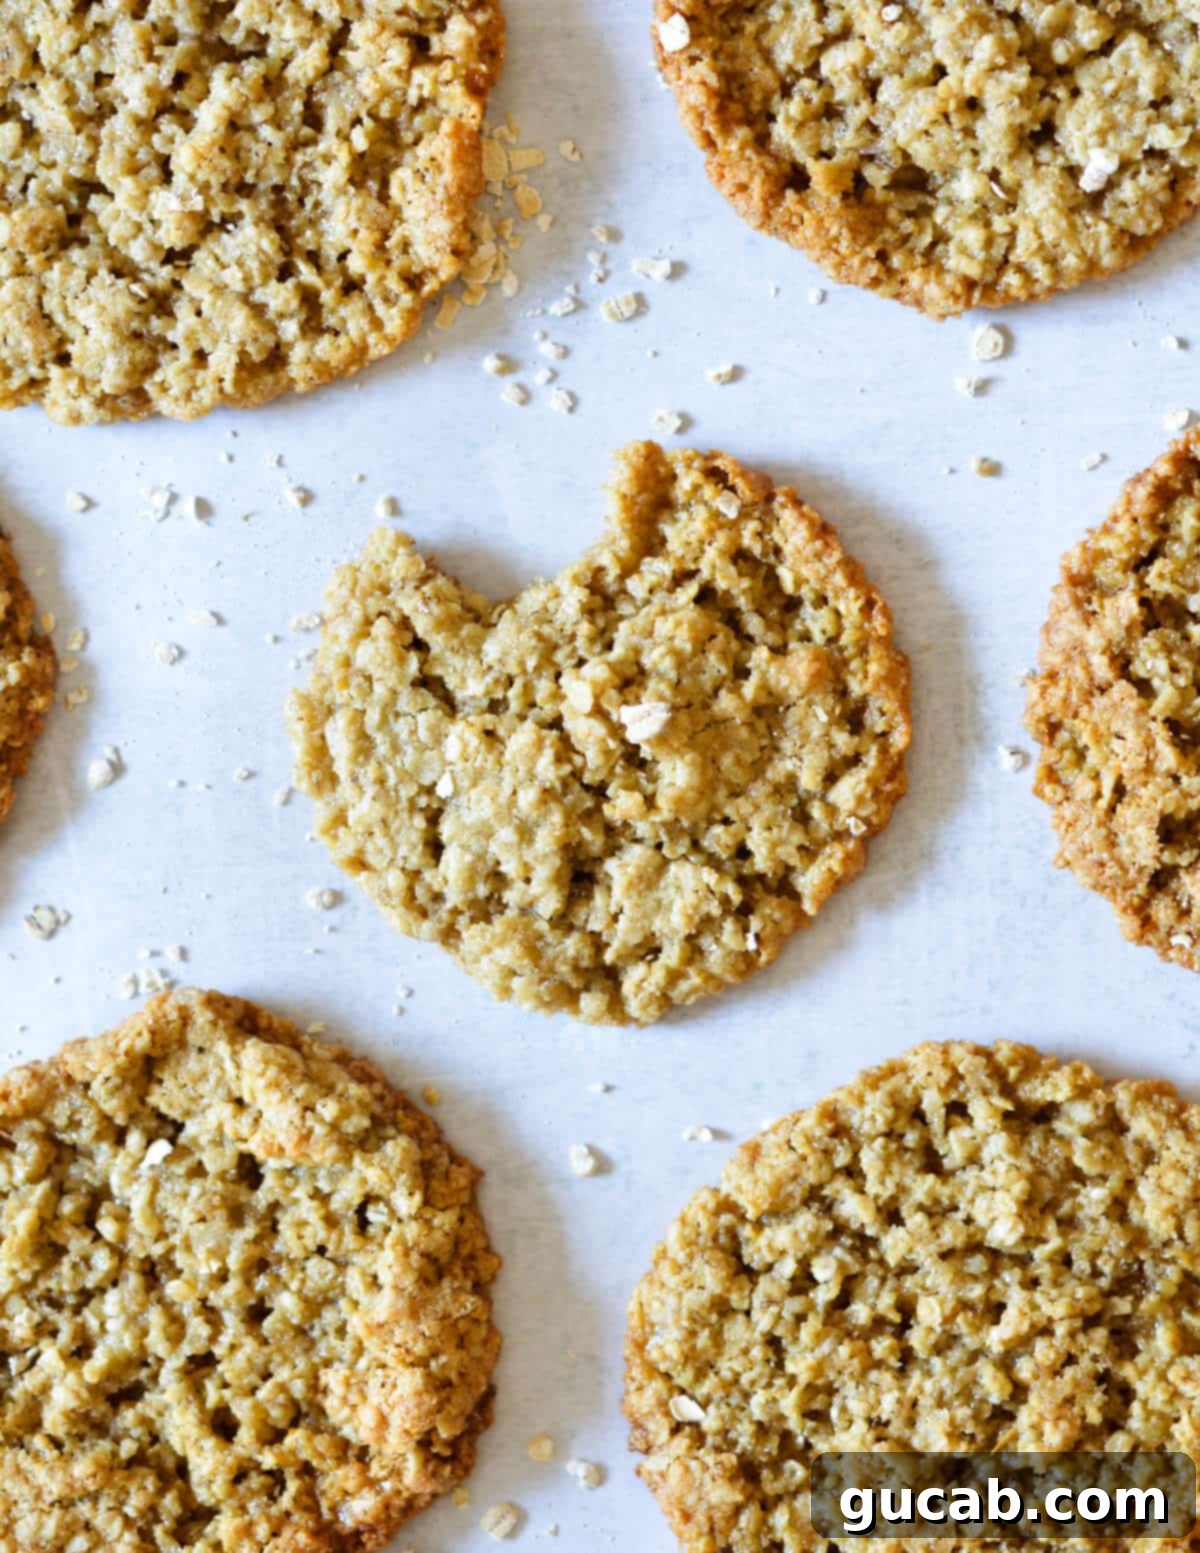
If you’re anything like me, a truly exceptional oatmeal cookie is more than just a snack – it’s a moment of pure bliss. My personal kryptonite includes warm cinnamon rolls and, of course, a batch of these glorious oatmeal cookies (okay, and maybe a bag of potato chips for good measure!). The desire for an unadulterated oat experience led me on a mission to create these no-flour oatmeal cookies that celebrate the natural goodness of oats, without relying on peanut butter as a binder. The result? Pure, lip-smacking perfection that truly lets the oats shine through.
Now, don’t get me wrong. My love for peanut butter runs deep – it’s practically a daily ritual on my morning waffles. But there are times when I crave something different, a cookie where the earthy, comforting flavor of oats takes center stage. These flourless oatmeal cookies deliver exactly that. They are incredibly satisfying, offering a soft, chewy interior and slightly crispy edges, all without any gluten-containing flour or the distinct taste of peanut butter. You’re going to adore these unique and utterly delicious oat cookies!
Disclosure: This post contains affiliate links. In other words, if you click a link and purchase something, I will receive a commission at no cost to you. I only recommend products I use and enjoy myself, ensuring I share only the best with you.
Why Choose Flourless Oatmeal Cookies? The Benefits and Appeal
Opting for flourless oatmeal cookies offers a variety of advantages, making them a fantastic choice for many bakers and eaters alike. Firstly, they are inherently gluten-free, provided you use certified gluten-free oats. This makes them an excellent option for individuals with celiac disease or gluten sensitivities, allowing them to enjoy a classic cookie without worry. Beyond dietary considerations, going flourless puts the spotlight squarely on the robust flavor and delightful texture of the oats themselves. This recipe intentionally avoids peanut butter, which often dominates the flavor profile in many flourless cookie recipes, ensuring a pure oat experience.
Furthermore, these cookies are surprisingly simple to make. With fewer ingredients to measure and mix, the process is streamlined and beginner-friendly. The quick-cooking oats act as both the primary dry ingredient and the binder, eliminating the need for complex flour blends. This simplicity doesn’t compromise on taste or texture; in fact, it enhances the natural deliciousness. The outcome is a wonderfully chewy cookie that’s both wholesome and incredibly satisfying, proving that sometimes, less truly is more in the world of baking.
Key Ingredients for Your Perfect Flourless Oatmeal Cookies
Crafting these delectable flourless oatmeal cookies relies on a few core ingredients, each playing a vital role in achieving that sought-after chewy texture and rich flavor. Let’s delve into what makes each component indispensable:
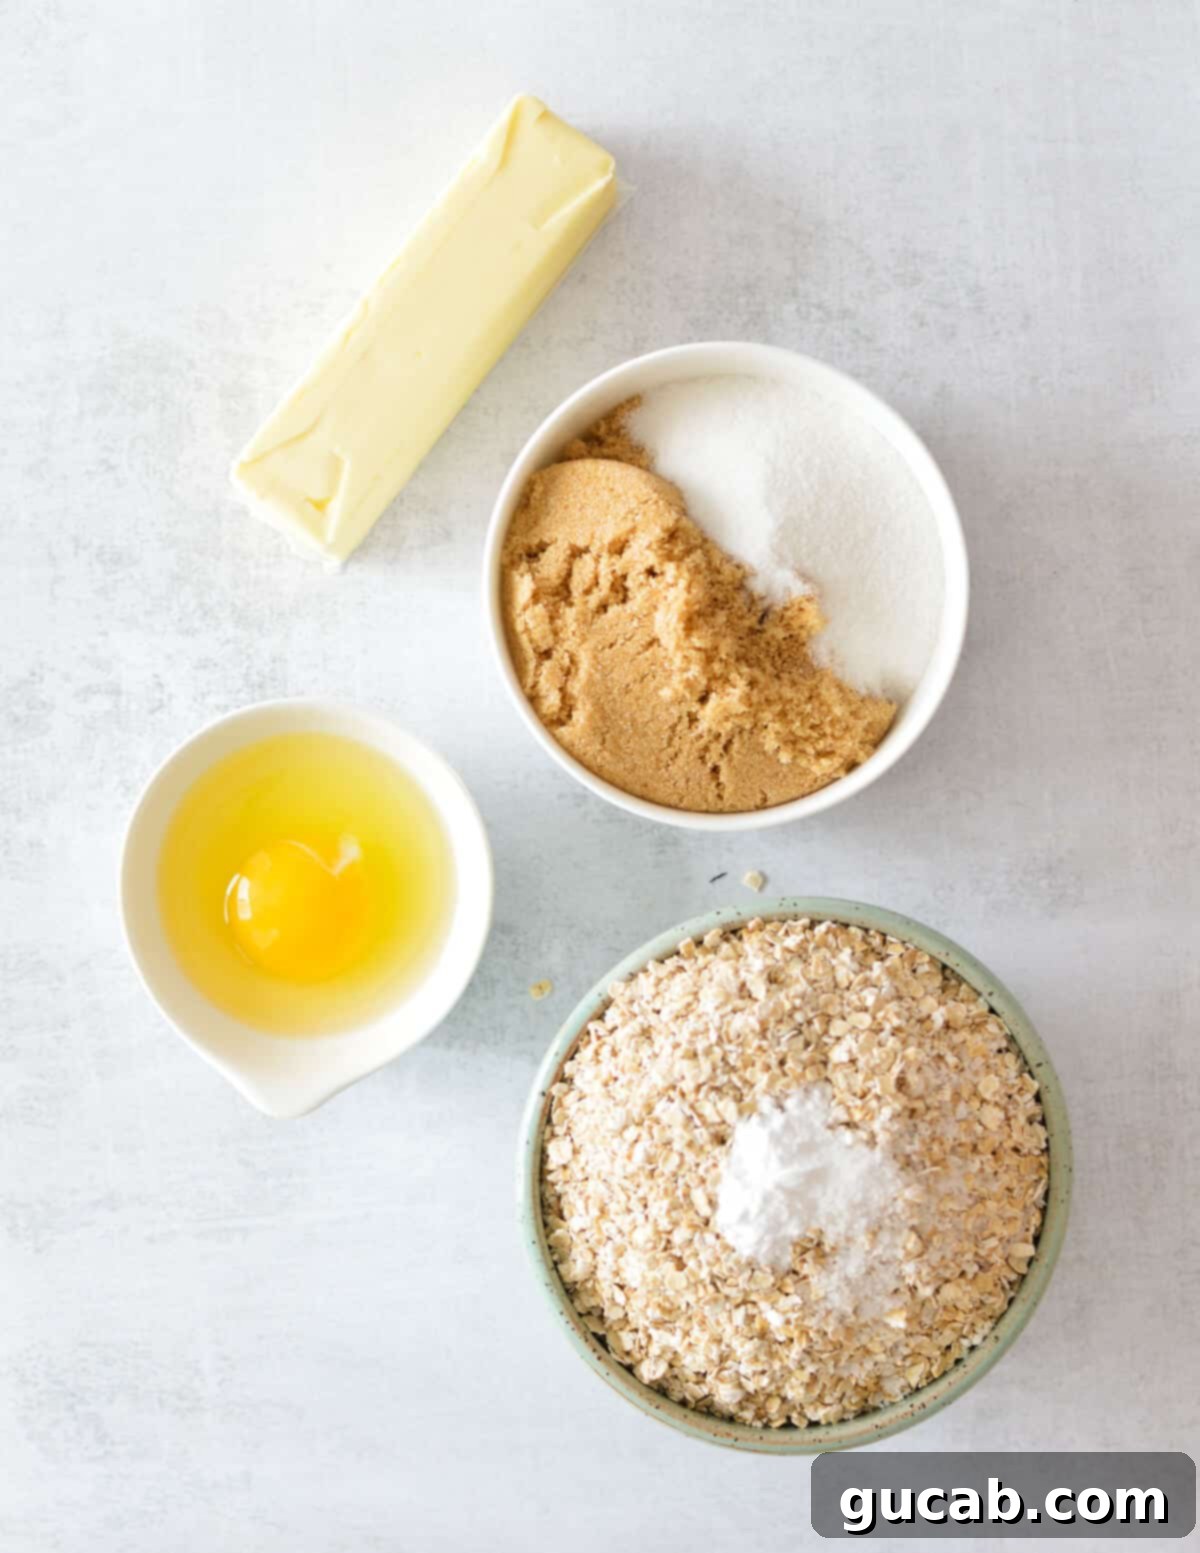
- Unsalted Butter: Always my go-to for baking. Using unsalted butter gives you complete control over the total salt content in your cookies. There’s nothing worse than a cookie that’s too salty! Ensure your butter is at room temperature before you begin. This is crucial for proper creaming, which incorporates air and creates a light, fluffy base. If it’s too cold, a quick zap in the microwave in 5-second bursts until slightly softened will do the trick – just be careful not to melt it.
- White & Brown Sugar: This dynamic duo is non-negotiable for the perfect texture and flavor. The higher ratio of brown sugar to white sugar is key here. Brown sugar, with its molasses content, adds moisture, depth of flavor, and contributes significantly to the cookies’ signature chewiness. White sugar, on the other hand, aids in crisping the edges and provides a clean sweetness. Trust this combination for truly superior results.
- Egg: The humble egg serves as a vital binder in this flourless recipe, holding all the ingredients together. It also adds richness, moisture, and helps with the structure and overall texture of the cookie, preventing it from becoming too crumbly.
- Quick Cooking Oats: This is the star of our flourless show and a critical ingredient. I specifically use and recommend *quick cooking oats* for this recipe, and the cookies turn out absolutely perfect. Quick oats are processed into smaller, thinner pieces than old-fashioned rolled oats, which means they absorb liquid much faster and more thoroughly. This rapid absorption is what allows them to mimic the binding properties of flour, providing structure and a tender, chewy crumb. Old-fashioned oats, with their larger size and more robust texture, will not yield the same results and can lead to cookies that spread too much and lack the desired consistency.
- Baking Soda: Essential for leavening, baking soda reacts with the acidic brown sugar to create carbon dioxide gas, which helps the cookies rise slightly and spread. Without it, your cookies would be dense and flat, missing that desirable light chew.
- Kosher Salt: A small but mighty ingredient, kosher salt is crucial for enhancing all the other flavors, especially the sweetness of the sugars and the rich notes of the butter. It balances the sweetness beautifully. If you only have table salt on hand, remember to cut the amount in half, as table salt is finer and more concentrated.
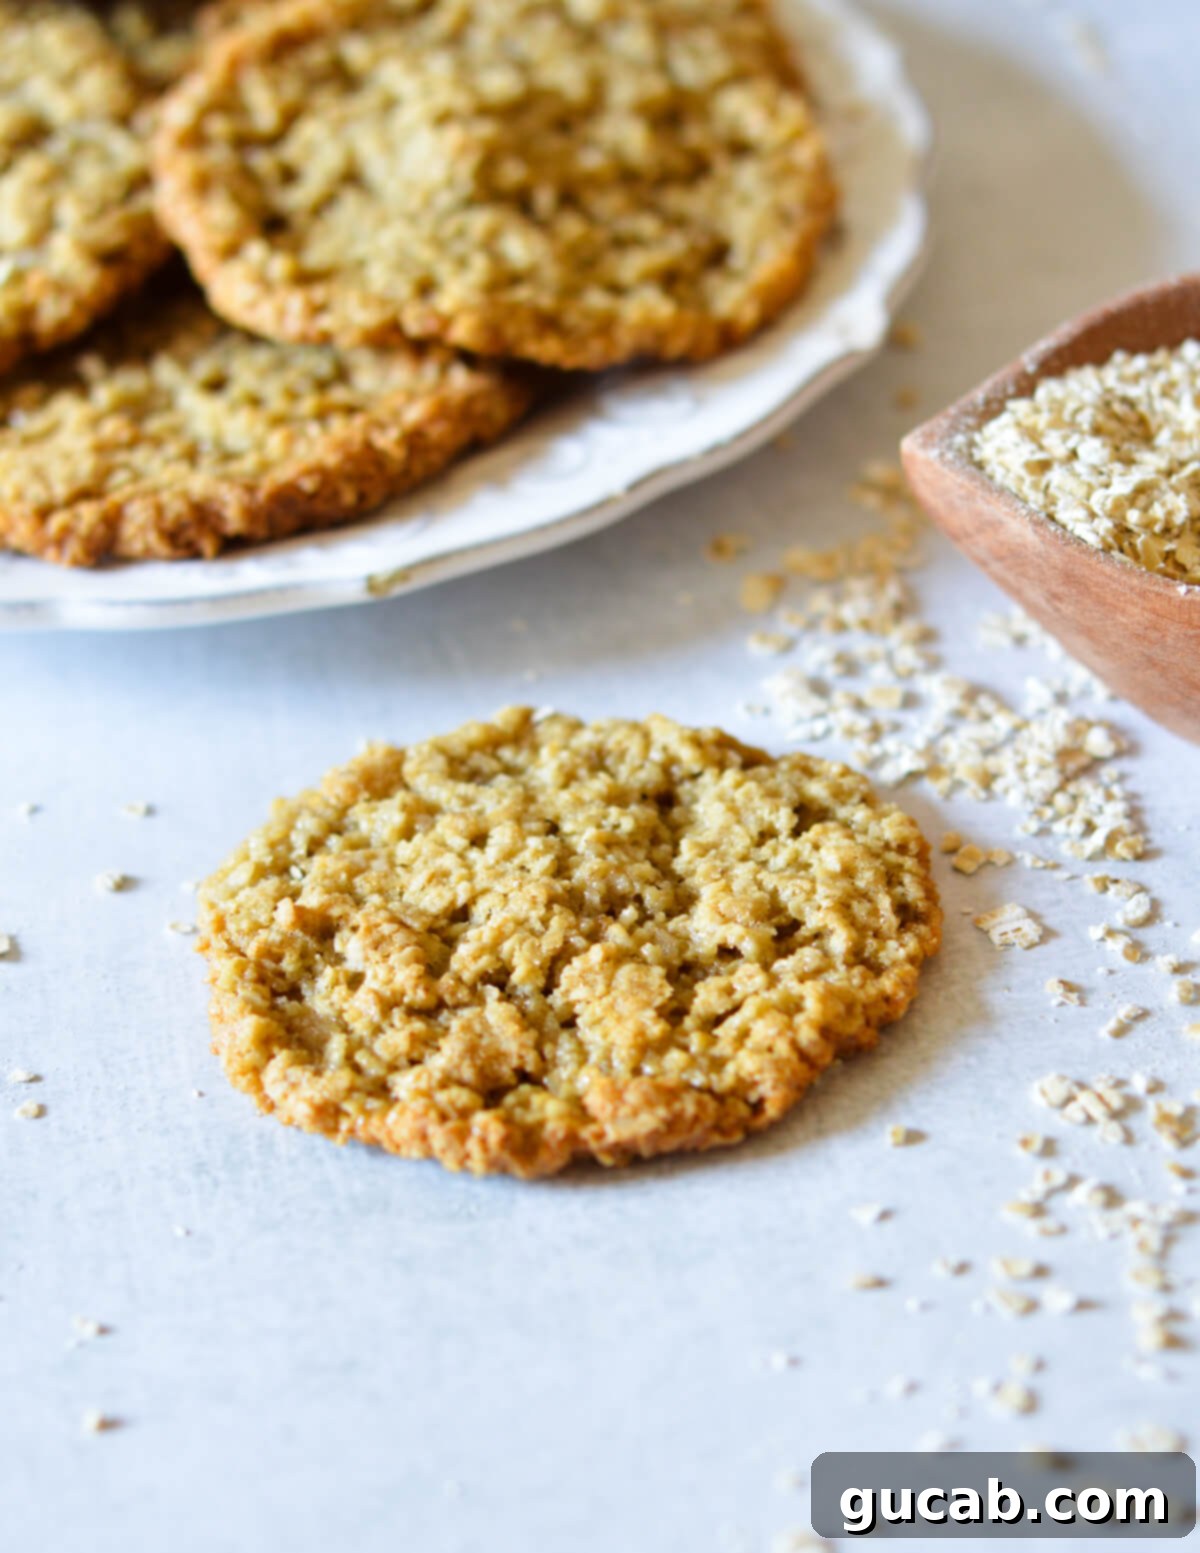
How to Make Chewy Oatmeal Cookies without Flour: Step-by-Step Guide
These flourless oatmeal cookies are incredibly straightforward to prepare, making them an ideal choice for both seasoned bakers and beginners. Follow these simple steps for perfectly chewy results every time!
- Prepare Your Workspace: Before you dive into mixing, preheat your oven to 350 degrees Fahrenheit (175°C). Line a couple of baking sheets with parchment paper or silicone baking mats (like a Silpat). This prevents sticking and ensures even baking and easy cleanup.
- Cream the Butter and Sugars: In the bowl of a stand mixer fitted with the paddle attachment (or using a hand mixer), combine the room-temperature unsalted butter with both the white and brown sugars. Beat on medium speed for a full four minutes. This step is crucial; you’ll notice the mixture becoming significantly lighter in color and fluffier in texture as air is incorporated. This creaming action is essential for a tender cookie.
- Incorporate the Egg: Add the single egg to the creamed butter and sugar mixture. Continue to beat on medium speed until the egg is fully combined and no streaks remain. Take a moment to scrape down the sides of the bowl with a spatula to ensure all ingredients are thoroughly integrated.
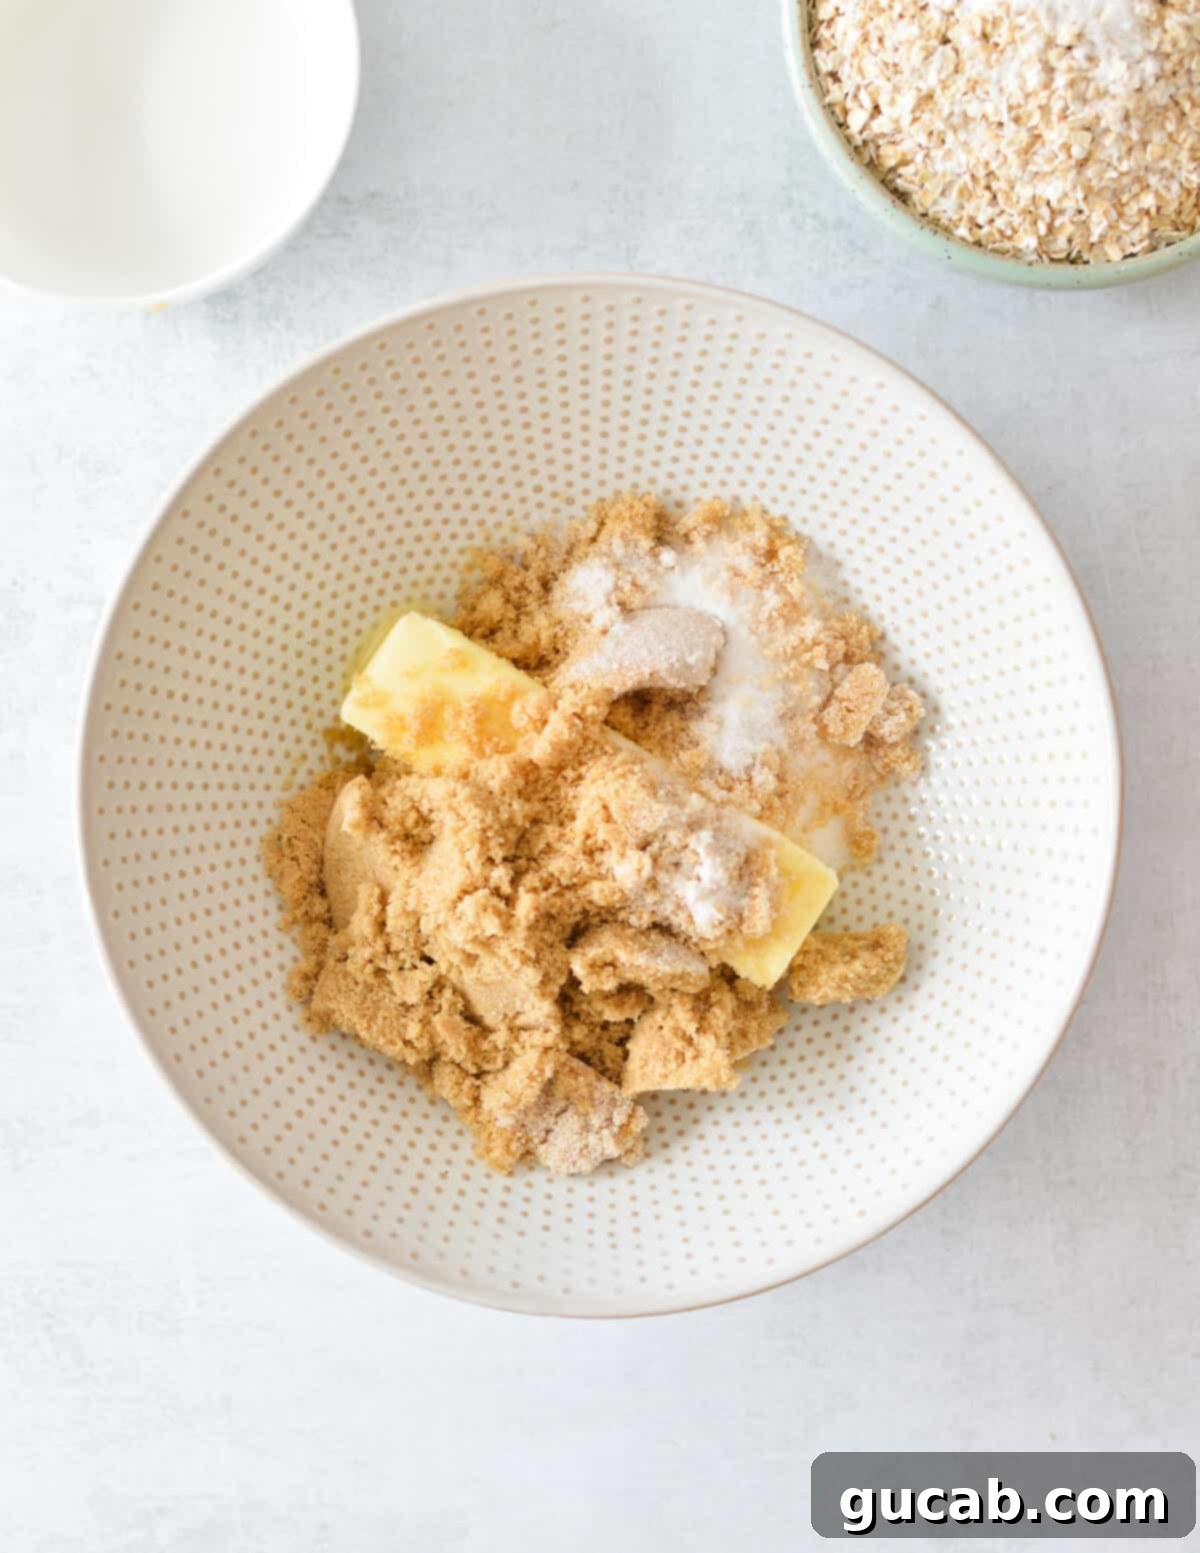
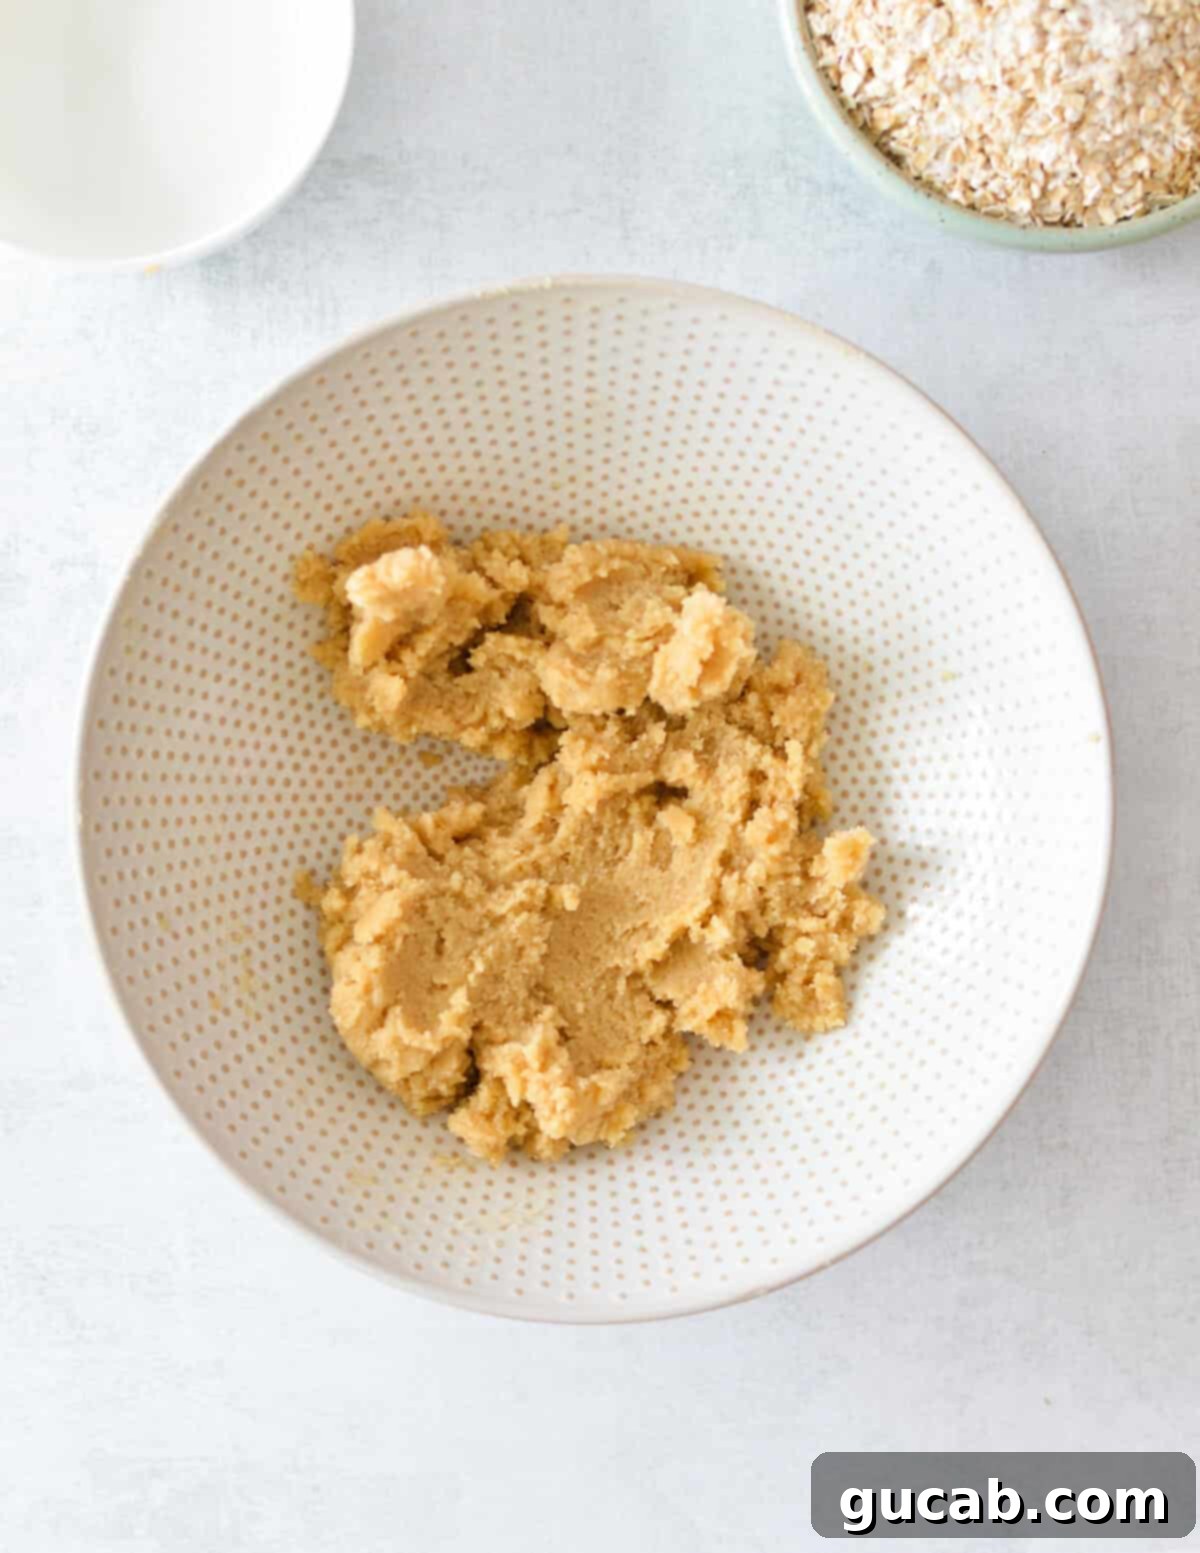
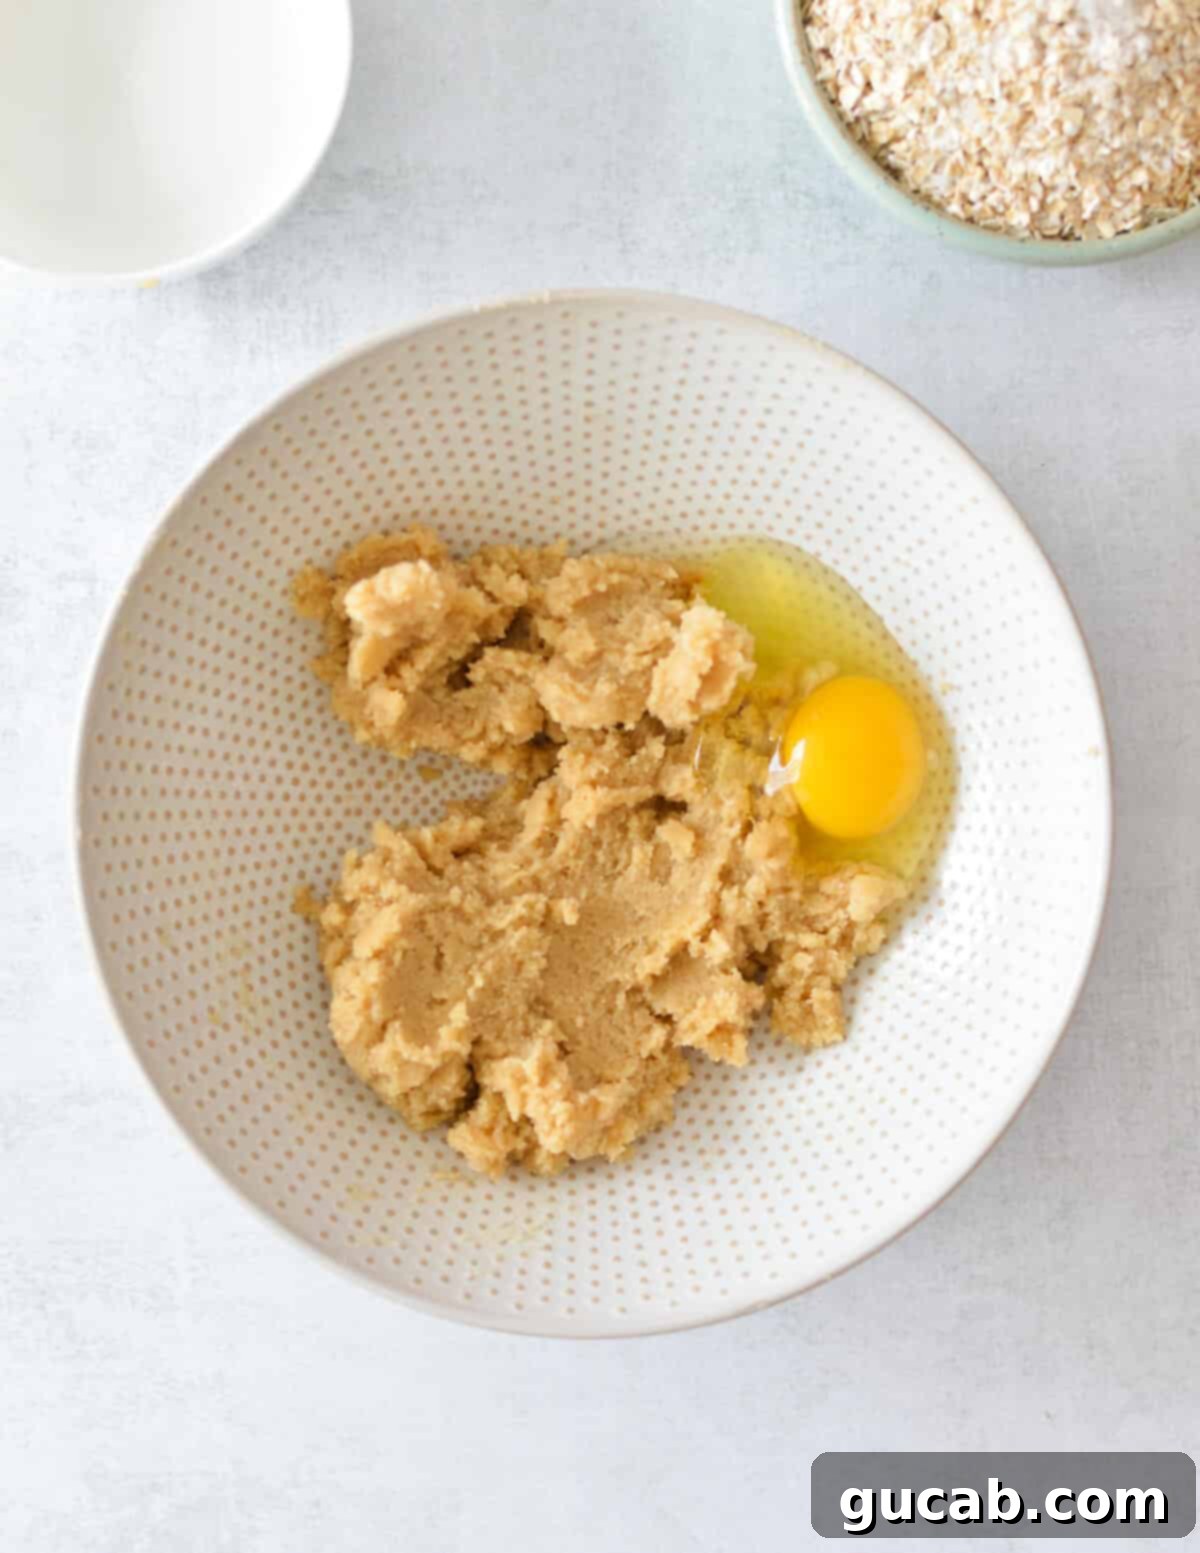
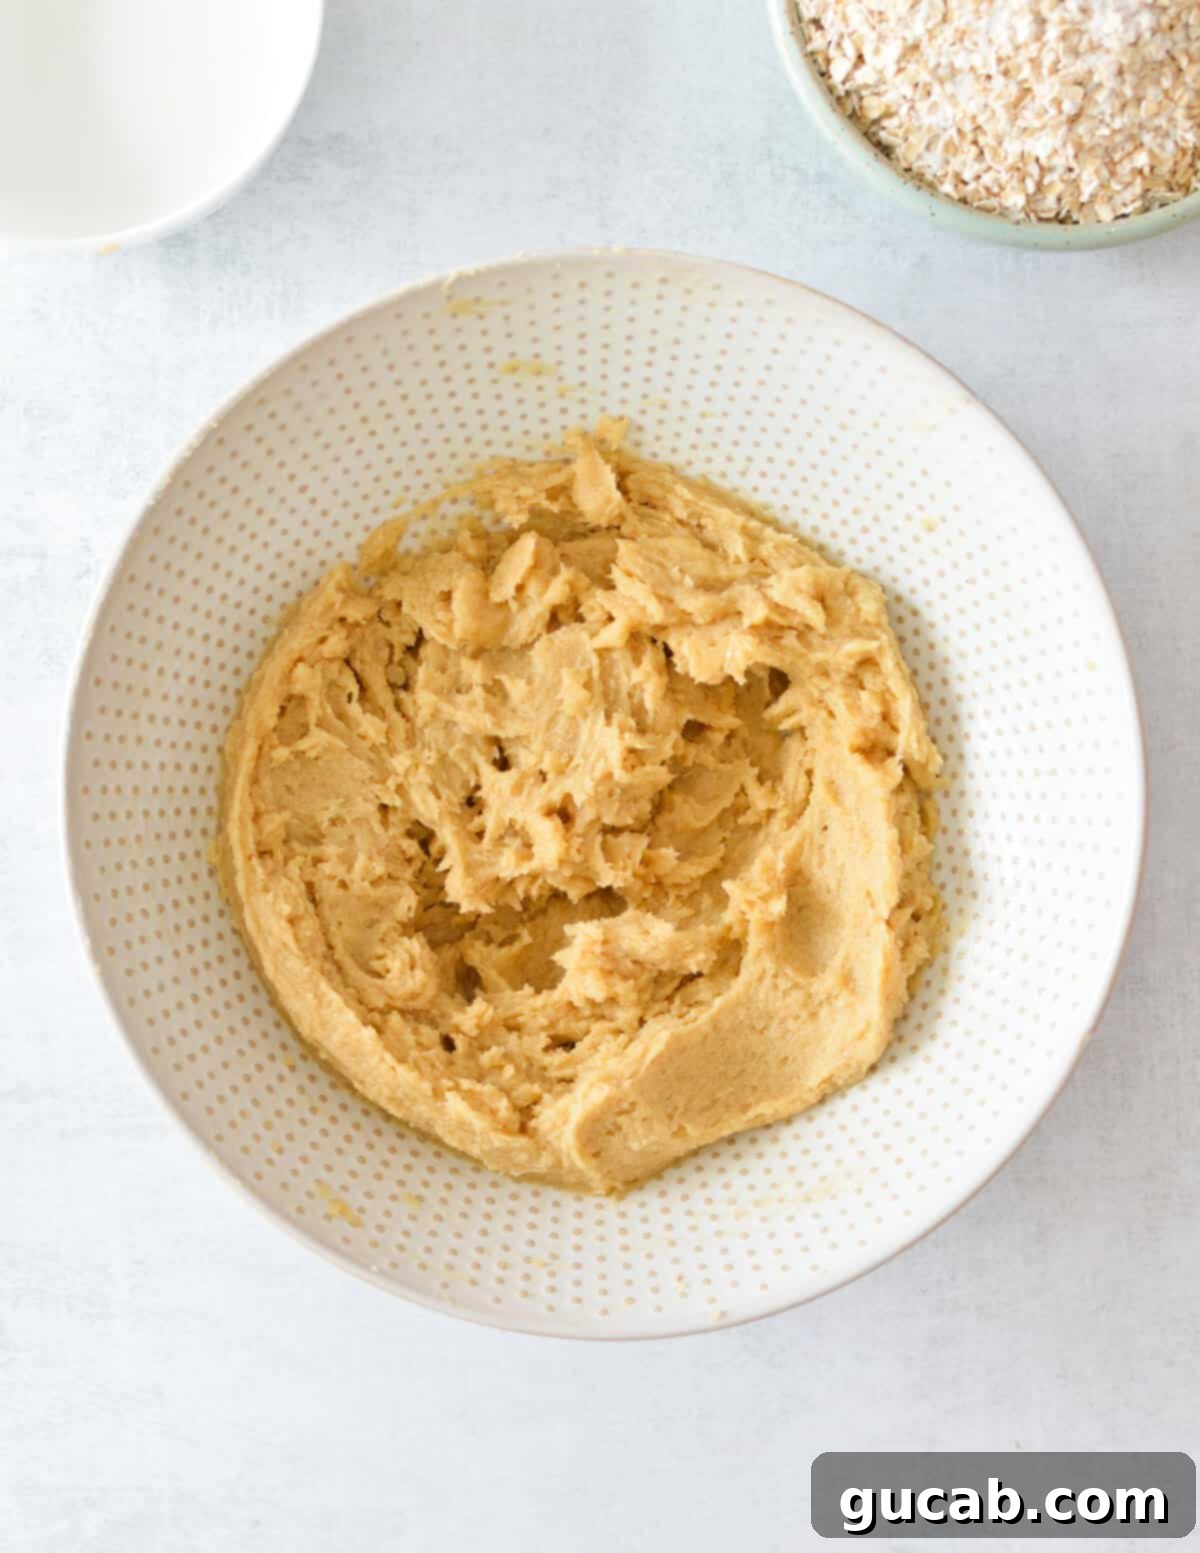
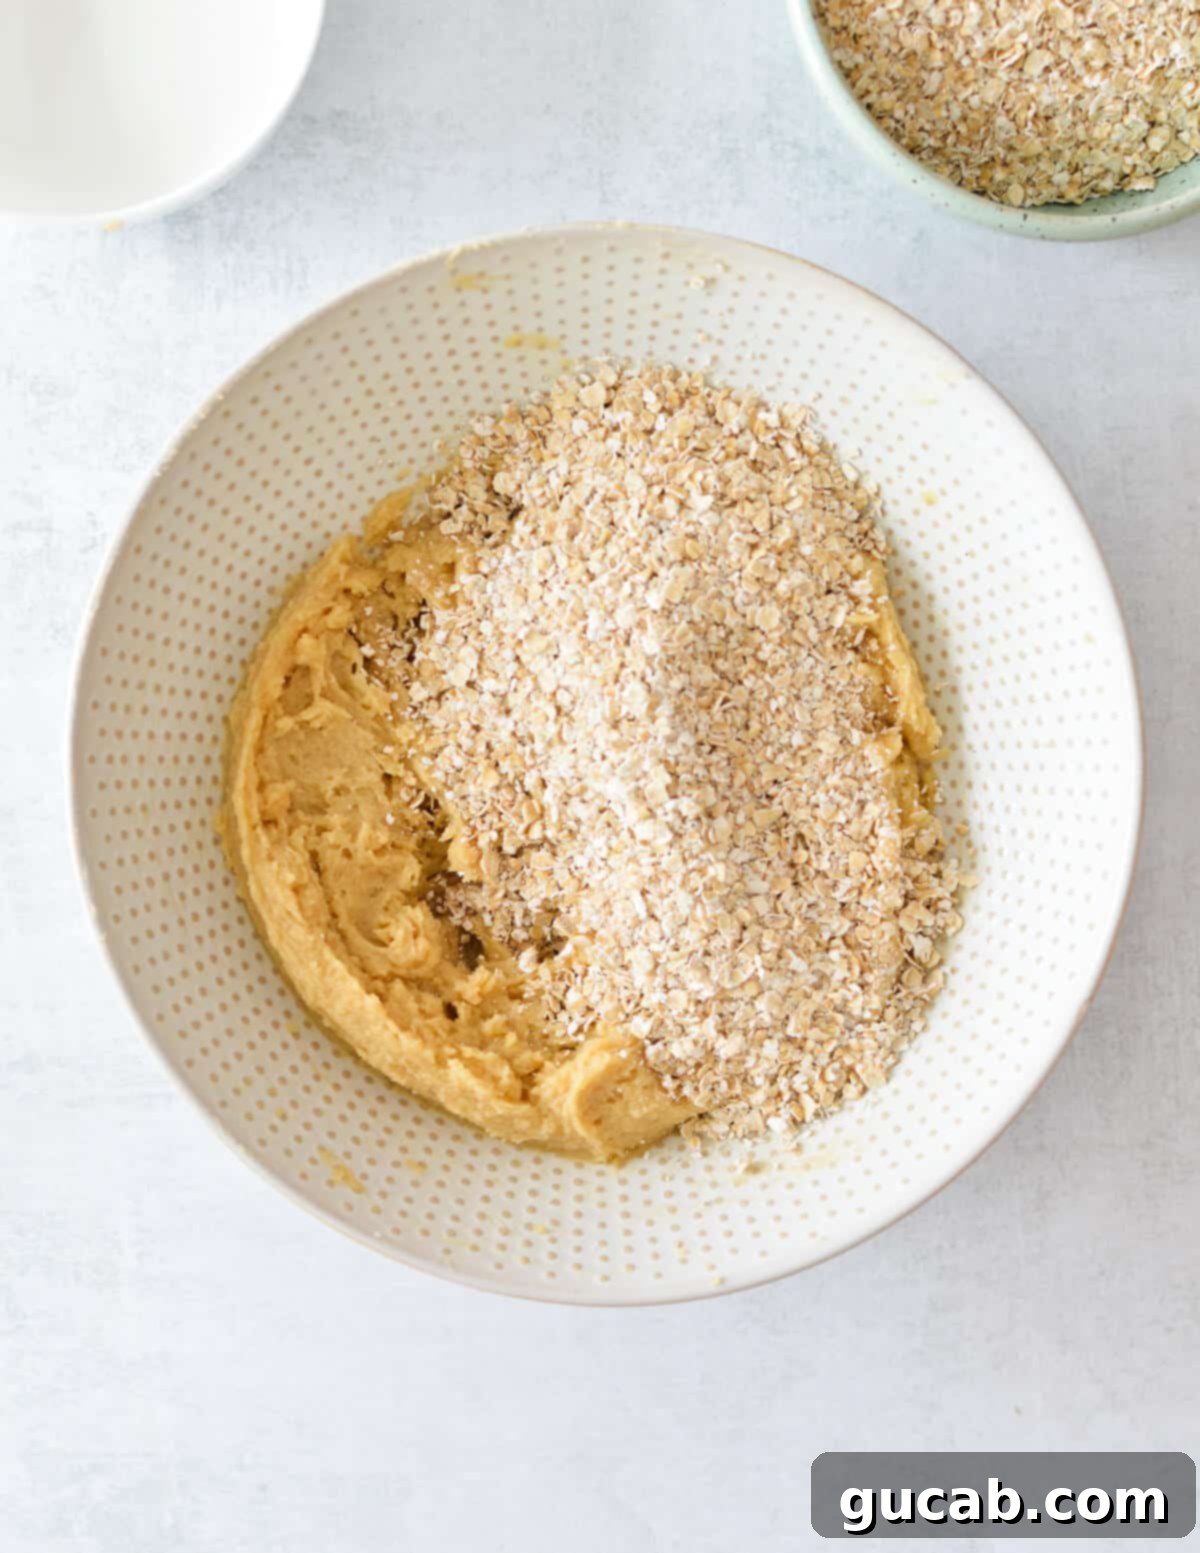
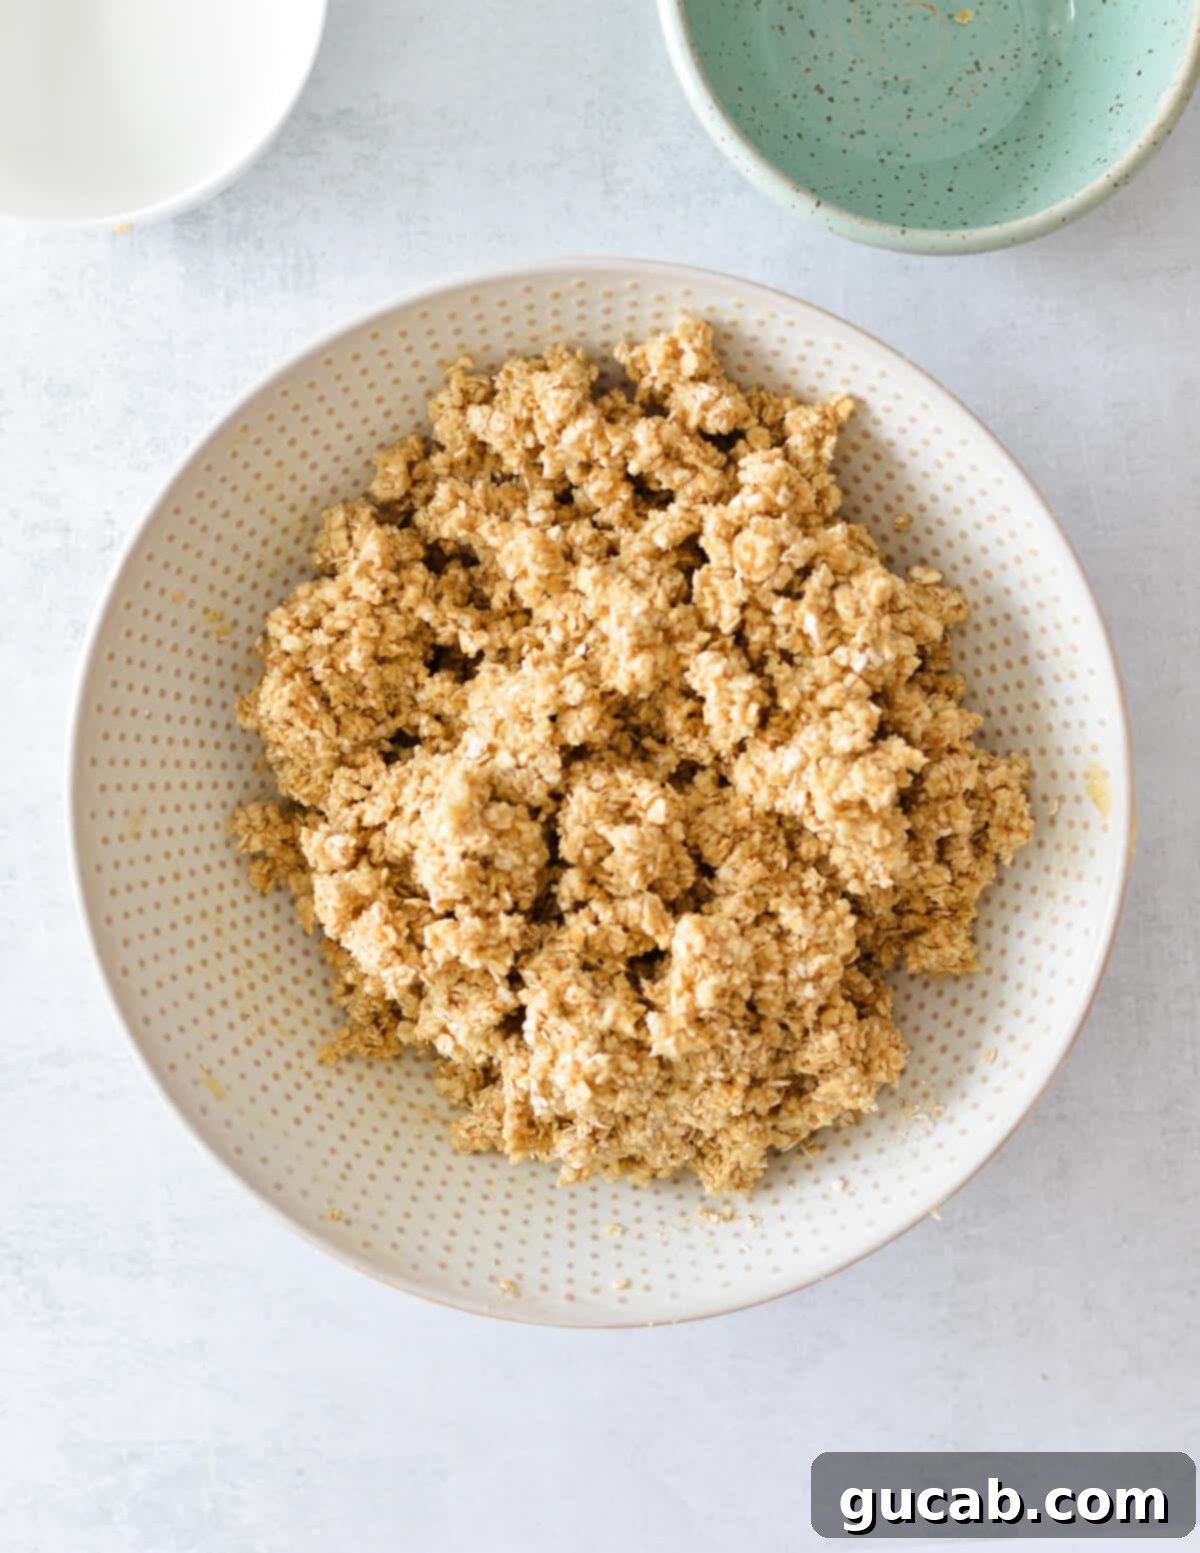
- Add the Dry Ingredients: It’s time for the oats! Add your quick-cooking oats, baking soda, and kosher salt directly into the bowl with the wet ingredients. Beat on medium speed until all the dry ingredients are thoroughly mixed and evenly distributed throughout the dough. Again, scrape the bowl with a spatula if necessary to ensure no pockets of unmixed ingredients remain. Be careful not to overmix at this stage; just mix until combined.
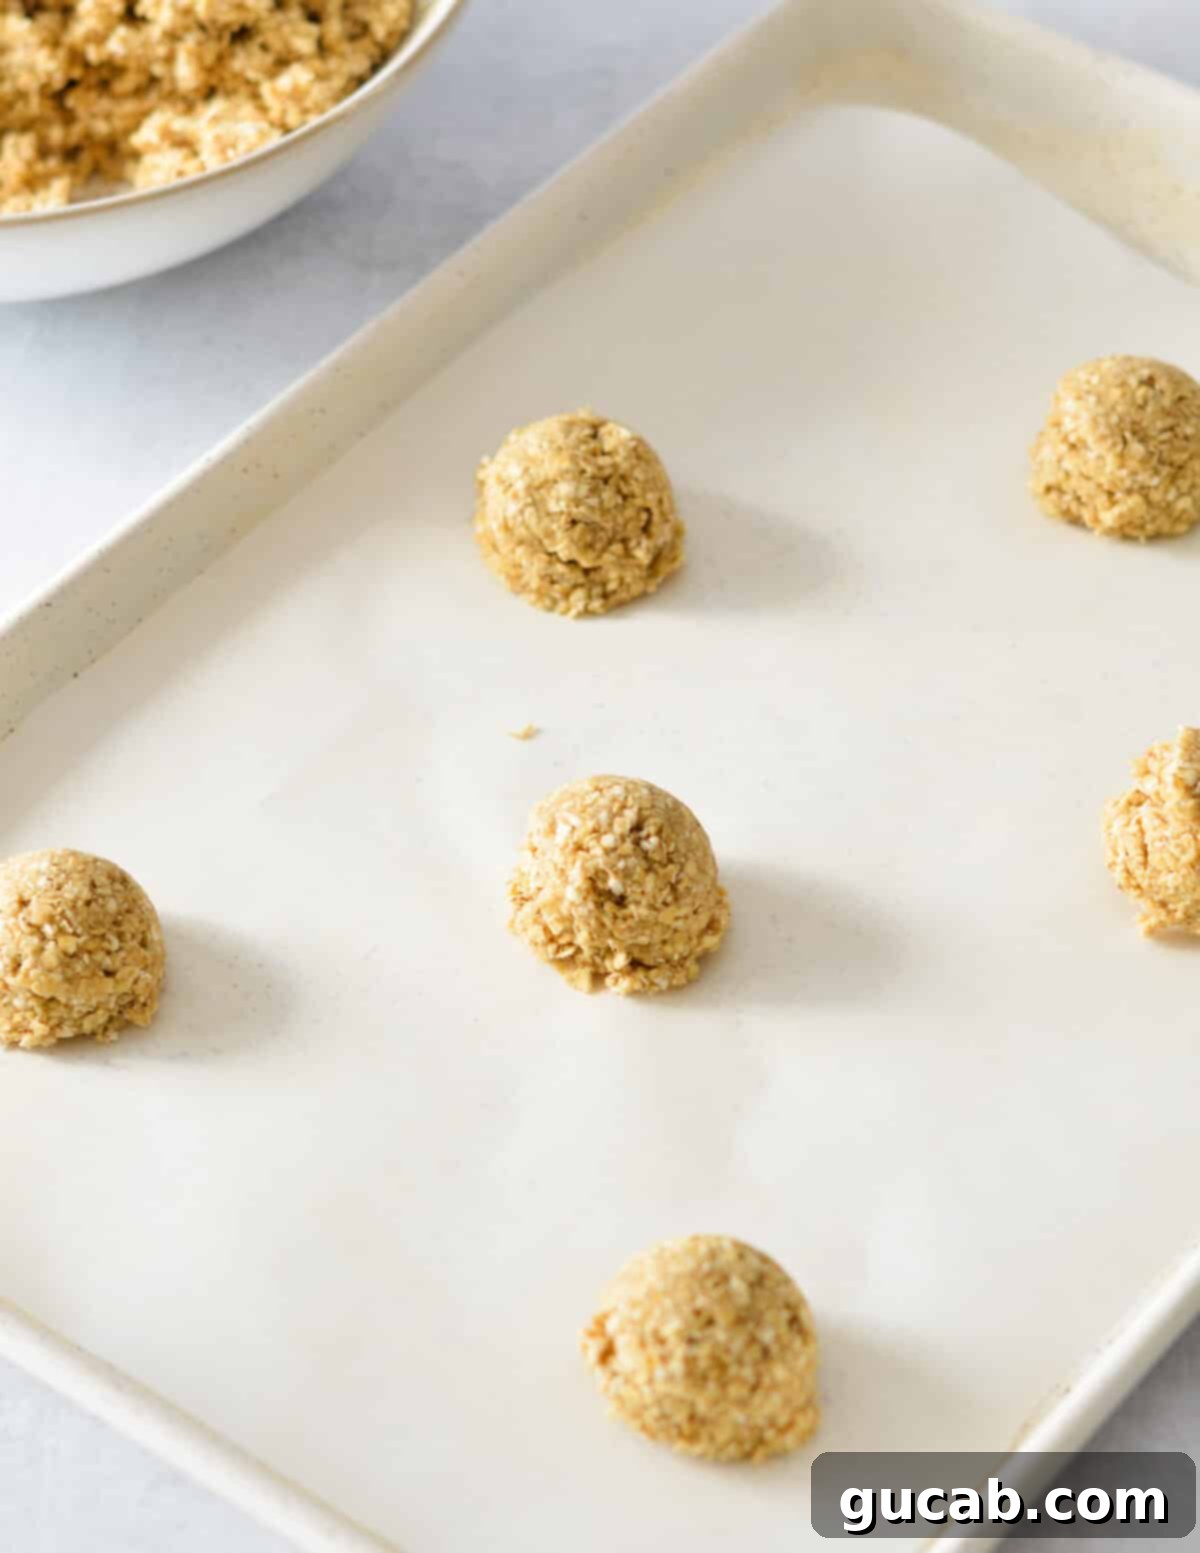
- Scoop the Dough: Using a small portion scoop (approximately 1.5-2 tablespoons), scoop about 5 uniform cookie dough balls onto your prepared baking sheet. It’s crucial to give these cookies plenty of space to spread during baking. They will expand, and crowding them will cause them to bake unevenly or stick together. Leave at least 2-3 inches between each cookie.
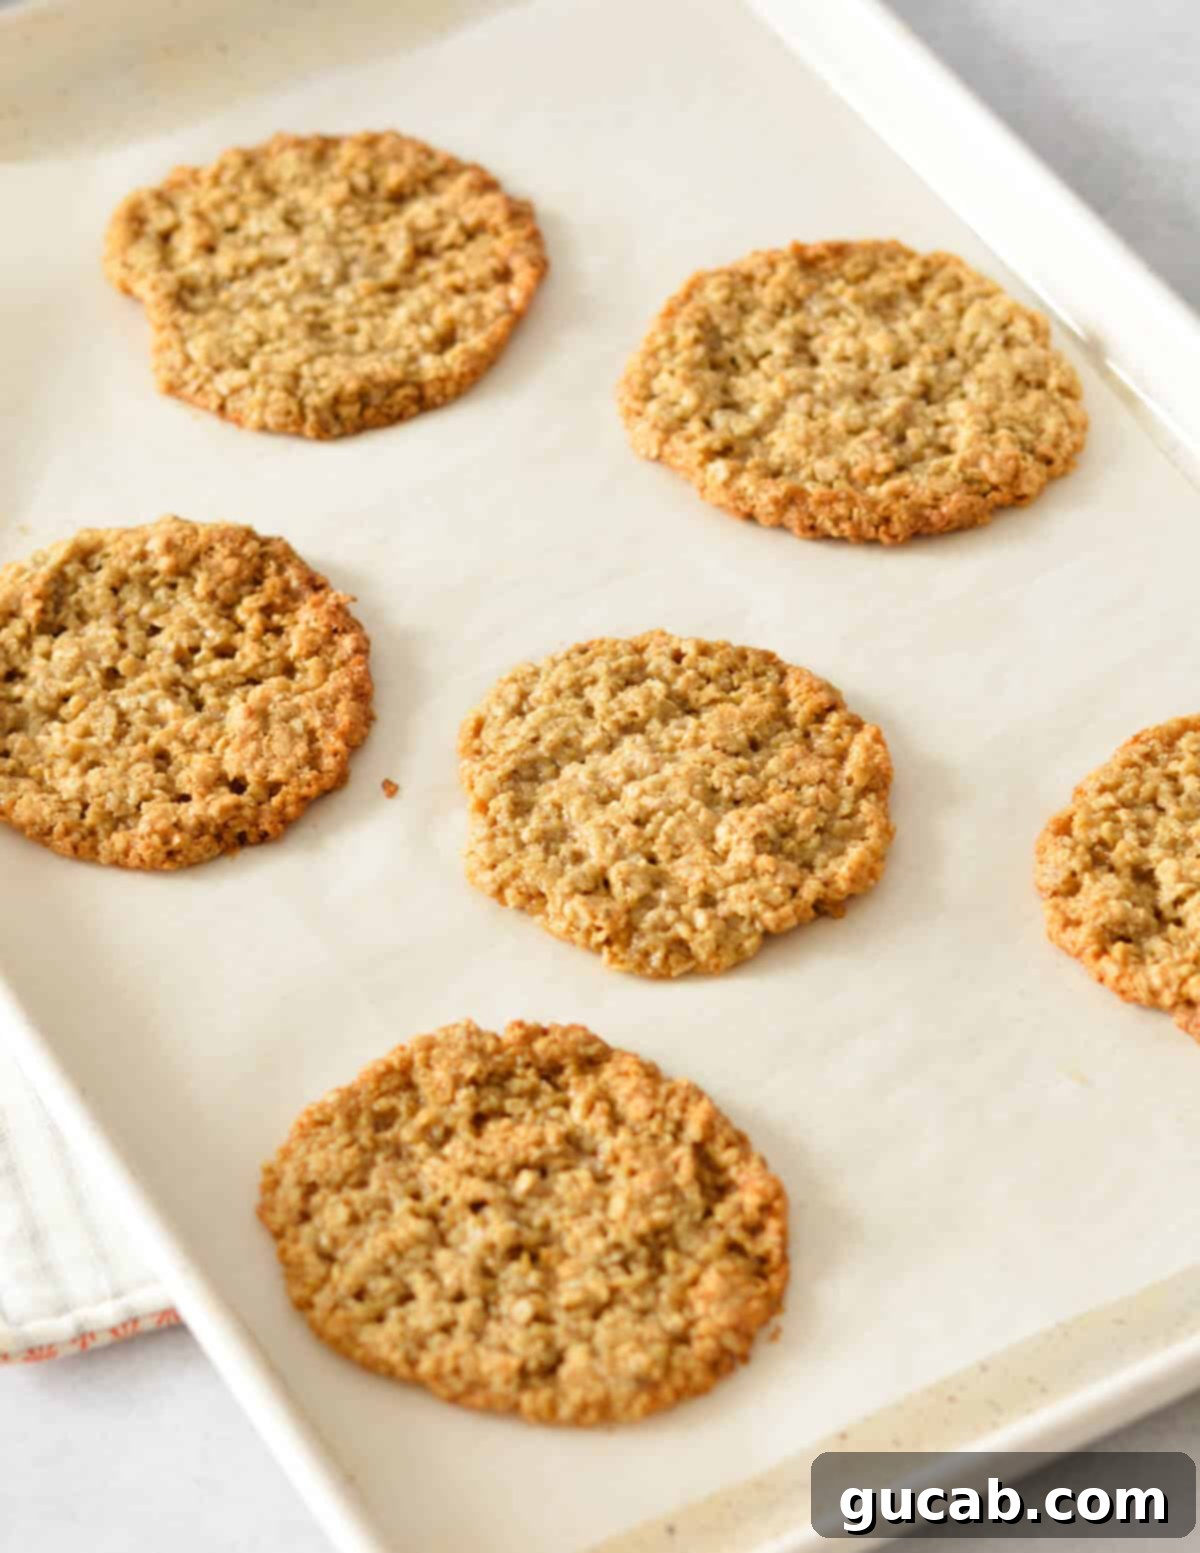
- Bake the Cookies: Place the baking sheet in your preheated oven and bake for approximately 11 minutes. The key here is to watch for the edges to turn a golden brown, while the centers still look slightly soft or “underdone.” This is essential for achieving that perfect chewy interior. If you wait until the entire cookie looks completely done and golden brown in the oven, they will inevitably be overbaked and crispy rather than chewy.
- Cool and Set: Once removed from the oven, the cookies will continue to cook slightly from the residual heat of the baking sheet. It’s vital to resist the urge to move them immediately. Let them cool on the baking sheet for at least 5-10 minutes. During this time, they will firm up and develop their ideal chewy and crispy texture. Transferring them too soon will cause them to break apart. Once they’ve set, you can carefully move them to a wire rack to cool completely.
Expert Tips for Flawless Flourless Oatmeal Cookies
Achieving the perfect batch of chewy flourless oatmeal cookies is all about paying attention to a few crucial details. These expert tips will help ensure your cookies come out wonderfully every single time:
- Do NOT Overbake the Cookies: This is arguably the most important tip! When you pull your flourless oatmeal cookies out of the oven, they should still look slightly underbaked in the center. The edges should be golden brown, but the middle should appear soft and a bit pale. If the entire cookie is golden brown and firm in the oven, it means it’s already overbaked. Overbaked cookies will be dry and crispy rather than tender and chewy. Trust the process; they will continue to set as they cool.
- Patience is Key for Cooling: As mentioned above, freshly baked cookies will be very soft right out of the oven. It might seem like they aren’t fully cooked, but they are. Allowing them to cool and “set up” on the warm baking sheet for 5-10 minutes is essential. This crucial resting period allows the sugars to crystallize and the oats to fully stabilize, transforming them from delicate dough into firm, chewy cookies. Attempting to move them too soon will result in broken cookies.
- Invest in a Silpat (Silicone Baking Mat): While parchment paper works perfectly fine, if you’re an avid baker, a Silpat (silicone baking mat) is a game-changer. I have two, and I genuinely can’t imagine baking without them. They provide a superior non-stick surface, promote even heat distribution, and result in beautifully baked cookies every time, often with slightly crispier bottoms. They’re reusable, economical, and make cleanup a breeze.
- Strictly Use Quick Cooking Oats: This recipe is specifically formulated for quick-cooking oats, and it’s not interchangeable with other types. Old-fashioned (rolled) oats have a different texture and absorb liquids much slower. If you use old-fashioned oats, your cookies will likely spread excessively, be thin, and have a more coarse, less chewy texture. Stick to quick-cooking oats for the intended results.
- Room Temperature Butter Matters: Don’t skip the step of ensuring your butter is properly at room temperature. Cold butter won’t cream properly with the sugars, leading to a denser, less airy cookie dough. Melted butter will also ruin the texture, causing the cookies to spread too much and become greasy.
- Accurate Measurement: Baking is a science, especially when dealing with flourless recipes. Use proper measuring cups and spoons, and for the dry ingredients, level them off correctly. For the oats, gently spoon them into your measuring cup and level with a straight edge for accuracy.
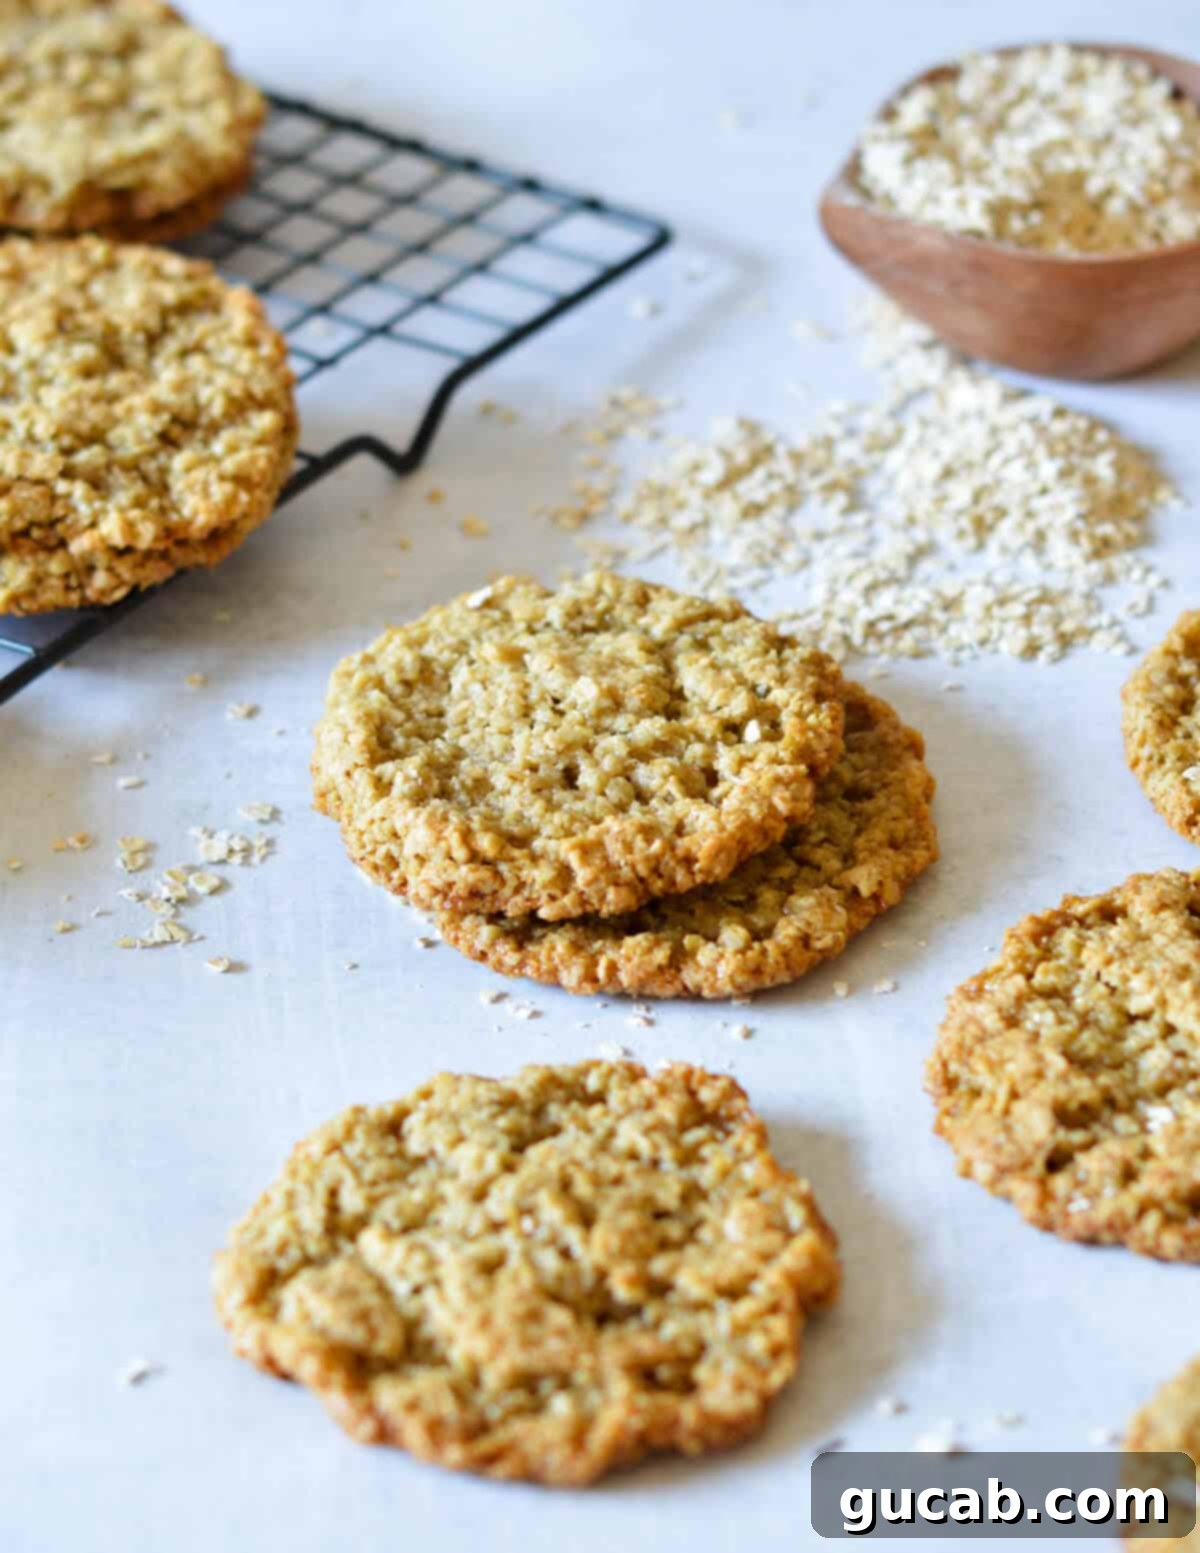
Creative Variations & Easy Substitutions
While these flourless oatmeal cookies are fantastic as is, they also serve as a wonderful canvas for customization. Feel free to experiment with these variations and substitutions to make them uniquely yours:
- Gluten-Free Assurance: For truly gluten-free cookies, it’s essential to purchase quick-cooking oats that are specifically labeled and certified gluten-free. While oats are naturally gluten-free, they are often processed in facilities that also handle wheat, leading to cross-contamination. Brands like Bob’s Red Mill offer excellent certified gluten-free quick-cooking oats. Remember, do NOT use old-fashioned oats, as they will alter the texture significantly.
- Dairy-Free Adaptation: To make these cookies dairy-free, simply swap the unsalted butter with your favorite high-quality vegan butter alternative. Ensure it’s a stick butter alternative designed for baking, as these tend to yield the best results for texture and flavor.
- Flavorful Spices: Elevate the warmth and aroma of your cookies by adding spices. A teaspoon of ground cinnamon or a half-teaspoon of pumpkin pie spice blend can transform these into a cozy, spiced treat, perfect for autumn or any time you crave a touch of warmth.
- Delightful Mix-ins: The possibilities are endless when it comes to adding mix-ins! Once your dough is combined, gently fold in about ½ to ¾ cup of your favorite additions. Consider mini chocolate chips (dark, milk, or white), plump raisins, tangy dried cranberries, colorful M&M’s, creamy Reese’s Pieces, sweet butterscotch chips, or crunchy chopped walnuts. For a festive touch, a sprinkle of sea salt on top before baking can also enhance the flavors.
- For a Thicker Cookie: If you prefer your flourless oatmeal cookies to be a bit more substantial and less prone to spreading, you can easily achieve this by increasing the amount of quick-cooking oats. Simply use 2 ¾ cups of quick oats instead of the standard 2 ½ cups. The extra oats will absorb more moisture, resulting in a slightly thicker, denser cookie.
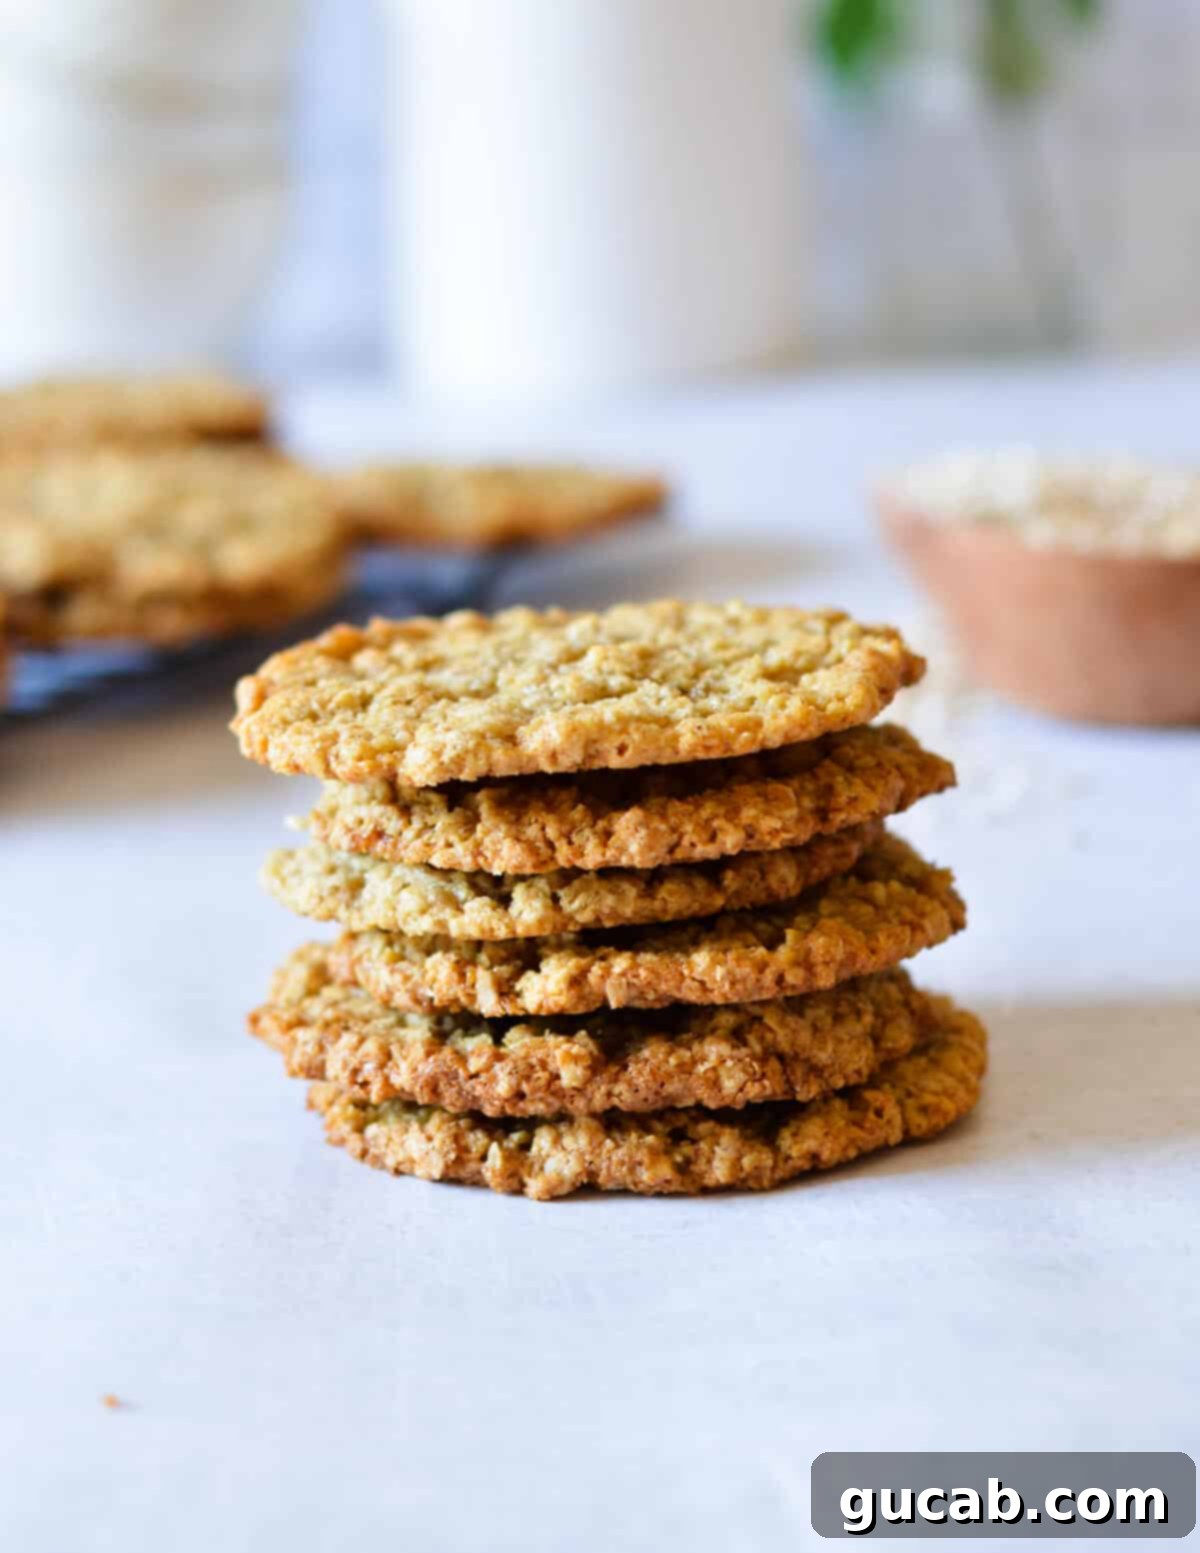
Storage & Freezing Instructions for Freshness
These flourless oatmeal cookies are so delicious, they rarely last long! However, if you do find yourself with leftovers or want to prepare ahead, here’s how to store and freeze them to maintain their irresistible freshness:
To store baked cookies:
- Ensure the cookies are completely cooled to room temperature before storing. Storing warm cookies will create condensation and make them soggy.
- Transfer the cooled flourless oat cookies to an airtight container. A cookie jar or a sealed plastic container works perfectly.
- Store at room temperature for up to 5 days. For best results and to maintain chewiness, you can even place a slice of bread in the container to help keep them soft.
To freeze cookies (baked or unbaked):
- Unbaked Cookie Dough: This is a fantastic option for fresh-baked cookies on demand!
- Scoop the cookie dough into individual balls onto a parchment-lined baking sheet or plate. Ensure the balls aren’t touching.
- Place the entire sheet/plate into the freezer for about 1-2 hours, or until the cookie dough balls are solid. This step, known as “flash freezing,” prevents them from sticking together.
- Once frozen solid, transfer the dough balls to a zip-top freezer bag or an airtight freezer-safe container. Label with the date.
- Freeze for up to 3 months. When ready to bake, you can bake the cookie dough directly from frozen. You might need to add an extra 1-2 minutes to the baking time.
- Baked Cookies:
- Bake the cookies as directed in the recipe and let them cool completely on a wire rack.
- Once the cookies are thoroughly cooled, arrange them in a single layer on a baking sheet and flash freeze them until solid (about 1-2 hours).
- Transfer the frozen baked cookies to a zip-top freezer bag or a freezer-safe container, separating layers with parchment paper if stacking.
- Freeze for up to 3 months. To enjoy, simply thaw at room temperature for an hour or warm slightly in the microwave for a few seconds.
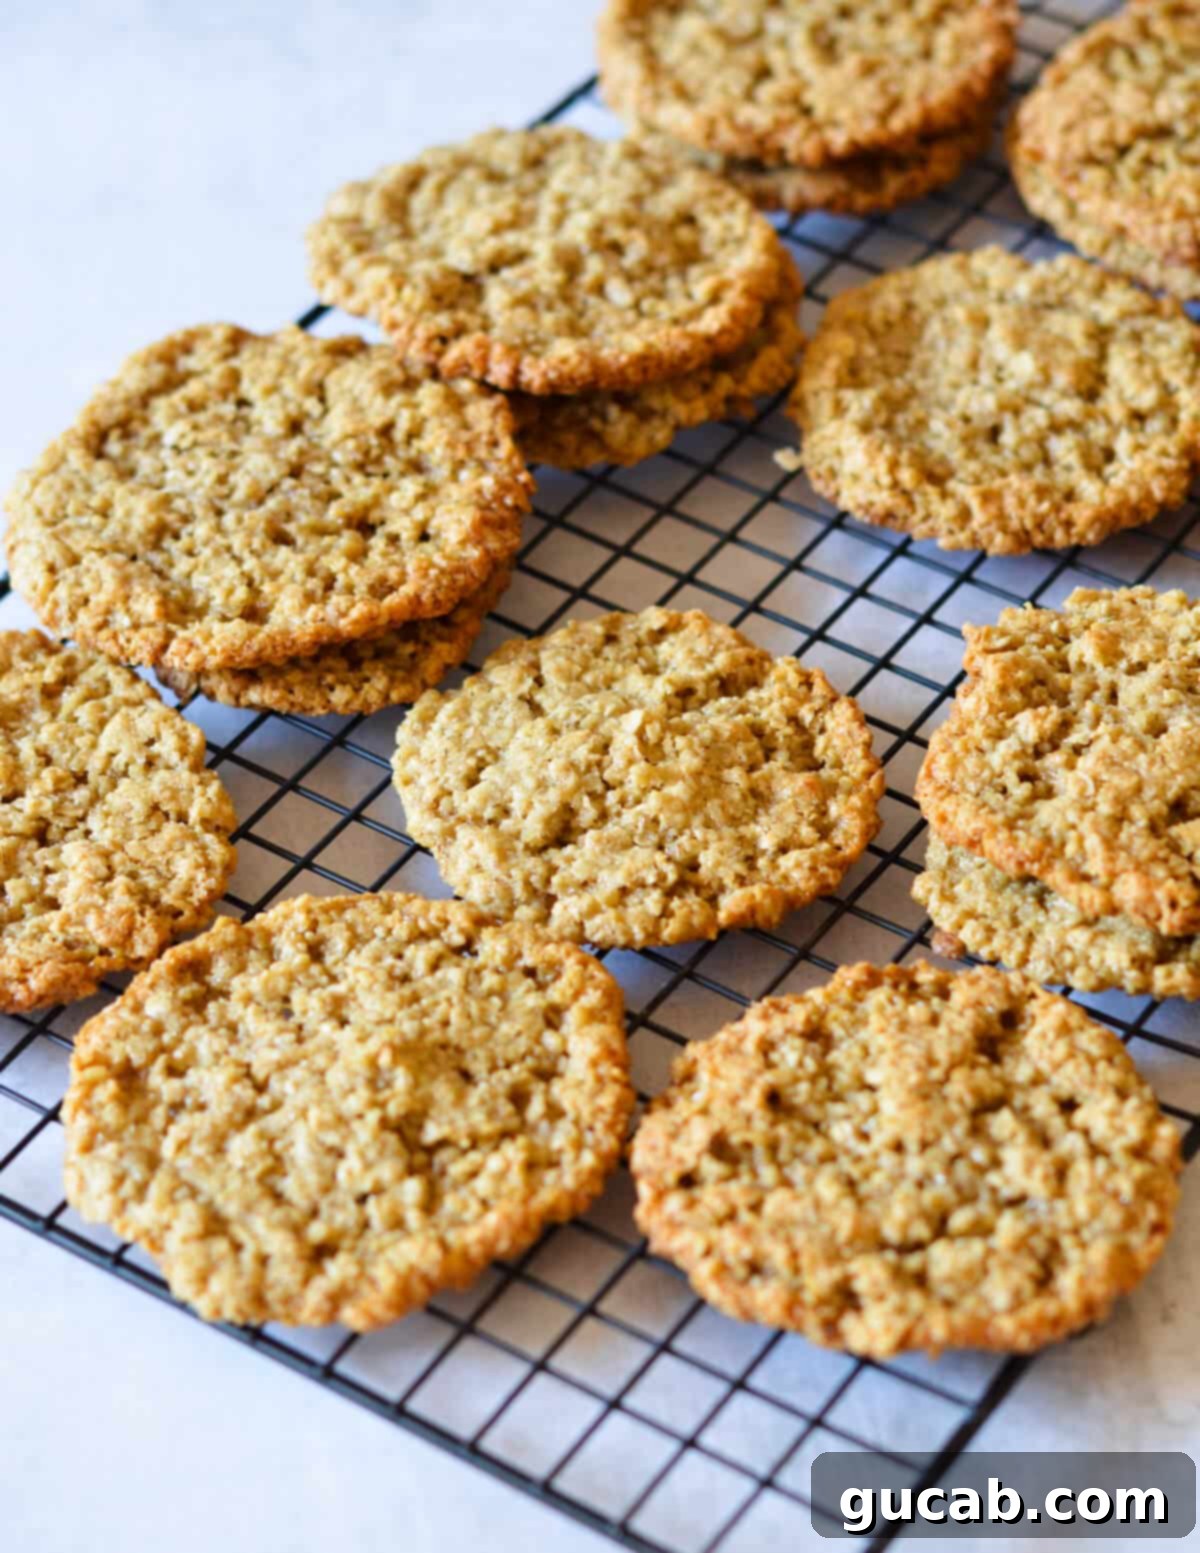
How to Achieve Thicker Flourless Oatmeal Cookies
If you prefer your cookies with a bit more heft and less spread, creating a thicker flourless oatmeal cookie is incredibly easy! The secret lies in the unique properties of quick-cooking oats. Unlike traditional flours, oats absorb moisture, and by slightly increasing their quantity, you can directly influence the dough’s consistency and, subsequently, the cookie’s thickness. Simply adjust the amount of quick-cooking oats from the recipe’s standard 2 ½ cups to 2 ¾ cups. This small change will result in a more robust dough that spreads less in the oven, yielding a wonderfully thicker, chewier cookie with a more substantial bite. Remember, only quick-cooking oats will provide this desired effect; old-fashioned oats will not behave the same way.
More Delicious Cookie Recipes to Explore
If you’re a cookie enthusiast like me, you’ll love these other fantastic cookie recipes:
- Oat Flour Oatmeal Cookies
- Almond Flour Oatmeal Cookies
- Coconut Flour Oatmeal Cookies
- Peanut Butter Oatmeal Cookies
- Instant Oatmeal Cookies
Flourless Oatmeal Cookies
Carolyn
Pin Recipe
Equipment
-
Sheet pans
-
parchment paper or silpats
Ingredients
- ½ cup unsalted butter, room temp (1 stick)
- ¾ cup brown sugar
- ¼ cup white sugar
- 1 egg
- 2 ½ cups quick cooking oats* Make sure they’re labeled gluten free for gluten free cookies
- ½ teaspoon baking soda
- ½ teaspoon kosher salt
Instructions
-
Preheat oven to 350 degrees Fahrenheit (175°C).
-
Cream butter and both sugars in a stand mixer on medium speed for four minutes. The mixture should look lighter and fluffier.
-
Add the egg and beat on medium speed until combined. Scrape the bowl with a spatula if necessary to ensure all ingredients are incorporated.
-
Add quick cooking oats, baking soda, and kosher salt to the bowl. Beat on medium speed until thoroughly combined.
-
Use a small portion scoop to drop about 5 cookies onto a silpat or parchment-lined baking sheet. Ensure the cookies have plenty of space to spread!
-
Bake for 11 minutes, or until the outsides are golden brown but the center still looks slightly underdone and soft. The cookies will continue to set and firm up as they cool. If the entire cookie appears fully baked or golden brown when you remove them from the oven, they will be overbaked and crispy instead of chewy.
-
Repeat the baking process until all the cookie dough is used.
-
Allow the cookies to cool completely on the baking sheet for at least 5-10 minutes to set before transferring to a wire rack, then enjoy!
Video
Notes
A key to achieving a perfectly chewy texture is to avoid overbaking. When you take the cookies out of the oven, they will appear soft and possibly underdone in the center. This is intentional! Let them cool completely on the baking pan. As they cool, they will continue to firm up and transform into that delightful chewy cookie you’re looking for!
Nutrition
