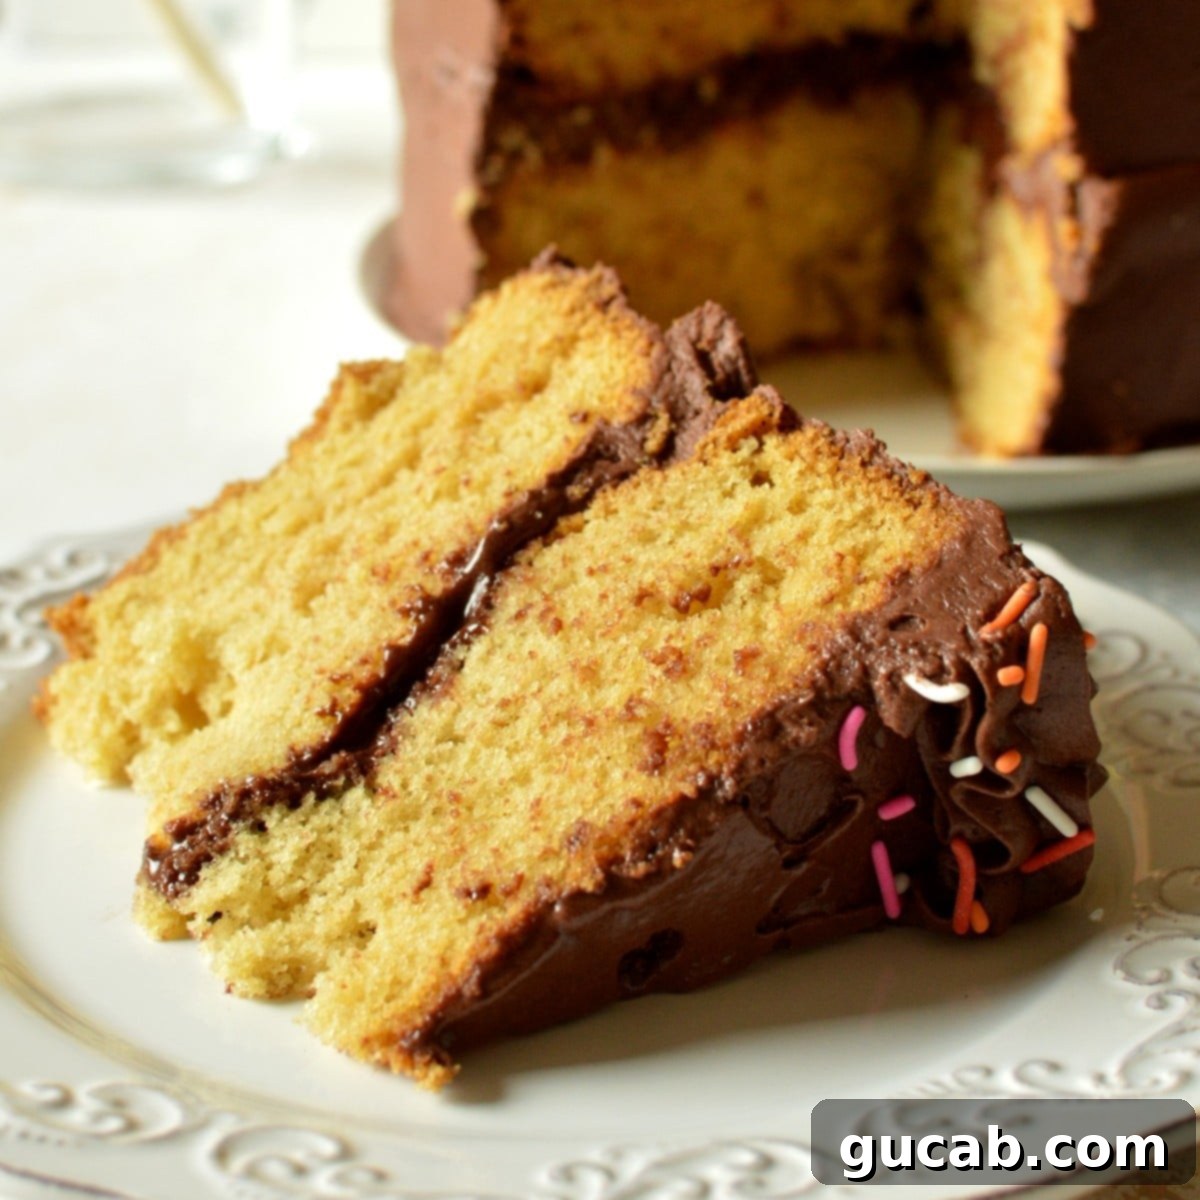
Ultimate Gluten-Free Dairy-Free Yellow Cake with Rich Chocolate Buttercream
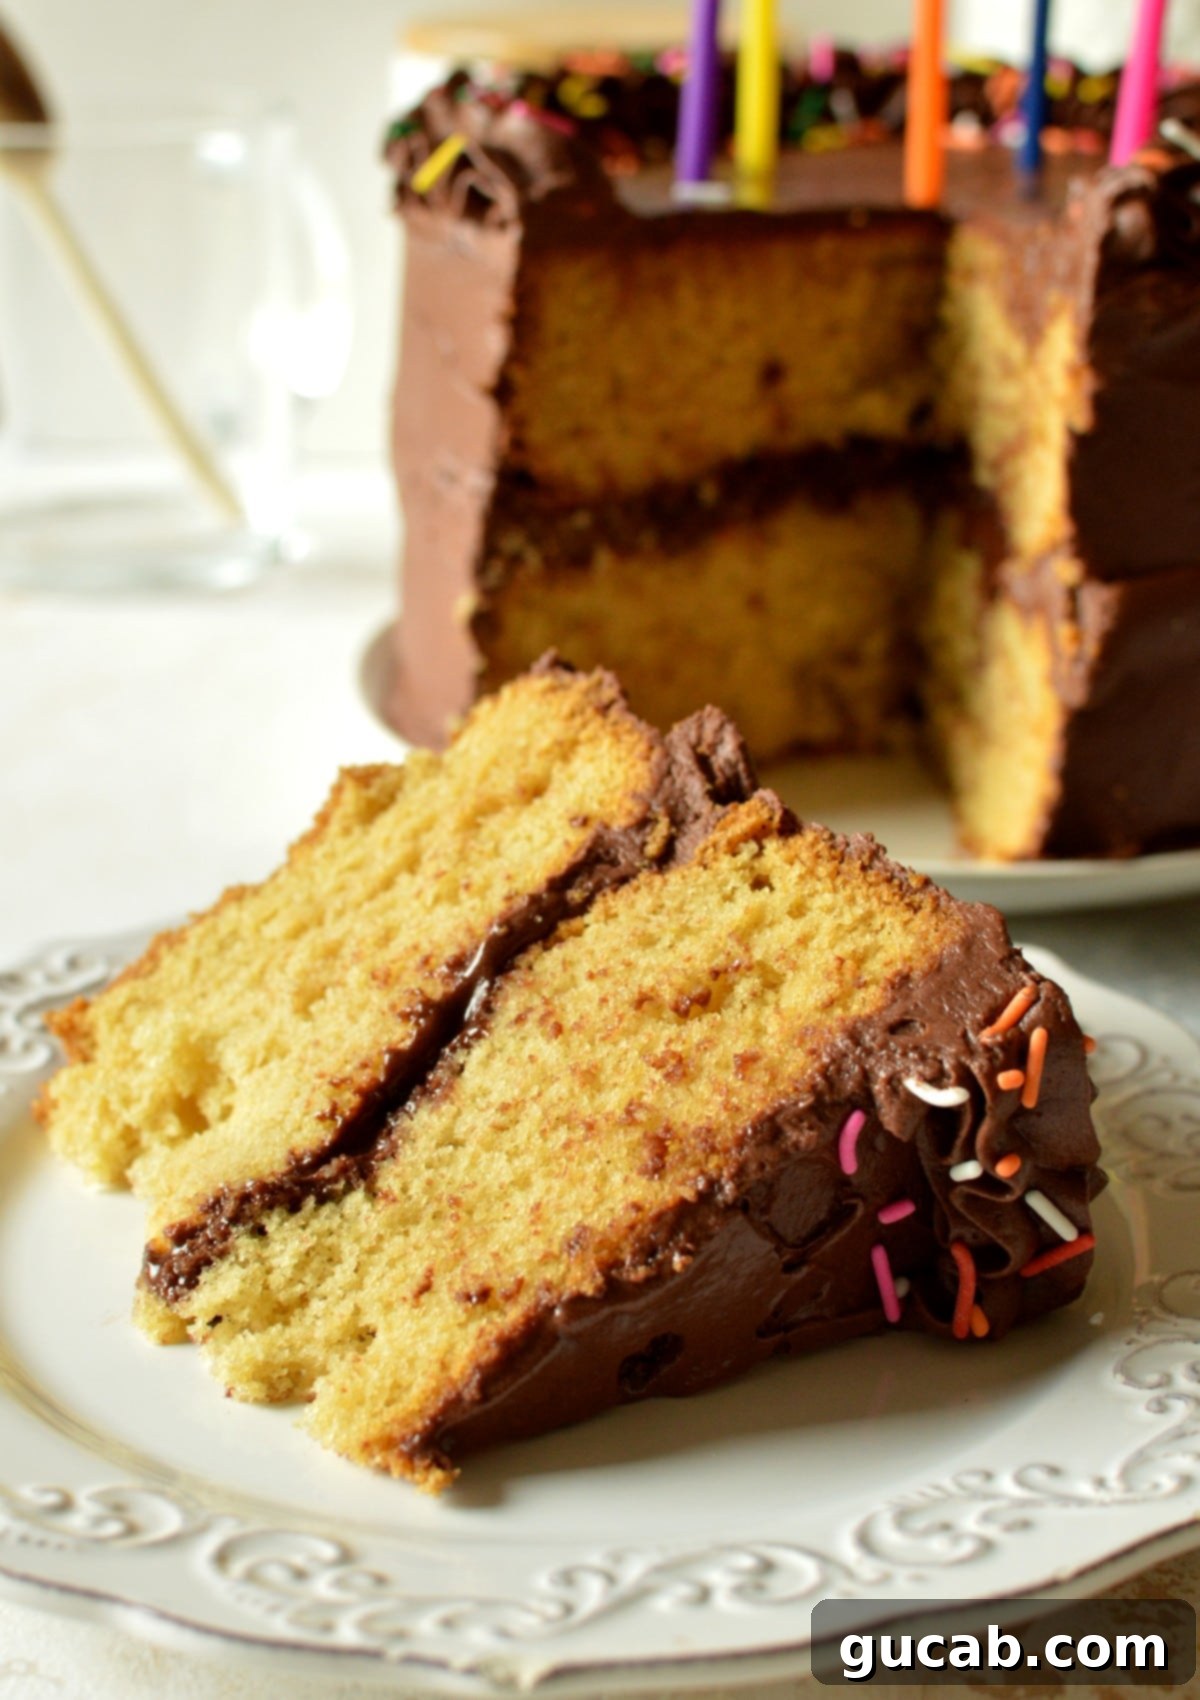
Are you searching for a show-stopping dessert that caters to dietary needs without compromising on flavor or texture? Look no further! This incredible **gluten-free dairy-free yellow cake with chocolate buttercream** is a revelation. It’s perfectly soft, wonderfully fluffy, and boasts a moist crumb that will surprise even the most discerning cake connoisseurs. Whether it’s for a birthday celebration or just because you deserve a treat, this recipe is guaranteed to impress. Just top it with your favorite festive sprinkles, and get ready to experience a slice of pure joy – you’ll be hard-pressed to stop at just one!
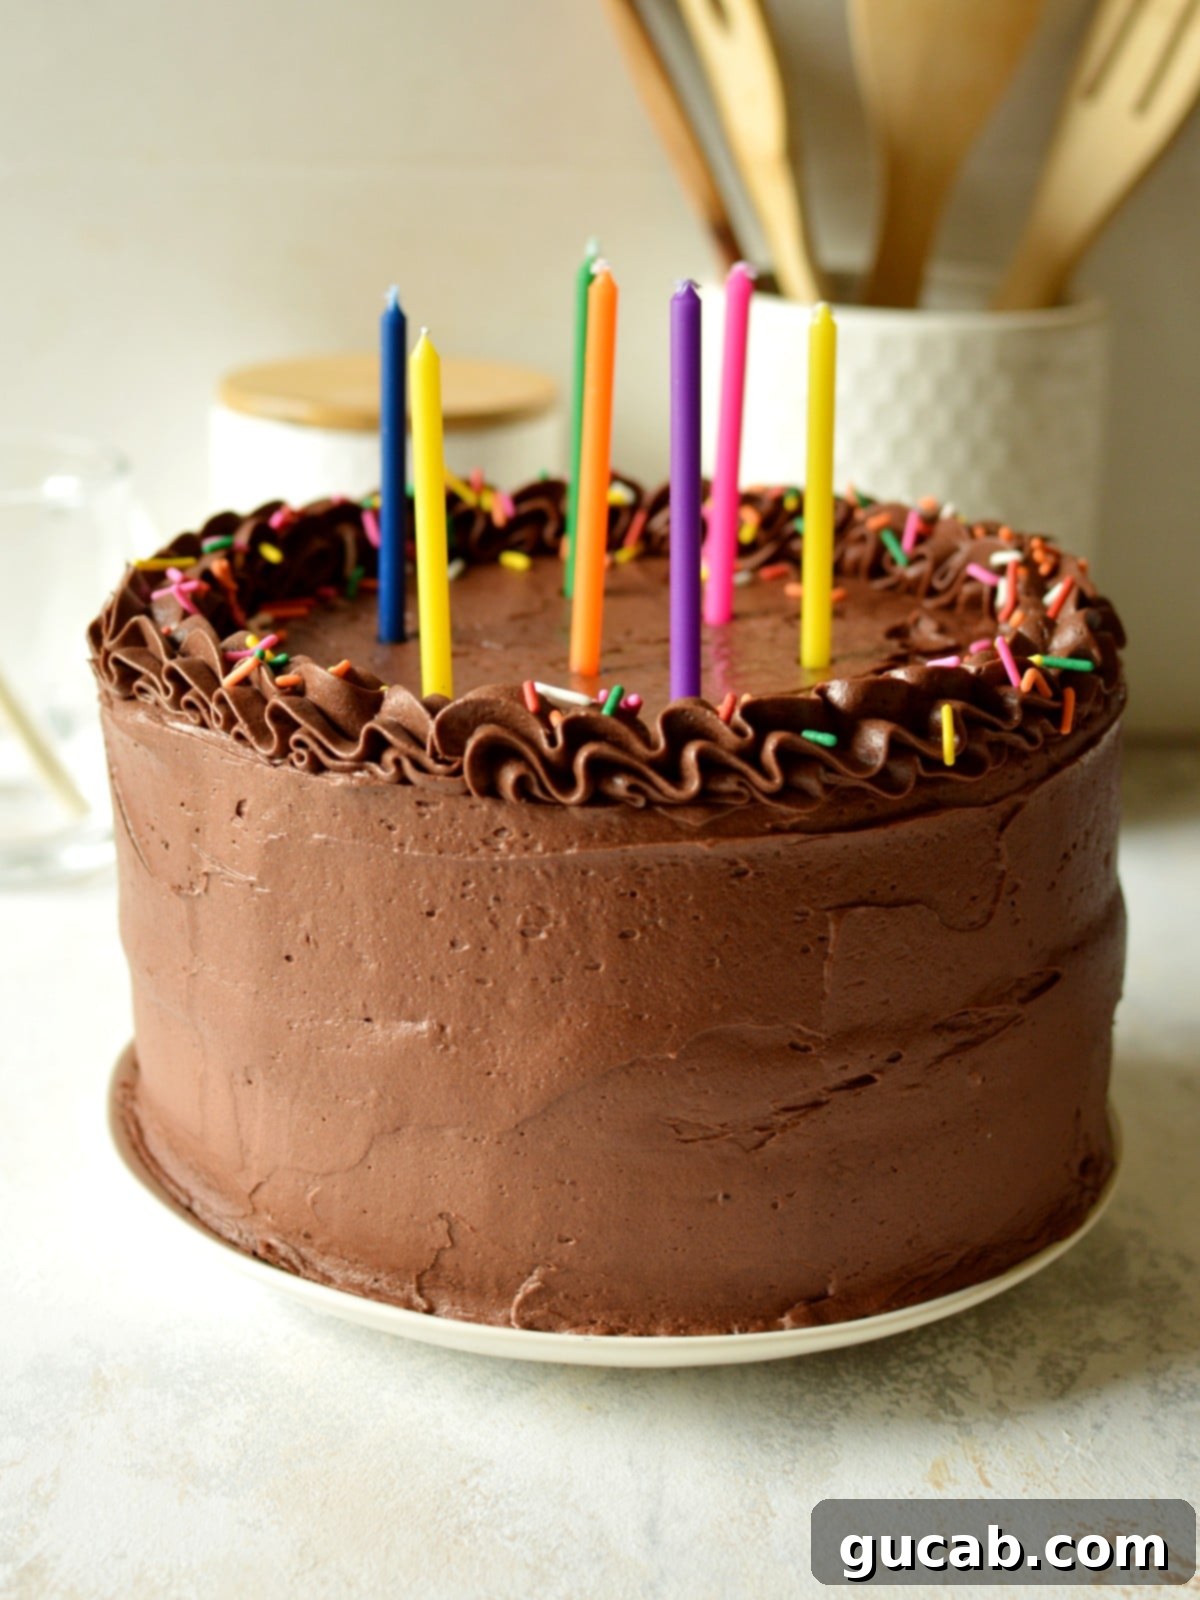
This **allergy-friendly yellow cake** has passed the toughest critics in my household: my kids. They devoured their slices with such enthusiasm, immediately giving me those irresistible puppy-dog eyes for more! That’s always a good sign in my book, so I indulged myself too – one slice quickly turned into two, then three. Before I knew it, half the cake was gone! It’s truly that dangerously delicious, making you forget all about what’s missing.
Seriously, forget the gluten! Forget the dairy! With a **moist and fluffy cake** this divine, you simply won’t miss them. This isn’t just a “good for gluten-free and dairy-free” cake; it’s just plain *good cake*. It’s remarkably simple to prepare, covered in a luxurious, silky chocolate buttercream, and delivers a taste that is nothing short of heavenly. Adorn it with colorful sprinkles and candles, and you instantly have the perfect **gluten-free birthday cake**. Or, for a more casual indulgence, easily transform the batter into delightful **gluten-free dairy-free cupcakes**!
Essential Ingredients for Your Perfect Allergy-Friendly Cake
Crafting this phenomenal cake requires readily available ingredients you can find at any local grocery store. We’ll break down what you need for both the cake layers and the decadent chocolate buttercream, along with key insights into each component:
For the Unforgettable Gluten-Free Dairy-Free Yellow Cake:
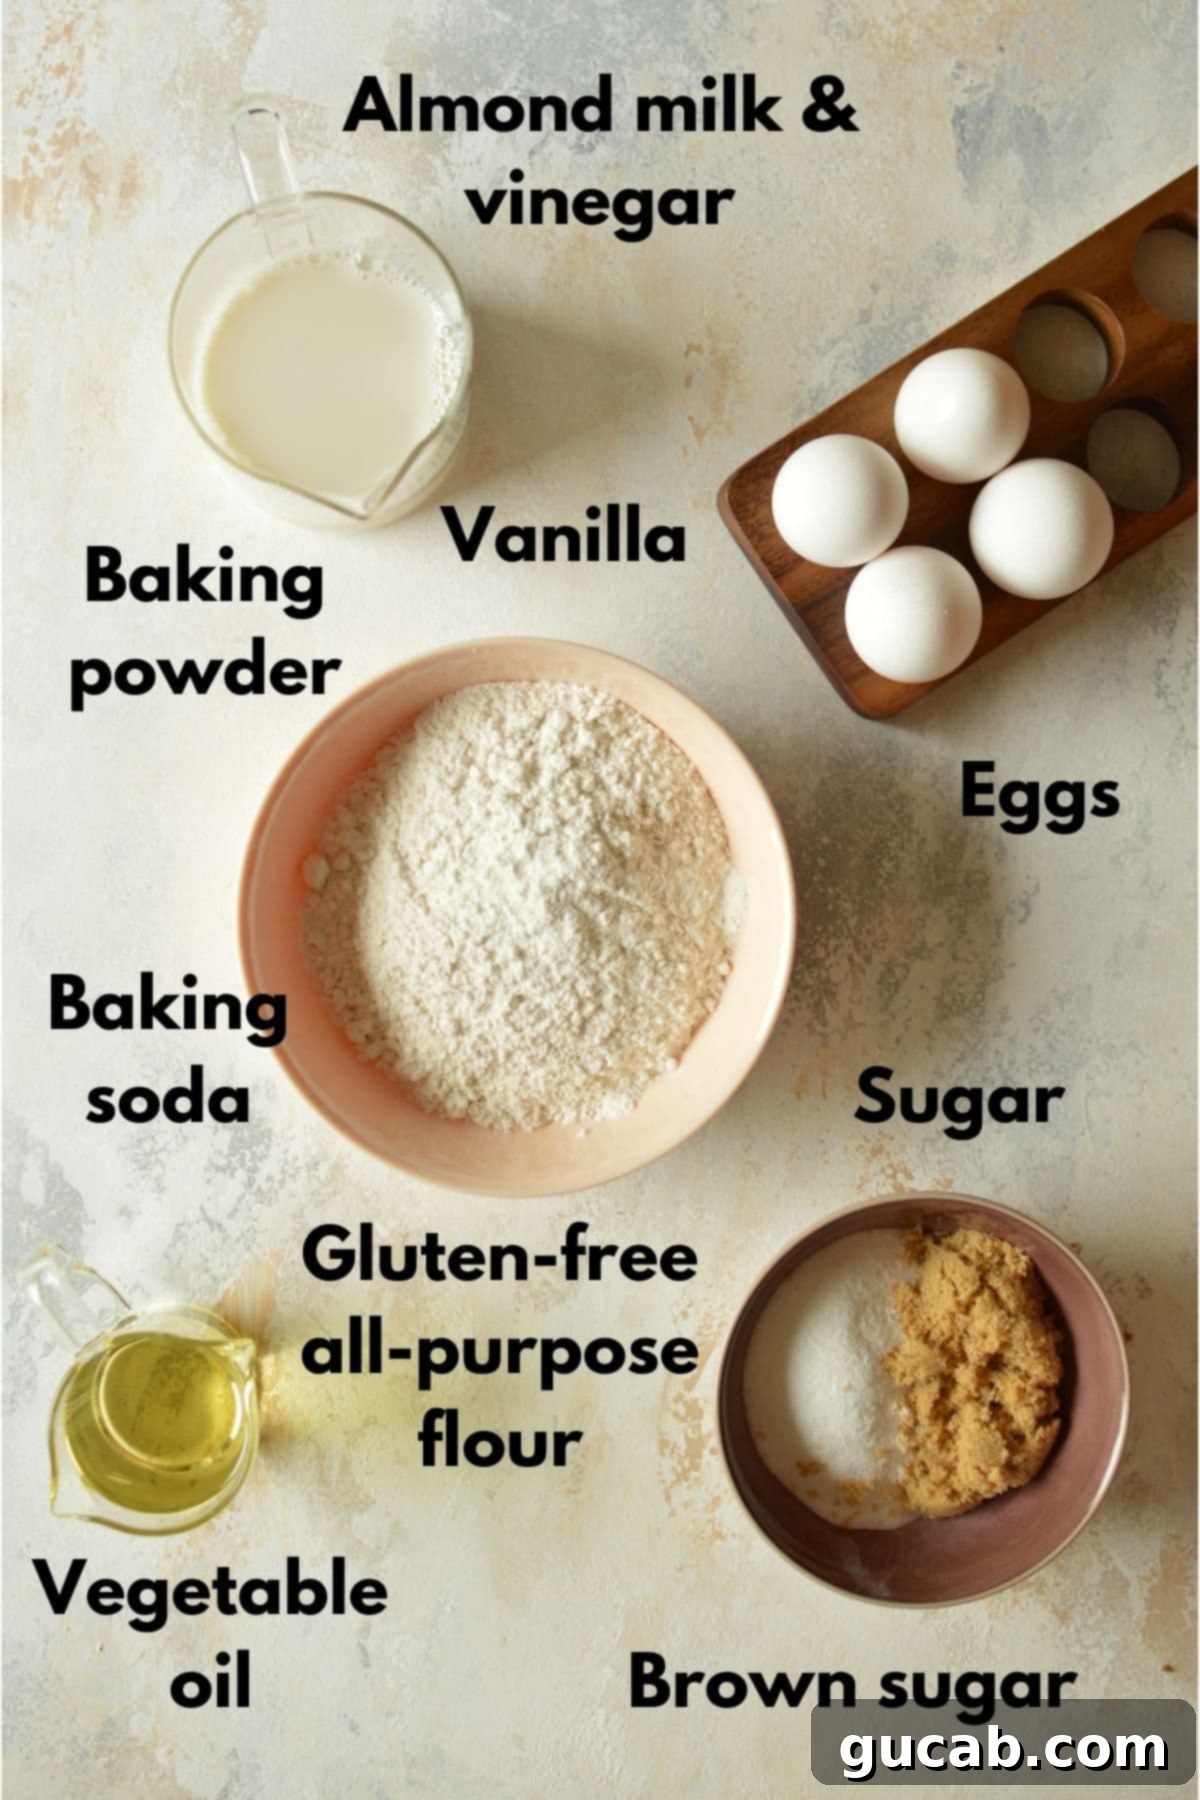
- Vegetable Oil: This is our secret weapon for a wonderfully moist, dairy-free cake! Unlike butter, vegetable oil contributes to a lighter, more tender crumb and ensures the cake stays hydrated without any dairy. It’s crucial for achieving that signature soft texture.
- Granulated Sugar: Essential for sweetness and also plays a vital role in the cake’s structure and browning. While it may seem like a generous amount, this recipe yields a large, beautiful, and tall cake. The sugar balance results in a perfectly sweet, yet not overly cloying, flavor profile.
- Brown Sugar: A small addition of brown sugar adds a subtle depth and richness to the yellow cake, complementing the vanilla notes beautifully. Its molasses content also contributes to the cake’s moistness and slightly chewy texture.
- Vanilla Extract: You simply cannot have a true **vanilla cake** without plenty of high-quality vanilla! Trust us when we say, this is not an ingredient to skimp on. A whole tablespoon makes all the difference, infusing the cake with a warm, aromatic flavor that elevates every bite.
- Eggs: Eggs are crucial for providing structure, binding the ingredients, and creating a tender, fine crumb. They also contribute to the cake’s lift and moisture.
- Gluten-Free All-Purpose Flour Blend: This is perhaps the most critical ingredient. We specifically recommend and specify **Bob’s Red Mill 1:1 All-Purpose Gluten-Free Flour**. This brand consistently delivers a taste and texture that closely mimics traditional wheat flour, which is essential for a successful **gluten-free yellow cake**. Please be aware that all gluten-free flour blends are formulated differently, with varying ratios of starches and flours. If you choose to use a different brand, we cannot guarantee the same perfect results. In particular, we advise against substituting with Cup4Cup, as it is not a 1:1 substitute for Bob’s Red Mill in this recipe and can lead to a denser, gummier cake.
- Baking Powder & Baking Soda: These leavening agents work in tandem to give the cake its beautiful rise and airy texture. Baking powder is double-acting, providing lift during mixing and again in the oven, while baking soda reacts with the acidic vinegar to create carbon dioxide, contributing to the cake’s light and fluffy crumb.
- Unsweetened Almond Milk & Apple Cider Vinegar: Combined, these two ingredients create a fantastic **dairy-free buttermilk** substitute. The vinegar curdles the almond milk, mimicking the acidity of buttermilk, which then reacts with the baking soda to tenderize the cake and activate its leavening properties, ensuring a moist and delicate texture.
For the Decadent Dairy-Free Chocolate Buttercream:
- Vegan Butter (Room Temperature): The foundation of our rich buttercream. Finding a high-quality vegan butter is key. While we previously loved Miyoko’s, their recipe has changed, and we no longer recommend it due to a strange aftertaste. Look for a vegan butter that has a neutral flavor and whips up smoothly, such as Earth Balance sticks or Country Crock Plant Butter. Ensure it’s at room temperature for optimal creaminess.
- Powdered Sugar (Confectioners’ Sugar): This fine sugar sweetens the frosting and is essential for achieving that irresistibly silky, smooth consistency. It dissolves easily, preventing any grittiness.
- Dark Cocoa Powder (or Dutch-Process): To achieve a rich, deep chocolate flavor and a beautiful dark hue, use a high-quality dark or Dutch-process cocoa powder. Dutch-process cocoa is less acidic, resulting in a smoother, mellower chocolate taste, perfect for a luxurious buttercream.
- Unsweetened Almond Milk: A small amount of unsweetened almond milk is used to adjust the frosting’s consistency, ensuring it’s beautifully spreadable and easy to work with without making it too thin.
Step-by-Step Guide: How to Make This Fluffy Gluten-Free Yellow Cake
Preparing the Gluten-Free Dairy-Free Cake Layers:
Step 1: Preheat Oven & Prepare Pans: Begin by preheating your oven to 350°F (175°C). Generously spray two 8-inch round baking pans with nonstick spray. In a separate small bowl, combine the unsweetened almond milk and apple cider vinegar, then set it aside to allow it to curdle slightly and form our dairy-free buttermilk.
Step 2: Whisk Dry Ingredients: In a medium-sized bowl, thoroughly whisk together the gluten-free flour blend, baking powder, baking soda, and kosher salt. This step ensures all leavening agents and seasonings are evenly distributed, leading to a consistent rise and flavor in your cake. Set this mixture aside.
Step 3: Cream Wet Ingredients: In the bowl of a stand mixer fitted with the paddle attachment (or using an electric hand mixer in a large bowl), beat the vegetable oil, granulated sugar, brown sugar, and vanilla extract together. Continue beating until the mixture is light in color and well combined, which usually takes about 2-3 minutes. This creaming process incorporates air, contributing to the cake’s final fluffy texture.
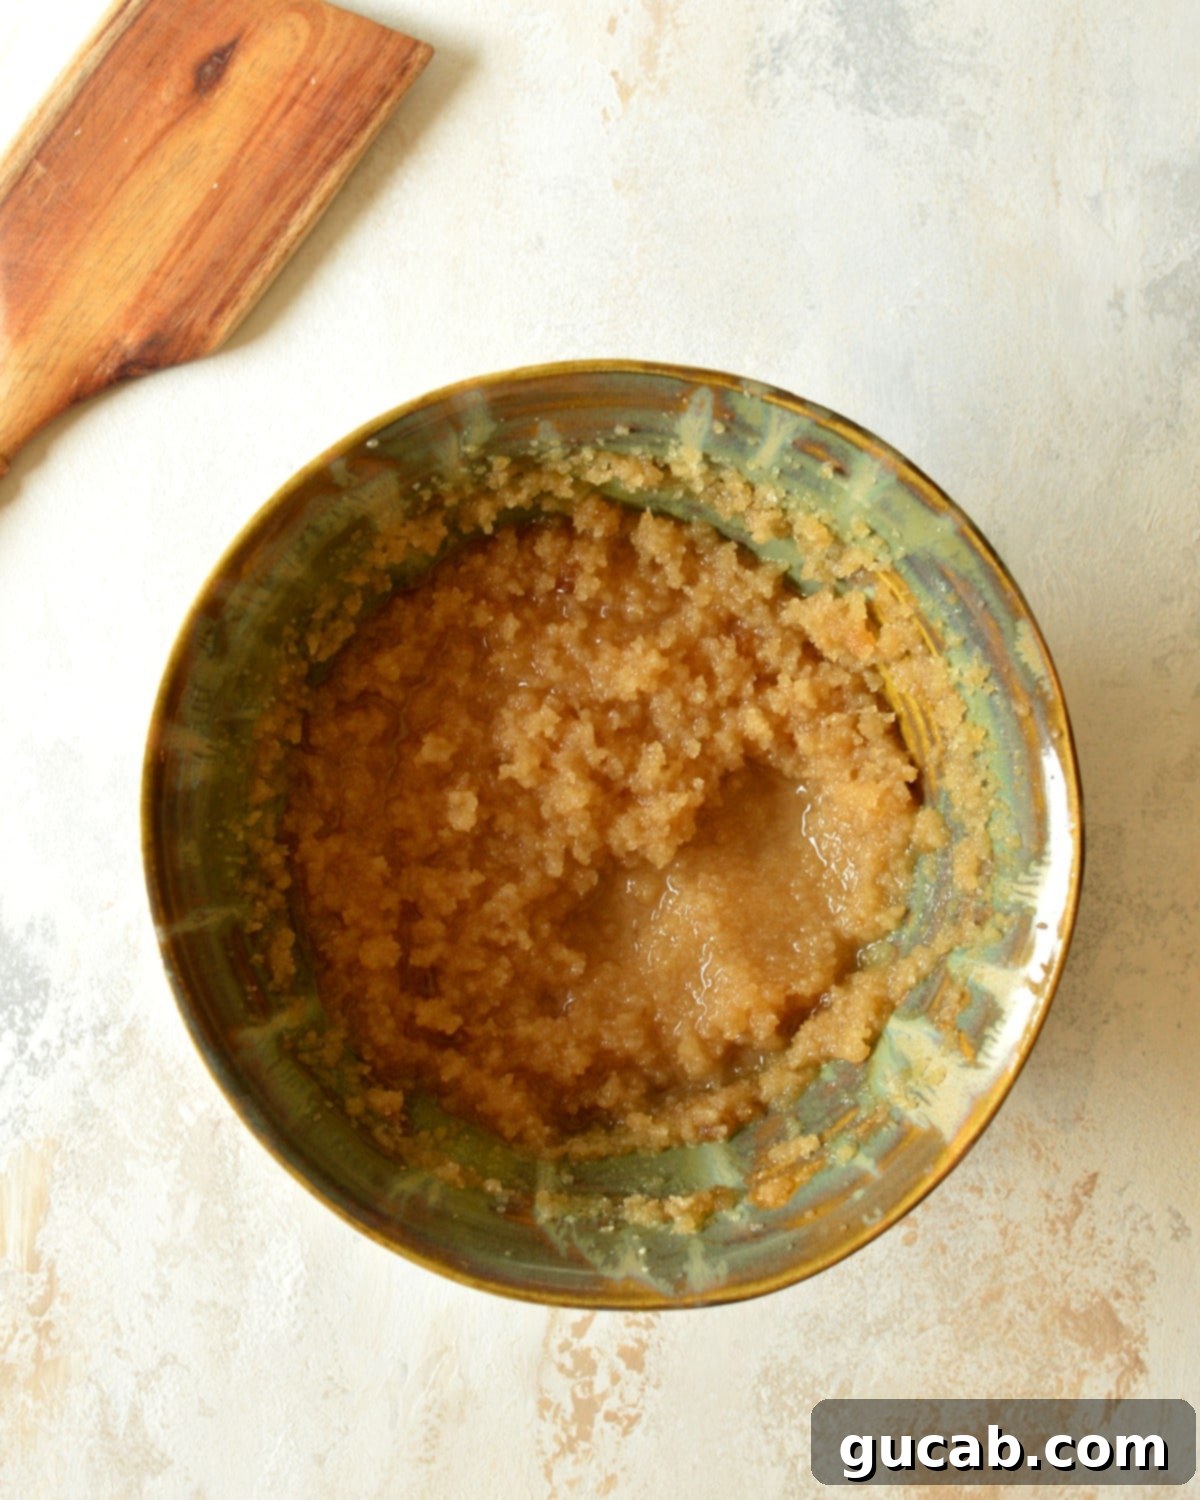
Step 4: Incorporate Eggs: Add the eggs one at a time to the wet mixture, beating thoroughly after each addition until just combined. It’s important not to overmix at this stage. After adding all the eggs, use a spatula to scrape down the sides of the bowl, ensuring all ingredients are fully incorporated and no dry spots remain.
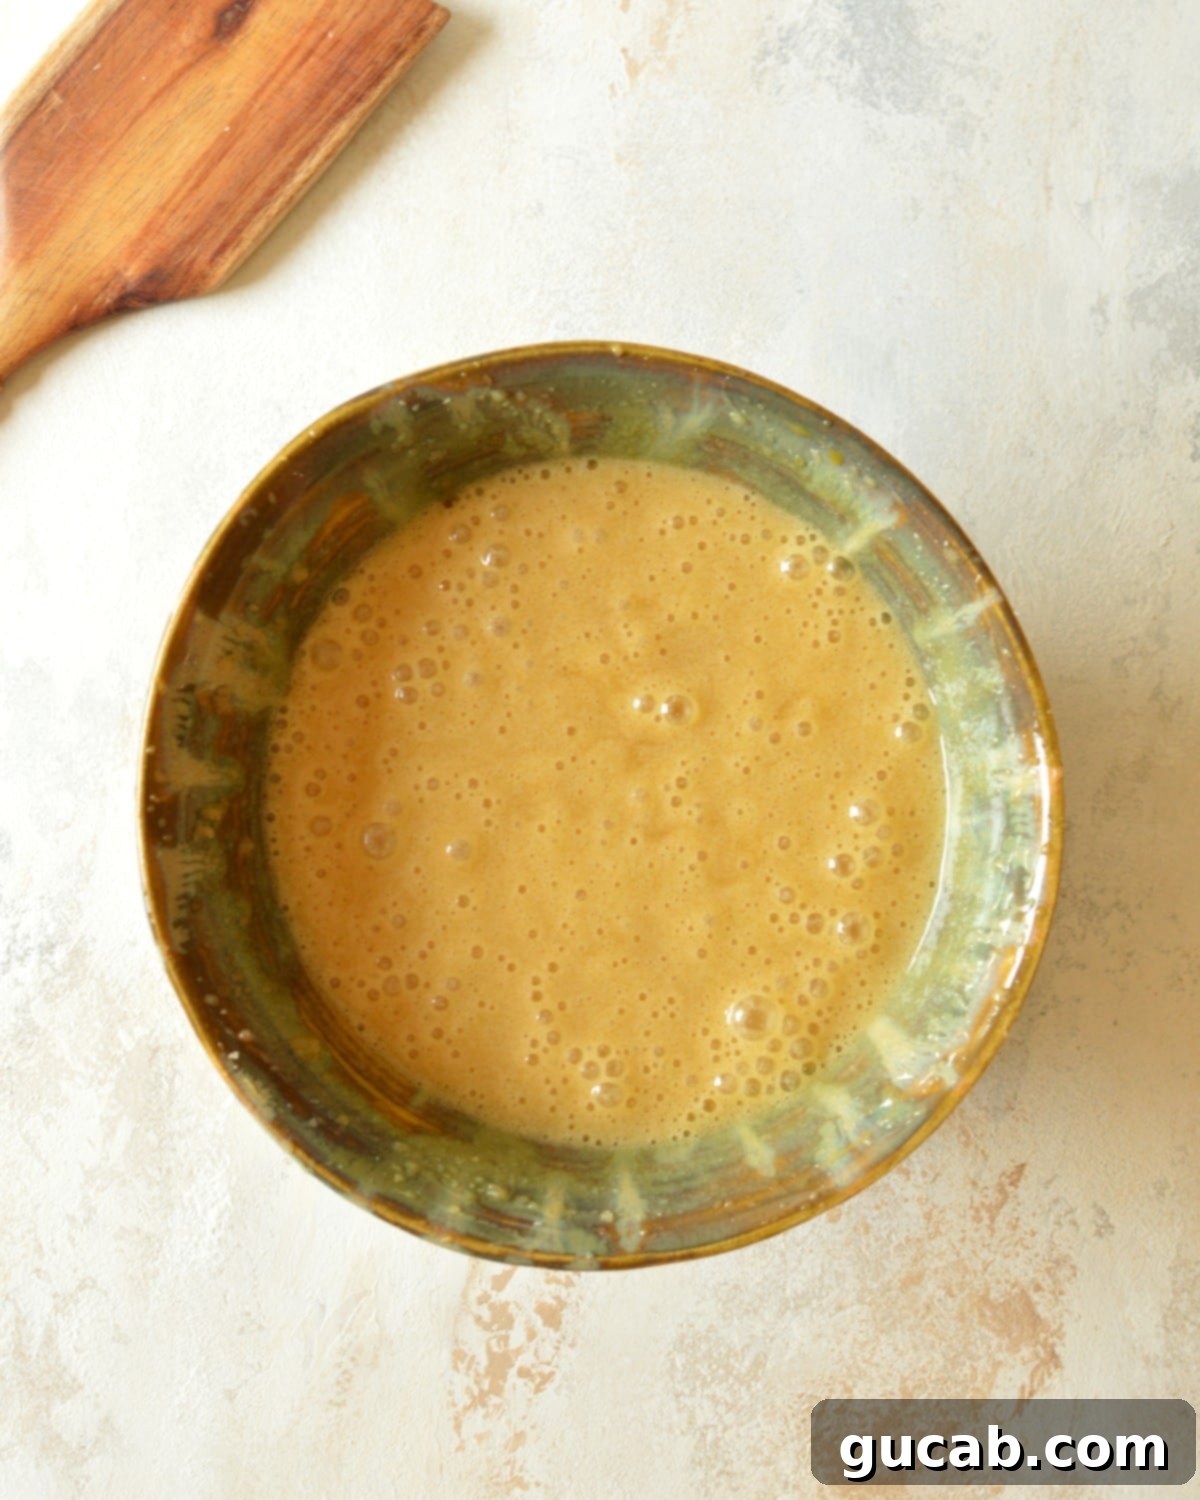
Step 5: Add Dry Ingredients to Wet: Gradually add the whisked dry ingredients to the wet mixture in the stand mixer bowl. Beat on low speed until the flour is just incorporated and no streaks of dry flour remain. The batter will be quite thick at this point. Again, scrape down the sides of the bowl to ensure uniformity.
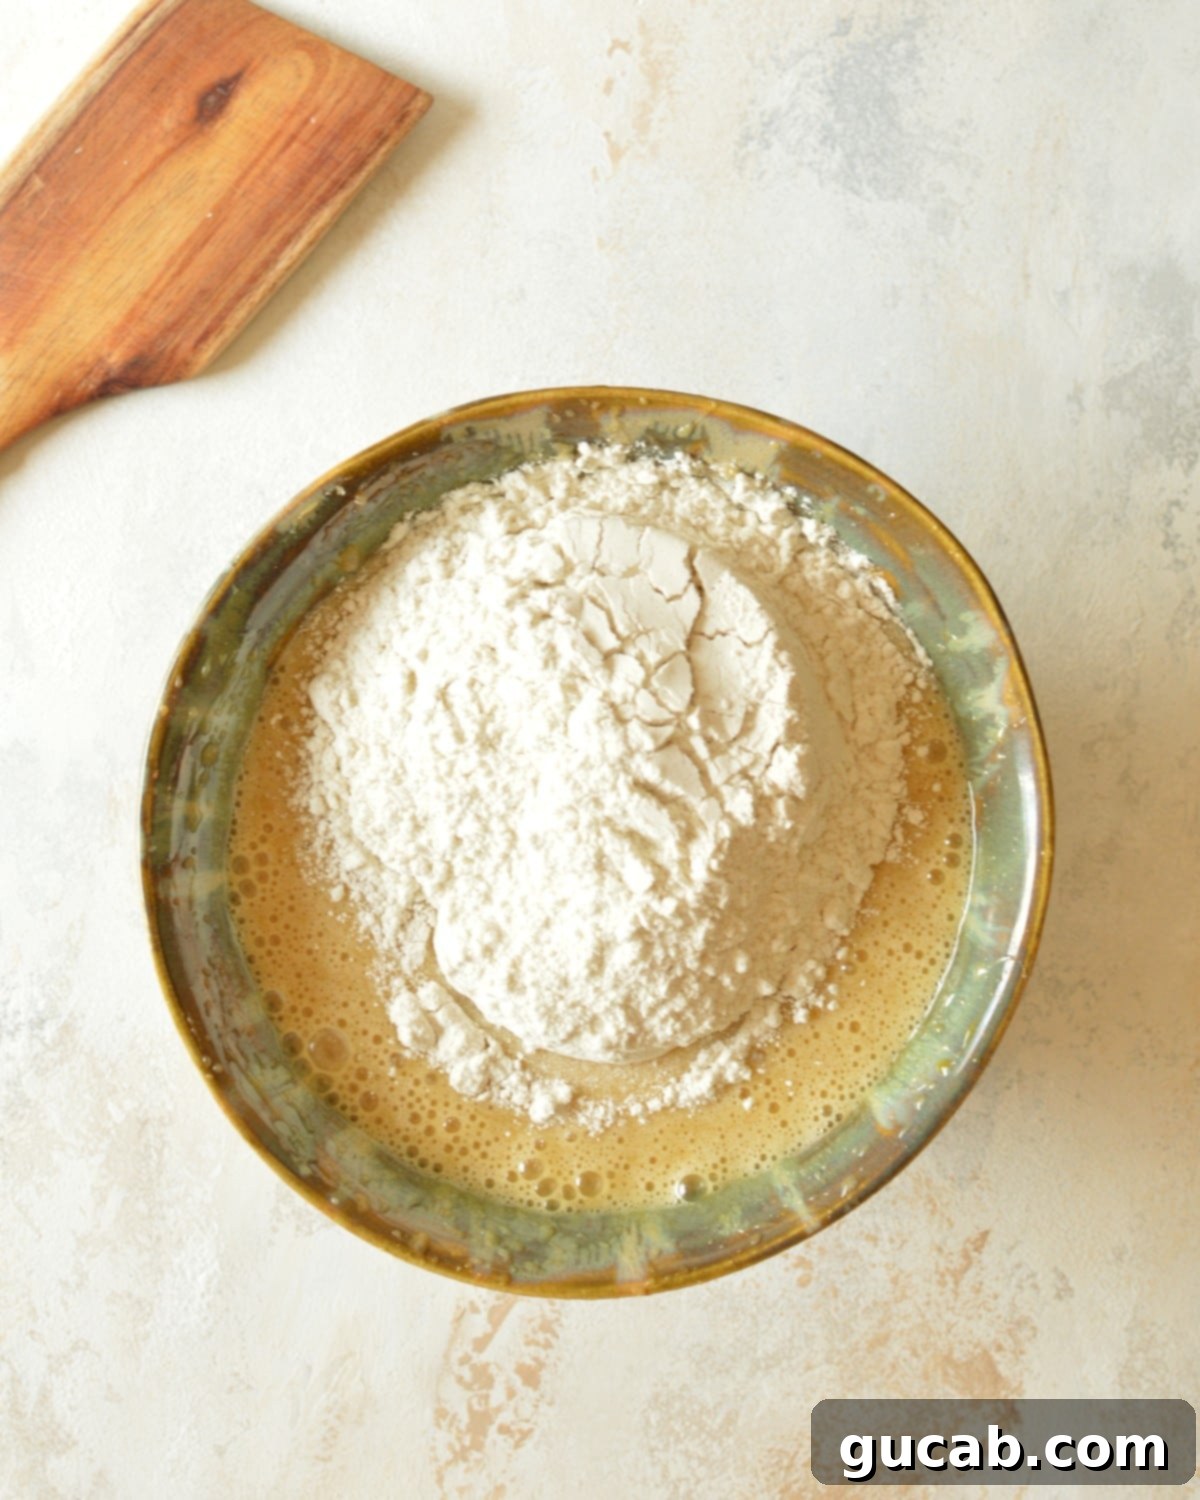
Step 6: Fold in Dairy-Free Buttermilk: Finally, pour the almond milk and vinegar mixture (our dairy-free buttermilk) into the thick cake batter. Start mixing on a very low speed initially to prevent any splattering, then gradually increase the speed to medium. Mix only until the buttermilk is fully incorporated and the batter is smooth. Overmixing can lead to a tough cake, so stop as soon as it’s combined.
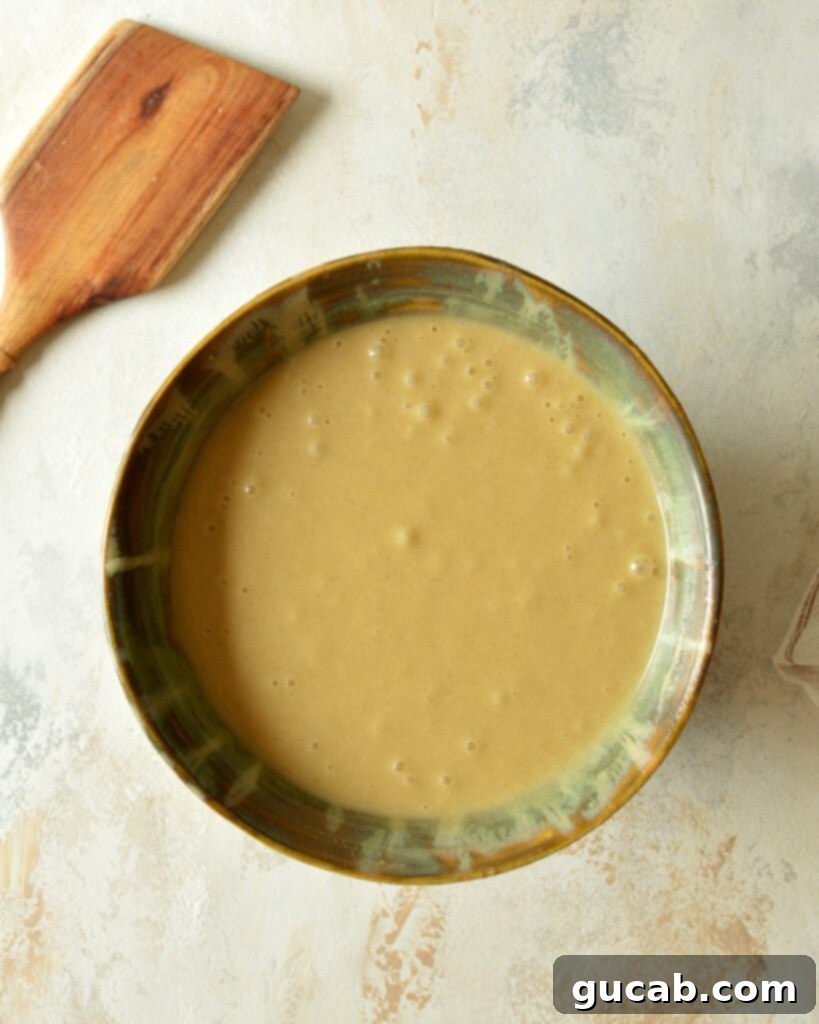
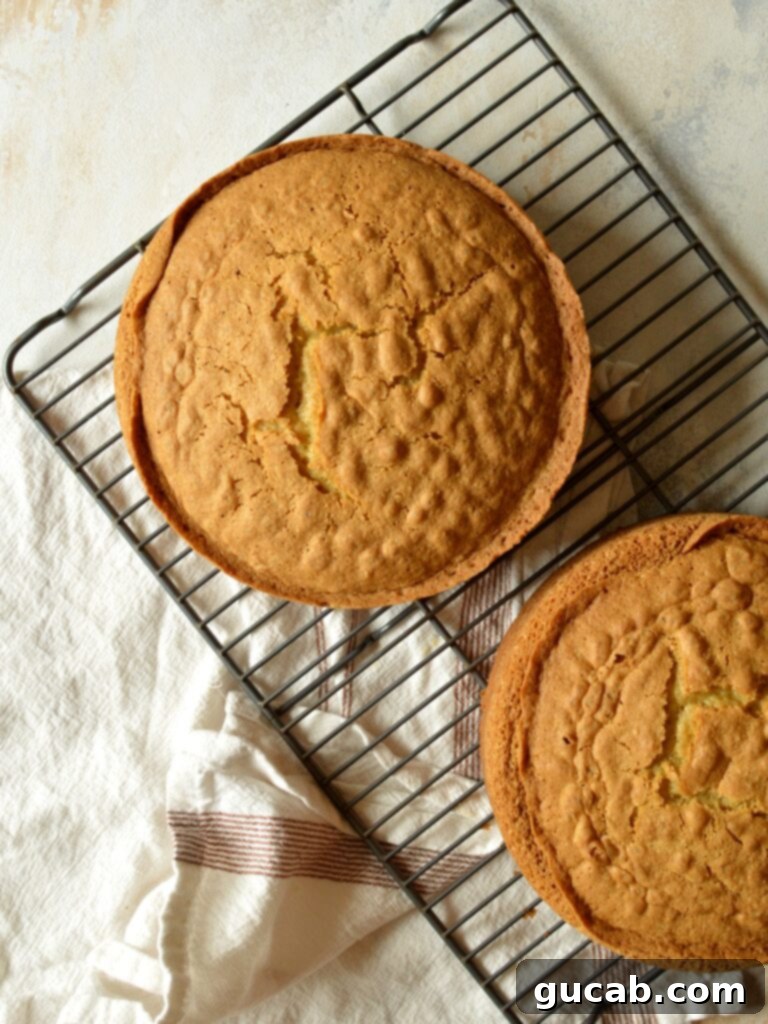
Step 7: Bake Cake Layers: Evenly divide the prepared **gluten-free cake batter** between the two greased 8-inch cake pans. Bake in the preheated oven for approximately 45 to 50 minutes, or until the tops are golden brown, and a wooden toothpick inserted into the center of the cakes comes out clean. Once baked, let the cakes cool in their pans for a few minutes before gently inverting them onto a wire cooling rack to cool completely. This prevents them from falling apart.
Crafting the Perfect Dairy-Free Chocolate Frosting
This rich and creamy **dairy-free chocolate buttercream** is the crowning glory of our yellow cake. Here’s how to make it:
Step 1: Whip Vegan Butter: In the bowl of a stand mixer fitted with the paddle attachment, beat the room temperature vegan butter on medium-high speed for about 30 seconds. This aerates the butter, making it light and fluffy.
Step 2: Add Powdered Sugar & Milk Gradually: Add one cup of powdered sugar and one tablespoon of unsweetened almond milk to the whipped vegan butter. Beat for another 30 seconds on medium speed until well combined and smooth. Repeat this process, adding the remaining powdered sugar and almond milk incrementally, one cup of sugar and one tablespoon of milk at a time, until all the powdered sugar is incorporated and the frosting is smooth and creamy. This gradual addition prevents a powdery mess and helps achieve the perfect consistency.
Step 3: Incorporate Cocoa Powder: Finally, add the dark (or Dutch-process) cocoa powder and the last two tablespoons of almond milk to the frosting. Beat on medium speed until the cocoa powder is fully incorporated and the frosting is uniformly chocolatey and silky smooth. Scrape down the bowl as needed to ensure everything is well mixed.
Expert Recipe Tips for Your Best Gluten-Free Cake
- For the absolute best results, we cannot stress enough the importance of using **Bob’s Red Mill 1:1 All-Purpose Gluten-Free Flour**. This specific blend is tried and tested for this recipe and yields consistent, superior results. Using other brands may alter the cake’s texture and structure, as gluten-free flours vary significantly.
- Avoid Overbaking at All Costs: An overbaked cake is a dry cake, and a dry cake is a sad cake! Begin checking for doneness around the 40-minute mark. Gently touch the top of the cake – if it springs back, it’s likely done. Then, insert a toothpick into the center; if it comes out clean with no wet batter, your cake is ready. Pull it from the oven promptly.
- Allow for Proper Cooling in Pans: Don’t be tempted to remove the cake layers from their pans immediately after baking. Gluten-free cakes can be more delicate when warm. Let them cool in the pans for at least 10-15 minutes before attempting to invert them onto a wire rack. This allows them to firm up and prevents crumbling.
- Always Frost a Completely Cool Cake: This tip is paramount! If your cake layers are even slightly warm, your beautiful **dairy-free chocolate buttercream** will melt and slide right off. Ensure the cakes are at room temperature, or even slightly chilled, before you begin the frosting process for a flawless finish.
Delicious Variations to Customize Your Cake
- Frosting Flavors: While the **rich chocolate buttercream** is a fan favorite, feel free to customize! For a classic **dairy-free vanilla buttercream**, simply omit the cocoa powder and the two tablespoons of almond milk specified for the chocolate. Instead, add an extra teaspoon of pure vanilla extract to the frosting for a bright and sweet flavor.
- Creative Fillings: Elevate your cake with an exciting filling between the layers! Consider spreading a luscious fruit jam (like raspberry or strawberry), a thick layer of vegan caramel, a delightful marshmallow cream, or even a simple dairy-free chocolate ganache. These additions can add an extra layer of flavor and texture.
- Fun Toppings: The possibilities for toppings are endless! Beyond classic sprinkles, consider crushed gluten-free cookies, chopped nuts (like pecans or walnuts), fresh seasonal berries for a pop of freshness, or even crushed dairy-free candies for an extra sweet crunch. Get creative and make it your own!
Smart Storage Tips for Optimal Freshness
- To maintain its delightful moisture and flavor, store this **gluten-free dairy-free cake** at room temperature for up to two days. Keep it in an airtight cake holder or under a cake dome to protect it from drying out.
- This **allergy-friendly cake** also freezes exceptionally well! You can freeze it either frosted or unfrosted. For convenience and portion control, we recommend freezing individual slices. Wrap each slice tightly in plastic wrap, then place them in a freezer-safe bag or container.
- When ready to enjoy a frozen slice, simply let it defrost at room temperature for an hour or two. Alternatively, you can microwave it in 5-second increments until it’s defrosted to your liking. Be very careful not to overheat and melt the frosting!
Explore More Irresistible Gluten-Free Cake Recipes
If you fell in love with this **gluten-free dairy-free yellow cake**, you’ll surely enjoy these other fantastic allergy-friendly treats from our collection. Expand your gluten-free baking repertoire!
- Gluten Free Marble Cake
- Gluten Free Chocolate Pound Cake
- Gluten Free Italian Cream Cake
- Gluten Free Whoopie Pies
- Gluten Free Sour Cream Pound Cake
Gluten-Free Dairy-Free Yellow Cake with Chocolate Buttercream
Carolyn
Pin Recipe
Equipment
-
Stand mixer with the paddle attachment or electric hand mixer
-
Two 8-inch round cake pans
-
Rubber spatula
-
Measuring cups & spoons
Ingredients
For the Gluten-Free Dairy-Free Cake:
- 1 cup vegetable oil
- 1 ⅓ cup granulated sugar
- ⅓ cup brown sugar, packed
- 1 tbsp vanilla extract
- 4 large eggs
- 3 ¼ cup Bob’s Red Mill 1:1 All-Purpose Gluten-Free Flour
- 1 tbsp baking powder
- 1 tsp baking soda
- ¼ tsp kosher salt
- 1 cup unsweetened almond milk
- 1 tbsp apple cider vinegar
For the Dairy-Free Chocolate Buttercream:
- 8 ounces vegan butter, room temperature (e.g., Earth Balance sticks)
- 4 cups powdered sugar, sifted
- ¼ cup + 2 tbsp dark or Dutch cocoa powder
- 6 tbsp unsweetened almond milk
Instructions
For the Gluten-Free Dairy-Free Cake Layers:
-
Preheat your oven to 350 degrees Fahrenheit (175°C). Lightly spray two 8-inch round cake pans with nonstick cooking spray. In a small bowl, stir together the unsweetened almond milk and apple cider vinegar, then set aside to allow it to curdle, creating your dairy-free buttermilk.
-
In the bowl of a stand mixer fitted with the paddle attachment (or using an electric hand mixer), beat the vegetable oil, granulated sugar, brown sugar, and vanilla extract until the mixture is light and well combined, about 2-3 minutes.
-
Add the large eggs one at a time, beating well after each addition until just incorporated. Use a rubber spatula to scrape down the sides of the bowl to ensure everything is evenly mixed.
-
In a separate medium bowl, whisk together the gluten-free flour blend, baking powder, baking soda, and kosher salt. Add these dry ingredients to the wet batter in the mixer bowl and beat on low speed until just combined and no dry streaks of flour remain. Scrape down the sides of the bowl again.
-
Pour the almond milk and vinegar mixture (your dairy-free buttermilk) into the cake batter. Mix on low speed initially to prevent splattering, then increase to medium and beat until it’s fully incorporated and the batter is smooth. Do not overmix. Divide the cake batter evenly between the two greased cake pans.
-
Bake for approximately 45 to 50 minutes, or until the tops are golden brown and a toothpick inserted into the center comes out clean. Allow the cakes to cool in their pans for about 10-15 minutes before carefully inverting them onto a wire cooling rack to cool completely.
For the Dairy-Free Chocolate Buttercream:
-
In the clean bowl of a stand mixer with the paddle attachment, whip the room temperature vegan butter on medium-high speed for 30 seconds until light and fluffy.
-
Add 1 cup of powdered sugar and 1 tablespoon of unsweetened almond milk to the whipped butter. Beat for 30 seconds until well combined. Repeat this process with the remaining powdered sugar and almond milk, adding them incrementally until all the powdered sugar is incorporated and the frosting is smooth.
-
Finally, add the dark cocoa powder and the last 2 tablespoons of unsweetened almond milk. Beat until the cocoa powder is fully incorporated and the frosting is beautifully chocolatey and silky smooth. Scrape down the bowl as needed.
Assemble Your Ultimate Gluten-Free Dairy-Free Cake:
-
Ensure both cake layers are *completely* cool before you begin frosting. If they are even slightly warm, your delicious chocolate buttercream will melt, creating a messy situation. You can even chill them briefly in the fridge for easier handling.
-
Place one cooled cake layer on your serving plate or cake stand. Spread an even, generous layer of the dairy-free chocolate buttercream over the top. Carefully stack the second cake layer on top, ensuring the flat side is facing up for a smooth surface.
-
Frost the top and sides of the entire cake, spreading the buttercream evenly for a beautiful finish. Decorate with your favorite festive sprinkles, slices of fresh fruit, or any other desired toppings. Slice and enjoy your incredible **gluten-free dairy-free yellow cake**!
Nutrition
