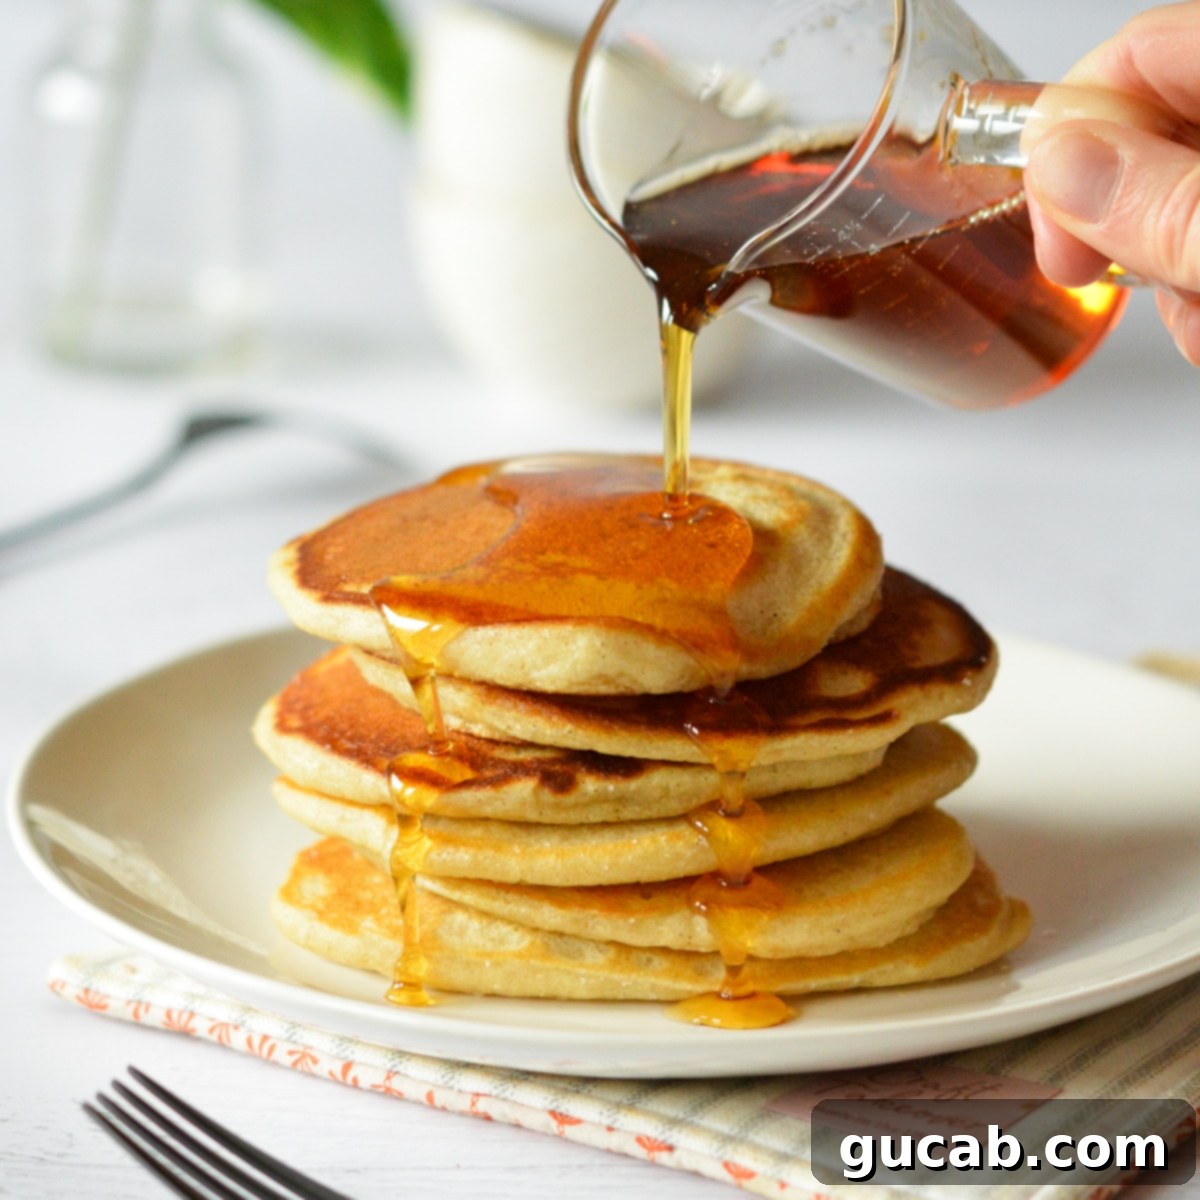
Master the Art of Crispy Pancakes: Your Ultimate Guide to Fluffy, Golden Perfection
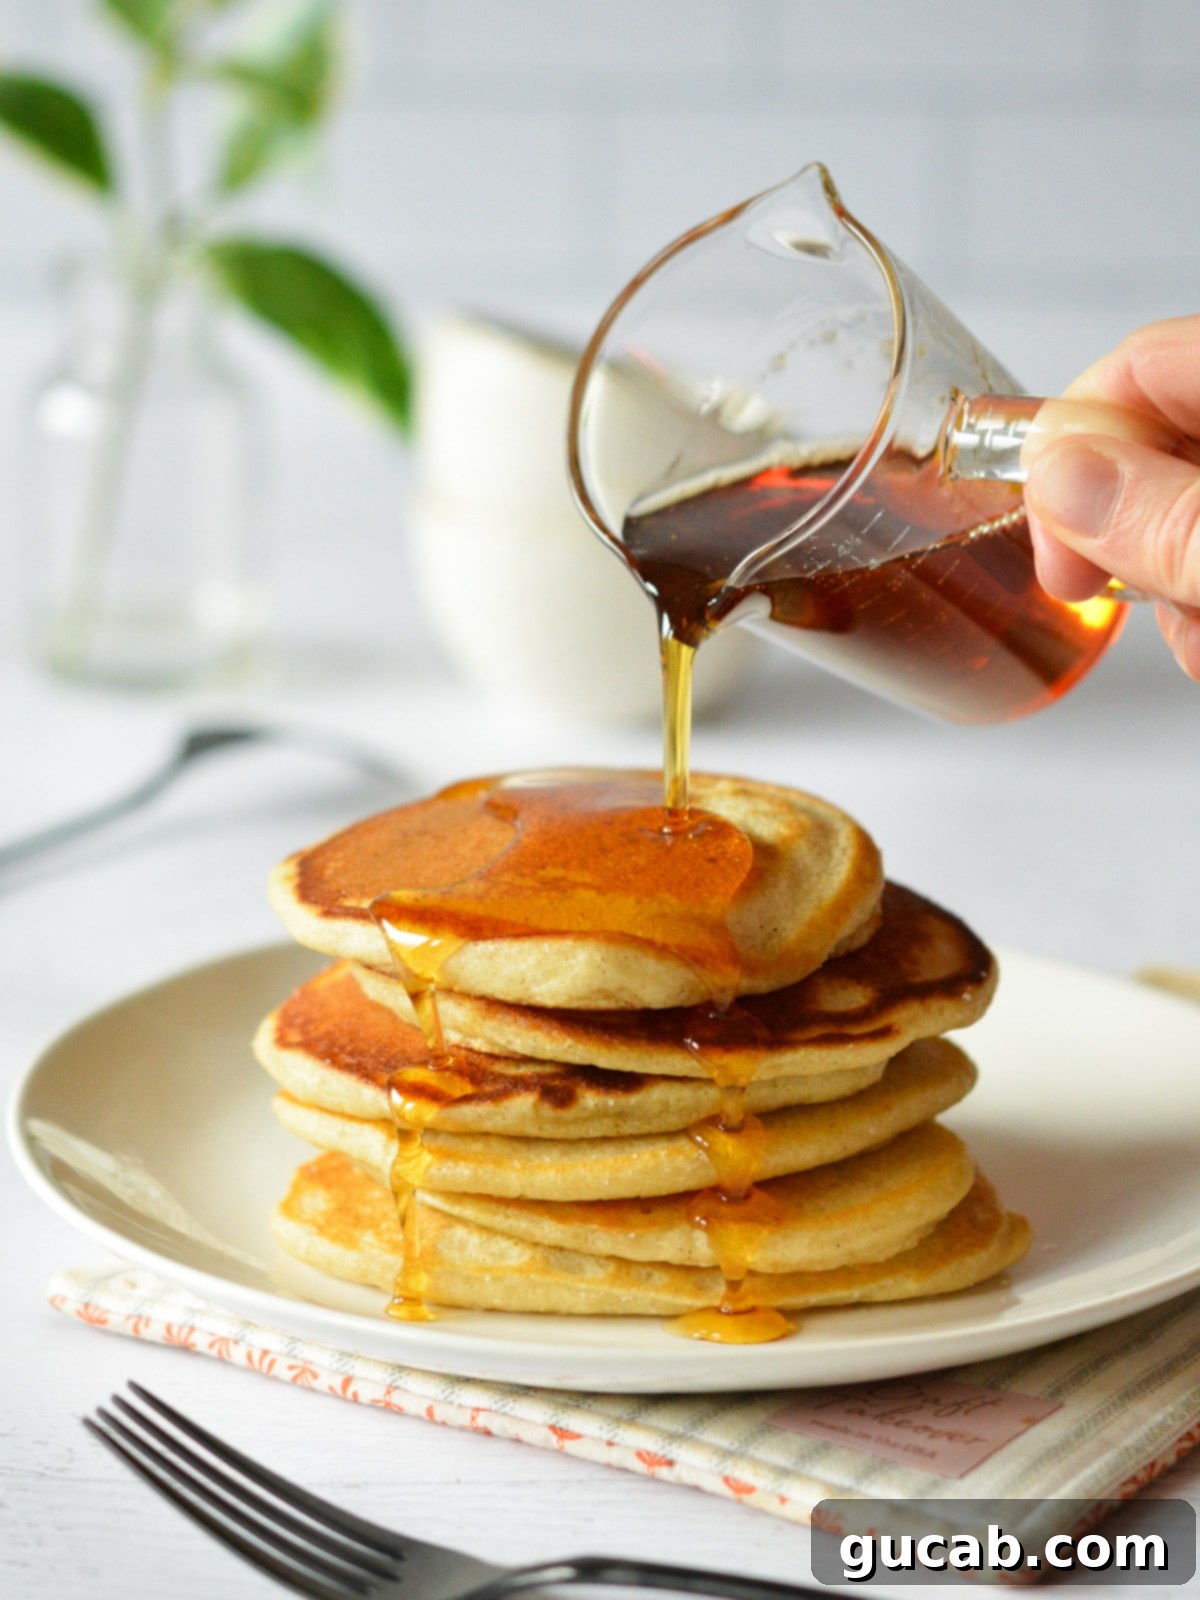
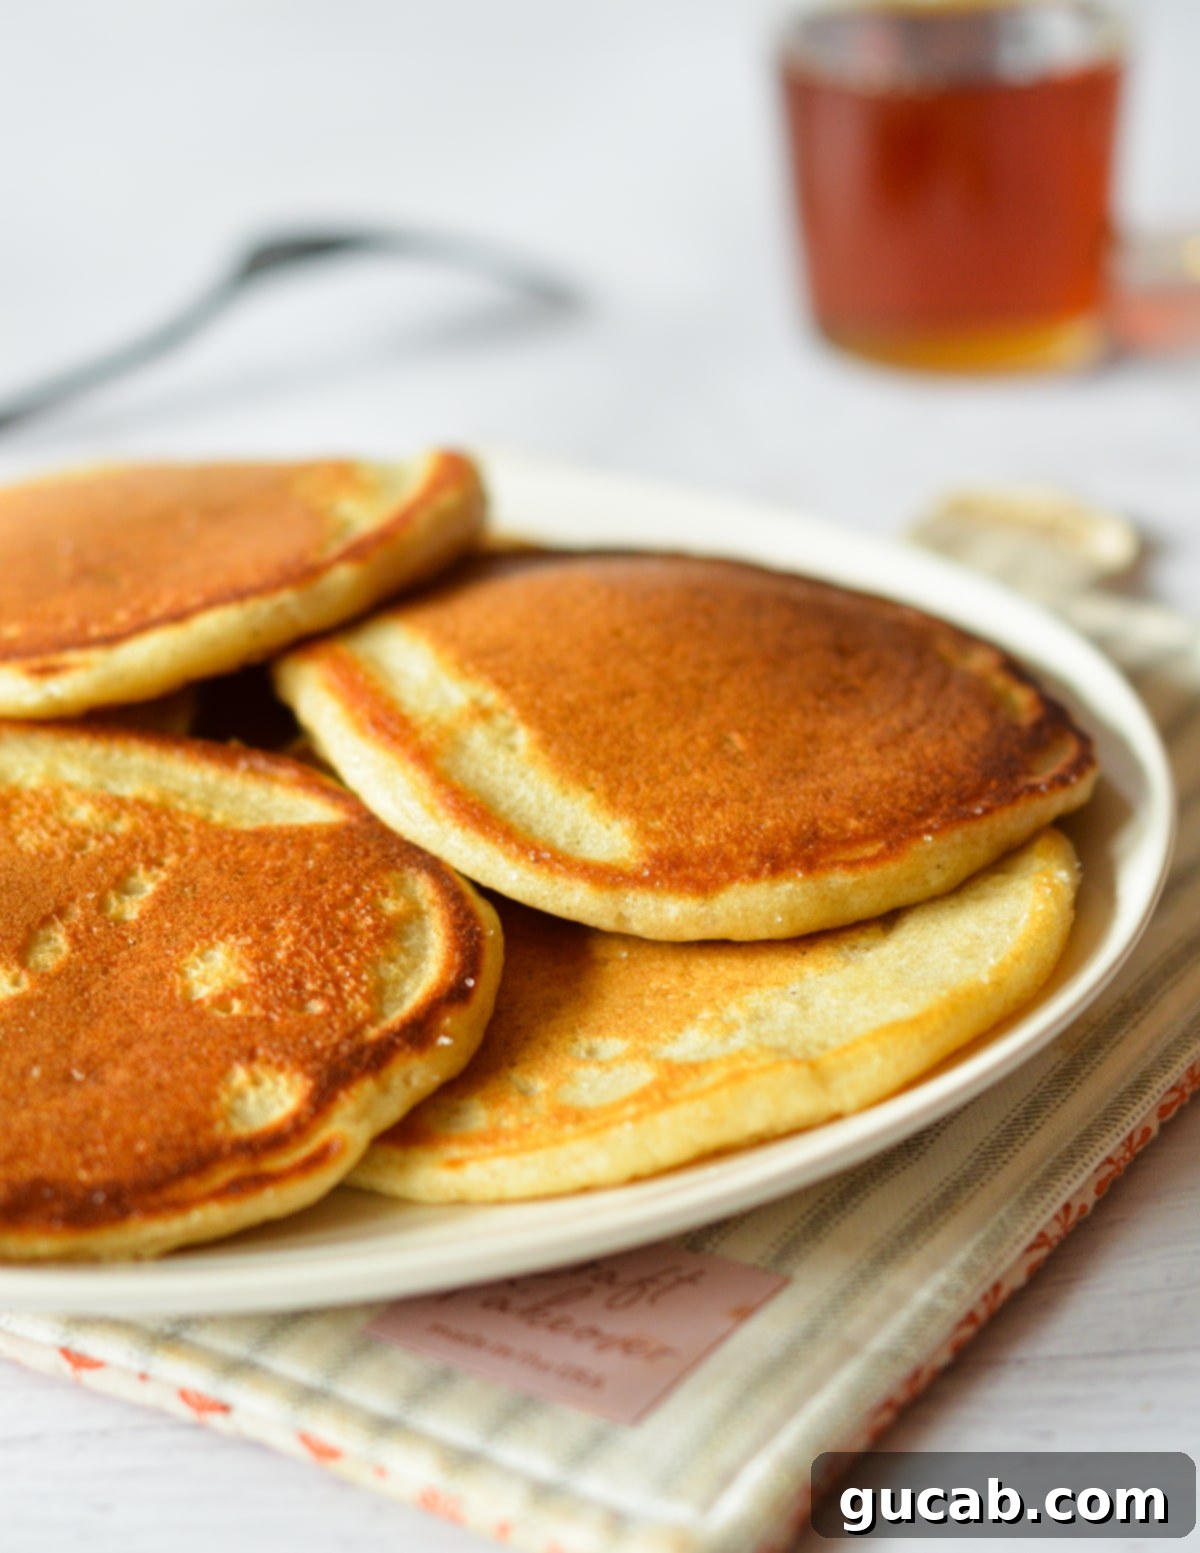
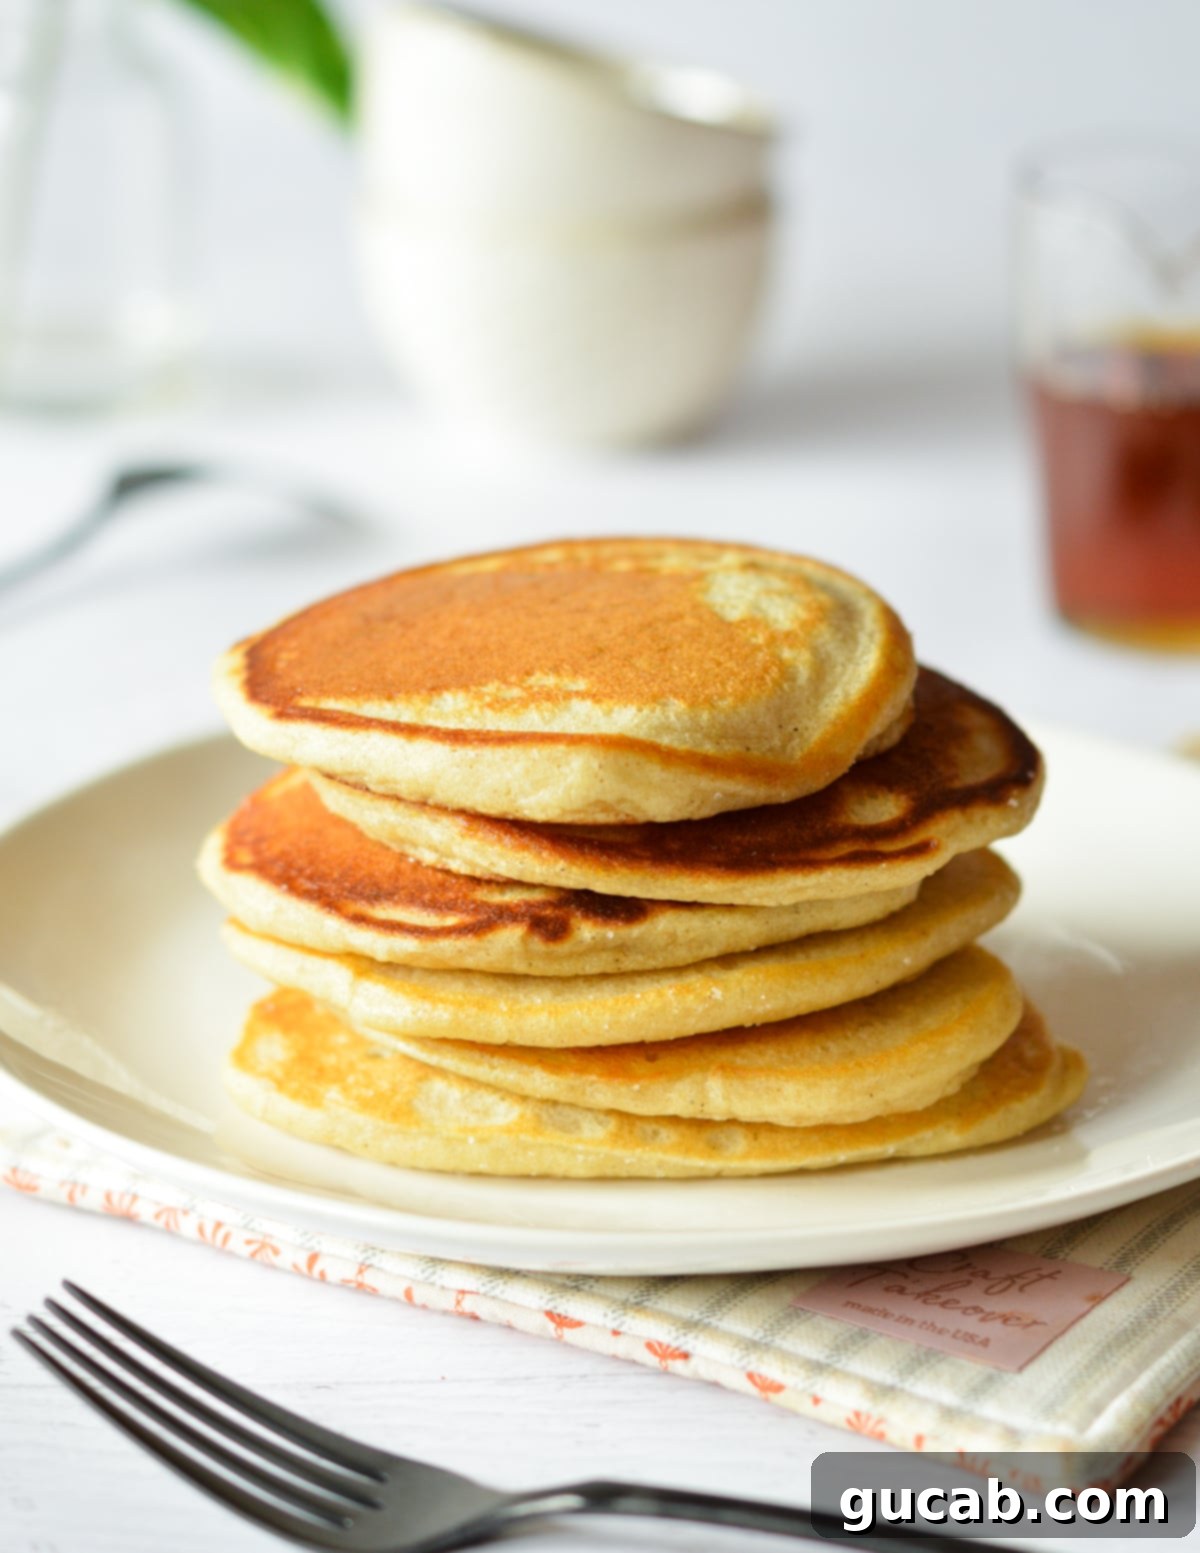
Imagine a stack of pancakes that are not just light and fluffy, but also boast incredibly crisp, golden-brown edges and a tender, melt-in-your-mouth interior. These aren’t your average thick, diner-style flapjacks; these are the breakfast lover’s dream: thin, airy, and utterly irresistible crispy pancakes. Perfect for any morning, whether it’s a quick weekday treat or a leisurely weekend brunch, they promise a delightful texture contrast that will elevate your pancake game. Prepare for a generous drizzle of warm maple syrup to complete this divine experience.
Why You’ll Fall in Love with These Crispy Pancakes
To say I love pancakes is truly an understatement. For me, pancakes aren’t just a meal; they’re a comforting ritual, a fluffy embrace, a canvas for delicious syrups and toppings. While my heart often gravitates towards ultra-fluffy and thick buttermilk pancakes, there are those times when a lighter, yet equally satisfying, option calls. That’s precisely where these crispy-edged pancakes shine!
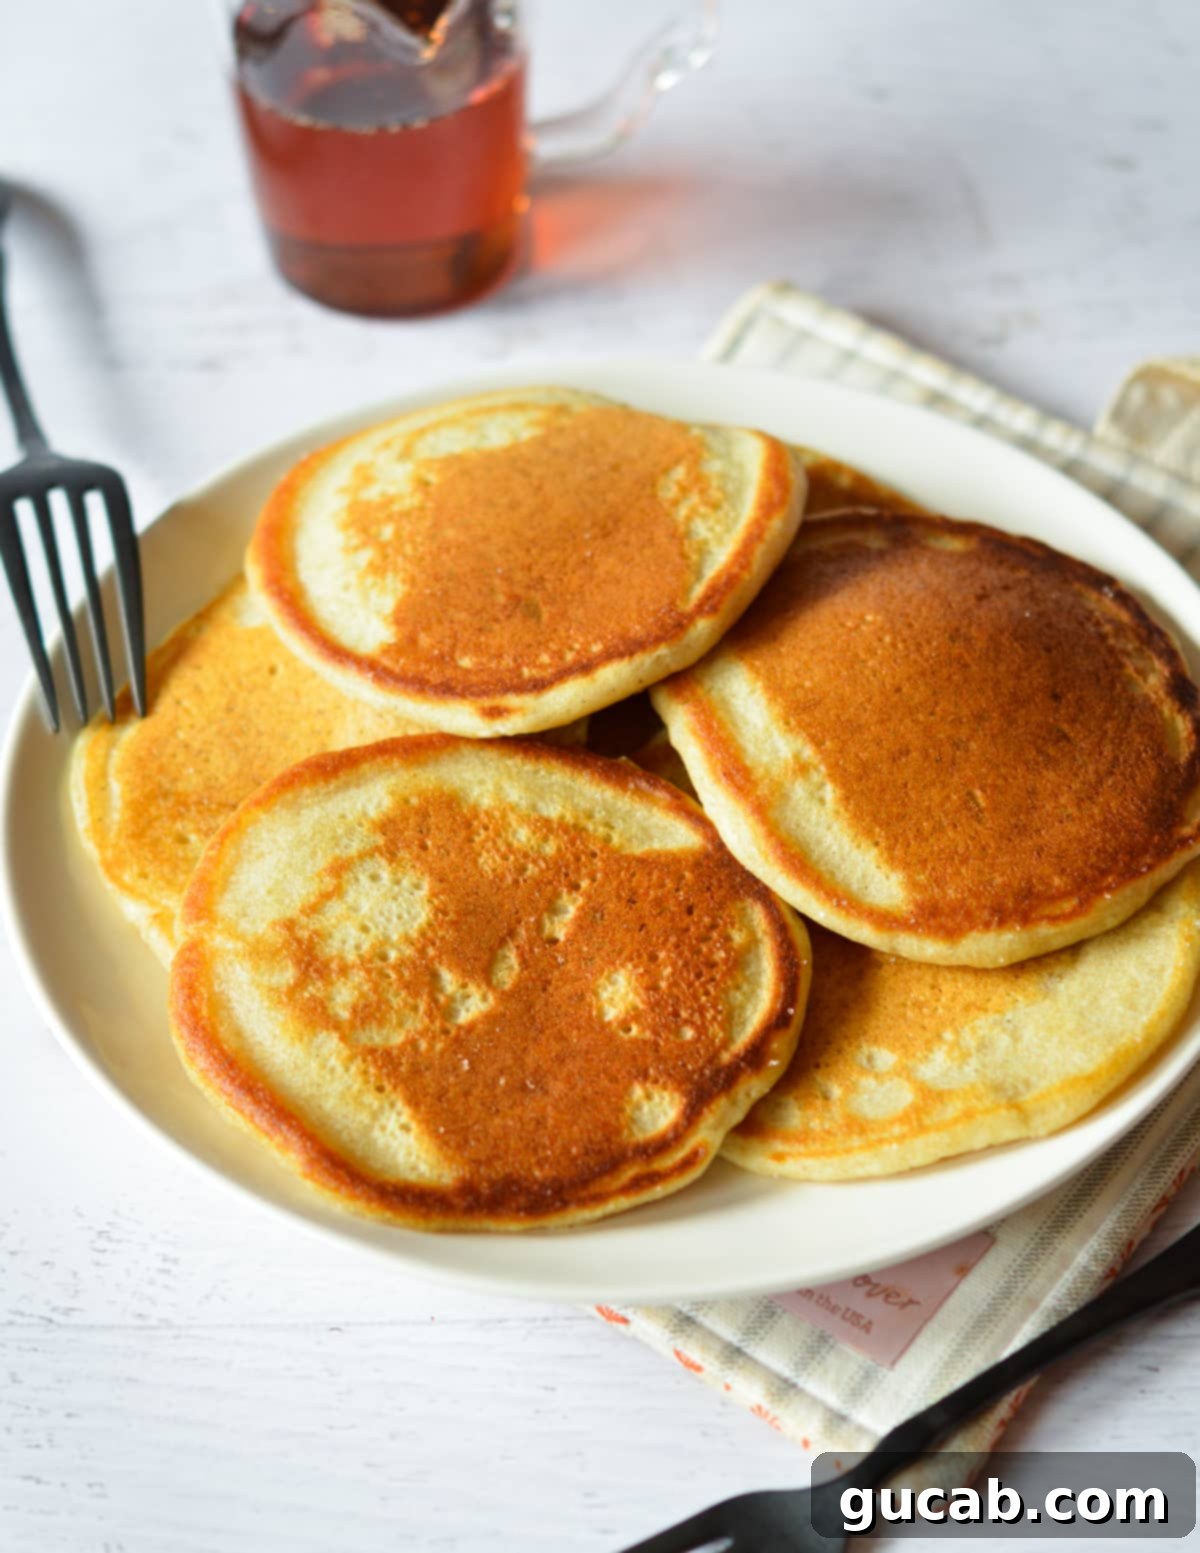
These aren’t just another pancake recipe. They offer a unique textural experience: thinner and lighter than their traditional counterparts, with a delicate fluffiness at their core. What truly sets them apart are their signature golden-brown tops and beautifully caramelized, crisp edges. This perfect balance of tender and crunchy makes them incredibly satisfying without being overly heavy. Plus, they’re surprisingly easy to whip up, ensuring a delightful breakfast is never far away. Once you try these, you’ll understand why they quickly become a favorite!
The Secret to Crispy Edges: Understanding the Science
Achieving those coveted crispy edges isn’t magic; it’s a combination of simple kitchen science. The key elements are heat, a touch of oil, and the strategic addition of sugar. When the pancake batter hits a hot, oiled skillet, the sugars in the batter (and the extra sprinkle we add) undergo caramelization. This process transforms them into that delightful golden-brown crust with a slightly crunchy texture. Simultaneously, the direct heat helps to cook the edges faster and more intensely, creating a thin, crisp barrier around the fluffy interior. The slightly thinner batter consistency also contributes, allowing the heat to penetrate and crisp up the edges more effectively than with a very thick batter.
Key Ingredients for Your Crispy Pancake Journey
Crafting the perfect crispy pancake relies on a handful of everyday ingredients, each playing a crucial role in achieving that sought-after texture and flavor. Don’t underestimate the power of these pantry staples!
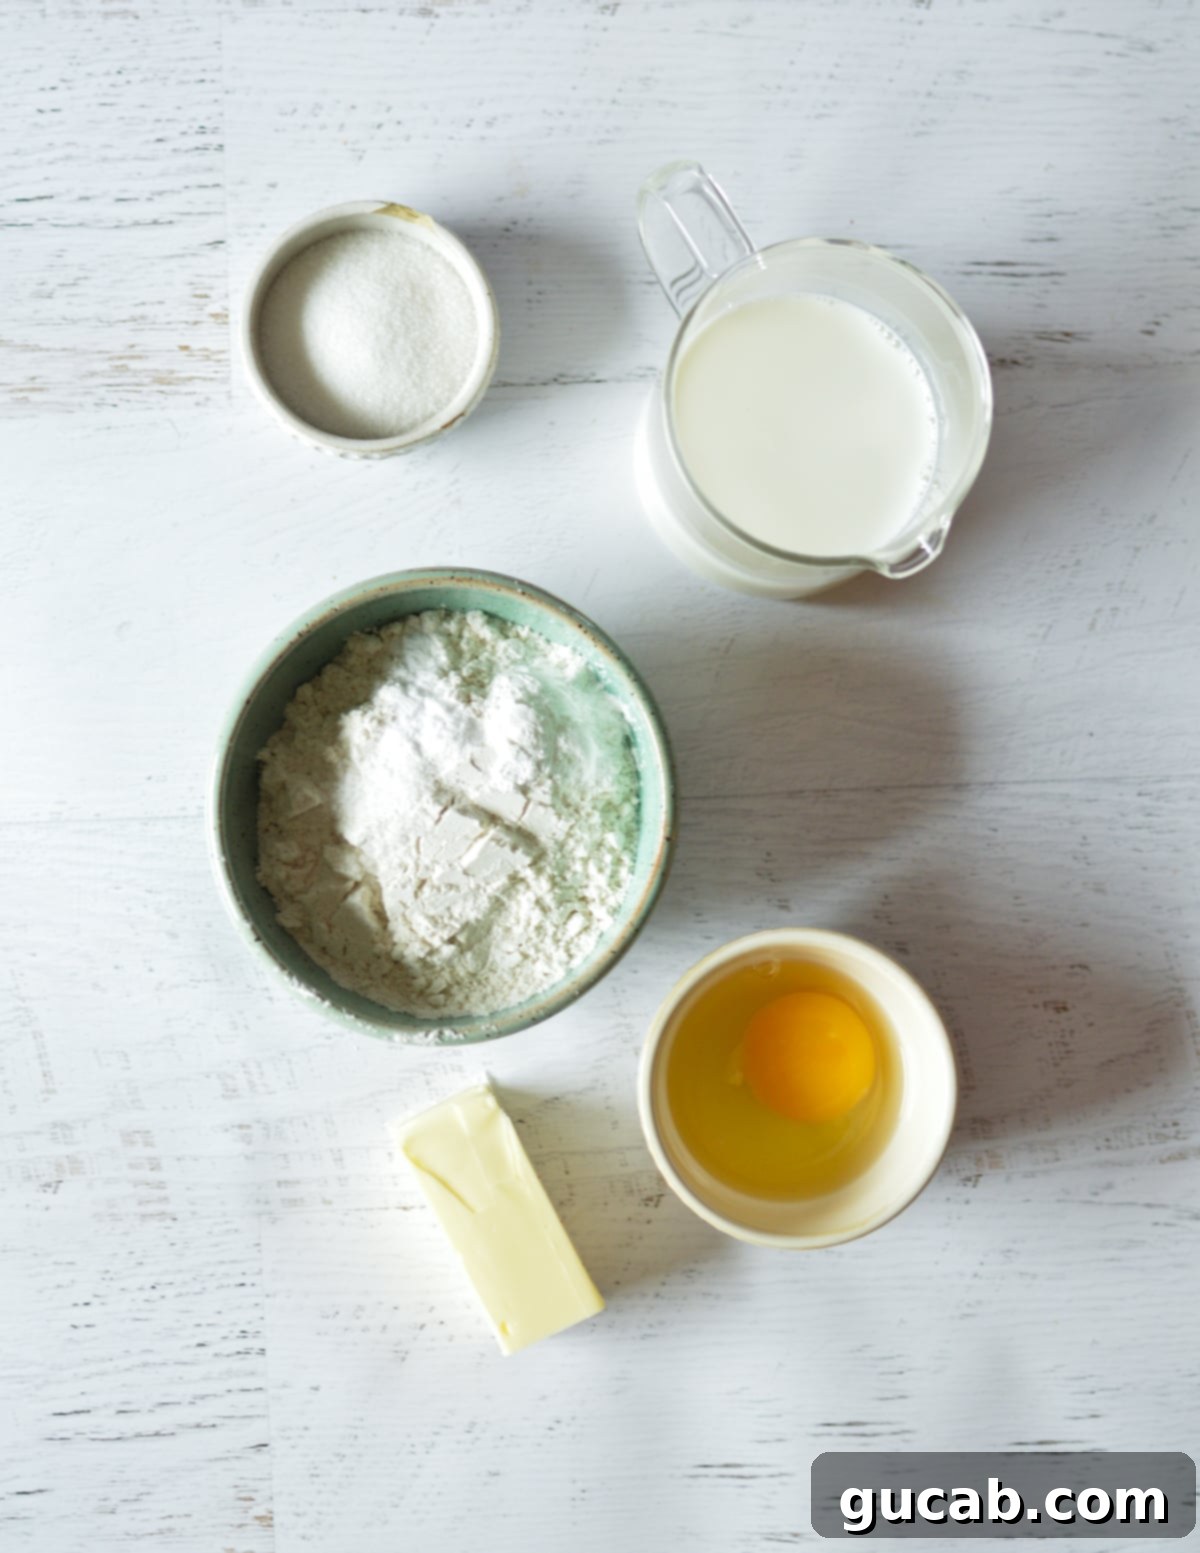
- All-purpose flour: This is the foundation of our light and airy pancakes. It provides the necessary structure to hold the batter together while allowing for a delicate, fluffy texture. For these specific crispy pancakes, sticking to all-purpose flour is crucial; alternative flours often yield different results in terms of texture and crispiness.
- Sugar: More than just a sweetener! A modest amount of sugar in the batter adds a subtle sweetness. Crucially, a sprinkle of sugar directly onto the cooking pancake enhances its ability to caramelize beautifully against the hot skillet, creating those irresistible golden-brown and crispy edges.
- Baking powder & soda: These leavening agents are responsible for the “fluffy but thin” characteristic. They create tiny air bubbles within the batter, which expand when heated, giving the pancakes a lovely rise and a tender, airy interior without making them overly thick. Using both ensures an optimal lift and texture.
- Kosher salt: A small but mighty ingredient! Salt doesn’t just add flavor; it balances and amplifies the sweetness of the sugar and the richness of the butter, making all the other ingredients truly sing. If you’re using table salt, which is finer, remember to cut the amount in half to avoid over-salting.
- Egg: The humble egg plays a vital role in binding the ingredients and providing structure to the batter. It helps ensure the pancakes hold their shape beautifully as they cook and don’t fall apart, contributing to both texture and consistency.
- Unsalted butter: This is another game-changer. While butter is rich, when melted and incorporated correctly, it contributes significantly to the fluffy texture of the pancakes. Using unsalted butter allows you to control the overall saltiness of your recipe, a key factor in balancing flavors. Make sure it’s melted but has cooled slightly before adding.
- Whole milk: For the richest flavor and best texture, whole milk is highly recommended. Its fat content contributes to the tender crumb and slight richness of the pancakes, ensuring they are moist and delicious. Swapping with lower-fat milk might result in a slightly less tender pancake.
How to Make Pancakes with Crispy Edges: A Step-by-Step Guide
Creating these delightful crispy pancakes is a straightforward process, even for beginner cooks. Follow these simple steps to achieve breakfast perfection!
Before you even touch the batter, the first crucial step is to heat a nonstick skillet over medium heat. This is paramount! Giving your pan ample time to come to the correct temperature ensures consistent cooking and, most importantly, those crispy edges we’re aiming for. A cold or lukewarm pan will result in soggy pancakes.
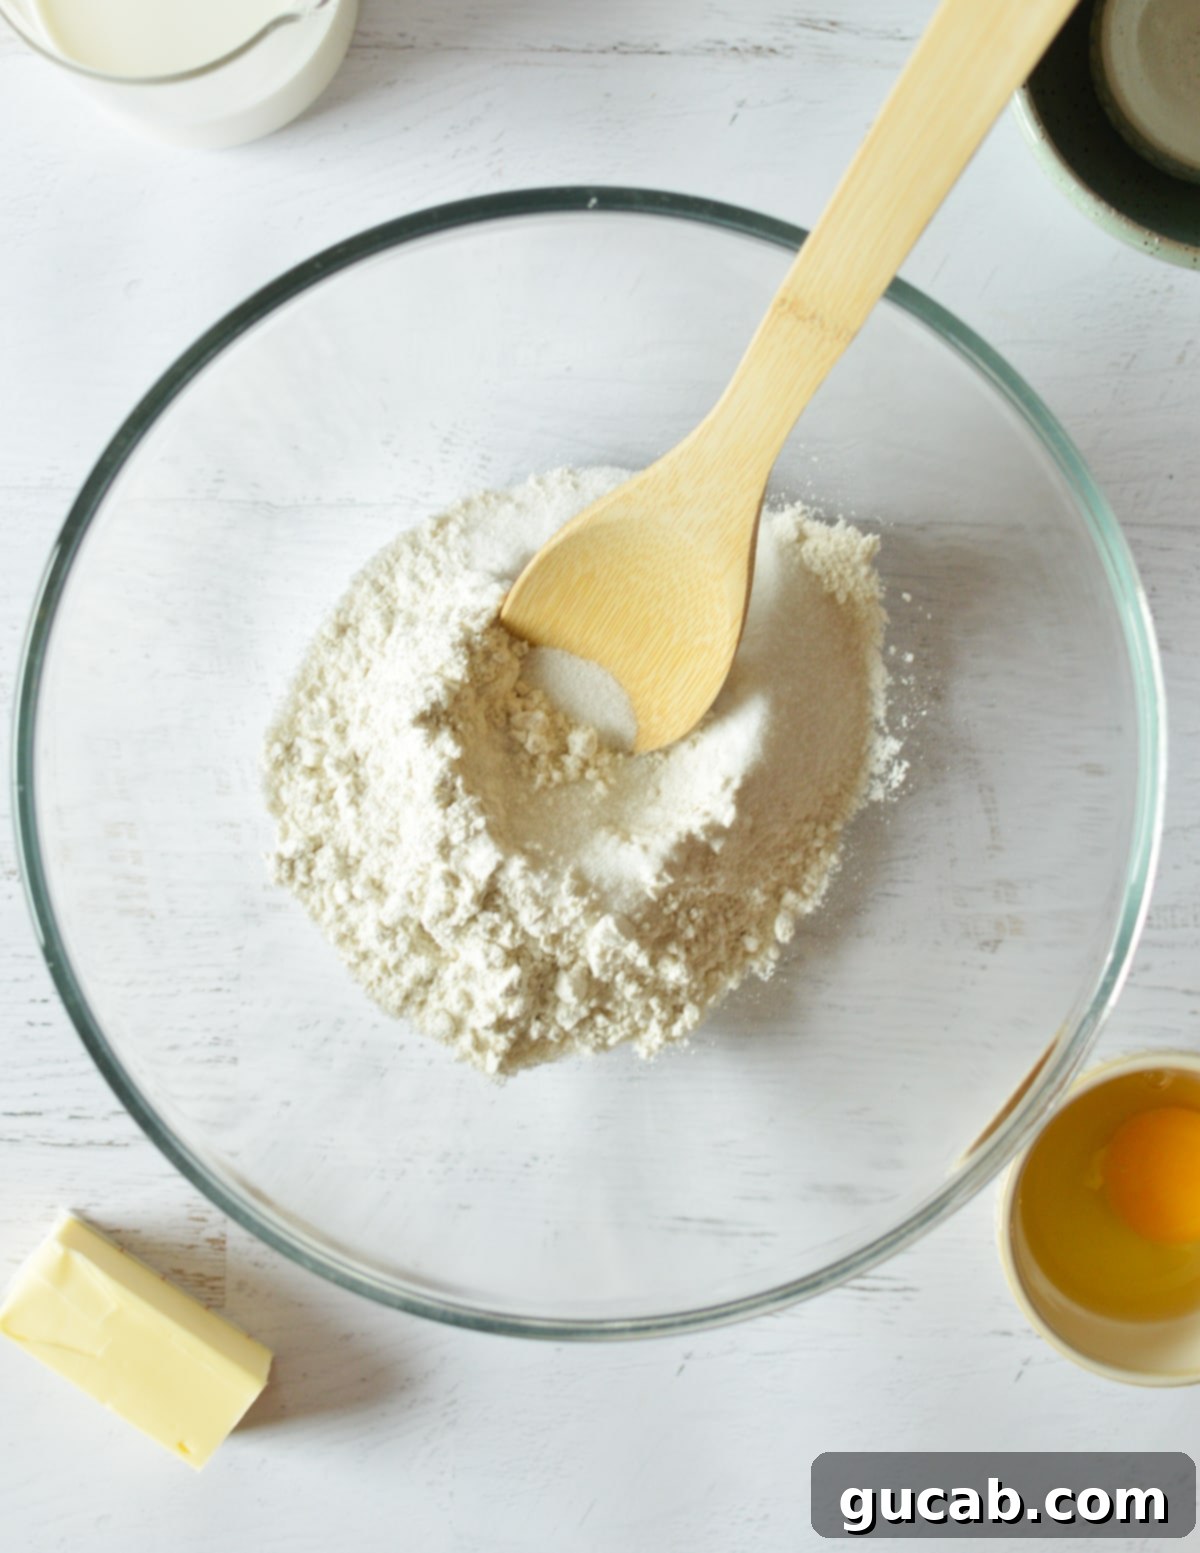
In a large mixing bowl, begin by combining all the dry ingredients: the all-purpose flour, sugar, baking powder, baking soda, and kosher salt. Whisk these together thoroughly to ensure they are well distributed. This prevents pockets of leavening agents or salt in your finished pancakes.
In a separate liquid measuring cup, combine the whole milk and the large egg. Use a fork to whisk them vigorously, ensuring the egg is completely broken up and thoroughly mixed with the milk. This creates a uniform wet mixture.
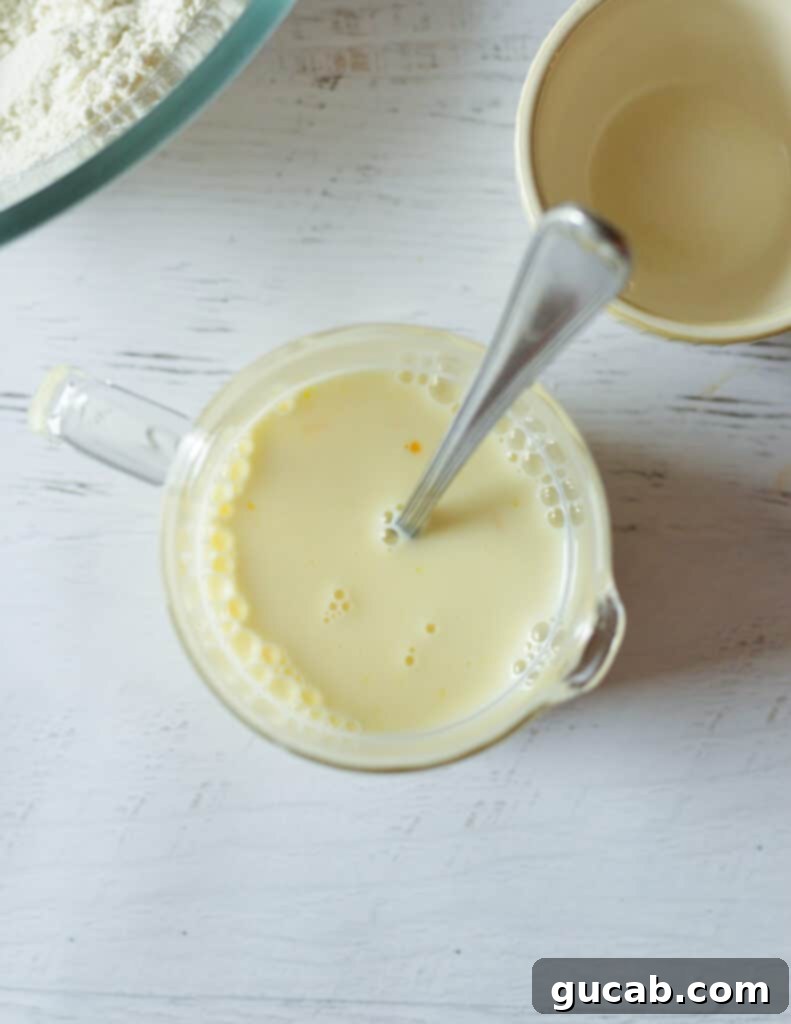
Next, pour the milk mixture into the dry flour mixture. Using a whisk or spatula, stir gently until the ingredients are just incorporated. It’s okay, and even preferable, if there are still a few lumps; overmixing develops gluten, which can lead to tough, chewy pancakes instead of light, fluffy ones.
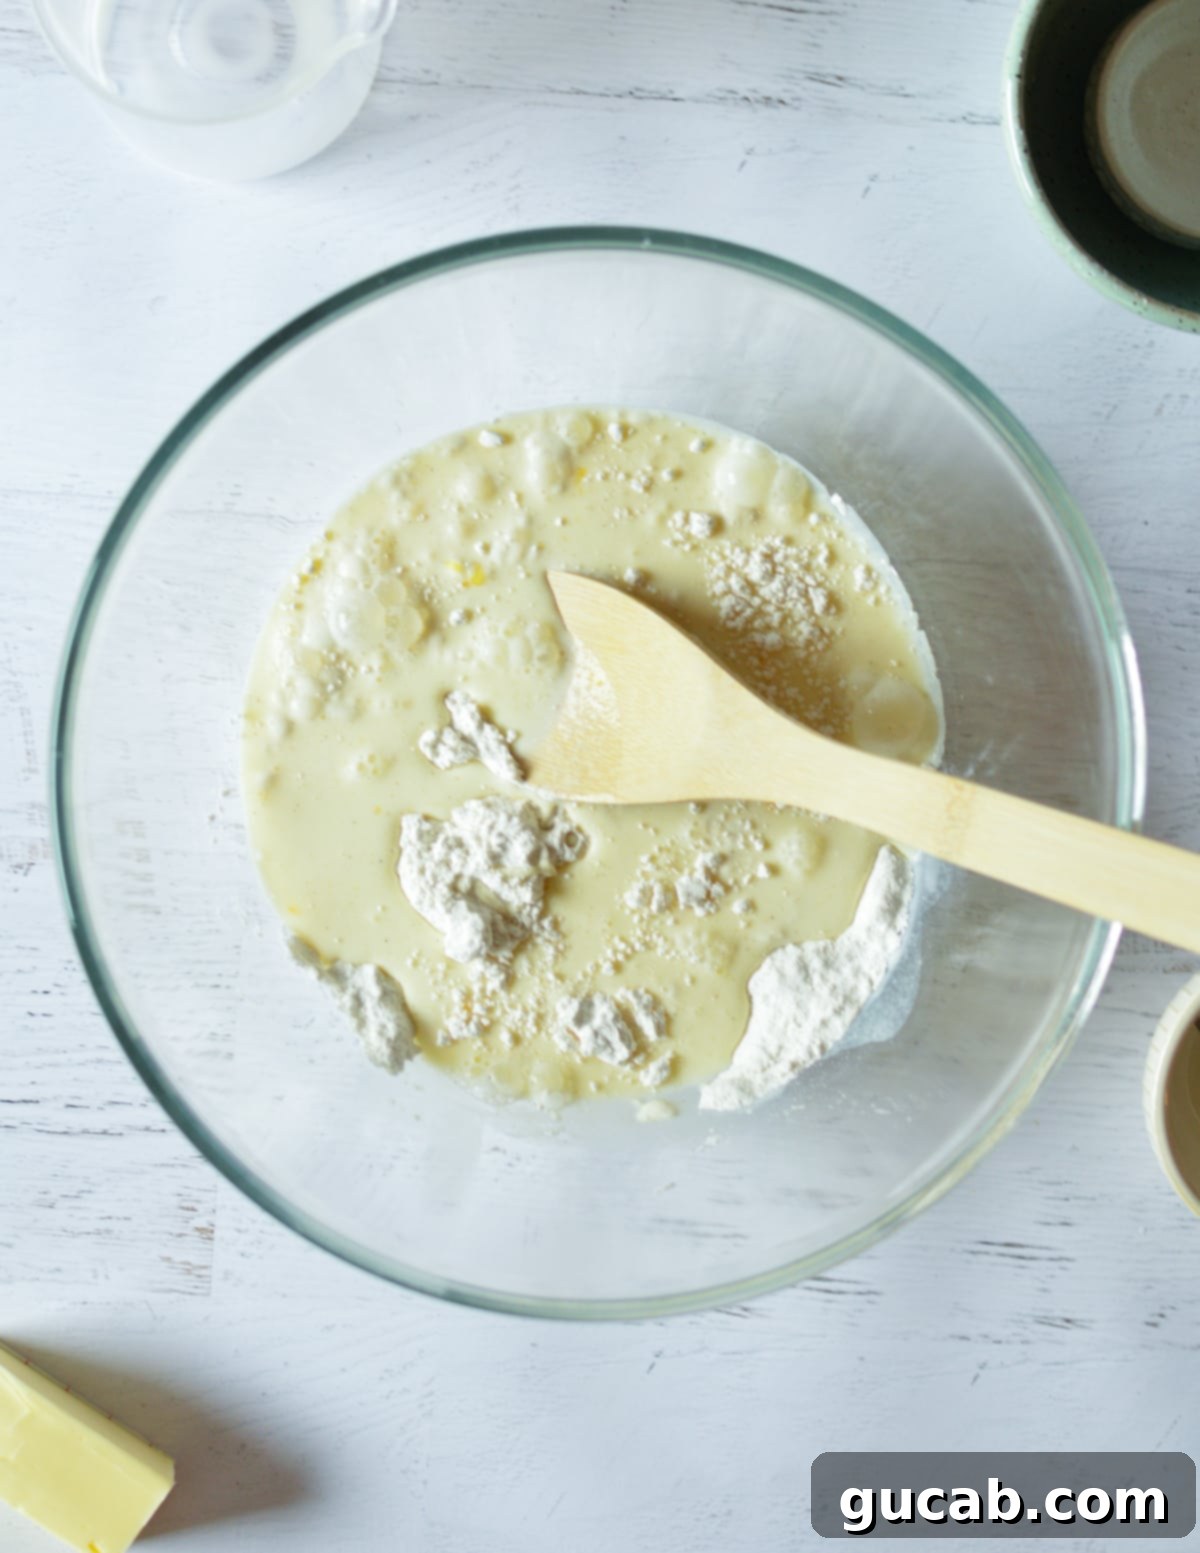
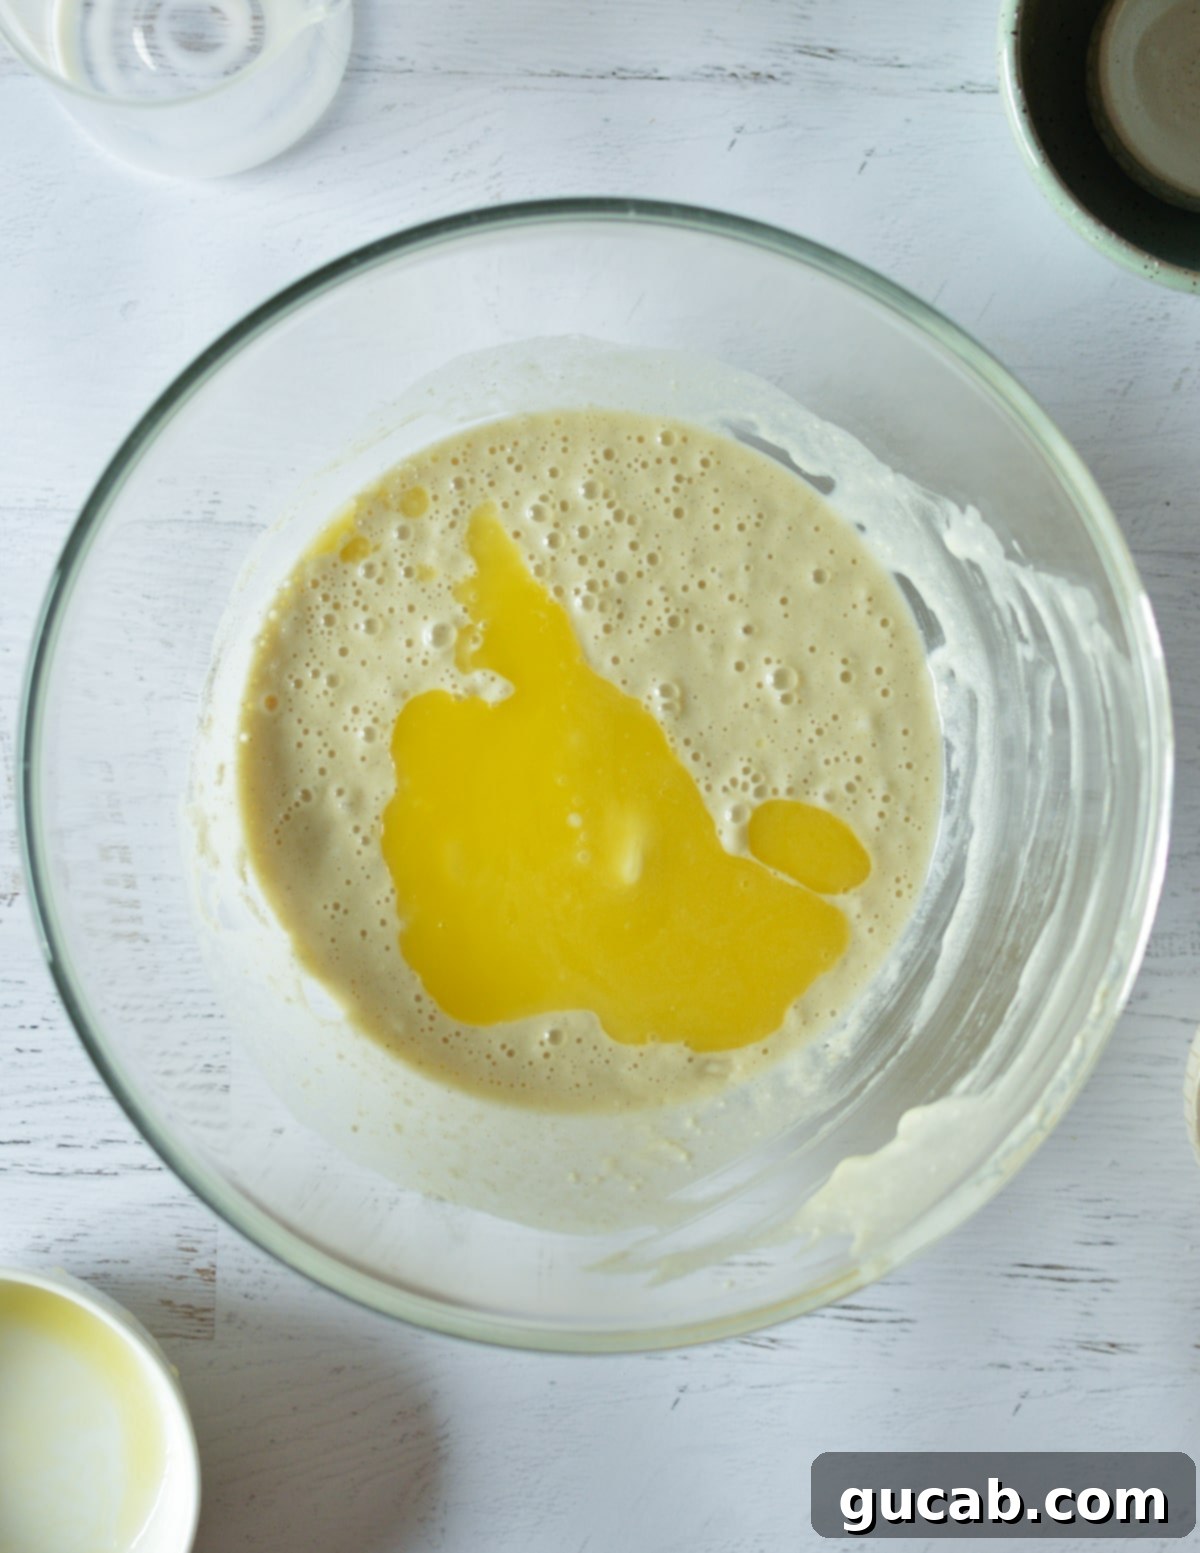
Finally, add the melted unsalted butter to the batter. Stir it in gently until a relatively smooth batter forms. Again, avoid overmixing. The butter will enrich the batter and contribute to its tender texture.
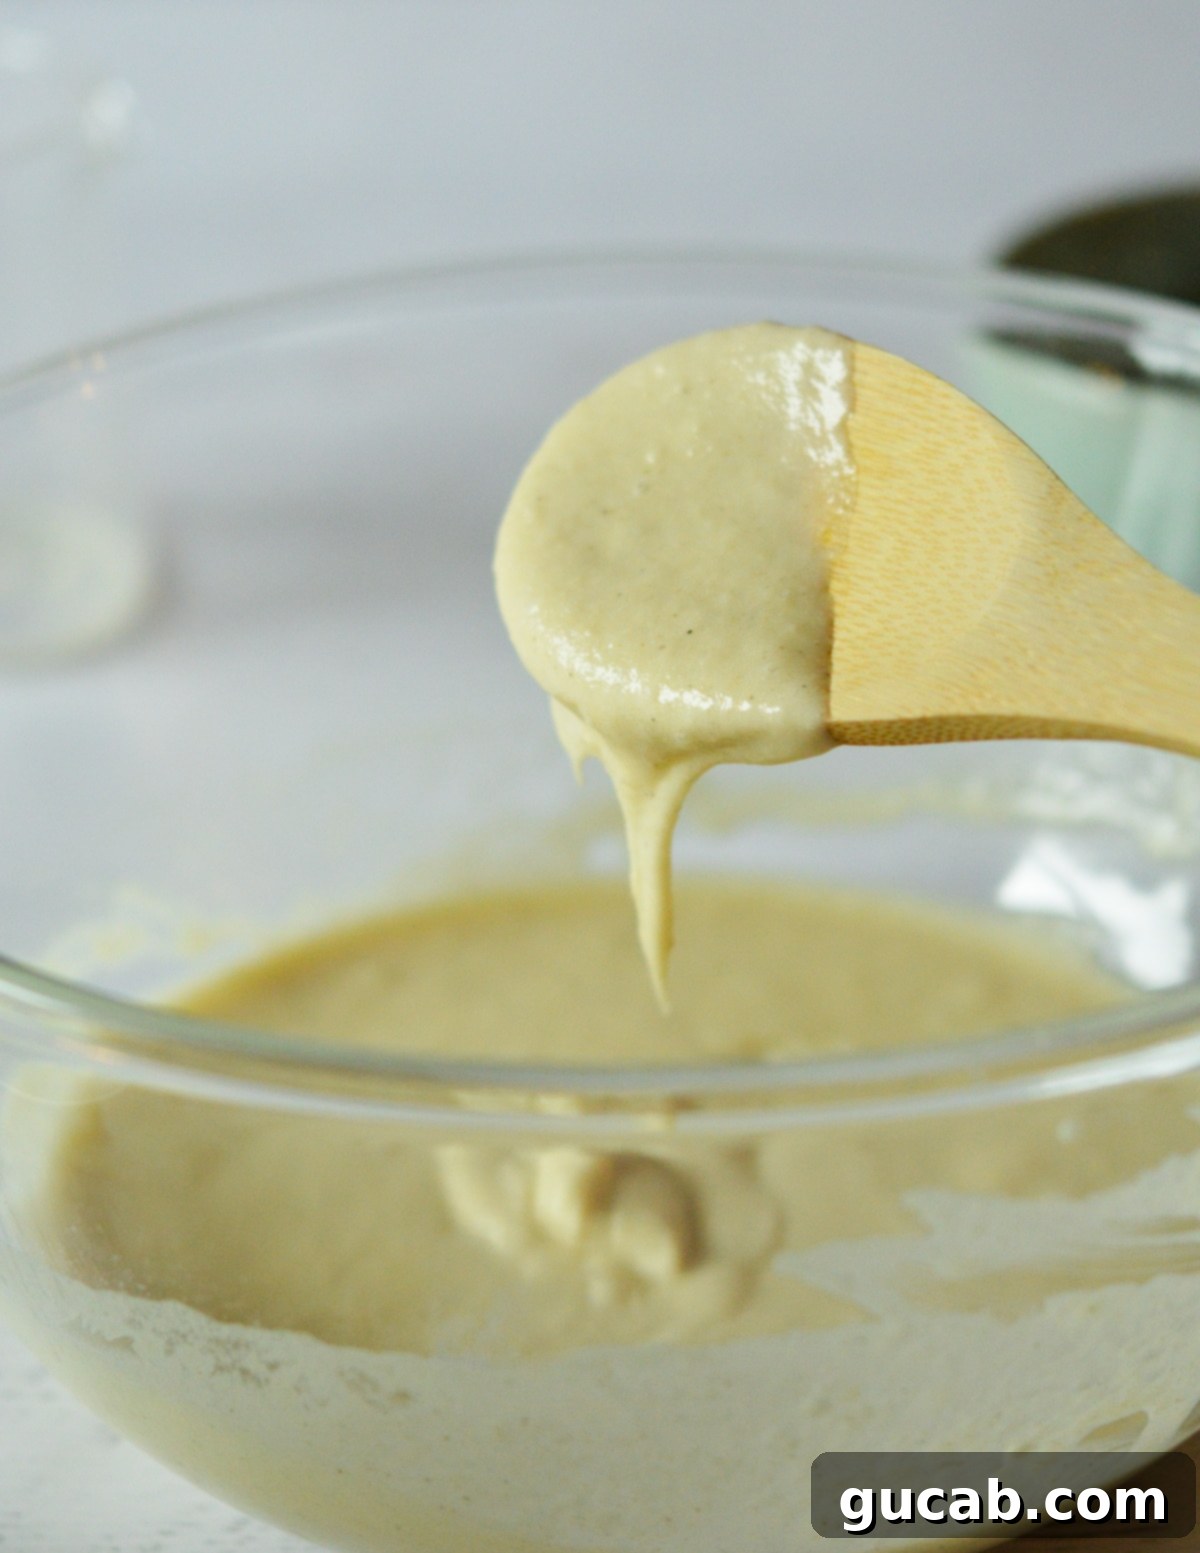
The resulting batter should be a bit thinner than what you might expect for traditional, thick pancakes. It should still have some body but should pour slowly and steadily if picked up with a spoon. This thinner consistency is key to achieving those crispier edges.
Once your skillet is hot (you can test by flicking a few drops of water onto it; they should sizzle and evaporate), add a couple of teaspoons of canola oil (or your preferred cooking oil) to the pan. Use a cookie scoop to drop three spoonfuls of batter into the skillet. Make sure to give them enough space to spread out, as this also helps with achieving those beautiful crispy edges.
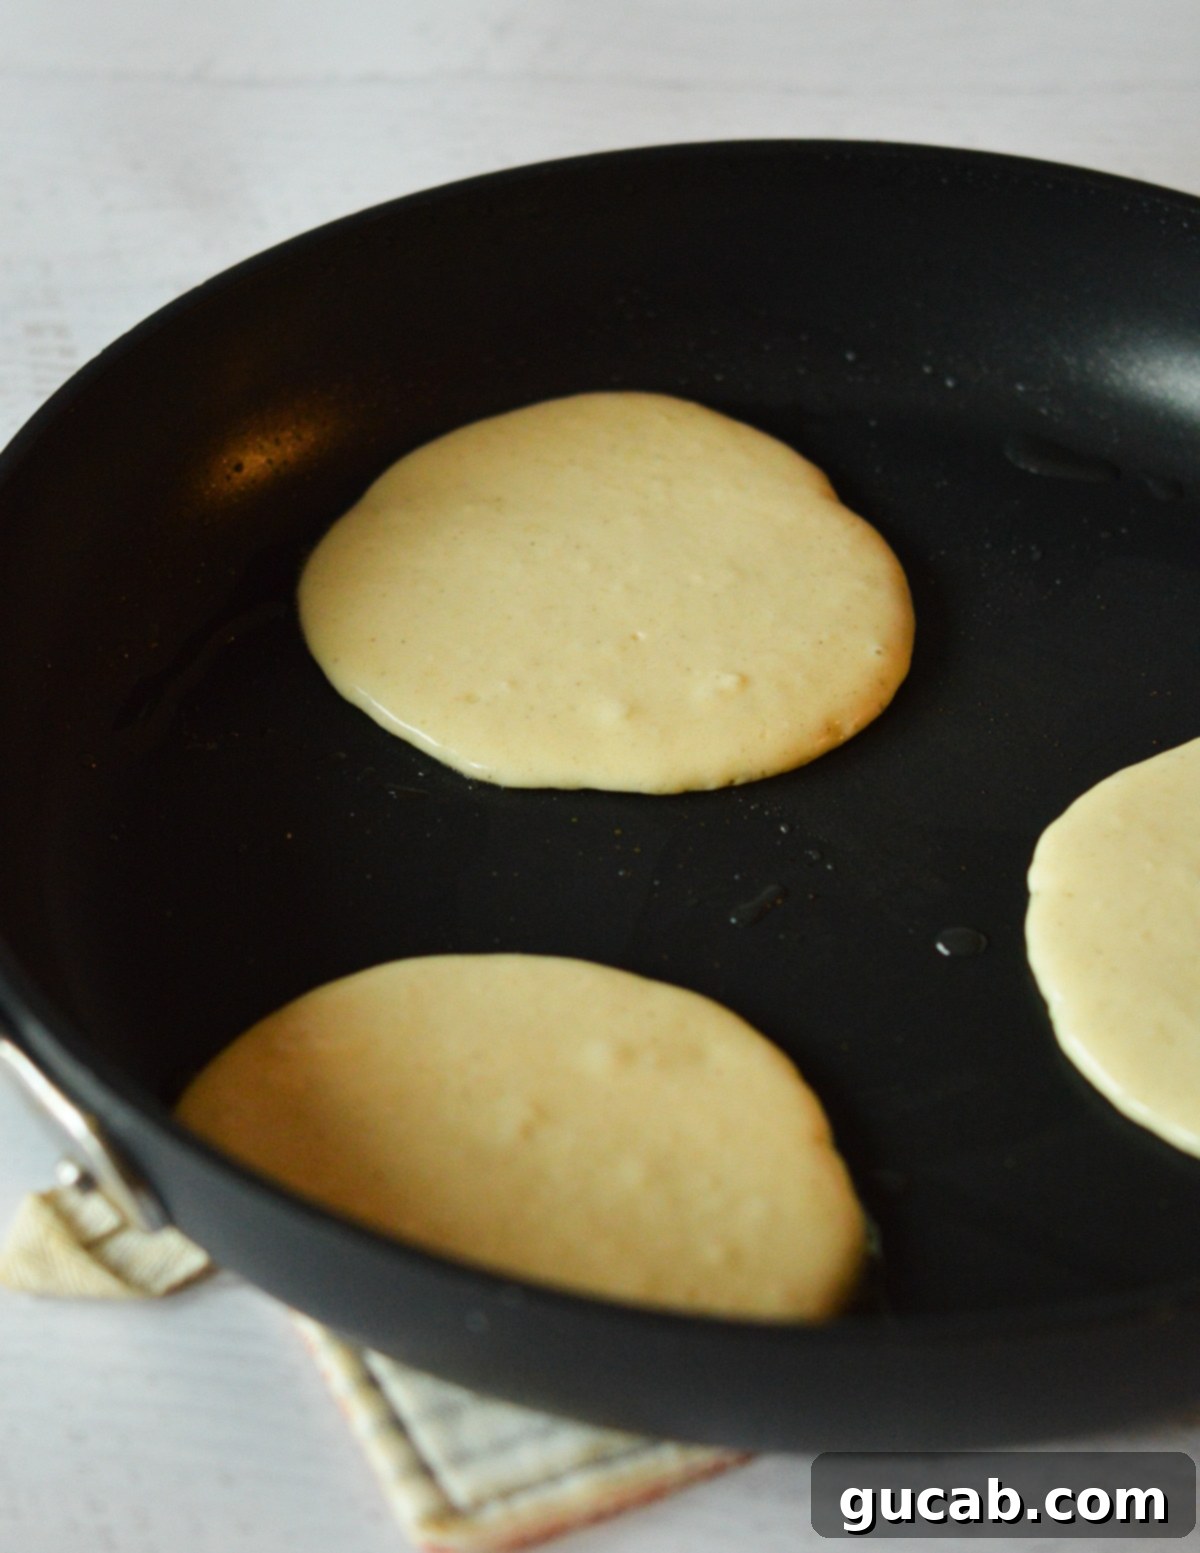
Let the pancakes cook for 2 to 3 minutes on the first side. You’ll know they’re ready to flip when you see lots of bubbles forming on the top surface, and the edges look set and slightly dry. This indicates the internal structure is developing.
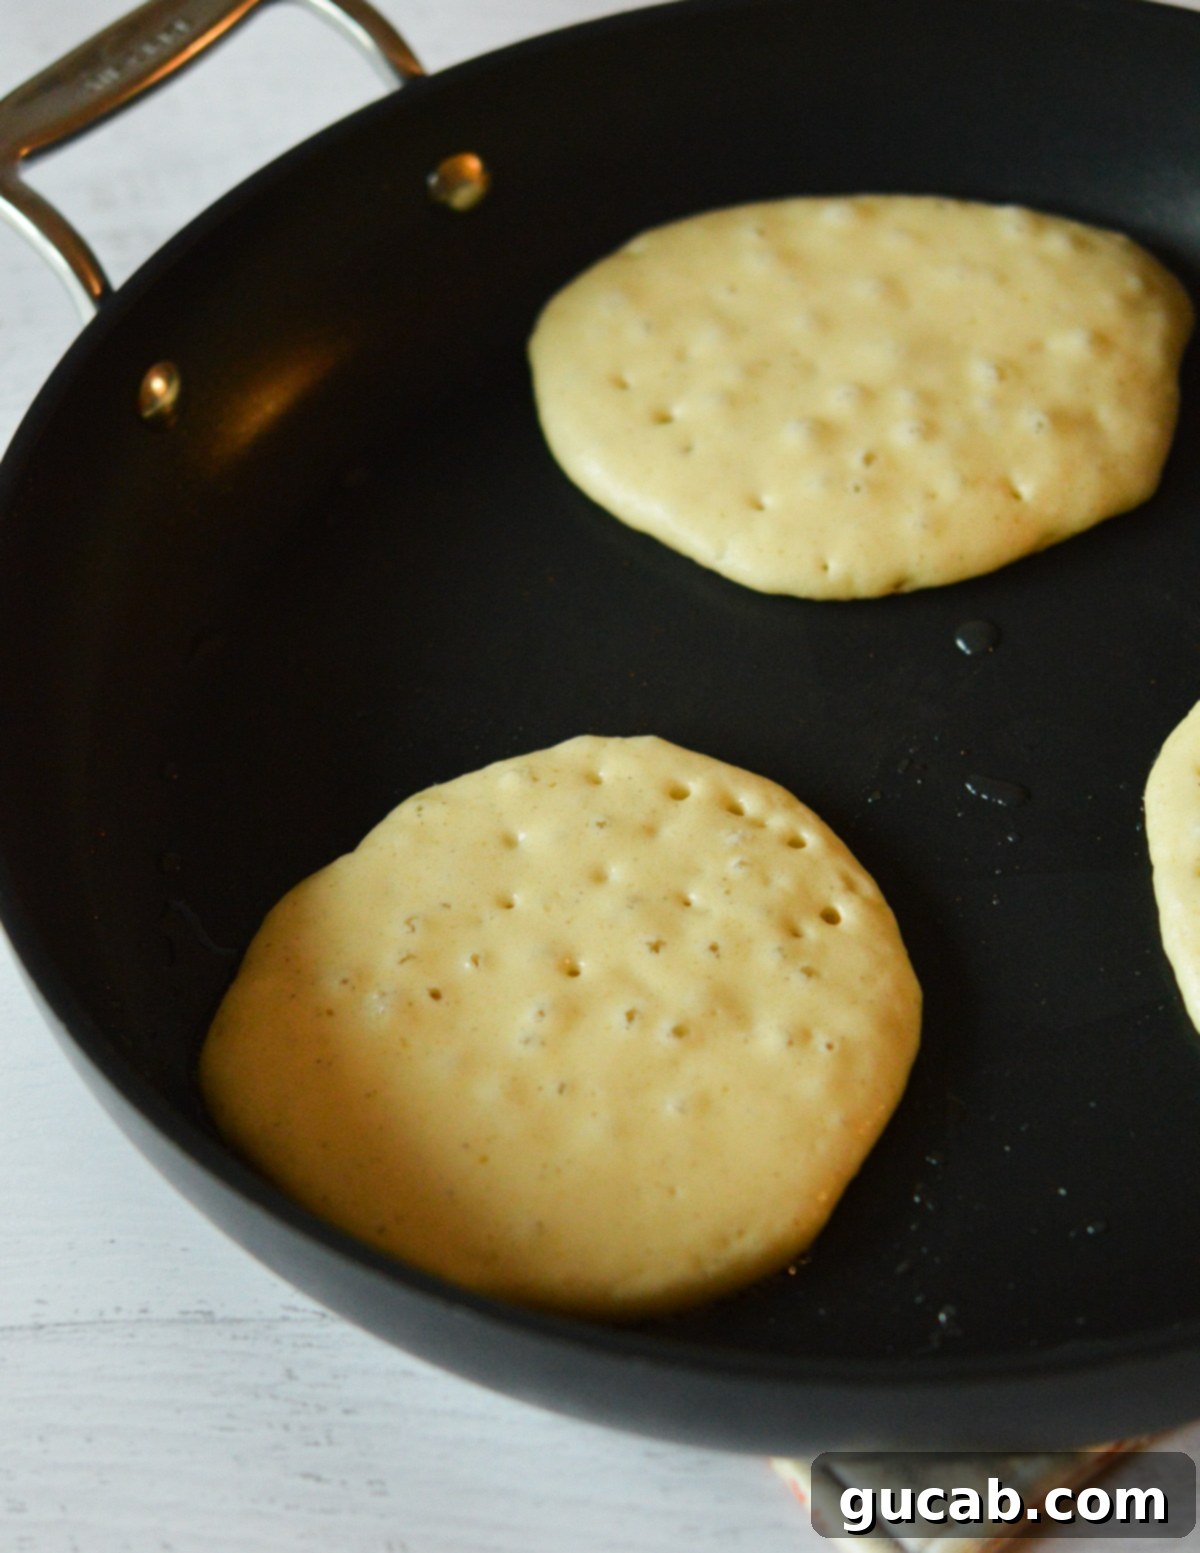
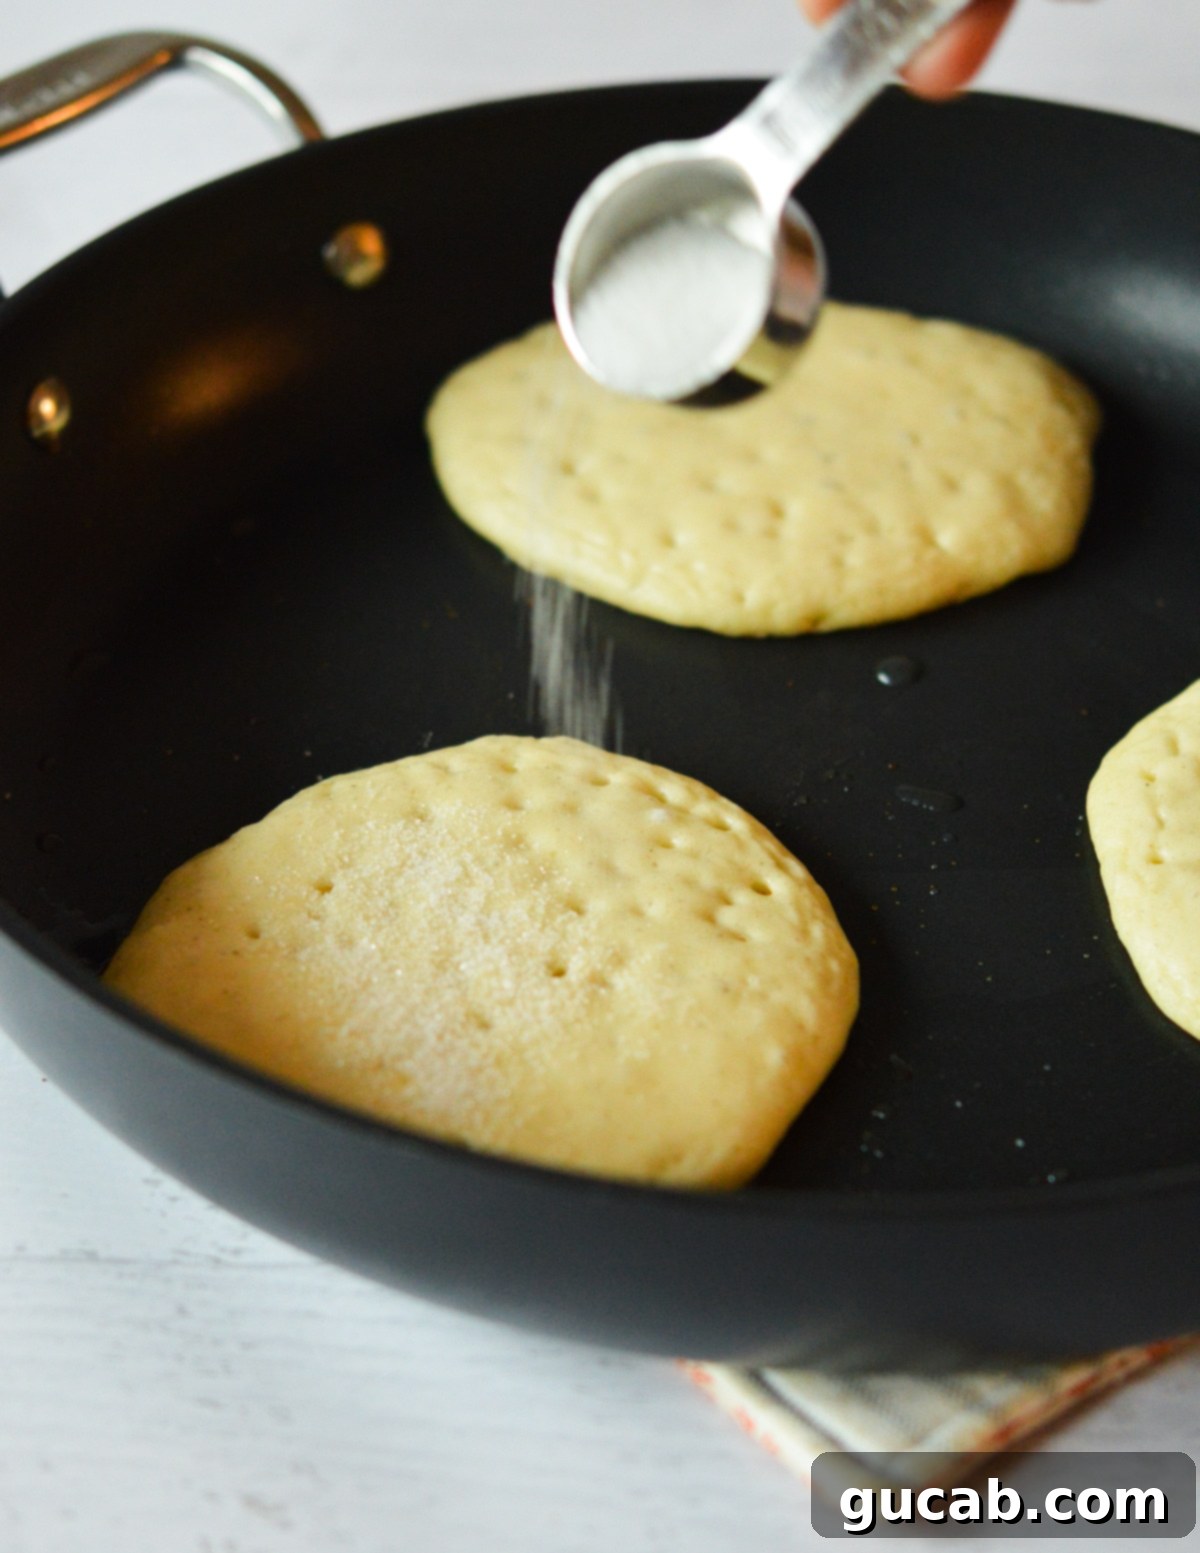
This is the secret step for ultimate crispiness: sprinkle each pancake with about ½ teaspoon of sugar just before flipping. This extra sugar will caramelize rapidly when it hits the hot skillet, creating a beautifully crispy and golden bottom.
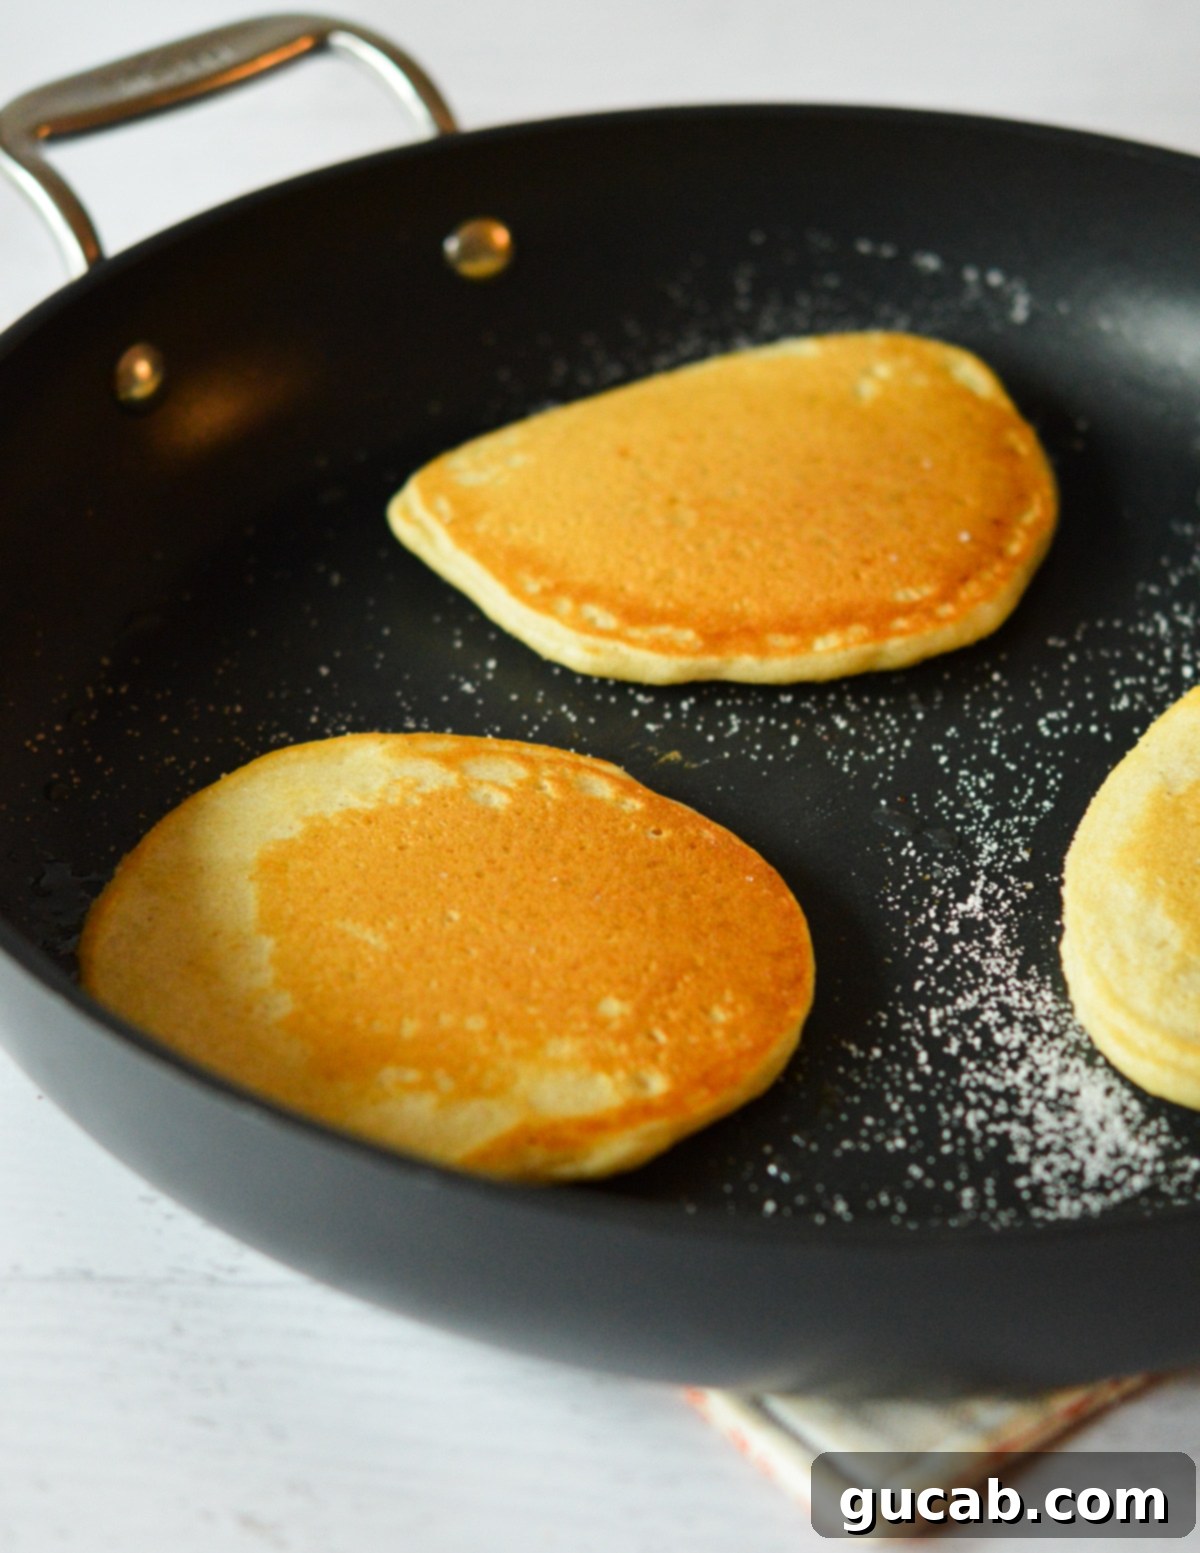
Using a thin spatula, carefully flip the pancakes and cook for another minute or two. The side that was just sprinkled with sugar should now be a deep golden brown and wonderfully lightly crispy from the caramelized sugar. Continue cooking until both sides are perfectly golden and the pancakes are cooked through. Repeat this process with the remaining batter, adding more oil as needed.
Serve immediately with a generous pour of your favorite maple syrup! The crisp edges are best enjoyed fresh from the pan.
Expert Recipe Tips for Crispy Pancake Perfection
To ensure every batch of your crispy pancakes turns out perfectly, keep these essential tips in mind:
- Don’t skimp on the oil in the pan. A couple of teaspoons of neutral oil (like canola or vegetable oil) are crucial. Hot oil acts as a conductive medium, helping the edges to fry and crisp up beautifully, much like a shallow-fried delight. This creates a barrier that prevents the pancake from absorbing too much moisture and becoming soggy.
- Maintain medium heat. Patience is key here. If the heat is too high, the pancakes will brown or even burn on the outside before the inside has a chance to cook through. If it’s too low, they won’t achieve that coveted crispiness and might become greasy. Medium heat allows for even cooking and perfect caramelization.
- Ensure your skillet is sizzling hot. This cannot be stressed enough! Before adding any batter, your skillet needs to be at the correct temperature – hot, not just warm or cool. You can test this by flicking a few drops of water onto the surface; they should sizzle and evaporate instantly. If the skillet isn’t hot enough, the pancakes will absorb the oil instead of forming a crispy crust, leading to a greasy and soft texture.
- Always test one pancake first, then adjust the batter. This is a pro tip! Cook a single pancake to assess its thickness, texture, and crispiness. If you find it’s too thin for your liking, stir in an extra tablespoon or two of all-purpose flour into the remaining batter. If it’s too thick and not spreading enough, you can add a tablespoon of milk to thin it slightly. This step guarantees your entire batch will be to your preference.
- Serve immediately or the crispy edges will soften. The wonderful crispiness of these pancakes is best enjoyed straight off the griddle. As they cool or sit, the moisture from the air and the pancake itself will cause the edges to soften. For the ultimate crispy experience, have your plates ready!
- Avoid overmixing the batter. A few lumps are perfectly fine, even desirable! Overmixing develops the gluten in the flour, leading to tough, chewy pancakes rather than light and fluffy ones. Mix only until the wet and dry ingredients are just combined.
- Use fresh leavening agents. Baking powder and baking soda lose their potency over time. Always ensure yours are fresh for optimal rise and fluffiness. You can test baking soda by adding a bit to vinegar (it should fizz) and baking powder by adding it to hot water.
- Consider a short batter rest. While not strictly necessary for this recipe due to its thinner nature, a brief 5-10 minute rest can sometimes allow the flour to fully hydrate and the leavening agents to begin working, potentially leading to a slightly more tender interior and consistent bubbles.
Delicious Variations and Serving Suggestions
While these crispy pancakes are divine on their own, they also serve as a fantastic base for a variety of creative additions and toppings. Don’t hesitate to customize them to your liking!
- Classic Toppings & More: Feel free to add your favorite toppings for extra crunch or sweetness! Classic choices include fresh berries (strawberries, blueberries, raspberries), sliced bananas, or a dollop of whipped cream. For added texture, consider granola, chopped nuts (pecans, walnuts), chocolate chips, or even a swirl of Nutella or your favorite fruit jam. A pat of butter melting on top is always a welcome sight!
- Spiced Syrups: Elevate your syrup game with a little heat! This spicy maple syrup, infused with a hint of cayenne pepper, adds a wonderfully unexpected sweet-heat kick that perfectly complements the rich pancakes.
- For Thicker Pancakes: If you occasionally crave a heartier pancake, simply swap the whole milk in this recipe with buttermilk. The acidity in buttermilk reacts with the baking soda to create a thicker, fluffier pancake while still yielding a tender crumb. Adjust flour slightly if needed.
- Gluten-Free Options: For those with dietary restrictions, these pancakes can often be adapted. Swap the all-purpose flour with a high-quality 1-to-1 gluten-free baking flour blend, such as Bob’s Red Mill’s 1 to 1 Gluten-Free Baking Flour. Be aware that the texture might be slightly different, but you can still achieve a delicious result.
- Flavor Infusions: Enhance the batter with a teaspoon of vanilla extract, a pinch of cinnamon, or a hint of citrus zest (lemon or orange) for an aromatic boost.
- Mini Crispy Pancakes (Silver Dollar): For a fun, bite-sized version, simply drop smaller dollops of batter into the pan. These cook even faster and are perfect for little hands or for an appetizer-style brunch.
Storage and Reheating Your Crispy Pancakes
Got leftovers? No problem! These crispy pancakes can be easily stored and reheated, making them perfect for meal prep or a quick breakfast on busy mornings.
- Storage: Allow any leftover pancakes to cool completely to room temperature before storing. This prevents condensation from forming and making them soggy. Once cool, transfer them to an airtight container or a zip-top bag. They can be stored in the refrigerator for up to one week or frozen for longer-term storage.
- Freezing for Convenience: For best results when freezing, place a piece of parchment paper between each pancake before stacking them in a freezer-safe bag or container. This prevents them from sticking together, allowing you to grab just one or two at a time. They can be frozen for up to 3 months. I often opt for freezing as it ensures I don’t forget about them in the fridge, and they retain their quality remarkably well.
- Reheating in the Microwave: For a quick reheat, place pancakes on a microwave-safe plate and microwave in 20-second increments until warmed through. Be careful not to overheat them, as this can cause them to become tough or greasy.
- Reheating for Crispiness (Recommended): To revive some of that wonderful crispiness, reheating in a toaster oven, air fryer, or even a lightly oiled skillet is ideal.
- Toaster Oven/Air Fryer: Heat at 300-350°F (150-175°C) for 3-5 minutes, or until heated through and edges are slightly crisp again.
- Skillet: Heat a nonstick skillet over medium-low heat with a tiny bit of butter or oil. Reheat pancakes for 1-2 minutes per side until warm and slightly crispy.
Frequently Asked Questions (FAQs) About Crispy Pancakes
Why do my pancakes get crispy?
The secret to achieving beautifully crispy pancakes lies in a combination of factors: a hot skillet, sufficient oil, and the caramelization of sugar. When the pancake batter (especially with the added sugar sprinkle) hits a properly preheated and oiled pan, the direct heat promotes the Maillard reaction and sugar caramelization along the edges and bottom. This creates that desirable golden-brown color and crunchy texture. The oil acts as a heat conductor, helping to “fry” the edges rather than just steam them. Ensuring your skillet is hot enough to produce a sizzle upon contact, but not so hot that it burns, is crucial for this process.
How can I prevent my pancakes from becoming soggy?
To prevent soggy pancakes, follow these tips: 1) Ensure your skillet is hot and adequately oiled before adding batter; a cold pan will lead to oil absorption and sogginess. 2) Don’t overcrowd the pan, as this lowers the temperature and steams the pancakes instead of frying them. 3) Cook over medium heat to allow even cooking and crisping without burning. 4) Most importantly, serve immediately! The crispiness naturally diminishes as pancakes cool due to moisture release.
Can I make the pancake batter ahead of time?
While fresh batter is usually best for optimal fluffiness due to the active leavening agents, you can prepare the dry and wet ingredients separately and combine them just before cooking. If you must make the batter ahead, mix it, cover tightly, and refrigerate for no more than an hour or two. The leavening agents will start to activate, so you might lose some rise, but it will still be delicious. A quick, gentle stir before cooking is all that’s needed.
What’s the difference between thin and thick pancakes?
The primary difference lies in the batter consistency and the resulting texture. Thick pancakes typically have a denser batter, often made with buttermilk, which yields a tall, very fluffy, and tender interior. Thin pancakes, like these crispy ones, use a slightly looser batter, which allows them to spread more in the pan. This thinner profile, combined with the right heat and oil, promotes faster cooking and a larger surface area for developing crispy, caramelized edges, while still maintaining a delightful lightness and fluffiness inside.
More Pancake Recipes to Explore
- Fluffy Gluten Free Pancakes
- Light & Fluffy Oat Flour Pancakes
- Paleo Sweet Potato Pancakes
- Almond Flour Pancakes [The Best]
- Silver Dollar Pancakes
Thin & Crispy Pancakes
Carolyn
Pin Recipe
10
minutes
15
minutes
25
minutes
Breakfast
American
9
pancakes
140
kcal
Equipment
-
Large nonstick skillet
Ingredients
-
1
cup
all-purpose flour -
2
tablespoons
sugar -
1½
teaspoons
baking powder -
½
teaspoon
baking soda -
¼
teaspoon
kosher salt -
1
large egg -
1
cup
whole milk -
5
tablespoons
unsalted butter
melted but cool
Instructions
-
Heat a large nonstick skillet over medium heat.
-
In a large bowl, combine the all-purpose flour, sugar, baking powder, baking soda, and kosher salt.
-
In a measuring cup, whisk the egg and milk together.
-
Pour the milk mixture into the flour mixture and stir to incorporate. Add the melted butter and stir again until a batter forms.
-
Add a couple of teaspoons of canola oil to the hot skillet. Use a cookie scoop to scoop three pancakes into the skillet. Give them room to spread.
-
Let them cook for 2 to 3 minutes, or until you see lots of bubbles on top. Sprinkle each pancake with a light coating of sugar then flip them.
-
Cook for another 1 to 2 minutes, or until the bottoms are deep golden brown and slightly crisp from the cooked sugar.
-
Repeat with the remaining pancake batter. Serve immediately with maple syrup.
Nutrition
Calories:
140
kcal
Carbohydrates:
15
g
Protein:
3
g
Fat:
8
g
Saturated Fat:
5
g
Polyunsaturated Fat:
0.4
g
Monounsaturated Fat:
2
g
Trans Fat:
0.3
g
Cholesterol:
38
mg
Sodium:
214
mg
Potassium:
64
mg
Fiber:
0.4
g
Sugar:
4
g
Vitamin A:
265
IU
Calcium:
79
mg
Iron:
1
mg
crispy pancakes
Tried this recipe?
Let us know how it was!
We hope this comprehensive guide inspires you to whip up a batch of these truly special crispy pancakes. They offer a delightful departure from traditional pancakes, providing a light, fluffy texture with an irresistible crunch. Perfect for any meal of the day, they’re sure to become a new favorite in your breakfast repertoire. Happy cooking, and enjoy every golden, crispy bite!
