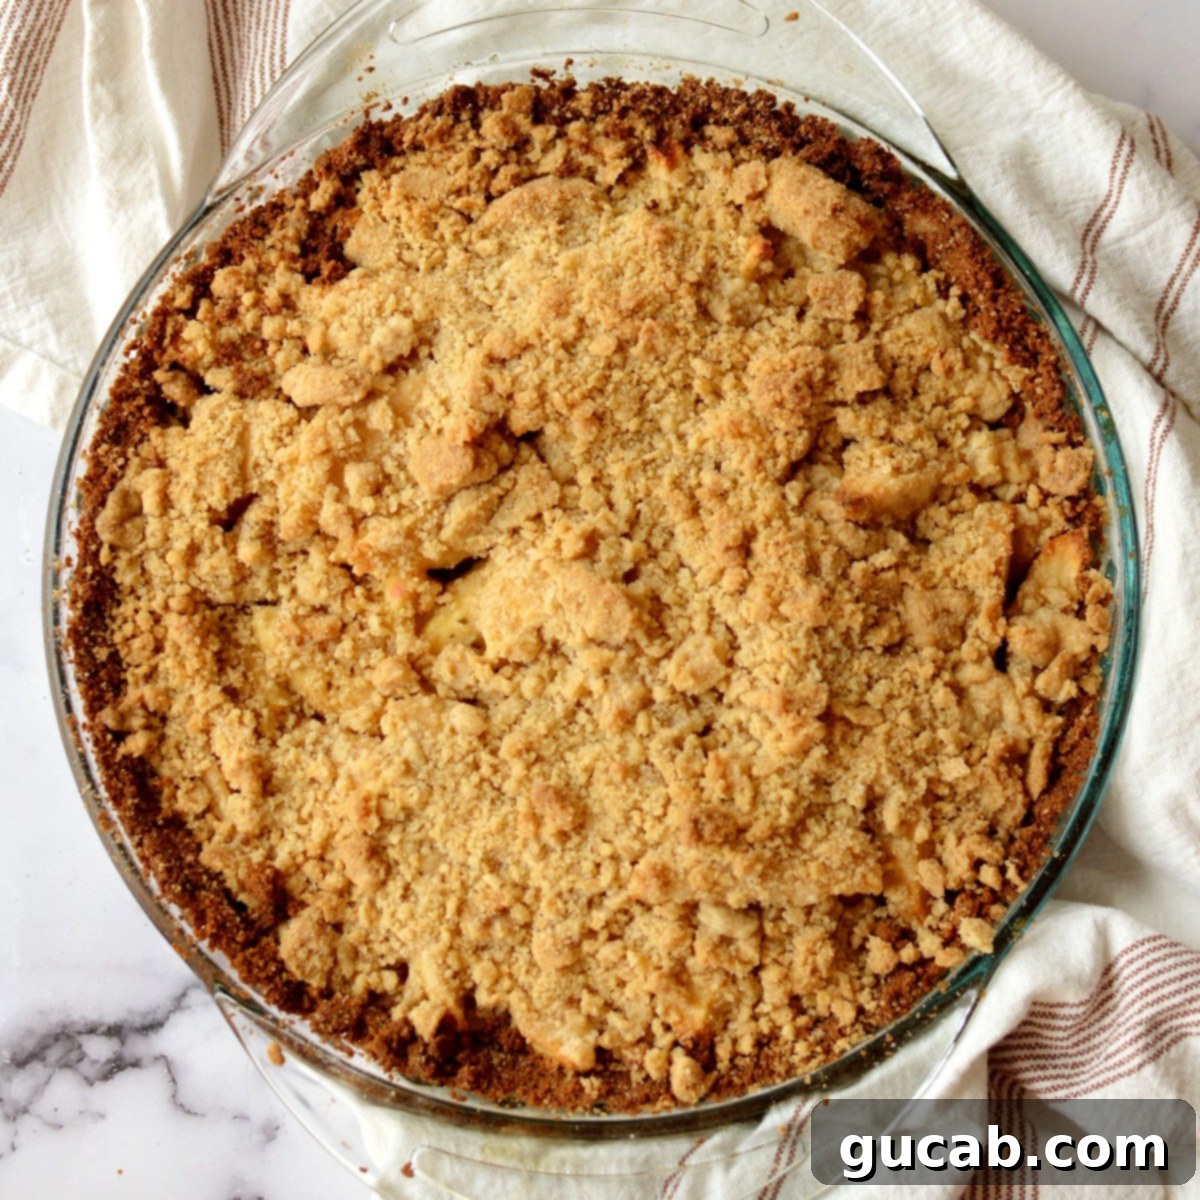
Effortless Apple Pie with a Golden Graham Cracker Crust: Your New Go-To Dessert!
Craving a classic apple pie but don’t have the time or patience for a traditional pastry crust? Look no further! This delightful apple pie with a graham cracker crust is your ultimate solution. It’s incredibly quick to prepare, delightfully simple, and delivers all the sweet, comforting flavors you adore without any tricky pie dough to contend with. Forget about cutting, rolling, or crimping – simply choose your favorite store-bought graham cracker crust, and you’re halfway to pie perfection. This recipe is designed for ease, ensuring a delectable homemade dessert that’s guaranteed to impress with minimal effort.
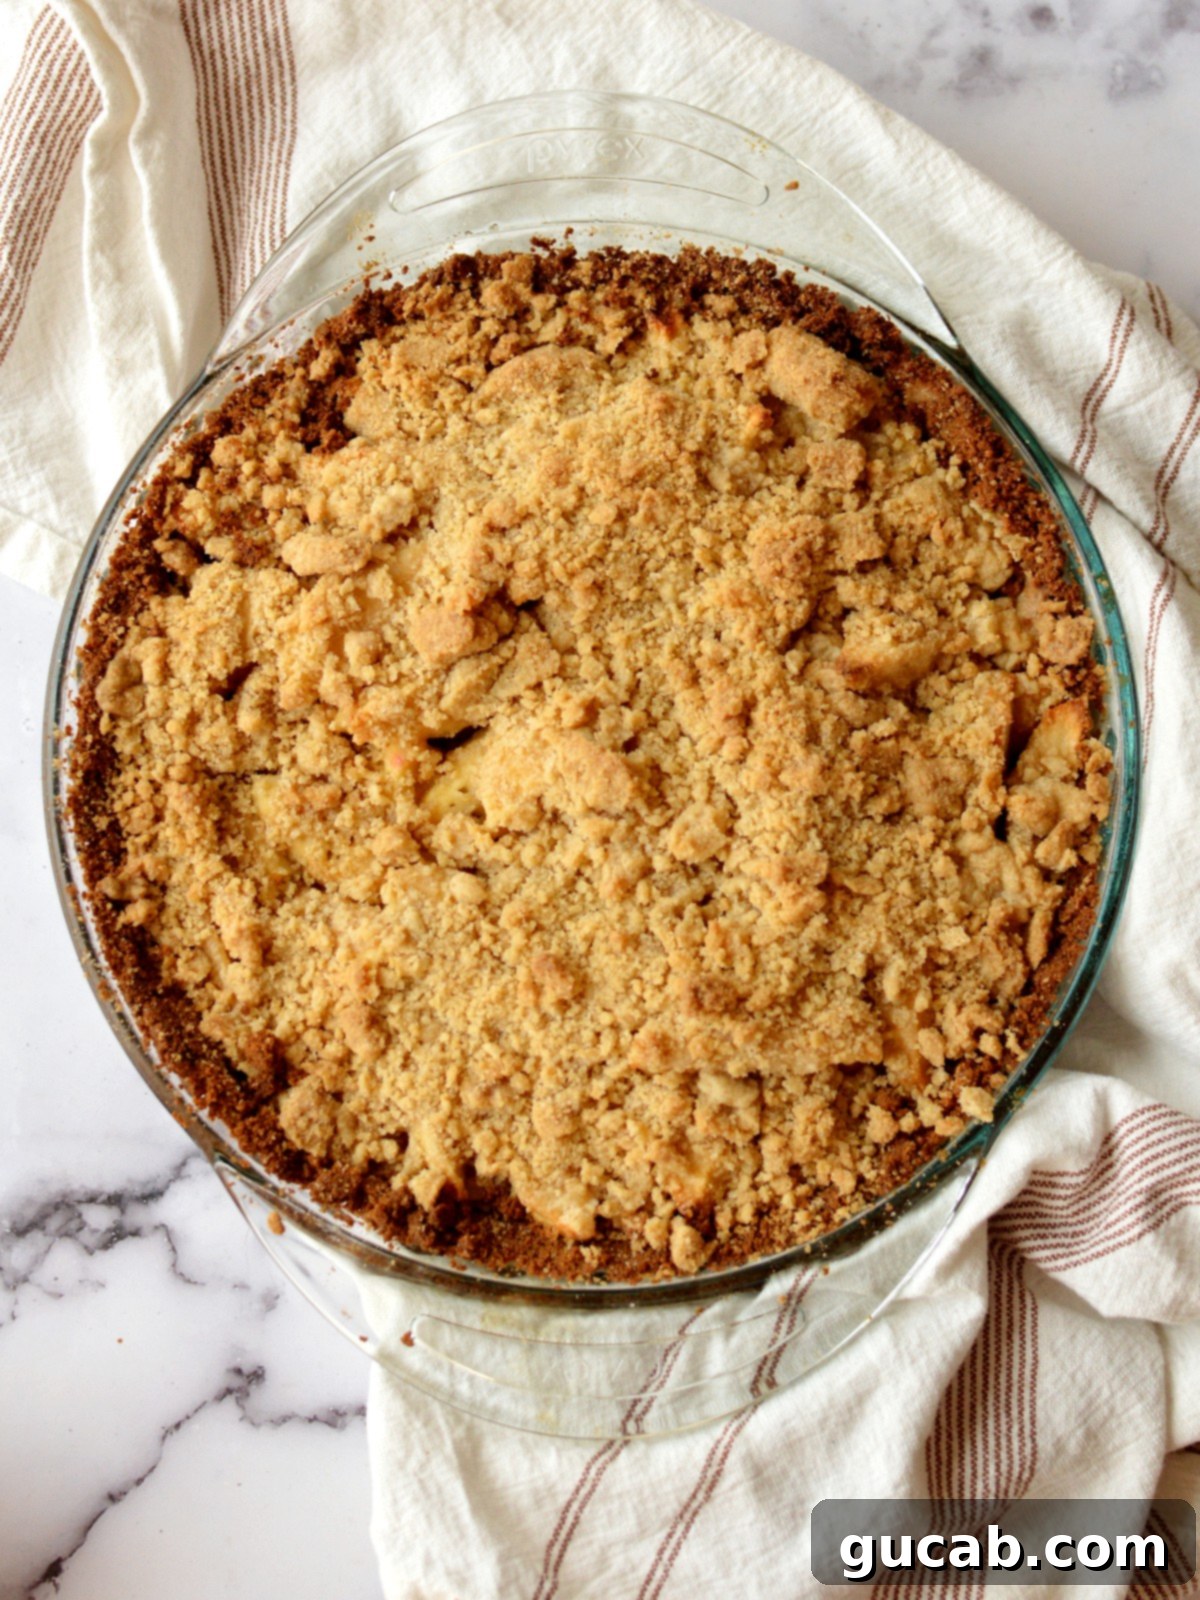
As autumn approaches and apple season arrives in full swing, there’s no better time to embrace the abundance of fresh, crisp apples. This apple pie with a graham cracker crust is an ideal way to utilize those freshly picked fruits, transforming them into a warm, inviting dessert. It truly hits all the right notes: incredibly sweet, wonderfully flavorful, and, most importantly, unbelievably easy to prepare. Whether you’re a seasoned baker or a complete novice, this recipe empowers you to create a memorable dessert that tastes like it took hours, but actually comes together in a snap!
The Irresistible Appeal of a Graham Cracker Crust Apple Pie
What makes a graham cracker crust such a fantastic choice for an apple pie? The answer lies in its simplicity and unique flavor profile. Unlike traditional butter or shortening-based pie crusts that require precise measurements, chilling, rolling, and delicate handling, a graham cracker crust is virtually foolproof. It offers a sweet, slightly spiced, and crumbly texture that beautifully complements the tender, spiced apple filling. This ready-made shortcut saves you considerable time and effort, making homemade apple pie accessible even on busy weeknights or when unexpected guests arrive. The subtle honey and cinnamon notes of the graham crackers infuse the pie with an added layer of cozy flavor that many find even more appealing than a standard crust.
Key Ingredients for Your Perfect Apple Pie
Crafting a delicious apple pie begins with selecting the right ingredients. Each component in this recipe plays a crucial role in achieving that perfect balance of sweetness, tartness, and comforting texture. Here’s a closer look at what you’ll need to create this simple yet spectacular dessert, along with some helpful tips for each.
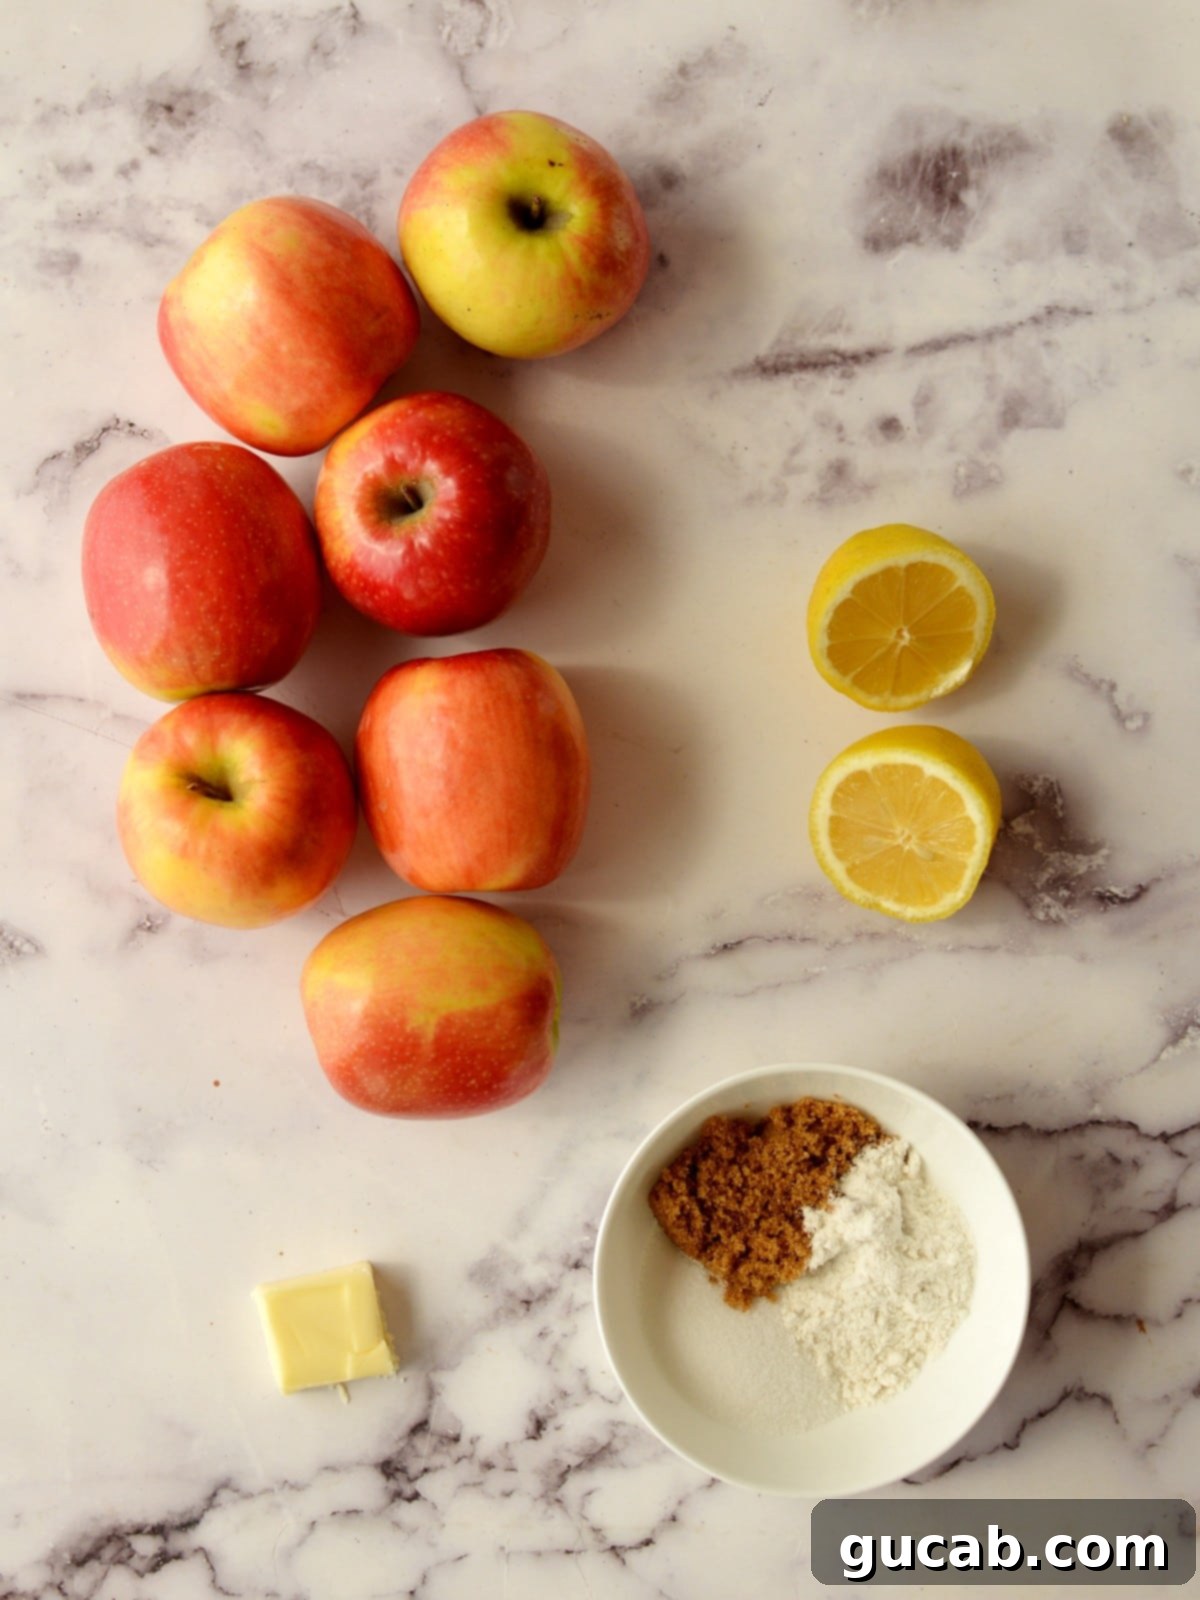
- Graham Cracker Crust: The star of our easy pie! While you can certainly make your own from scratch, opting for a store-bought crust is a fantastic time-saver. I personally achieved excellent results with a 10-inch Keebler’s graham cracker crust, known for its consistent quality and delightful flavor. For those with dietary restrictions, many specialty or health food stores, like Whole Foods Market, offer delicious gluten-free graham cracker crust options that work just as beautifully in this recipe. Ensure the crust is unbaked, as it will bake along with the filling.
- Pink Lady Apples: The choice of apple profoundly impacts the pie’s taste and texture. Pink Lady apples are a top contender for baking thanks to their wonderful balance of slight tartness and firm texture. They hold their shape remarkably well even after cooking, preventing a mushy filling, and contribute a naturally sweet flavor that enhances the overall dessert. Other excellent baking apples include Honeycrisp, Granny Smith (for more tartness), Braeburn, and Fuji. A mix of sweet and tart apples often yields the most complex and satisfying flavor profile.
- Unsalted Butter: Butter is absolutely fundamental, primarily for creating that irresistible crumb topping. Using cold, unsalted butter is key here, as it helps achieve the perfect crumbly texture and prevents the topping from becoming greasy. It also adds a rich, dairy depth to both the topping and a small amount in the filling.
- Brown Sugar & White Granulated Sugar: This recipe uses a delightful combination of both brown and white sugar. White sugar provides a clean, crisp sweetness, while brown sugar adds a richer, more complex sweetness with subtle caramel-like undertones. This blend creates a nuanced flavor that beautifully complements the apples and the graham cracker crust.
- Fresh Lemon Juice: Don’t skip the lemon juice! Its bright, acidic flavor is a game-changer. It not only prevents the apples from browning but also cuts through the sweetness, balancing the rich flavors and making the entire pie taste incredibly vibrant and fresh. Always opt for freshly squeezed lemon juice for the best results.
- All-Purpose Flour: Flour is an essential binder in our buttery crumb topping, giving it structure and that classic streusel consistency. If you’re catering to gluten-free needs, a good quality 1:1 all-purpose gluten-free flour blend can be seamlessly substituted for regular flour without compromising on taste or texture.
- Spices (Optional but Recommended): For an even deeper, more classic apple pie flavor, consider adding a pinch of ground cinnamon, nutmeg, or a dash of apple pie spice to your apple filling mixture. These warm spices elevate the fruit’s natural taste.
Simple Steps to Craft Your Graham Cracker Apple Pie
This recipe was specifically designed for ease and convenience, ensuring you can enjoy a homemade apple pie without any stress. Follow these straightforward steps to create a truly delicious dessert.
Preparing the Irresistible Crumb Topping
A good crumb topping adds a wonderful textural contrast and an extra layer of sweetness to your apple pie. Here’s how to whip it up:
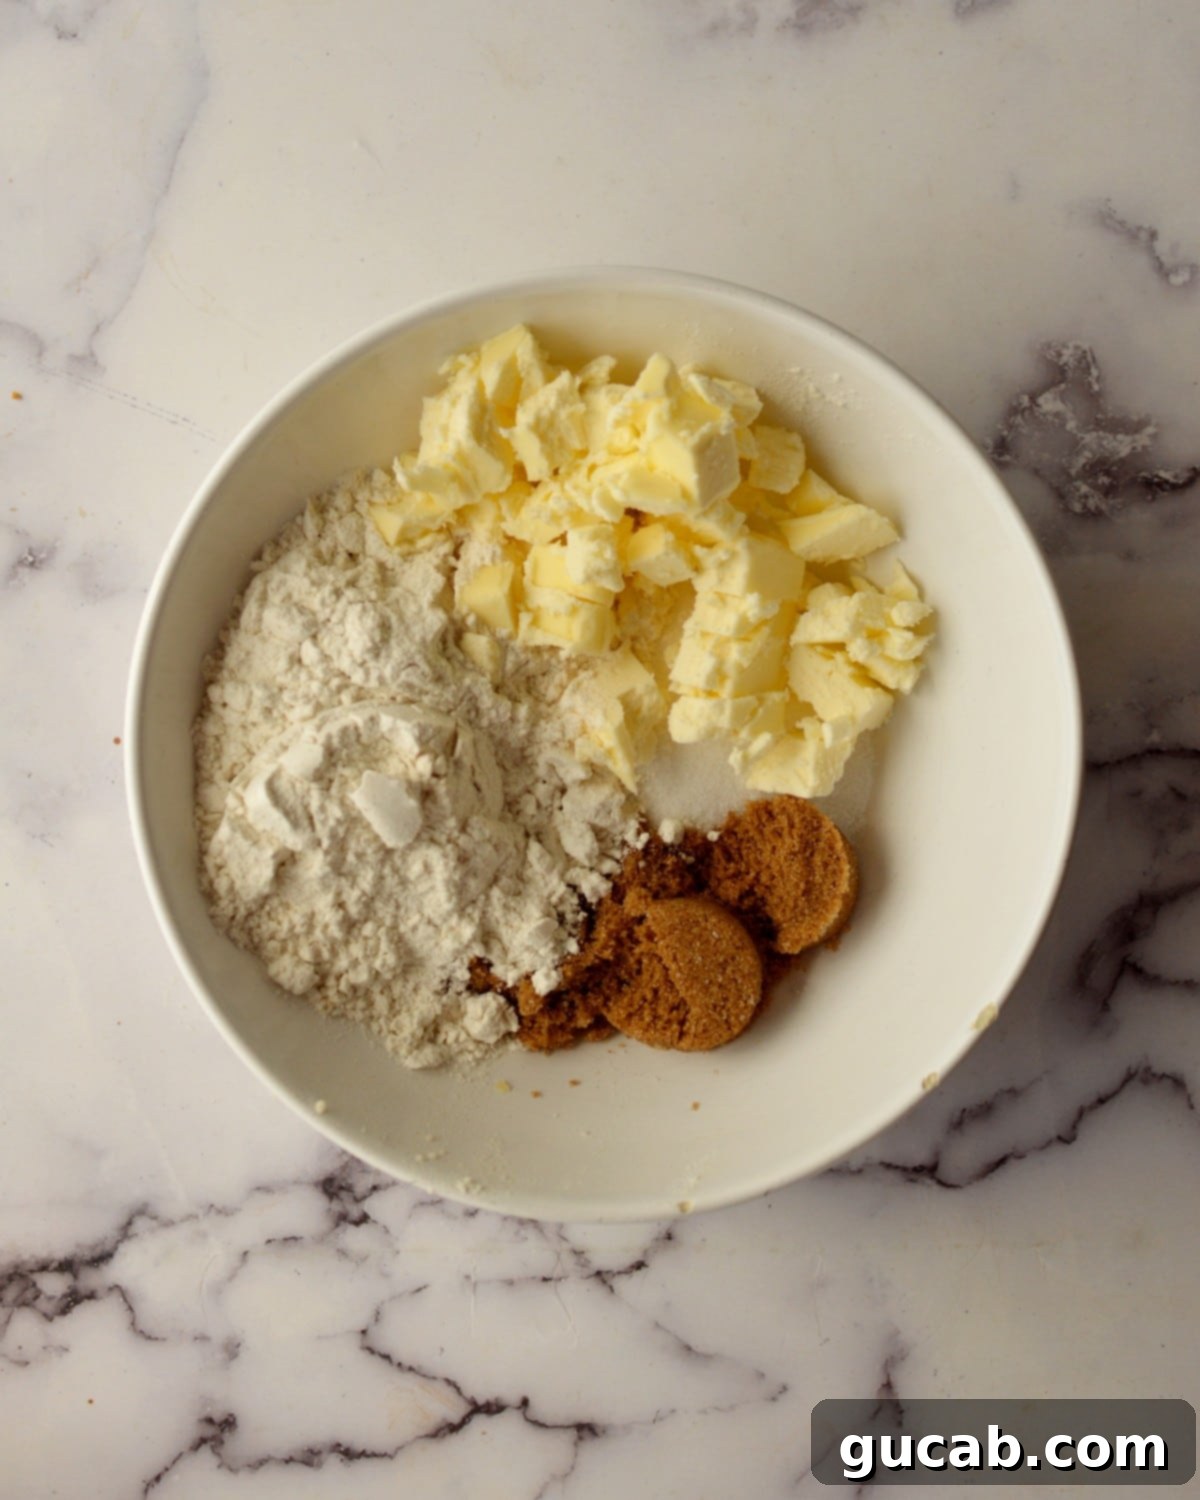
- In a medium-sized mixing bowl, thoroughly combine the all-purpose flour, granulated sugar, and brown sugar. Use a whisk or a fork to ensure they are well-mixed and there are no clumps of sugar.
- Take your cold, unsalted butter and carefully cut it into small, pea-sized pieces. Keeping the butter cold is essential for creating a crumbly, rather than a pasty, topping. Smaller pieces will also make it easier to incorporate into the flour mixture.
- Add the cut butter pieces to the flour and sugar mixture. Using your fingertips, work the butter into the dry ingredients. Gently rub the butter into the flour until the mixture resembles coarse crumbs, with some pea-sized pieces of butter remaining. Alternatively, for a quicker method, you can pulse the ingredients a few times in a food processor until the desired crumbly consistency is achieved.
- Once your crumb topping is ready, set it aside. It will patiently wait until you are ready to assemble your pie.
Crafting the Flavorful Apple Pie Filling
The secret to a perfectly tender and juicy apple pie filling lies in properly preparing the apples. This step helps soften them slightly and prevents the pie from becoming watery.
- Begin by peeling your chosen apples. Once peeled, core them and slice them into uniform pieces, about ¼ to ½ inch thick. Consistency in slice size ensures even cooking.
- In a large mixing bowl, combine the sliced apples with the fresh lemon juice, granulated sugar, and brown sugar. Stir everything together thoroughly with a large spoon or spatula until the apples are evenly coated with the sugar and lemon mixture.
- Heat a large nonstick skillet over medium-high heat. Add the unsalted butter and allow it to melt completely. Once melted, add the entire apple mixture to the skillet. Cook for about 10 minutes, stirring occasionally. This crucial step allows excess moisture from the apples to evaporate, intensifying their flavor and ensuring they soften just enough to prevent a hard, undercooked pie, while still maintaining their shape during baking.
- After 10 minutes, the apples should be slightly softened, and most of the liquid in the pan should have evaporated. Remove the skillet from the heat, and your perfectly prepared apple filling is ready for assembly.
Assembling Your Delicious Apple Pie
Now comes the exciting part – bringing all the components together to create your masterpiece!
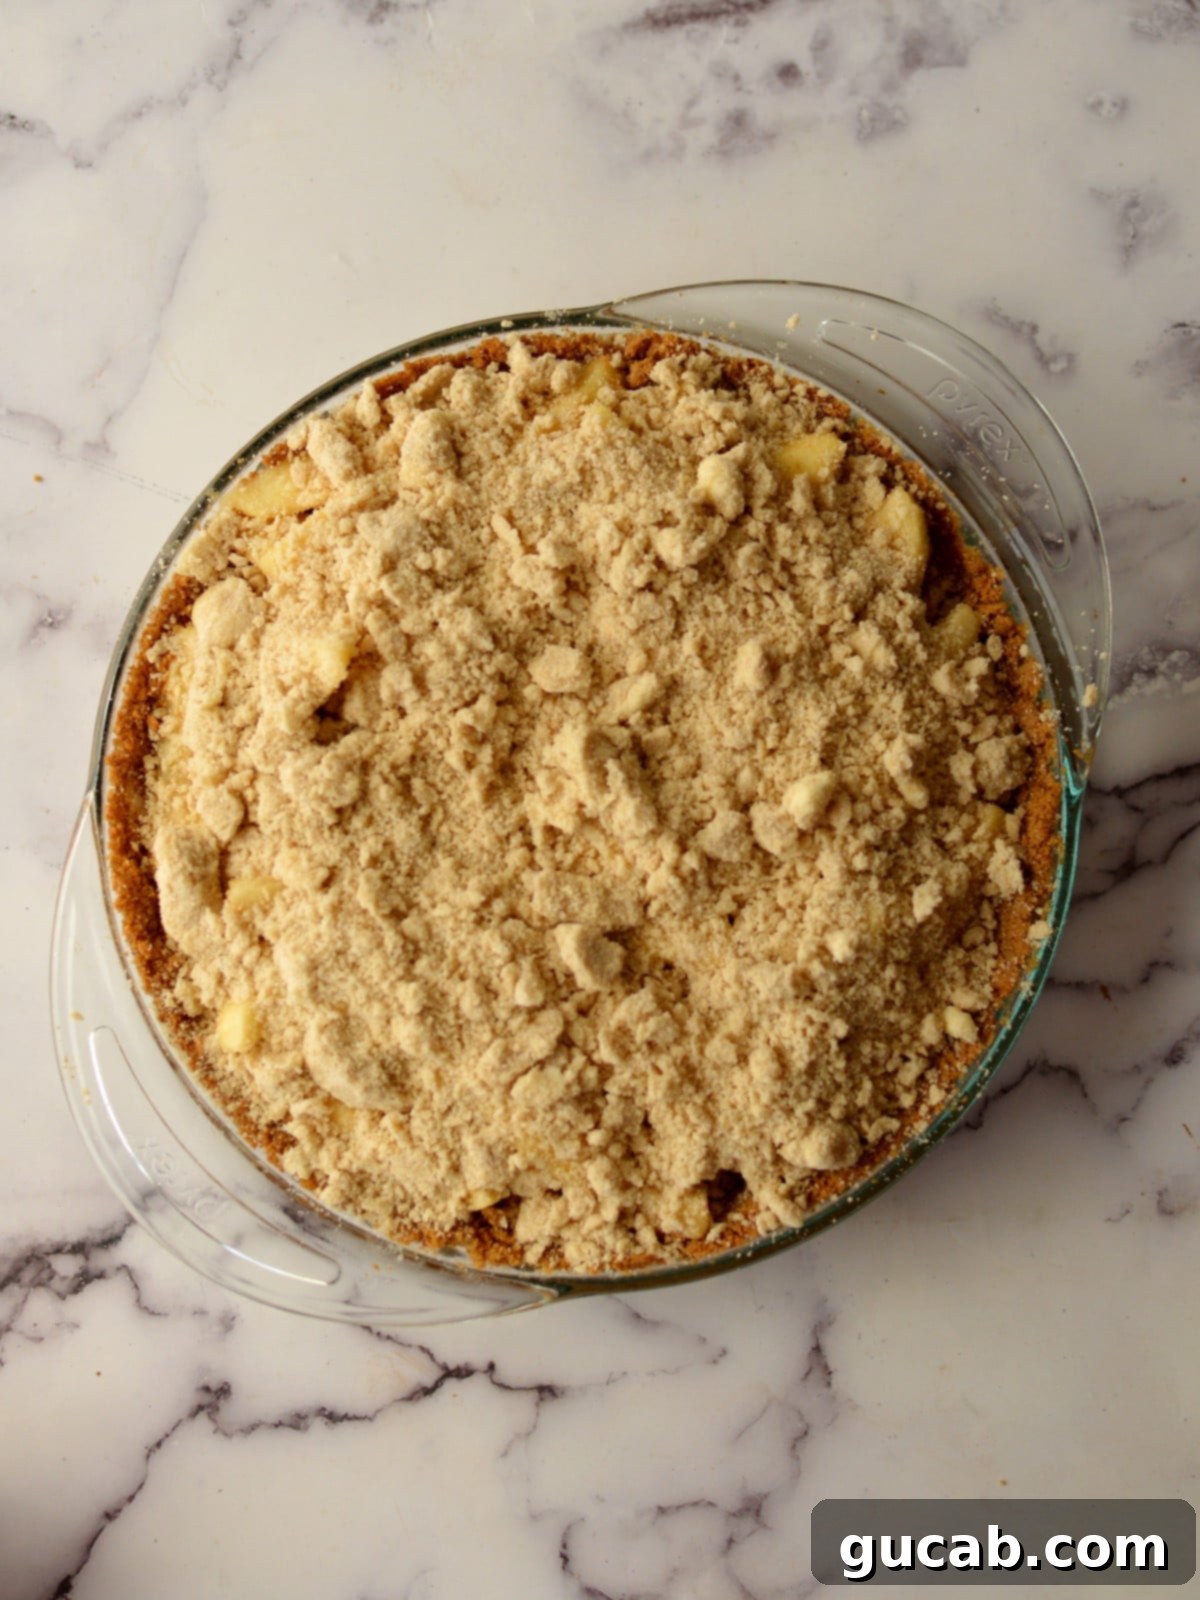
- Carefully scoop the cooked apple filling into your prepared graham cracker crust. Gently spread and press the apples down a little to ensure an even layer and a full pie.
- Evenly disperse the crumb topping all over the top of the apple filling. Make sure to cover the apples completely for that perfect golden, crunchy topping.
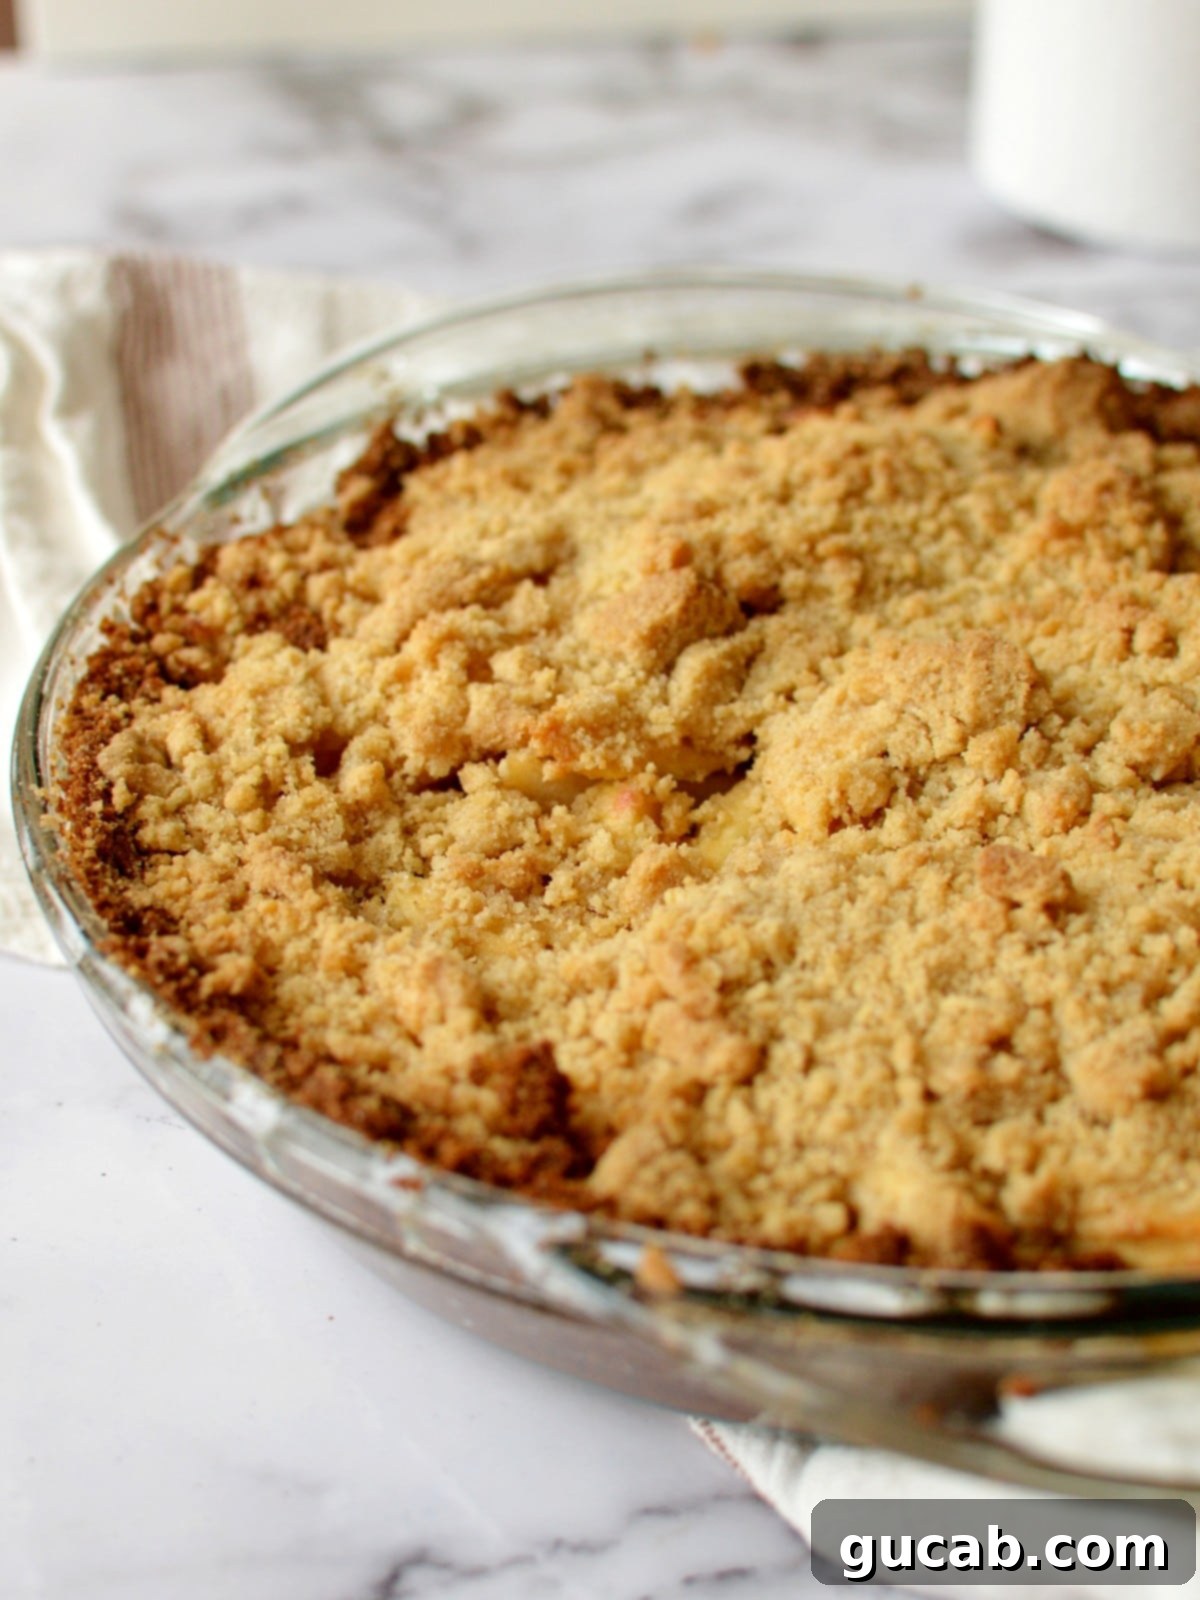
- Place the pie in your preheated 350-degree Fahrenheit oven. Bake for approximately 55 to 60 minutes. The pie is ready when the crumb topping is beautifully golden brown, and the apples underneath are fork-tender.
- Once baked, carefully remove the pie from the oven. It’s crucial to let the pie cool for at least a few minutes, or even longer, before slicing and serving. This allows the filling to set properly, preventing it from being too runny. Patience is a virtue, especially when it comes to pie!
Expert Recipe Tips for the Best Graham Cracker Apple Pie
Achieving the perfect apple pie with a graham cracker crust is simple, but a few insider tips can elevate your baking experience and ensure fantastic results every time.
- Choosing the Right Apples: A Sweet & Tart Balance: The type of apple you use is paramount. While Pink Lady apples are excellent, if you opt for other varieties, consider pairing sweet, softer apples (like Gala or Golden Delicious) with firmer, more tart ones (like Granny Smith or Braeburn). This combination provides a delightful balance of flavors and ensures your pie retains some structure without becoming overly mushy or bland. The tartness cuts through the sweetness, creating a more dynamic and satisfying taste.
- Testing for Doneness: The Fork Test: Knowing when your pie is perfectly baked is crucial. My go-to method is the simple “fork test.” Gently insert a fork into the center of the pie. If the fork glides effortlessly into the apples, they are soft and tender, indicating your apple pie is ready! In my oven, this typically takes around 55 minutes, but oven temperatures can vary, so always trust the fork.
- Prep Ahead for Convenience: To save time on baking day, feel free to peel and slice your apples in advance. Store the sliced apples in a ziplock bag or airtight container in the refrigerator for up to two days. Don’t worry if they start to turn a little brown – a natural oxidation process – it won’t affect the taste or texture of your delicious pie once it’s baked. You can also make the crumb topping ahead of time and store it as described in the “Storage & Freezing” section.
- Preventing a Soggy Bottom: While a graham cracker crust is generally less prone to sogginess than traditional pastry, some moisture from the apples can still soften the bottom. To create an extra barrier, you can lightly brush the inside of your store-bought graham cracker crust with a beaten egg white and bake it for 5 minutes at 350°F (175°C) until the egg white sets. Let it cool slightly before adding your apple filling and crumb topping. This thin, cooked egg layer acts as a shield, preventing much of the apple moisture from seeping into the crust and keeping it crispier. Additionally, pre-cooking the apples as instructed in this recipe significantly reduces the amount of liquid introduced into the pie during baking, further helping to prevent a soggy bottom.
- Enhancing Flavor with Spices: While the recipe provides a fantastic base, don’t hesitate to personalize it with your favorite warming spices. A teaspoon of ground cinnamon, a half teaspoon of nutmeg, or a quarter teaspoon of ground cloves or allspice can add incredible depth and traditional apple pie flavor to your filling. Mix them in when you combine the apples with sugar and lemon juice.
- Serving Suggestions: This apple pie is exquisite on its own, but it truly shines when served warm with a scoop of vanilla bean ice cream, a dollop of freshly whipped cream, or a drizzle of caramel sauce. These additions create a harmonious blend of temperatures and textures that will make every bite an absolute delight.
Storage & Freezing Instructions
Proper storage ensures your delicious apple pie remains fresh and enjoyable for as long as possible. Here’s how to best store your pie and prepare components ahead of time.
- Crumb Topping (Make-Ahead): The crumb topping is excellent for preparing in advance. Once you’ve mixed it to the desired crumbly consistency, transfer it to an airtight ziplock bag or container. You can refrigerate it for up to 3 days, making it convenient for future baking. For longer storage, the topping freezes beautifully for up to 3 months. When ready to use, simply sprinkle it directly onto the pie (no need to thaw if frozen, though it might take a minute or two longer to get golden in the oven).
- Baked Apple Pie Storage: Once baked and fully cooled, cover the graham cracker apple pie loosely with plastic wrap or aluminum foil. It will stay fresh and delicious in the refrigerator for up to 4 days. While it’s best enjoyed warm, slices can also be reheated gently in the microwave or a low oven until warmed through.
- Freezing Baked Pie: If you wish to freeze the baked pie, allow it to cool completely first. Then, wrap it tightly in several layers of plastic wrap and then a layer of aluminum foil. Freeze for up to 2-3 months. To serve, thaw the pie overnight in the refrigerator, then reheat in a 300°F (150°C) oven until warmed through, about 20-30 minutes, or microwave individual slices.
Frequently Asked Questions (FAQs)
For many recipes, especially those with no-bake fillings, pre-baking a graham cracker crust isn’t necessary. In the case of this apple pie, since the filling also requires baking, it’s perfectly fine to add the filling to an unbaked store-bought crust. The crust will bake alongside the apples, achieving a lovely golden color and a slightly toasted flavor. This simplifies the process even further!
While the base of a graham cracker crust naturally softens a bit from the moisture of the filling, there are steps you can take to minimize sogginess. One effective method is to create a moisture barrier: lightly brush the bottom and sides of the unbaked graham cracker crust with a beaten egg white. Then, bake the crust by itself for about 5-7 minutes at 350°F (175°C) until the egg white sets. Let it cool slightly before adding your apple filling and crumb topping. This thin, cooked egg layer acts as a shield, preventing much of the apple moisture from seeping into the crust and keeping it crispier. Additionally, pre-cooking the apples as instructed in this recipe significantly reduces the amount of liquid introduced into the pie during baking, further helping to prevent a soggy bottom.
Absolutely! While Pink Lady apples are recommended for their ideal balance of tartness and firmness, you can certainly experiment with other varieties. For best results, aim for a mix of baking apples. Consider combining a tart apple like Granny Smith with a sweeter, firmer apple like Honeycrisp, Fuji, or Gala. This ensures a complex flavor profile and a texture that holds up well during baking. Avoid apples that become too mushy when cooked, such as Red Delicious.
Not at all! This recipe is designed to be straightforward and accessible. Basic kitchen tools like a large mixing bowl, a nonstick skillet, a peeler, a chopping knife, and a cutting board are all you really need. While a food processor can speed up making the crumb topping, your fingertips work just as effectively. No fancy pie weights or elaborate pastry tools are required, making this an excellent choice for home bakers of all skill levels.
This pie is truly versatile! It’s utterly delicious served warm, allowing the rich apple flavors and buttery crumb to shine. For an indulgent treat, pair it with a scoop of premium vanilla ice cream, which melts slightly over the warm pie, creating a delightful contrast. A dollop of freshly whipped cream or a drizzle of homemade caramel sauce would also be fantastic. If serving cold, it’s still wonderful, perhaps with a cup of coffee or tea.
More Delicious Dessert Recipes to Explore
If you’re a fan of easy, comforting desserts, here are some other recipes you might enjoy. They’re perfect for satisfying your sweet tooth with minimal fuss!
- Healthy Apple Crumble
- Triple Berry Crisp with Oat Crumble
- Gluten Free Blackberry Crisp
- Chocolate Covered Graham Crackers
- Healthy Baked Apples
Apple Pie with Graham Cracker Crust
Carolyn
Pin Recipe
Equipment
-
Peeler
-
Chopping knife
-
Cutting board
-
Mixing bowls
-
Measuring cups & spoons
Ingredients
For the topping:
- 4 tbsp unsalted butter, cold
- ½ cup all-purpose flour*
- 2 tbsp brown sugar
- ¼ cup white sugar
For the filling:
- 7 pink lady apples, peeled and sliced small to medium sized
- 2 tbsp unsalted butter
- 3 tbsp brown sugar
- 1 ½ tbsp lemon juice
- 2 tbsp white sugar
For the graham cracker crust:
- 1 store-bought 10-inch graham cracker crust*
Instructions
-
Preheat the oven to 350 degrees Fahrenheit.
Make the topping:
-
In a medium bowl, combine the flour, brown sugar, and sugar. Stir then set aside.
-
Cut the cold butter into small pieces and add to the flour mixture. Use your fingers to work the butter into the flour mixture until crumbly and well combined.
Make the filling:
-
In a large bowl, combine the sliced apples, lemon juice, sugar, and brown sugar. Stir together with a large spoon or spatula.
-
In a large nonstick skillet over medium-high heat, melt the butter. Add the apple mixture to the pan and cook for 10 minutes, stirring occasionally.
-
The liquid should mostly evaporate and the apples should soften.
Assemble:
-
Carefully scoop the cooked apples into the graham cracker crust and gently press into the pie crust.
-
Evenly sprinkle the topping all over the apples.
-
Bake the pie for 55-60 minutes, until the apples are soft and fork-tender. Carefully remove the apple pie from the oven and let cool a few minutes before serving.
Notes
Nutrition
This graham cracker apple pie is more than just a dessert; it’s a testament to how easily you can create something truly special and delicious without the usual fuss. The blend of tender, sweet-tart apples, a crunchy, buttery crumb topping, and that unique, slightly spiced graham cracker base makes for an unforgettable treat. Perfect for holidays, family gatherings, or simply a cozy evening at home, this recipe promises homemade goodness with every effortless slice. Give it a try, and watch it become a cherished favorite in your recipe collection!
