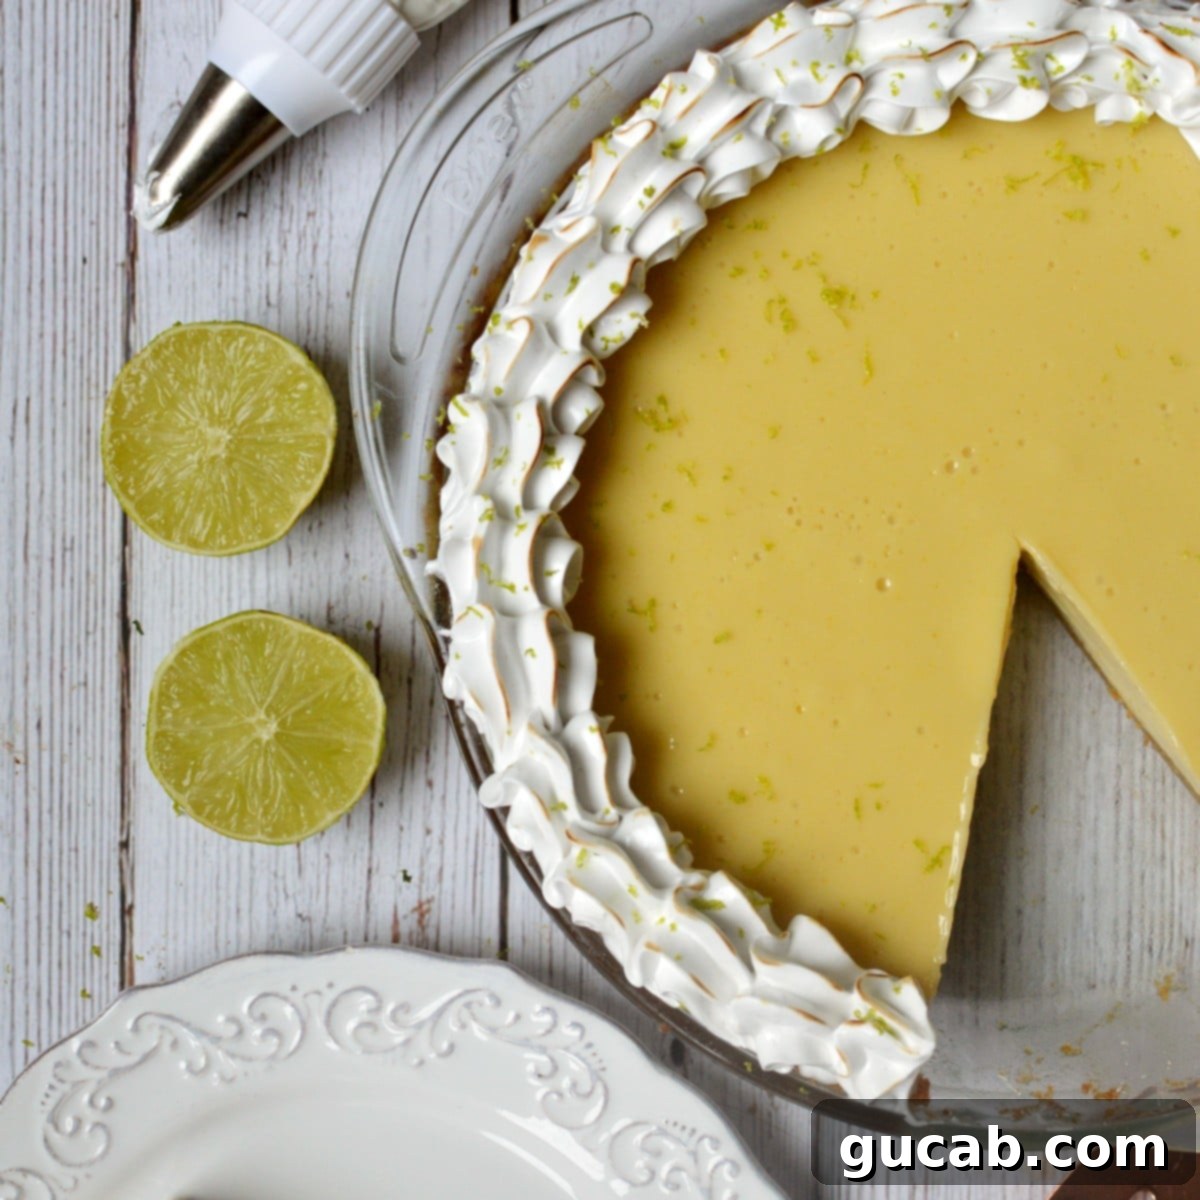
The Ultimate Gluten-Free Key Lime Pie: A Tart & Creamy Tropical Delight
Indulge in the vibrant flavors of the tropics with this incredibly easy and utterly delicious recipe for **gluten-free Key Lime Pie**. Featuring a uniquely spiced gingersnap crust and a silky, tart, and creamy filling, this dessert is a true showstopper. Whether you prefer it topped with a cloud of fresh meringue or a dollop of whipped cream, this Key Lime Pie is destined to become your go-to summer treat, perfect for any occasion and completely safe for those with gluten sensitivities.
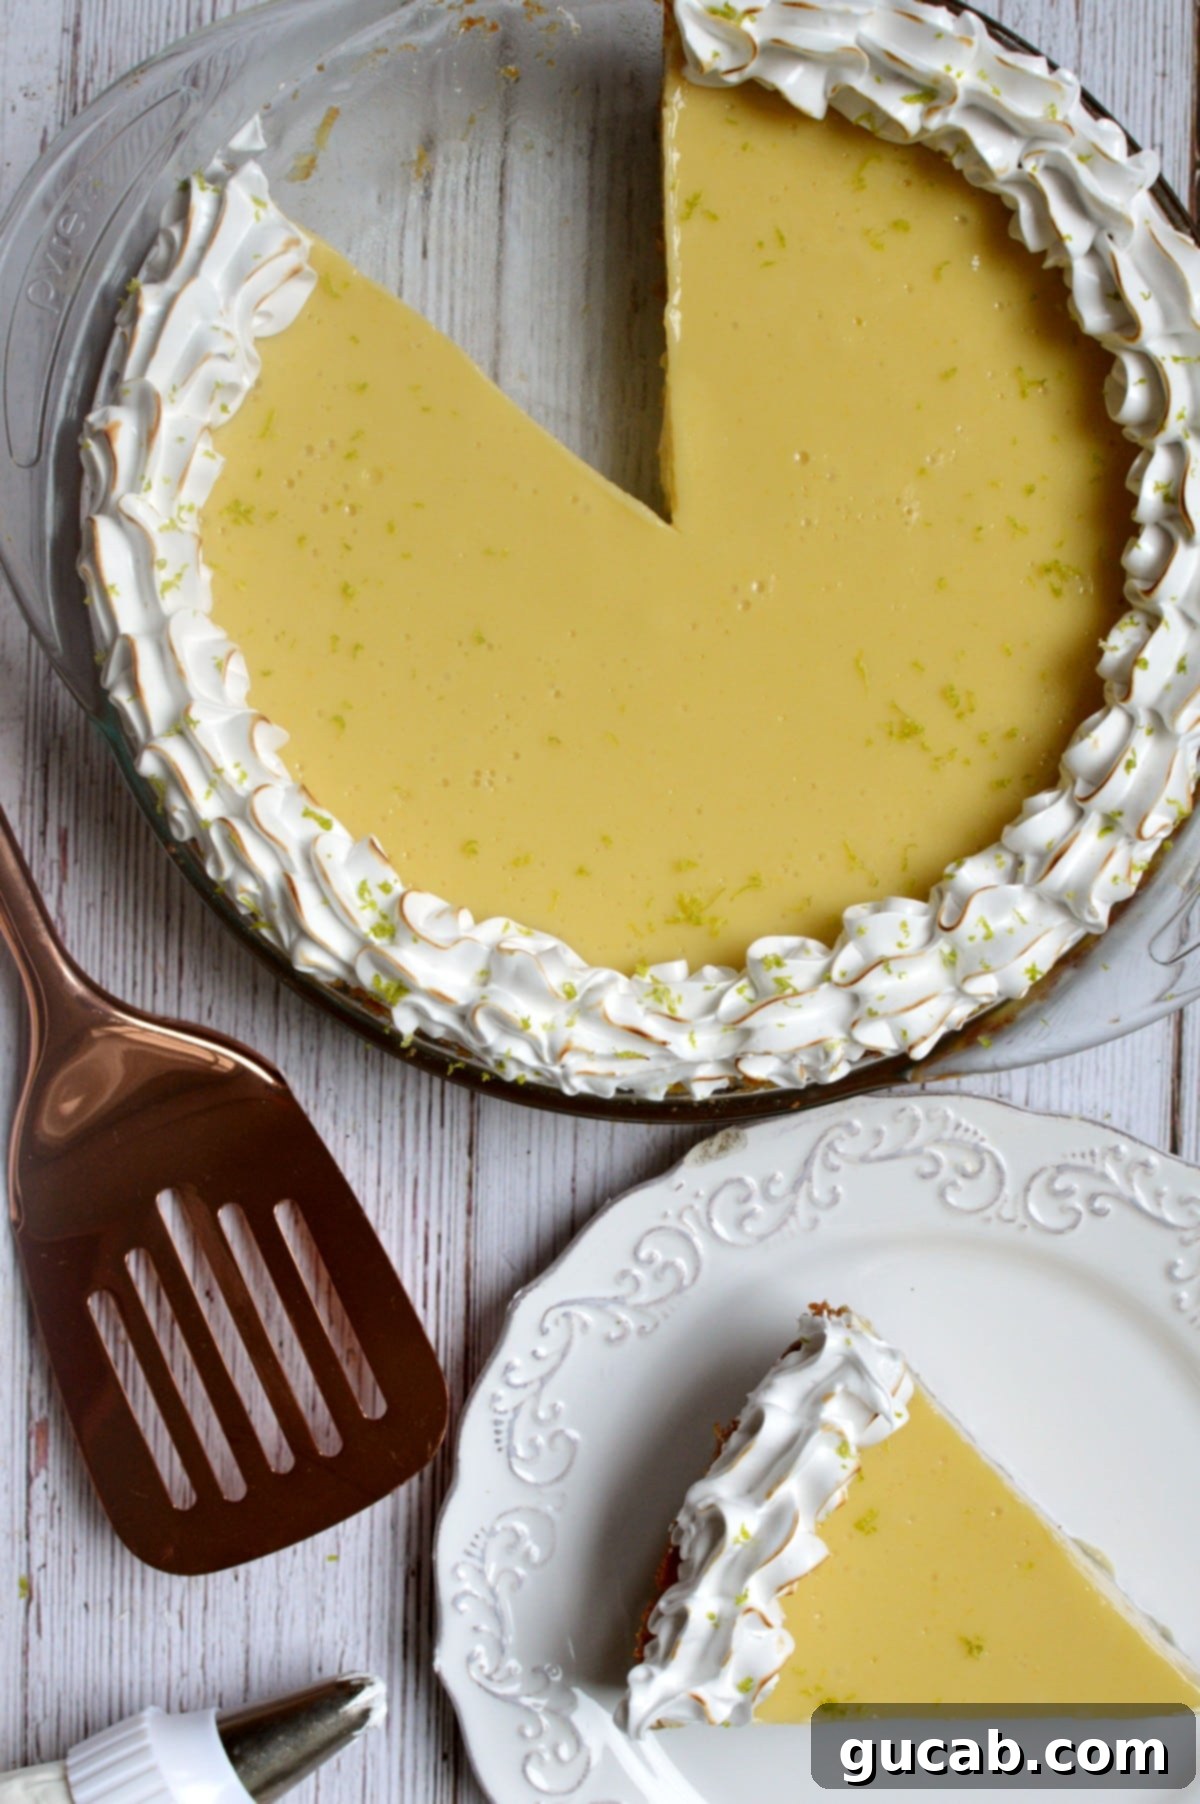
Is Key Lime Pie Naturally Gluten-Free? Understanding the Components
Many people wonder if traditional Key Lime Pie is safe for a gluten-free diet. The answer, in most cases, is *partially yes*. The delightful filling of a classic Key Lime Pie is inherently gluten-free. It’s typically made from a simple combination of naturally gluten-free ingredients such as vibrant key lime juice, rich sweetened condensed milk, and the binding power of egg yolks. Sometimes a touch of sour cream is added for extra tang and creaminess, which is also naturally gluten-free.
However, the real challenge for gluten-free individuals lies with the crust. Traditionally, Key Lime Pie crusts are crafted from crushed graham crackers or other types of cookies. Since most graham crackers and cookies on the market are made with wheat flour, they contain gluten, rendering the pie unsuitable for those avoiding it. This recipe specifically addresses this issue by providing a fantastic gluten-free alternative for the crust, ensuring that everyone can enjoy this classic dessert without compromise.
Crafting the Perfect Gluten-Free Key Lime Pie: What You’ll Need
Creating this spectacular gluten-free Key Lime Pie involves three main components: a flavorful crust, a luscious filling, and an optional (but highly recommended!) meringue topping. Let’s gather our ingredients and dive into what makes each part so special.
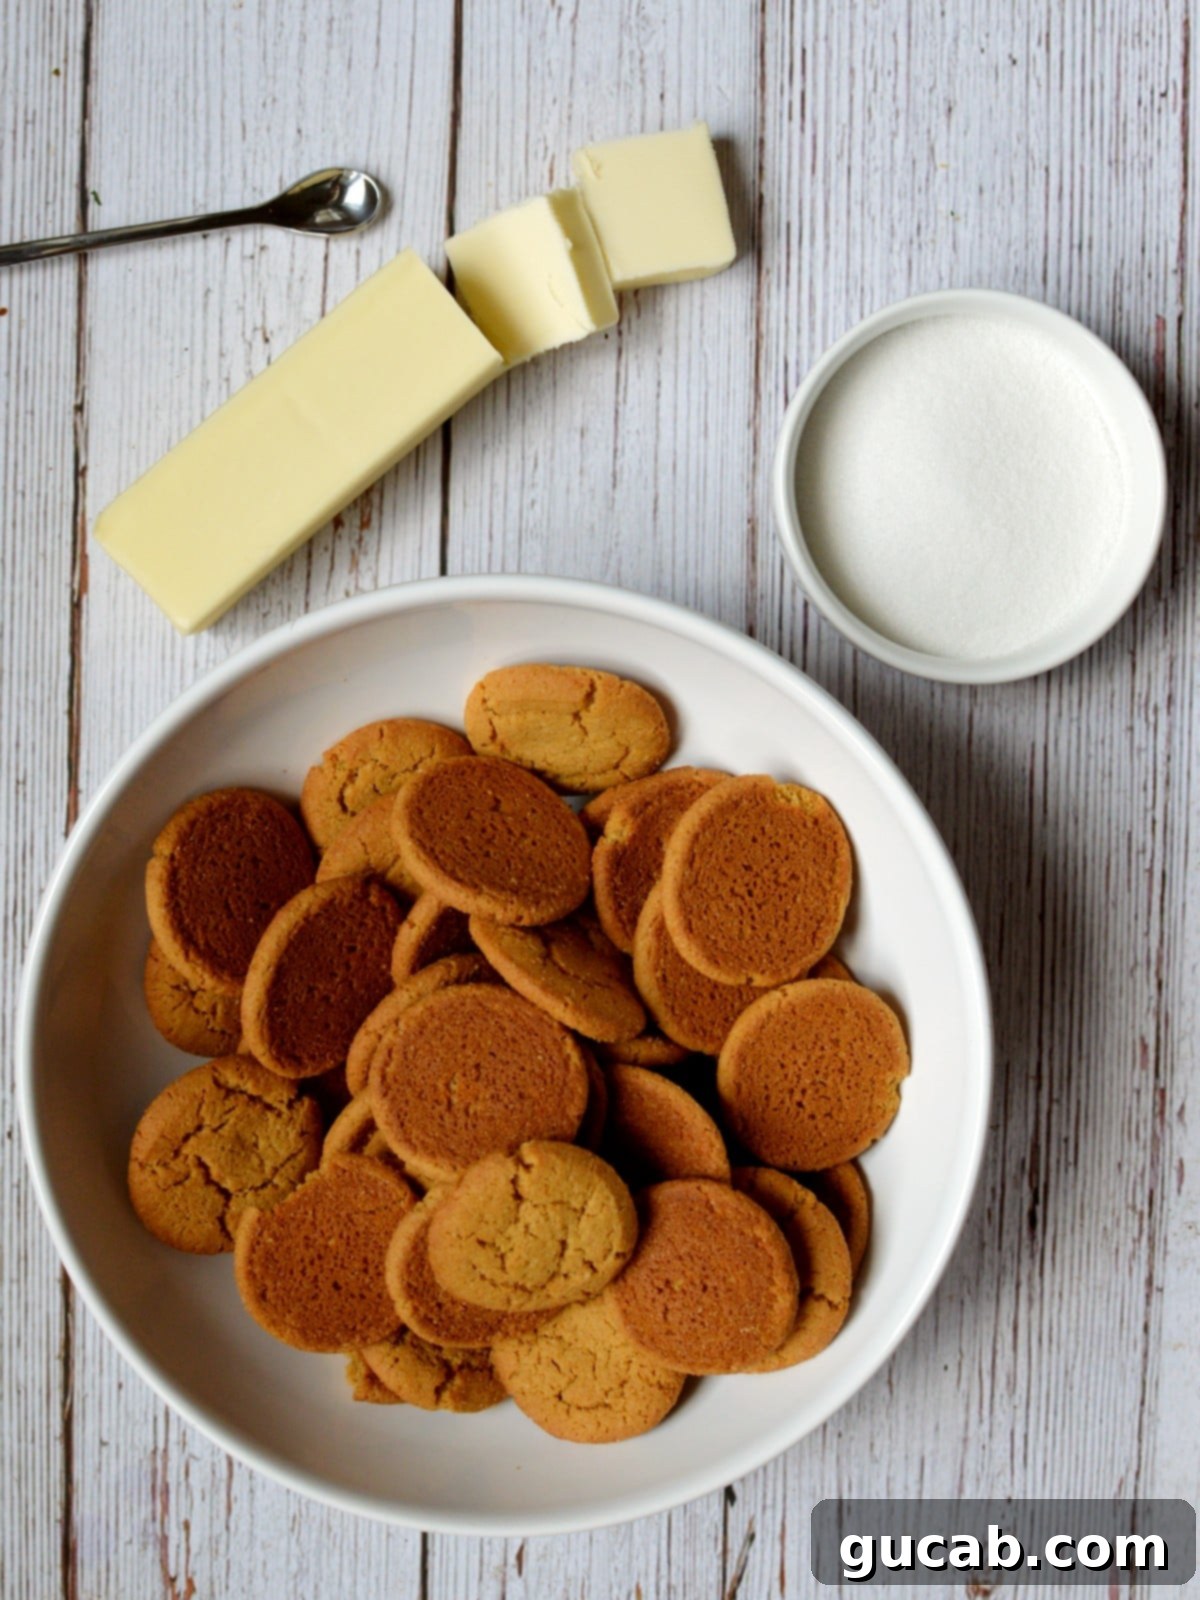
For the Flavorful Gluten-Free Gingersnap Crust:
The crust is often overlooked but plays a crucial role in balancing the tartness of the key lime filling. For this recipe, we opt for a gingersnap crust, which offers a delightful warmth and spice that complements the zesty lime beautifully. Here’s what you’ll need:
- Gluten-Free Gingersnaps: I wholeheartedly recommend gluten-free gingersnaps for this crust for two compelling reasons: their availability and their incredible flavor profile. They add a spicy, sweet depth that ordinary graham crackers simply can’t match. If gingersnaps aren’t your preference, or if you can’t find them, gluten-free graham crackers are a perfectly acceptable substitute. Just be mindful that the sweetness levels of gluten-free graham crackers can vary significantly between brands. It’s a good practice to taste your crumb mixture before pressing it into the pie pan; if it’s not sweet enough for your liking, you can easily stir in a little more sugar.
- Granulated Sugar: A small amount of sugar is added to the crust to enhance its sweetness and balance the spiciness of the gingersnaps. This ensures a perfectly sweet foundation for our tart filling.
- Unsalted Butter (Melted): Melted butter is the essential ingredient that binds the cookie crumbs together, forming a sturdy and delicious crust. The right amount of butter is key to achieving the perfect texture: too much can result in a soft, greasy crust, while too little will leave you with a dry, crumbly mess. After extensive testing, I’ve found that 5 tablespoons of melted butter per 1 ¾ cups of crumbs yields an ideal balance – firm enough to hold its shape, yet tender and flavorful.
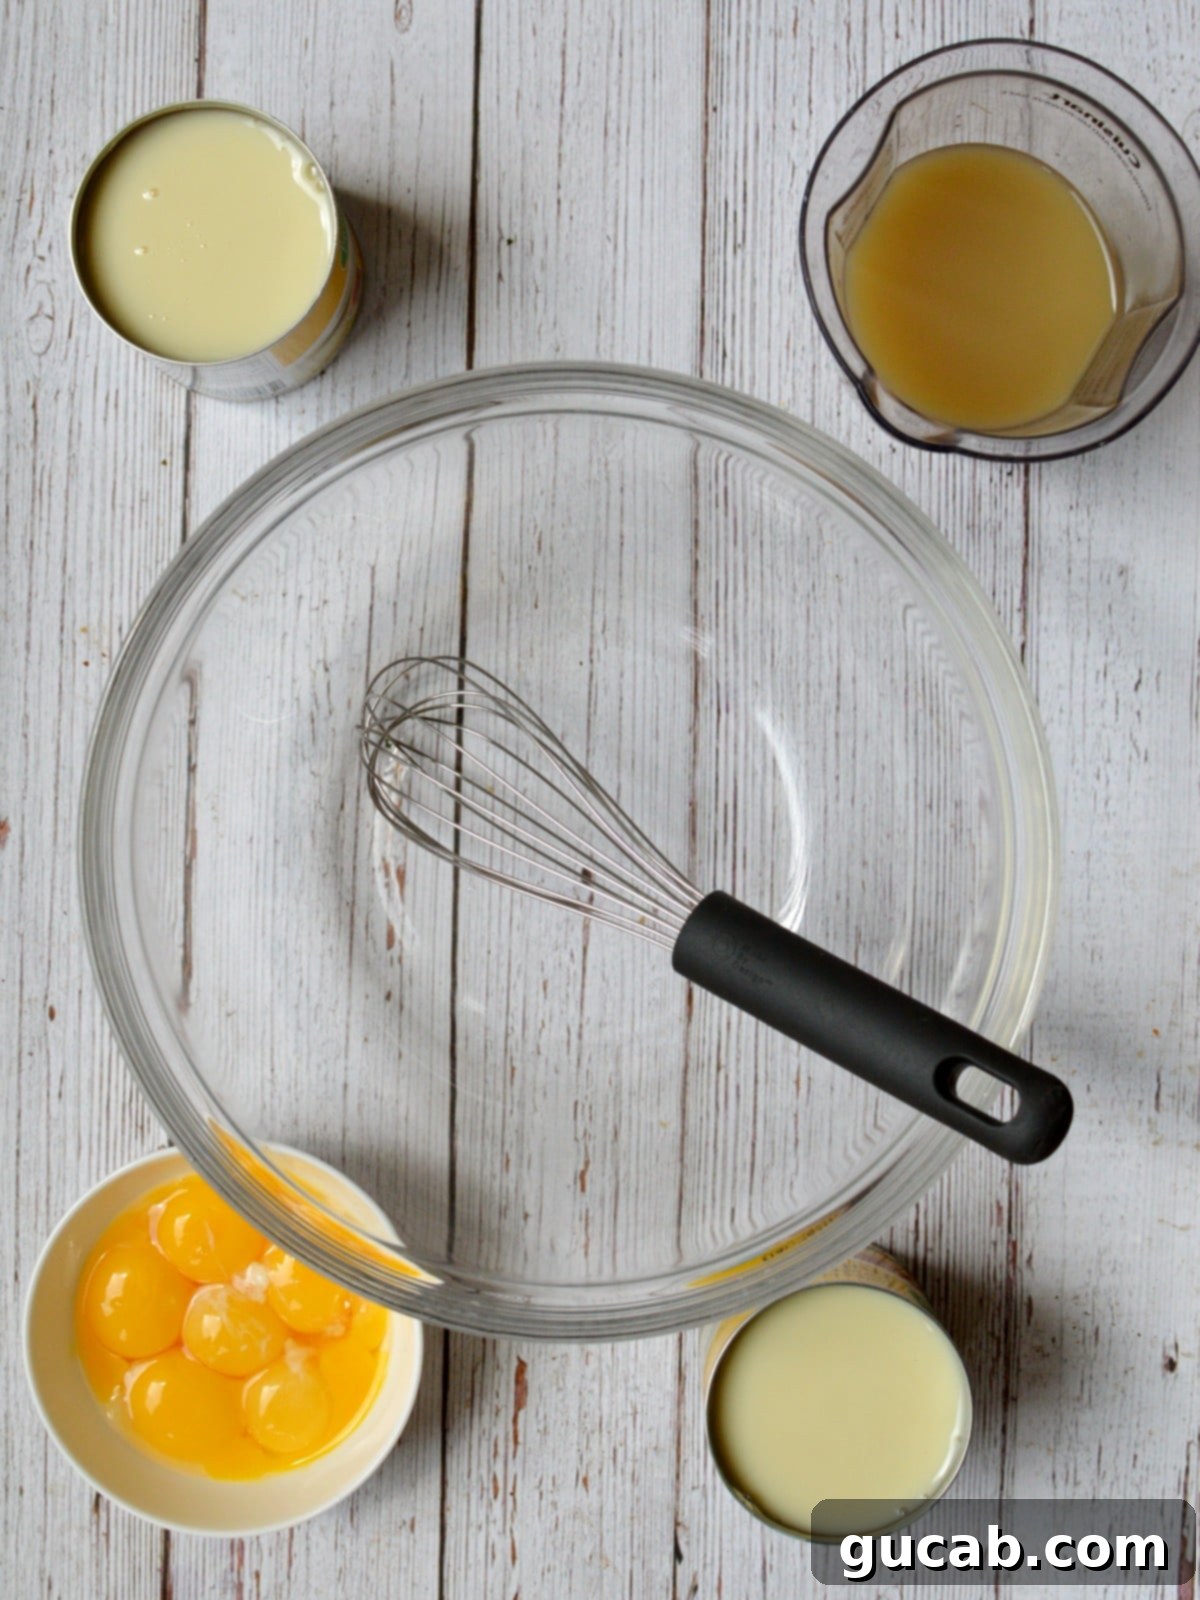
For the Luscious Key Lime Filling:
The heart of any Key Lime Pie is its signature filling – incredibly creamy, wonderfully tart, and refreshingly smooth. Achieving this perfect balance requires just a few key ingredients:
- Sweetened Condensed Milk: This ingredient is paramount to the pie’s characteristic creaminess and richness. It provides the necessary sweetness and luxurious texture, transforming the tangy lime juice into a custardy delight. It’s the magical base that sets this pie apart.
- Egg Yolks: Egg yolks are crucial for creating the custard-like consistency of the Key Lime Pie filling. They act as a thickening agent, allowing the pie to set beautifully in the oven, resulting in a firm yet melt-in-your-mouth texture. Using fresh, high-quality egg yolks is recommended for the best results.
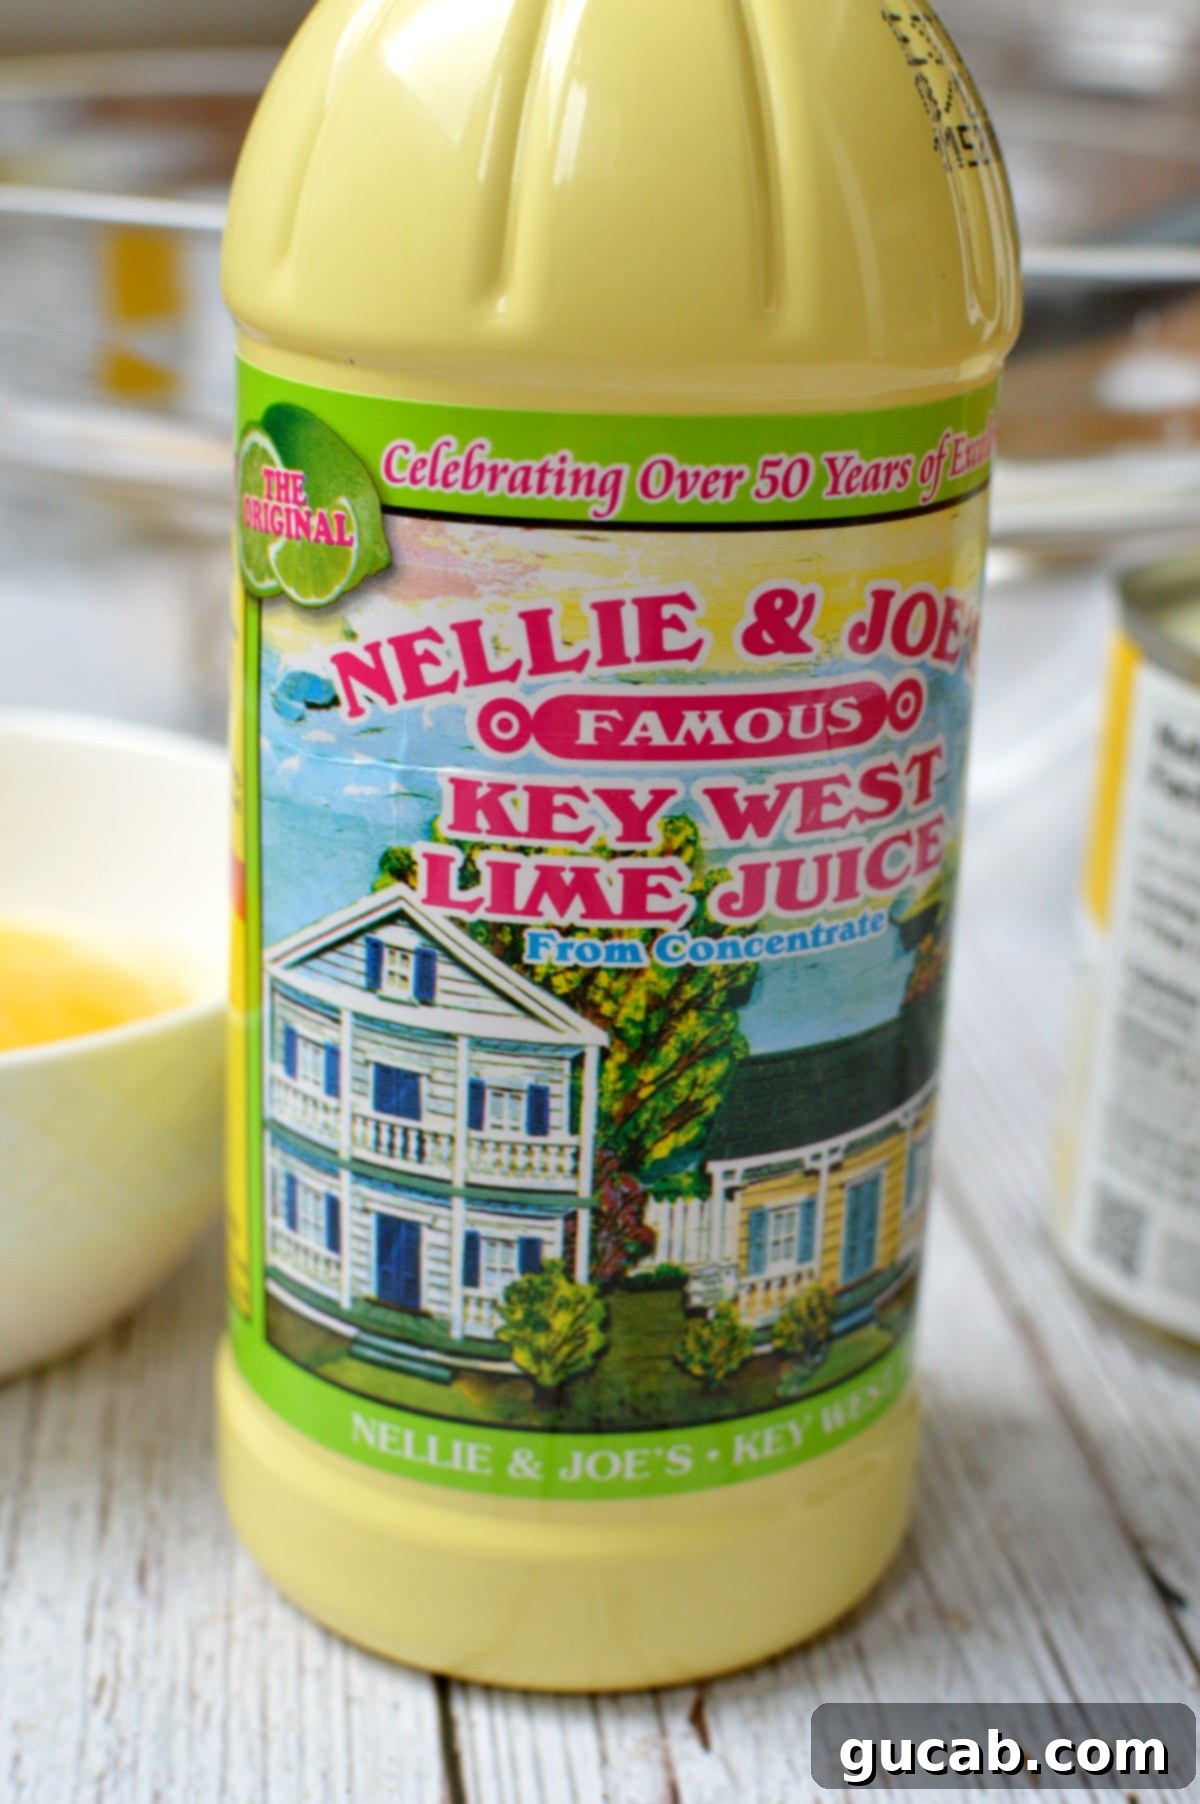
- Key Lime Juice: While I typically advocate for fresh juice in most recipes, for Key Lime Pie, bottled Key Lime Juice is often the secret ingredient favored by many pastry chefs, including myself. Its consistent flavor and perfect tartness are hard to replicate with fresh key limes, which can be difficult to juice in large quantities. You can readily find bottled Key Lime Juice in the juice aisle of most grocery stores, usually alongside other fruit juices like apple and cranberry. It delivers that iconic, bright, and tangy flavor that defines a true Key Lime Pie.
For the Optional (But Spectacular) Meringue Topping:
A Key Lime Pie without meringue is still a delicious pie, but a Key Lime Pie with a delicate, toasted meringue topping elevates it to an entirely new level of elegance and flavor. However, if you’re a fan of classic whipped cream, that’s perfectly fine too! In fact, there’s absolutely no shame in topping your pie with a convenient can of Reddi-Wip – it’s quick, easy, and undeniably tasty! So, if a fluffy, billowy meringue calls to you, read on. If not, feel free to skip ahead to the pie-making instructions – your pie, your rules!
For this recipe, I lean towards an Italian meringue, which, while a tiny bit more involved than a French meringue, offers a wonderfully stable and silky texture. Here’s what you’ll need to create this show-stopping topping:
- Egg Whites: These form the very foundation of any meringue. When whipped with sugar (or, in the case of Italian meringue, a hot sugar syrup), they transform into beautiful, airy peaks, creating that characteristic light and fluffy texture.
- Cream of Tartar: A small but mighty ingredient, cream of tartar acts as a stabilizer for the egg whites. It helps them whip up faster, achieve greater volume, and prevents them from collapsing, making your meringue more robust and forgiving.
- Granulated Sugar: For Italian meringue, sugar is cooked with water to create a hot syrup. This syrup is then slowly drizzled into the whipping egg whites. The heat from the syrup cooks the egg whites, making the meringue safe to eat without further baking and giving it that signature glossy, stable consistency. The syrup should reach the “soft ball” stage, which is precisely 240 degrees Fahrenheit (115 degrees Celsius) on a candy thermometer.
- Water: Water’s primary role here is to dissolve the sugar completely before it is boiled, ensuring a smooth, crystalline-free syrup.
How to Make This Easy Gluten-Free Key Lime Pie: A Step-by-Step Guide
This delightful gluten-free Key Lime Pie recipe is broken down into three straightforward elements. The first two – the crust and the filling – are absolutely essential and incredibly easy to prepare. The third, the meringue, is entirely optional but adds a layer of sophistication and textural contrast that truly completes the dessert. Let’s get baking!
1. Preparing the Gluten-Free Gingersnap Crust:
A sturdy and flavorful crust is the backbone of any great pie. Our gingersnap crust comes together quickly and bakes to golden perfection.
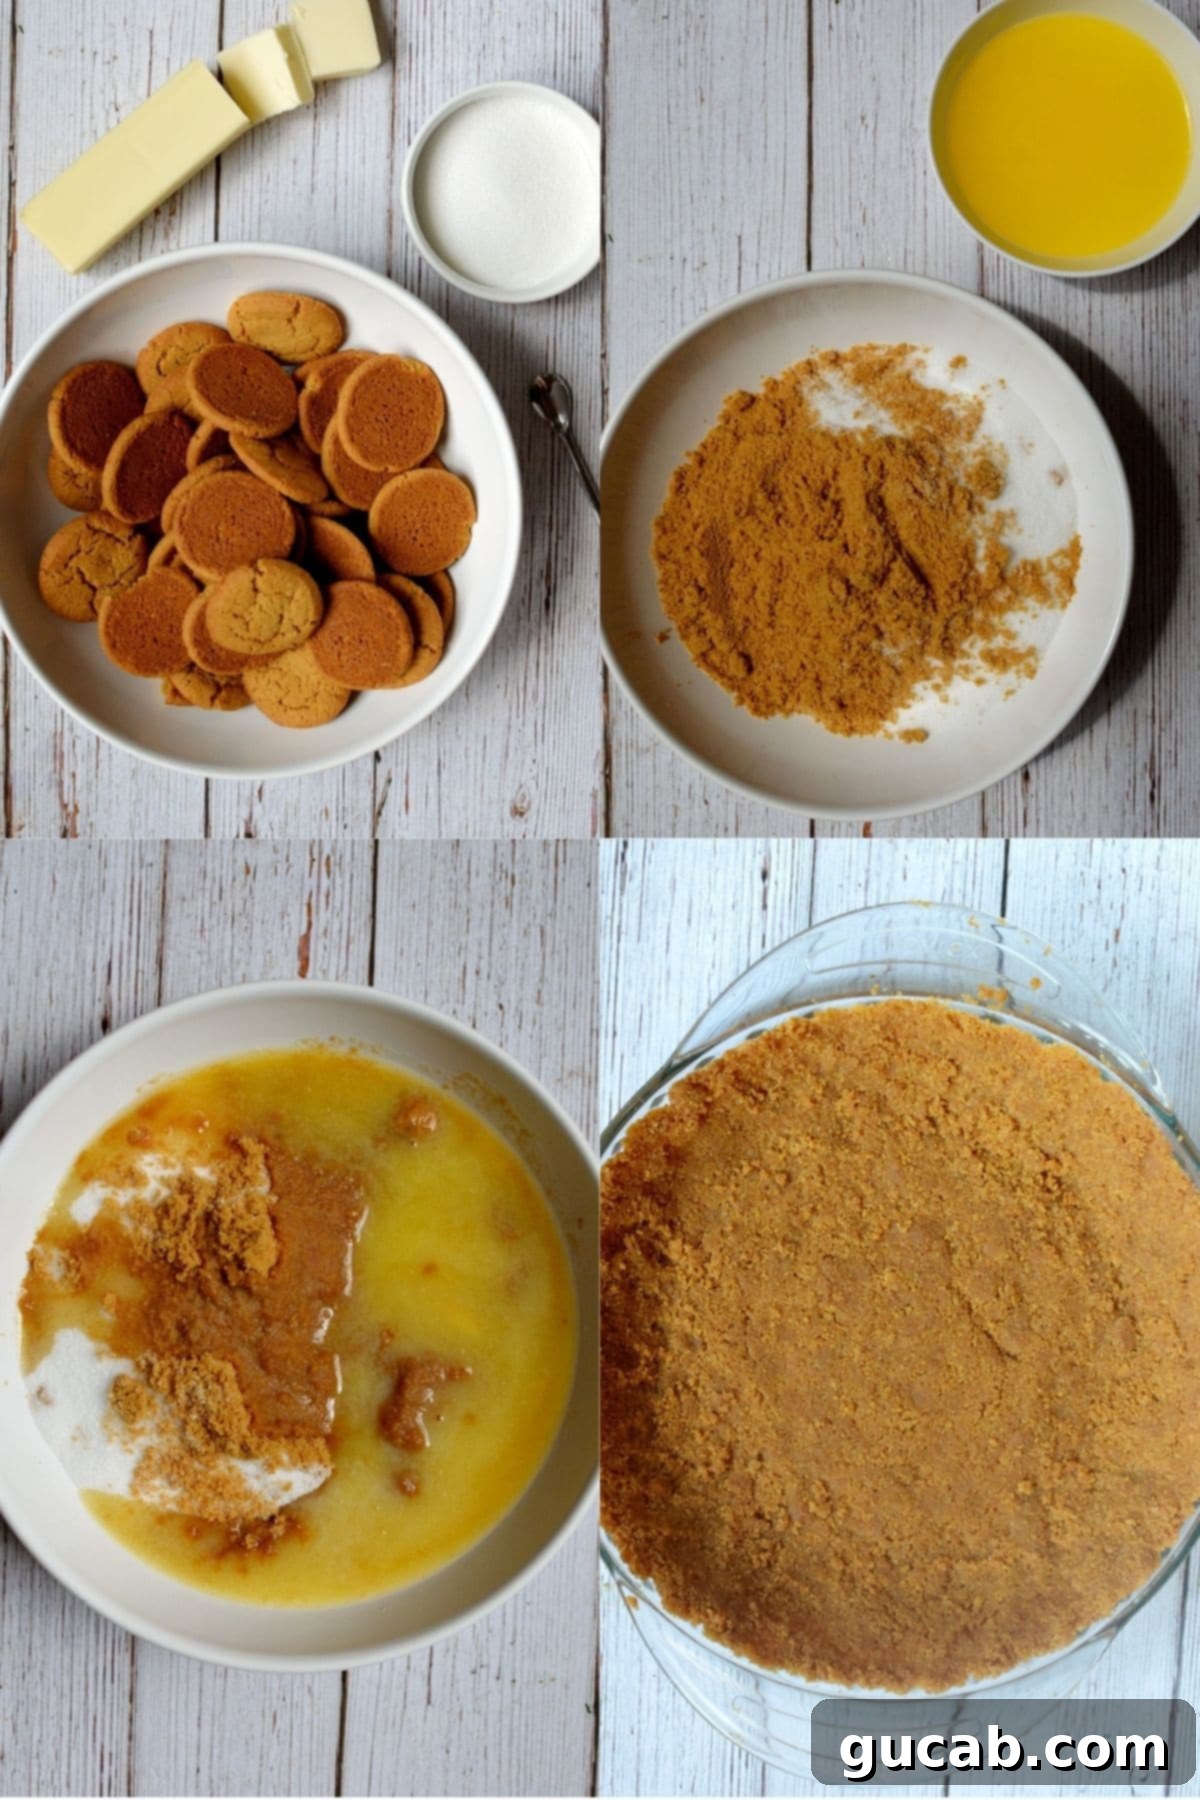
- Preheat the Oven: Begin by preheating your oven to 350°F (175°C). This ensures the crust bakes evenly and becomes nicely golden.
- Process the Gingersnaps: In a food processor, finely grind your gluten-free gingersnaps until they resemble fine crumbs. Transfer these crumbs to a large mixing bowl.
- Combine and Press: Add the granulated sugar to the crumbs and stir well with a fork to combine evenly. Then, pour in the melted butter. Use your hands to thoroughly mix everything together until the crumbs are uniformly moistened and hold together when squeezed. Press this mixture firmly and evenly into a 9-inch pie pan.
- Bake: Bake the crust for 10 minutes until lightly fragrant and set. Remove from the oven and set aside to cool slightly while you prepare the filling. This pre-baking step helps create a crispier crust and prevents it from becoming soggy once the filling is added.
2. Crafting the Creamy Key Lime Filling:
This is where the magic happens! The filling comes together with minimal effort and bakes to a perfectly set, vibrant consistency.
- Mix Wet Ingredients: While your crust is cooling, in a large bowl, combine the sweetened condensed milk and the egg yolks. Using a hand mixer, beat this mixture for a full two minutes. This aeration is key to achieving a light and creamy texture for your pie.
- Incorporate Lime Juice: With the mixer running on low speed, gradually pour in the Key Lime juice until it is just completely incorporated. Be careful not to overmix at this stage; simply mix until everything is combined.
- Bake the Pie: Once the crust is ready, pour the prepared filling directly into the still-warm crust. Carefully transfer the pie to the preheated oven and bake immediately for 15 minutes. The pie will look slightly jiggly in the center when you remove it from the oven, which is exactly what you want! It will continue to set as it cools.
3. Creating the Silky Italian Meringue (Optional):
If you’ve chosen to go for the meringue topping, here’s how to create a beautiful, stable Italian meringue. Remember to work carefully with hot sugar!
- Chill the Pie: Allow the baked pie to cool at room temperature until it’s just warm, then transfer it to the refrigerator for a minimum of 4 hours, or preferably overnight, to allow the filling to fully set.
- Prepare Meringue Base: Place the egg whites and cream of tartar into the clean bowl of a stand mixer fitted with the whisk attachment.
- Make Sugar Syrup: In a small, heavy-bottomed saucepan, combine the granulated sugar and water. Place over medium-low heat and stir gently with a whisk until the sugar is completely dissolved. Once dissolved, increase the heat to medium-high and *do not stir again*. Allow the syrup to boil until it reaches 230 degrees Fahrenheit (110°C) on a candy thermometer.
- Whip Egg Whites: Once the sugar syrup reaches 230°F, begin whipping the egg whites on medium-high speed. Continue whipping until they become frothy and start to form soft peaks.
- Combine Syrup and Whites: As the egg whites are whipping and the syrup reaches 240 degrees Fahrenheit (soft ball stage), carefully and slowly drizzle the hot sugar syrup down the side of the mixer bowl (not directly onto the whisk) into the whipping egg whites. This slow addition helps temper the egg whites.
- Finish Whipping: Continue whipping the meringue on high speed until it is thick, glossy, and almost reaches stiff peaks. Be careful not to overwhip, as meringue can become dry and crumbly. Stop just before it’s completely stiff. The bowl should feel cool to the touch.
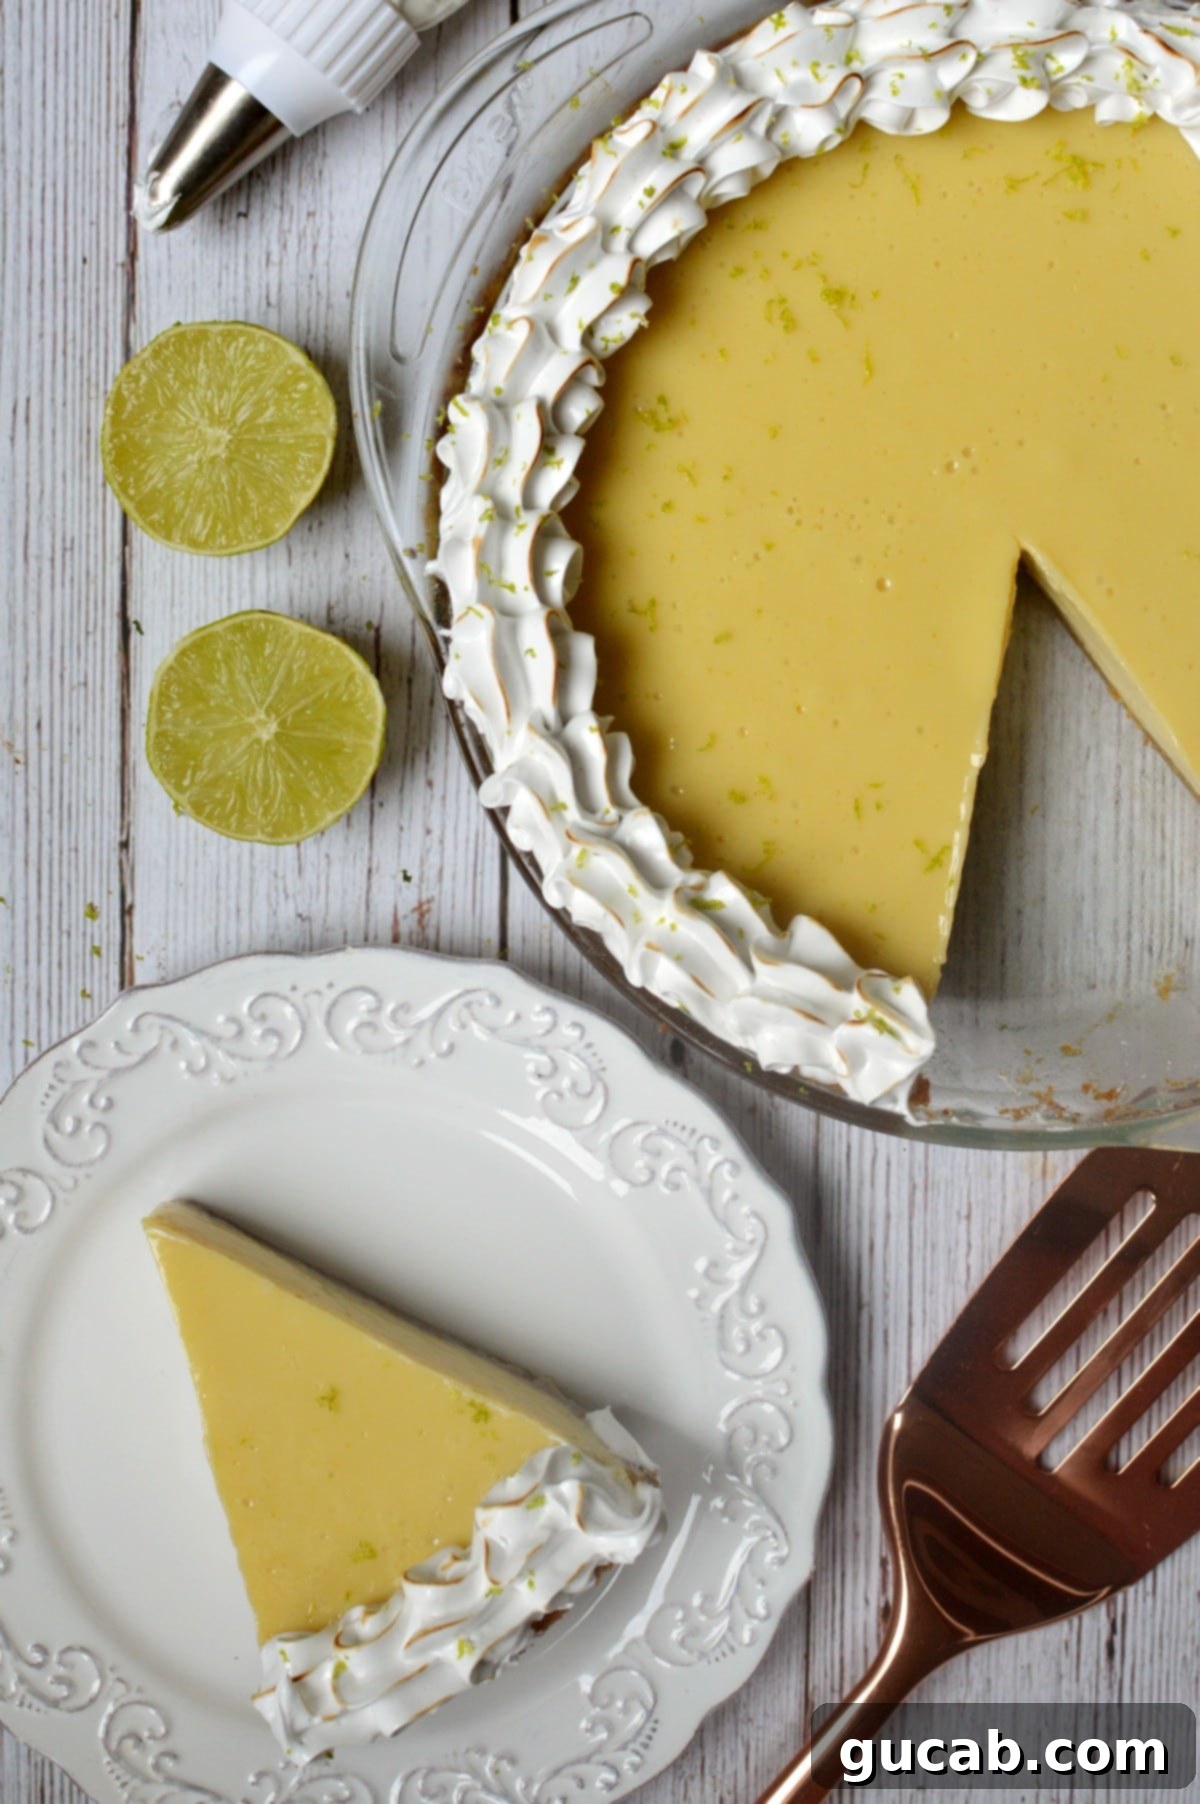
- Decorate: Transfer the silky meringue into a piping bag fitted with your favorite tip (or simply use a spoon!). Pipe a beautiful design onto your chilled Key Lime Pie. No fancy piping skills? No problem! A rustic swirl with a spoon looks equally charming.
Frequently Asked Questions About Gluten-Free Key Lime Pie
Can I use gluten-free graham crackers instead of gingersnaps for the crust?
Absolutely, yes! If you’re not a fan of gingersnaps, or if you simply can’t find them in your local store, gluten-free graham crackers are a perfectly suitable alternative for the crust. My personal preference for gingersnaps stems from the fact that I often struggle to find a consistent supply of gluten-free graham crackers, and their flavor and texture can vary wildly between brands.
For example, some brands like Shar’s gluten-free grahams tend to be less sweet and crumble very easily, requiring more butter to bind. On the other hand, brands like Pamela’s gluten-free graham crackers can be quite sweet and have a firmer, almost gingersnap-like texture. Therefore, if you opt for graham crackers, I highly recommend using your favorite brand and, more importantly, tasting the crumb mixture before you press it into the pie pan. This allows you to adjust the amount of added sugar to achieve your desired level of sweetness. That said, all my taste testers were absolutely delighted with the gingersnap crust, so give it a try if you’re feeling adventurous!
How do I store Key Lime Pie?
Key Lime Pie should always be stored in the refrigerator due to its dairy and egg content. Cover it loosely with plastic wrap to prevent it from drying out or absorbing odors from other foods. It will stay fresh for 3-4 days. If topped with meringue, it’s best enjoyed within 1-2 days, as meringue can weep or become sticky over time.
Can I make Key Lime Pie ahead of time?
Yes, Key Lime Pie is an excellent make-ahead dessert! The filling benefits from chilling, which allows it to fully set and develop its flavors. You can bake the pie a day or two in advance and keep it refrigerated. If you’re adding meringue, it’s best to prepare and pipe it on the day of serving for the freshest appearance and texture. If using whipped cream, add it just before serving.
Expert Tips & Smart Substitutions for Your Gluten-Free Key Lime Pie
To ensure your Key Lime Pie turns out perfect every time, and to offer some flexibility, keep these tips in mind:
- For a Denser Pie: If you prefer a denser, more traditional Key Lime Pie texture, you can skip the step of beating the egg yolks and sweetened condensed milk for a full two minutes. Instead, simply beat them together just until they are well combined, and then mix in the lime juice. This will result in a slightly less airy, more compact filling.
- Checking for Doneness: Don’t be alarmed if your pie still looks a bit jiggly in the center when you pull it out of the oven. This is perfectly normal and actually indicates that it’s correctly baked. The pie will continue to firm up and set beautifully as it cools down, especially during its time in the refrigerator.
- Meringue Drizzle Technique: When you’re drizzling the hot sugar syrup into the whipping egg whites for the meringue, aim the stream of syrup towards the side of the mixer bowl, rather than directly onto the whisk. This technique helps prevent the hot syrup from splattering up the sides of the bowl. However, if a little splattering does occur, don’t fret too much! It will still whip up into a wonderfully soft and silky meringue.
- Safety First with Hot Sugar: Please exercise extreme caution when working with hot sugar syrup. It can reach very high temperatures and cause painful burns if it comes into contact with your skin. Keep children and pets away from the cooking area, and avoid touching the syrup directly.
- Lime Zest Boost: For an even more intense lime flavor and a beautiful visual pop, consider adding a tablespoon or two of fresh lime zest to your filling mixture. You can also sprinkle a little zest over the finished pie as a garnish.
- Make it Dairy-Free: With the increasing availability of dairy-free sweetened condensed milk (often coconut-based) and dairy-free butter, you can adapt this recipe to be dairy-free as well! Ensure your gingersnaps are also dairy-free.
Other Delicious Gluten-Free Dessert Recipes You Might Love
If you’re looking for more gluten-free treats that are just as easy and satisfying, explore some of these fantastic options from our collection:
- One Bowl Gluten Free Brownie Recipe
- Gluten Free Banana Bread
- Gluten Free Vanilla Cupcakes
- Gluten Free Blackberry Crisp
- Gluten Free Blueberry Crisp
- Irresistible Gluten Free Easter Desserts
Gluten Free Key Lime Pie
Carolyn
Pin Recipe
Equipment
-
Food processor
-
9″ Pie pan
-
Large Bowl
-
Hand mixer
-
Spatula
-
Measuring spoons
-
Liquid Measuring cup
-
Candy thermometer (if making meringue)
Ingredients
For the crust:
- 8 oz. Gluten free gingersnaps About 1 ¾ cups of crumbs
- 3 tbsp Sugar
- 5 tbsp Unsalted butter, melted
For the filling:
- 2 14 oz. Cans of sweetened condensed milk
- 7 Egg yolks
- 1 cup Key lime juice
For the meringue:
- 2 Egg whites
- ¼ t. Cream of tartar
- ⅔ cup Sugar
- ¼ cup Water
Instructions
For the crust:
-
Preheat the oven to 350 degrees Fahrenheit. Process the gingersnaps in a food processor until finely ground into crumbs. Place them in a large bowl. Add the sugar and stir with a fork then add the melted butter. Use your hands to stir everything together and then press the mixture into the pie pan. Bake for 10 minutes then set aside to cool.
For the filling:
-
In a large bowl combine the sweetened condensed milk and the egg yolks. Use a hand mixer to beat the mixture for 2 whole minutes. While mixing gradually pour in the lime juice until completely incorporated.
-
Pour the mixture into the crust. Carefully place the pie into the oven and bake for 15 minutes.
For the meringue:
-
Place the egg whites into the bowl of a stand mixer with the cream of tartar. In a small saucepan add the sugar and the water then turn on medium high heat. Stir the mixture with a whisk just until the sugar dissolves and then don’t touch it.
-
Once the mixture reaches 230 degrees start whipping the egg whites on medium speed until frothy. Once the egg whites almost hold soft peaks carefully drizzle the hot syrup into the egg whites while they whip.
-
Continue to whip until the meringue almost reaches stiff peaks. Scrape the meringue into a piping bag and pipe onto the pie. Enjoy or refrigerate for later!
We hope you love this incredible gluten-free Key Lime Pie as much as we do! It’s the perfect balance of sweet, tart, and spicy, creating a memorable dessert that will transport you straight to the sunny Florida Keys. Whether for a summer gathering, a holiday feast, or just a sweet craving, this pie is sure to impress. Happy baking!
