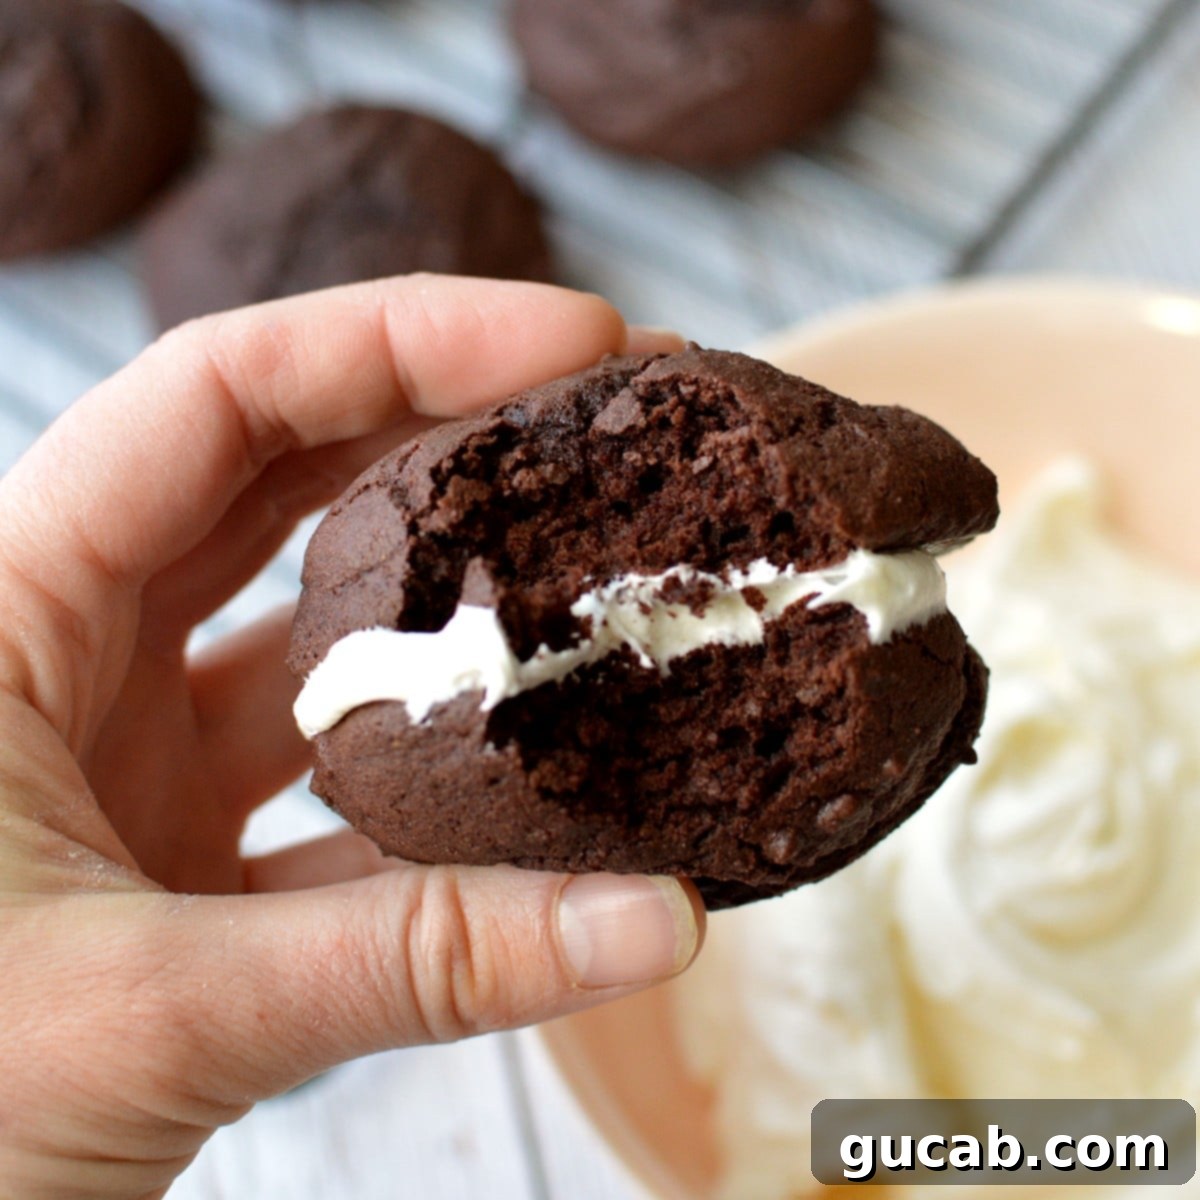
Irresistible Gluten-Free Chocolate Whoopie Pies with Fluffy Marshmallow Buttercream
Prepare your taste buds for an extraordinary treat! These homemade gluten-free chocolate whoopie pies are an absolute dream, featuring moist, rich chocolate cakes generously filled with a divine marshmallow buttercream. Far superior to any store-bought alternative, this recipe is not only incredibly delicious but also surprisingly simple to prepare. If you’ve been searching for that perfect nostalgic dessert without the gluten, your quest ends here.
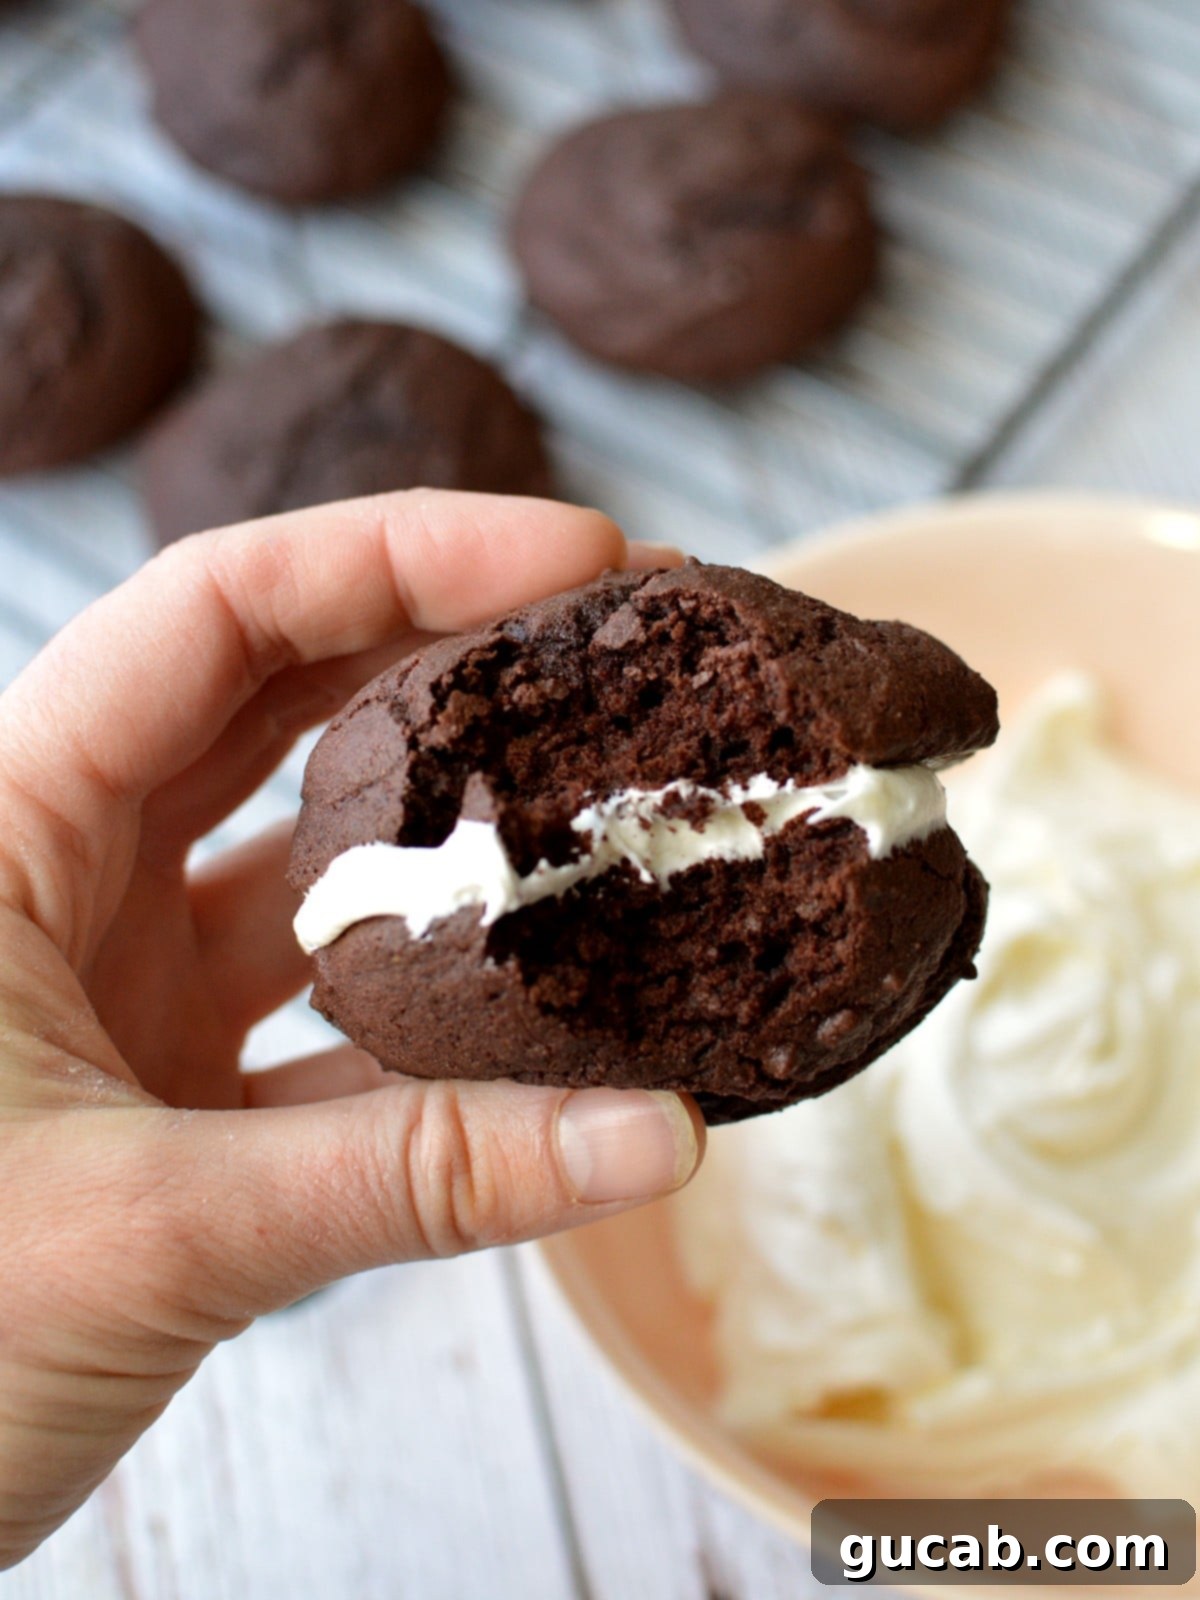
There’s something truly magical about a homemade whoopie pie. The moment you sink your teeth into one, you’ll understand why these delightful treats are cherished across the country. Our gluten-free version perfectly captures that classic experience, offering a soft, tender chocolate cake paired with a sweet, pillowy marshmallow cream filling. Each bite delivers a perfect harmony of deep chocolate flavor and light, airy sweetness, making it impossible to stop at just one. This recipe is designed to be straightforward, ensuring even novice bakers can achieve spectacular results.
What Exactly Are Whoopie Pies?
Often mistaken for moon pies or other sandwich cookies, whoopie pies hold a special place in American culinary tradition, particularly in Pennsylvania, Maine, and other New England states. At their heart, whoopie pies are two soft, round cake-like cookies (often called “cakelets”) sandwiched together with a creamy, fluffy filling, traditionally marshmallow buttercream. While chocolate is the most popular flavor for the cakes, variations abound, including pumpkin, vanilla, and red velvet. Unlike a typical cookie, whoopie pies have a cakey, tender texture, making them a unique and indulgent dessert experience. Their distinct texture and classic filling are what set them apart, creating a beloved treat that evokes fond memories for many.
Essential Ingredient Notes for Perfect Gluten-Free Whoopie Pies
Crafting these delectable gluten-free chocolate whoopie pies relies on a few key ingredients. Here’s a detailed look at what you’ll need and why each component is important:
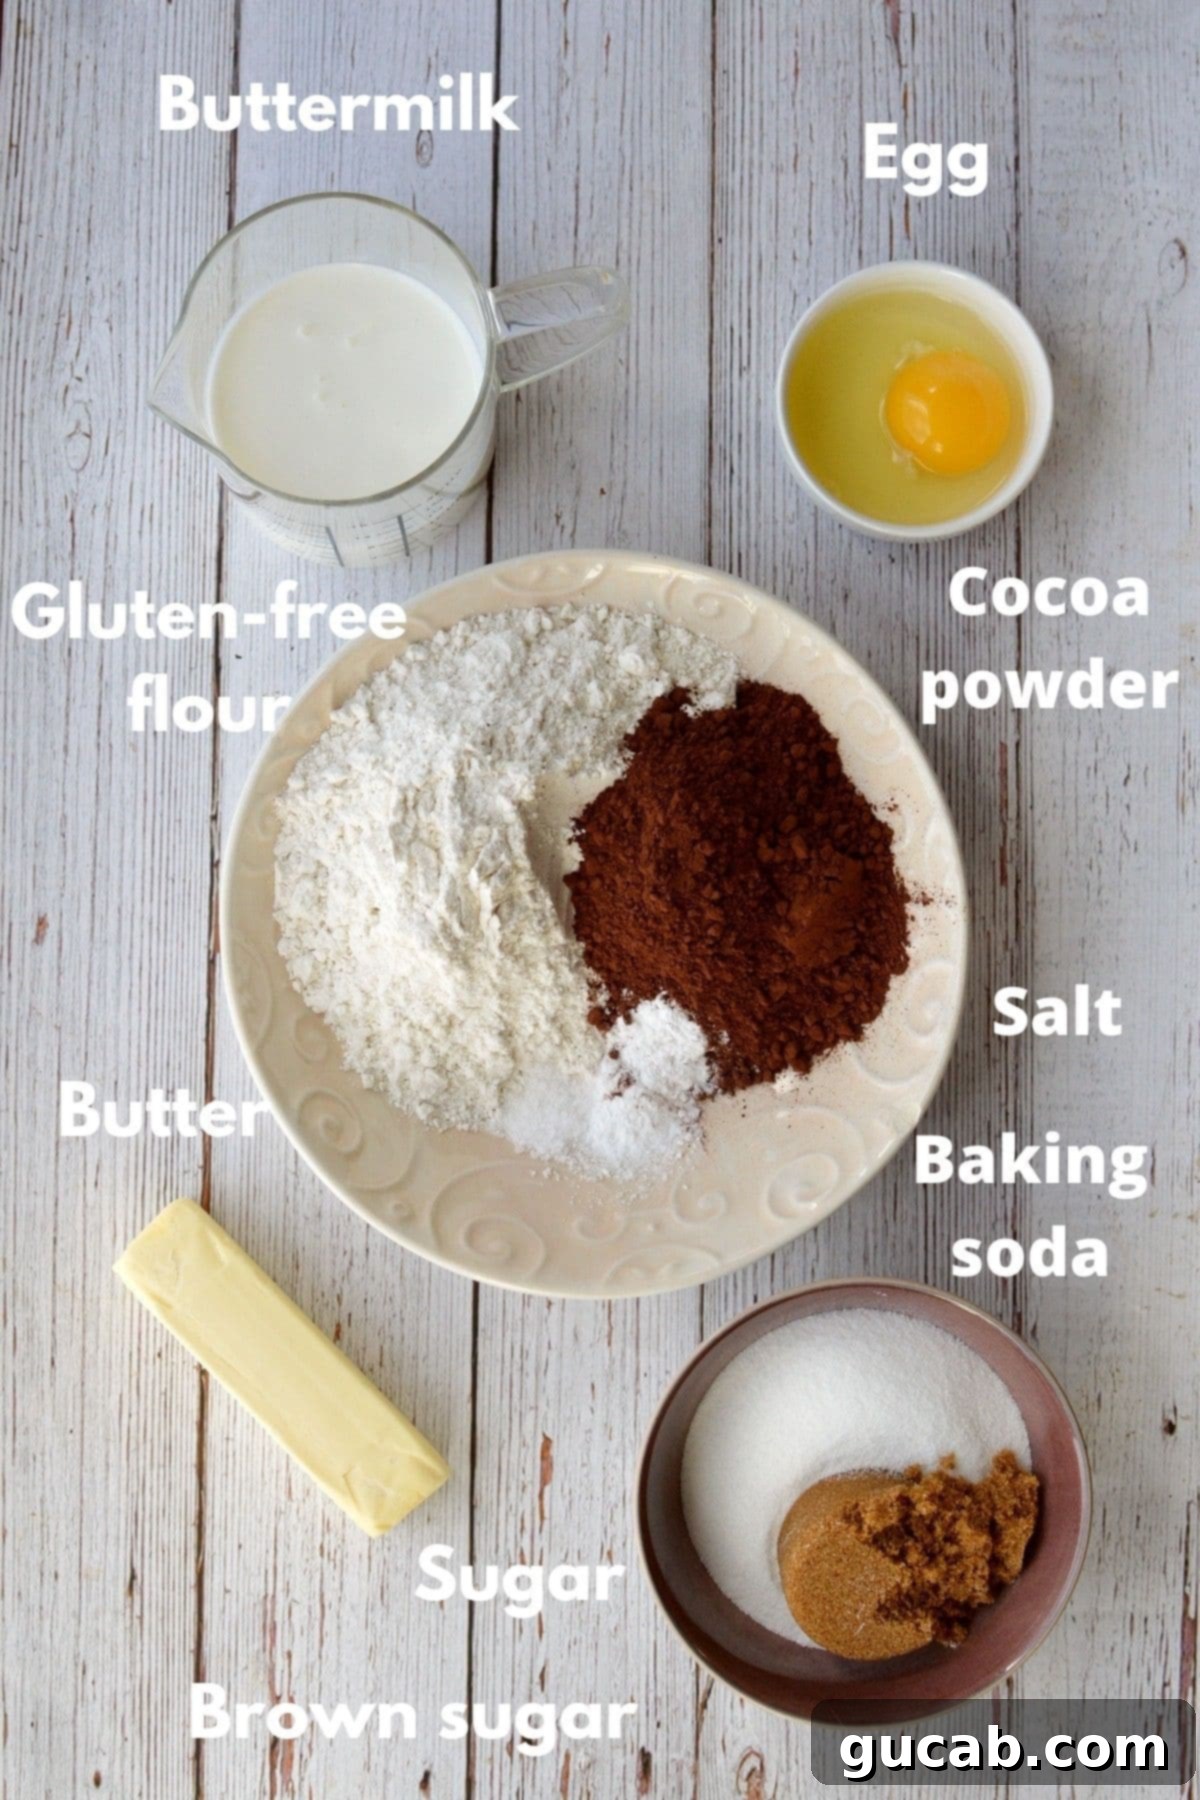
- Gluten-Free Flour Blend: For this recipe, I highly recommend using a high-quality 1:1 all-purpose gluten-free flour blend, specifically one that contains xanthan gum. I personally use and love Bob’s Red Mill 1:1 All-Purpose Gluten-Free Flour due to its consistent performance and ability to replicate the taste and texture of traditional gluten-containing baked goods. Xanthan gum is crucial in gluten-free baking as it acts as a binder, providing structure and elasticity that gluten would normally offer. If you use a different brand, ensure it also includes xanthan gum, as results can vary significantly between blends.
- Dutch Processed Cocoa Powder: This is a non-negotiable for achieving that deep, rich chocolate flavor and dark color. Dutch processed cocoa powder has been treated with an alkali, which neutralizes its acidity and results in a darker color and a milder, less bitter chocolate taste compared to natural cocoa powder. Hershey’s often labels their Dutch processed cocoa as “dark cocoa powder,” making it easy to spot. This type of cocoa also reacts differently with leavening agents, making it ideal for recipes using baking soda and an acidic ingredient like buttermilk.
- Baking Soda: Our primary leavening agent for the chocolate cakes. Baking soda requires an acid to activate, and in this recipe, it finds its acidic partners in the buttermilk and brown sugar. This reaction creates carbon dioxide bubbles, which are essential for developing a light, airy, and fluffy cake texture, preventing dense or heavy whoopie pies.
- Kosher Salt: Don’t underestimate the power of salt in sweet recipes! While it won’t make your whoopie pies taste salty, it plays a vital role in balancing and enhancing the overall chocolate and sweet flavors, making them more pronounced and complex.
- Unsalted Butter: Ensure your unsalted butter is at true room temperature. This is critical for proper creaming with the sugars, which incorporates air into the batter, leading to a lighter cake. If it’s too cold, it won’t cream properly; if it’s melted, your cakes might be greasy and dense. A quick zap in the microwave for 5-10 seconds can help, but be careful not to melt it completely.
- Granulated Sugar & Dark Brown Sugar: The combination of both sugars contributes to both sweetness and texture. Granulated sugar provides crispness and tenderness, while dark brown sugar adds a deeper, more molasses-like flavor and extra moisture, contributing to the cakes’ soft and chewy texture.
- Large Egg: Eggs serve multiple purposes in baking. They act as a binder, holding the ingredients together, and contribute to the cake’s structure, richness, and moisture. Ensure your egg is also at room temperature to blend seamlessly with the other ingredients.
- Buttermilk: This ingredient is a secret weapon for moist and tender cakes. Its acidity reacts with the baking soda, creating that essential lift. Beyond leavening, buttermilk also imparts a subtle tang and keeps the chocolate cakes incredibly moist without making them heavy. If you don’t have buttermilk, you can make a substitute by adding 1 tablespoon of lemon juice or white vinegar to a measuring cup, then filling the rest with milk to make 1 cup. Let it sit for 5-10 minutes until it slightly curdles.
- Vegetable Oil: A small amount of vegetable oil is included to further boost moisture. Oil helps keep cakes moist for longer, ensuring your whoopie pies stay deliciously tender and never dry out. It works in conjunction with the butter to create a perfect texture.
Marshmallow Buttercream Ingredients: The Perfect Filling
This luscious, cloud-like frosting is truly divine and requires just three simple ingredients to create the ultimate whoopie pie filling:
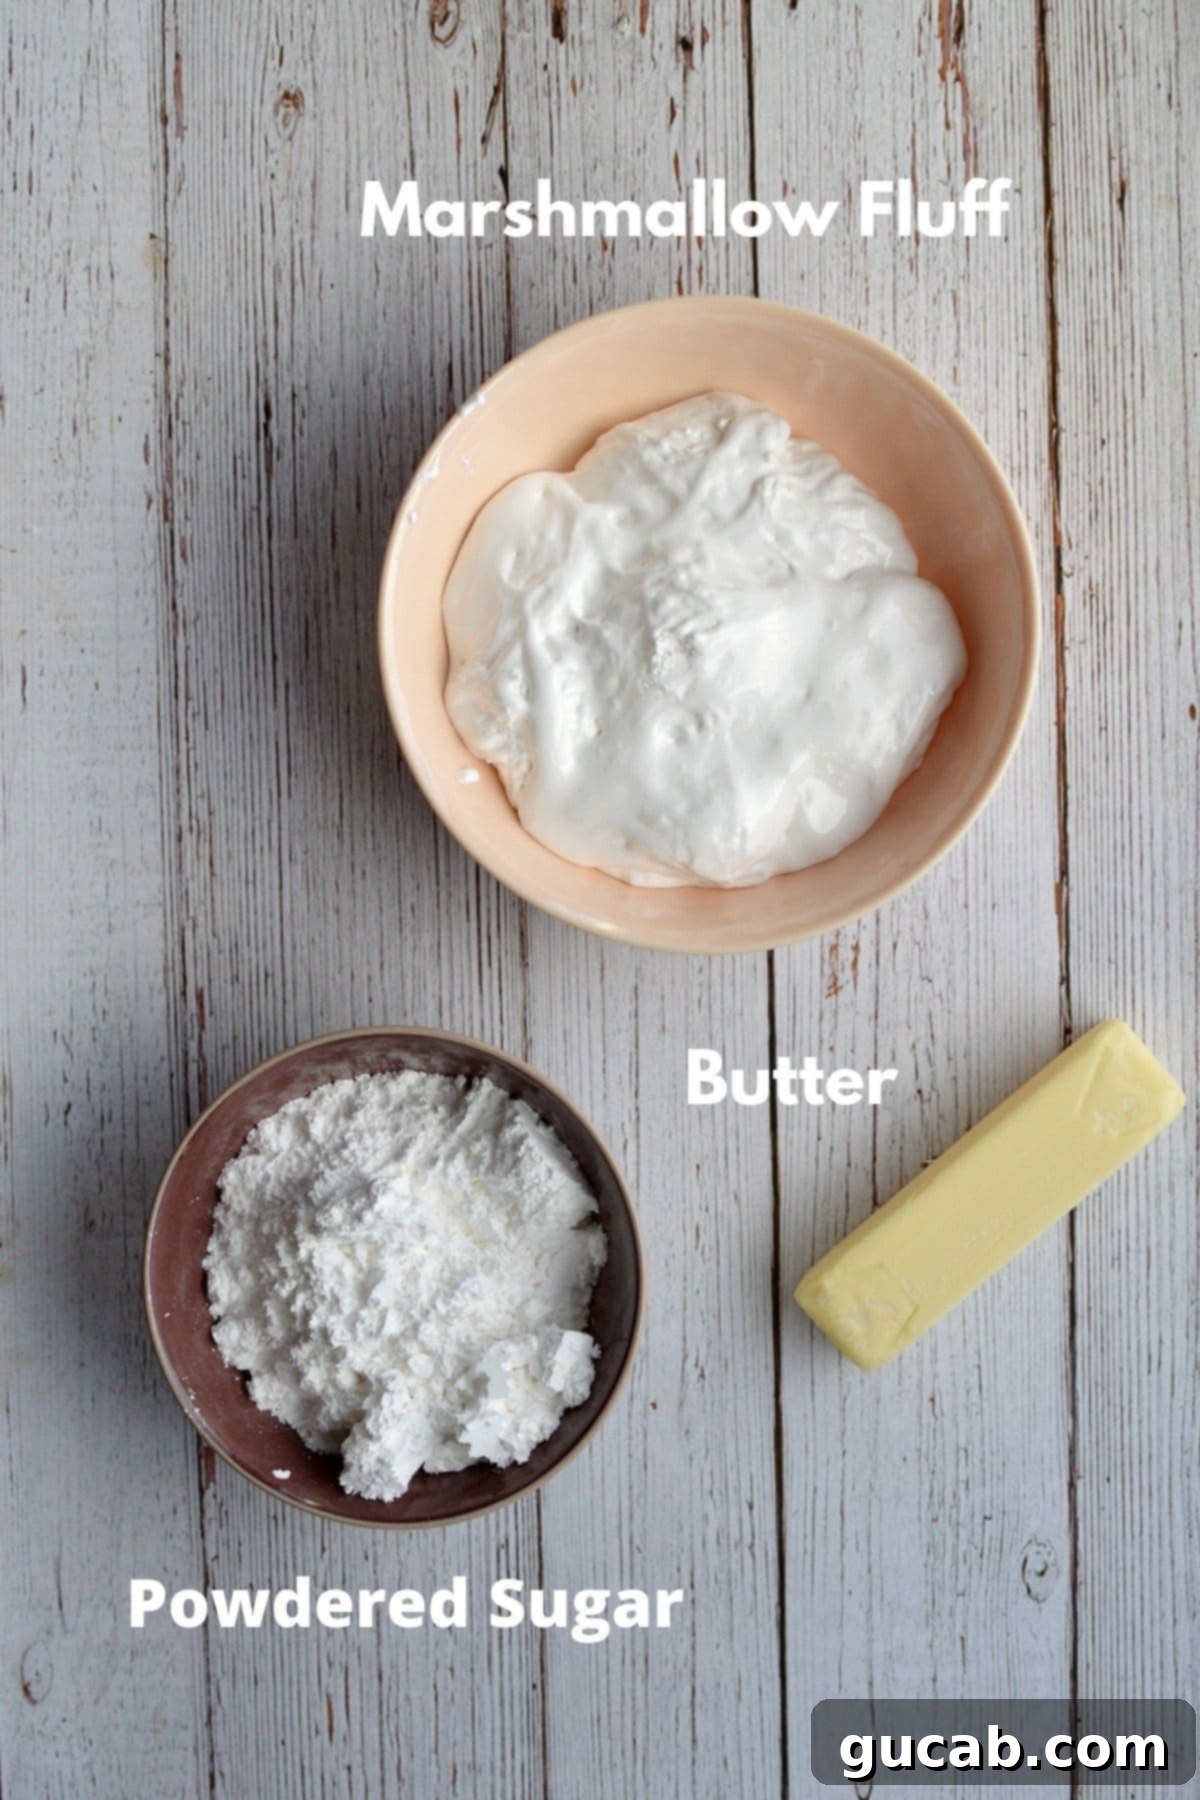
- Marshmallow Fluff (Marshmallow Cream): The star of the filling! One 7.5-ounce tub of marshmallow cream is all you need for that signature sticky, sweet, and airy texture. While most marshmallow fluff is naturally gluten-free, it’s always a good practice to check the label for certification or any hidden gluten-containing ingredients, just to be safe. This provides the unique marshmallowy taste and consistency that sets this buttercream apart.
- Powdered Sugar (Confectioners’ Sugar): This fine sugar is essential for thickening the buttercream and providing sweetness without any gritty texture. We use just enough to achieve a stable, spreadable consistency while ensuring the filling isn’t overly sweet, allowing the marshmallow flavor to shine.
- Unsalted Butter: Just like for the cake batter, ensuring your unsalted butter is at room temperature is crucial here. This allows it to whip up light and fluffy, combining smoothly with the other ingredients to create a creamy, emulsified frosting. Cold butter will result in a lumpy, unworkable filling.
How to Make Homemade Gluten-Free Whoopie Pies: A Step-by-Step Guide
These delightful whoopie pies come together quickly and easily. Follow these detailed steps for perfect results every time:
For the Moist Chocolate Cakes
- Prepare Your Workspace: Begin by preheating your oven to 350 degrees Fahrenheit (175°C). Line two large baking sheets with parchment paper or silicone baking mats. This prevents sticking and ensures easy removal of your delicate cakelets. Set these aside.
- Combine Dry Ingredients: In a medium mixing bowl, whisk together the gluten-free flour blend, Dutch processed cocoa powder, baking soda, and kosher salt. Make sure these are thoroughly combined to ensure even distribution of the leavening agent throughout the batter. Set this bowl aside.
- Prepare Wet Ingredients: In a liquid measuring cup or small bowl, combine the buttermilk and vegetable oil. Give it a quick stir and set aside.
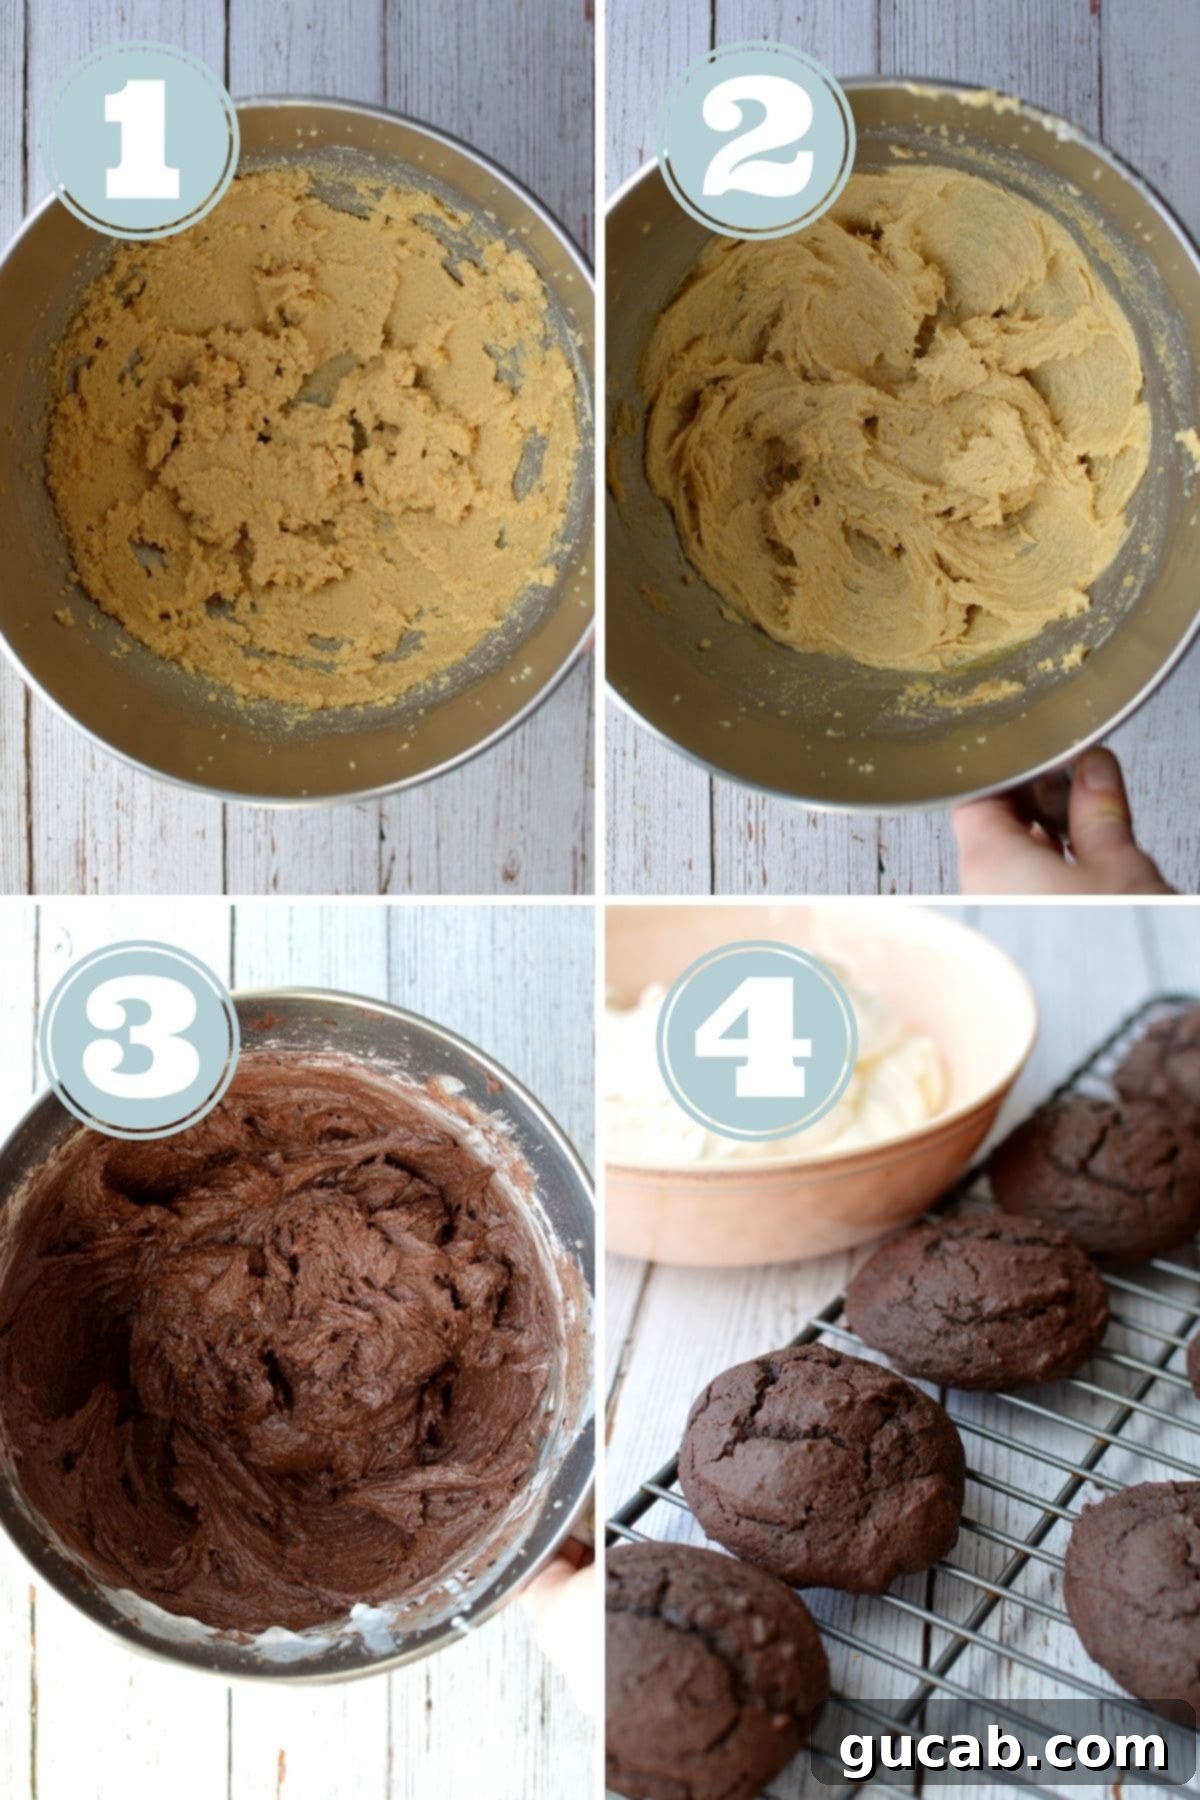
- Cream Butter & Sugars: In the bowl of a stand mixer fitted with the paddle attachment (or using a hand mixer), beat the softened room-temperature unsalted butter with both the granulated sugar and dark brown sugar. Beat on medium-high speed for about 3-4 minutes, until the mixture is light, fluffy, and pale in color. This step is vital for incorporating air into the batter, which contributes to the cake’s tender texture.
- Incorporate the Egg: Add the large egg to the creamed butter and sugar mixture. Beat on medium speed until fully incorporated, scraping down the sides of the bowl with a rubber spatula to ensure all ingredients are well mixed.
- Alternate Dry & Wet Additions: With the mixer on low speed, gradually add half of the dry ingredients to the butter mixture and beat until just combined. Then, add half of the buttermilk and oil mixture and beat until incorporated. Scrape down the sides of the bowl thoroughly. Repeat this process with the remaining dry ingredients and the remaining buttermilk mixture, mixing only until combined. Be careful not to overmix the batter once the flour is added, as this can lead to tougher cakes.
- Scoop & Bake: Using a small portion scoop (approximately 1.5 tablespoons or a small ice cream scoop), drop even mounds of batter onto the prepared baking sheets, leaving about 2 inches between each mound. You should get about 8 cakes per sheet. Bake for 11-12 minutes, or until the edges are set and the centers spring back lightly when touched. Repeat with any remaining batter. This recipe yields approximately 24 individual cakelets, which will make 12 whoopie pies. Allow the cakes to cool completely on the baking sheets for a few minutes before transferring them to a wire rack to finish cooling. It’s essential they are fully cooled before filling to prevent the buttercream from melting.
For the Fluffy Marshmallow Filling
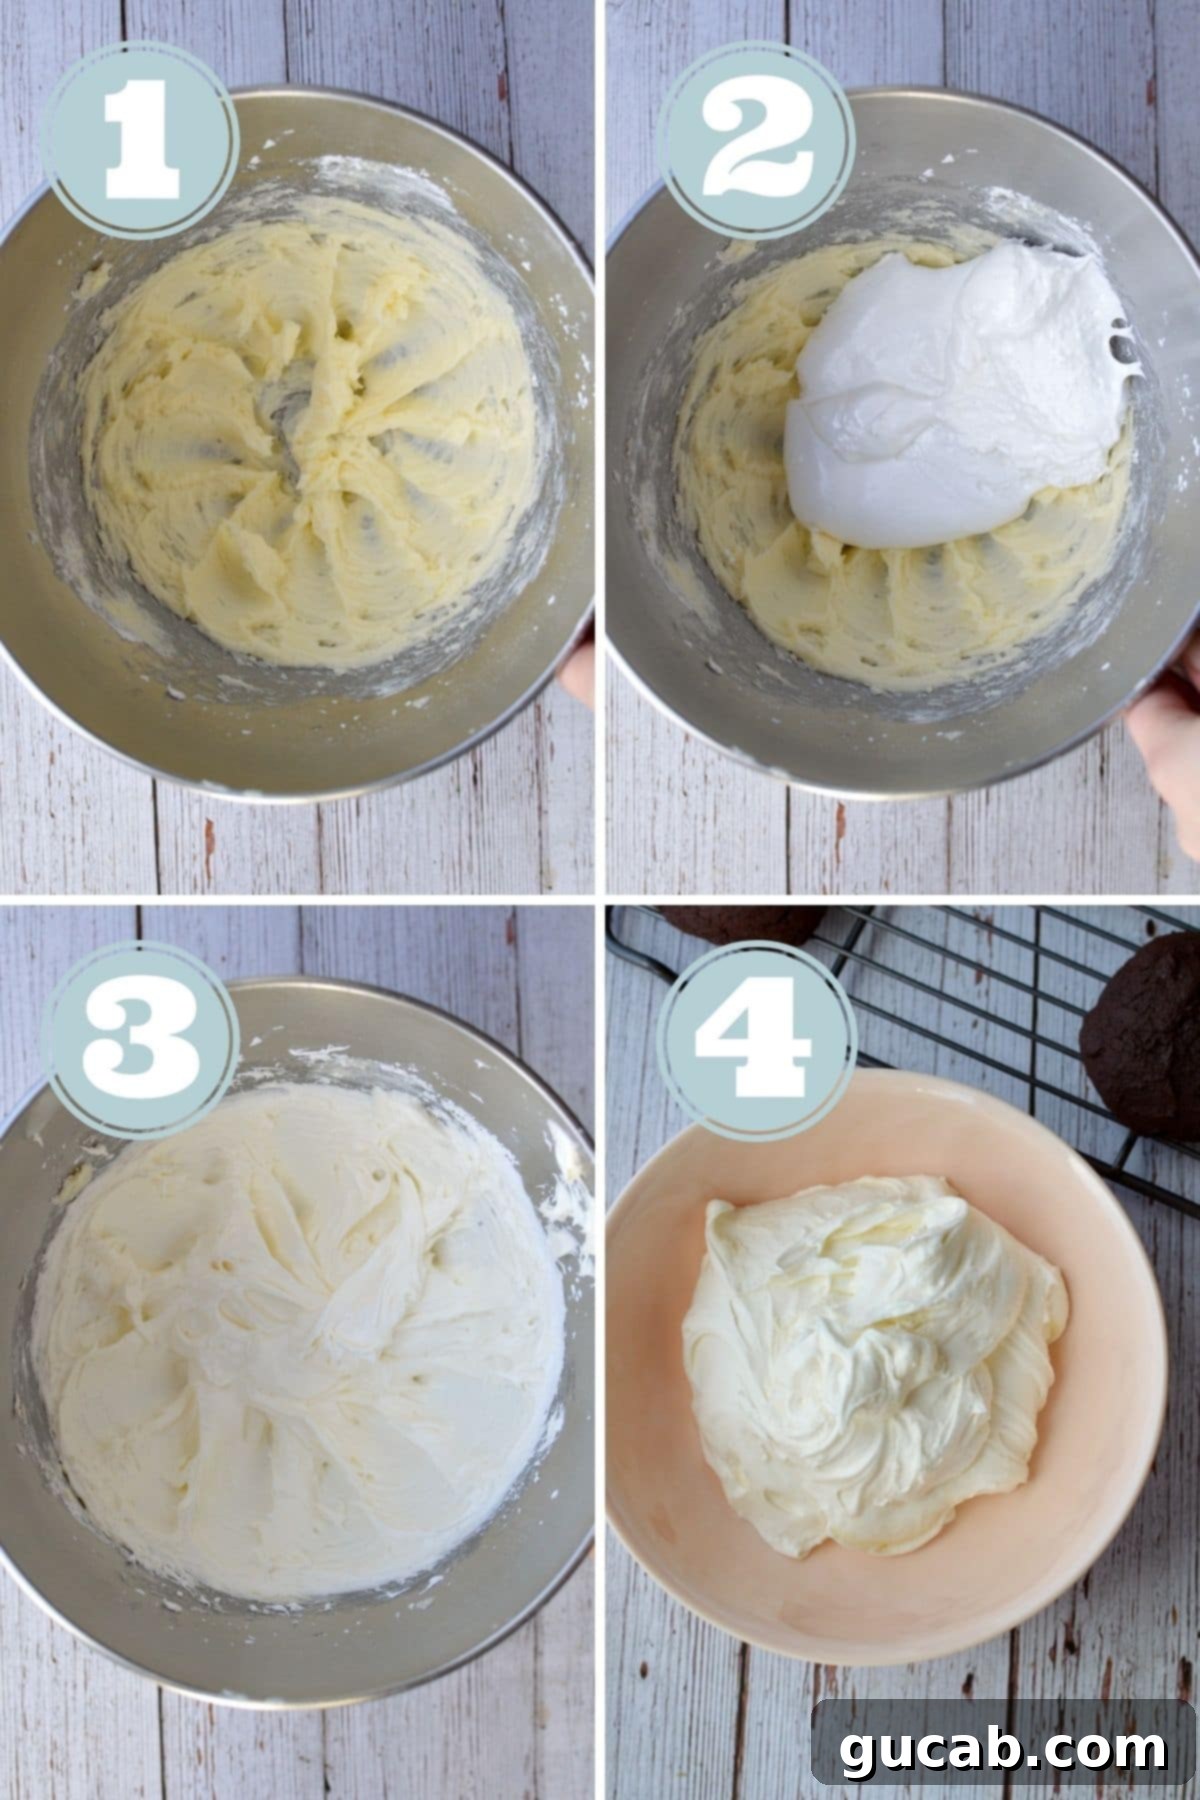
- Whip the Filling Ingredients: In the clean bowl of a stand mixer fitted with the paddle attachment (or using a hand mixer), combine the room-temperature unsalted butter, powdered sugar, and the entire tub of marshmallow cream.
- Beat Until Thick and Creamy: Start on low speed to incorporate the powdered sugar without it flying everywhere, then increase to medium-high speed. Beat for 3-5 minutes, or until the mixture is incredibly thick, light, and fluffy. The buttercream should hold soft peaks and be easy to spread.
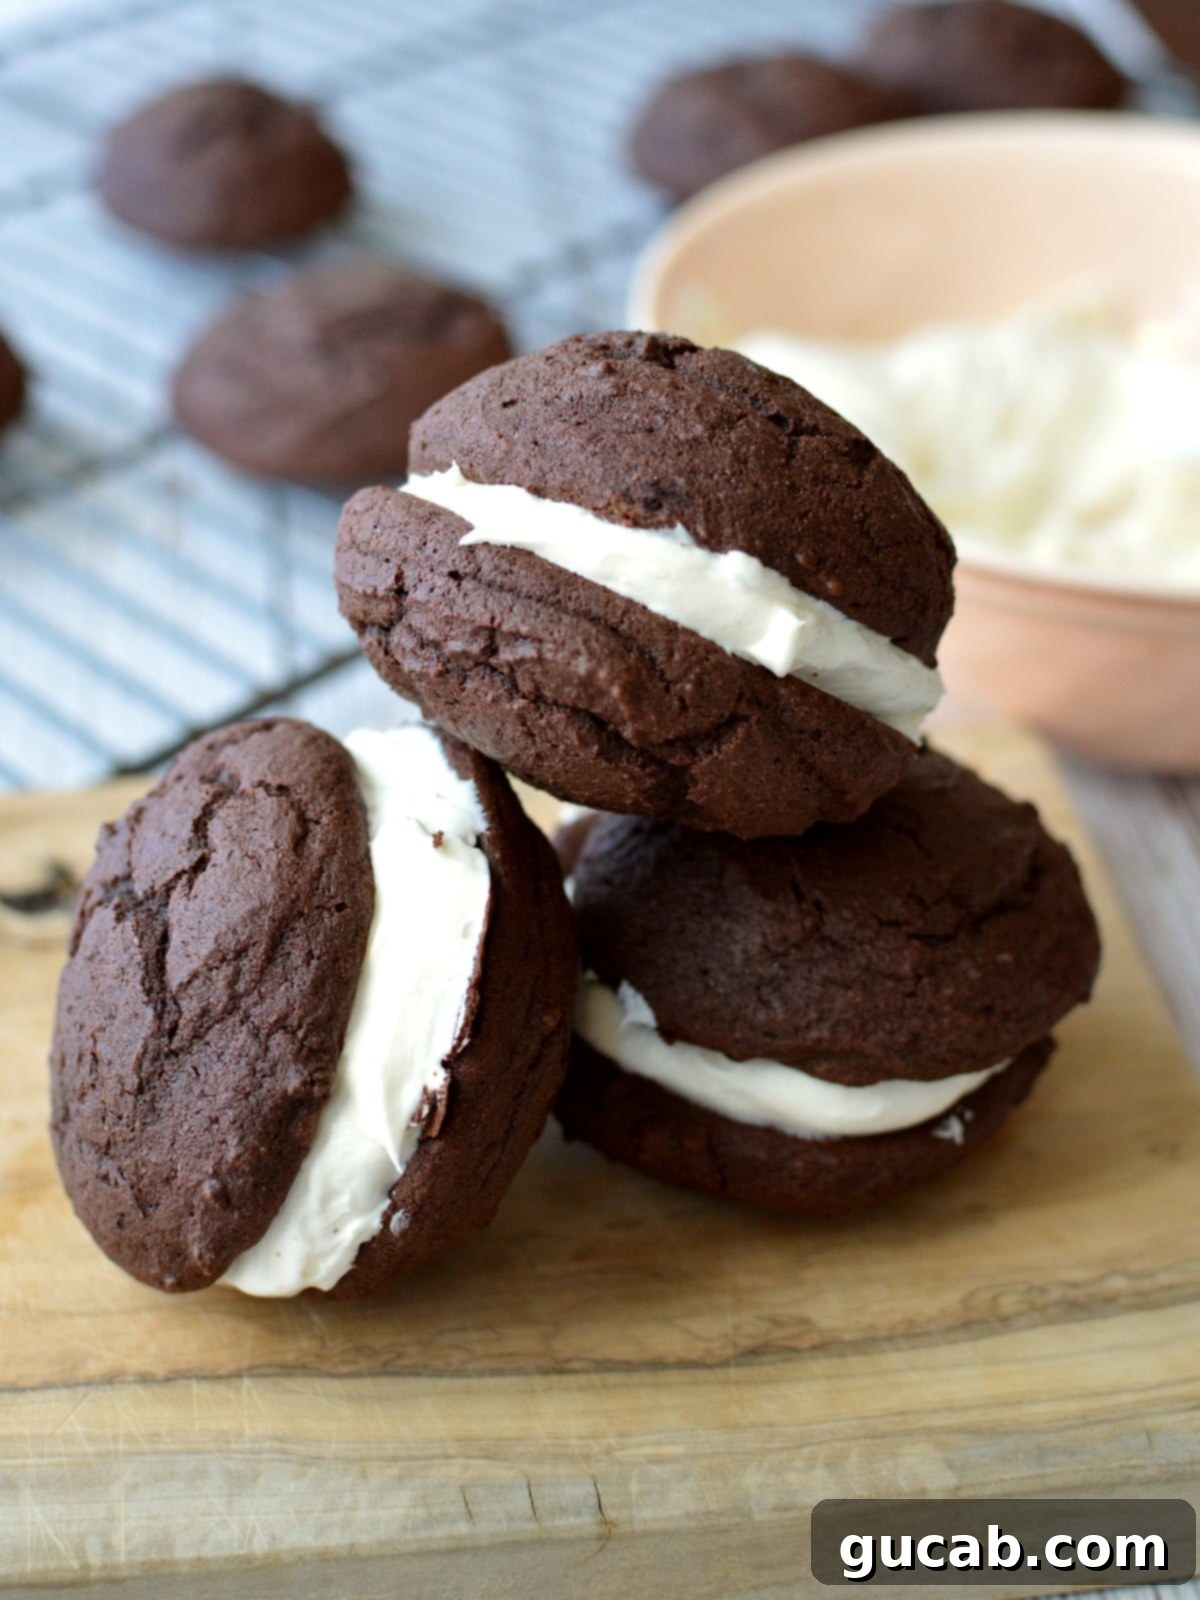
- Assemble Your Whoopie Pies: Once the chocolate cakes are completely cooled, take one cake and spread a generous amount of marshmallow buttercream onto its flat side. Top with another chocolate cake, flat-side down, gently pressing them together to form a sandwich. Repeat with the remaining cakes and filling.
Frequently Asked Questions (FAQs)
To maintain their freshness and delightful texture, store your gluten-free whoopie pies in an airtight container at room temperature. For optimal taste and quality, it’s best to enjoy them within two days. After that, the cakes can start to dry out slightly, though they’ll still be delicious!
Absolutely! Whoopie pies freeze exceptionally well, making them a fantastic make-ahead dessert. Arrange them in a single layer in a freezer-safe airtight container, separating layers with parchment paper if stacking. You can also freeze the unfrosted cakelets and thaw them before filling. For the best quality, enjoy frozen whoopie pies within 3 months. Thaw them at room temperature for a few hours before serving.
Yes, with a few substitutions! You can replace regular butter with a high-quality dairy-free butter alternative (ensure it’s suitable for baking). For buttermilk, use a dairy-free milk alternative (like almond or soy milk) mixed with 1 tablespoon of apple cider vinegar or lemon juice per cup, letting it sit to curdle. Always check the marshmallow fluff label to ensure it’s dairy-free, as some brands may contain milk derivatives.
If your chosen gluten-free flour blend does not contain xanthan gum, you’ll need to add it separately to the dry ingredients. A general rule of thumb for cakes is to add about ½ teaspoon of xanthan gum per cup of gluten-free flour. For this recipe, that would mean adding 1 teaspoon of xanthan gum to your dry ingredients mixture.
Expert Recipe Tips for Success
- Cool Completely Before Filling: This is arguably the most crucial tip! Ensure your chocolate cakelets are absolutely, completely cool before attempting to fill them with the marshmallow buttercream. Even slight warmth will cause the buttercream to melt, resulting in a messy and less appealing whoopie pie. Patience is key here.
- No Special Pan Needed: You might see recipes calling for a specific “whoopie pie pan,” but it’s entirely unnecessary for this recipe. The batter is thick enough that it will hold its shape beautifully and spread just the right amount on a regular baking sheet lined with parchment paper or a silicone mat. This keeps the recipe accessible and simple.
- Portion Control is Key: This recipe yields 12 whoopie pies, meaning you’ll bake 24 individual chocolate cakelets. Using a small portion scoop (around 1.5 tablespoons) is ideal for achieving consistently sized cakelets. This not only makes them look professional but also ensures even baking and a perfect cake-to-filling ratio for each delicious bite.
- Don’t Overmix the Batter: Once you add the dry ingredients to the wet, mix only until just combined. Overmixing gluten-free flour can sometimes lead to a tougher texture, even without gluten. A light hand will ensure your cakelets stay tender and moist.
- Room Temperature Ingredients are a Must: As mentioned in the ingredient notes, ensure your butter and egg are at room temperature for both the cake and the buttercream. This allows for proper emulsification and aeration, leading to superior texture and consistency in both components of your whoopie pies.
Delicious Variations to Try
- Alternative Fillings: While our marshmallow buttercream is heavenly, these versatile gluten-free chocolate cakes can be paired with a variety of other fillings. Consider a classic cream cheese frosting for a tangy contrast, a rich vanilla buttercream, or even a decadent chocolate buttercream for an extra chocolatey kick! Experiment with adding different extracts like peppermint or almond to your fillings for seasonal twists.
- Cake Flavor Enhancements: Feel free to add a touch of espresso powder to your chocolate cake batter to deepen the chocolate flavor. You could also fold in mini chocolate chips or a sprinkle of finely chopped nuts for added texture.
- Seasonal Whoopie Pies: Swap out the chocolate cake for a pumpkin-spiced cake and fill with cream cheese frosting for a fall-inspired treat. Or, use red velvet cakelets with vanilla marshmallow buttercream for a festive holiday version.
Other Gluten-Free Cake Recipes You Might Like
- Gluten Free Marble Cake
- Gluten Free Chocolate Pound Cake
- Gluten Free Italian Cream Cake
- Gluten Free Sour Cream Pound Cake
Gluten Free Whoopie Pies
Carolyn
Pin Recipe
Equipment
-
Stand mixer or hand mixer
-
Measuring cups & spoons
-
Liquid Measuring cup
-
Sheet pan
-
Portion scoop (optional, but recommended for consistent sizing)
Ingredients
- 2 cups Bob’s Red Mill 1:1 All-Purpose Gluten-Free Flour or other gluten-free all-purpose flour that contains xanthan gum
- ½ cup Dutch processed cocoa powder Hershey’s labels it dark cocoa powder
- 1 teaspoon baking soda
- ¼ teaspoon kosher salt
- ½ cup unsalted butter, room temperature
- ¾ cup granulated sugar
- ¼ cup dark brown sugar
- 1 large egg
- 1 cup buttermilk
- 2 tbsp vegetable oil
For the Marshmallow Buttercream
- ½ cup unsalted butter, room temperature
- ¾ cup powdered sugar
- 7.5 oz tub of marshmallow cream (fluff)
Instructions
For the Chocolate Whoopie Pie Cakes:
-
Preheat oven to 350 degrees Fahrenheit (175°C). Line two large sheet pans with parchment paper or a silicone baking mat and set aside.
-
In a medium mixing bowl, combine the gluten-free flour, Dutch processed cocoa powder, baking soda, and kosher salt. Whisk these dry ingredients thoroughly to combine, then set aside.
-
In a liquid measuring cup, combine the buttermilk and vegetable oil. Stir briefly and set aside.
-
In the bowl of a stand mixer fitted with the paddle attachment, combine the softened unsalted butter with the granulated sugar and dark brown sugar. Beat on medium-high speed until the mixture is light, fluffy, and pale, about 4 minutes.
-
Add the large egg and beat until fully incorporated. Stop the mixer and use a spatula to scrape down the sides of the bowl to ensure everything is well mixed.
-
With the mixer on low speed, add half of the dry ingredients to the butter mixture and beat until just combined. Next, add half of the buttermilk and oil mixture and beat until incorporated. Scrape down the sides of the bowl and repeat this process with the remaining dry and wet ingredients, mixing only until just combined.
-
Using a small portion scoop (approximately 1.5 tablespoons), scoop 8 round cakes onto each prepared sheet pan, leaving enough space between them for spreading. Bake for 11 to 12 minutes, or until the edges are set and the centers spring back. Repeat until all the batter is used. You should yield approximately 24 individual round cakes, enough to make 12 whoopie pies. Let them cool completely on a wire rack before filling with marshmallow buttercream.
For the Marshmallow Buttercream Frosting:
-
In the bowl of a stand mixer, combine the room-temperature butter, marshmallow cream, and powdered sugar.
-
Beat on medium-high speed for 3-5 minutes until the mixture is thick, light, and wonderfully fluffy.
-
Once the chocolate cakes are completely cool, spread a generous amount of marshmallow buttercream onto the flat side of one cake. Top with the flat side of another cake, gently pressing to create a delicious sandwich. Repeat with all remaining cakes and filling. Enjoy!
Nutrition
