The Ultimate Guide to Making Perfectly Creamy Stoneground Grits
There’s something truly magical about a bowl of perfectly cooked, thick, and creamy grits. It’s a comfort food that transcends meal times, equally at home on a bustling breakfast table, as a hearty side for lunch, or as the star of a comforting dinner. And the best part? This incredible recipe achieves that rich, velvety texture with just three core ingredients, making it an absolute staple for any home cook.

My family absolutely adores these ultra-creamy grits! In a household where culinary preferences often vary wildly, this is one of those rare, triumphant dishes that elicits zero complaints. My kids, usually the pickiest of eaters, devour them with enthusiasm and surprisingly, even squabble over the last spoonfuls in the pot. For any parent, that’s a monumental victory in the kitchen.
While these stoneground grits are a beloved ritual on our leisurely Saturday mornings, their incredible versatility means they frequently make an appearance on weeknights as well. They truly pair beautifully with almost anything you can imagine, making them a fantastic foundational recipe for any meal of the day.
Why Choose Stoneground Grits? The Secret to Superior Creaminess
Before diving into the recipe, let’s talk about the star ingredient: stoneground grits. This isn’t just a fancy name; it’s the key to achieving that unparalleled texture and deep, satisfying flavor that sets these grits apart. Unlike their instant or quick-cooking counterparts, stoneground grits are minimally processed. They are made from whole corn kernels that are slowly ground between two stones, preserving more of the corn’s natural oils and giving them a coarser, more irregular texture.
This traditional grinding method means that stoneground grits absorb liquid much more slowly during cooking. This slow absorption, combined with consistent stirring, encourages the release of natural starches into the liquid, creating a naturally thick, velvety, and incredibly creamy consistency. This is a crucial distinction; if you try to swap them out for instant grits, you simply won’t achieve the same rich flavor or luxurious texture. The extra cooking time is a small investment for such a rewarding culinary experience.
Essential Ingredients for Your Creamy Grits
Achieving truly exceptional grits doesn’t require a long list of exotic ingredients. In fact, the beauty of this recipe lies in its simplicity. With just a few high-quality components, you can create a dish that tastes complex and incredibly satisfying. Here’s a closer look at what you’ll need:
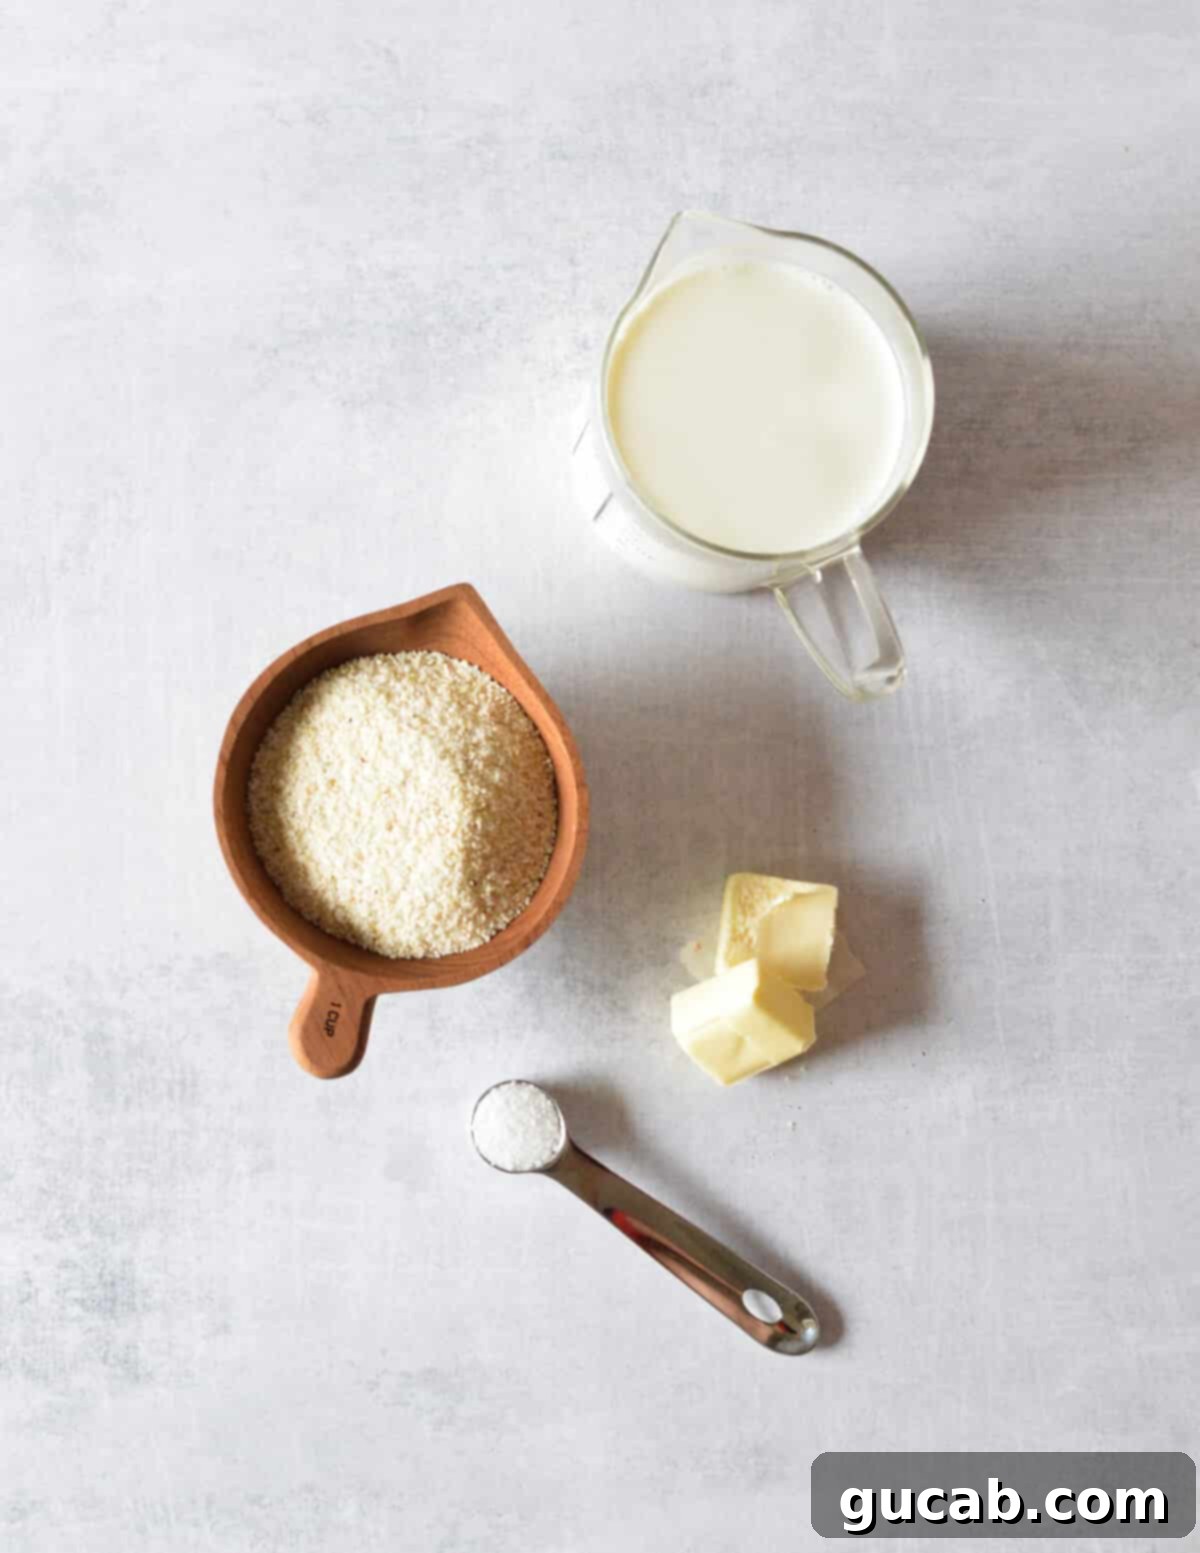
- Stoneground Grits: As mentioned, these are non-negotiable for this recipe! Their coarse grind and minimal processing are what allow them to cook slowly and absorb liquid gradually, resulting in a depth of flavor and a wonderfully creamy texture far superior to quick or instant varieties. Seek out yellow or white stoneground grits – both work beautifully.
- Unsalted Butter: Butter is not just a flavor enhancer here; it’s a key player in achieving that luxurious, creamy mouthfeel. Using unsalted butter gives you control over the overall sodium content of your dish, allowing you to season precisely to your liking. The rich fats in butter contribute significantly to the smooth, decadent finish of the grits.
- Whole Milk: Whole milk is preferred for its higher fat content, which contributes to the grits’ richness and creamy texture. As the grits cook, they slowly absorb the milk, becoming tender and infused with its mild, sweet flavor. While other milk varieties can be used, whole milk delivers the best results for truly decadent grits. For an even richer flavor, consider a mix of whole milk and a splash of heavy cream, or even half-and-half.
- Kosher Salt: Don’t underestimate the power of salt! It’s essential for bringing out the inherent sweetness of the corn and balancing the richness of the butter and milk. I highly recommend kosher salt for its pure, clean salty flavor and its larger, more forgiving granules, which make it easier to season evenly without over-salting. A generous pinch is all it takes to elevate the taste profile significantly.
How to Make Perfectly Creamy Stoneground Grits: A Step-by-Step Guide
While making stoneground grits isn’t difficult, it does require a bit of patience and “TLC” (tender, loving care). The secret lies in cooking them “low and slow” for at least 30 minutes, and importantly, stirring them periodically. This dedication pays off immensely, transforming humble corn into a glorious, creamy side dish. Let’s walk through the process:
- In a medium-sized, heavy-bottomed saucepan, combine your stoneground grits, 2 cups of whole milk, the unsalted butter, and a good pinch of kosher salt. A heavy-bottomed pan helps distribute heat more evenly and prevents scorching.
- Place the saucepan over medium-high heat and bring the mixture to a gentle boil. Keep an eye on it and stir occasionally during this initial phase to prevent the grits from sticking to the bottom. A “gentle boil” means you’ll see small bubbles breaking the surface, but it’s not a rolling, vigorous boil.
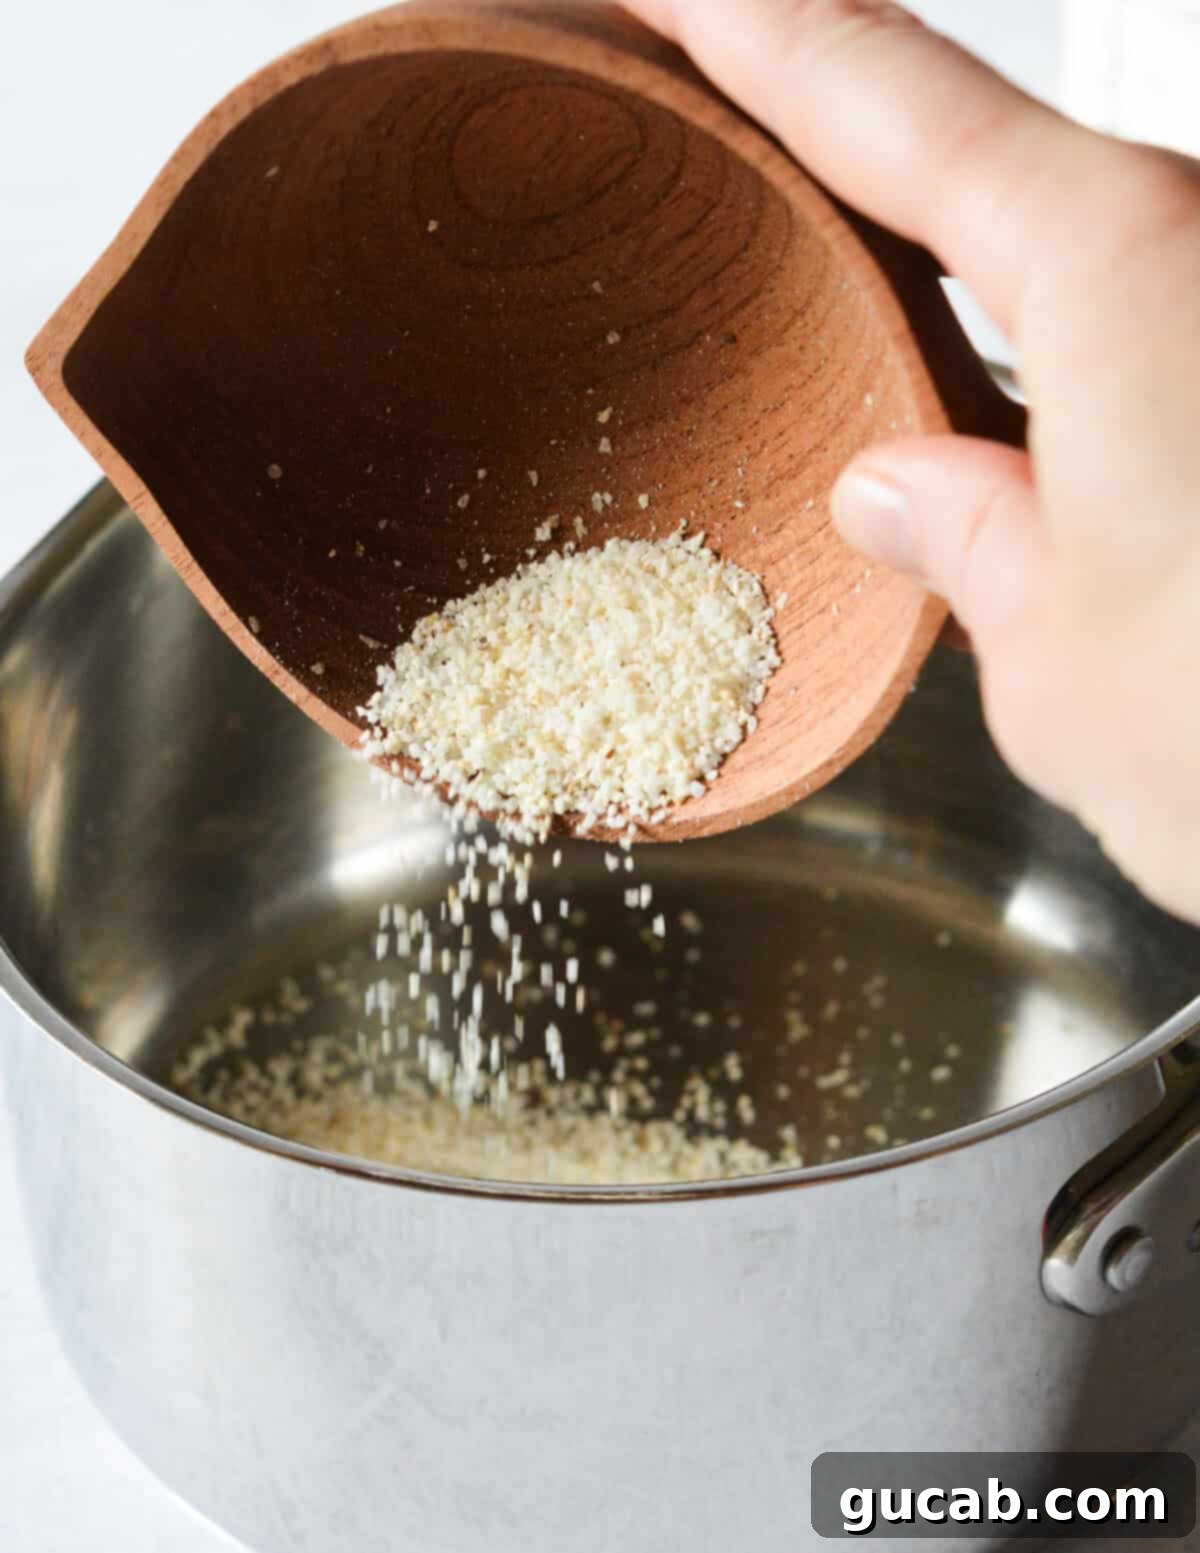
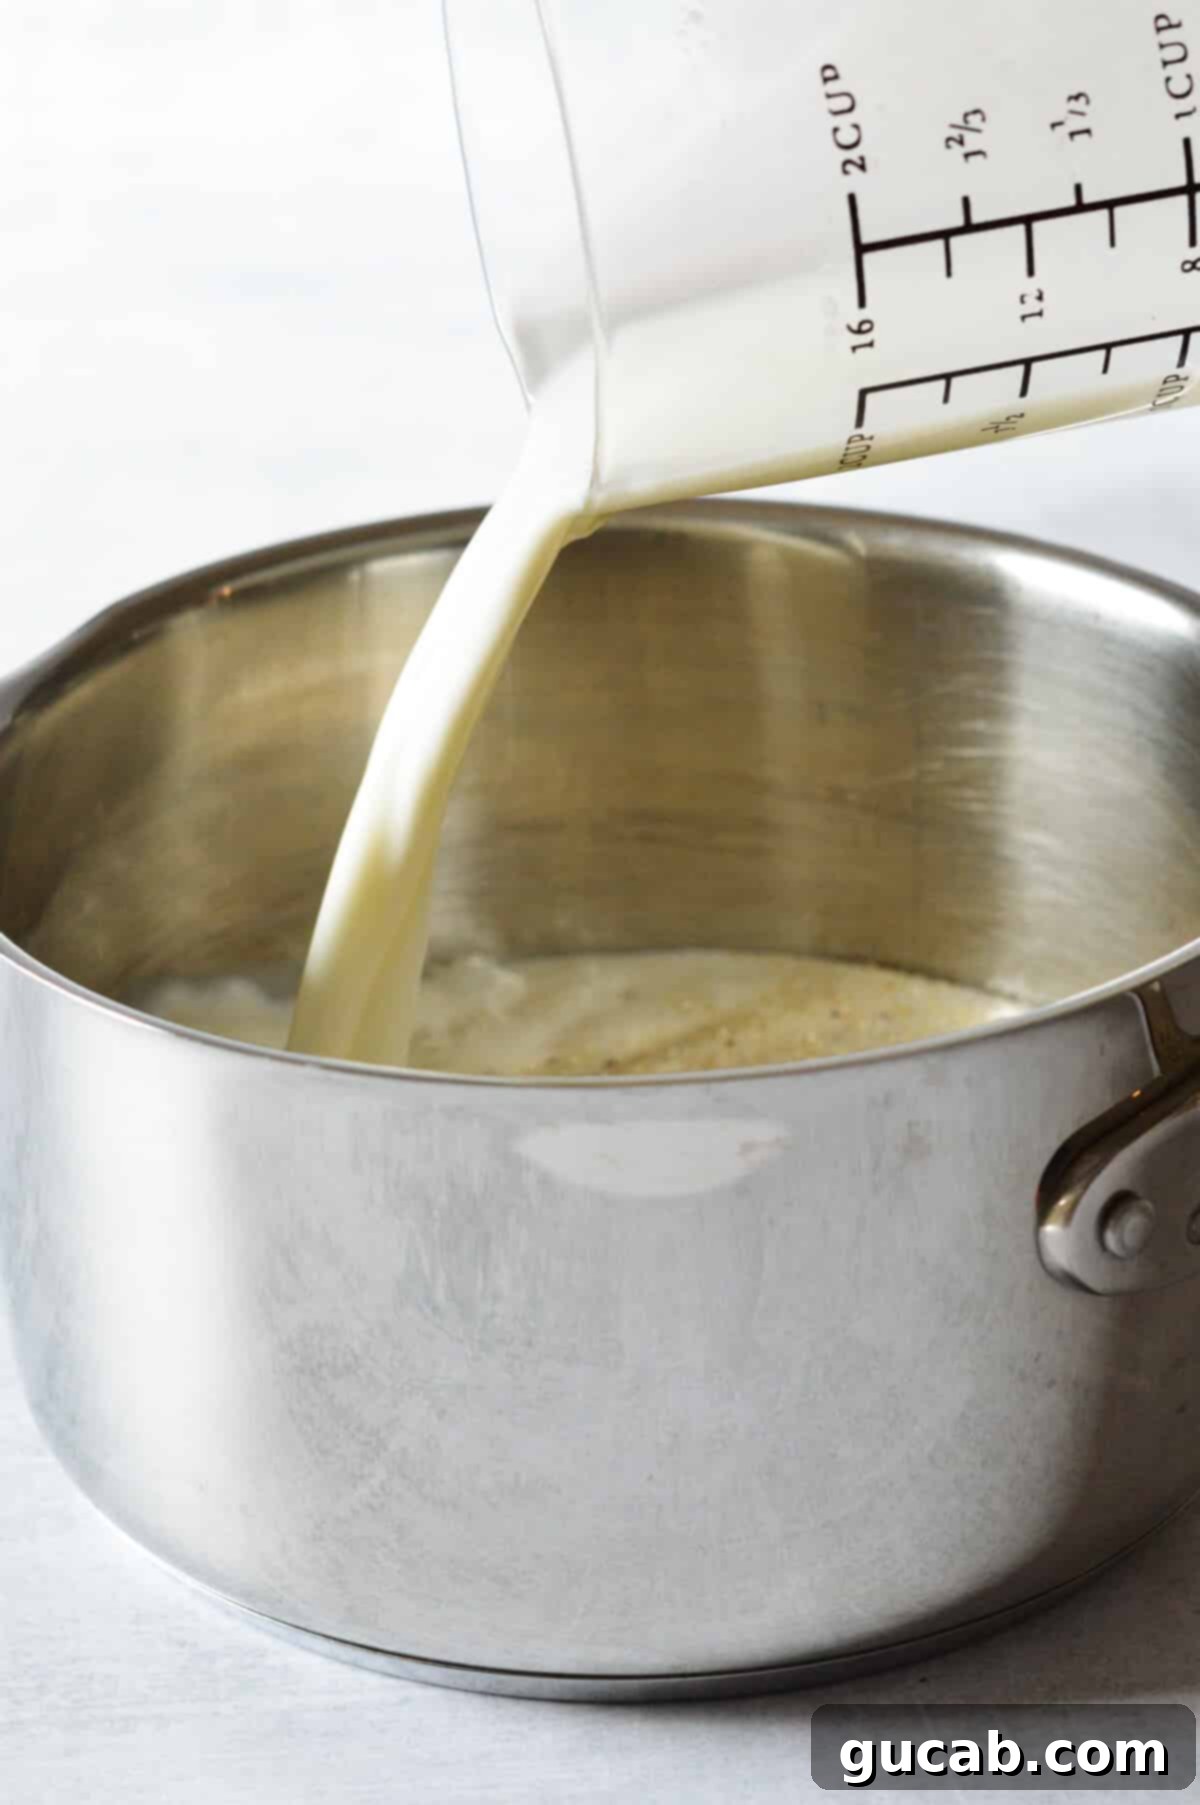
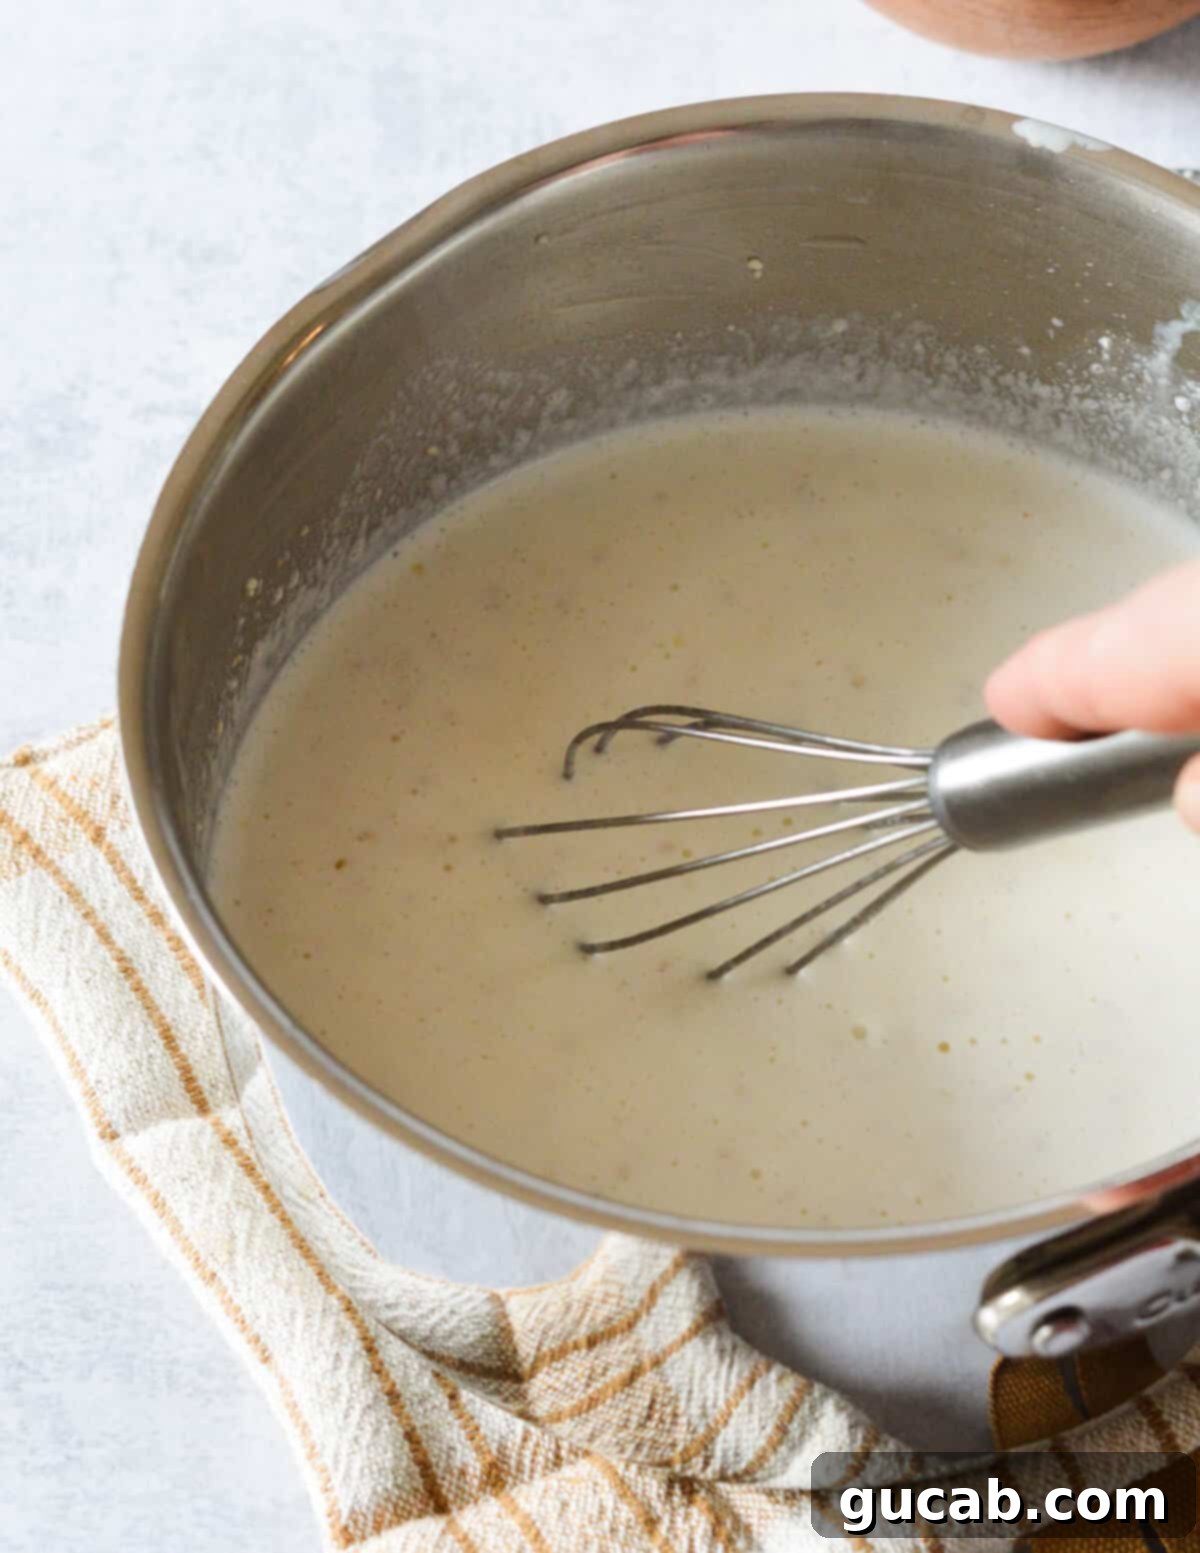
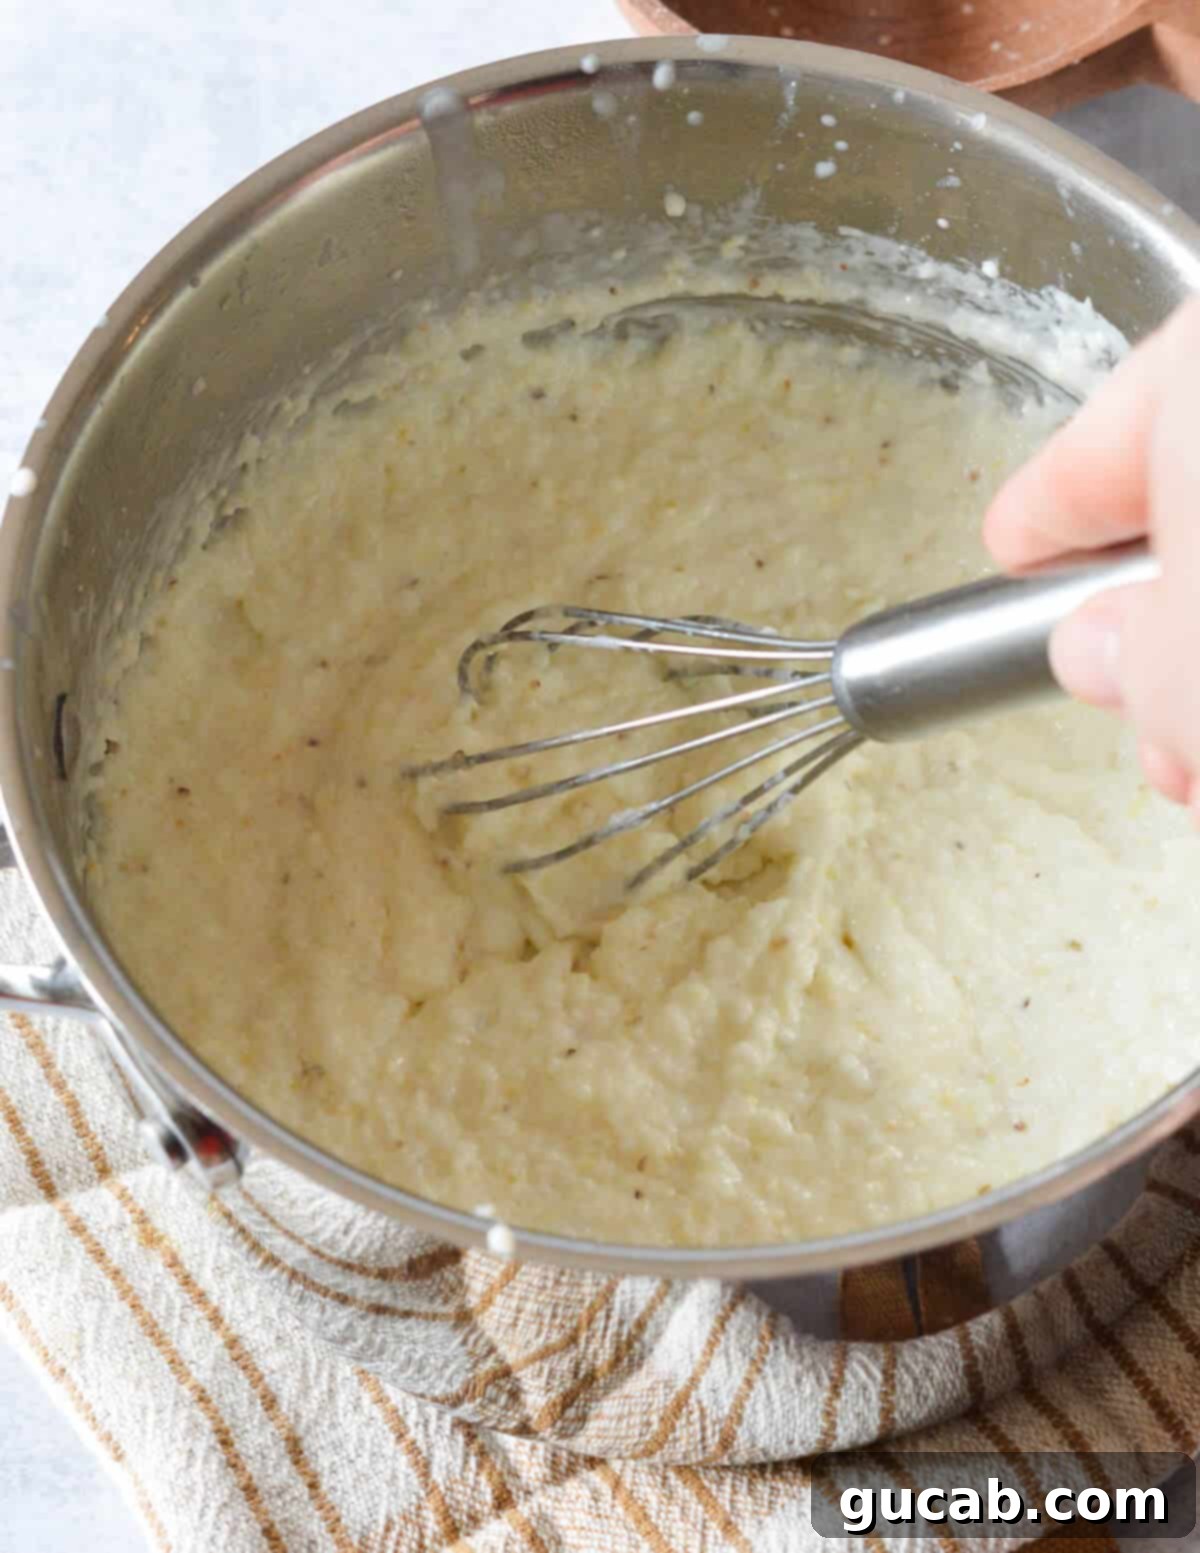
- Once boiling, immediately reduce the heat to medium-low, or even low, to maintain a gentle simmer. This is the “slow” part of “low and slow.” Let the grits cook, stirring them consistently. This is arguably the most critical step! Stirring prevents the grits from sticking and burning at the bottom of the pan, but more importantly, it encourages the release of starch from the corn kernels into the milk. This starch is what gives the grits their signature creamy texture. Continue to cook and stir until the grits thicken significantly and take on a consistency similar to “wet sand.” This usually takes about 15-18 minutes for the first stage of cooking.
- After the first thickening, add the remaining ½ cup of milk. Continue to cook, stirring occasionally but thoroughly, for another 10 to 15 minutes. The grits will continue to absorb the milk and become even more luscious and creamy. Taste and adjust seasoning as needed – a little more salt or butter can make a big difference.
- Once the grits reach your desired consistency – thick, smooth, and utterly delicious – remove them from the heat and serve warm. Keep in mind that grits will naturally thicken further as they cool, so aim for a slightly looser consistency if you plan to let them sit for a few minutes before serving.

Expert Tips for Grits Perfection
Making exceptional grits is a blend of art and science. While the recipe is straightforward, these expert tips will help ensure your grits are consistently perfect, incredibly creamy, and bursting with flavor every time:
- Sourcing Stoneground Grits: If your local grocery store doesn’t carry stoneground grits, don’t despair! Many specialty food stores, farmers’ markets, or online retailers offer them. Brands like Palmetto Farms Grits are excellent choices and often readily available. Look for varieties labeled “old-fashioned” or “stoneground” for the best results. The type of corn (yellow or white) will slightly alter the flavor and color, but both produce delicious creamy grits.
- The Unrivaled Power of Stirring: This cannot be overstated. While adding generous amounts of fat (like heavy cream or extra butter) certainly contributes to richness, consistent stirring is the *true* secret to achieving that incredible creamy texture. As you stir, the friction gently abrades the corn kernels, encouraging them to release their starches into the cooking liquid. These starches then thicken the liquid and create a wonderfully smooth, velvety consistency. Stirring also prevents lumps and ensures even cooking, so don’t skip this crucial step!
- Embrace Patience – Don’t Rush the Process: Stoneground grits demand time. The “low and slow” cooking method, for at least 30-40 minutes as this recipe suggests, is vital for the grits to fully hydrate, soften, and develop their deep flavor. Rushing them on high heat will result in gritty, undercooked corn and a watery texture. If you notice them cooking too quickly or drying out too fast, simply turn the heat down a smidge and add a splash more milk or water if needed.
- Achieving Your Ideal Consistency: Grits vary in how much liquid they absorb and how thick they become. If your grits seem too thick, stir in a little extra warm milk (or even hot water) a tablespoon at a time until they reach your preferred consistency. If they are too thin, continue to simmer and stir for a few more minutes, allowing more liquid to evaporate and starches to release.
- Seasoning is Personal: Always taste your grits before serving. While the recipe provides a starting point for salt, personal preferences vary. Add more salt if needed, or a swirl of black pepper, a dash of hot sauce, or even a spoonful of sugar for a sweet twist.
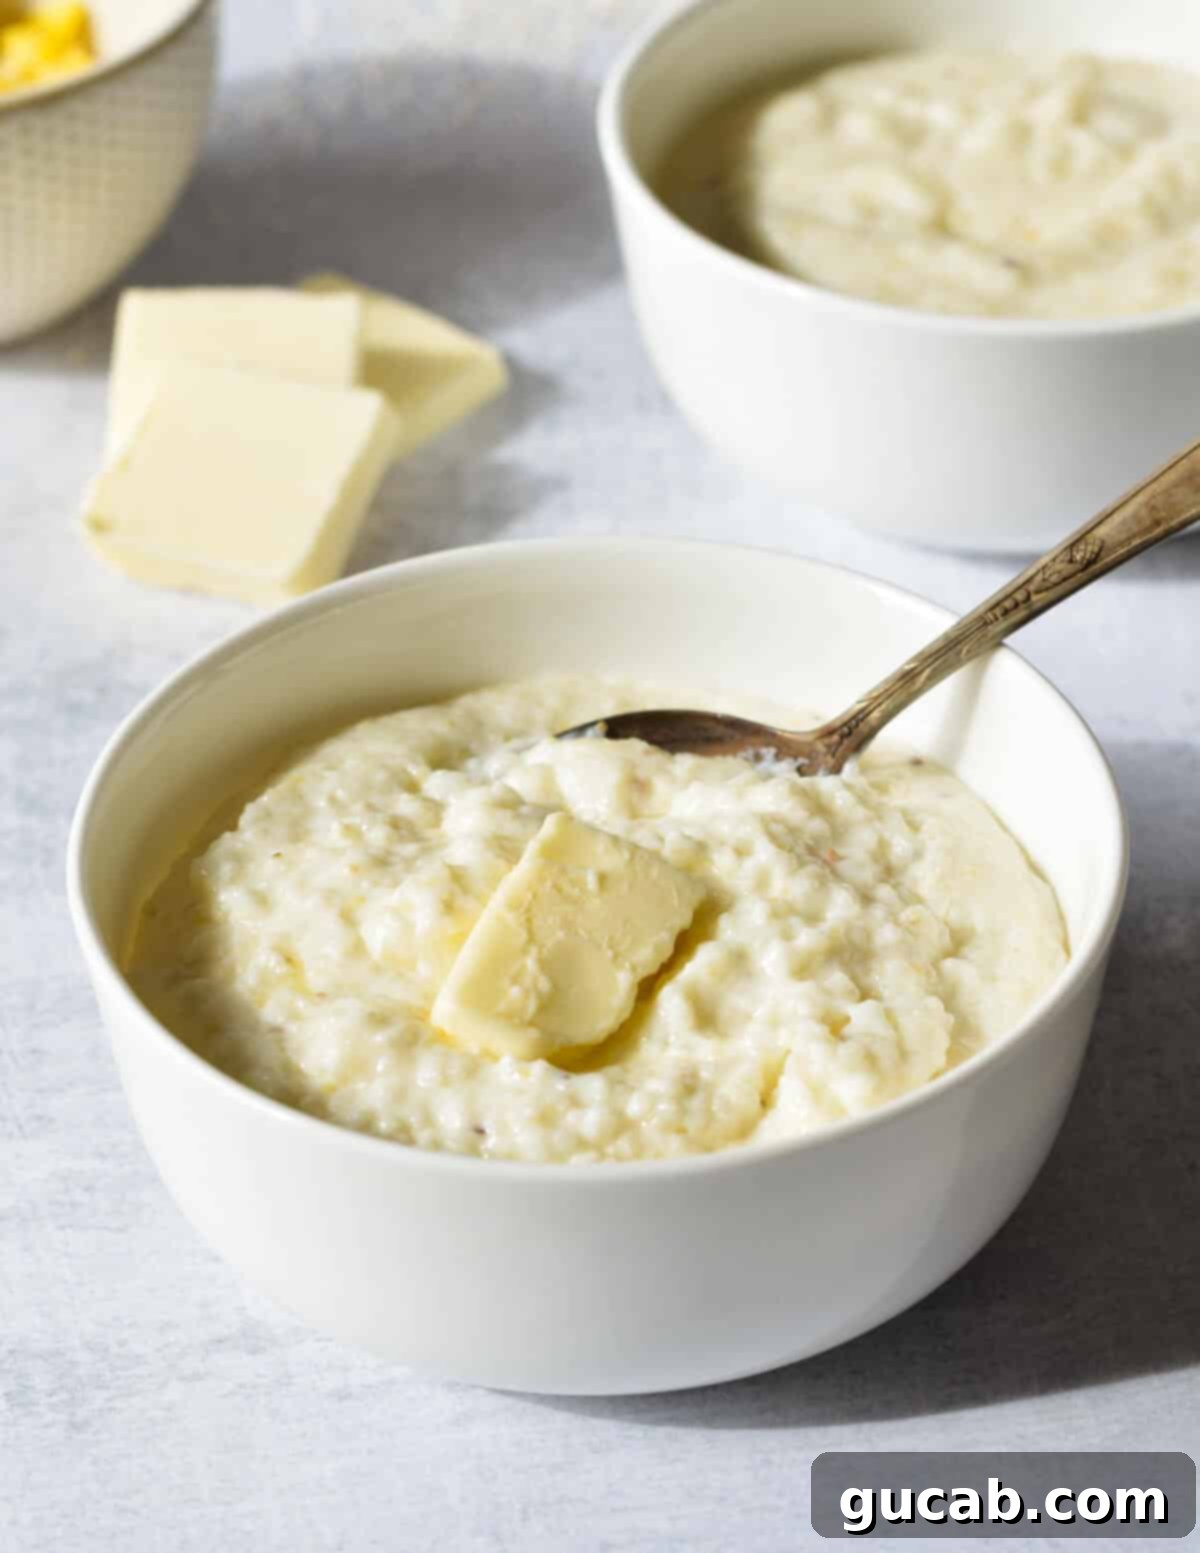
Storage and Reheating Tips for Leftover Grits
One of the many reasons to love these creamy grits is how beautifully they reheat! I’m always a fan of recipes that taste just as good, if not better, the next day. This makes for fantastic leftovers, allowing you to enjoy a quick, delicious meal without any additional cooking. It’s truly a two-for-one deal!
- Storage: Allow any leftover grits to cool completely before transferring them to an airtight container. Store them in the refrigerator for up to 4 days. As they cool, the grits will thicken considerably, becoming quite firm.
- Reheating on the Stove: For best results, transfer your leftover grits to a saucepan over medium heat. To restore their creamy texture, add a splash of milk (or even water or broth) – start with ¼ cup and add more as needed. Stir continuously as the grits slowly heat up and absorb the added liquid. Break up any clumps with your spoon or a whisk. Continue stirring until they are hot, smooth, and have regained their original luscious consistency.
- Reheating in the Microwave: If you’re short on time, the microwave is a convenient option. Place the grits in a microwave-safe bowl. Add a splash of milk (about 1-2 tablespoons per serving) to help loosen them up. Microwave for 30 seconds, then stir vigorously. Repeat this process, heating in 30-second intervals and stirring in between, until the grits are thoroughly heated and creamy again. Don’t forget to stir well after each interval to prevent hot spots and ensure even reheating.
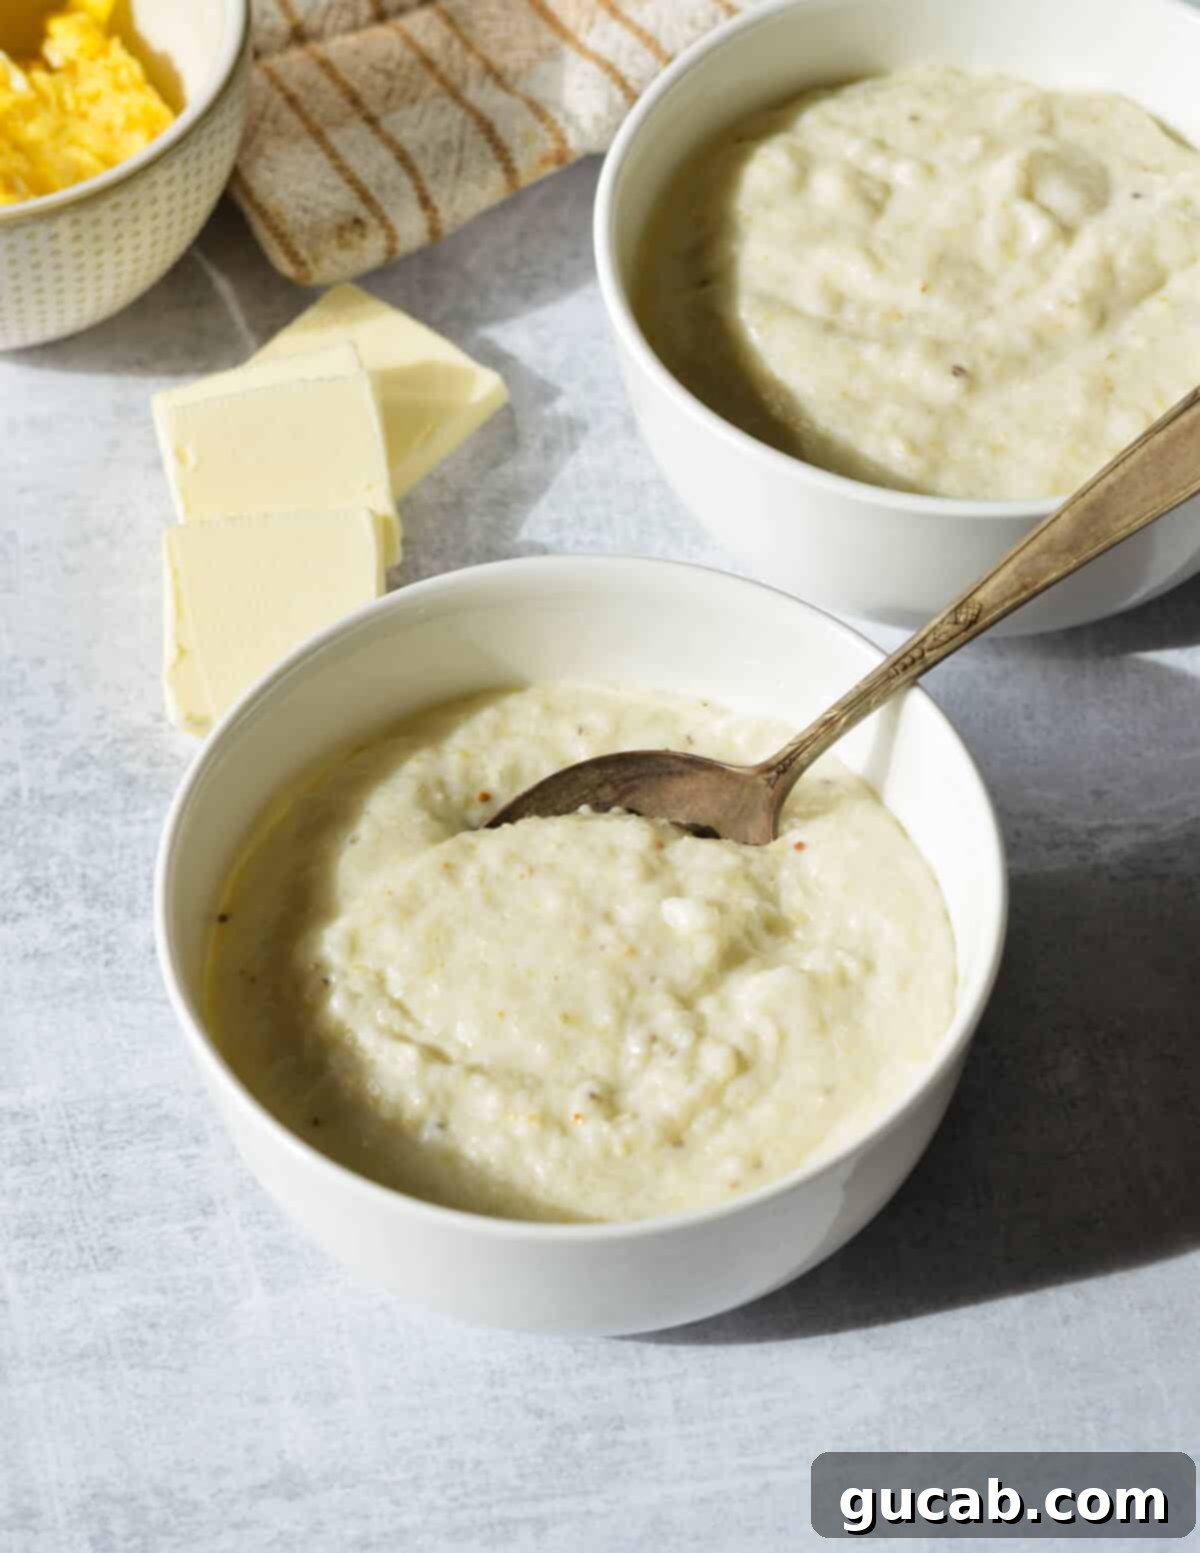
Delicious Ways to Serve Creamy Grits
While I often enjoy these grits simply as they are – a purist at heart – their mild, comforting flavor makes them an incredibly versatile canvas for a myriad of additions and accompaniments. Here are just a few ideas to inspire your next grits meal:
- Classic Comfort: Elevate your grits with a generous sprinkle of your favorite cheese (sharp cheddar, Monterey Jack, or even a smoky Gouda are fantastic). Add a perfectly fried egg with a runny yolk for an extra layer of richness, or scrambled eggs for a quick breakfast.
- Southern Staples: Transform them into a full meal by making them into a glorious bowl of shrimp and grits! Sautéed shrimp, often with bacon, garlic, and a touch of spice, is a classic pairing. They also shine alongside crispy bacon, savory sausage, or country ham.
- Spice It Up: If you love a little heat, give your grits a spicy kick. Stir in some pepper jack cheese, a few dashes of your favorite hot sauce, or even some finely diced jalapeños or a pinch of cayenne pepper for a vibrant, flavorful punch.
- Hearty Breakfast Spread: For an ultimate breakfast feast, serve these creamy grits alongside fluffy buttermilk pancakes, crispy bacon, and a side of fresh fruit. It’s a filling and satisfying meal that will keep you energized for hours.
- Savory Enhancements: Don’t limit grits to breakfast! They make an excellent side dish for roasted chicken, grilled fish, pulled pork, or even a rich stew. Consider stirring in cooked vegetables like sautéed mushrooms, caramelized onions, or roasted bell peppers for added flavor and texture.
- A Touch of Sweetness: While less common, some enjoy sweet grits. Stir in a spoonful of sugar or maple syrup, a sprinkle of cinnamon, and top with fresh berries or a dollop of whipped cream for a unique dessert-like experience.
More Breakfast Recipes to Enjoy
If you loved these creamy grits, be sure to explore more delicious breakfast ideas:
- Silver Dollar Pancakes
- Honey Pancakes
- Omelette with Avocado and Veggies
- Thin & Crispy Pancakes

Creamy Grits Recipe
Carolyn
Pin Recipe
Equipment
-
medium saucepan
Ingredients
- ½ Cup stone ground yellow or white grits
- 2 ½ Cups whole milk
- 2 tablespoons unsalted butter
- pinch kosher salt
Instructions
-
In a medium saucepan, combine the grits, 2 cups of the whole milk, butter, and a large pinch of kosher salt. Bring the mixture to a gentle boil over medium-high heat, stirring occasionally to prevent the grits from sticking or burning on the bottom of the pan.
-
Once the mixture reaches a gentle boil, immediately reduce the heat to medium-low to maintain a steady, gentle simmer. Continue to cook, stirring frequently and vigorously for 20 to 30 seconds at a time. This consistent stirring is crucial for releasing starches and preventing lumps. Keep cooking and stirring until the grits thicken significantly and take on a consistency similar to wet sand. This should take approximately 15 to 18 minutes.
-
Now, add the remaining ½ cup of whole milk to the grits. Continue to cook on medium-low heat, stirring occasionally but thoroughly, for another 10 minutes. During this phase, the grits will become even thicker, creamier, and incredibly smooth. Taste and adjust the seasoning with more salt if necessary.
-
Remove the grits from the heat and serve immediately while warm. Remember that the grits will continue to thicken as they cool. Enjoy your perfectly creamy stoneground grits!
Nutrition
Frequently Asked Questions About Creamy Stoneground Grits
Here are some common questions people ask about making and enjoying creamy stoneground grits:
- Can I use water instead of milk?
Yes, you can use water or chicken broth, but the grits will not be as creamy or rich. Milk, especially whole milk, contributes significantly to the decadent texture and flavor of this recipe. If using water, consider adding a splash of heavy cream at the end for some richness. - How do I prevent lumps in my grits?
The best way to prevent lumps is to whisk the grits into cold liquid (before heating) and then stir frequently as they come to a boil and throughout the cooking process. Pouring the grits slowly into simmering liquid while whisking vigorously can also help, but starting with cold liquid is often easier for beginners. - What is the difference between yellow and white grits?
Yellow grits are made from yellow corn and tend to have a slightly sweeter, more pronounced corn flavor and a golden hue. White grits are made from white corn and have a milder flavor, often described as more delicate and subtle. Both work wonderfully in this recipe, so choose based on personal preference or what’s available. - Can I make these grits in a slow cooker?
Yes, stoneground grits can be made in a slow cooker, though the cooking time will be significantly longer (typically 3-4 hours on high or 6-8 hours on low). You’ll still want to stir them occasionally to prevent sticking and ensure creaminess. This can be a great option for larger batches or hands-off cooking. - How long do cooked grits last in the refrigerator?
Cooked grits can be stored in an airtight container in the refrigerator for up to 4 days. As detailed above, they will thicken considerably when cold but can be easily revived with a little extra milk or water when reheating.
Conclusion: The Simple Pleasure of Homemade Creamy Grits
There’s an undeniable comfort and joy in a bowl of perfectly prepared creamy grits. This recipe, with its minimal ingredients and straightforward method, proves that some of the best culinary experiences come from simple traditions and a little patience. Whether you’re serving them for a special family breakfast, as a versatile side dish, or transforming them into a savory main, these stoneground grits are sure to become a beloved favorite in your home. So go ahead, embrace the low and slow method, enjoy the ritual of stirring, and savor the rich, velvety results that will have everyone asking for more!
