Decadent Gluten-Free Italian Cream Cake: A Moist & Flavorful Recipe
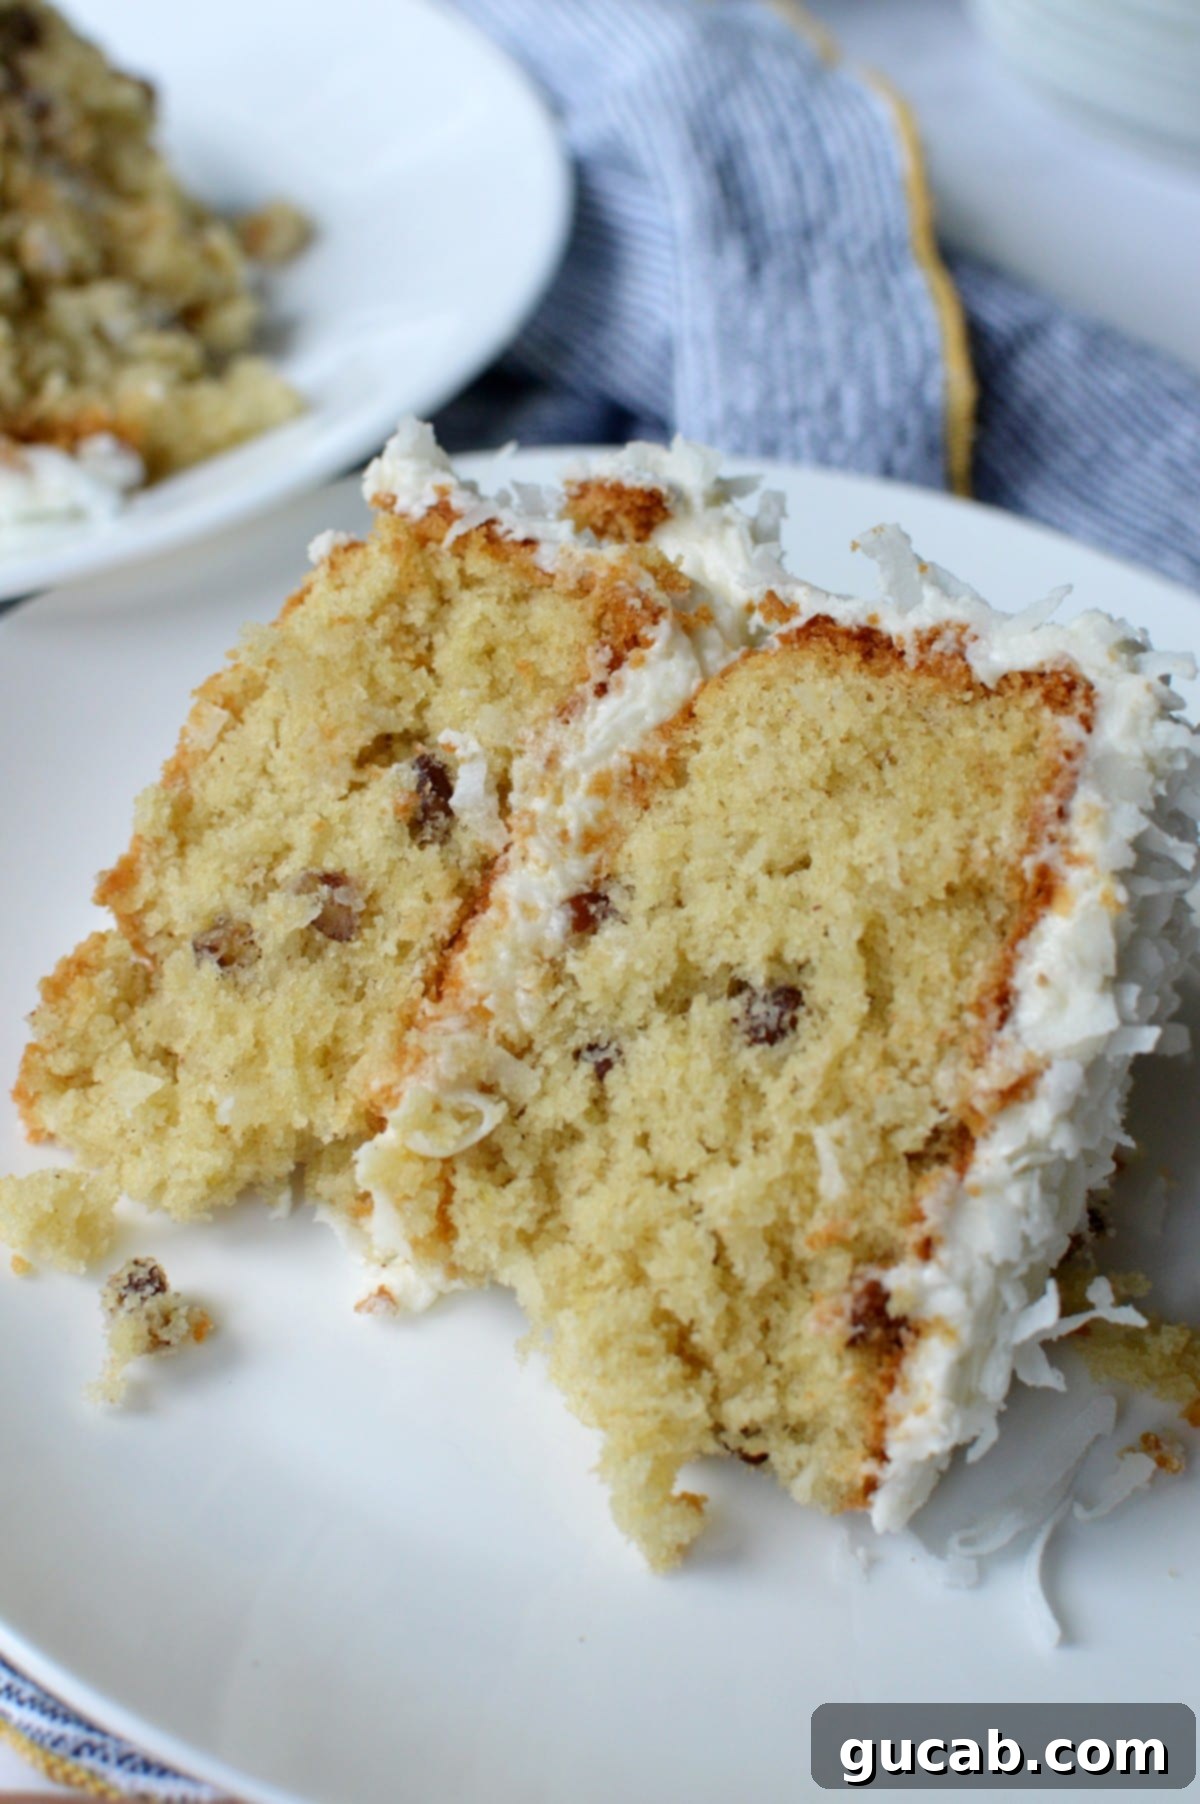
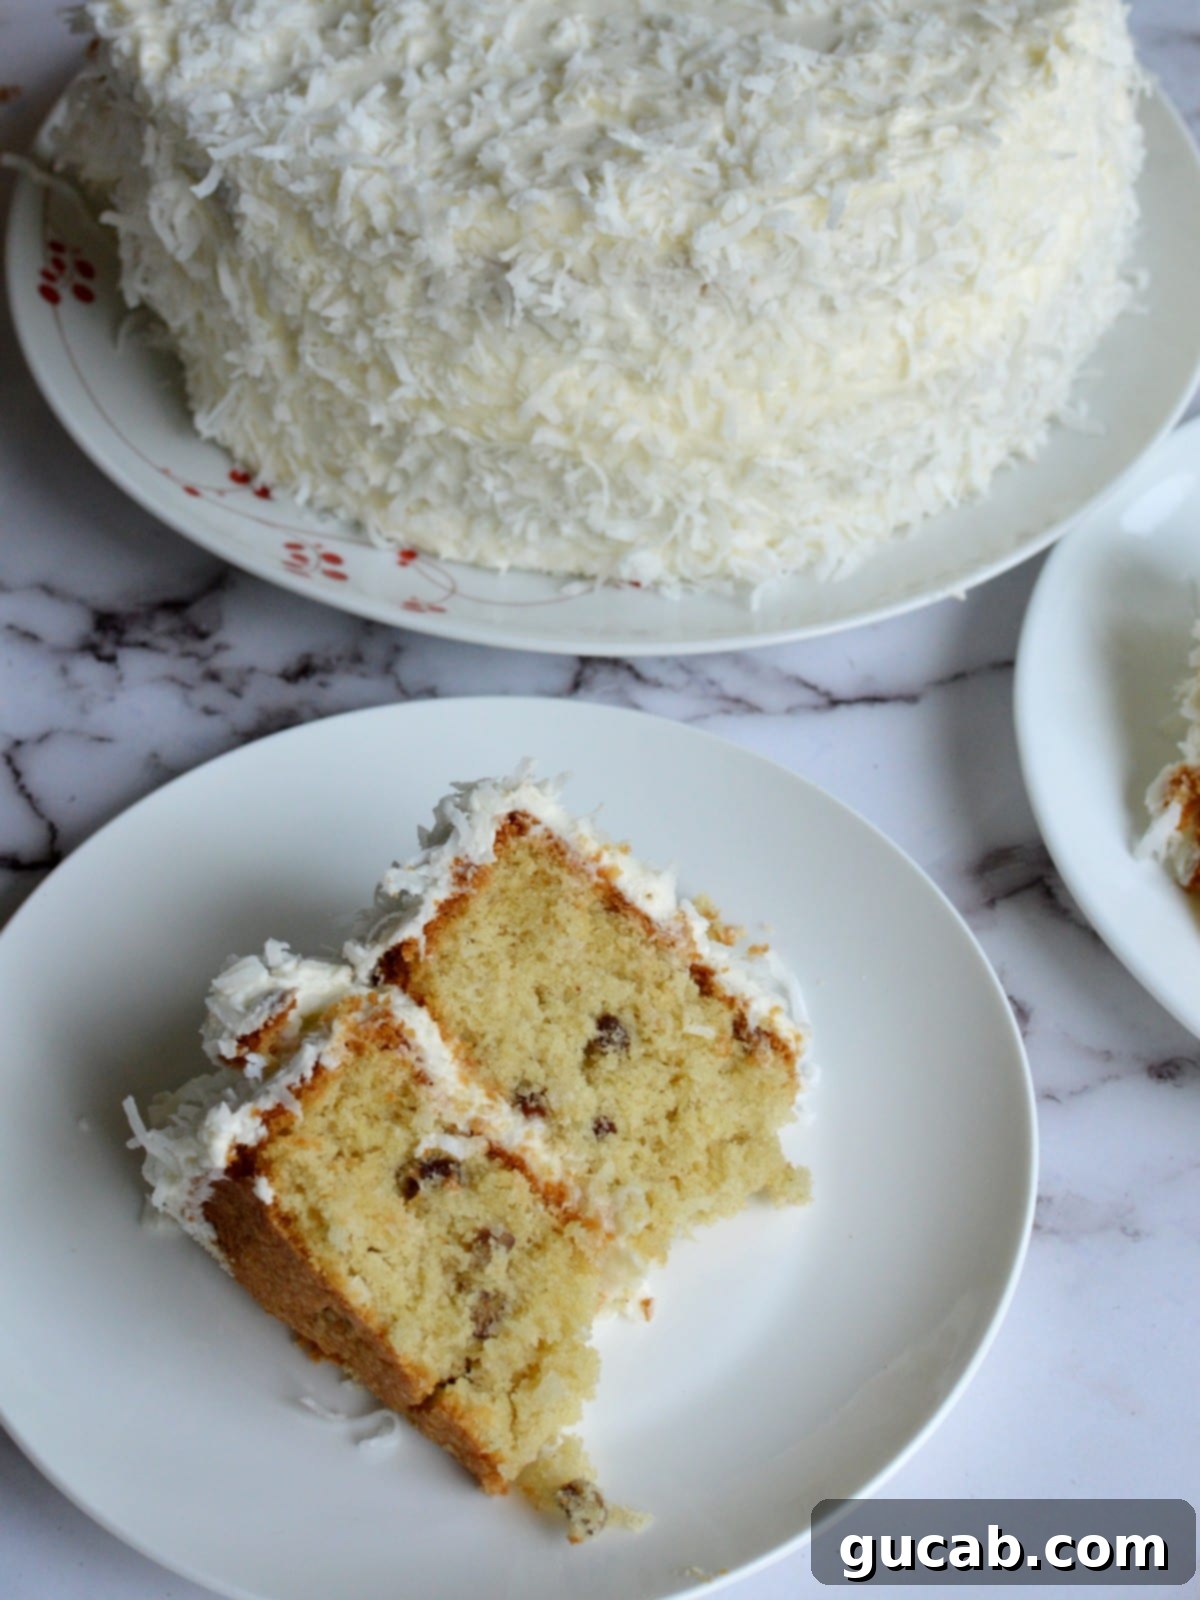
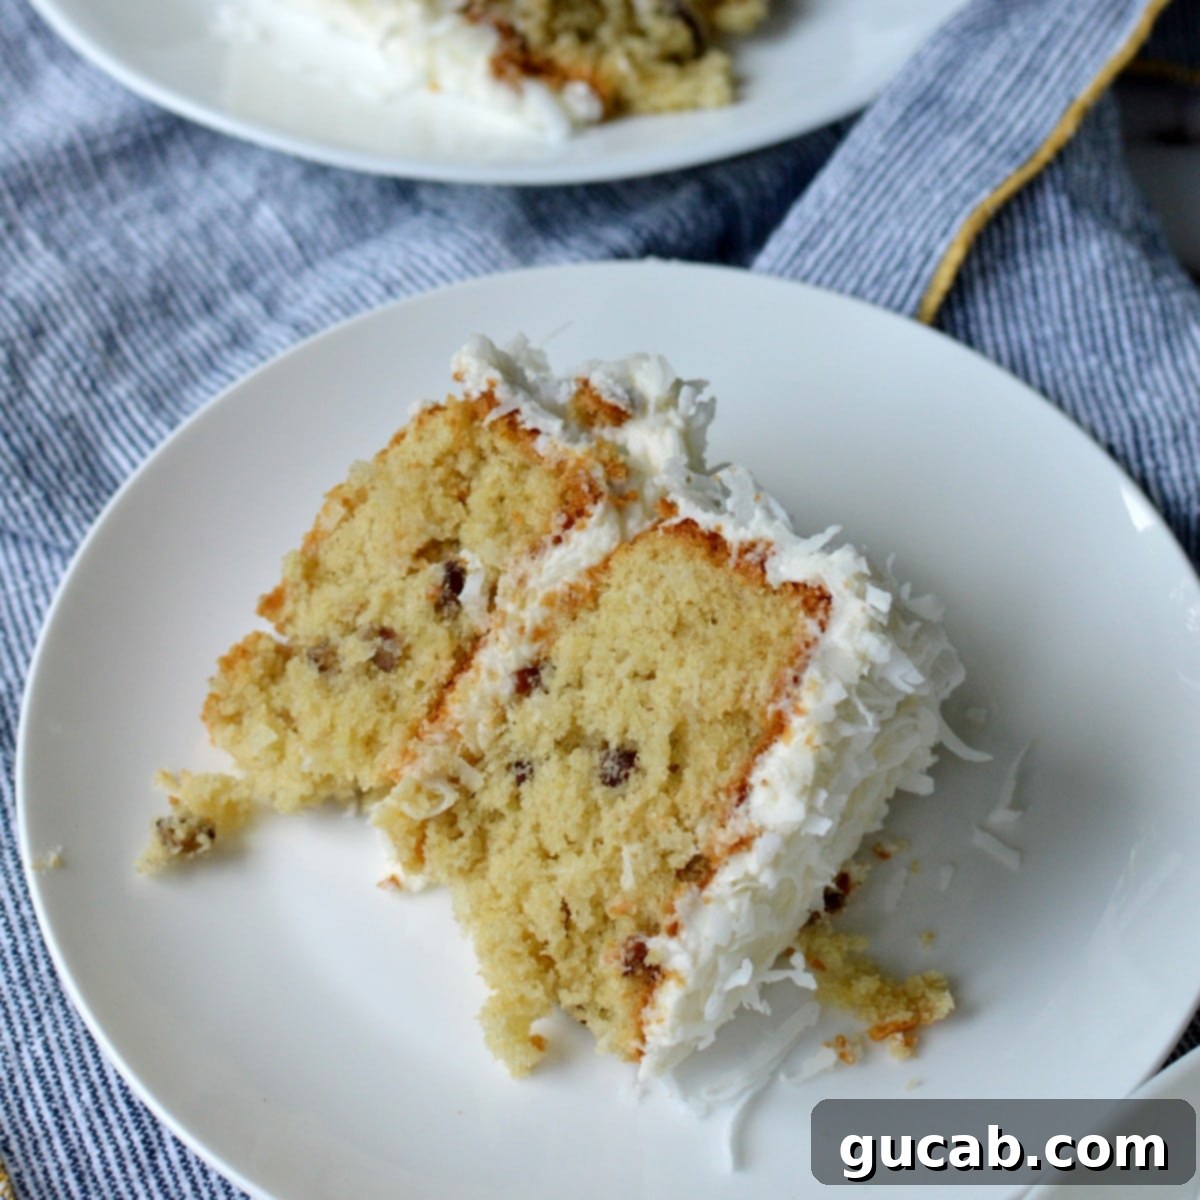
Prepare to indulge in a slice of pure heaven with this incredibly moist and fluffy gluten-free Italian cream cake. Each bite is a symphony of flavors and textures, with delicate shredded coconut, crunchy chopped pecans, and a subtle hint of almond extract woven throughout the tender buttermilk cake. Topped with a luscious cream cheese frosting, this cake isn’t just a dessert; it’s an experience that will have everyone asking for seconds.

What Exactly is Italian Cream Cake?
Italian cream cake is a beloved Southern American classic, despite its misleading name. It’s characterized by a delightfully moist, rich buttermilk cake batter infused with shredded coconut and chopped pecans. This distinctive cake is almost always generously frosted with a tangy, sweet cream cheese frosting, often garnished with additional pecans and coconut flakes for an extra touch of texture and visual appeal. While its exact origins are debated, many culinary historians point to its popularity in the Southern United States, where pecans and coconut are readily available and cherished ingredients. It’s a dessert that perfectly balances sweetness with a slightly nutty, tropical undertone, making it a favorite for celebrations and family gatherings.
My first unforgettable encounter with Italian Cream Cake happened years ago, during my time working at a bustling cake bakery. My daily task involved frosting countless 8-inch cakes, and it was during this period that I truly honed my decorating skills. Before applying the frosting, we’d carefully level the cakes by slicing off their slightly domed tops. It was in sampling one of these trimmings that I discovered the magic of this particular cake. One single bite was all it took for me to realize this wasn’t just any cake; it was something truly exceptional, a harmonious blend of flavors and textures that left a lasting impression.
Fast forward ten years, and a significant life change – a celiac disease diagnosis – meant that my beloved Italian Cream Cake became a distant memory. The thought of never enjoying that exquisite flavor again was disheartening. However, a passion for baking, coupled with a newfound expertise in gluten-free ingredients, spurred me into action. It was finally time to return to the kitchen and recreate that special cake, but this time, in a delicious gluten-free version, so I could savor it once more without compromise.
Disclosure: This post contains affiliate links. In other words, if you click a link and purchase something, I will receive a commission at no cost to you. I only recommend products I use and enjoy myself, ensuring that all suggestions are genuine and helpful.
Why You’ll Love This Gluten-Free Italian Cream Cake
There are countless reasons to fall head over heels for this particular gluten-free Italian Cream Cake recipe. Firstly, its texture is simply unparalleled. The combination of buttermilk, oil, and butter creates a crumb that is incredibly moist, tender, and delicate, truly melting in your mouth. Unlike some gluten-free cakes that can be dry or crumbly, this recipe delivers a consistently light and airy result. The addition of shredded coconut introduces a wonderful chewiness and a subtle tropical sweetness, while the chopped pecans provide a satisfying crunch and a rich, earthy flavor that complements the cake beautifully.
Furthermore, the balanced sweetness of this cake prevents it from being overly sugary, allowing the distinct flavors of almond and vanilla extracts to shine through, adding complexity and depth. And, of course, no Italian Cream Cake is complete without its signature cream cheese frosting. Our recipe for a dreamy cream cheese frosting is the perfect counterpart – rich, tangy, and luxuriously smooth, it provides a delightful contrast to the cake’s sweetness and texture. This cake is not just a dessert; it’s a celebration of classic flavors made accessible for everyone to enjoy, regardless of dietary restrictions.
Can This Delicious Cake Be Frozen for Later Enjoyment?
Absolutely! Freezing this gluten-free Italian cream cake is an excellent way to preserve its freshness and enjoy it over an extended period. My preferred method for freezing cakes, especially if you anticipate enjoying it in individual portions, is by the slice. This approach offers unparalleled convenience, allowing you to thaw only what you need, whenever a craving strikes.
To freeze by the slice, simply cut the cooled leftover cake into generous portions. Arrange these slices in a single layer on a parchment-lined baking sheet, making sure they don’t touch each other. Place the sheet pan in the freezer until the slices are solid, typically taking about 2-3 hours. This “flash freezing” step prevents the frosting from sticking together once the slices are stored collectively. Once thoroughly frozen, transfer the individual cake slices into a gallon-sized zip-top freezer bag or an airtight container. Be sure to label the bag or container clearly with the date to keep track of its freshness. Properly stored, these slices can maintain their quality for up to two to three months.
When you’re ready to indulge, simply pull out one slice (or more!) at a time. Allow it to come to room temperature on your counter, which usually takes about 30-60 minutes, depending on the ambient temperature. It’s crucial to resist the temptation to microwave the cake to speed up the thawing process, as this will almost certainly result in “frosting soup” and a compromised cake texture. Patience is key to enjoying a perfectly thawed, delicious slice every time.

Essential Baking Tips for a Perfect Gluten-Free Italian Cream Cake
- Prepare Your Cake Pans with Parchment Circles: When embarking on layer cakes, a crucial step I always take is cutting out parchment paper circles to fit snugly at the bottom of my cake pans. This simple trick is a game-changer, acting as an infallible non-stick barrier. It virtually guarantees that your beautifully baked cake layers will release from the pan effortlessly, intact, and without any tears or sticking. There’s truly nothing more disheartening than pulling a gorgeous, perfectly golden cake out of the oven, only to have it crumble or stick while attempting to remove it from the pan. To apply this method, first, spray the bottom of your pan with non-stick spray, then lay the parchment circle on top, and finally, spray the parchment and sides of the pan as you normally would. This creates a double layer of protection.
- Cool Cakes Completely Before Frosting: I understand the immense temptation. The aroma of a freshly baked cake filling your kitchen is intoxicating, and the sight of its warm, fluffy layers makes you want to dive right in. However, patience is paramount here. Do not, under any circumstances, attempt to frost a warm cake! If you do, the heat from the cake will quickly melt the delicate cream cheese frosting, leading to a runny, messy disaster that won’t hold its shape or appeal. Always wait until your cake layers are completely cooled to room temperature – this can take a couple of hours – before even thinking about frosting. You can even refrigerate them for 20-30 minutes once cooled to ensure they are firm enough to handle.
- Allow Cakes to Set Slightly in Pans After Baking: Resist the urge to immediately remove your cakes from their pans the moment they exit the hot oven. Freshly baked cakes are very delicate and hot, making them prone to breakage and falling apart when handled. Instead, let them cool in their pans on a wire rack for about 10-15 minutes. This brief cooling period allows the cake structure to firm up slightly and the edges to pull away from the pan, making them much easier and safer to invert without damage.
- Effortless Cake Removal with a Cooling Rack: Once your cakes have cooled sufficiently in their pans, an easy and effective way to remove them is by placing a wire cooling rack directly against the top of the cake pan. Then, with a confident and swift motion, flip both the cake pan and the cooling rack together. The cake should gently release onto the rack. Carefully lift the pan, peel off the parchment paper (if used), and let the cake continue cooling completely on the wire rack to allow air circulation around all sides, preventing condensation and sogginess.
- Use Room Temperature Ingredients: For the best texture and consistency, ensure your butter, eggs, and buttermilk are at room temperature before you start mixing. Room temperature butter creams better with sugar, creating a lighter, fluffier batter. Similarly, room temperature eggs emulsify more effectively, contributing to a smoother batter and a more uniform cake crumb.
- Avoid Overmixing the Batter: Once you add the flour mixture to the wet ingredients, mix only until just combined. Overmixing gluten-free flour can still lead to a dense, tough cake, even without gluten, because it develops the starches too much. Scrape down the sides of the bowl frequently to ensure everything is incorporated without excessive mixing.
- Toast Your Pecans and Coconut (Optional but Recommended): For an extra layer of flavor, consider lightly toasting your chopped pecans and shredded coconut before folding them into the batter or using them as a garnish. Toasting enhances their natural nutty and sweet flavors, adding a deeper dimension to the cake. Spread them on a baking sheet and toast in a preheated oven at 300°F (150°C) for 5-10 minutes, or until fragrant and lightly golden. Watch them closely, as they can burn quickly!
- Use a Serrated Knife for Clean Slices: When it’s time to slice your finished and frosted cake, opt for a long, serrated cutting knife, similar to a bread knife or a steak knife. The sawing action of a serrated blade cuts through the soft cake layers and the creamy frosting without squishing or tearing them, resulting in clean, beautiful slices. Wipe the knife clean between each slice for the neatest presentation.
Frequently Asked Questions (FAQs) About Gluten-Free Italian Cream Cake
It’s important to understand that “gluten-free all-purpose flour” is not a single ingredient but rather a carefully formulated blend of various gluten-free flours (like rice flour, sorghum flour, or tapioca flour), starches (such as potato starch or cornstarch), and often includes xanthan gum to mimic the elasticity that gluten provides. Because every brand uses different ingredients in varying ratios, they all behave slightly differently in baking. For this particular Gluten-Free Italian Cream Cake recipe, I wholeheartedly recommend using Bob’s Red Mill 1:1 All Purpose Gluten-Free Flour. I specify this brand not only because it consistently yields a delicious taste and a wonderfully tender texture, but more importantly, because it’s the exact blend I’ve used to develop and test this recipe to perfection. I cannot guarantee the same outstanding results if you substitute it with another brand, as the balance of ingredients might be significantly different and require adjustments to liquid or leavening agents. Sticking to Bob’s Red Mill 1:1 will give you the most reliable outcome.
While it’s a common baking hack to “make” buttermilk at home by adding an acid like lemon juice or vinegar to regular milk, I strongly advise against using this substitution for this Italian Cream Cake recipe. In my extensive baking experience, recipes developed with genuine buttermilk rarely turn out correctly when homemade substitutes are used, often requiring significant adjustments to other measurements. Real buttermilk is considerably thicker and has a different protein and fat composition than milk that has merely been soured. This difference in viscosity and chemical makeup means it reacts uniquely with leavening agents like baking soda and contributes to the cake’s characteristic moistness and tender crumb in ways that a thin, “soured milk” mixture cannot. For a deeper dive into the distinctions and how commercial buttermilk is made, The Kitchn has an excellent article on buttermilk that explains why genuine buttermilk is often irreplaceable for optimal baking results. For the best Italian Cream Cake, invest in real buttermilk.
Almond extract is a traditional component in many Italian cream cake recipes, offering a subtle yet distinctive flavor that complements the coconut and pecans beautifully. It adds a layer of complexity and a hint of sophistication. However, if you have an allergy, dislike the flavor, or simply don’t have it on hand, you can absolutely omit it. The cake will still be incredibly delicious with just vanilla extract. If you want to replace the almond flavor, you could try an additional ¼ teaspoon of vanilla extract or a tiny pinch of coconut extract to enhance the coconut notes. But for the authentic taste, almond extract is highly recommended.
Yes, this recipe can certainly be adapted to make delicious gluten-free Italian Cream cupcakes! Simply line a standard muffin tin with paper liners. Fill each liner about two-thirds full with batter. The baking time will be significantly shorter for cupcakes; typically, they will bake for 20-25 minutes at 350°F (175°C), or until a toothpick inserted into the center of a cupcake comes out clean. Keep a close eye on them to prevent overbaking. The yield will be around 24 cupcakes, and they will be equally delightful with the cream cheese frosting.
Other Gluten-Free Cake Recipes You Might Love
If you’ve enjoyed this Italian Cream Cake, you might be eager to explore more delightful gluten-free baking adventures. Here are some other fantastic cake and cupcake recipes from our collection that we think you’ll adore, each promising incredible flavor and texture without the gluten:
- Gluten Free Sour Cream Pound Cake – A dense, rich, and incredibly moist pound cake perfect for any occasion.
- Gluten Free Red Velvet Cupcakes – Classic red velvet flavor with a tender crumb and luscious cream cheese frosting.
- Gluten Free Spice Cake – Warm, aromatic spices come together in this comforting and flavorful cake.
- Gluten Free Pumpkin Cupcakes with Cinnamon Maple Frosting – Perfect for autumn, these moist pumpkin cupcakes are topped with a dreamy maple-cinnamon frosting.

Gluten Free Italian Cream Cake
Carolyn
Pin Recipe
20 minutes
38 minutes
1 hour
Dessert
American
12
slices
Equipment
-
Stand Mixer with the Paddle Attachment
Ingredients
-
½
cup
unsalted butter, room temperature -
½
cup
vegetable oil -
1 ⅓
cup
sugar -
⅓
cup
brown sugar -
1
t.
vanilla extract -
½
t.
almond extract -
4
large eggs -
2 ½
cups
Bob’s Red Mill 1:1 Gluten Free All Purpose Flour -
1
t.
baking powder -
½
t.
baking soda -
¼
t.
kosher salt -
¾
cup
buttermilk -
1
cup
sweetened shredded coconut -
⅔
cup
chopped pecans - Cream cheese frosting*
Instructions
-
Ensure your oven rack is positioned in the middle of the oven, then preheat the oven to 350 degrees Fahrenheit (175°C). Prepare two 8-inch round cake pans by cutting out two parchment paper circles, making them slightly smaller than the pan’s diameter. Lightly spray the bottoms of the cake pans with non-stick spray, place the parchment circles into them, and then spray the pans again, including the sides, as you normally would to ensure complete non-stick coverage. Set these prepared pans aside.
-
In a medium-sized bowl, accurately measure out the gluten-free all-purpose flour, baking powder, baking soda, and kosher salt. Use a whisk to thoroughly combine these dry ingredients, ensuring they are well-aerated and evenly distributed. Set this bowl aside while you prepare the wet ingredients.
-
In the bowl of a stand mixer fitted with the paddle attachment, cream together the room temperature unsalted butter, vegetable oil, granulated sugar, brown sugar, vanilla extract, and almond extract. Beat these ingredients on medium speed for a full 3 minutes. This process is crucial for incorporating air and creating a light, fluffy base for your cake.
-
Next, add the large eggs to the creamed mixture one at a time. After each egg addition, beat the mixture thoroughly until it is fully incorporated before adding the next one. Remember to scrape down the sides and bottom of the bowl as necessary with a rubber spatula to ensure all ingredients are evenly mixed and no pockets of unmixed batter remain.
-
Now, add half of the dry flour mixture to the stand mixer and beat on medium speed until just combined. Follow this by adding the buttermilk, mixing on low speed until it is fully incorporated into the batter. Finally, add the remaining half of the flour mixture. Continue to mix on low speed only until a smooth batter forms, being careful not to overmix. Scrape the bowl once more to ensure everything is perfectly blended.
-
Using a spatula, gently fold in the sweetened shredded coconut and chopped pecans into the cake batter. This gentle folding ensures the inclusions are evenly distributed without deflating the batter. Divide the prepared batter equally between the two greased and floured 8-inch cake pans. Bake in the preheated oven for approximately 35 to 38 minutes, or until the tops are golden brown and a wooden toothpick inserted into the center of a cake comes out clean, indicating it is fully cooked.
-
Once baked, carefully remove the cakes from the oven and allow them to cool in their pans on a wire cooling rack for about 10-15 minutes, or until they are warm to the touch but no longer hot. This short cooling period helps the cakes firm up. After this time, place a cooling rack directly on top of each cake pan and gently but confidently flip the cake over onto the cooling rack. Carefully peel off the parchment paper circles.
-
Let the cake layers cool completely on the wire racks before proceeding to frosting. This is a critical step; patience here prevents melted frosting. Once completely cooled, lavishly frost the cake with a generous layer of creamy, dreamy cream cheese frosting. For an extra touch of elegance and flavor, top with more toasted coconut and/or chopped pecans. Slice and serve!
Notes
cake, gluten free, Italian cream cake, coconut, pecans, cream cheese frosting
Tried this recipe?
Let us know how it was!
