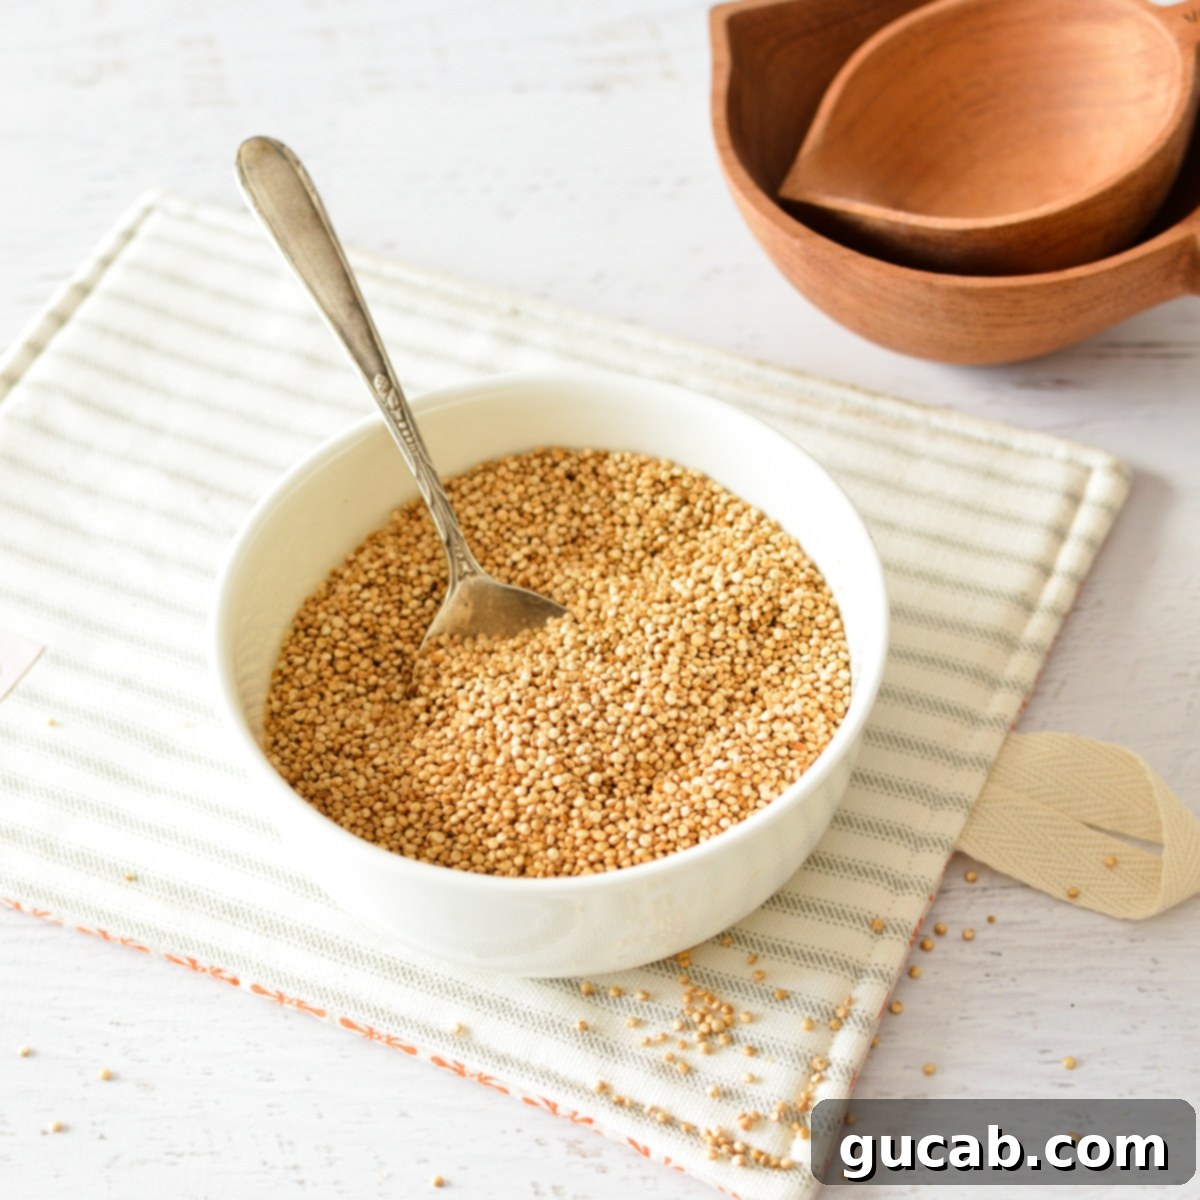
How to Make Puffed Quinoa: Your Ultimate Guide to Perfectly Popped, Crispy Grains
Discover the delightful simplicity of making puffed quinoa at home! This straightforward recipe transforms ordinary quinoa seeds into a light, nutty, and incredibly crunchy topping that elevates everything from morning yogurt and vibrant salads to homemade granola. Puffed quinoa is not only a versatile addition to your pantry but also a powerhouse of nutrition. Naturally gluten-free, dairy-free, and packed with essential nutrients, it’s an excellent choice for health-conscious eaters seeking a satisfying crunch.
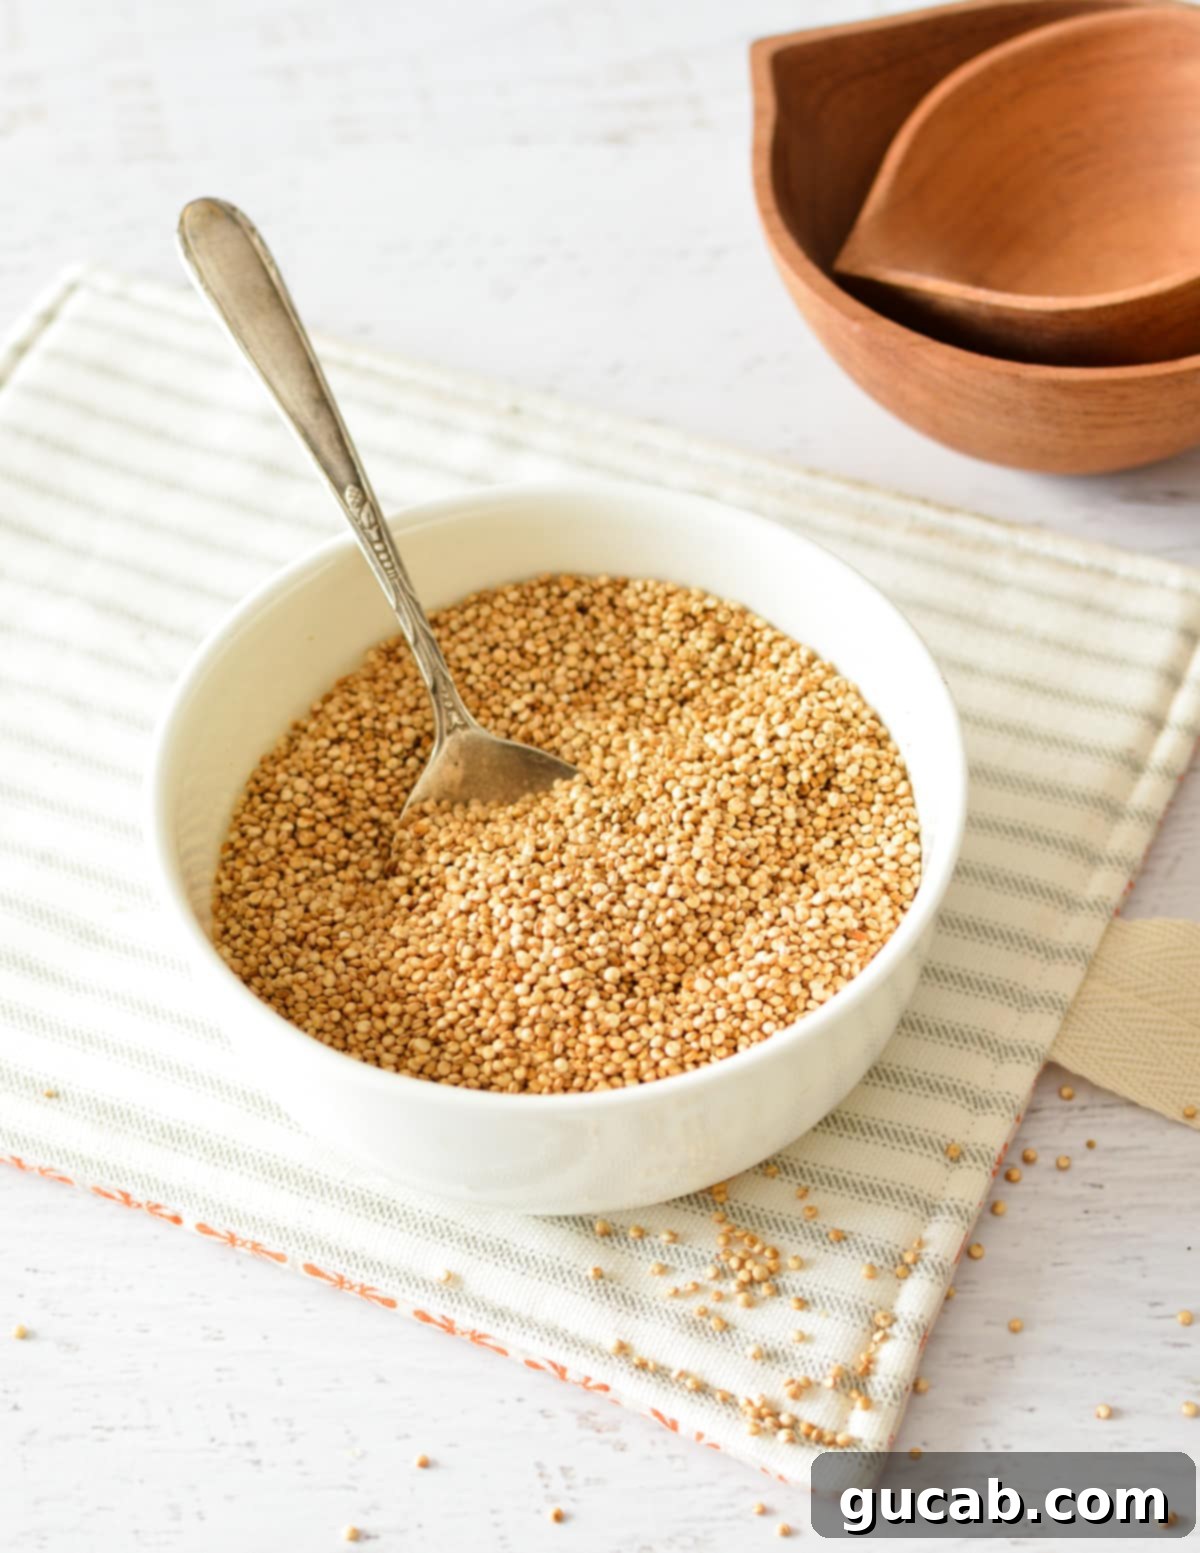
What Exactly is Puffed Quinoa?
Puffed quinoa, often referred to as popped quinoa, is a culinary marvel created by cooking raw quinoa seeds in a very hot, dry skillet until they gracefully “pop,” much like miniature popcorn. This simple dry-roasting process is responsible for its signature nutty, aromatic flavor and a texture that is wonderfully crispy, airy, and slightly chewy. Unlike traditional cooked quinoa, which is soft and fluffy, puffed quinoa offers a distinct textural contrast that makes it an exciting ingredient.
The transformation occurs rapidly as the high heat causes the moisture within each tiny quinoa seed to vaporize and expand, breaking through the outer shell. This physical change not only alters the texture dramatically but also intensifies the natural flavors of the quinoa, making it more appealing as a standalone snack or a crisp topping for a wide array of dishes.
The Importance of Rinsing Quinoa: Is It Necessary for Popping?
One of the beauties of making puffed quinoa is its minimal ingredient list: just quinoa! However, a crucial consideration for any quinoa preparation, including puffing, is ensuring that your quinoa has been properly rinsed. Raw quinoa seeds are naturally coated with saponin, a bitter-tasting compound that acts as a natural defense mechanism for the plant. If not removed, saponin can impart an unpleasant soapy or bitter flavor to your finished dish.
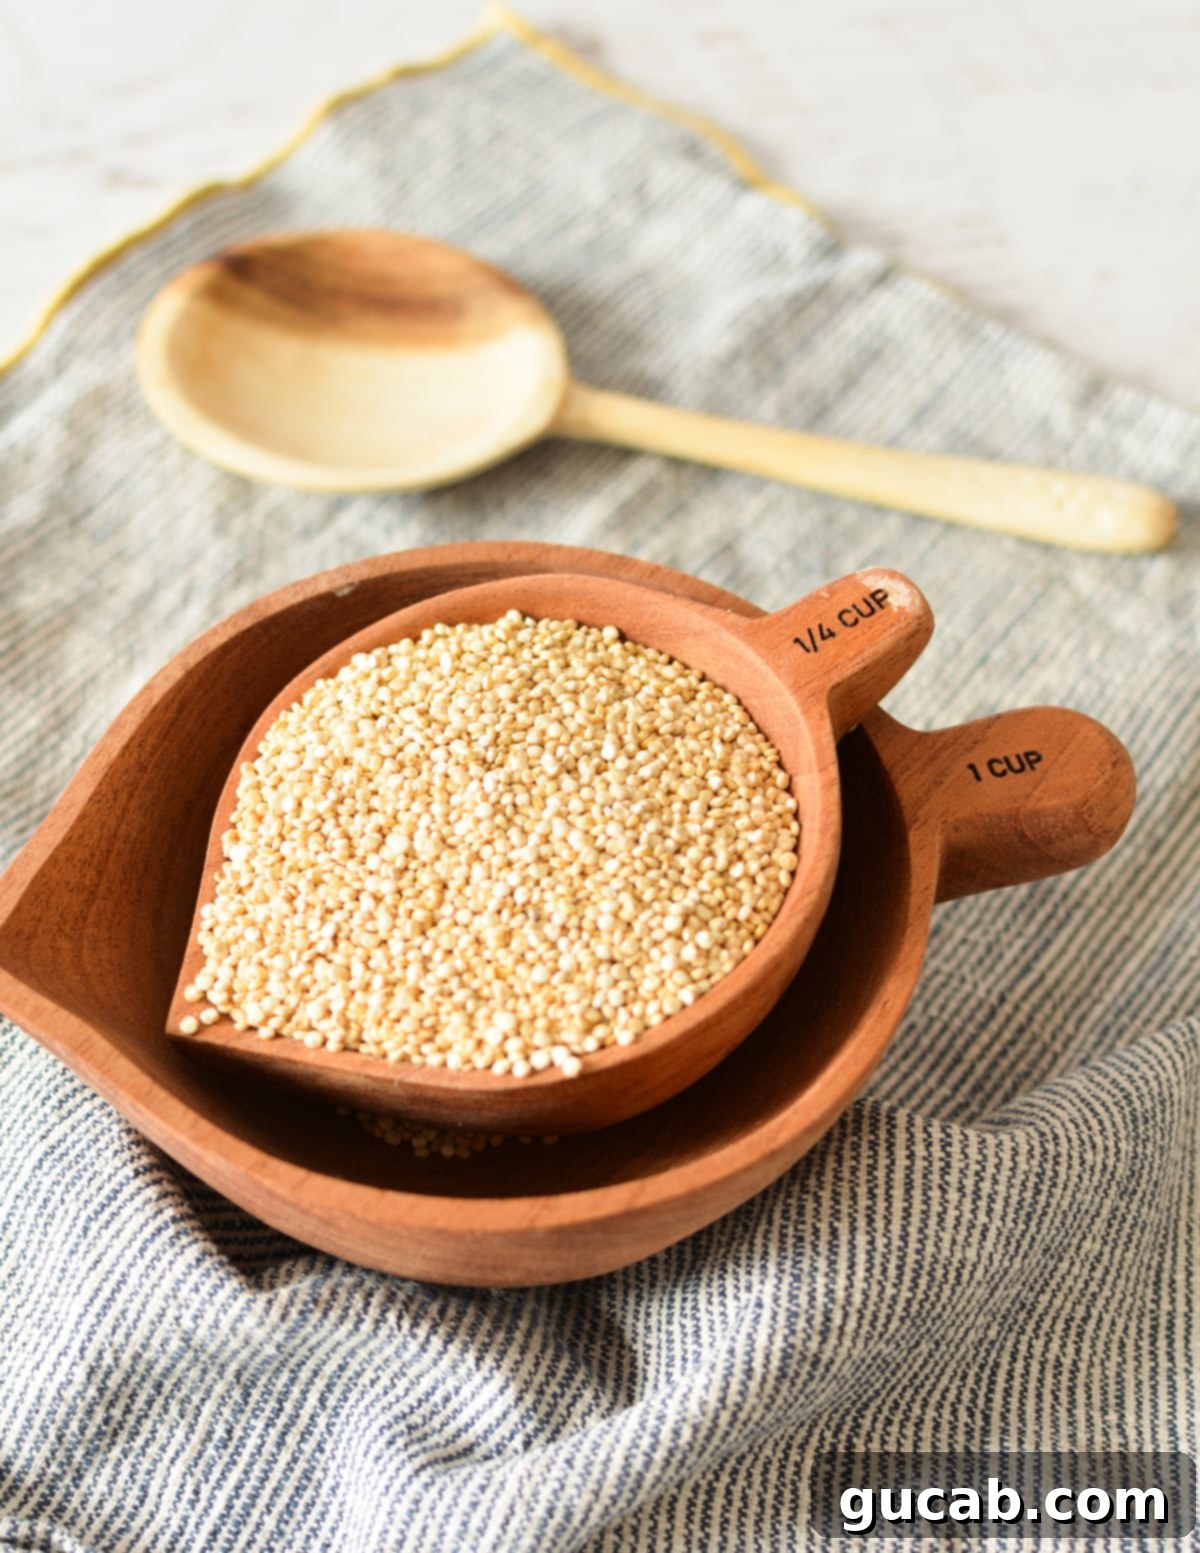
While you can certainly rinse raw quinoa yourself under cold running water until the water runs clear, most quinoa brands available today are conveniently pre-rinsed. This saves you an extra step and ensures a delicious, bitter-free result. Always check the packaging for labels such as “pre-rinsed,” “pre-washed,” or “ready to cook.” Sometimes this information is prominently displayed on the front, while other times it might be found in smaller print on the back of the bag.
For puffed quinoa, even if your quinoa isn’t pre-rinsed, the dry heat method of popping can sometimes minimize the bitterness more effectively than boiling if rinsing is skipped. However, for the best and most consistent flavor, opting for pre-rinsed quinoa is always recommended. This attention to detail ensures your homemade puffed quinoa is as delicious as it is nutritious.
Mastering the Art of Making Puffed Quinoa
Making puffed quinoa might seem deceptively simple, but it truly is an art form that requires a delicate balance of heat and technique. The key lies in finding that “sweet spot” temperature. If your skillet is too hot, the tiny quinoa kernels will quickly burn before they have a chance to pop and achieve that desirable airy texture. Conversely, if the heat is too low, the quinoa will simply toast and brown without ever expanding, resulting in a crunchy but dense product rather than a light, puffy one.
Through extensive testing, I’ve found that **medium heat** is the ideal temperature setting for transforming quinoa into beautifully popped, nutty, and crispy golden-brown perfection. However, it’s not just about the setting; the pan itself must be sizzling hot and thoroughly preheated before a single grain of quinoa touches its surface. This initial high heat blast is what initiates the popping process efficiently.
Step 1: Preheat Your Skillet to Perfection
Begin by placing a large, heavy-bottomed stainless steel skillet over medium heat. The type of skillet matters here; stainless steel offers excellent heat distribution and retention, which is crucial for even popping. Avoid turning on the heat and immediately adding the quinoa. This is a common mistake that leads to frustration! The pan won’t have accumulated enough heat to properly pop the quinoa, resulting in an unevenly toasted or burnt batch.
Allow the skillet to heat for at least 3-5 minutes, or until it’s sizzling hot. You can test this by sprinkling a few drops of water into the pan; they should dance and evaporate almost instantly. If they just sit there or slowly sizzle, your pan isn’t ready. If you prefer a nuttier flavor and an even crispier texture, now is the time to add about a teaspoon of a neutral oil, like canola or grapeseed. While oil is optional, it does contribute to a more golden-brown color and enhanced crunch. Just be sure not to use too much, as excess oil can cause the quinoa to spit and clump.
Step 2: Add the Quinoa in Controlled Batches
Once your skillet is perfectly preheated and potentially oiled, it’s time to add the quinoa. The amount you add is critical for success. You want just enough quinoa to form a single, thin layer across the bottom of the skillet, without overcrowding it. If you add too much, the quinoa kernels won’t all make direct contact with the hot surface. This leads to an inconsistent batch where some grains burn, others toast, and many simply refuse to pop.
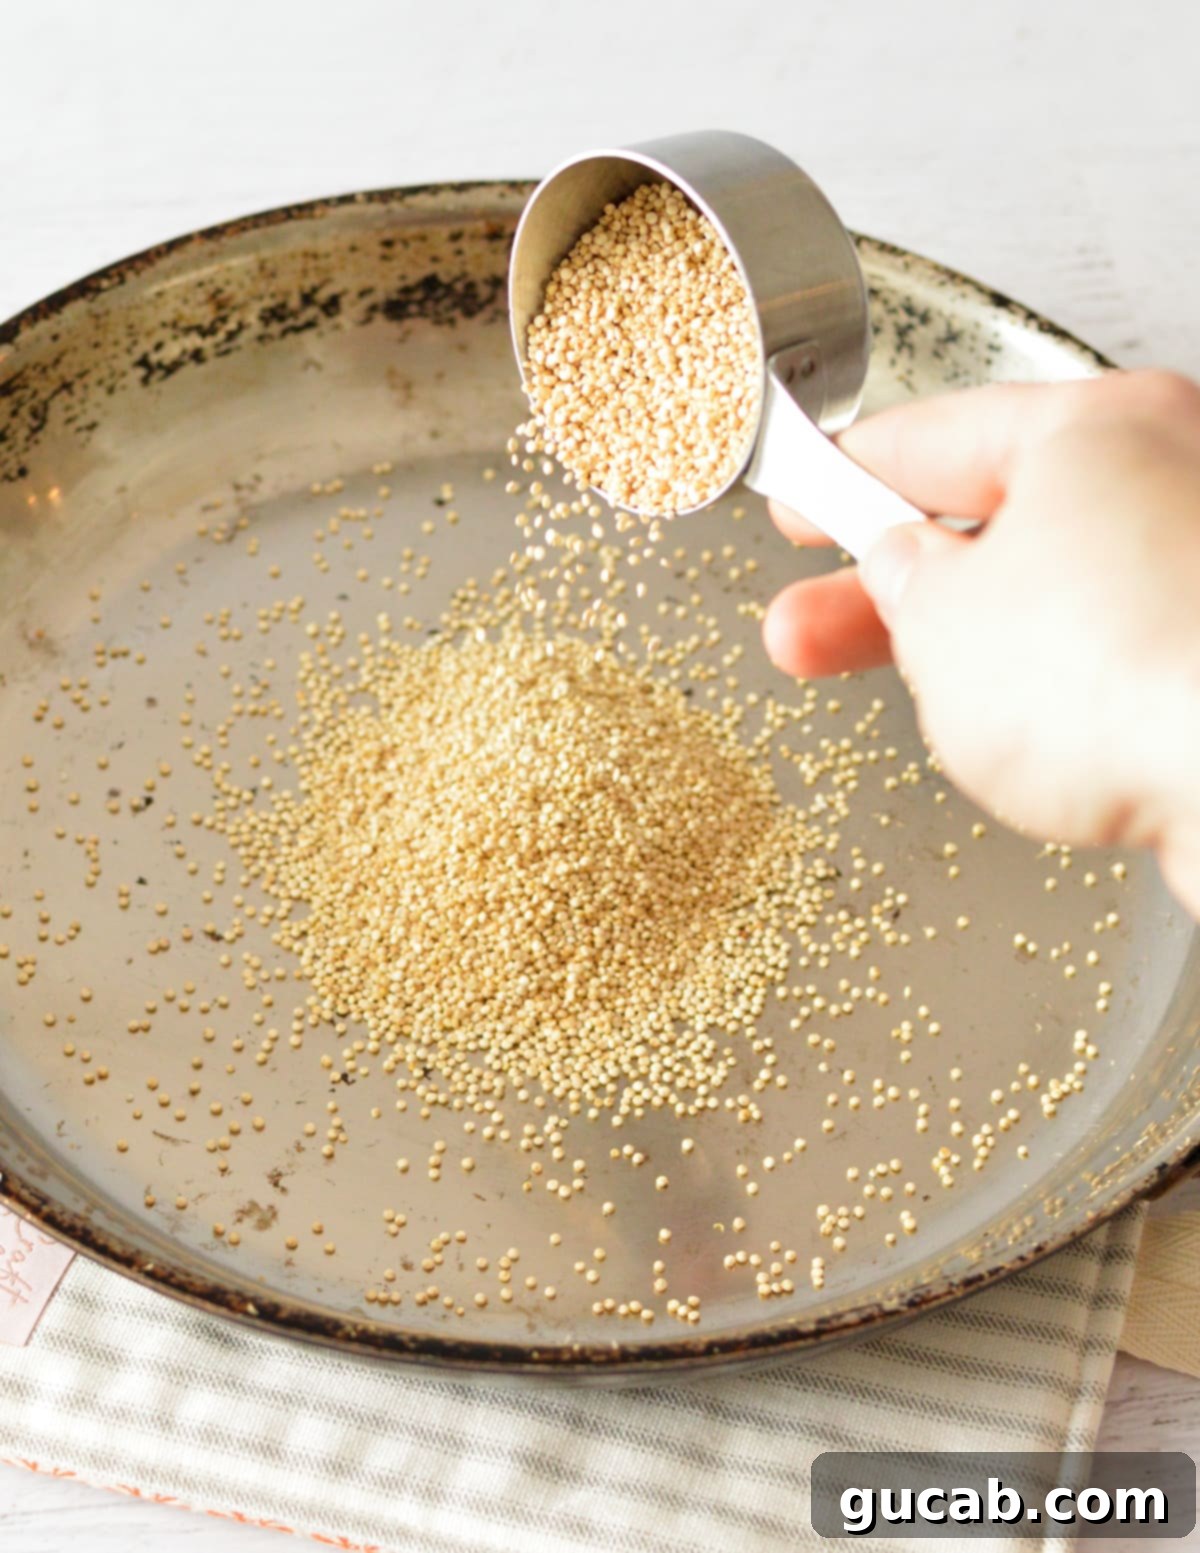
My magic number for a standard large skillet is a ⅓ cup of quinoa per batch. This amount allows for optimal popping and browning. Since the entire process only takes a few minutes per batch, it’s incredibly easy to make multiple batches if you need a larger quantity. If you’re working with a smaller skillet, adjust the amount down to about ¼ cup to maintain that crucial single layer.
Step 3: Pop, Stir, and Watch the Transformation
As soon as you add the quinoa to the hot skillet, immediately give the pan a gentle shake or use a spatula to spread the kernels into an even layer. This ensures that every single grain has the best chance to make contact with the hot surface and begin the popping process. You should start hearing faint popping sounds within seconds.
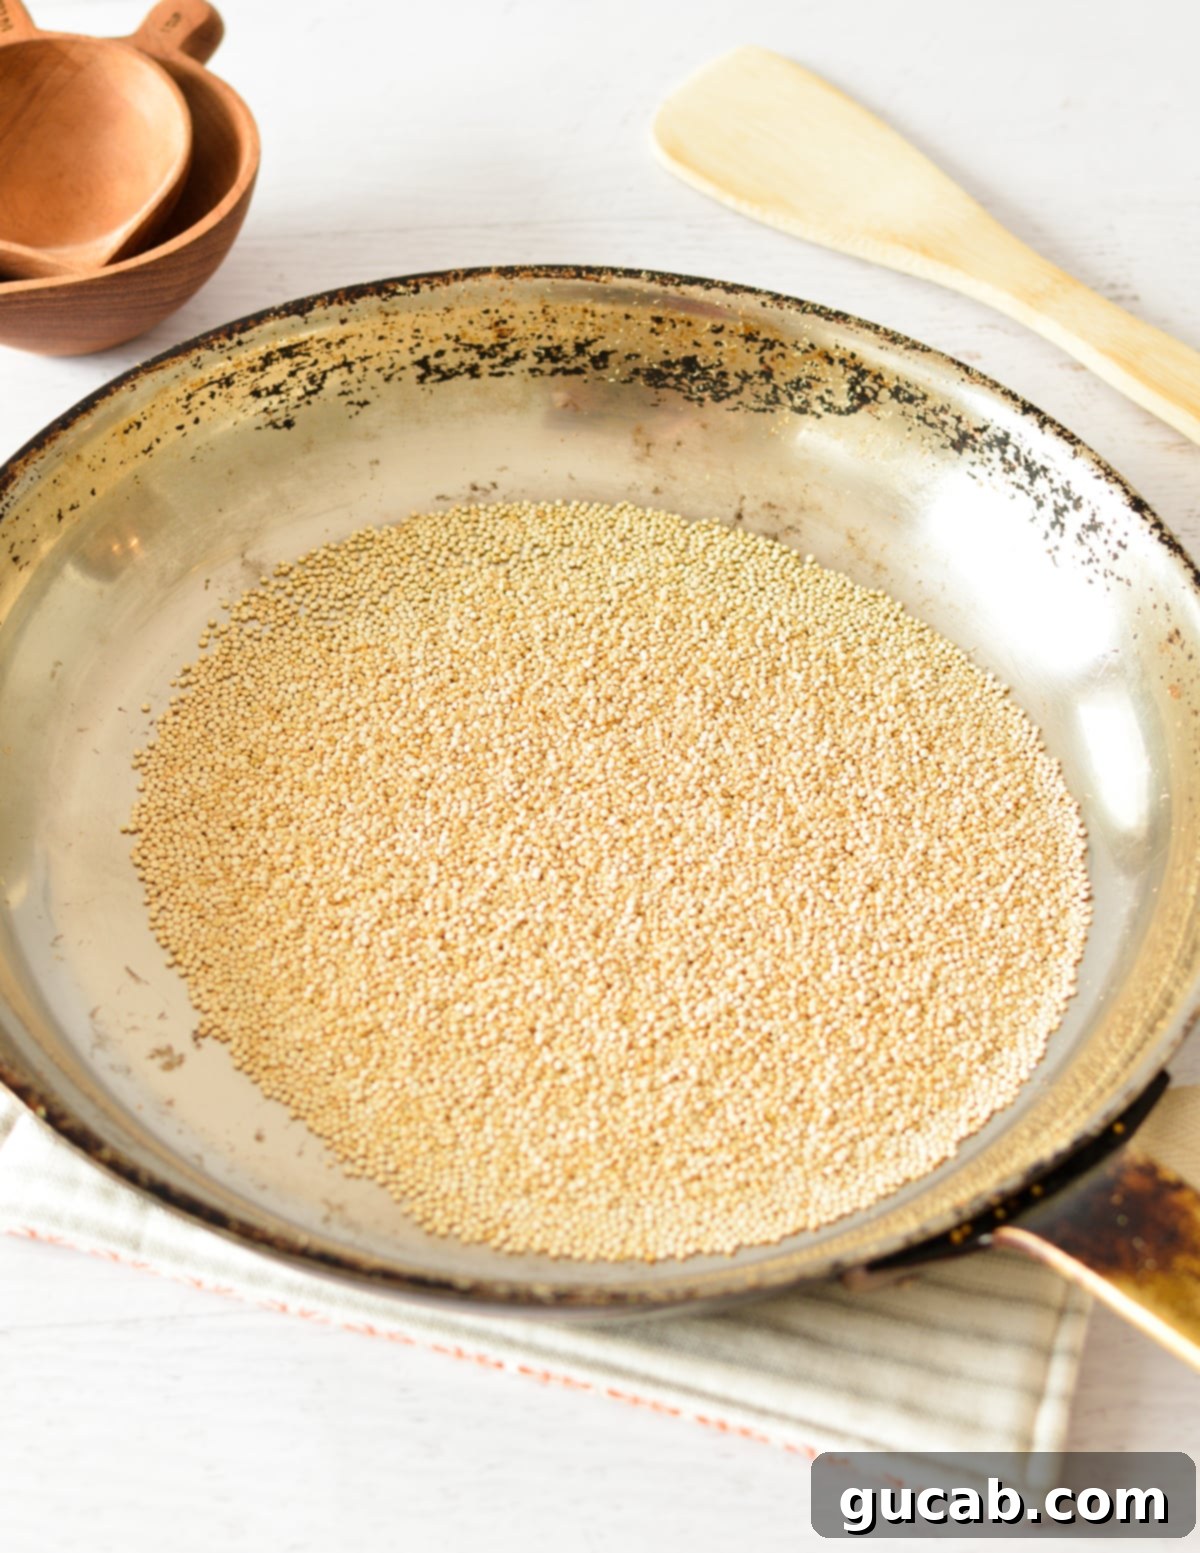
From this point onward, continuous movement is key to prevent burning. Continue to cook, gently shaking the pan or stirring the quinoa every few seconds. If you opted for no oil, simply shaking the pan vigorously works perfectly. However, if you added oil, the quinoa tends to stick together slightly, making a rubber spatula a more effective tool for stirring and ensuring even exposure to the heat. You’ll see the tiny kernels transform, some visibly puffing open, others simply browning and becoming fragrant.
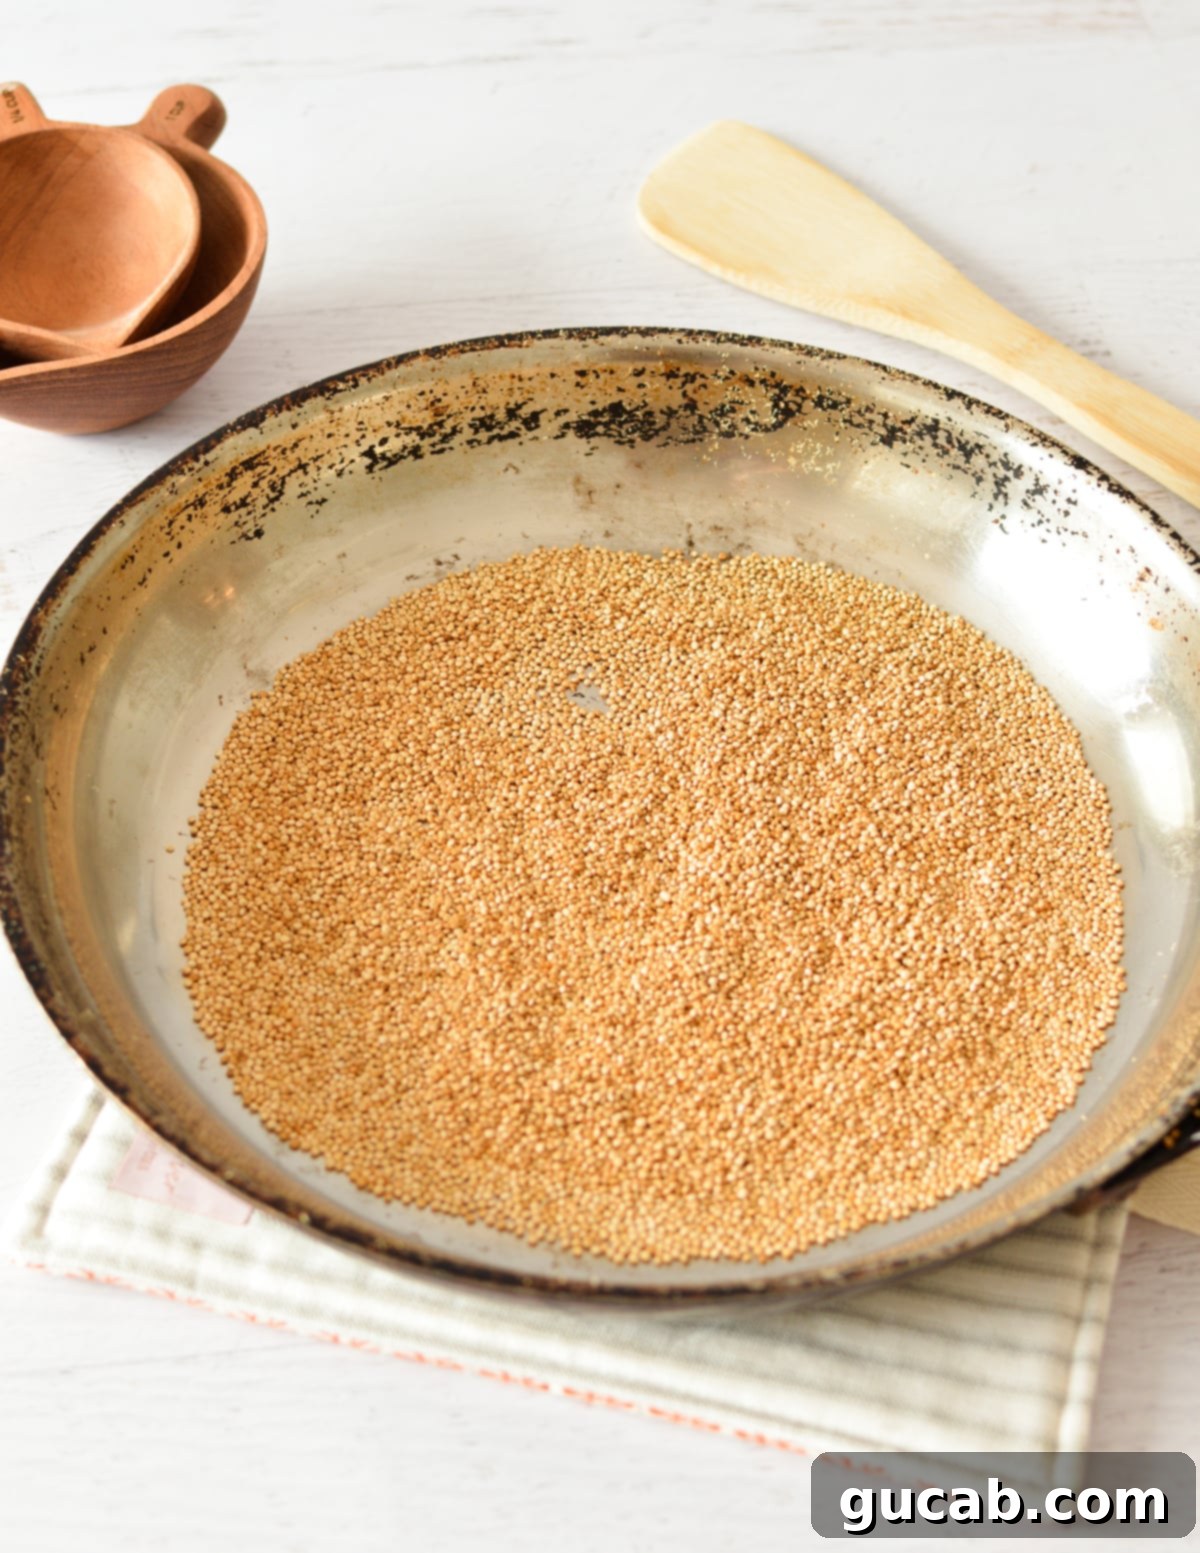
Continue this process until the quinoa is largely popped, takes on a beautiful golden-brown hue, and releases a wonderfully nutty aroma. This usually takes just 2-4 minutes per batch. As soon as it reaches this stage, immediately transfer the hot puffed quinoa to a clean bowl or plate to cool completely. Leaving it in the hot pan, even off the heat, can lead to overcooking and burning due to residual heat.
Expert Tips for Perfectly Puffed Quinoa Every Time
- Ensure Your Pan is Sizzling Hot: This cannot be stressed enough. A properly preheated skillet set to medium heat is the single most important factor for successful popping. If the pan isn’t hot enough, the quinoa won’t experience the immediate thermal shock needed to pop and will instead just toast slowly. Aim for a shimmering, almost smoking pan (if using oil) or one where water droplets dance vigorously.
- The Magic of a Teaspoon of Oil (Optional): For a more intense nutty flavor and a deeper golden-brown color, a single teaspoon of neutral cooking oil, like canola or grapeseed oil, can make a significant difference. The oil helps to conduct heat more evenly around the kernels and contributes to a crispier exterior. However, resist the urge to add more! Too much oil will cause the quinoa to become greasy, clump together, and potentially spit vigorously from the pan.
- Always Work in Small Batches: Quinoa pops and cooks incredibly quickly, and overcrowding the pan is the enemy of perfectly puffed grains. Sticking to batches of no more than ⅓ cup (or ¼ cup for smaller skillets) ensures that every kernel has direct contact with the hot surface. This allows for even heat distribution and consistent popping. Attempting to cook larger quantities will inevitably lead to an uneven batch, with some quinoa burning while others remain unpopped.
- Constant Movement Prevents Burning: Given their tiny size, quinoa kernels can burn very rapidly. To prevent this, it’s essential to keep the quinoa in constant motion. Gently shaking the pan every few seconds is effective if you’re cooking without oil. If you’ve added oil, the quinoa tends to stick to the pan and each other, so using a heat-resistant rubber spatula to stir and scrape the bottom of the pan continuously will yield better results and prevent any kernels from lingering too long in one spot and scorching.
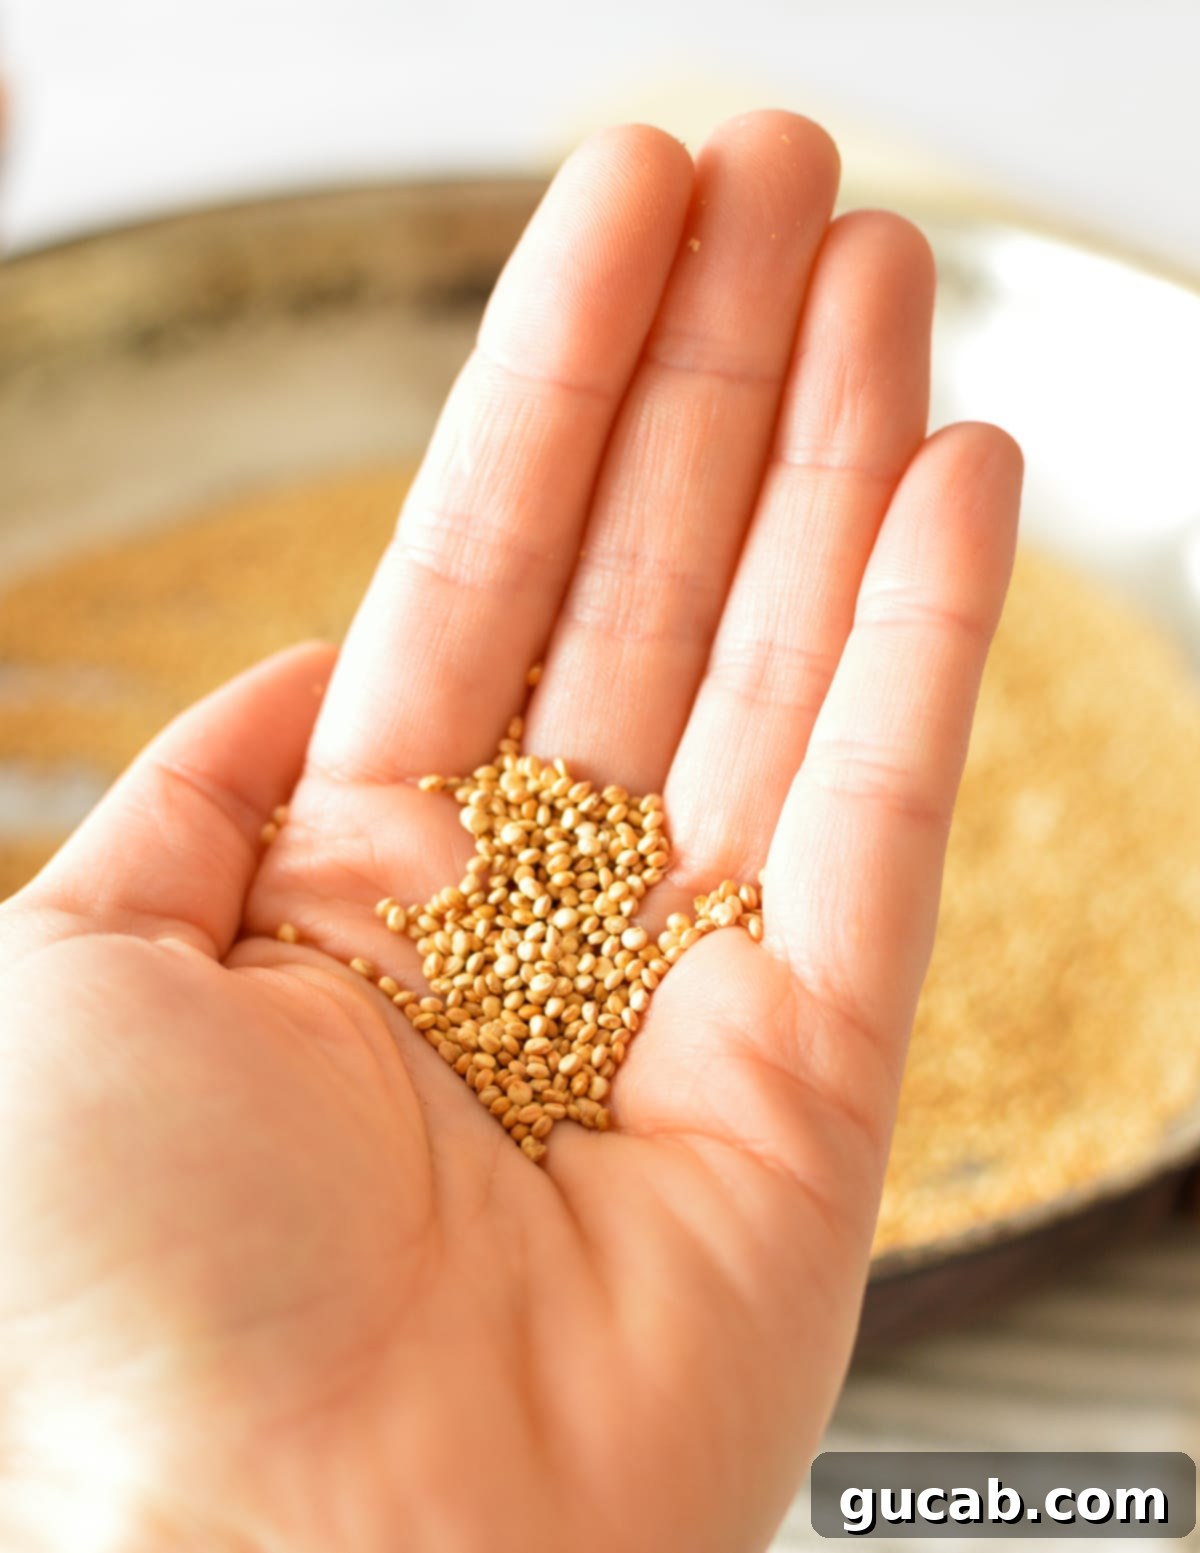
Incredible Ways to Use Puffed Quinoa in Your Kitchen
Puffed quinoa is far more than just a crispy garnish; it’s a versatile ingredient that can add texture, flavor, and a nutritional boost to countless dishes. Its light, airy crunch makes it an excellent substitute for less healthy options and opens up a world of culinary possibilities. Here are some of my favorite ways to incorporate this superfood into your meals:
- Yogurt and Smoothie Bowls: Elevate your breakfast by sprinkling a generous amount of puffed quinoa over your yogurt or smoothie bowl. It adds a satisfying crispy crunch and an extra dose of protein, fiber, and feel-good nutrients, making for a more substantial and interesting start to your day.
- Salads: Ditch the conventional croutons and enhance your salads with popped quinoa for a delightful, wholesome crunch. It provides a similar textural contrast without the added processed ingredients, making your salads healthier and more exciting.
- Homemade Granola and Cereal: Incorporate puffed quinoa into your favorite homemade granola recipe before baking, or simply mix it into your morning cereal. It adds an extra layer of texture and nutritional value, making your granola heartier and more satisfying.
- Granola Bars and Energy Bites: Boost the protein and fiber content of your homemade granola bars or energy bites by mixing in puffed quinoa. Its light texture helps to bind ingredients without making them overly dense, contributing to a perfect chewy-crispy balance.
- Baking Adventures: Get creative and add puffed quinoa to your breakfast cookies, muffins, or even bread for an interesting texture and added nutritional benefits. It can replace or complement oats in many recipes.
- A Wholesome Snack on Its Own: Seasoned lightly with your favorite spices (think a pinch of smoked paprika, garlic powder, or chili powder) and a touch of kosher salt, puffed quinoa becomes an incredibly tasty and healthy snack. It’s perfect for satisfying those crunchy cravings without any guilt.
- Soup Topping: Just like croutons, puffed quinoa makes a fantastic crunchy topping for creamy soups or stews. Add it just before serving to maintain its crispness.
- Chocolate Bark or Clusters: Mix cooled puffed quinoa into melted chocolate, spread it thin, and chill to create a gourmet, crunchy chocolate bark. Or, form small clusters for an irresistible treat.
Proper Storage for Lasting Crispness
To preserve the delicate crispness of your homemade puffed quinoa, proper storage is essential. The most important rule is to ensure the puffed quinoa has cooled completely to room temperature before transferring it to any storage container. If you seal it in an airtight jar or container while it’s still warm, condensation will form inside, turning your perfectly crisp quinoa soggy and unappetizing.
Once thoroughly cooled, transfer the puffed quinoa to an airtight container, such as a glass jar with a tight-fitting lid. Store this container in a cool, dry place away from direct sunlight and humidity. Stored correctly, your puffed quinoa will retain its delightful crunch and freshness for up to two weeks. If it loses a bit of its crispness over time, you can briefly re-toast it in a dry skillet over low heat for a minute or two, stirring constantly, to revive its texture.
Frequently Asked Questions About Puffed Quinoa
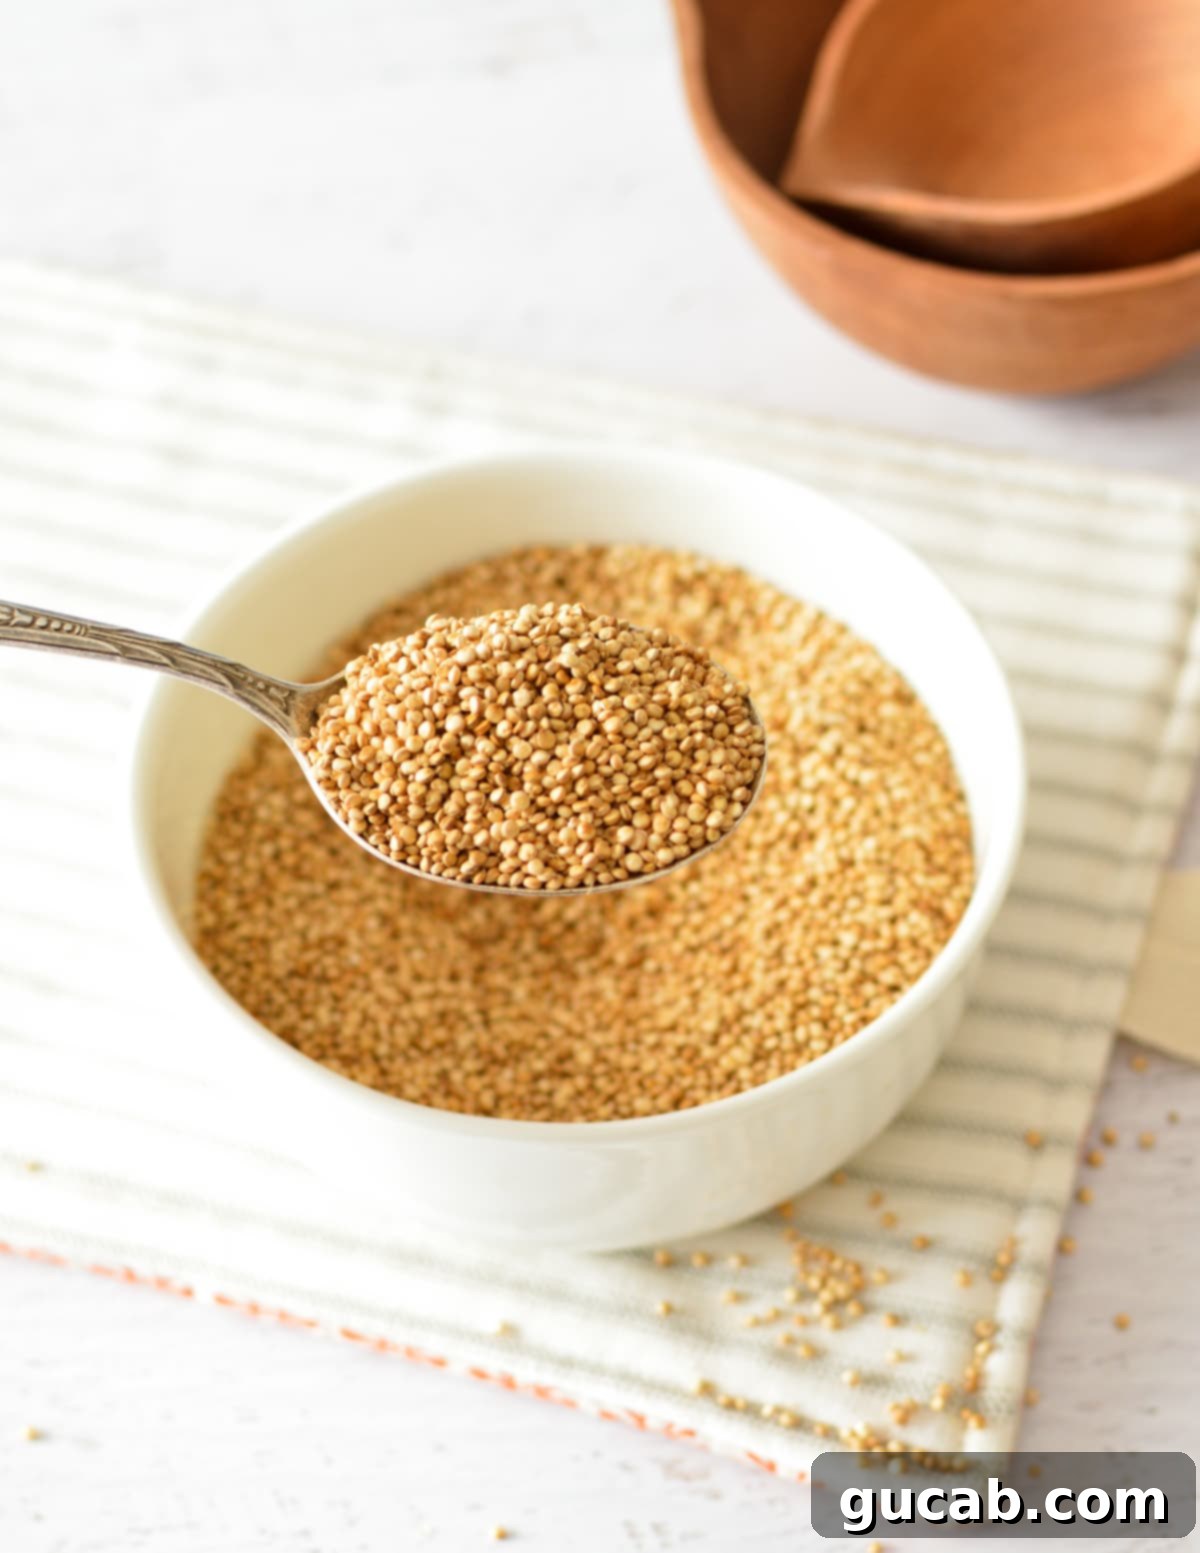
There are several common reasons why your quinoa might not be popping correctly. The most frequent culprit is overcrowding the pan. If you add too much quinoa, many kernels won’t make direct contact with the hot surface, preventing them from popping. Instead, they might just toast or even burn without expanding. Another key factor is the pan’s temperature. If the heat is set too low, the quinoa won’t experience the rapid thermal expansion needed to pop; it will merely toast and harden. Conversely, if the pan is too hot, the quinoa might scorch and burn before it has a chance to pop. Ensure your pan is at a consistent medium-high heat, tested by a few drops of water dancing on the surface, and always work in small batches to ensure even cooking and popping for all kernels.
While the traditional stovetop method is the most reliable for achieving perfectly puffed quinoa, some people experiment with air fryers or microwaves. An air fryer might give you a slightly toasted result, but it’s generally not hot enough or direct enough to truly “pop” the quinoa in the same way a skillet does. The results are often more akin to lightly toasted quinoa. Microwaving is generally not recommended for puffing quinoa, as it tends to cook the grains rather than puff them, often resulting in a chewy texture or even burning without the desired expansion. For the best and most consistent results, the dry, hot skillet method remains supreme.
No, you do not need to soak quinoa before puffing it. In fact, it’s crucial that your quinoa is completely dry before it hits the hot skillet. Any moisture on the kernels will prevent them from popping and instead cause them to steam or toast unevenly. If you’ve rinsed your quinoa, make sure to spread it out on a clean kitchen towel or baking sheet and allow it to air dry thoroughly before attempting to puff it. Pre-rinsed quinoa, straight from the bag, is usually dry enough.
Explore More Delicious Quinoa Recipes
If you love the versatility and nutritional benefits of quinoa, be sure to check out these other fantastic recipes:
- Quinoa Salad with Feta & Peaches
- Herby Quinoa Salad with Avocado and Chickpeas
- Salmon Quinoa Bowl with Chipotle Mayo
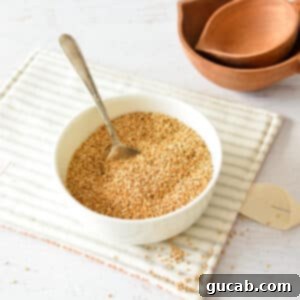
Popped Quinoa
Carolyn
Pin Recipe
5 minutes
5 minutes
10 minutes
Snack, Topping
American, Mediterranean
1
serving
244
kcal
Equipment
-
a large stainless steel skillet
Ingredients
- ⅓ cup quinoa
- 1 teaspoon canola oil optional
Instructions
-
Heat a large stainless steel skillet over medium heat. It should be set to medium, but up to temperature before you start. The pan should be sizzling hot before you add the quinoa. If using oil, add it now and allow it to shimmer.
-
Pour the quinoa into the hot skillet, ensuring it covers the pan in an even, single layer. If you used oil, you may need to use a spatula to spread it around as it sticks together a little bit initially.
-
The quinoa should begin to pop almost immediately. Gently shake the pan every few seconds to prevent burning and ensure even popping. If you used oil, use a spatula to stir the quinoa constantly every few seconds, scraping the bottom of the pan.
-
Continue to shake (or stir) and cook the quinoa for 2-4 minutes until most kernels are popped, they’ve turned a beautiful golden-brown, and a nutty aroma fills your kitchen. Immediately transfer the hot puffed quinoa to a plate or bowl to cool completely, preventing any residual cooking.
Nutrition
Calories:
244
kcal
Carbohydrates:
36
g
Protein:
8
g
Fat:
7
g
Saturated Fat:
1
g
Polyunsaturated Fat:
3
g
Monounsaturated Fat:
3
g
Trans Fat:
0.02
g
Sodium:
3
mg
Potassium:
319
mg
Fiber:
4
g
Vitamin A:
8
IU
Calcium:
27
mg
Iron:
3
mg
how to make puffed quinoa, popped quinoa, puffed quinoa, quinoa recipe, healthy snack
Tried this recipe?
Let us know how it was!
Creating your own puffed quinoa at home is a rewarding and simple process that unlocks a world of texture and flavor. With just a few minutes and a hot skillet, you can transform humble quinoa seeds into a versatile, nutritious, and incredibly satisfying ingredient or snack. Experiment with different seasonings and enjoy adding this delightful crunch to your favorite meals. Happy popping!
