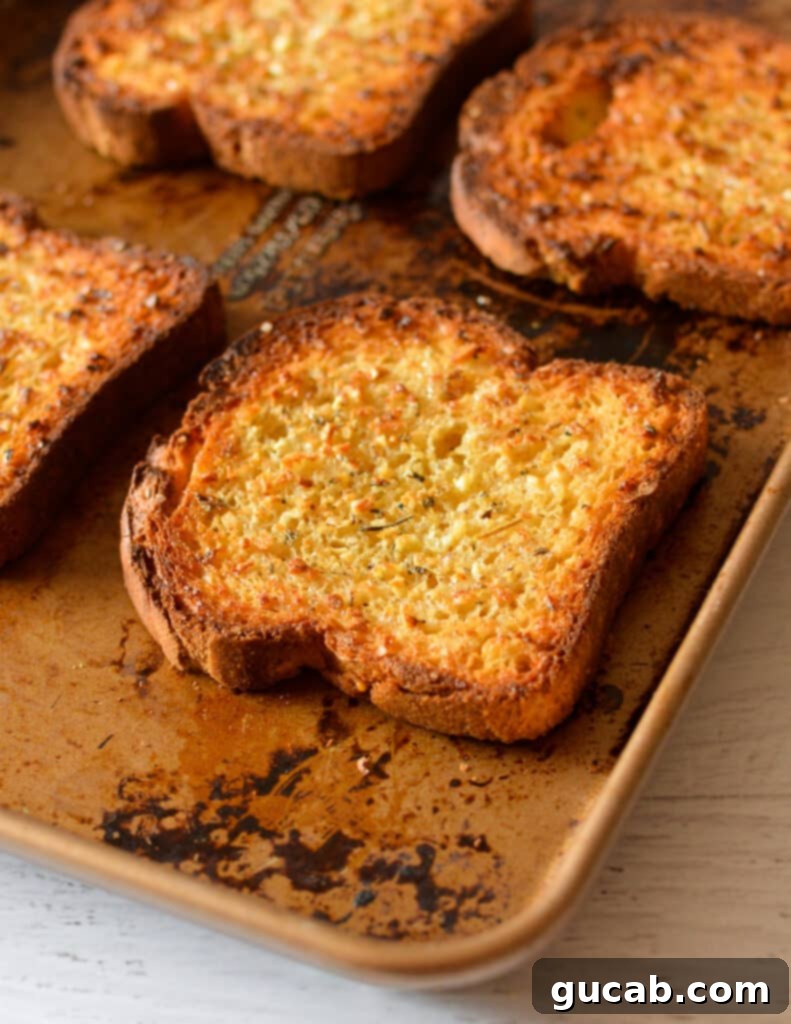
Effortless Homemade Garlic Bread: The Ultimate Sliced Bread Recipe for Any Meal
Craving that irresistible aroma and crispy, buttery goodness of garlic bread but short on time? Look no further! This comprehensive guide will show you how to master the art of making incredibly delicious homemade garlic bread using just sliced bread. It’s a game-changer for busy weeknights, impromptu gatherings, or simply when you desire a quick, flavorful side. Forget about special loaves or elaborate preparations – with this recipe, you’ll whip up a batch of perfect garlic bread in mere minutes, ready to complement spaghetti, pasta, chili, soup, or any meal that needs a touch of garlicky magic.
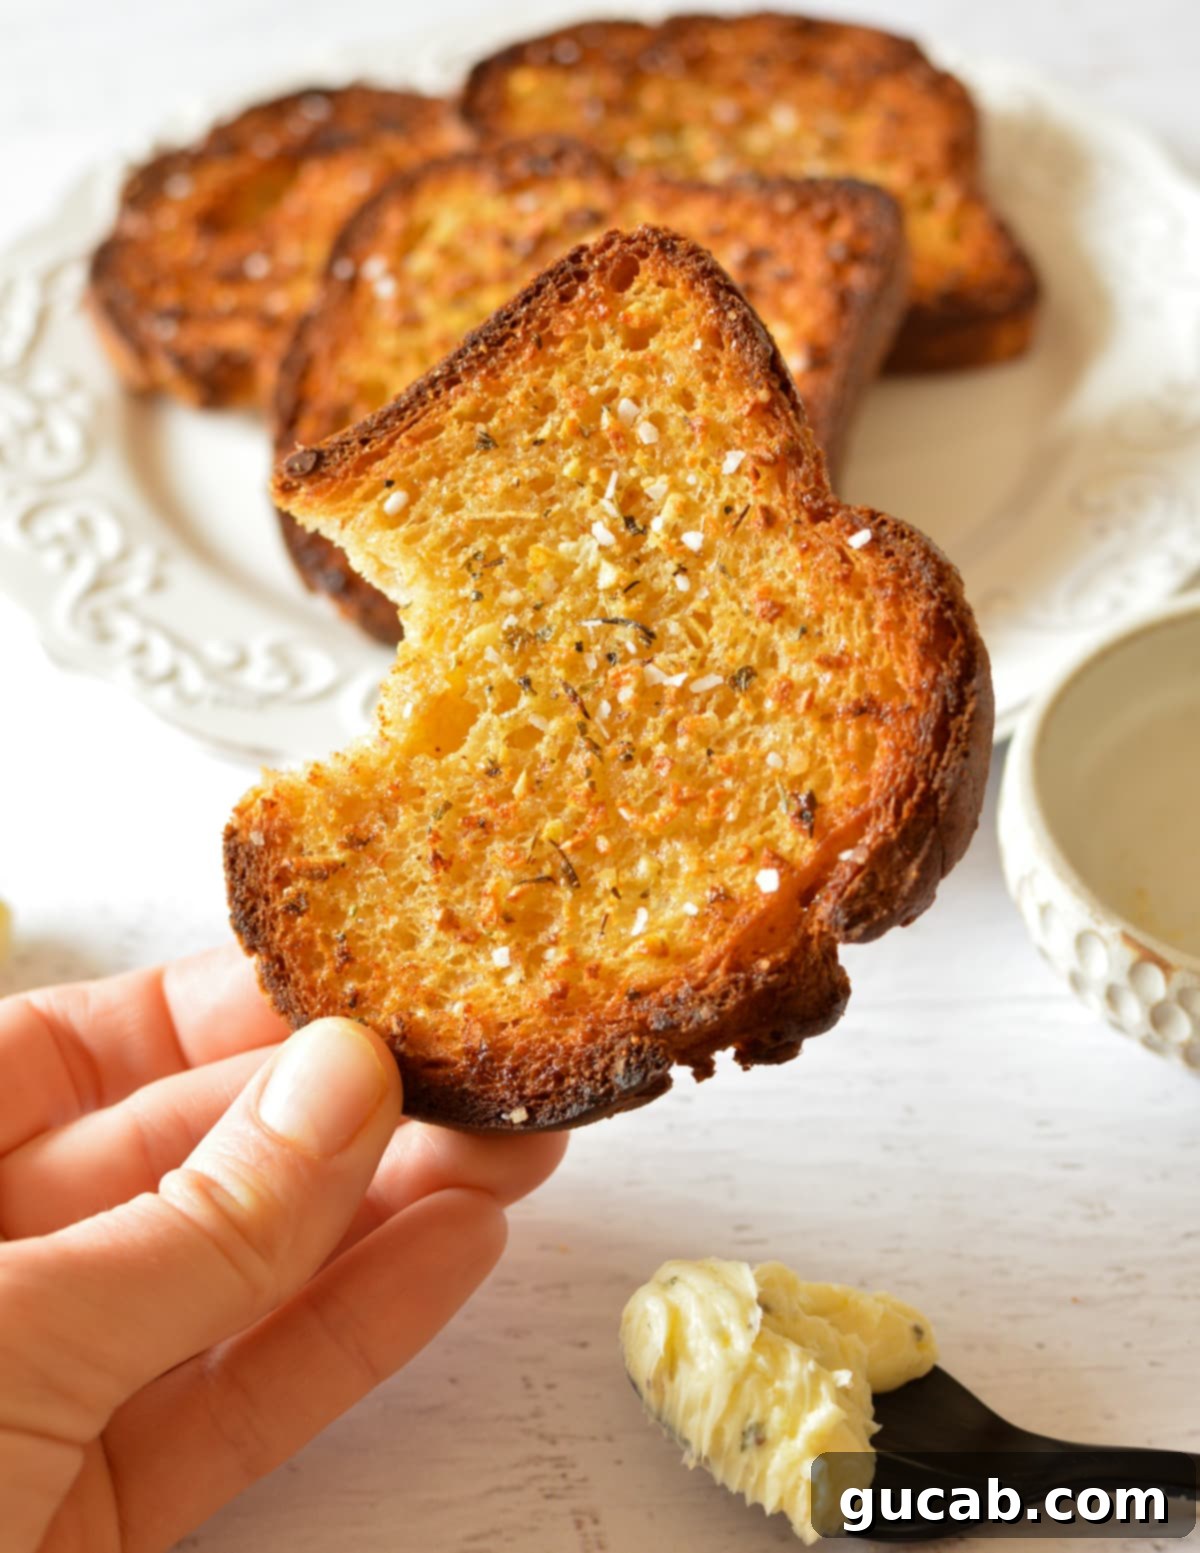
Why You’ll Adore This Easy Garlic Bread Recipe
This homemade garlic bread recipe stands out for its incredible simplicity and speed, making it an instant favorite for anyone who loves good food without the fuss. It truly doesn’t require any special forethought or extensive planning, relying on common pantry staples you likely already have on hand. This means you can decide to make garlic bread just moments before dinner is served, and it will be ready in a flash.
One of the biggest advantages is its versatility with bread. You can use virtually any kind of sliced bread you have! Whether it’s classic white bread, hearty sourdough, wholesome whole grain, or even gluten-free bread, this recipe adapts beautifully. This flexibility eliminates the need to buy a specific “garlic bread loaf,” saving you a trip to the store and reducing food waste.
The process is incredibly straightforward: simply whip up an impromptu garlic butter, generously slather it onto your chosen sliced bread, and pop it into the oven. This no-fuss approach is what makes super simple recipes truly awesome. It’s all about maximizing flavor with minimal effort.
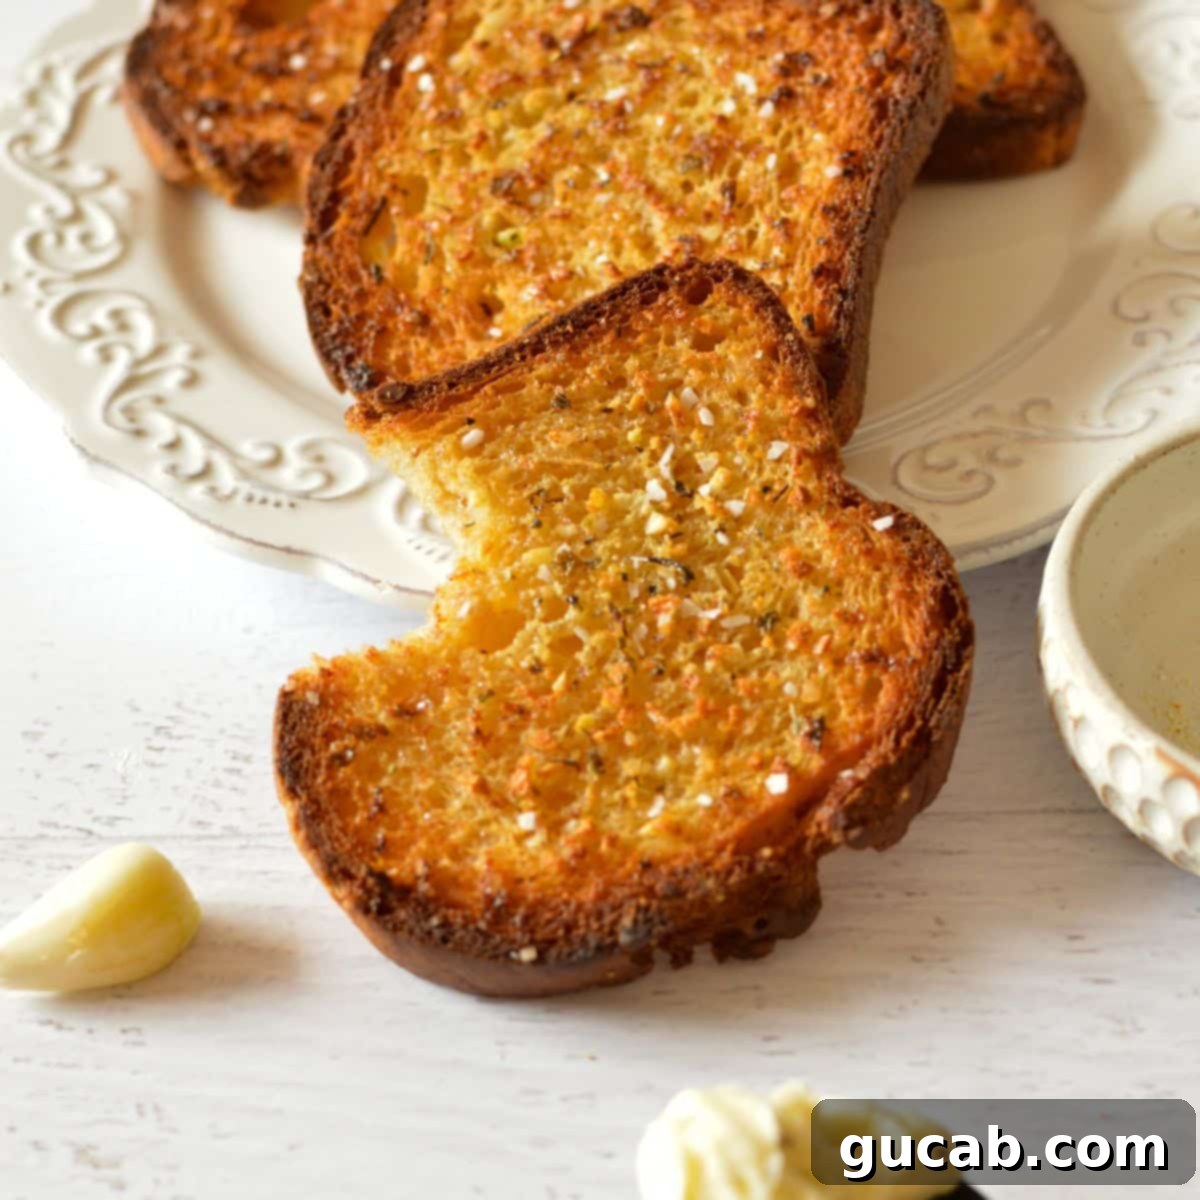
For that perfect finish, I highly recommend a quick broil at the very end. This step is key to achieving that coveted crisp, golden brown exterior that makes garlic bread so addictive. However, a word of caution: keep a very close eye on it! The broiler is incredibly hot and works rapidly, so the delicate balance between beautiful caramelization and a burnt mess is incredibly fine. Staying vigilant ensures you get that ideal crunch and color every time.
Essential Ingredients for Perfect Sliced Bread Garlic Bread
Crafting delicious garlic bread doesn’t require a long list of exotic ingredients. In fact, the magic happens with just a few simple, everyday items. Here’s a closer look at what you’ll need and why each component is crucial:
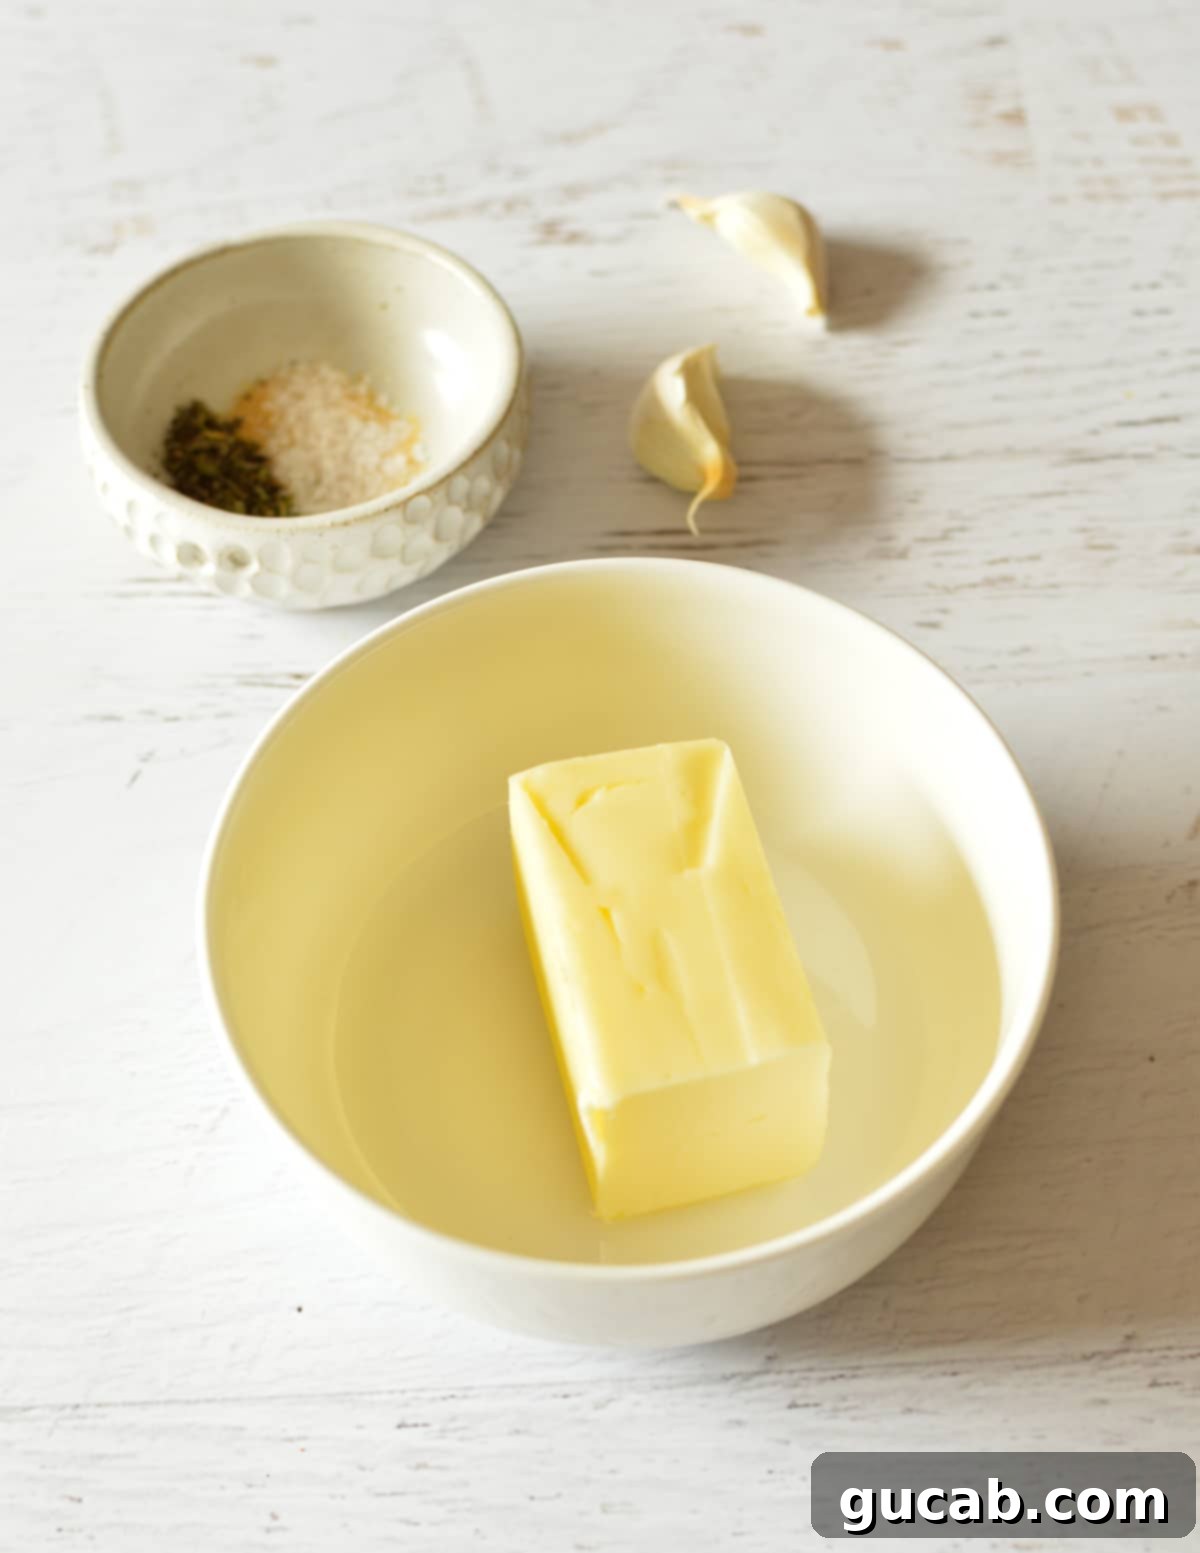
Sliced Bread: This is the foundation of our quick garlic bread. The beauty here is that almost any kind of sliced bread works wonderfully. Common white sandwich bread will give you a soft interior with a crispy crust. Heartier options like sourdough or whole grain loaves offer more texture and a robust flavor profile. Texas toast, with its thicker slices, creates a more substantial garlic bread experience. Even gluten-free bread performs beautifully, especially if slightly thawed first to prevent it from being too stiff. Choose a bread that you enjoy and that can hold up to a generous spread of butter.
Unsalted Butter: The cornerstone of any great garlic bread. Using unsalted butter allows you to control the overall saltiness of your dish, ensuring it’s seasoned to your preference. Softened butter is key here – it needs to be at room temperature so it can easily mix with the garlic and spices, creating a smooth, spreadable paste. Butter not only imparts that rich, irresistible flavor but also contributes significantly to the bread’s crisp, golden caramelization in the oven.
Spices (Garlic Powder & Italian Seasoning): I keep the spice blend simple yet impactful with garlic powder and Italian seasoning. Garlic powder provides a consistent, mellow garlic flavor that distributes evenly throughout the butter mixture. Italian seasoning, typically a blend of dried basil, oregano, rosemary, thyme, and marjoram, adds a classic aromatic depth that complements the garlic beautifully. This is where you can truly customize: feel free to swap Italian seasoning for other herbs like dried oregano, parsley, or even a pinch of red pepper flakes for a subtle kick.
Fresh Garlic: While garlic powder offers convenience, fresh minced garlic delivers a pungent, vibrant punch that elevates the flavor profile. I typically use one large clove for a balanced garlic taste, but if you’re a true garlic enthusiast, don’t hesitate to use two cloves for an extra garlicky bread. Ensure it’s finely minced so it blends seamlessly into the butter and doesn’t create large, overpowering chunks.
Kosher Salt: A pinch of kosher salt is essential for enhancing all the flavors. Its larger flakes distribute better than fine table salt and provide a subtle crunch. Adding a sprinkle after baking also brightens the overall taste.
How to Make Garlic Bread with Sliced Bread: A Step-by-Step Guide
Creating this delicious garlic bread is remarkably simple, even for novice cooks. Follow these easy steps, and you’ll have golden, garlicky slices ready to enjoy in no time!
Before you begin, make sure your oven is preheated to 400 degrees Fahrenheit (200 degrees Celsius). This ensures the bread cooks evenly and quickly once it goes in.
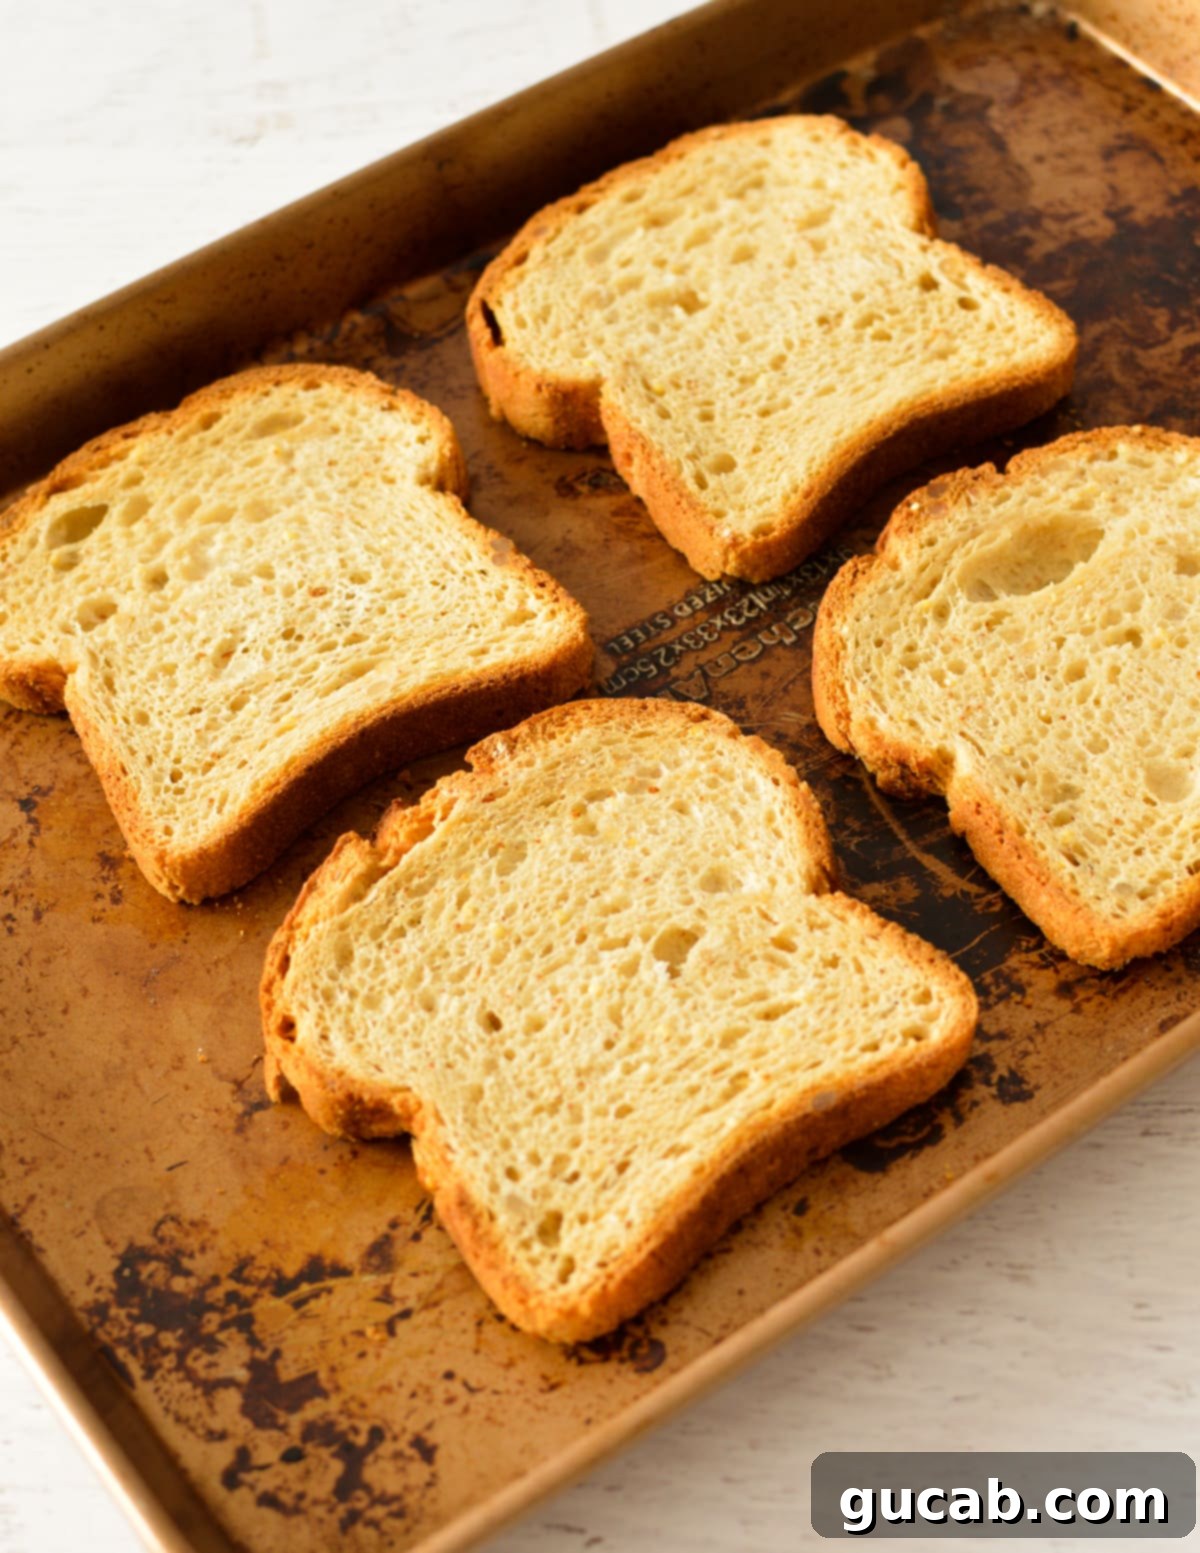
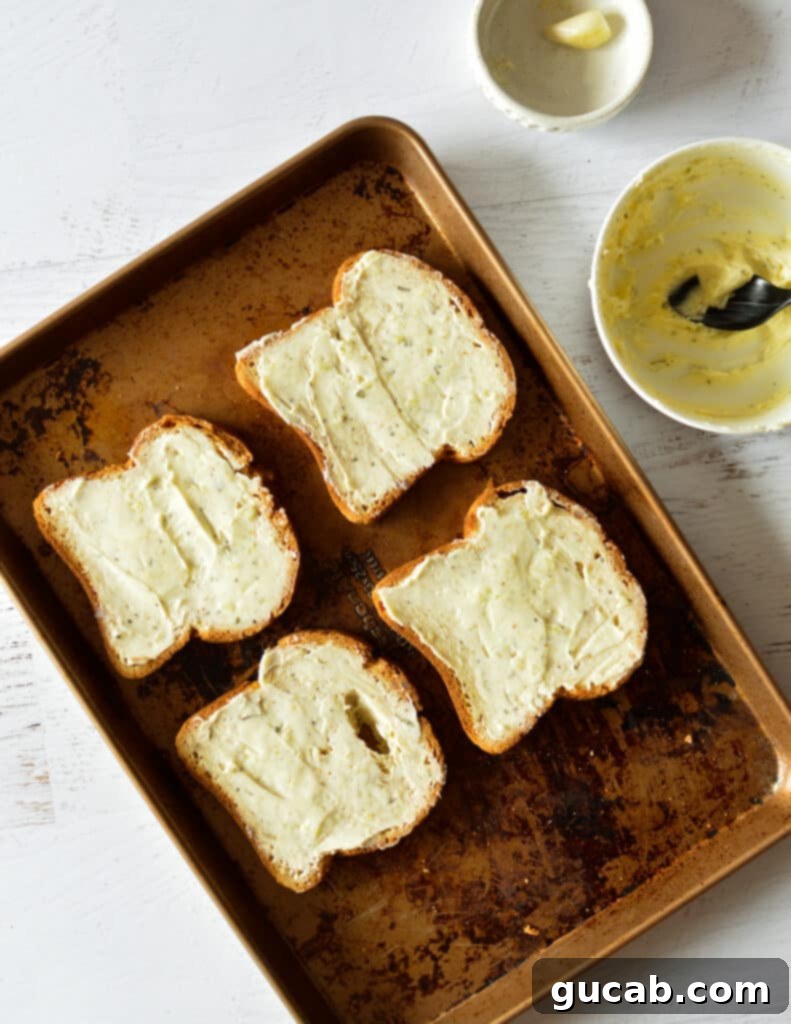
- Arrange Sliced Bread: Lay your sliced bread flat on a sheet pan in a single, even layer. Ensure there’s a little space between each slice for even cooking and browning. This recipe is easily scalable: if you’re feeding a crowd, you can double or triple the recipe. Just use 8 slices of bread and a larger regular-sized sheet pan for a double batch. Remember to double the garlic butter ingredients as well!
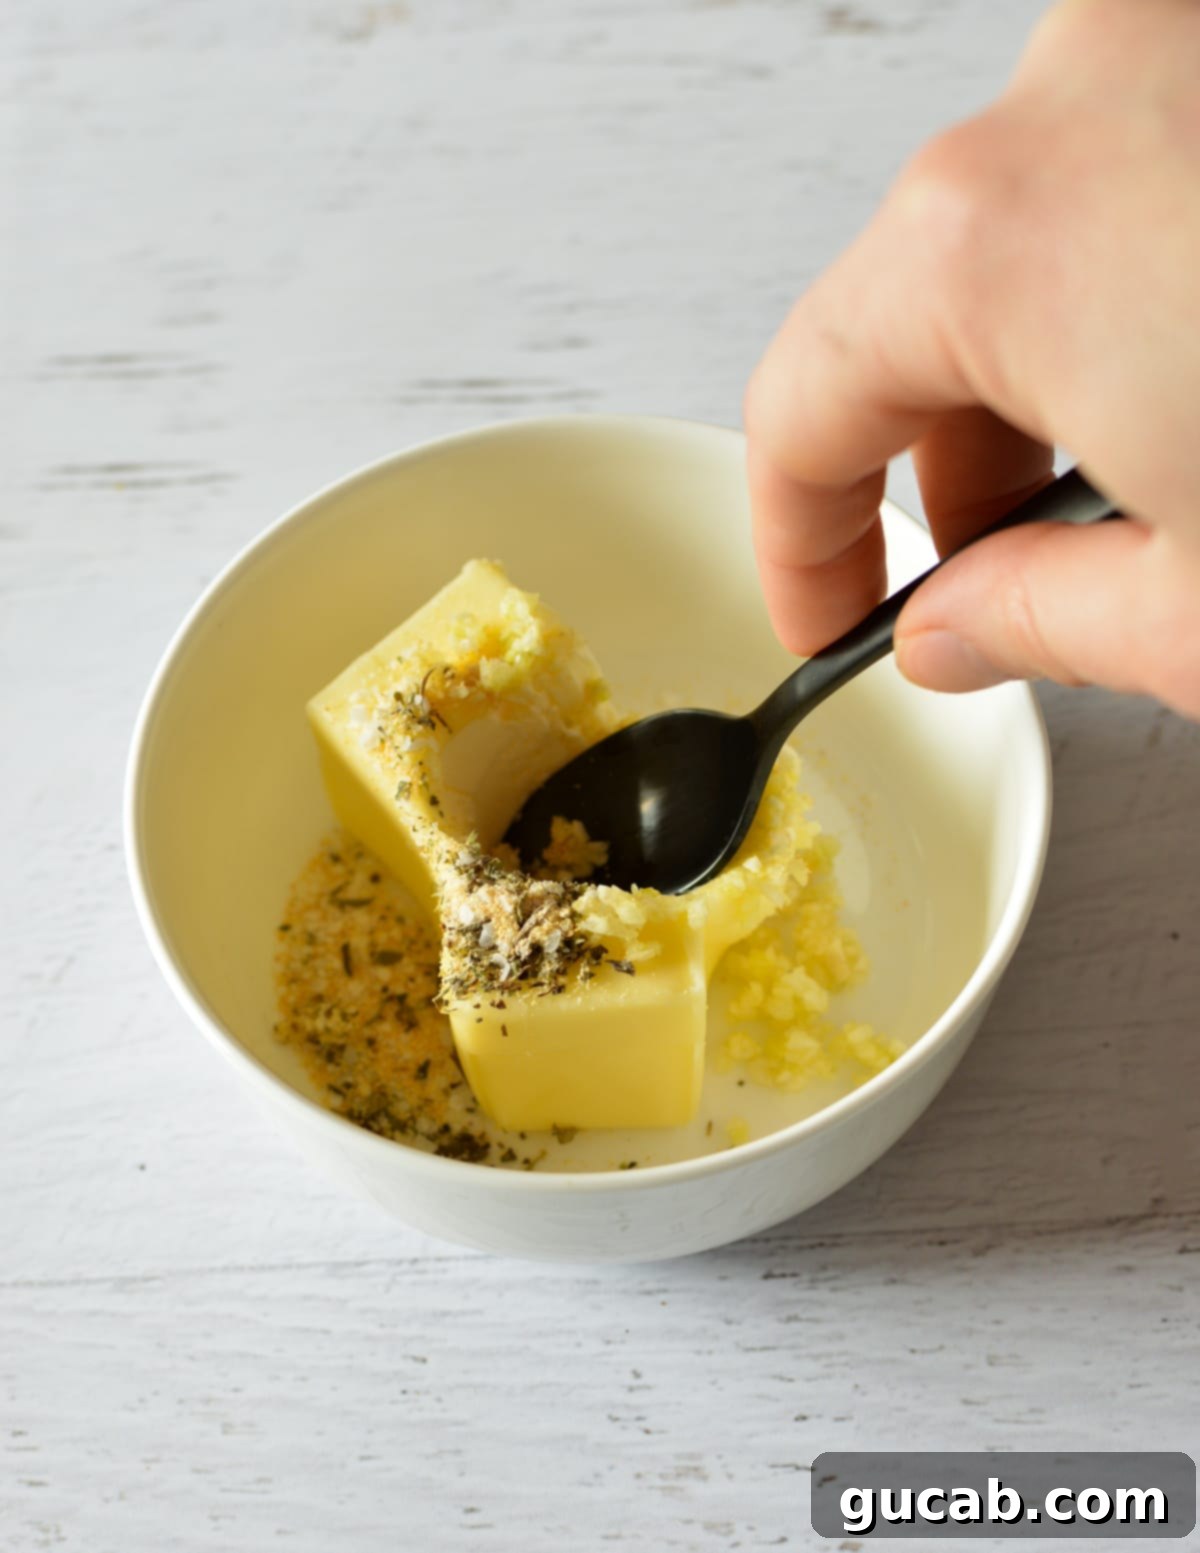
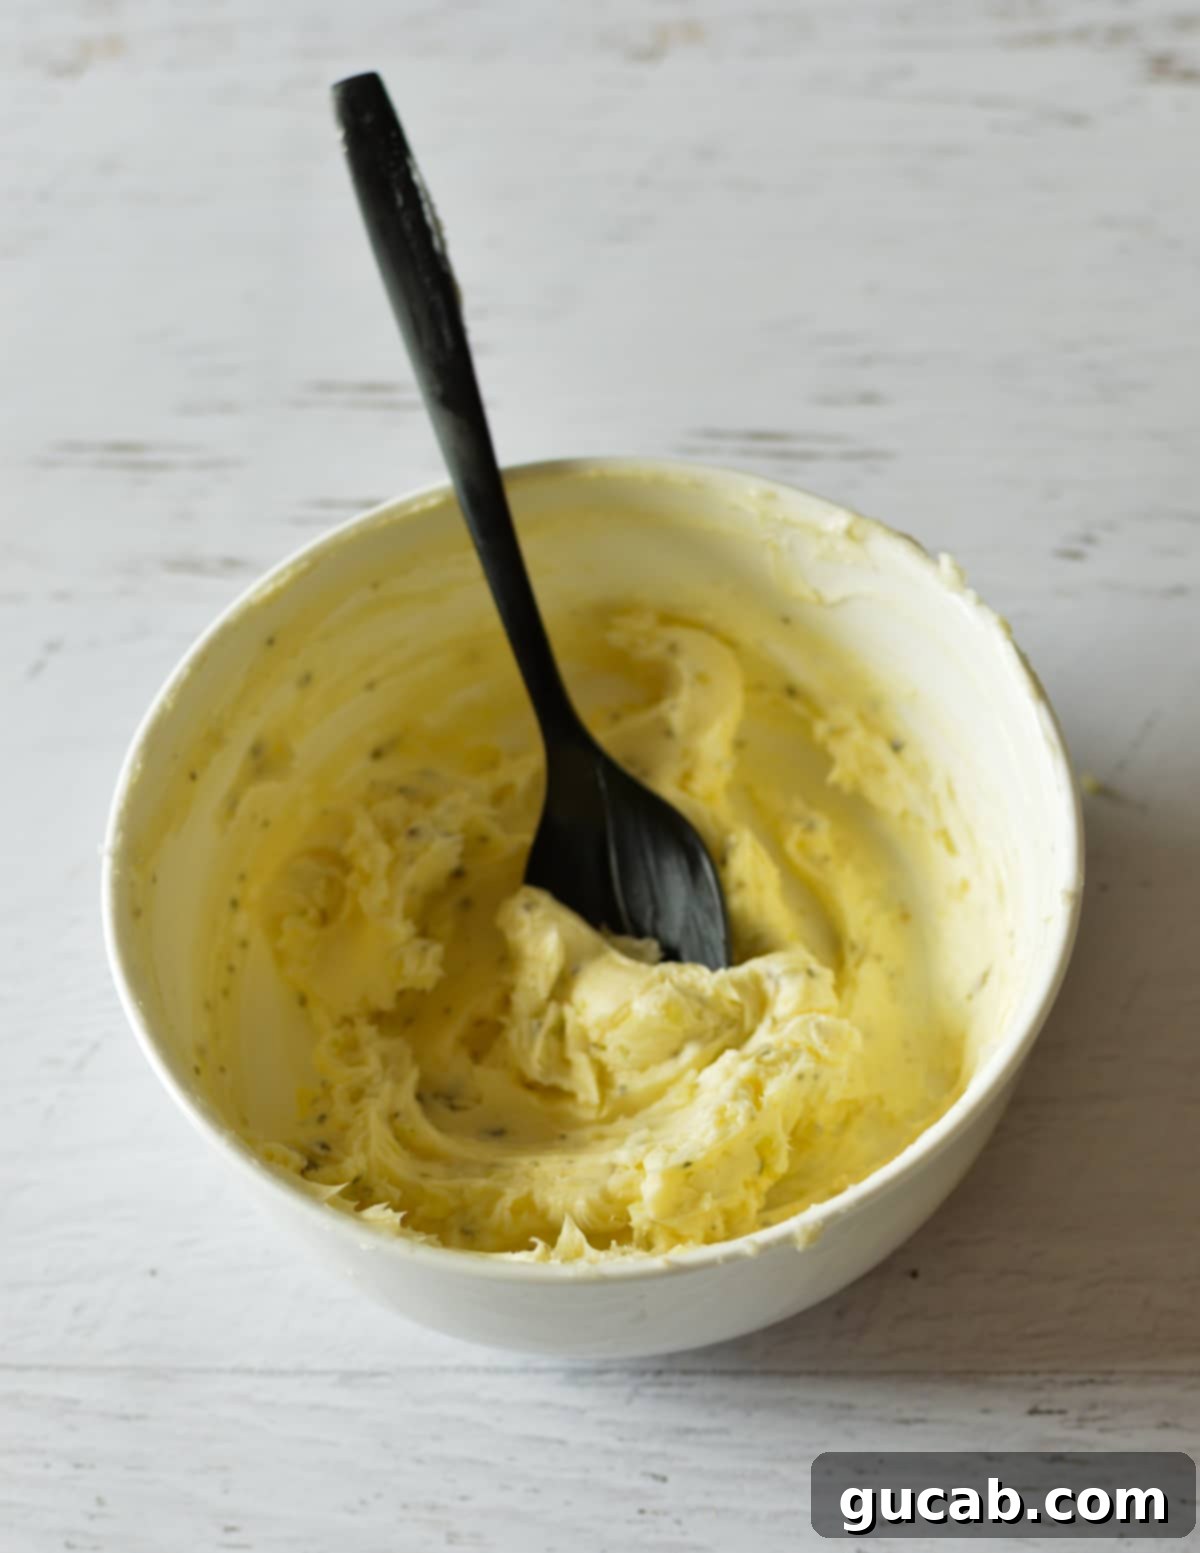
- Make Garlic Butter: In a medium-sized mixing bowl, combine the softened unsalted butter with the garlic powder, kosher salt, Italian seasoning, and fresh minced garlic. Using a spoon or a small spatula, mix everything together thoroughly until all the ingredients are well incorporated and you have a smooth, aromatic garlic butter paste. Ensure the butter is truly softened to room temperature for the best results; cold butter will be difficult to mix.
-

-

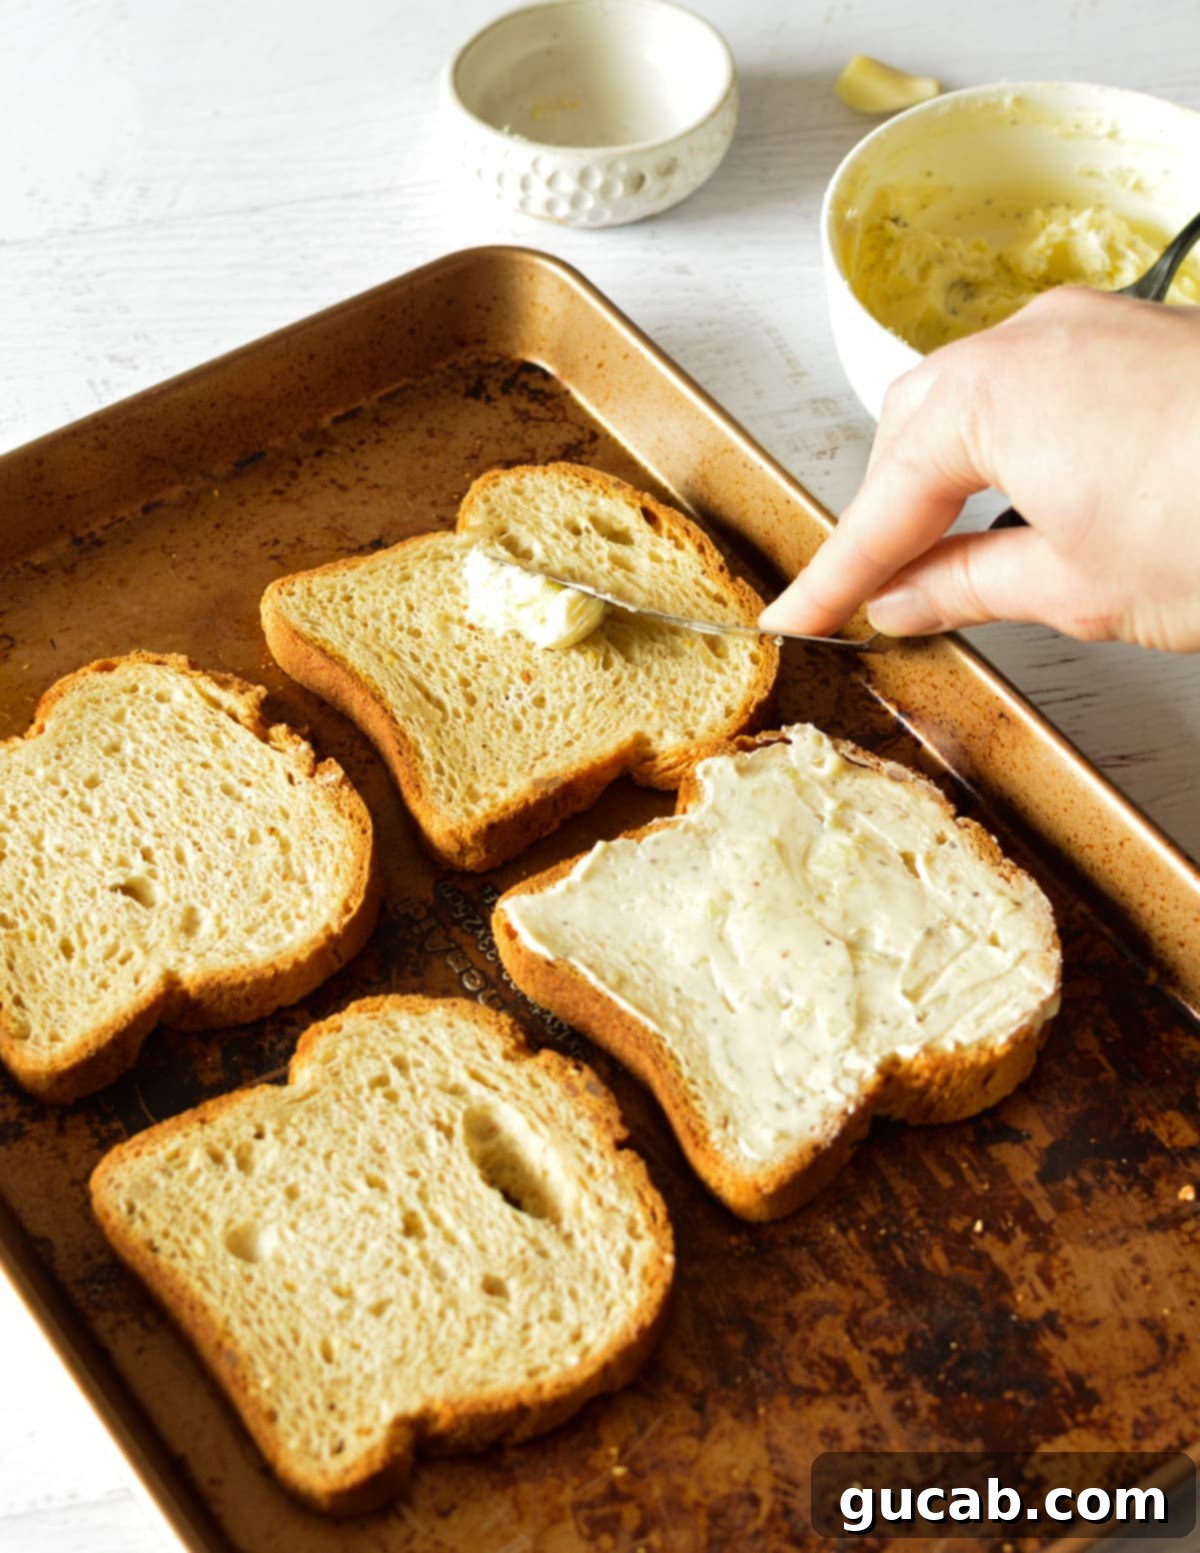
- Top Sliced Bread: Using an offset spatula, butter knife, or the back of a spoon, spread an even layer of the prepared garlic butter generously over the top surface of each slice of bread. Ensure that the entire surface is coated, right up to the edges, to maximize flavor and achieve uniform crispiness. Avoid applying too much, as this can make the bread greasy instead of perfectly crisp.
- Bake & Broil: Carefully place the sheet pan into your preheated oven on the middle rack. Bake for approximately 6 minutes. At this stage, the butter will have fully melted and infused into the bread, but the bread itself likely won’t be golden brown yet. Now, switch your oven setting to broil (usually high heat) and immediately return the pan to the oven. This is the critical step for achieving that crispy exterior! Watch the bread like a hawk – it will turn golden brown very quickly, usually within 1 minute or even less. The line between perfectly toasted and burnt can be incredibly thin with a broiler, so do not leave the oven’s side. Check it every 15-20 seconds.
-

-

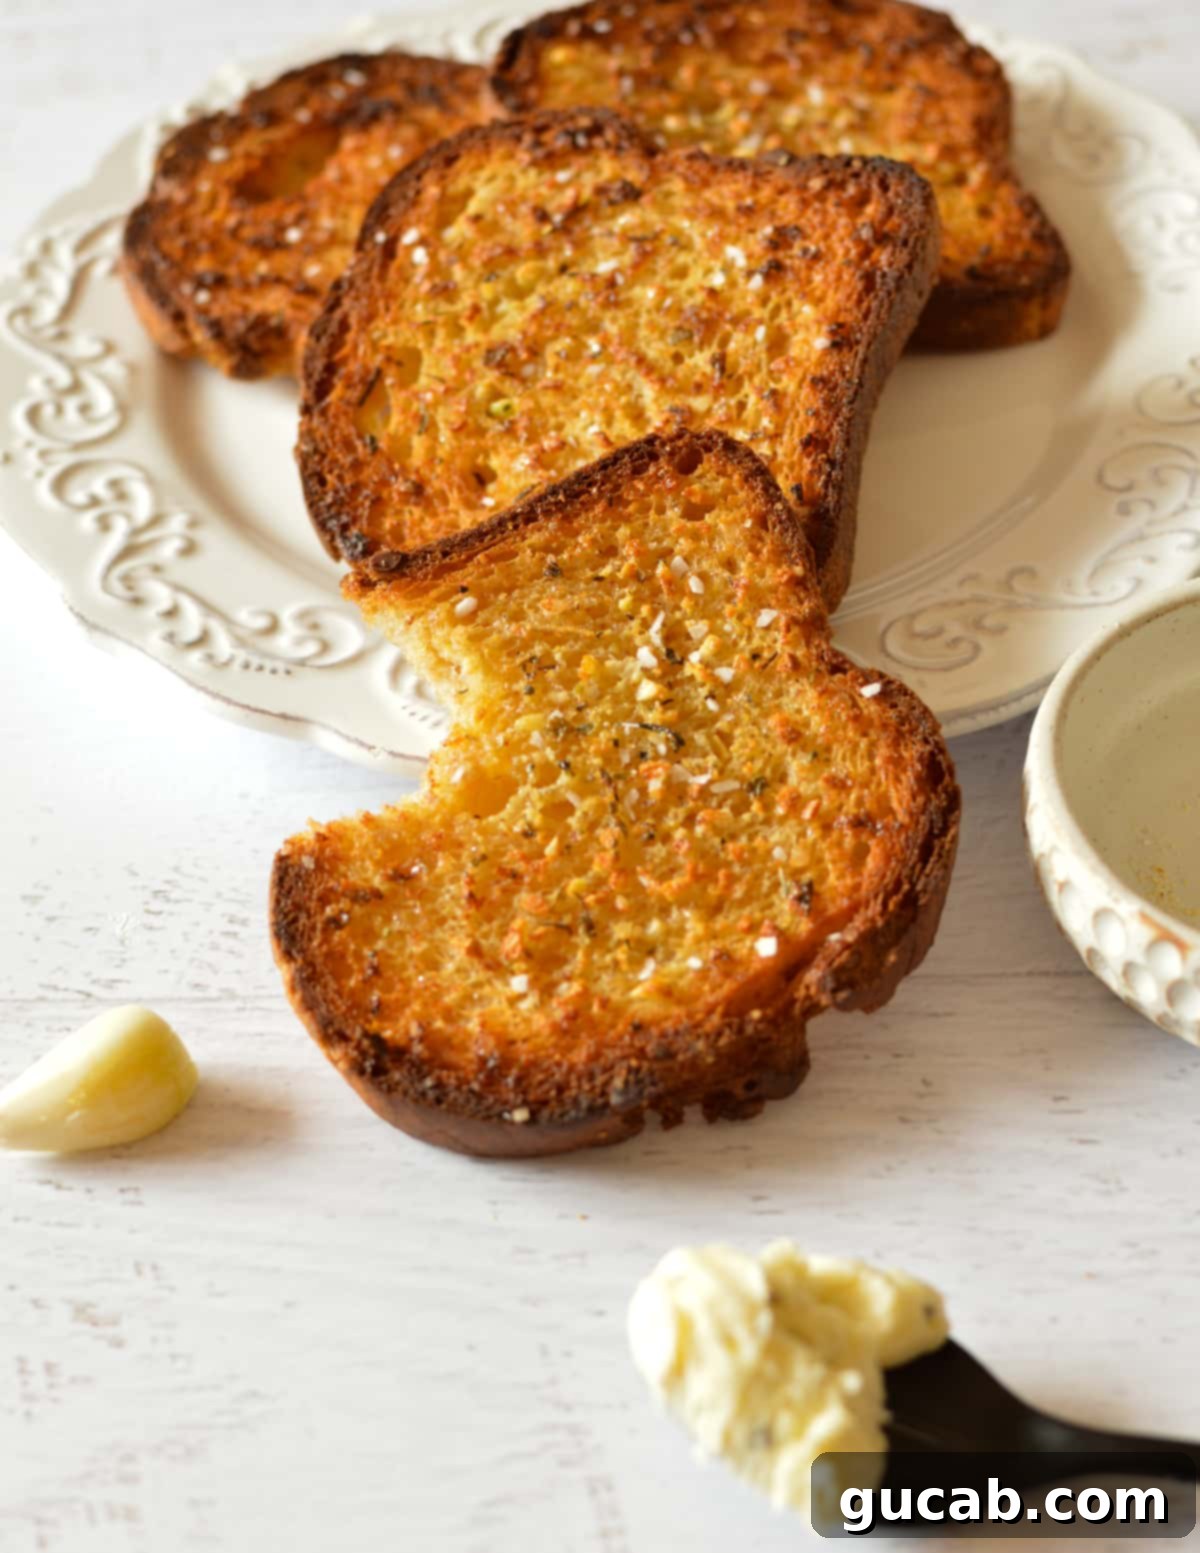
- Serve: Once the bread is beautifully golden brown, carefully remove the sheet pan from the oven. For an extra touch of flavor and to balance the richness, sprinkle each slice with a little bit of flaky kosher salt. Serve immediately while it’s still warm and crispy for the best experience. If you desire an even crispier bread, you can return it to the 400°F oven for another minute or two after the broil, watching carefully.
Expert Tips for Crafting the Best Homemade Garlic Bread
While this recipe is incredibly simple, a few insider tips can elevate your garlic bread from good to absolutely amazing:
- Broiler Vigilance is Paramount: I cannot stress this enough – NEVER walk away from the oven when using the broiler! The broiler generates intense, direct heat and works incredibly fast. What looks like a slight golden hue one second can become a charred mess the next. Stand by your oven, actively watching your bread. As soon as it reaches your desired level of golden brown and crispiness, remove it immediately. This usually takes under a minute, so be prepared to act quickly.
- Achieve the Perfect Butter Balance: There’s no need to drown your bread in garlic butter. A nice, even layer on each slice is all you need. The goal is to infuse flavor and achieve a crispy crust, not to make the bread soggy or greasy. Too much butter can prevent the bread from crisping up properly, leaving you with a soft, oily result instead of that satisfying crunch. Think of it as painting the bread rather than soaking it.
- Easily Scale the Recipe: This recipe is designed for flexibility. If you’re cooking for one or two, four slices are perfect. If you’re hosting a dinner party, feel free to double or even triple the recipe. When scaling, simply multiply all the ingredients accordingly. If doubling to 8 slices, use a standard-sized baking sheet. For 12 slices or more, you might need two separate baking sheets or cook in batches to ensure even spacing and air circulation, which is crucial for uniform crispiness.
- Soften Butter Properly: For the smoothest garlic butter mixture, ensure your unsalted butter is genuinely softened to room temperature. This means it should be pliable but not melted. If you forget to take it out in advance, you can quickly soften it by cutting it into smaller pieces or gently microwaving it for a few seconds (be careful not to melt it completely).
- Mince Garlic Finely: For the best flavor distribution and to avoid biting into large raw garlic chunks, make sure your fresh garlic is finely minced. A garlic press works wonders here, or you can finely chop it with a knife.
- Pre-Slice Your Loaf: If you’re using a whole loaf of bread (like a baguette or Italian loaf) instead of pre-sliced sandwich bread, slice it evenly before applying the butter. This makes it easier to serve and ensures consistent cooking.
Delicious Variations to Customize Your Garlic Bread
This basic recipe is a fantastic starting point, but don’s hesitate to get creative and customize your garlic bread to suit your taste. Here are some delightful variations:
- Explore Different Breads: The only real requirement is sliced bread! Beyond the standard options, try artisan loaves like ciabatta or focaccia for a more rustic feel. Brioche can offer a richer, slightly sweet contrast, while stale bread can be given a delicious new life. Just adjust cooking times slightly if using a very dense or very thin bread.
- Go Gluten-Free: For those with dietary restrictions, simply use your favorite gluten-free brand of sliced bread. I’ve had great success with Canyon Bakehouse Mountain White or 7 Grain varieties. If your gluten-free bread is frozen, be sure to let it thaw completely before spreading the garlic butter; this helps prevent it from becoming crumbly or too stiff.
- Add a Cheesy Twist: For an extra layer of savory flavor and gooey goodness, sprinkle shredded Parmesan cheese on top of the garlic butter before you put the bread in the oven. You can also experiment with other cheeses like mozzarella for a classic cheesy garlic bread, or a mix of cheddar and Monterey Jack for a milder, creamier touch. Add the cheese a minute or two before the end of baking for perfect melting.
- Intensify the Garlic: If you crave an even more potent garlic flavor, there are several ways to achieve it. You can increase the amount of fresh minced garlic to two or even three cloves, or add an extra pinch of garlic powder. For a deeper, mellower garlic flavor, try using roasted garlic (mash it into the softened butter) or a small amount of garlic confit.
- Fresh Herb Infusion: Elevate the aroma and taste with fresh herbs. Finely chopped fresh parsley, chives, or basil can be mixed into the garlic butter or sprinkled on top after baking for a burst of color and fresh flavor.
- Spicy Kick: For those who enjoy a little heat, mix a pinch of red pepper flakes into the garlic butter. This adds a subtle warmth that beautifully complements the garlic.
- Brighten with Lemon Zest: A tiny bit of freshly grated lemon zest added to the garlic butter can brighten all the flavors, offering a refreshing contrast to the richness of the butter and garlic.
Storing & Reheating Tips for Leftover Garlic Bread
While garlic bread is undeniably at its peak when served fresh out of the oven – warm, crispy, and aromatic – you might occasionally have leftovers. That’s why I often only make exactly what I need. However, if you find yourself with extra slices, here’s how to handle them:
- Storage: Allow any leftover garlic bread to cool completely to room temperature before storing. This is crucial to prevent condensation, which can make the bread soggy. Once cooled, store the slices in an airtight container or a resealable plastic bag at room temperature for up to 2 days. Avoid refrigerating garlic bread, as this can dry out the bread and negatively impact its texture.
- Reheating: To bring leftover garlic bread back to its delicious best, reheating in an oven or toaster oven is ideal.
- Oven Method: Wrap the garlic bread tightly in aluminum foil. Place it in a preheated oven at 350 degrees Fahrenheit (175 degrees Celsius) for about 8-10 minutes, or until it’s warmed through and the edges are starting to crisp up again. The foil helps to steam the bread slightly, keeping it from drying out, while the oven heat brings back the crispness.
- Toaster Oven Method: If you have a toaster oven, you can reheat unwrapped slices directly on the rack. Heat at 350-375 degrees Fahrenheit (175-190 degrees Celsius) for 3-5 minutes, watching closely until golden and crisp. This is great for just one or two slices.
- Air Fryer Method: For ultimate crispiness, an air fryer works wonderfully. Place slices in a single layer in the air fryer basket (do not overlap). Air fry at 350 degrees Fahrenheit (175 degrees Celsius) for 2-4 minutes, checking frequently until hot and crispy.
Must-Try Recipes to Serve with Your Perfect Garlic Bread
Garlic bread is the ultimate companion to so many dishes. Here are a few fantastic recipes from our collection that pair beautifully with this homemade garlic bread, making for a truly satisfying meal:
- Spinach Pasta with White Beans & Parmesan: The rich, creamy flavors of this pasta dish are perfectly balanced by the sharp, savory kick of garlic bread. Use it to soak up every last drop of sauce!
- Pink Sauce Pasta: The vibrant, creamy pink sauce is a match made in heaven for crusty garlic bread. It’s comforting, hearty, and utterly delicious.
- Cowboy Soup: For a truly comforting and robust meal, serve this hearty soup alongside your garlic bread. The bread is perfect for dipping into the flavorful broth and adding extra texture to each bite.
- Classic Spaghetti and Meatballs: You simply can’t go wrong with this timeless pairing. The garlic bread acts as a savory sponge for rich tomato sauce.
- Hearty Chili: A warm bowl of chili, especially on a cold day, is incomplete without a side of garlic bread to scoop up every last bit.
- Lasagna: Whether a meaty or vegetarian lasagna, a slice of garlicky goodness provides a wonderful textural and flavor contrast.
Super Simple Sliced Bread Garlic Bread
Carolyn
Pin Recipe
Equipment
-
Sheet pan
Ingredients
- 4 slices of bread
- ½ stick unsalted butter (2 ounces) softened
- ¼ teaspoon garlic powder
- ¼ teaspoon kosher salt
- ¼ teaspoon Italian seasoning
- 1 garlic clove, minced
Instructions
-
Preheat oven to 400 degrees Fahrenheit (200°C).
-
Place the four slices of bread in an even layer on the sheet pan, ensuring slight spacing between them.
-
In a medium bowl, combine the softened butter, garlic powder, kosher salt, Italian seasoning, and minced fresh garlic. Stir well with a spoon until thoroughly mixed into a smooth paste.
-
Use an offset spatula or butter knife to spread an even, generous layer of the garlic butter on the top side of each slice of bread, covering the entire surface.
-
Place the sheet pan in the preheated oven on the middle rack and bake for 6 minutes. Then, change the oven setting to broil (high heat) and broil for 1 to 2 minutes, or until the tops are golden brown and crispy. Do not walk away from the oven during this time. Watch the bread carefully, checking every 15-20 seconds to prevent burning!
-
Remove the sheet pan from the oven. Sprinkle each slice with a little bit of flaky kosher salt for added flavor.
-
If you want the bread even crispier, place it back in the 400°F (200°C) oven for another minute or so (no longer broiling), watching carefully.
-
Serve immediately with your favorite pasta, chili, soup, or lasagna!
Nutrition
