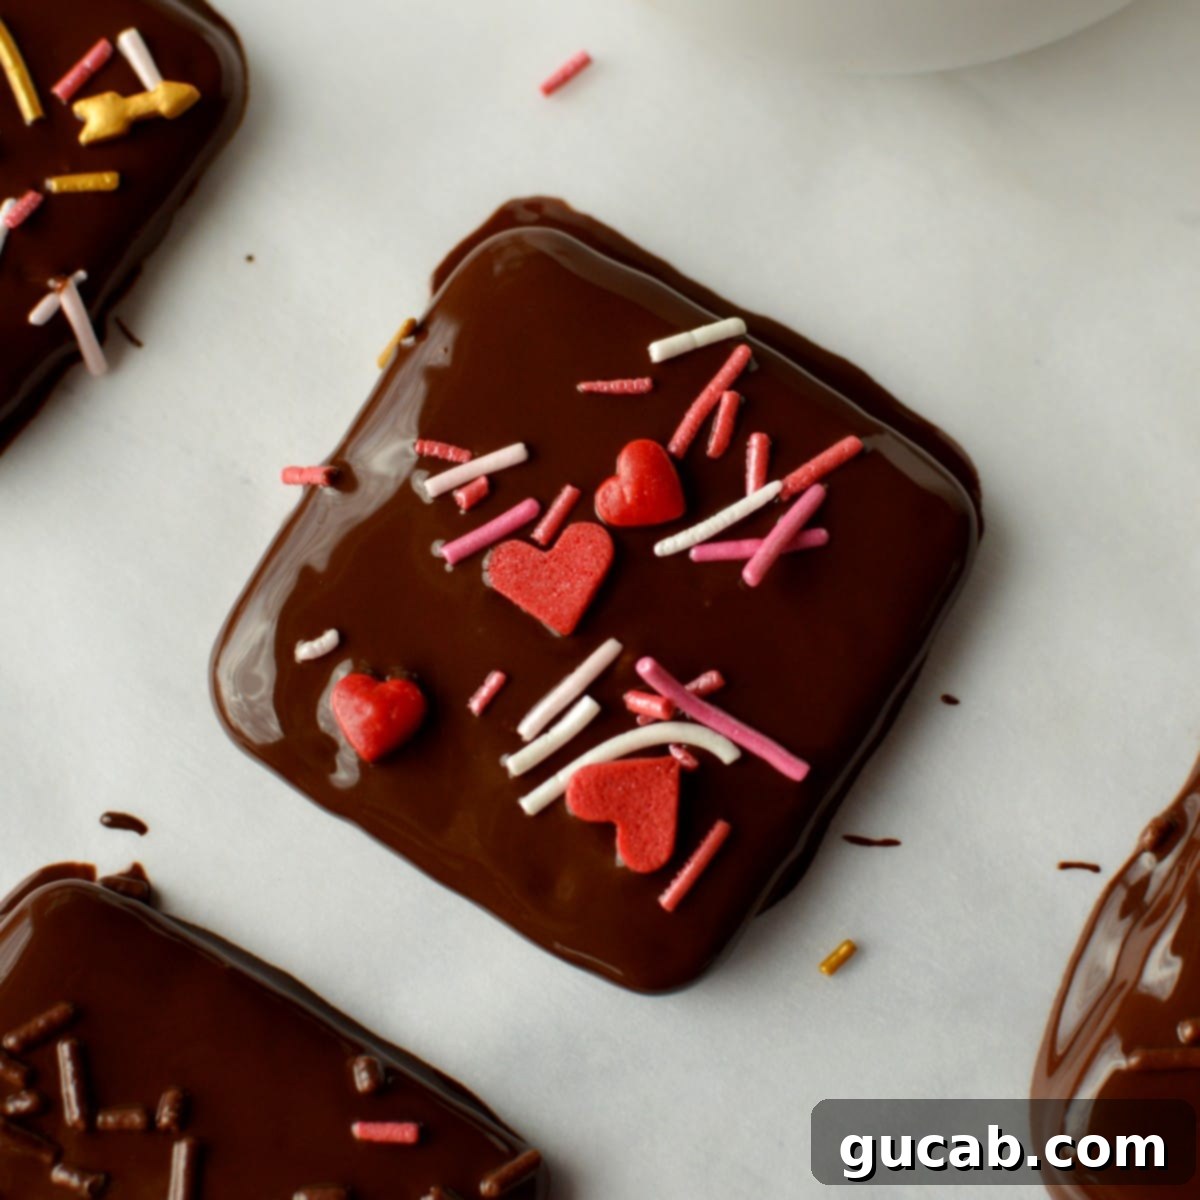
Easy Chocolate Covered Graham Crackers: Your Ultimate No-Bake Recipe Guide
Prepare to be enchanted by the simple magic of chocolate covered graham crackers – a delightful combination of sweet, crisp, and rich chocolate that serves as the perfect canvas for vibrant, festive sprinkles! While their elegant appearance might suggest hours of labor in the kitchen, this beloved no-bake treat is surprisingly easy and incredibly quick to whip up. Whether you’re a seasoned baker or a kitchen novice, you’ll find joy in creating these irresistible chocolate dipped graham crackers that are perfect for any occasion.
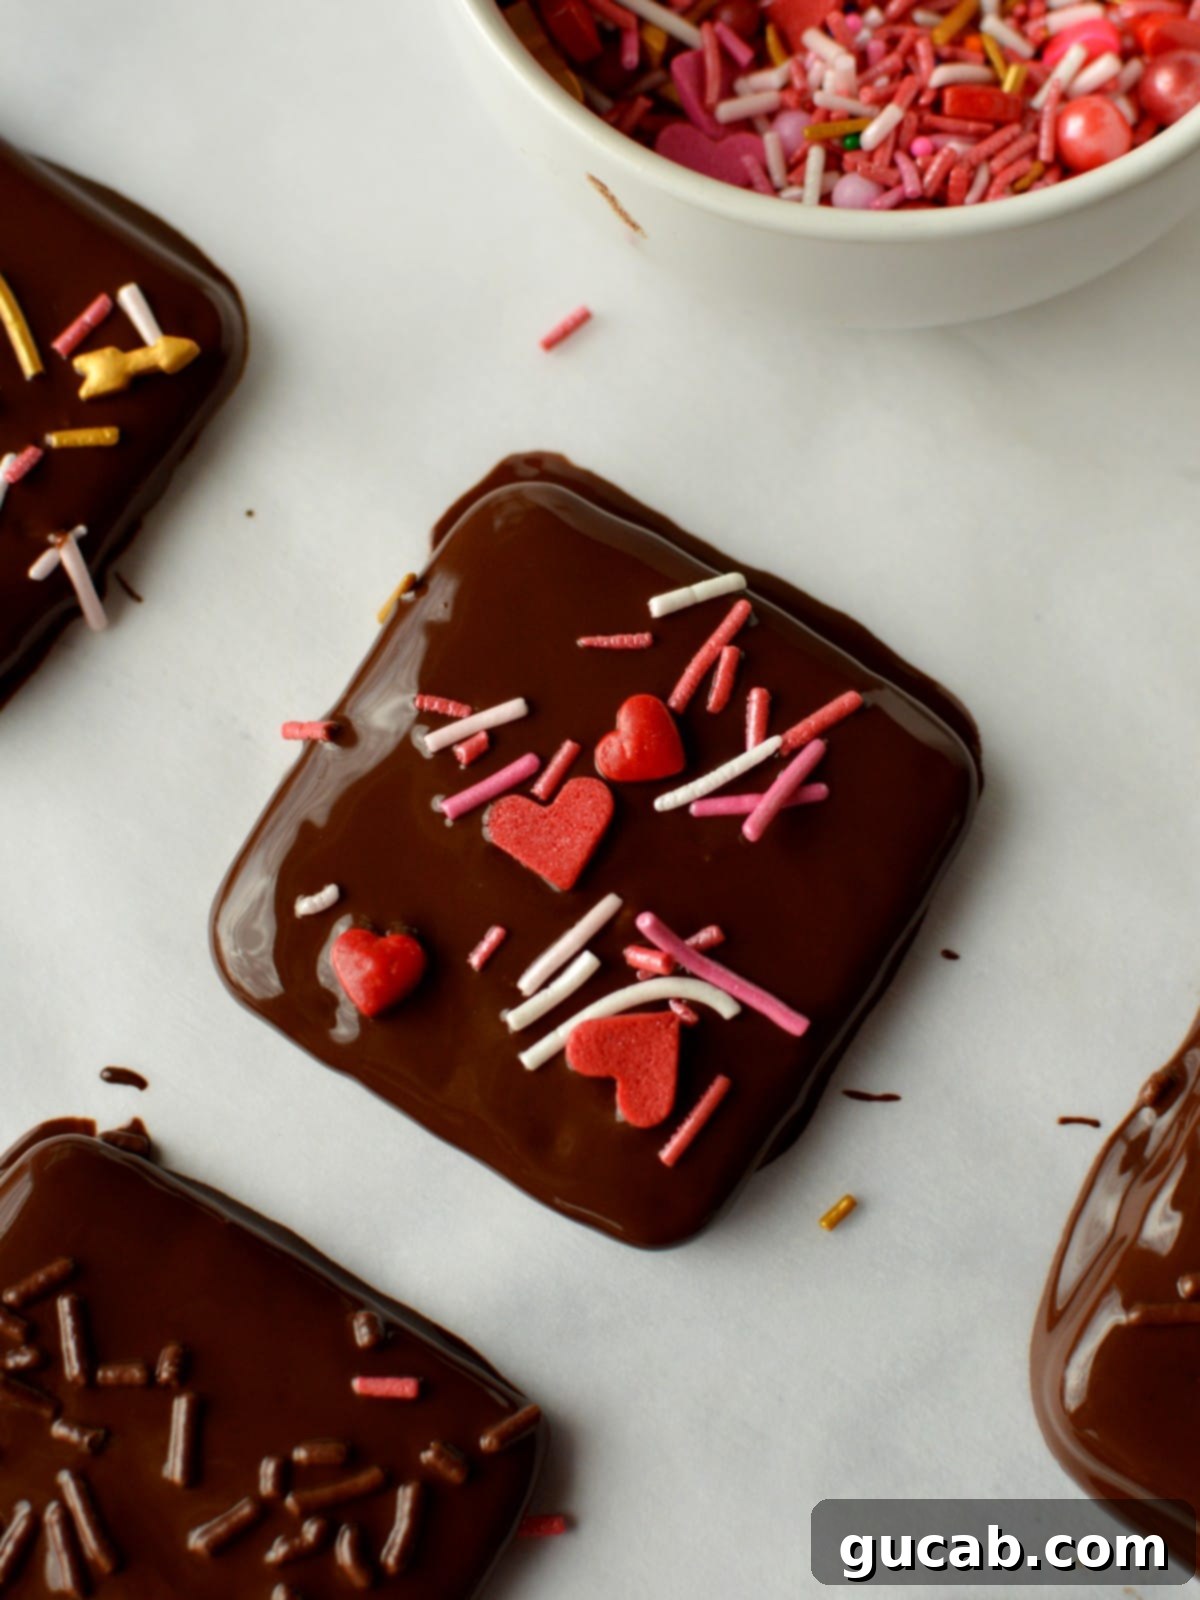
It’s rare to find someone who doesn’t appreciate the simple, wholesome goodness of a graham cracker. With its signature sweet taste and wonderfully crisp texture, it’s a versatile foundation for countless desserts, from classic pie crusts and s’mores to creative pairings with peanut butter and, of course, a generous coating of rich chocolate. These chocolate covered graham cracker cookies effortlessly elevate the humble cracker into a gourmet-looking confection that’s both impressive and incredibly satisfying.
Despite their sophisticated appearance, making chocolate dipped graham crackers is surprisingly straightforward and genuinely enjoyable. They’re a fantastic project for kids and adults alike, requiring minimal effort but delivering maximum delight. Whether you’re crafting them for a holiday party, a casual get-together, or simply to satisfy a sweet craving, these chocolate treats are guaranteed to be a hit!
Essential Ingredients for Perfect Chocolate Dipped Graham Crackers
The beauty of this recipe lies in its simplicity. You only need two core ingredients to create these irresistible chocolate covered graham cracker cookies, plus any festive toppings you desire!
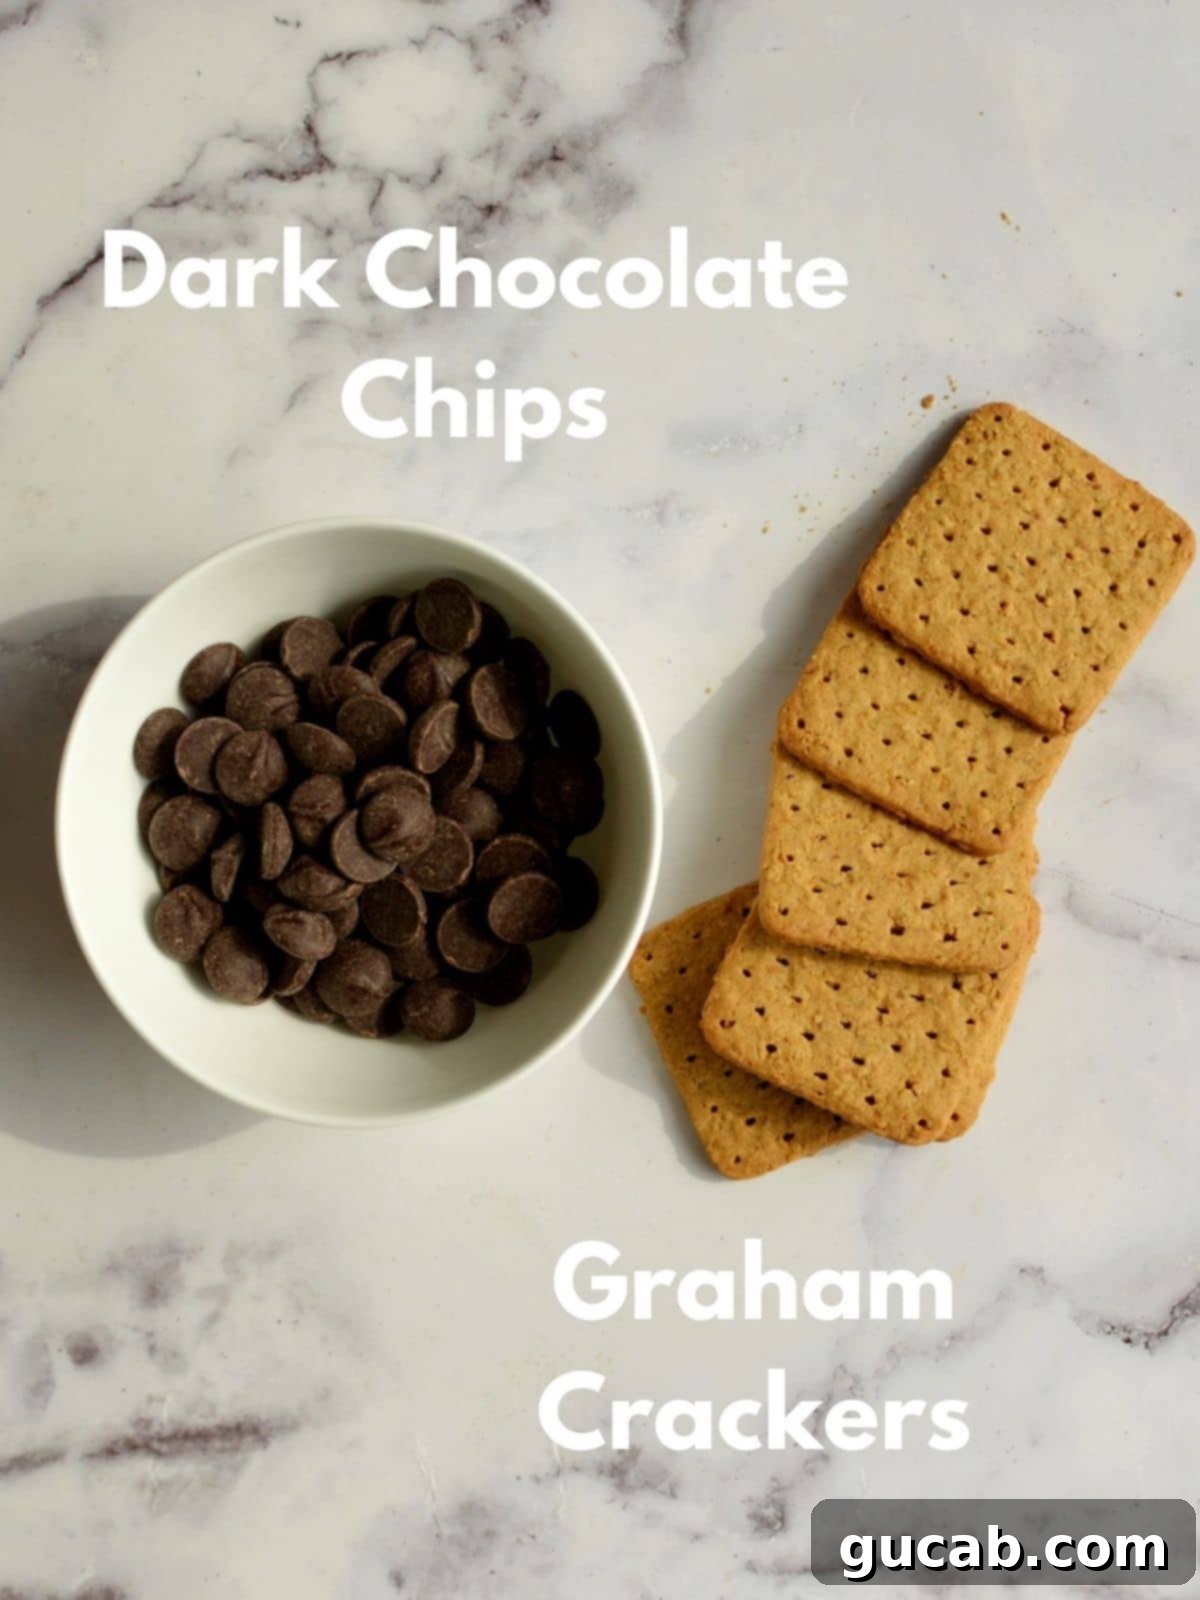
Chocolate: The Star of the Show
For truly exceptional chocolate covered graham crackers, the quality of your chocolate makes all the difference. I highly recommend using a premium brand for easy melting and a superior finish. For this recipe, I opted for Ghirardelli dark chocolate chips, known for their consistent melt and rich flavor. While more affordable store brands or even standard baking chips like Nestle Toll House are fine for some recipes, they often don’t melt into the silky-smooth consistency needed for perfect dipping without additional effort or risk of seizing. High-quality chocolate chips, especially those with a higher cocoa butter content, will melt into a beautifully fluid and dippable consistency with minimal fuss, ensuring your graham crackers are coated flawlessly.
You can experiment with different types of chocolate too! Milk chocolate offers a sweeter profile, while white chocolate adds a creamy, decadent touch. Just remember the rule of thumb: better quality chocolate equals better results.
Graham Crackers: The Crispy Foundation
The humble graham cracker is the ideal base for these treats. Whether you choose classic honey graham crackers, cinnamon sugar varieties, or even gluten-free options, they all work wonderfully. I personally used gluten-free graham crackers for this batch, proving that dietary restrictions don’t have to mean sacrificing deliciousness! You can use store-bought crackers for ultimate convenience, or if you’re feeling ambitious, homemade graham crackers would add an extra layer of artisanal charm to your chocolate dipped graham crackers.
Mastering the Melt: How to Temper Chocolate (or Not!)
One question often arises when working with chocolate for dipping: do I need to temper it? The short answer is no, you don’t have to, but I absolutely recommend it for the best possible results when making chocolate covered graham crackers. Understanding the difference can elevate your homemade treats from good to truly professional-looking.
Why Temper Chocolate?
Tempered chocolate undergoes a specific heating and cooling process that stabilizes the cocoa butter crystals. When properly tempered, your chocolate will harden with a beautiful, glossy shine, a satisfying snap when broken, and a resistance to melting easily at room temperature. Untempered melted chocolate, on the other hand, often dries with a dull sheen, can have unsightly white streaks (known as ‘bloom’), feels soft to the touch even when set, and melts very easily, potentially creating a mess when handled.
Is Tempering Difficult?
Many home cooks shy away from tempering, believing it’s a complicated, advanced technique. While it does require a bit of practice and precision, it’s not as daunting as it seems, especially with the microwave method. You’ll need a reliable candy thermometer and a microwave-safe bowl. I prefer tempering chocolate in the microwave over a traditional double boiler because it’s generally easier, creates less mess, and significantly reduces the risk of your chocolate seizing from contact with steam or water.
The Easy Alternative: Candy Melts or Almond Bark
If the idea of tempering chocolate still feels a bit too fussy for your current comfort level, don’t despair! You can absolutely still make stunning chocolate covered graham crackers. Instead of traditional chocolate, opt for candy wafers or almond bark. These confectionery coatings are designed to melt smoothly and set firm without the need for tempering. My top recommendation in this category is Ghirardelli melting wafers, which come in dark, white, and milk chocolate flavors and deliver a fantastic finish without the extra steps.
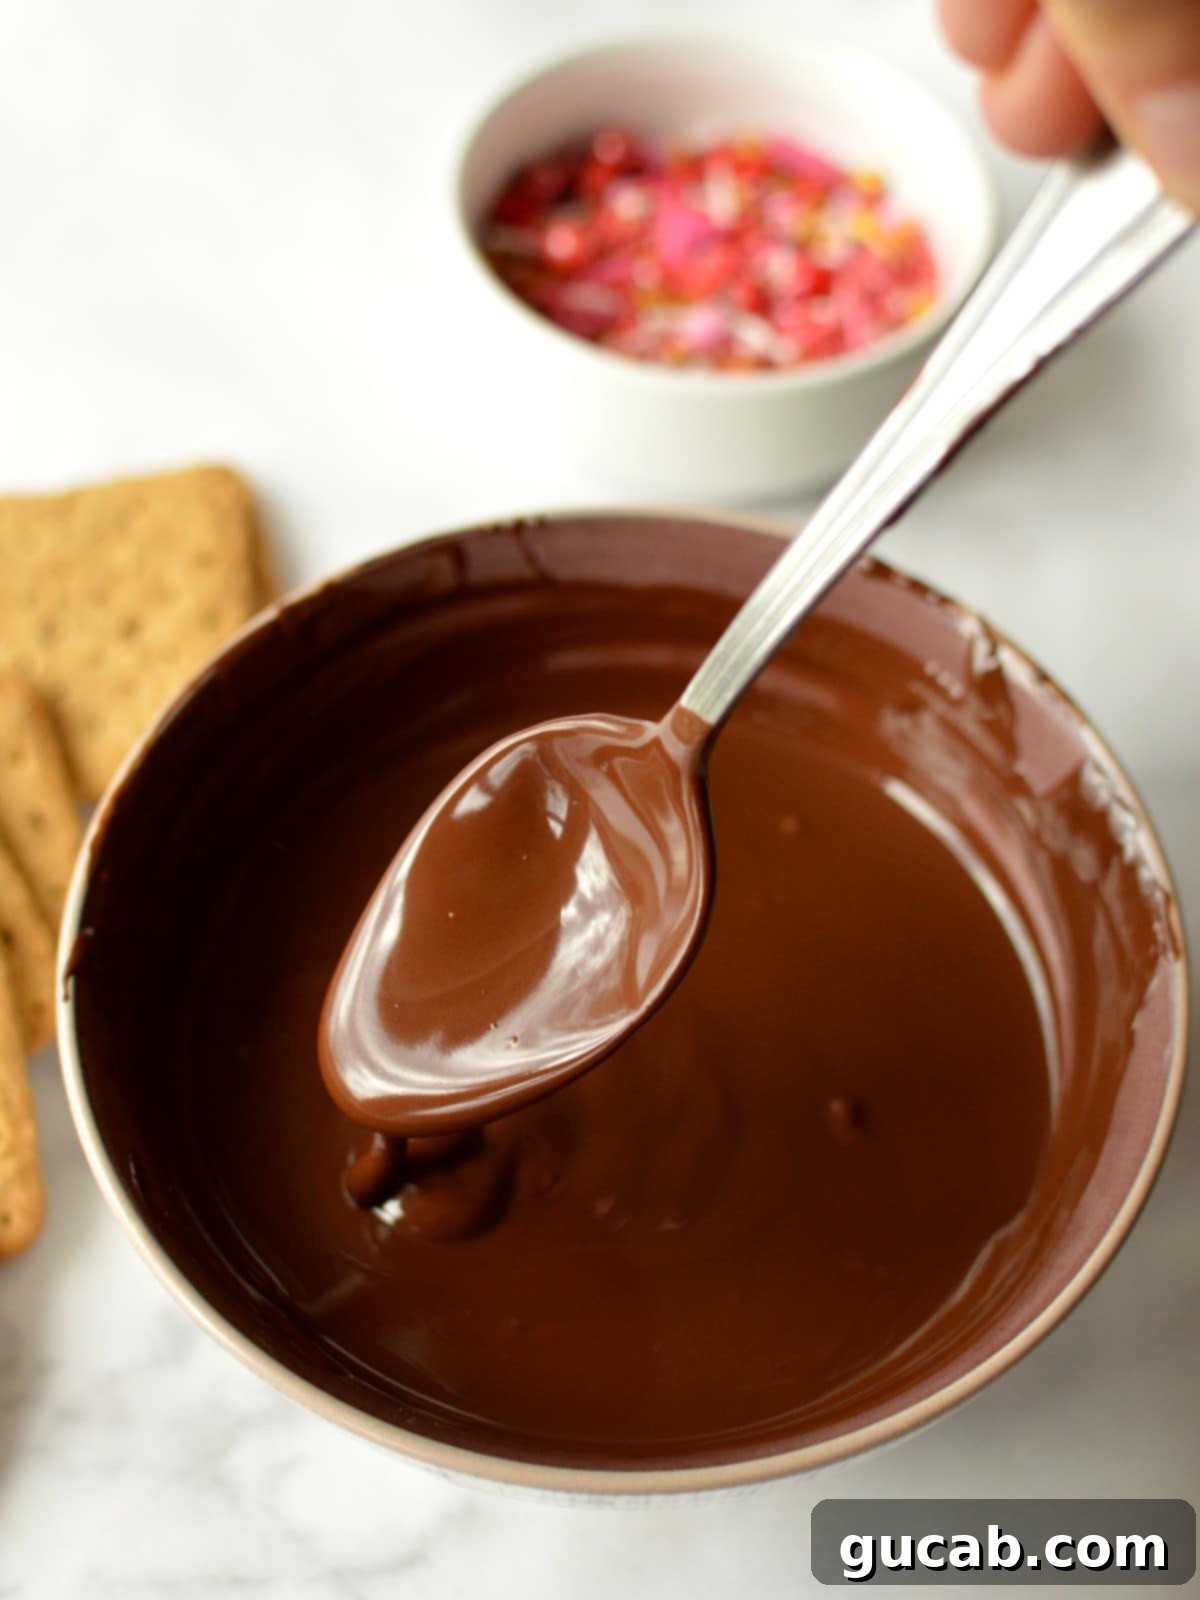
Here’s how to temper dark chocolate in the microwave for your chocolate covered graham crackers:
- Prepare your chocolate: Place your high-quality dark chocolate chips or finely chopped dark chocolate into a clean, dry, microwave-safe bowl.
- Initial Melting: Heat the bowl in the microwave in short bursts, typically 20-second increments. After each increment, remove the bowl and stir gently with a clean, dry spatula. The goal is to melt the chocolate gradually, not to scorch it.
- Gentle Stirring: Continue microwaving and stirring. Once some of the chocolate appears melted, you’ll find that residual heat will help melt the remaining solid pieces. Keep stirring gently until the mixture is mostly smooth, with just a few small unmelted chunks remaining.
- Check the Temperature: Insert a candy thermometer into the chocolate, ensuring it doesn’t touch the bottom of the bowl. For dark chocolate, you’re aiming for a temperature around 90-92 degrees Fahrenheit (32-33 degrees Celsius). If it’s still below this range, microwave in very short 10-second increments, stirring well after each, until it reaches the target temperature.
- Critical Temperature Control: It’s crucial not to let the chocolate exceed 92 degrees Fahrenheit (33 degrees Celsius) for dark chocolate, as this will cause it to lose its temper. If it goes too high, you’ll need to start the tempering process over. Once it reaches the ideal temperature and is perfectly smooth, it’s ready for dipping! That’s it – no complicated water baths or “seeding” with solid chocolate required for this simple microwave method!
How to Make Chocolate Dipped Graham Crackers: A Simple Guide
Now that your chocolate is perfectly prepared, it’s time for the fun part: transforming those plain graham crackers into irresistible chocolate covered graham cracker cookies!
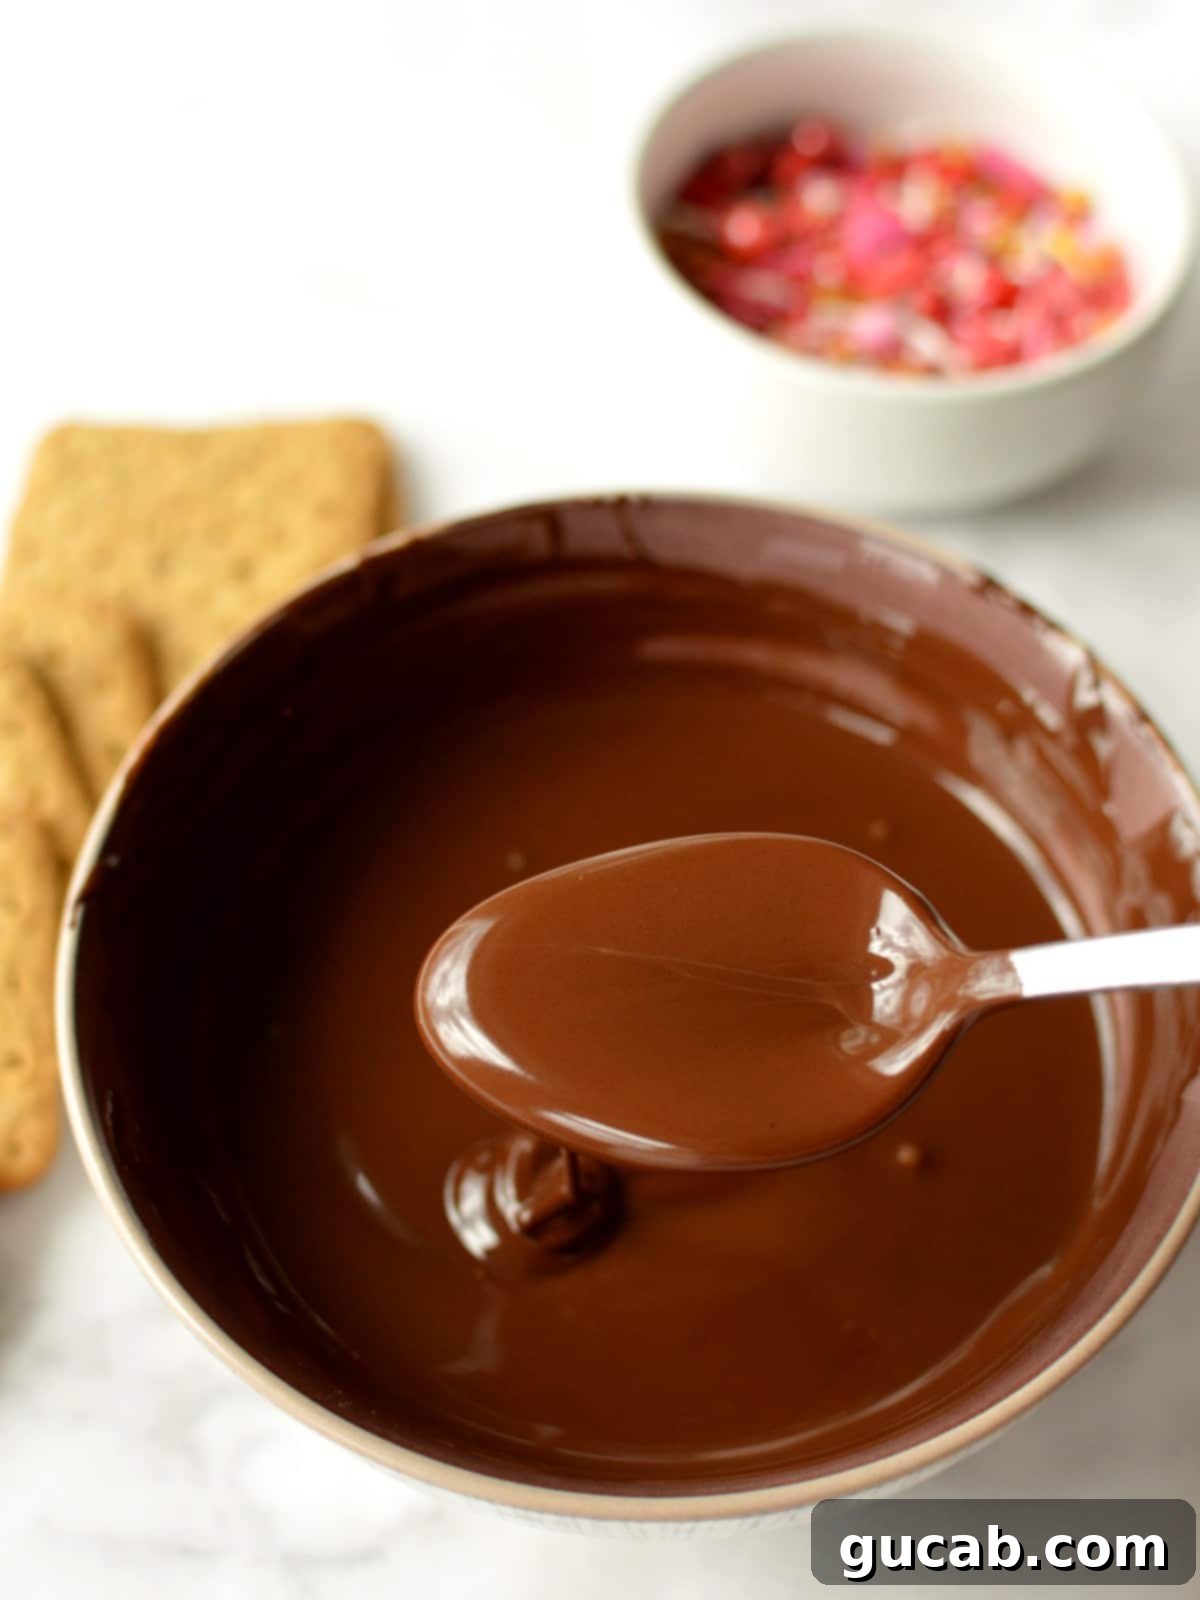
1. Melt the Chocolate: Begin by preparing your chocolate. If you’re opting to temper your chocolate for that beautiful shine and snap, follow the detailed microwave tempering directions provided above. It’s truly easier than you think! If you’re using candy melts or simply prefer not to temper, just melt your chosen chocolate (chips or chopped bar) in a microwave-safe bowl in short intervals, stirring until completely smooth. Make sure it’s fluid enough for easy dipping.
2. Set Up Your Work Station: Preparation is key for a smooth dipping process. Lay a large piece of parchment paper directly on your counter or, even better, on a baking sheet. The parchment paper is crucial as it prevents the chocolate from sticking and makes cleanup a breeze once your chocolate covered graham crackers have set.
3. Dip the Graham Crackers: Take one graham cracker at a time and carefully place it into your bowl of melted chocolate. Gently press down on the cracker with your fingers or a small fork, ensuring it’s fully submerged and coated evenly in the luscious chocolate. Don’t rush this step; a complete coating ensures every bite is pure bliss.
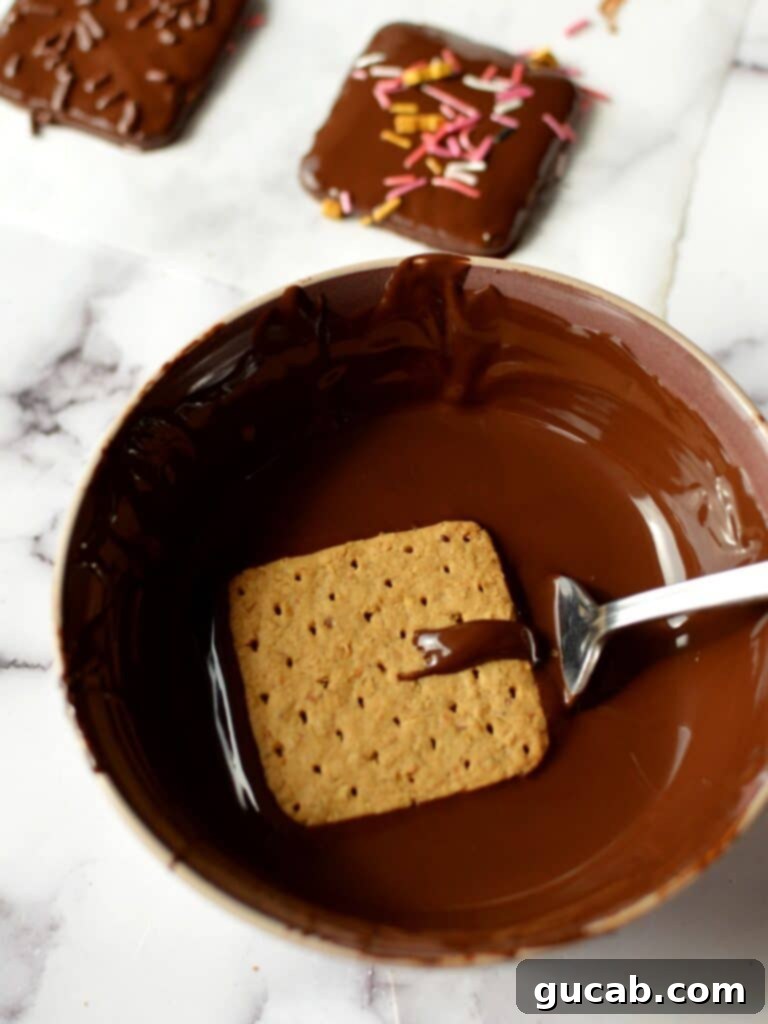
4. Lift the Chocolate Dipped Graham Cracker: Using a fork, gently lift the chocolate-covered graham cracker out of the bowl. Hold it over the bowl for a few seconds, allowing any excess chocolate to drip back into the bowl. This helps prevent thick pools of chocolate at the base and ensures a cleaner finish for your homemade chocolate treats.
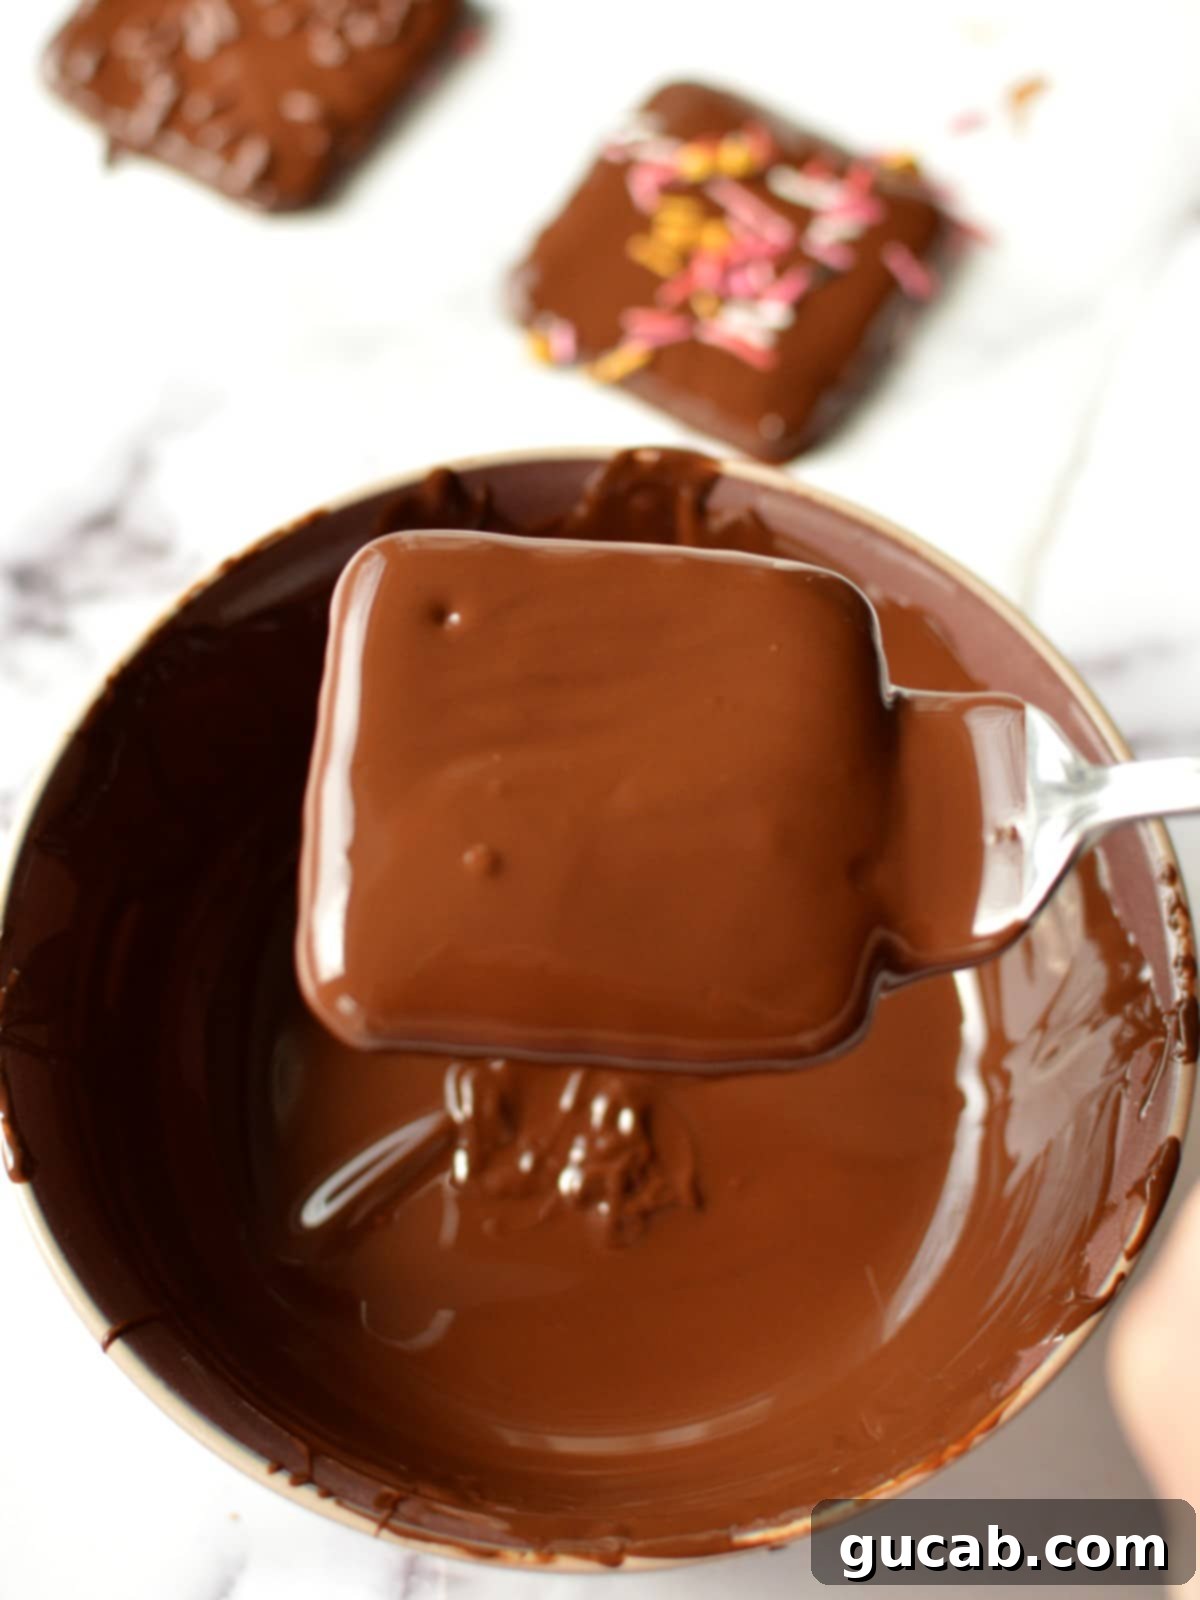
5. Transfer to Parchment Paper: Once the excess chocolate has dripped off, carefully transfer the graham cracker to the prepared parchment paper. You can use your fork for this, or I often find it easier to gently grab the cracker on both sides with my fingers. This allows for a more controlled placement onto the parchment without smudging the fresh chocolate. Lay them out with a bit of space between each.
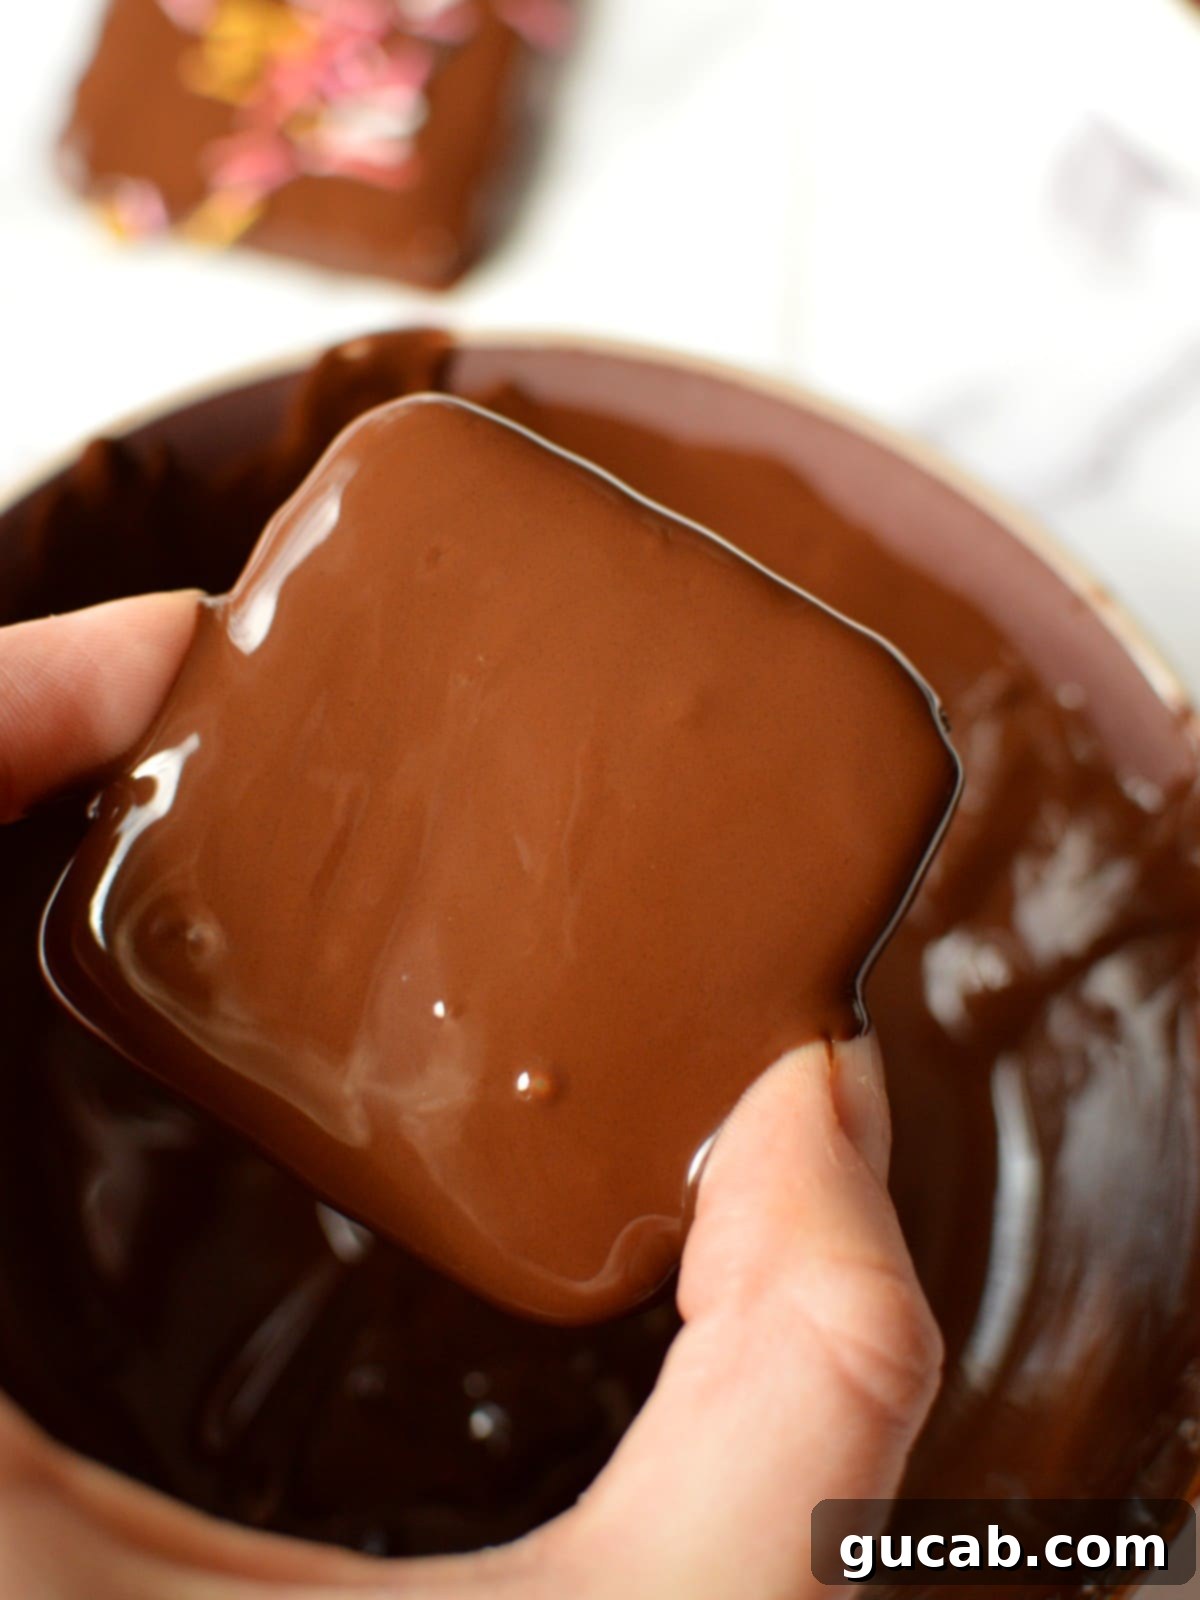
6. Move Graham Crackers Again (Optional, for Clean Edges): For a truly polished look, if you notice the chocolate pooling around the base of the cracker after setting it down, you can carefully use your fork to lift and move the graham cracker to a clean spot on the parchment paper. This simple trick helps to create nice, clean edges and prevents a thick, uneven chocolate ‘foot’ around your cracker.
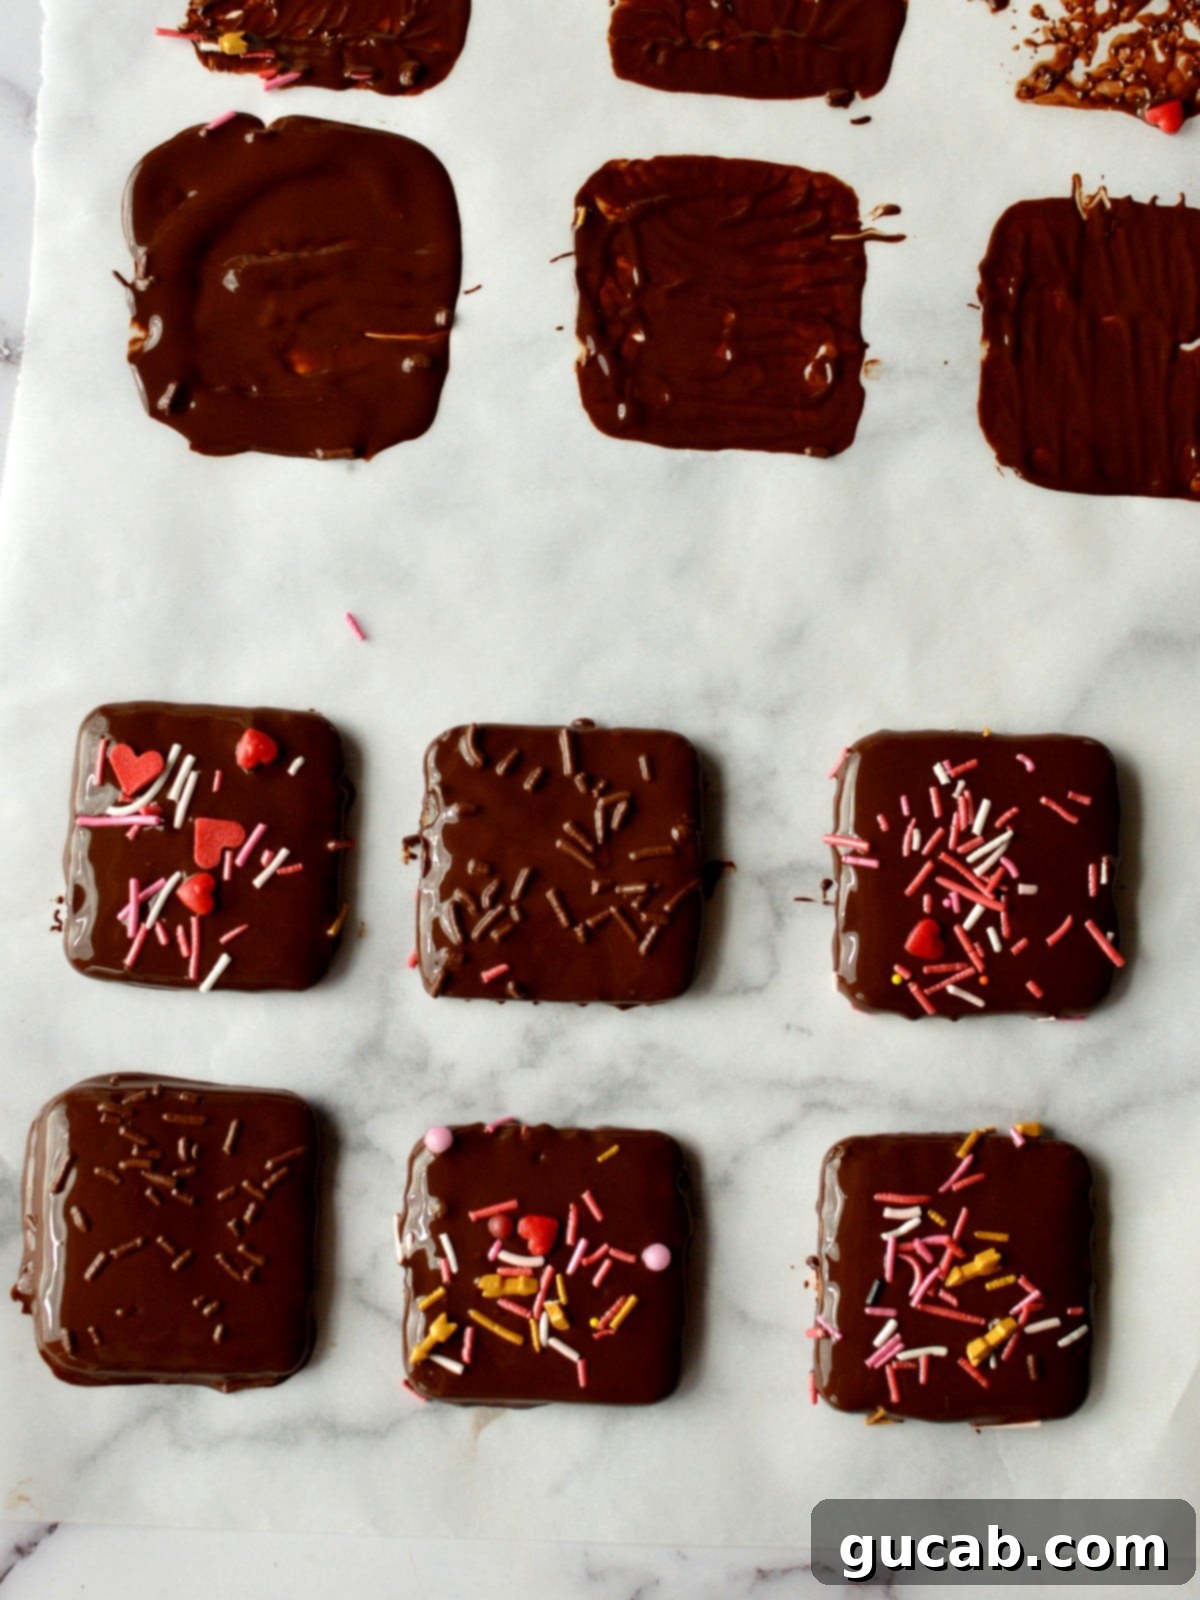
7. Top with Sprinkles (and More!): This is where you can unleash your creativity! Immediately after placing each chocolate-dipped graham cracker on the parchment paper (while the chocolate is still wet), generously sprinkle it with your chosen toppings. Whether it’s classic rainbow sprinkles, finely chopped nuts, crushed peppermints for a holiday twist, or a dash of sea salt for a sophisticated touch, adding toppings at this stage ensures they adhere perfectly. Allow your beautiful creations to set completely in a cool place before handling.
Creative Variations and Customization Ideas for Your Chocolate Covered Graham Crackers
While the classic chocolate covered graham cracker with sprinkles is a timeless delight, this recipe offers endless possibilities for customization. Get creative and make these treats truly your own!
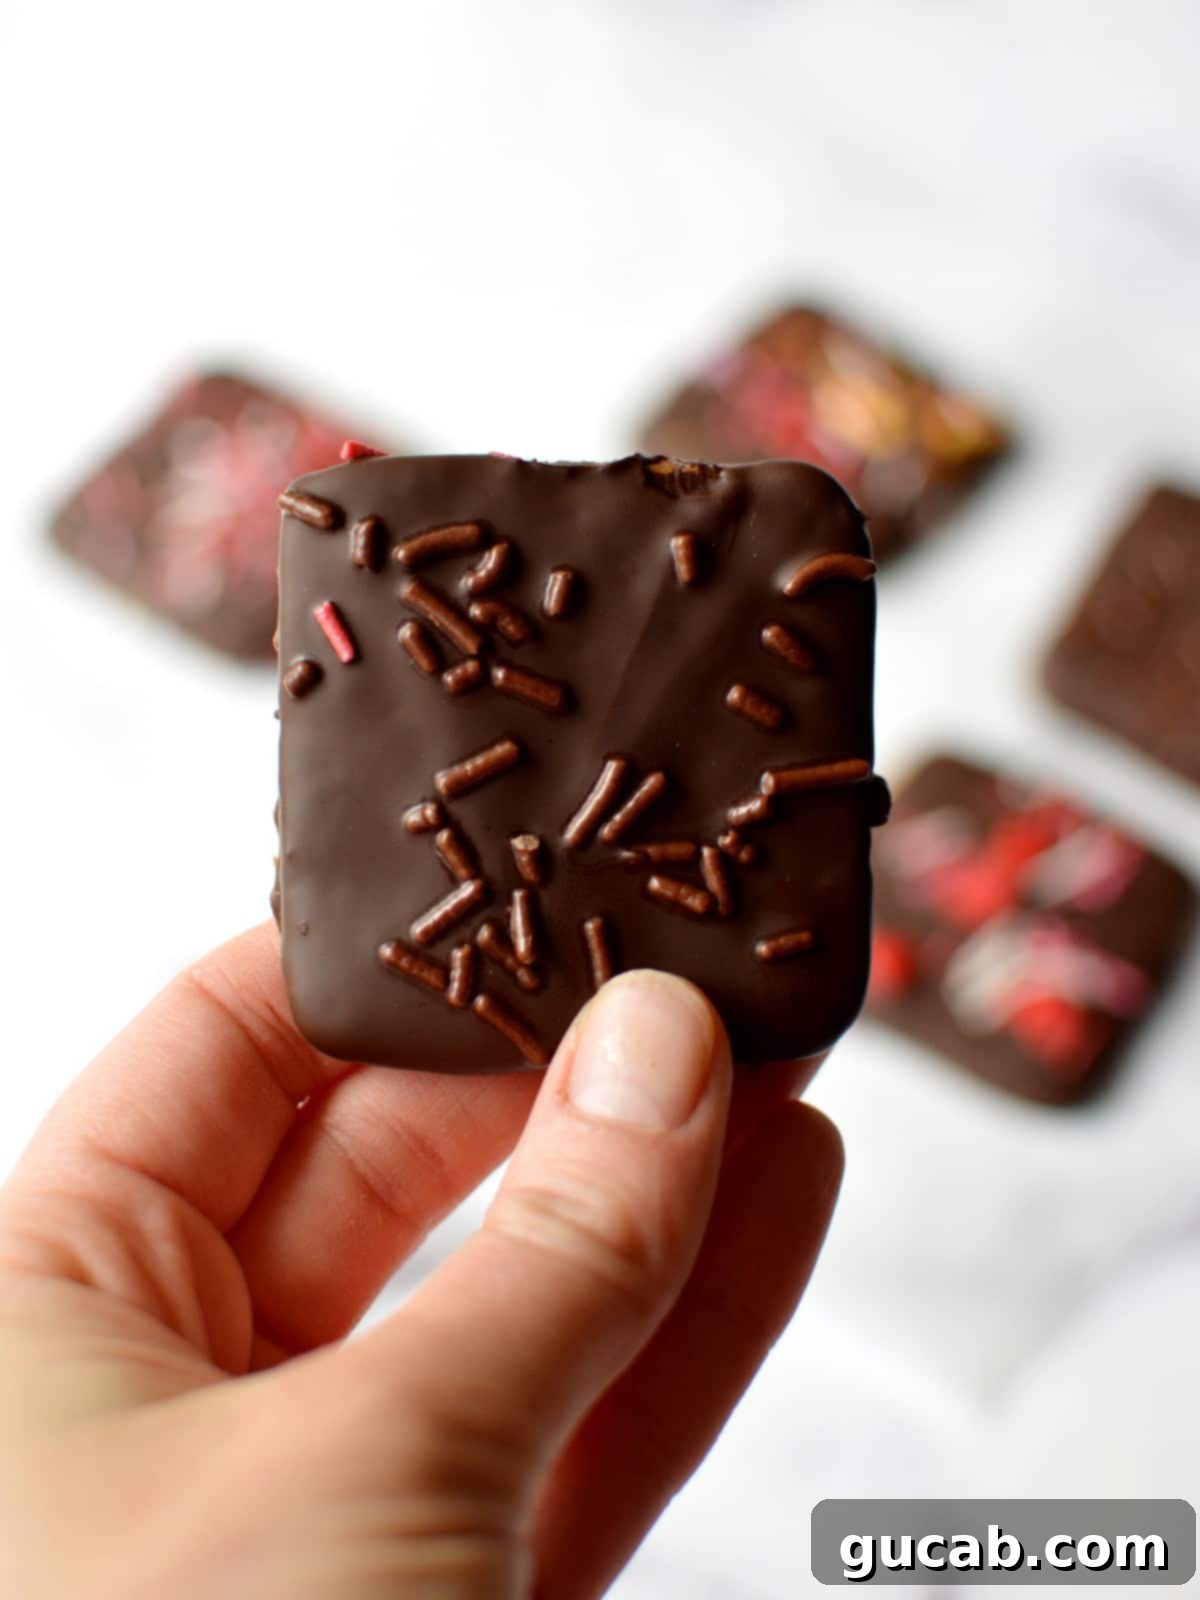
- Embrace Candy Melts for Ease: If tempering isn’t your thing, or you want vibrant colors, candy melts are your best friend! Ghirardelli offers excellent melting wafers in dark, white, and milk chocolate flavors that set beautifully without tempering. For extra fun, explore vanilla candy melts available in a rainbow of colors to match any party theme or holiday.
- Switch Up the Toppings for Endless Flavor: The possibilities are truly boundless when it comes to decorating your chocolate dipped graham crackers. Move beyond classic sprinkles and consider:
- Gourmet Touch: A sprinkle of flaky sea salt (especially with dark chocolate), or crunchy cacao nibs.
- Nutty Crunch: Finely chopped pecans, walnuts, almonds, or pistachios.
- Miniature Delights: Mini chocolate chips, mini M&M’s, or crushed candy bar pieces.
- Holiday Cheer: Crushed peppermints for Christmas, fall-themed sprinkles for Thanksgiving, or pastel sprinkles for Easter.
- Cookie Crumbs: Crushed Oreos, Biscoff, or even more graham cracker crumbs for a textured finish.
- Fruity & Tropical: Shredded coconut, finely chopped dried cranberries, or citrus zest.
- Layered Chocolate Magic: After your first layer of chocolate sets, drizzle a contrasting color of melted chocolate (white, milk, or even colored candy melts) over the top for an elegant striped effect.
- Flavor Infusions: Stir a tiny bit of food-grade extract into your melted chocolate before dipping. Peppermint extract for a festive treat, almond extract for a subtle nutty note, or orange zest for a bright, refreshing flavor.
Expert Tips for Success Every Time
Follow these tips to ensure your chocolate covered graham crackers turn out perfectly delicious and picture-perfect every single time:
- Cool & Calm Setting: Allow your chocolate covered graham crackers to dry somewhere cool and dry. If the room temperature is too warm, especially on humid days, the chocolate might struggle to set properly or develop a streaky appearance. A cooler room, or even briefly placing them in the refrigerator, will help them set quickly and firmly.
- Quality Over Quantity: As mentioned, don’t skimp on chocolate quality for this recipe. Using a good-quality dark chocolate bar (finely chopped) or high-quality chips like Ghirardelli or Callebaut will yield a smoother melt, a richer flavor, and a better finish. Cheaper chocolate tends to be thicker and harder to work with for dipping.
- When in Doubt, Use Melting Wafers: If you’re nervous about tempering or simply want the easiest route to perfectly set chocolate, Ghirardelli dark chocolate melting wafers are an excellent choice. They are formulated to melt beautifully and harden without any special techniques.
- Parchment Paper is Your Best Friend: Always use parchment paper for lining your work surface or baking sheets. It’s a non-stick surface that ensures your chocolate dipped graham crackers can be easily removed once set, preventing any frustrating sticking or breakage. Wax paper can also work in a pinch.
- Beware of Water! This is a golden rule in chocolate making: never let water or steam come into contact with your melting chocolate. Even a tiny drop can cause chocolate to seize, turning it from a smooth liquid into a thick, gritty, unusable clump. Always use dry bowls and utensils.
- Make it Vegan: To adapt this recipe for a vegan diet, simply choose a high-quality vegan-friendly brand of chocolate (many dark chocolates are naturally vegan, but check labels) and ensure your graham crackers are also vegan-certified.
- Troubleshooting Thick Chocolate: If your chocolate becomes too thick while you’re dipping, it likely needs a little more gentle heat. Microwave it for 5-10 second increments, stirring well each time, until it returns to a dippable consistency. If using tempered chocolate, ensure it stays within its working temperature range.
- Don’t Waste Leftover Chocolate: If you have any melted chocolate remaining after dipping, don’t throw it away! Simply pour it onto a clean piece of parchment paper and let it harden at room temperature. Once solid, you can break it into pieces, wrap it tightly in plastic wrap, and store it for future baking projects or melt it down again.
Frequently Asked Questions (FAQs) About Chocolate Covered Graham Crackers
Once your chocolate covered graham crackers have completely set and cooled, store them in an airtight container at room temperature. They will maintain their freshness and crispness for up to 2 weeks. For longer storage, you can also freeze them in an airtight container for up to 4 months. Just make sure to separate layers with parchment paper to prevent sticking.
Absolutely! While this recipe highlights dark chocolate, milk chocolate or white chocolate work wonderfully for dipping. Remember that tempering temperatures differ slightly for these types (milk chocolate around 88-90°F, white chocolate around 86-88°F). If using candy melts, the process is the same regardless of color or flavor.
Chocolate seizing is almost always caused by contact with moisture (even a tiny drop of water or steam) or overheating. To prevent this, ensure all your equipment is completely dry, and melt chocolate gradually in short bursts, stirring frequently, to avoid scorching.
More Delicious Chocolate Recipes to Explore
- Chocolate Chip Rice Krispie Treats
- Flourless Chocolate Marshmallow Cookies
- Oat Milk Hot Chocolate
- Chocolate Ganache without Cream

Chocolate Covered Graham Crackers
Carolyn
Pin Recipe
Equipment
-
Microwave-safe bowl
-
Parchment paper
-
Candy thermometer (if tempering chocolate)
Ingredients
- 1 ½ cups chopped dark chocolate or chips* 230 grams, high quality recommended
- 16 graham crackers (regular or gluten-free)
- Optional: Sprinkles, sea salt, chopped nuts, or other toppings
Instructions
-
Prepare your workspace by lining a large sheet pan or a clean counter surface with parchment paper. This will be where your chocolate covered graham crackers will dry.
-
Place your chosen chocolate (chopped or chips) into a clean, dry, microwave-safe bowl.
-
To melt and temper (if desired), heat the chocolate in 20-second increments. After each interval, remove and stir gently. Continue until most of the chocolate is melted and smooth, with a few small chunks remaining. For detailed tempering instructions, refer to the “How to Temper Chocolate” section above.
-
If tempering, use a candy thermometer to check the chocolate’s temperature. For dark chocolate, aim for 90-92 degrees Fahrenheit (32-33 degrees Celsius). It is crucial not to let the chocolate go above this temperature, or it will lose its temper and won’t set correctly with a shiny finish.
-
If the chocolate hasn’t reached 90 degrees Fahrenheit (and isn’t above it), continue microwaving in very short 10-second increments, stirring thoroughly after each, until the target temperature is achieved.
-
Take one graham cracker and immerse it fully into the melted chocolate. Gently press down with your finger or a small fork to ensure complete coverage.
-
Using a fork, carefully lift the chocolate dipped graham cracker out of the bowl. Hold it over the bowl for a moment, allowing any excess chocolate to drip off, which helps create a cleaner, more even coating.
-
Gently transfer the graham cracker to the prepared parchment paper. Immediately top with your desired sprinkles, chopped nuts, or other decorations while the chocolate is still wet. Repeat with the remaining graham crackers. Allow them to set completely in a cool, dry place until the chocolate is firm to the touch.
Notes
- If you have any melted chocolate leftover, simply pour it onto a clean piece of parchment paper. Once it’s hardened, break it into pieces, wrap it tightly in plastic wrap, and save it for another baking endeavor or snack.
- For an even neater appearance, after placing the chocolate-dipped cracker on the parchment paper, if you notice a “foot” or pooling of chocolate around the edges, carefully slide a fork underneath and move the cracker to a fresh spot on the parchment. This will create a cleaner, crisper edge.
Nutrition
