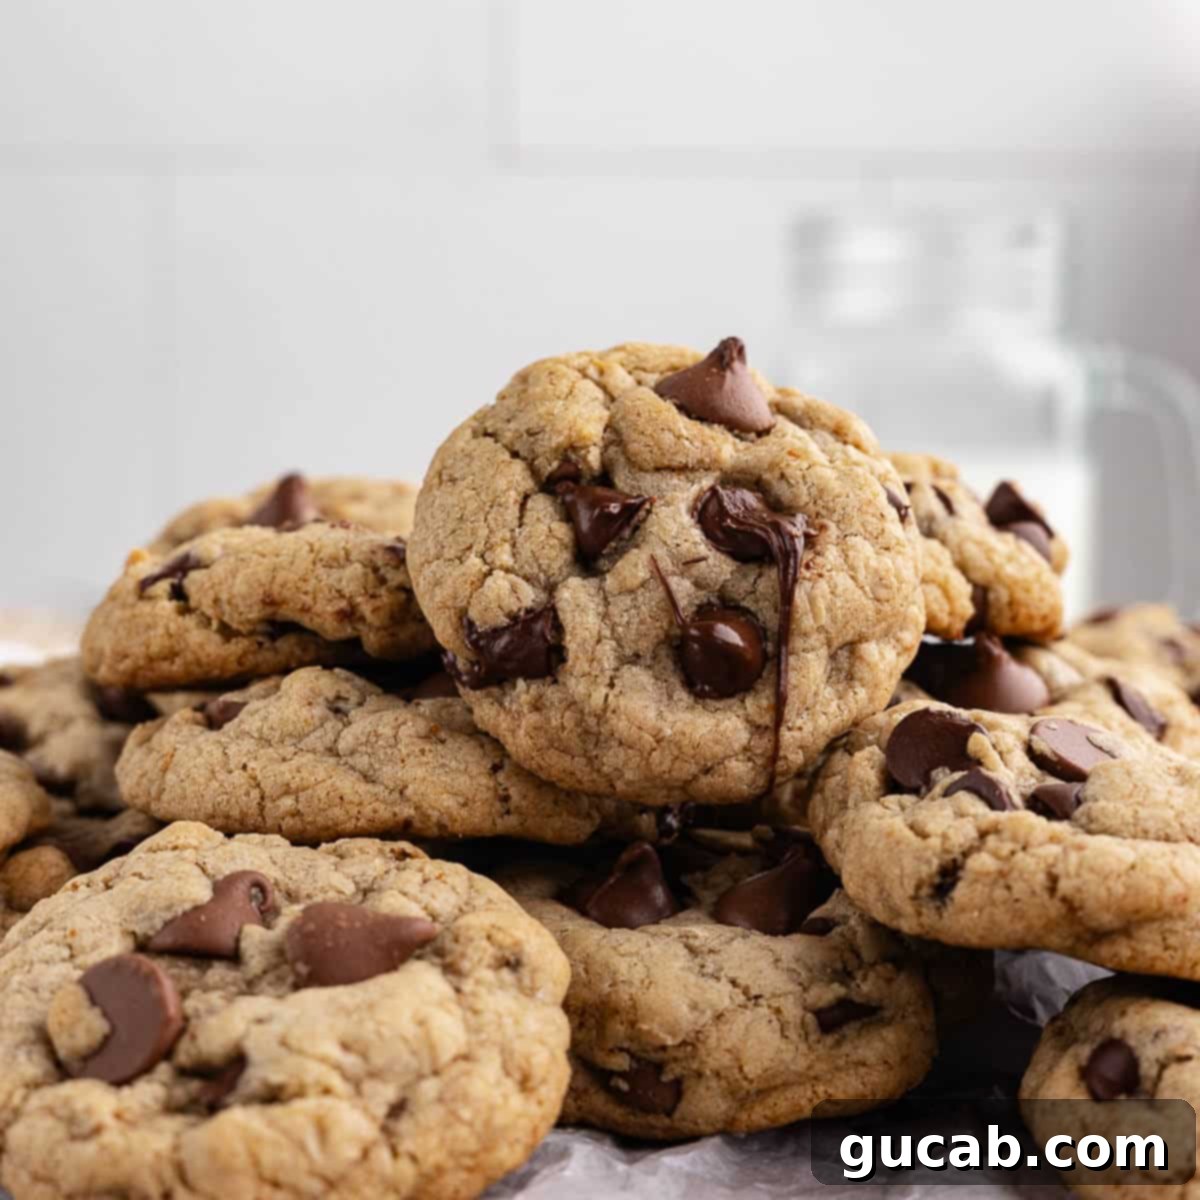
The Best Browned Butter Gluten-Free Chocolate Chip Cookies: Crispy Edges, Chewy Centers
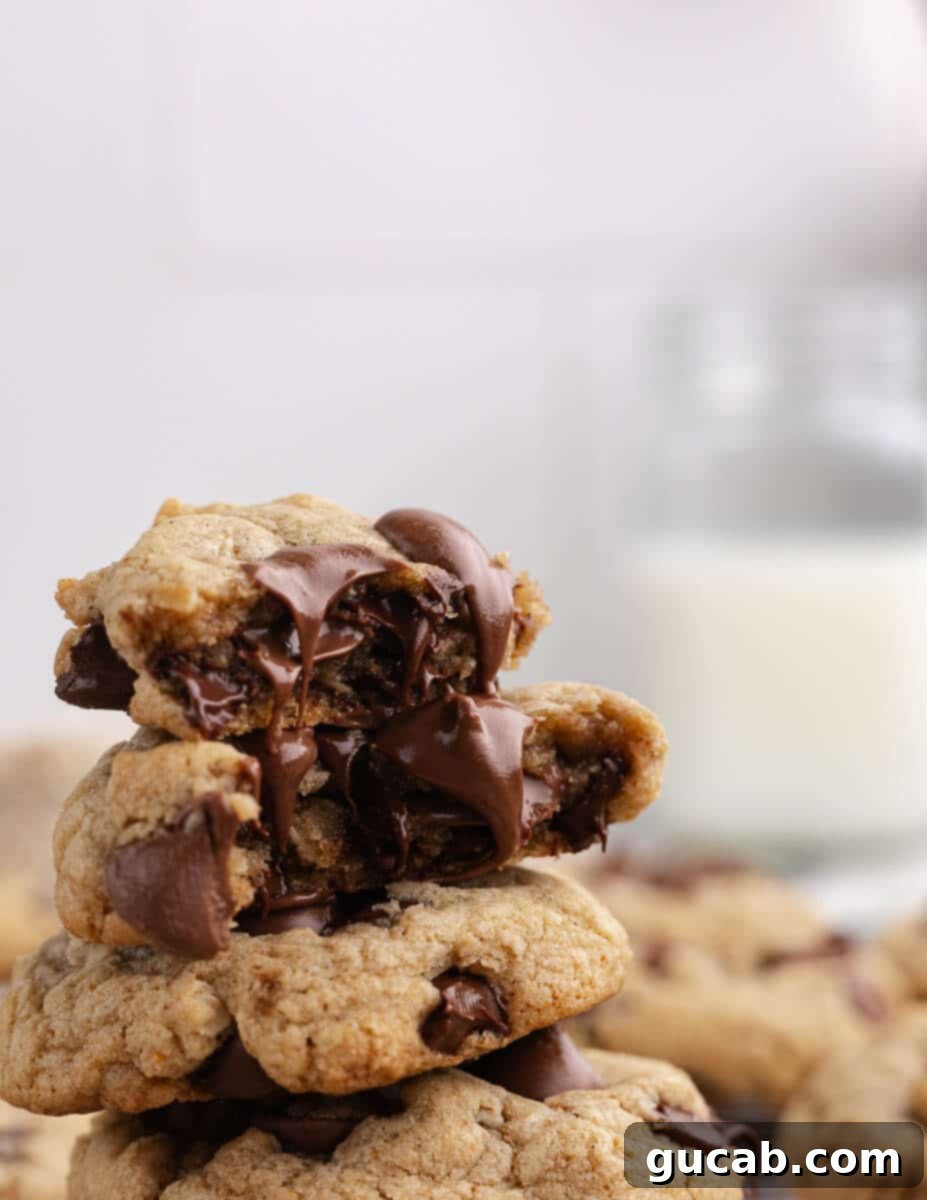
Imagine a cookie with perfectly crispy, golden-brown edges, a delightfully soft and chewy center, and an abundance of rich, melty chocolate. Now, imagine all of that, completely gluten-free! These browned butter gluten-free chocolate chip cookies are not just good; they’re addictively delicious and truly a game-changer for anyone seeking an exceptional treat, regardless of dietary needs. The secret ingredient? Nutty, aromatic browned butter, which elevates these cookies to an unparalleled level of flavor and sophistication, ensuring every bite is a memorable experience.
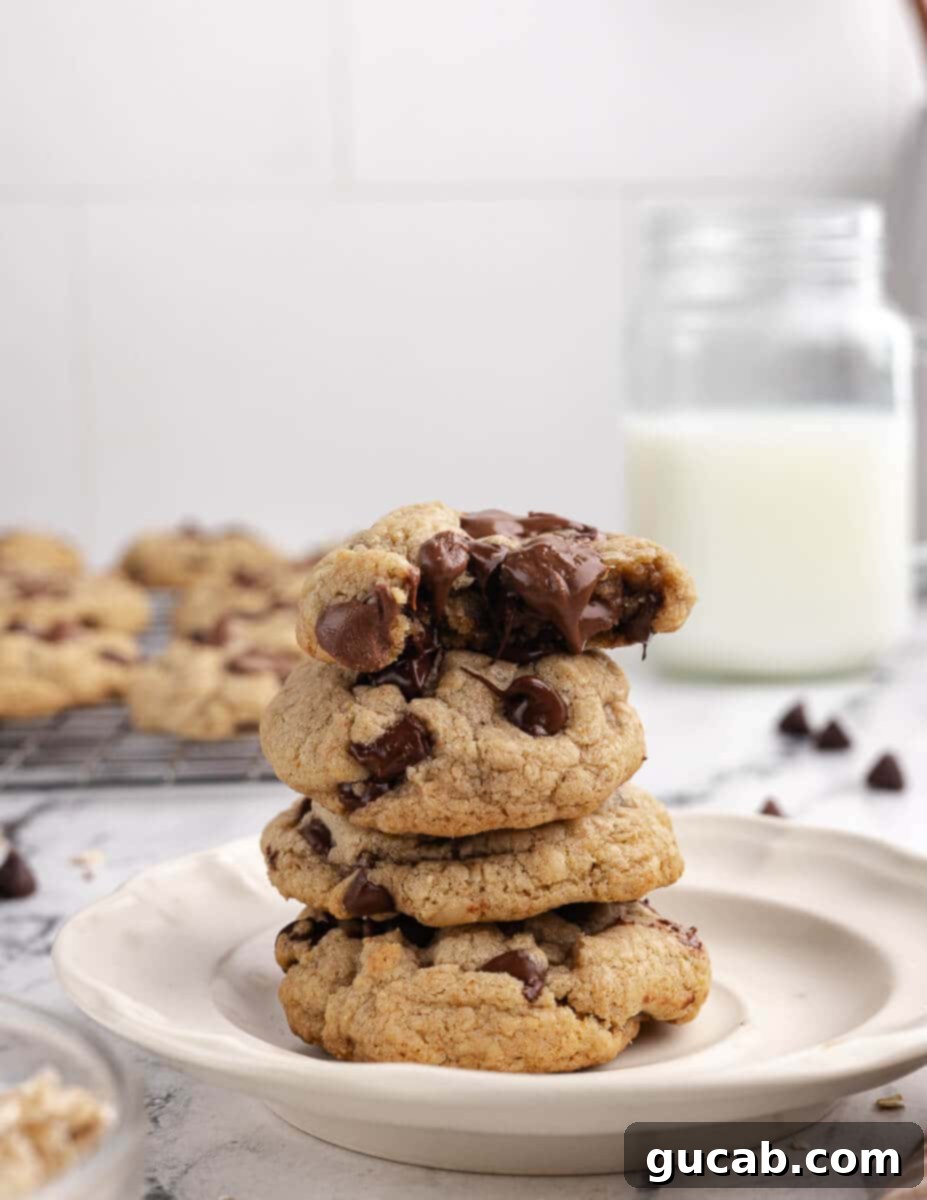
Achieving the perfect cookie, especially a gluten-free one, is a culinary quest. Anything less than stellar is, quite frankly, a missed opportunity. That’s why I dedicated extensive effort to perfecting this recipe, refining it through no less than 12 iterations. The result is a creation that I confidently believe stands as the best gluten-free chocolate chip cookie you will ever taste, rivaling and often surpassing traditional versions!
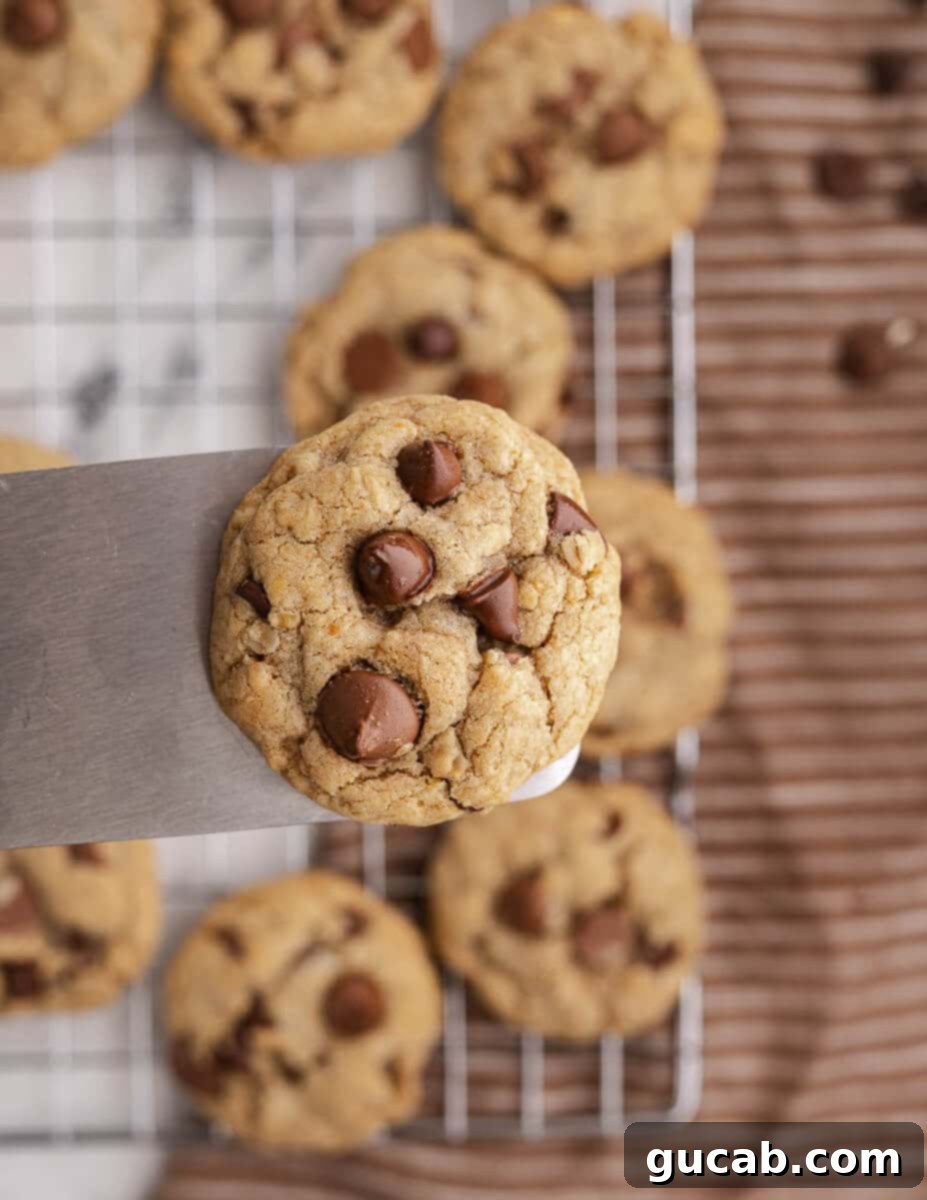
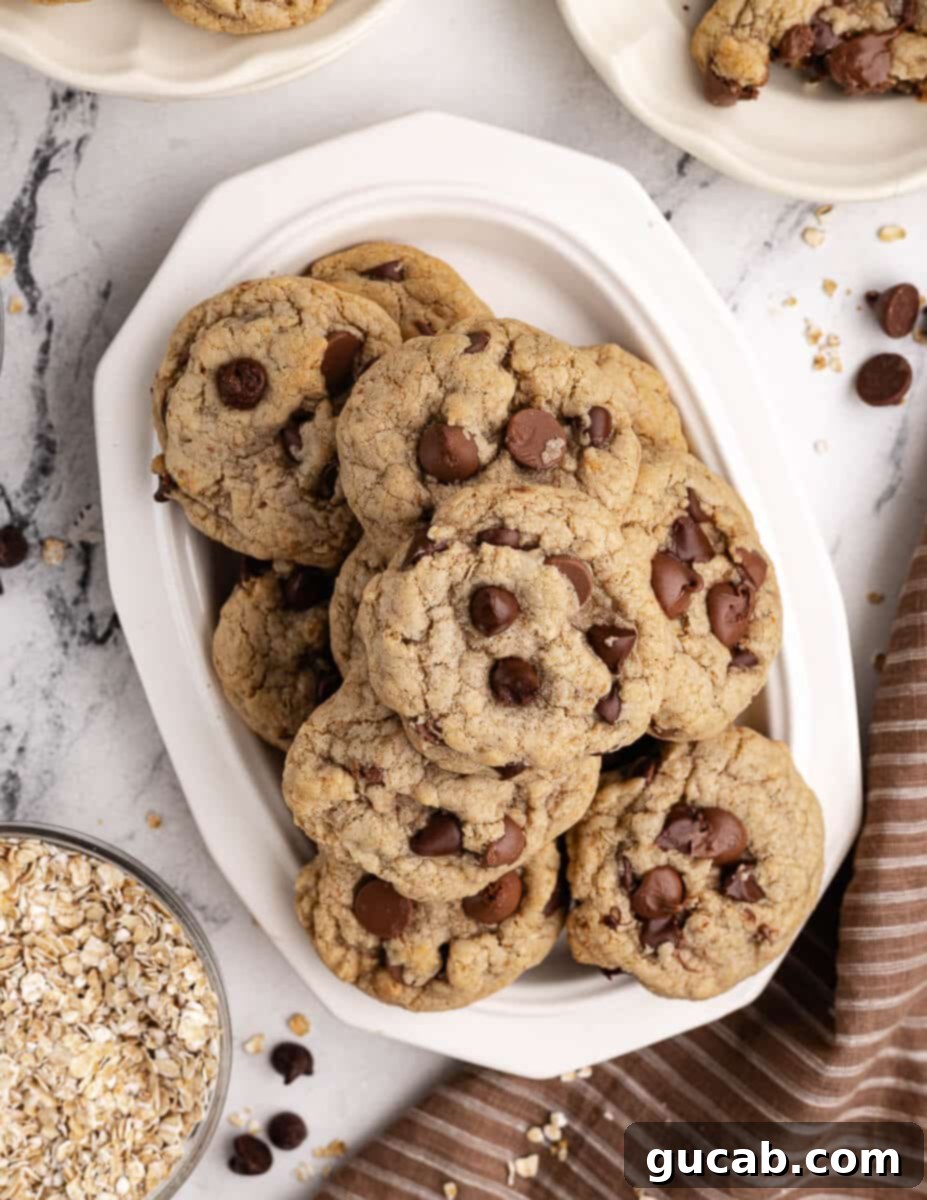
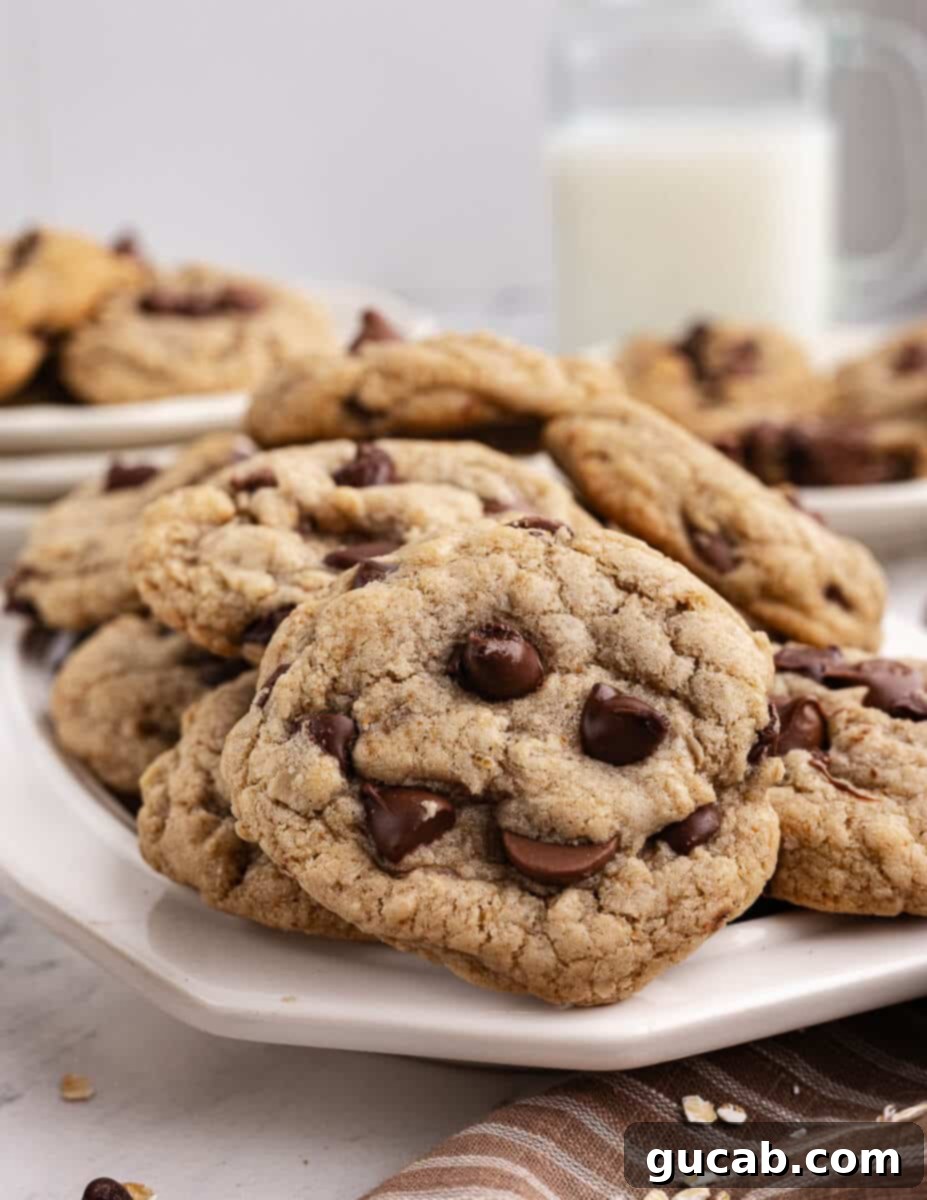
These cookies boast everything you crave: **golden brown and wonderfully crispy edges, remarkably soft and chewy middles, a delightful crackled surface, and an abundance of luscious, ooey-gooey chocolate chips.** Seriously, I implore you to give them a try – your taste buds will thank you profusely and demand more!
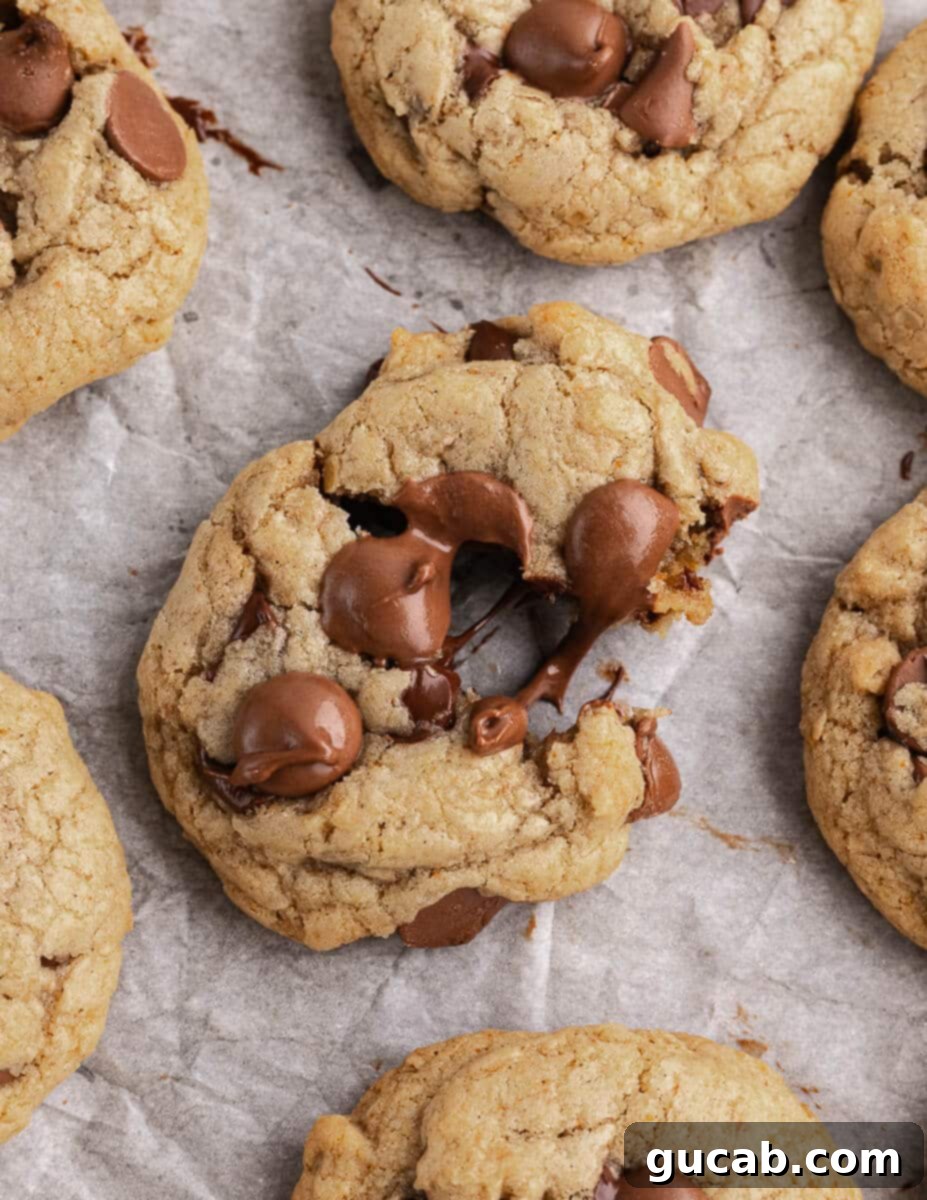
What makes these cookies even more appealing is their surprising simplicity. You won’t need any specialized equipment or a powerful stand mixer. A sturdy spatula and a mixing bowl are all that’s required to whip up a batch of pure bliss. This recipe is meticulously designed to be approachable and enjoyable for everyone, from seasoned bakers looking for a top-tier gluten-free option to those just embarking on their gluten-free culinary adventures.
If you’re new to gluten-free baking, prepare to have your expectations not just met, but completely redefined. These irresistible gluten-free cookies will undoubtedly lift your cookie-loving spirits and prove, once and for all, that gluten-free treats can be every bit as satisfying – if not more so – than their traditional counterparts. Get ready to fall head over heels in love with baking all over again and add a new favorite to your recipe repertoire!
Disclosure: This post may contain affiliate links. In other words, if you click a link and purchase something I will receive a commission at no cost to you. I only recommend products I use and enjoy myself.
[feast_advanced_jump_to]
Why Browned Butter is a Game-Changer for Cookies
Browned butter is far more than a simple step; it’s a fundamental flavor enhancer that transforms ordinary cookies into extraordinary ones. This seemingly small detail makes a monumental difference in the final taste profile of these gluten-free chocolate chip cookies. When you gently cook butter until the milk solids separate and toast, they undergo a miraculous process known as the Maillard reaction. This chemical reaction develops complex, nutty, and subtly caramel-like flavors that permeate the butter, creating an aroma and taste that simply cannot be replicated with plain melted butter.
For these particular gluten-free cookies, browned butter adds an incredible depth and richness that beautifully complements the sweetness of the sugars and the lusciousness of the chocolate chips. It imparts a sophisticated, toasty nuance that elevates each bite, making the cookies taste anything but “gluten-free.” Instead, you’ll experience a gourmet treat with layers of flavor that are both comforting and exciting. It’s truly the secret weapon that takes these cookies “over the top,” distinguishing them from other recipes and making them an unforgettable indulgence.
Mastering Gluten-Free Baking for Perfect Cookies
Baking gluten-free can often present unique challenges. Gluten, the protein found in wheat, provides crucial structure, elasticity, and chewiness that are often missing in alternative flours. This can lead to gluten-free baked goods that are dry, crumbly, or simply lack the desirable texture and flavor of their traditional counterparts. However, with the right combination of high-quality ingredients and precise techniques, it is absolutely possible to create treats that are not only delicious but also indistinguishable from (or even superior to) their gluten-containing cousins – and these browned butter chocolate chip cookies are the perfect testament to that!
This recipe specifically addresses common gluten-free baking pitfalls by meticulously selecting ingredients that work in synergy to replicate the much-desired chewiness and structural integrity. The use of a high-quality 1:1 gluten-free flour blend is paramount, as it’s designed to substitute traditional flour seamlessly. Additionally, incorporating an extra egg yolk contributes significant richness and acts as a powerful binder, enhancing moisture and chew. The inclusion of certified gluten-free old-fashioned oats further adds a pleasant, wholesome texture that prevents the cookies from feeling dense or overly crumbly. Together, these elements ensure a cookie that holds together beautifully, spreads just right, and delivers an unparalleled taste and texture experience. You truly don’t have to compromise on deliciousness when you’re baking gluten-free with this recipe!
Gluten-Free Cookie Ingredients Explained:
Every single ingredient in this exceptional gluten-free chocolate chip cookie recipe has a vital role in achieving their ultimate perfection. Understanding the function of each component will not only make you a more confident baker but also help you appreciate the magic behind these delicious treats. Here’s a closer look at what you’ll need and why each element is essential:
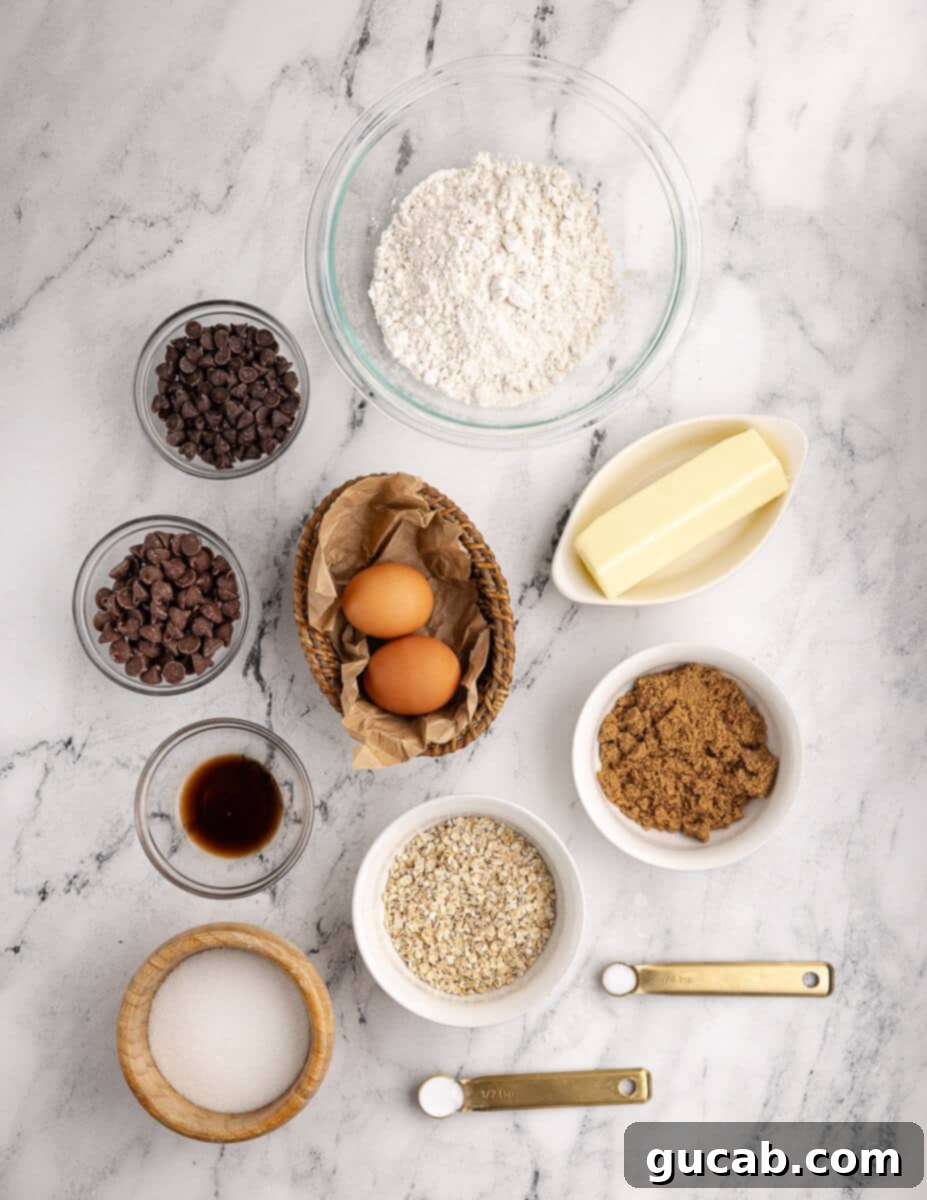
- Unsalted Butter: This is the rich, tender foundation of our cookies. Butter provides essential fat for a soft, moist texture and acts as a flavor carrier. Browning it before mixing unlocks incredible nutty, caramel notes, transforming the cookie’s flavor profile completely.
- Granulated White Sugar: Besides its primary role in sweetening, granulated sugar contributes to the crispness of the cookie edges and aids in the desirable spread during baking, giving us those beautifully flat, crackled tops.
- Packed Light Brown Sugar: This ingredient is crucial for chewiness and moisture. The molasses in brown sugar adds a deep, caramel-like sweetness and a more complex flavor. Its slight acidity also reacts with baking soda to give the cookies a gentle lift and contributes to their soft, pliable texture.
- Large Egg + 1 Extra Large Egg Yolk: The whole egg provides structure and acts as a binder, holding all the ingredients together. The additional egg yolk is a secret weapon; its extra fat and emulsifying properties contribute significantly to an incredibly rich, moist, and wonderfully chewy cookie, preventing any potential dryness common in gluten-free baking. It’s your insurance policy for perfect texture!
- Gluten-Free All-Purpose Flour: For unparalleled results, I wholeheartedly recommend using Bob’s Red Mill 1:1 Gluten-Free All-Purpose Flour. This specific blend was meticulously chosen and used to develop this recipe because it consistently yields a taste and texture remarkably similar to traditional wheat flour, without any gritty aftertaste. Its balanced composition ensures your cookies won’t be dry, crumbly, or dense. Using a different blend might alter the cookie’s texture and spread.
- Baking Soda: This leavening agent is essential for creating the perfect rise and spread in your cookies. It reacts with the acid in the brown sugar to give them that classic slightly puffed center and crackled surface without making them cakey.
- Kosher Salt: Do not underestimate or omit the salt! It is a crucial flavor enhancer, balancing the intense sweetness of the sugars and making the rich chocolate taste even more vibrant and delicious. It brings out the best in all the other ingredients.
- Certified Gluten-Free Old Fashioned Oats: These oats add a delightful textural chewiness and a subtle, wholesome oatey flavor that complements the browned butter beautifully. It is absolutely crucial to use *certified gluten-free* old fashioned oats to avoid any risk of cross-contamination, which can occur with standard oats processed in facilities handling gluten-containing grains.
- Vanilla Extract: A splash of high-quality vanilla extract is more than just a flavoring; it deepens and rounds out all the other flavors in the cookie dough, adding a warm, aromatic note that makes the cookies taste even more gourmet and comforting.
- Chocolate Chips (a mix): For the ultimate melty, gooey, chocolatey experience, I suggest using a combination of semi-sweet chocolate chips and milk chocolate chips. This blend offers a perfect balance of sweetness and rich chocolate intensity, ensuring every bite is loaded with irresistible melted goodness.
How to Make These Gluten-Free Cookies: Step-by-Step Guide
Crafting these perfect gluten-free chocolate chip cookies is a straightforward process, but paying attention to each step will ensure you achieve the ideal crispy edges and wonderfully chewy centers. Remember, precision in baking often leads to the most delicious results, especially when working with gluten-free ingredients!
Before you even think about mixing, preheat your oven to a precise 400 degrees Fahrenheit (200°C). This might seem unusually high for cookies, but trust this crucial detail! This elevated temperature is essential for achieving those beautifully golden, crisp edges while ensuring the centers remain wonderfully soft, chewy, and slightly gooey. While your oven heats, prepare your baking sheets by lining them with parchment paper or your favorite silicone baking mats. I personally can’t recommend silicone mats enough – they make cleanup incredibly easy and prevent any sticking, ensuring your cookies slide right off!
1. Brown the Butter to Perfection:
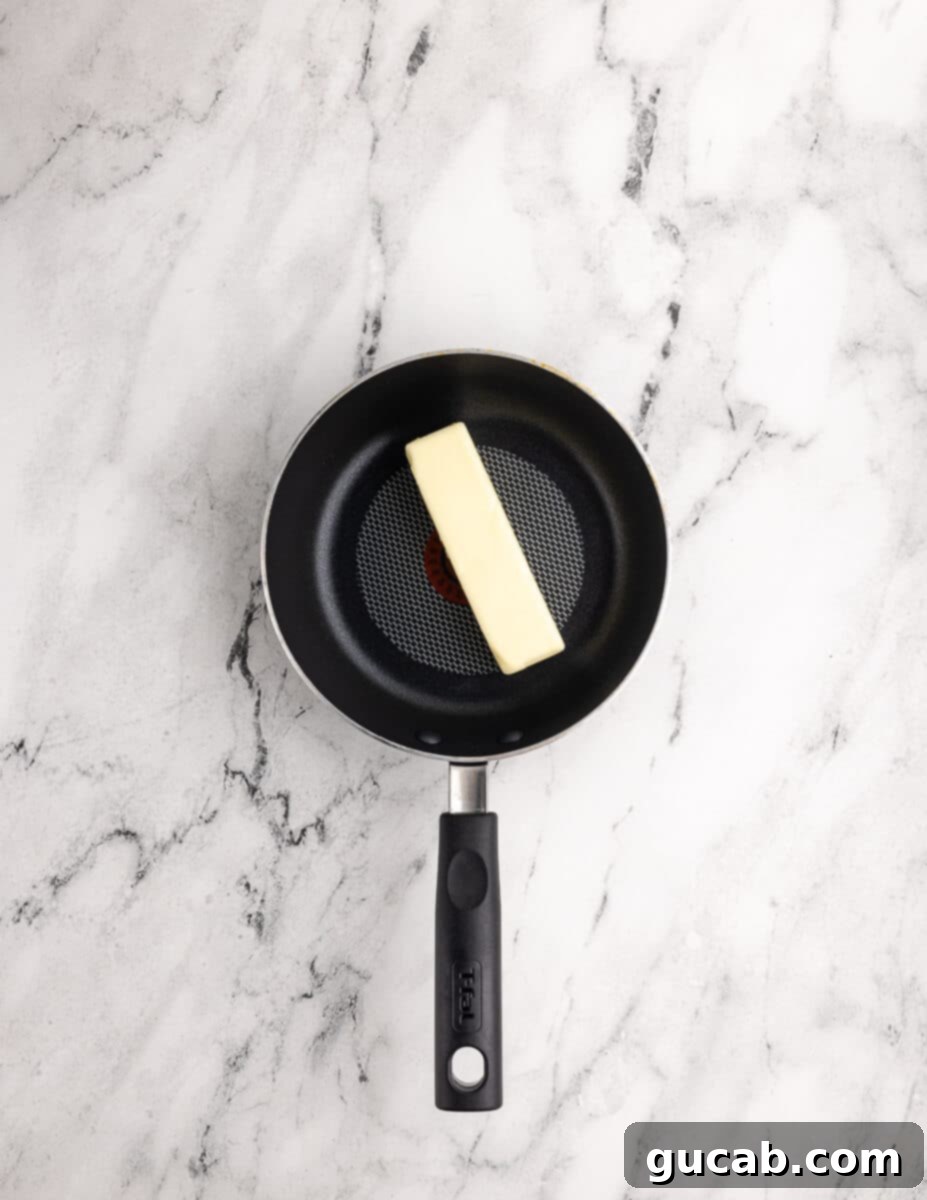
- Place your unsalted butter (one stick, or 8 tablespoons) in a small, light-colored saucepan over medium heat. Using a light-colored pan is a small but helpful trick, as it allows you to clearly monitor the butter’s color change during the browning process.
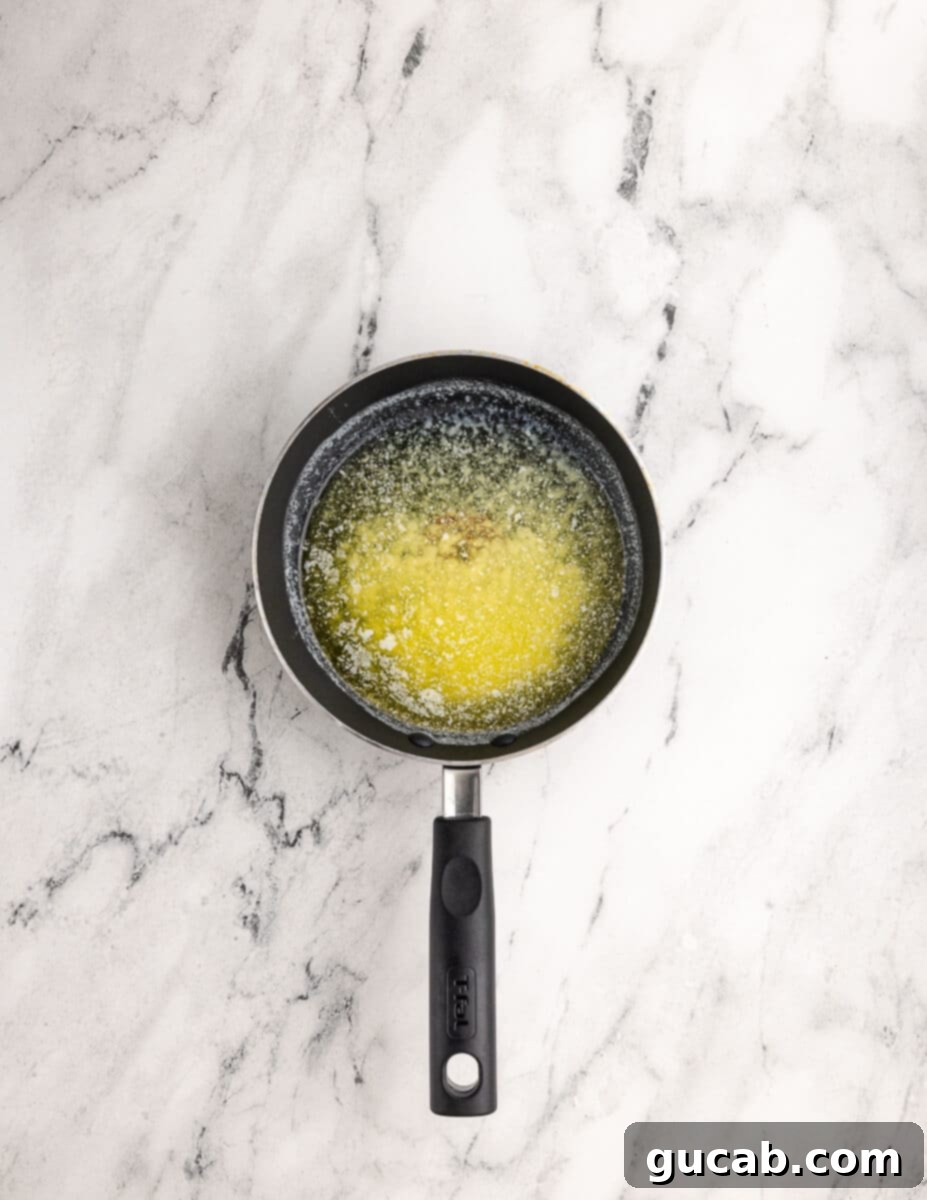
- Allow the butter to fully melt, then observe it as it begins to sizzle and foam. As the butter continues to cook, you’ll notice the color starting to change from its initial yellow to a light amber. At this point, begin stirring continuously with a spatula or whisk.
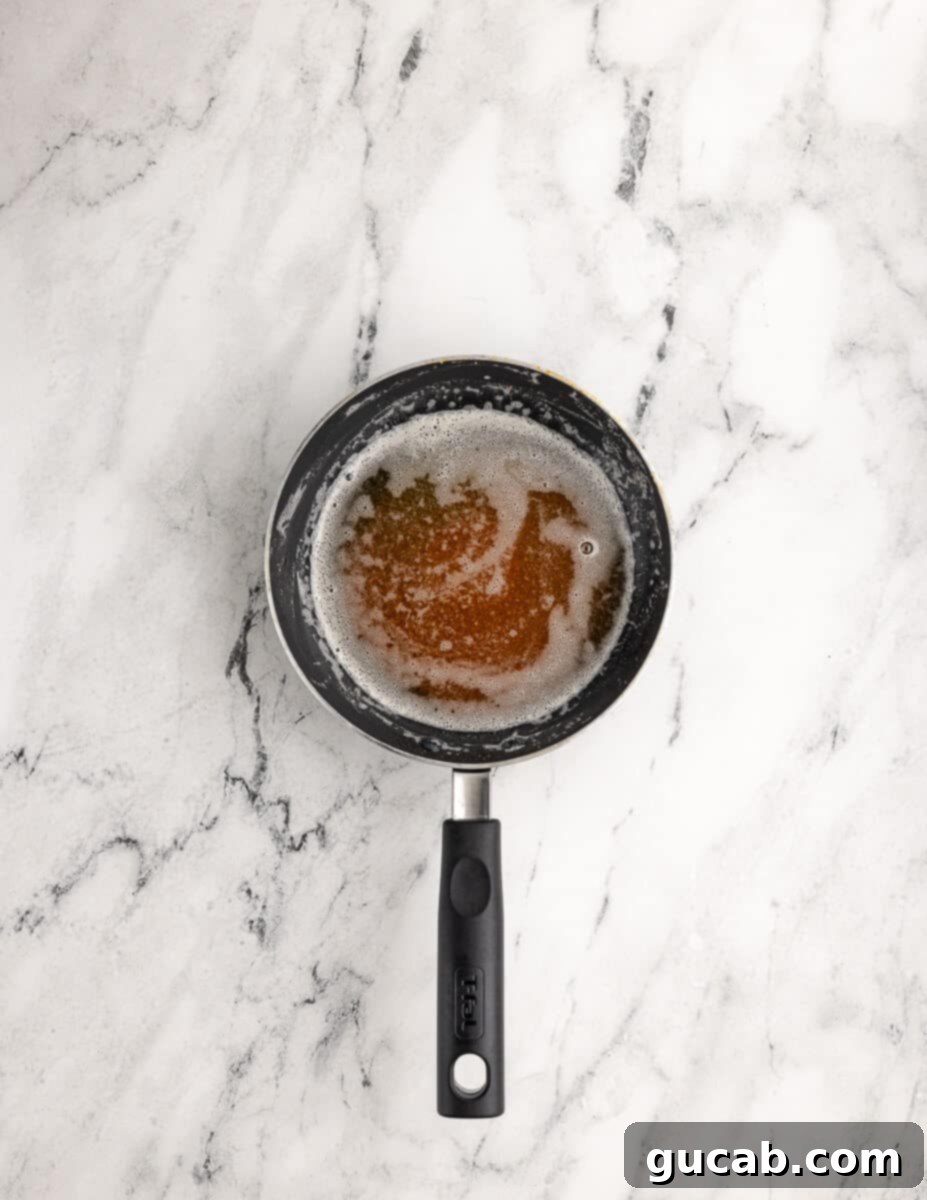
- Continue stirring the butter until it develops a beautiful, medium brown hue. You’ll clearly see golden-brown milk solids collecting at the bottom of the pan, and your kitchen will fill with a distinct, rich, nutty aroma. This entire process happens quite quickly once the butter turns amber, so remain vigilant to prevent it from burning, which can happen in a flash!
- As soon as it reaches the desired medium brown color, immediately transfer all the browned butter, including those delicious toasted bits at the bottom, into a large, heat-proof mixing bowl. This immediate transfer is important to stop the cooking process and prevent over-browning. Allow the butter to cool slightly for a few minutes while you gather your other ingredients – it should still be liquid but not piping hot when you add the sugars.
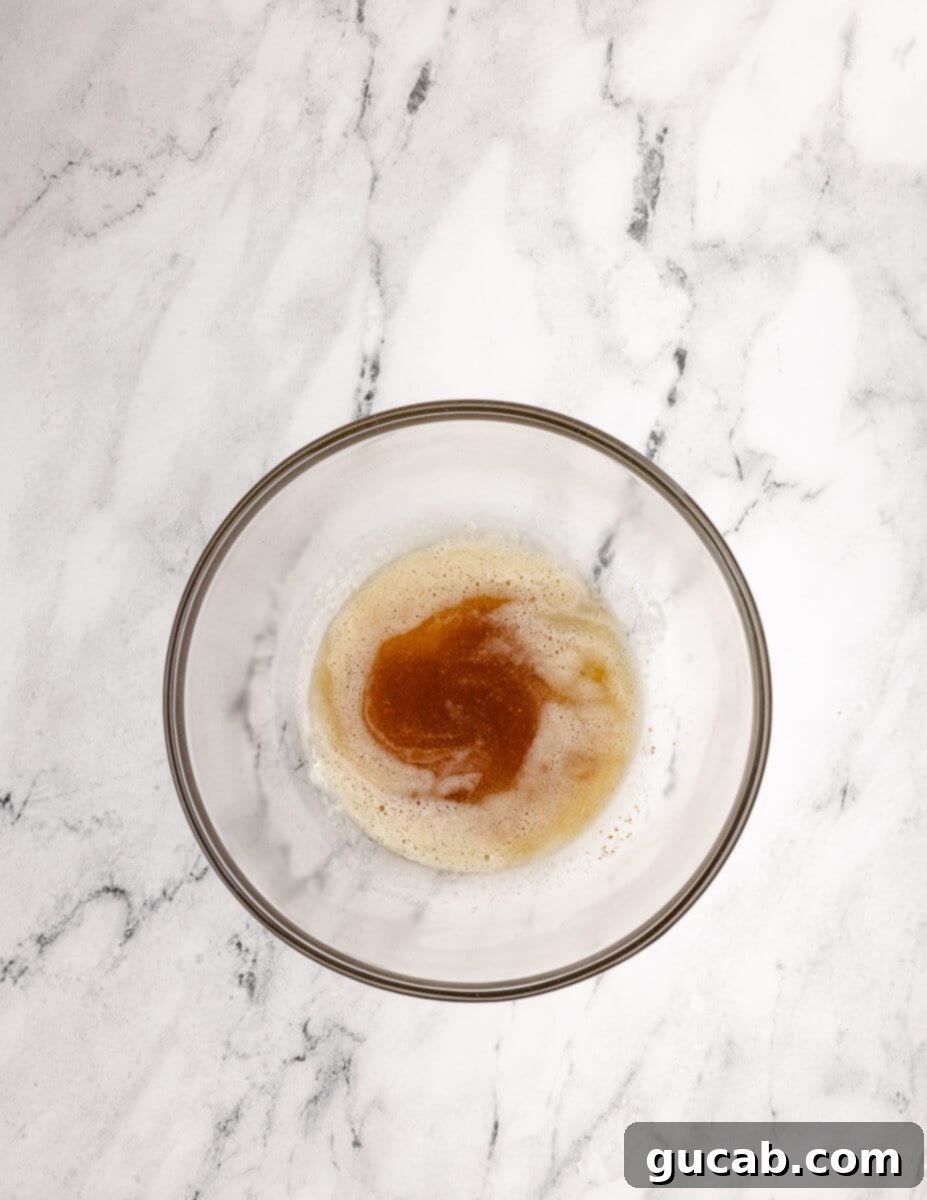
2. Craft the Irresistible Cookie Dough:
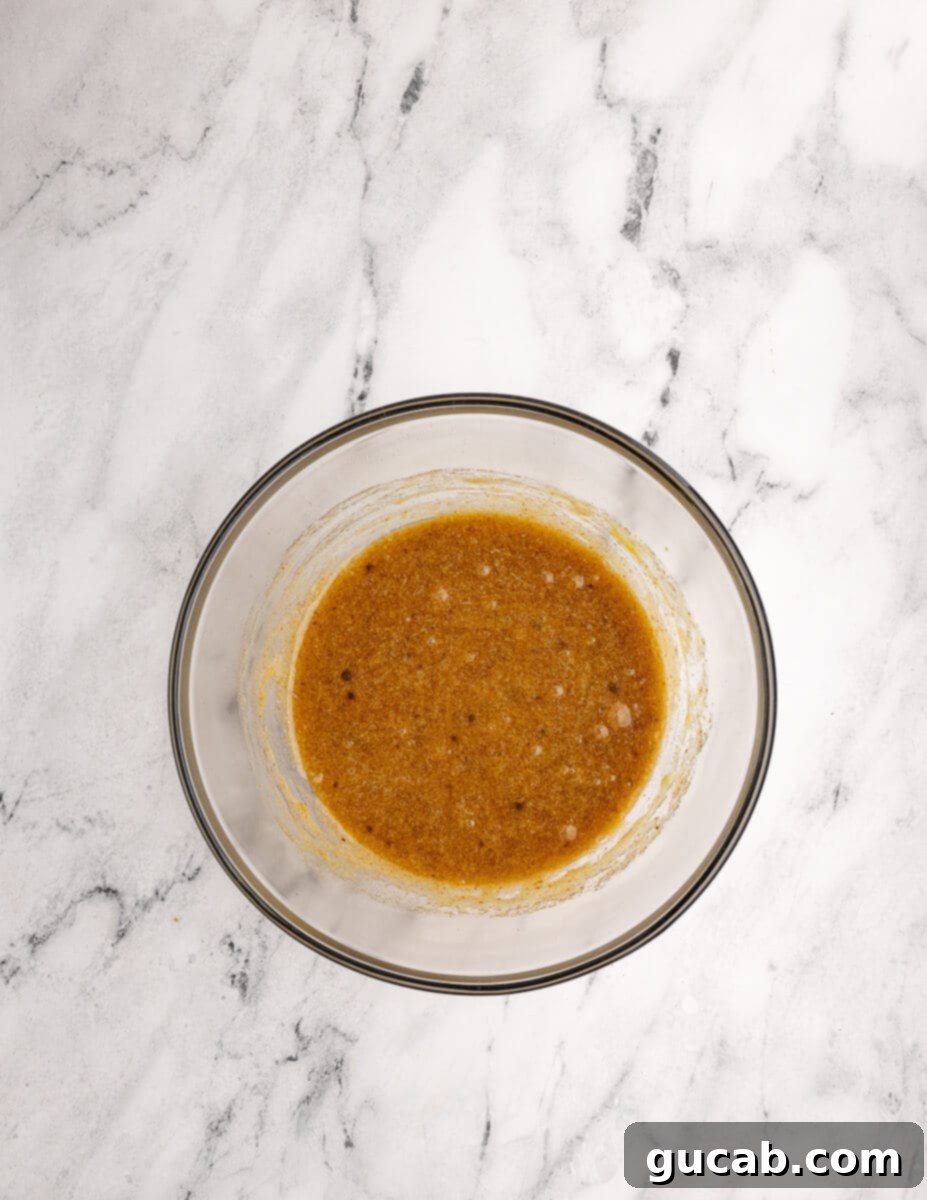
- Once the browned butter has cooled slightly (it should still be liquid and warm, but cool enough to handle), add both the granulated white sugar and the packed light brown sugar directly to the bowl. Use a sturdy spatula or a wooden spoon to stir vigorously until the sugars are completely dissolved and thoroughly incorporated into the butter. For this recipe, there’s absolutely no need for a hand mixer – a good old-fashioned spatula and a little elbow grease will achieve the perfect consistency!
- Next, add the full large egg, the extra large egg yolk, and the vanilla extract to the sugar-butter mixture. Continue to stir well until all these wet ingredients are fully combined and the mixture looks smooth, homogeneous, and slightly lighter in color.
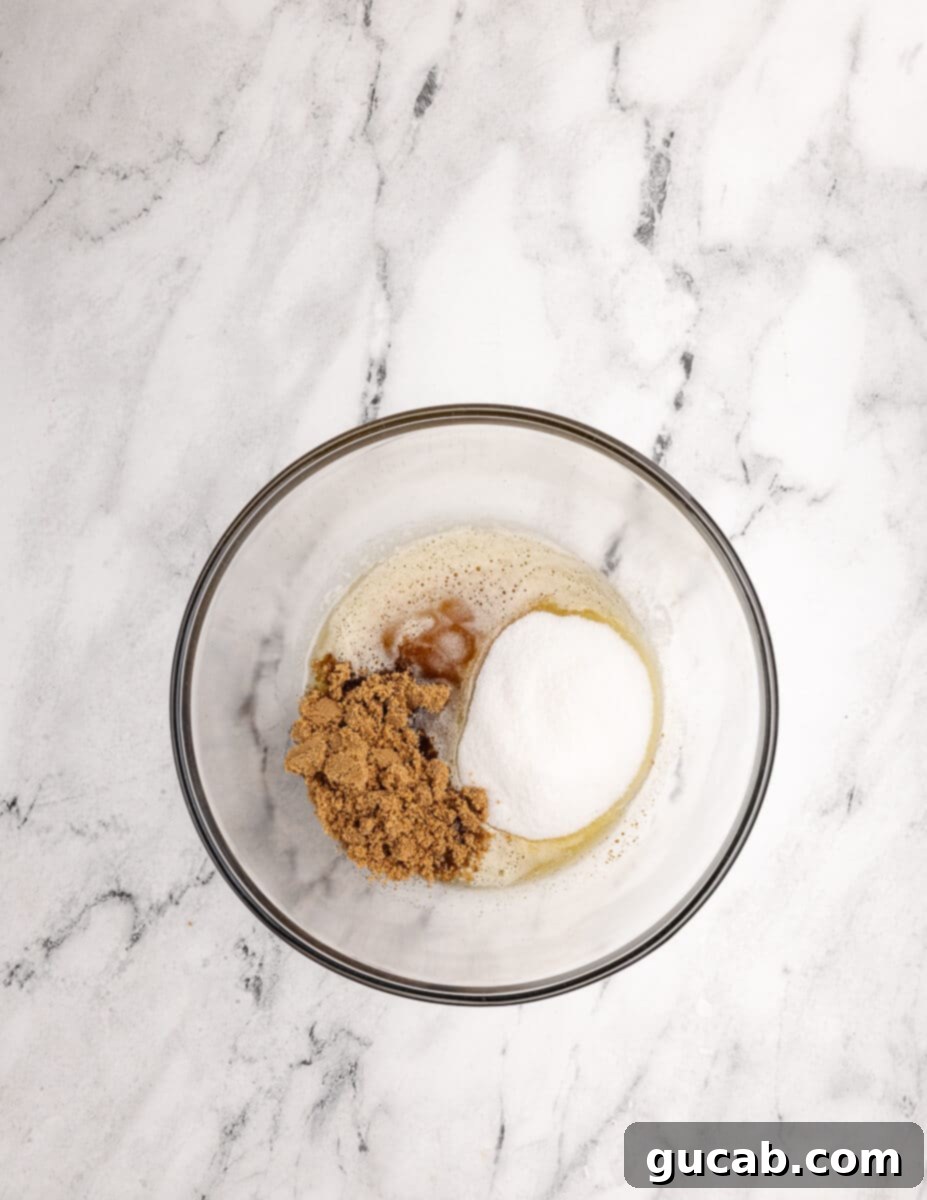
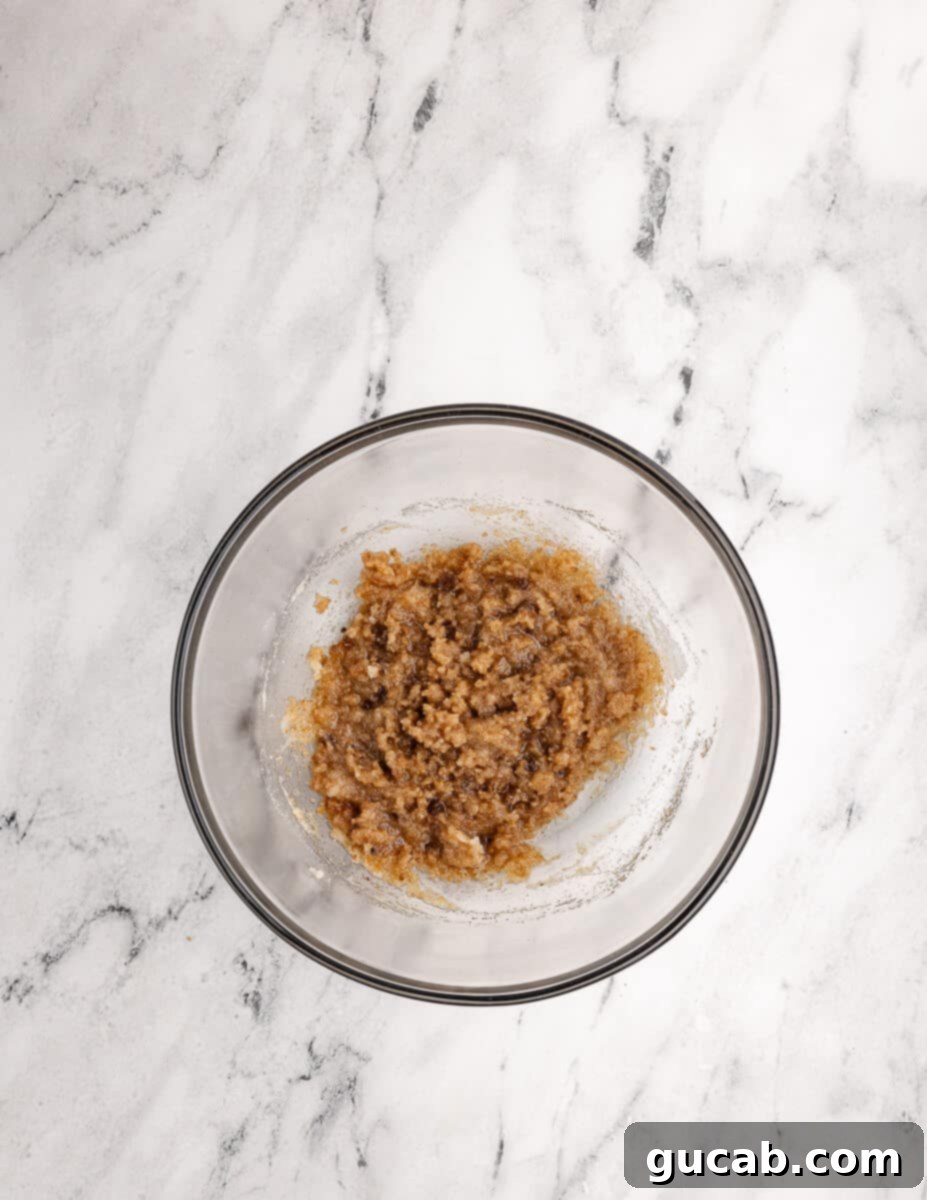
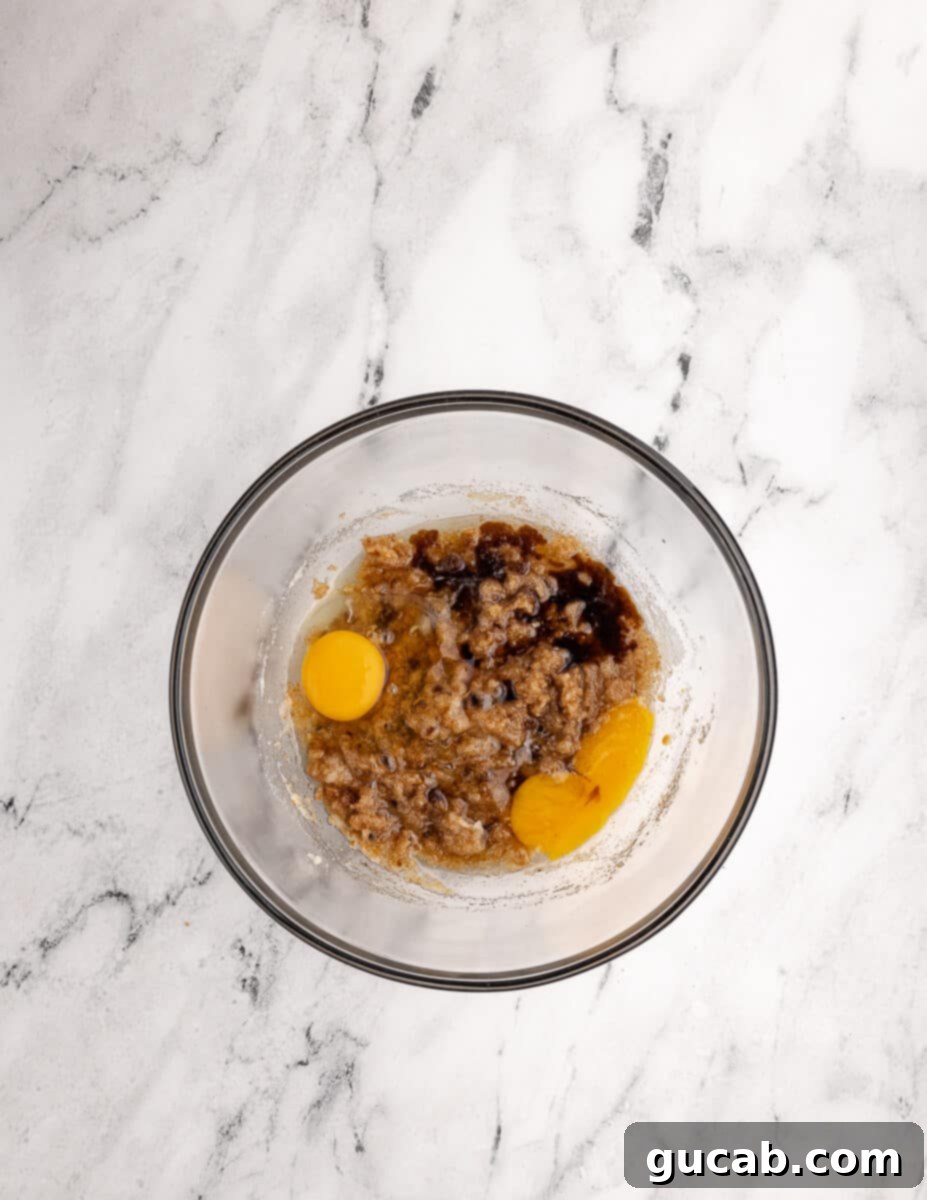
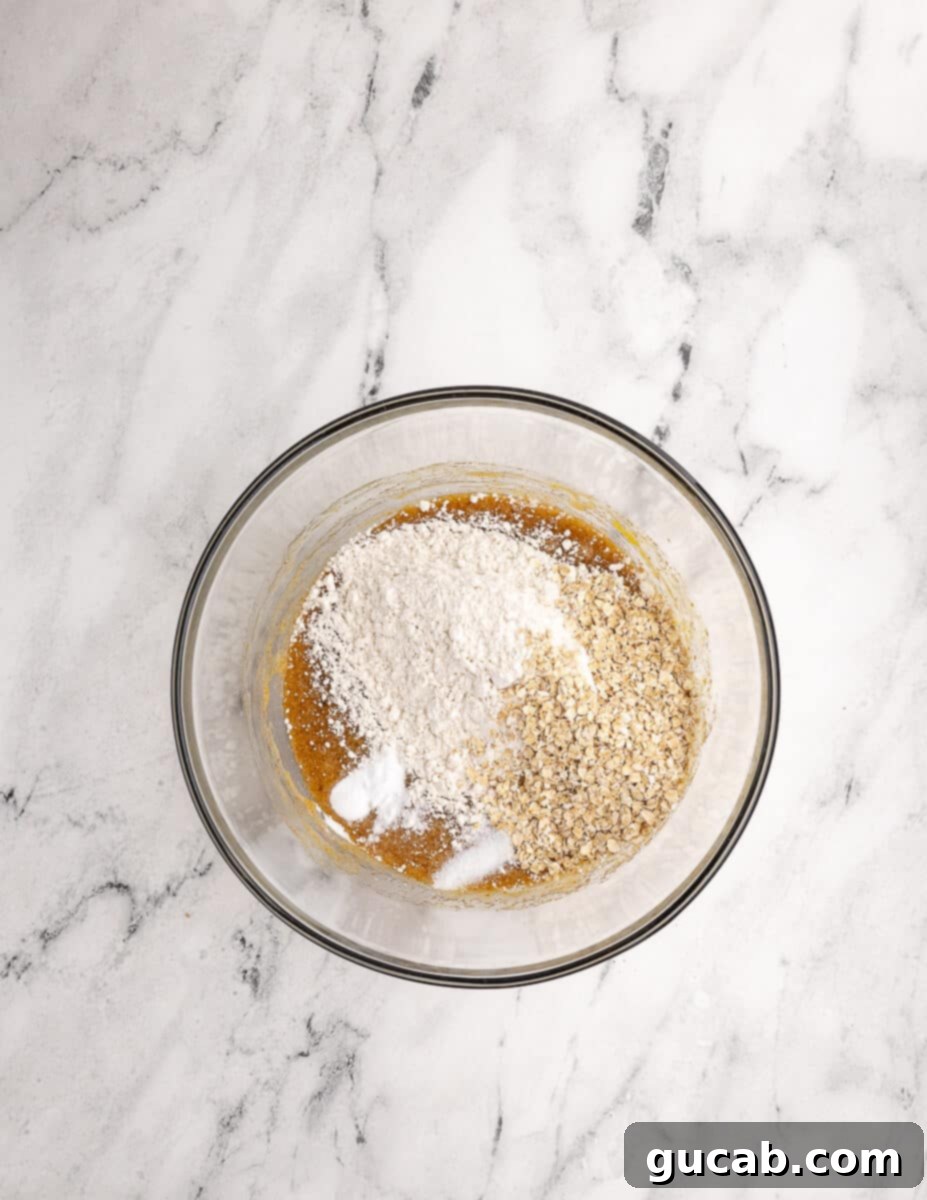
- In a separate, medium-sized bowl, meticulously whisk together your gluten-free all-purpose flour, certified gluten-free old fashioned oats, baking soda, and kosher salt. Ensure these dry ingredients are thoroughly combined to guarantee even distribution in the dough.
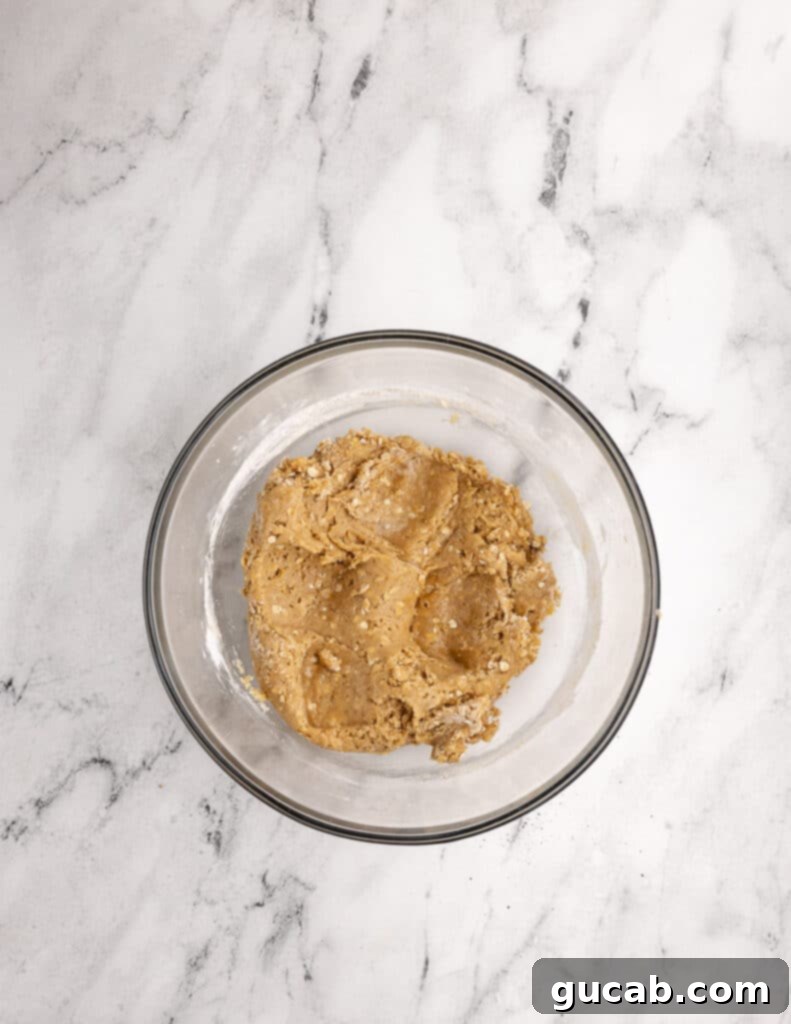
- Gradually add the prepared dry ingredients to the wet mixture in the large bowl. Using your spatula, stir gently until the flour mixture is just incorporated and no dry streaks remain. Be extremely careful not to overmix, as overworking gluten-free flour can still lead to a tougher, less tender cookie. The dough will appear noticeably softer and a bit looser than traditional wheat flour cookie dough, which is perfectly normal for this recipe – resist the urge to add any extra flour!
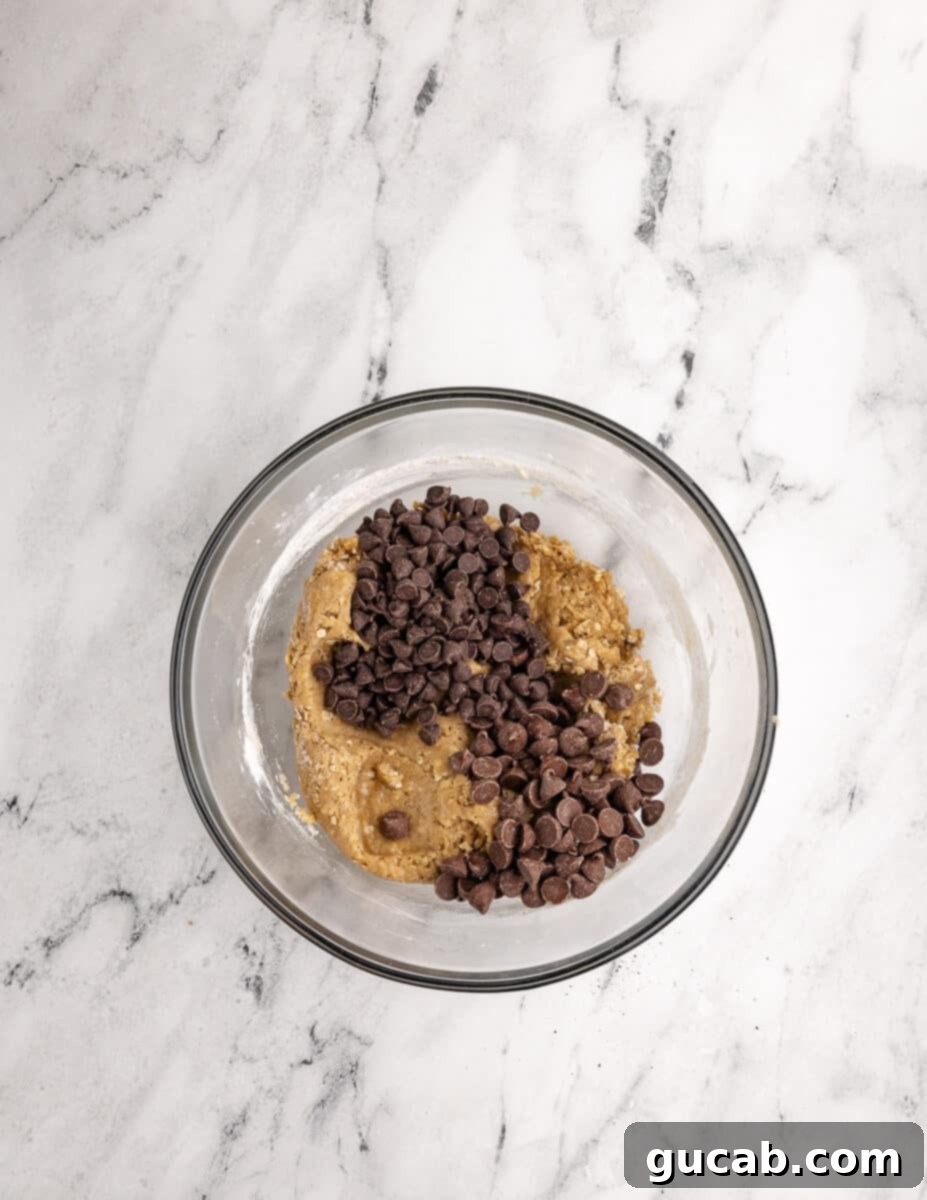
- Finally, gently fold in your generous helping of semi-sweet and milk chocolate chips until they are evenly distributed throughout the dough. Avoid over-mixing once the chocolate chips are added.
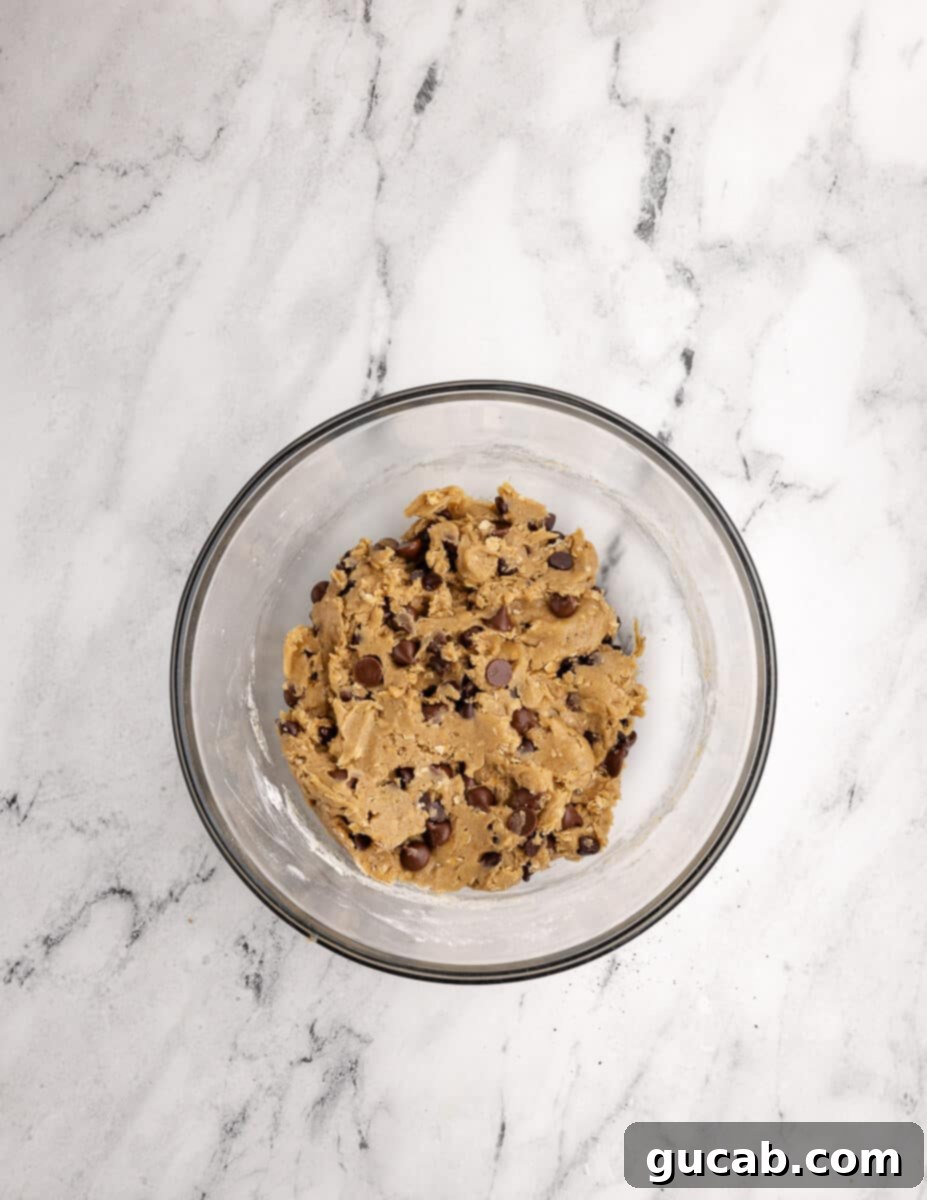
3. Scoop, Bake, and Enjoy:
- This versatile recipe yields approximately 12 larger, bakery-style cookies or about 21 smaller, more classic-sized cookies. For consistent baking and perfectly uniform cookies, I highly recommend using a portion scoop – it’s incredibly easy and ensures every cookie dough ball bakes evenly, promoting perfect results every time.
- Scoop 6 large cookies or 8 small cookies onto your prepared baking sheet, ensuring you leave ample space (about 2 inches) between them. These cookies will spread significantly during baking, so adequate spacing is crucial for preventing them from melding together into one giant cookie.
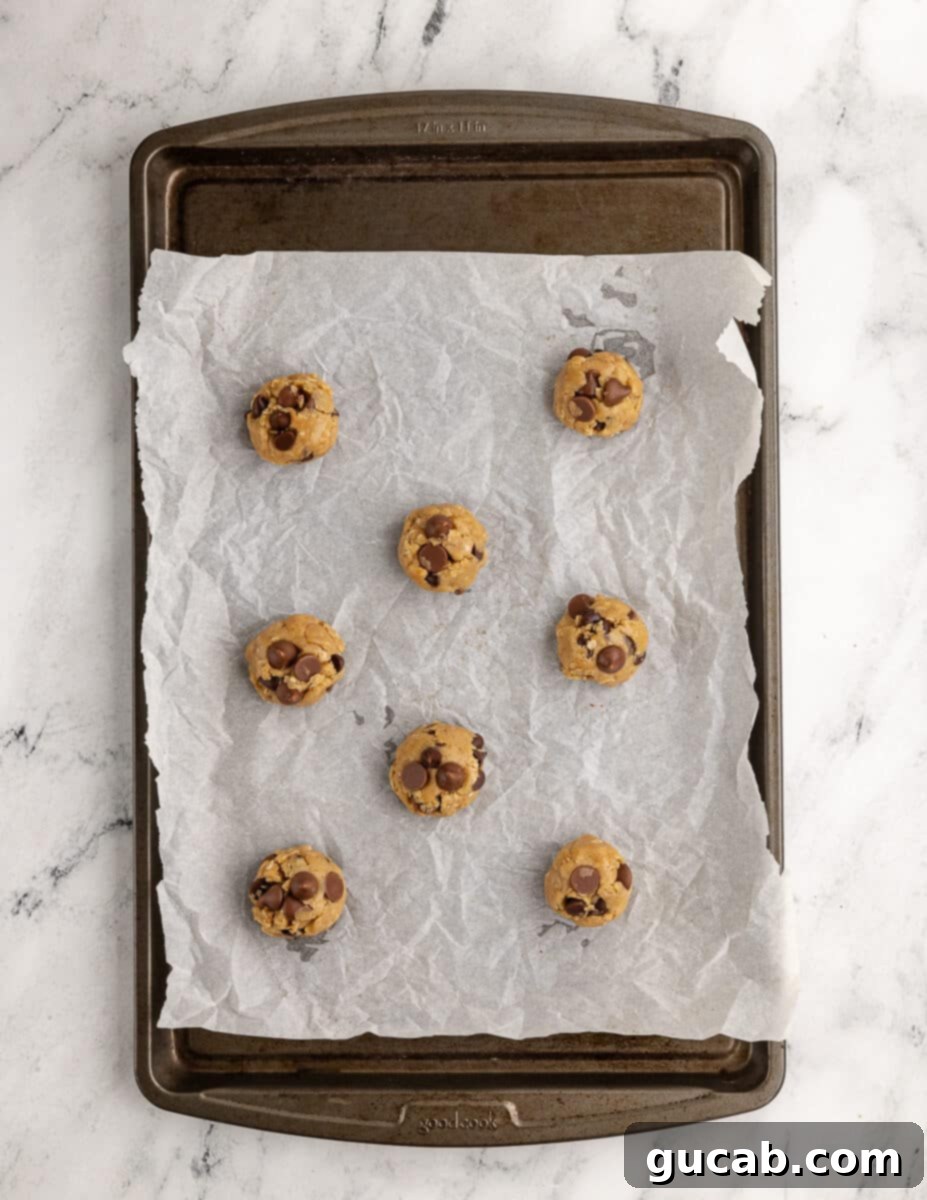
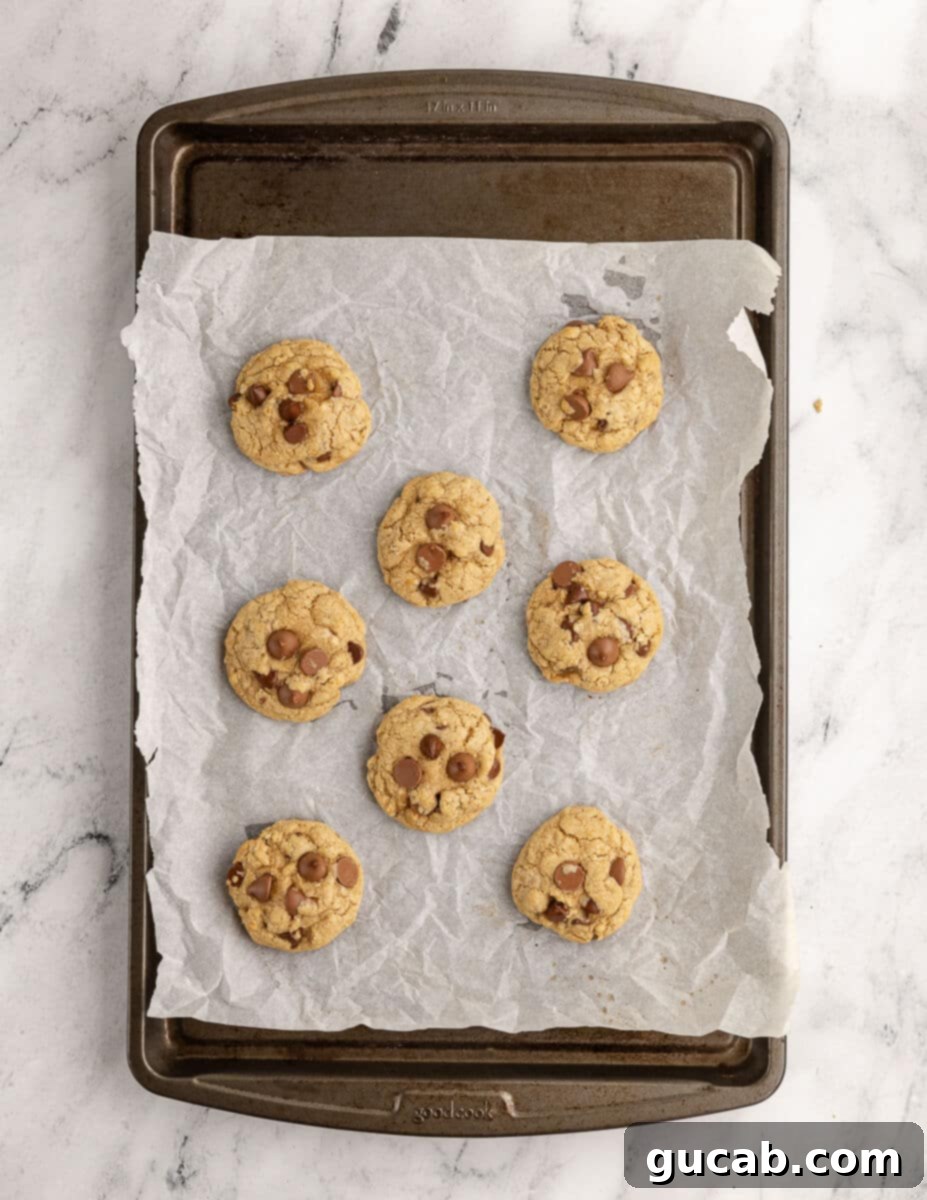
- Bake the large cookies for precisely 9 minutes, and the smaller cookies for 7 minutes. This short, high-temperature bake time is absolutely critical for achieving those signature crispy, golden-brown edges while ensuring the centers remain wonderfully soft, chewy, and slightly underbaked. It’s imperative not to overbake them! The outsides should appear beautifully set and golden brown, but the centers should still look visibly soft and slightly underdone, even a bit gooey, when you remove them from the oven.
- Once baked, allow the cookies to cool completely on the baking sheet for at least 10 minutes. This step is non-negotiable, especially for gluten-free cookies, as they are fragile and prone to crumbling when warm and need this time to firm up and set their structure. Attempting to move them too soon will almost certainly cause them to fall apart. After they’ve set, carefully transfer them to a wire rack to cool completely. Repeat the entire baking process with any remaining cookie dough.
Essential Cookie Making Tips for Gluten-Free Success
Achieving gluten-free cookie perfection is all about paying attention to a few key details. While the recipe is straightforward, these professional tips will help ensure your cookies turn out beautifully every single time, yielding those coveted crispy edges and wonderfully chewy centers:
- Patiently Allow Cookies to Set: This is arguably the most critical tip for gluten-free cookies. Unlike their gluten-filled counterparts, GF cookies are inherently more delicate and prone to crumbling when warm. You absolutely must allow them to cool and firm up on the baking sheet for at least 10 minutes (or even longer for larger cookies) before attempting to transfer them to a cooling rack. Rushing this step will almost certainly result in soft, broken cookies. Let them cool completely for the best structural integrity.
- Always Opt for Certified Gluten-Free Oats: Standard oats, while naturally devoid of gluten, are frequently processed or grown in facilities that also handle wheat, barley, or rye. This common practice often leads to cross-contamination, making them unsafe for individuals with celiac disease or severe gluten sensitivities. To ensure your cookies are truly gluten-free and safe for everyone, always purchase oats that are clearly labeled as “certified gluten-free.”
- Avoid the Pitfall of Overbaking: Remember the high oven temperature of 400°F? It means a shorter, more intense bake time! When you pull the cookies from the oven, the edges should be a beautiful golden brown, but the centers should still look visibly soft, slightly underdone, and even a bit gooey. This is crucial for achieving that desirable chewy middle. The residual heat from the hot baking sheet will continue to gently cook the cookies as they cool. If the entire cookie looks fully brown and firm upon removal, it’s already overbaked and will likely become dry, hard, and brittle once cooled.
- Invest in a Quality Portion Scoop: Using a cookie scoop is not merely about convenience; it’s a game-changer for consistency. A scoop ensures that every cookie dough ball is precisely the same size, which is paramount for even baking. This means all your cookies will bake uniformly and finish at the same time, preventing some from being underbaked while others are overbaked. This simple tool eliminates guesswork and promotes beautiful, perfectly shaped cookies.
- Measure Flour Accurately: Especially in the realm of gluten-free baking, precise flour measurement is an absolute must. Gluten-free flour blends absorb liquids differently than wheat flour, and even slight discrepancies can significantly impact the final texture. Too much flour can lead to dry, dense, and crumbly cookies, while too little can make them overly soft, greasy, or cause them to spread excessively. Always use the “spoon and level” method: lightly spoon the gluten-free flour into your measuring cup until it’s overflowing, then level it off with the straight edge of a knife or spatula. Never scoop directly from the bag, as this compacts the flour and can result in up to 25% more flour than intended.
Storage & Freezing for Gluten-Free Cookies
Having a batch of these delightful gluten-free chocolate chip cookies (or the dough!) on hand is always a fantastic idea. Proper storage is key to maintaining their optimal freshness and flavor, and knowing how to freeze them efficiently means you’re never far from a homemade treat. Here’s everything you need to know:
How to store baked gluten-free cookies:
- Once your delicious gluten-free chocolate chip cookies have completely cooled to room temperature (this is crucial to prevent condensation), store them in an airtight container. They will remain wonderfully fresh, soft, and chewy for up to 4 days on your countertop. For an extra trick to maintain their softness and prevent them from drying out, you can even add half a slice of plain bread to the container; the cookies will absorb moisture from the bread, keeping them perfectly tender.
How to freeze gluten-free cookie dough:
Freezing cookie dough is a fantastic time-saver, allowing you to bake fresh, warm cookies whenever a craving strikes without the full prep effort! As a former sweets baker at a busy bread bakery, I regularly froze large batches of cookie dough for efficiency, and it always worked beautifully. This method ensures you always have gourmet, homemade cookies within reach.
- Using your trusty portion scoop, scoop individual cookie dough balls onto a parchment-lined baking sheet or a large plate. Make sure the dough balls are not touching each other to prevent them from freezing together.
- Place the entire sheet pan into the freezer and freeze until the cookie dough balls are completely solid, which typically takes about 1-2 hours, depending on their size.
- Once thoroughly frozen, carefully peel the solid cookie dough balls off the parchment paper. Transfer them to a heavy-duty, freezer-safe, zip-top bag or an airtight freezer container. Label the bag clearly with the date and store for up to 3 months for optimal freshness.
- When you’re ready to bake, simply remove the desired number of frozen cookie dough balls and place them directly onto a prepared baking sheet. Bake as directed in the recipe, but be aware that they might require an extra minute or two of baking time since they are starting from a frozen state. Just keep an eye out for those familiar golden-brown edges!
How to freeze baked gluten-free cookies:
Freezing baked cookies is another excellent way to ensure you always have a delightful treat on hand, whether for unexpected guests or a quick personal indulgence. These browned butter gluten-free chocolate chip cookies freeze exceptionally well, retaining their wonderful texture and flavor.
- Before freezing, ensure that all your baked cookies are completely cooled to room temperature. Freezing warm cookies can lead to ice crystals and a soggy texture.
- Gently place the fully cooled cookies into a freezer-safe, zip-top gallon bag or an airtight freezer container. You can stack them carefully to save space, but try to limit stacks to a maximum of two cookies high to prevent them from getting crushed or stuck together. For extra protection, you can place a piece of parchment paper between layers.
- For best results in maintaining their shape and preventing freezer burn, lay the bag or container flat in the freezer. Freeze for up to 3 months.
- To enjoy your frozen baked cookies, simply remove the desired number from the freezer and let them thaw at room temperature for approximately 15-30 minutes. For an extra indulgent, warm, and gooey treat, you can also gently reheat them in the microwave for 10-15 seconds or in a preheated oven at 300°F (150°C) for a few minutes.
Gluten Free Cookie FAQs
The quality of your gluten-free flour blend can genuinely make or break your cookies. Not all blends are created equal; some can unfortunately result in gritty, dry, or crumbly textures, while others come remarkably close to replicating the real deal. For this specific recipe, and for consistently excellent results across the majority of my gluten-free baking, Bob’s Red Mill 1:1 All-Purpose Gluten-Free Flour is my absolute top recommendation. It boasts a fantastic, balanced composition of rice flours, starches, and xanthan gum that expertly mimics the structure and taste of traditional wheat flour. I specifically developed this browned butter chocolate chip cookie recipe using this flour, and it consistently delivers the desired soft and chewy texture with perfectly crispy edges. You can often find it at major retailers like Walmart, Sam’s Club, and Lowe’s Foods, or conveniently on Amazon, where I often buy it in bulk (I typically purchase 4 bags at a time for great value!). I also use it regularly in my best buttermilk pancakes recipe – we love our breakfast carbs around here!
Xanthan gum serves as an incredibly crucial gluten substitute in gluten-free baking. It functions as a powerful binder and thickener, helping to give the dough elasticity, prevent crumbly textures, and keep your cookies from falling apart. Essentially, it mimics the sticky, cohesive properties that gluten naturally provides in wheat flour. If you’re using a high-quality, pre-blended gluten-free all-purpose flour, many of them – including my recommended Bob’s Red Mill 1:1 blend – already contain xanthan gum as part of their ingredient mix. Always make sure to check the ingredients list on your chosen flour packaging to confirm its presence. If your chosen blend does not include it, you might need to add a small amount (typically ¼ to ½ teaspoon per cup of gluten-free flour) to achieve the desired structure and prevent crumbly cookies, but this recipe is balanced assuming a 1:1 blend with xanthan gum already included.
While a baking temperature of 400°F (200°C) might seem unusually high for cookies, it is a very deliberate and essential technique that yields incredible results for these specific gluten-free chocolate chip cookies. The intense, high initial heat from the oven causes the edges of the cookies to set quickly and crisp up beautifully, giving them that desired golden-brown, slightly crunchy exterior. Simultaneously, the relatively shorter baking duration (just 7-9 minutes) ensures that the centers remain delightfully soft, wonderfully chewy, and even a bit gooey – which is precisely the perfect texture we are aiming for in a truly exceptional cookie. This method creates a fantastic, desirable contrast between the crispy exterior and the irresistibly soft interior, effectively preventing the cookies from becoming uniformly hard, dry, or overbaked. Trust the temperature for this specific recipe; it’s the secret to their unique texture!
While technically you can attempt to use a different gluten-free flour blend, I strongly advise against substituting the recommended Bob’s Red Mill 1:1 Gluten-Free All-Purpose Flour without careful consideration and an understanding that results will likely vary significantly. Different gluten-free flour blends are formulated with varying ratios of rice flours, starches (like potato starch, tapioca starch), and binders (like xanthan gum or guar gum). This means that a different blend will almost certainly produce a different outcome in terms of the cookie’s texture, spread, rise, and overall quality. If you do choose to use another brand, look for a “1:1” or “cup-for-cup” blend that explicitly states it contains xanthan gum, as this is crucial for the cookie’s structure. Even then, be prepared that the results may not match the perfection described in this recipe, and you might need to make adjustments to achieve a similar texture. For the guaranteed perfect result described and pictured, sticking with Bob’s Red Mill 1:1 is your best bet!
More Delicious Gluten-Free Cookie Recipes to Explore
If you’ve fallen in love with these browned butter gluten-free chocolate chip cookies, you’ll be thrilled to know there’s a whole world of other incredible gluten-free cookie recipes waiting for you to discover. Expand your baking repertoire with these fantastic options, all designed to deliver maximum flavor and perfect texture without the gluten:
- Gluten Free Cowboy Cookies
- Gluten Free Cookie Cake
- Gluten Free Funfetti Sugar Cookies
- Gluten Free M&M Cookies
- Gluten Free Oatmeal Cookies
- Gluten Free Double Chocolate Cookies
- Gluten Free Browned Butter Blondies
Browned Butter Gluten-Free Chocolate Chip Cookies
Carolyn
Pin Recipe
Equipment
-
Small Saucepan
-
Large Mixing Bowl
-
Spatula or Wooden Spoon
-
Measuring Cups & Spoons
-
Cookie Scoop (Small or Large)
-
Baking Sheets
-
Parchment Paper or Silicone Baking Mats
Ingredients
- 8 tbsp unsalted butter* (1 stick or 4 ounces, browned)
- ½ cup granulated white sugar
- ¼ cup packed light brown sugar
- 1 teaspoon vanilla extract
- 1 large egg + 1 large egg yolk
- 1 ¼ cup gluten-free all-purpose flour (recommended: Bob’s Red Mill 1:1)
- ⅓ cup certified gluten-free old fashioned oats
- ½ teaspoon baking soda
- ½ teaspoon kosher salt
- ½ cup semi-sweet chocolate chips
- ½ cup milk chocolate chips
Instructions
-
Preheat oven to 400°F (200°C). This high temperature is key for crisp edges and soft centers. Line a baking sheet with parchment paper or a silicone baking mat.
-
In a small, light-colored saucepan, melt the butter over medium heat. Watch it sizzle and foam. Once it starts to turn amber, stir constantly until it achieves a medium brown color with toasted milk solids at the bottom. Immediately transfer the browned butter to a large bowl to cool slightly.
-
Add the granulated white sugar and light brown sugar to the slightly cooled browned butter. Stir vigorously with a spatula until well combined.
-
Add the egg, extra egg yolk, and vanilla extract to the sugar mixture. Stir until everything is thoroughly combined and smooth.
-
In a separate bowl, whisk together the gluten-free all-purpose flour, certified gluten-free old fashioned oats, baking soda, and kosher salt. Add these dry ingredients to the wet mixture and stir gently with a spatula until just incorporated. Do not overmix. Fold in the semi-sweet and milk chocolate chips. The dough will be softer than traditional dough.
-
This recipe yields about 12 large cookies or 21 small/medium cookies. Using a cookie scoop, place 6 large cookies or 8 small cookies onto your prepared baking sheet, ensuring adequate space for spreading.
