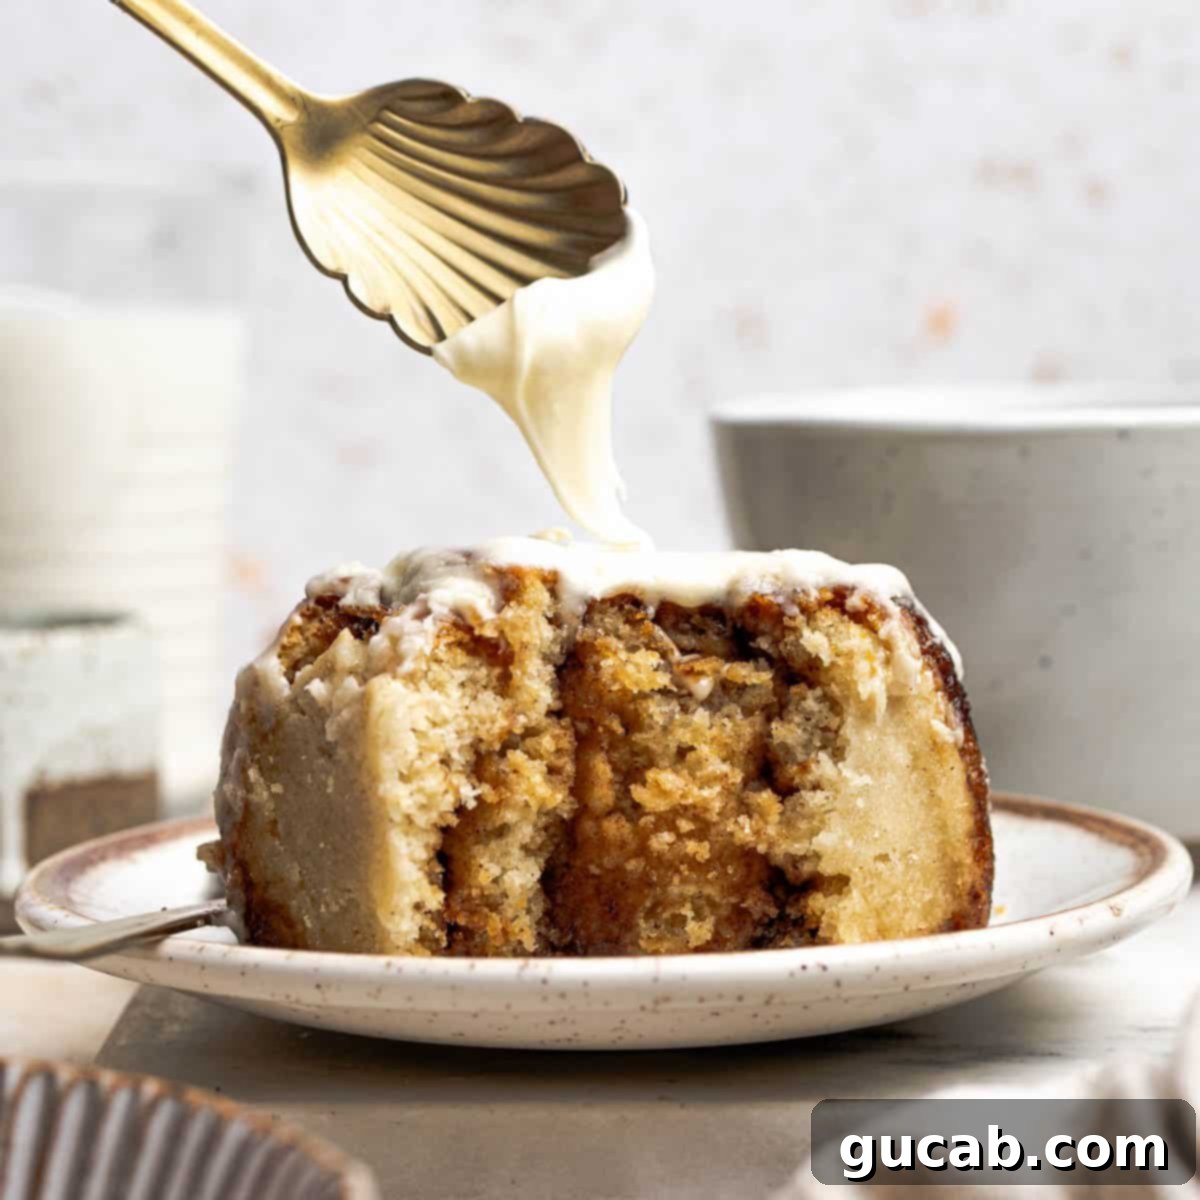
The Ultimate Guide to Baking Fluffy & Gooey Gluten-Free Cinnamon Rolls
Welcome to the definitive recipe for the most delightful homemade gluten-free cinnamon rolls you’ll ever bake! These aren’t just any ordinary rolls; they’re incredibly fluffy, generously swirled with an irresistible ooey-gooey cinnamon filling, and crowned with a dreamy, tangy cream cheese frosting. Prepare for a truly indulgent experience that will make you forget they’re gluten-free!
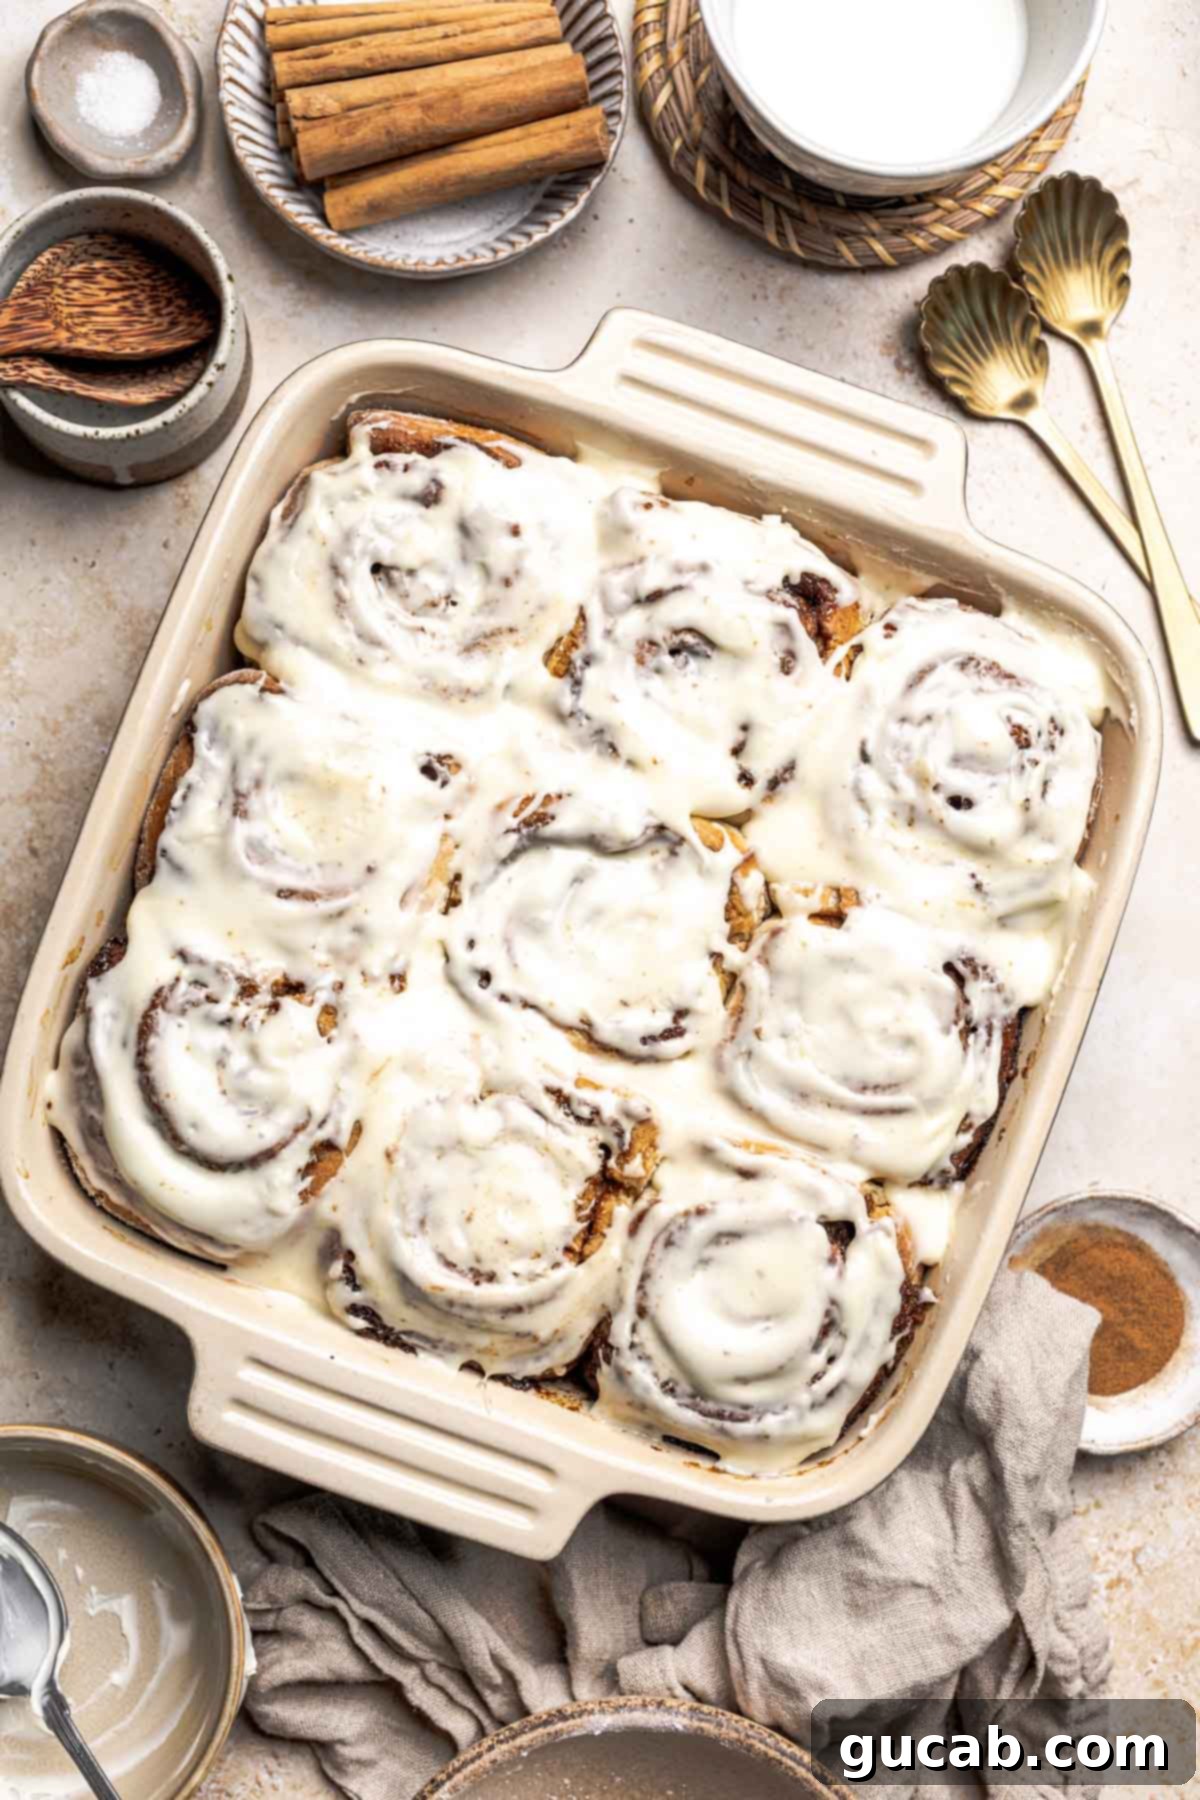
As an enthusiastic baker, my standards for cinnamon rolls, especially gluten-free ones, are incredibly high. For too long, finding a truly satisfying gluten-free version felt like chasing a myth. Store-bought options often fell flat, lacking the essential fluffiness and gooey center that defines a perfect cinnamon roll. That’s why I embarked on a baking mission, pulling out my yeast and firing up the oven with a singular goal: to create the best homemade gluten-free cinnamon roll recipe possible.
After numerous attempts, a few “flops,” and an embarrassing number of cinnamon rolls consumed (all in the name of research, of course!), I finally discovered a clear winner. This wasn’t just about making a gluten-free substitute; it was about crafting a roll that could stand toe-to-toe with any traditional cinnamon bun. I envisioned a recipe that would consistently deliver on these crucial elements:
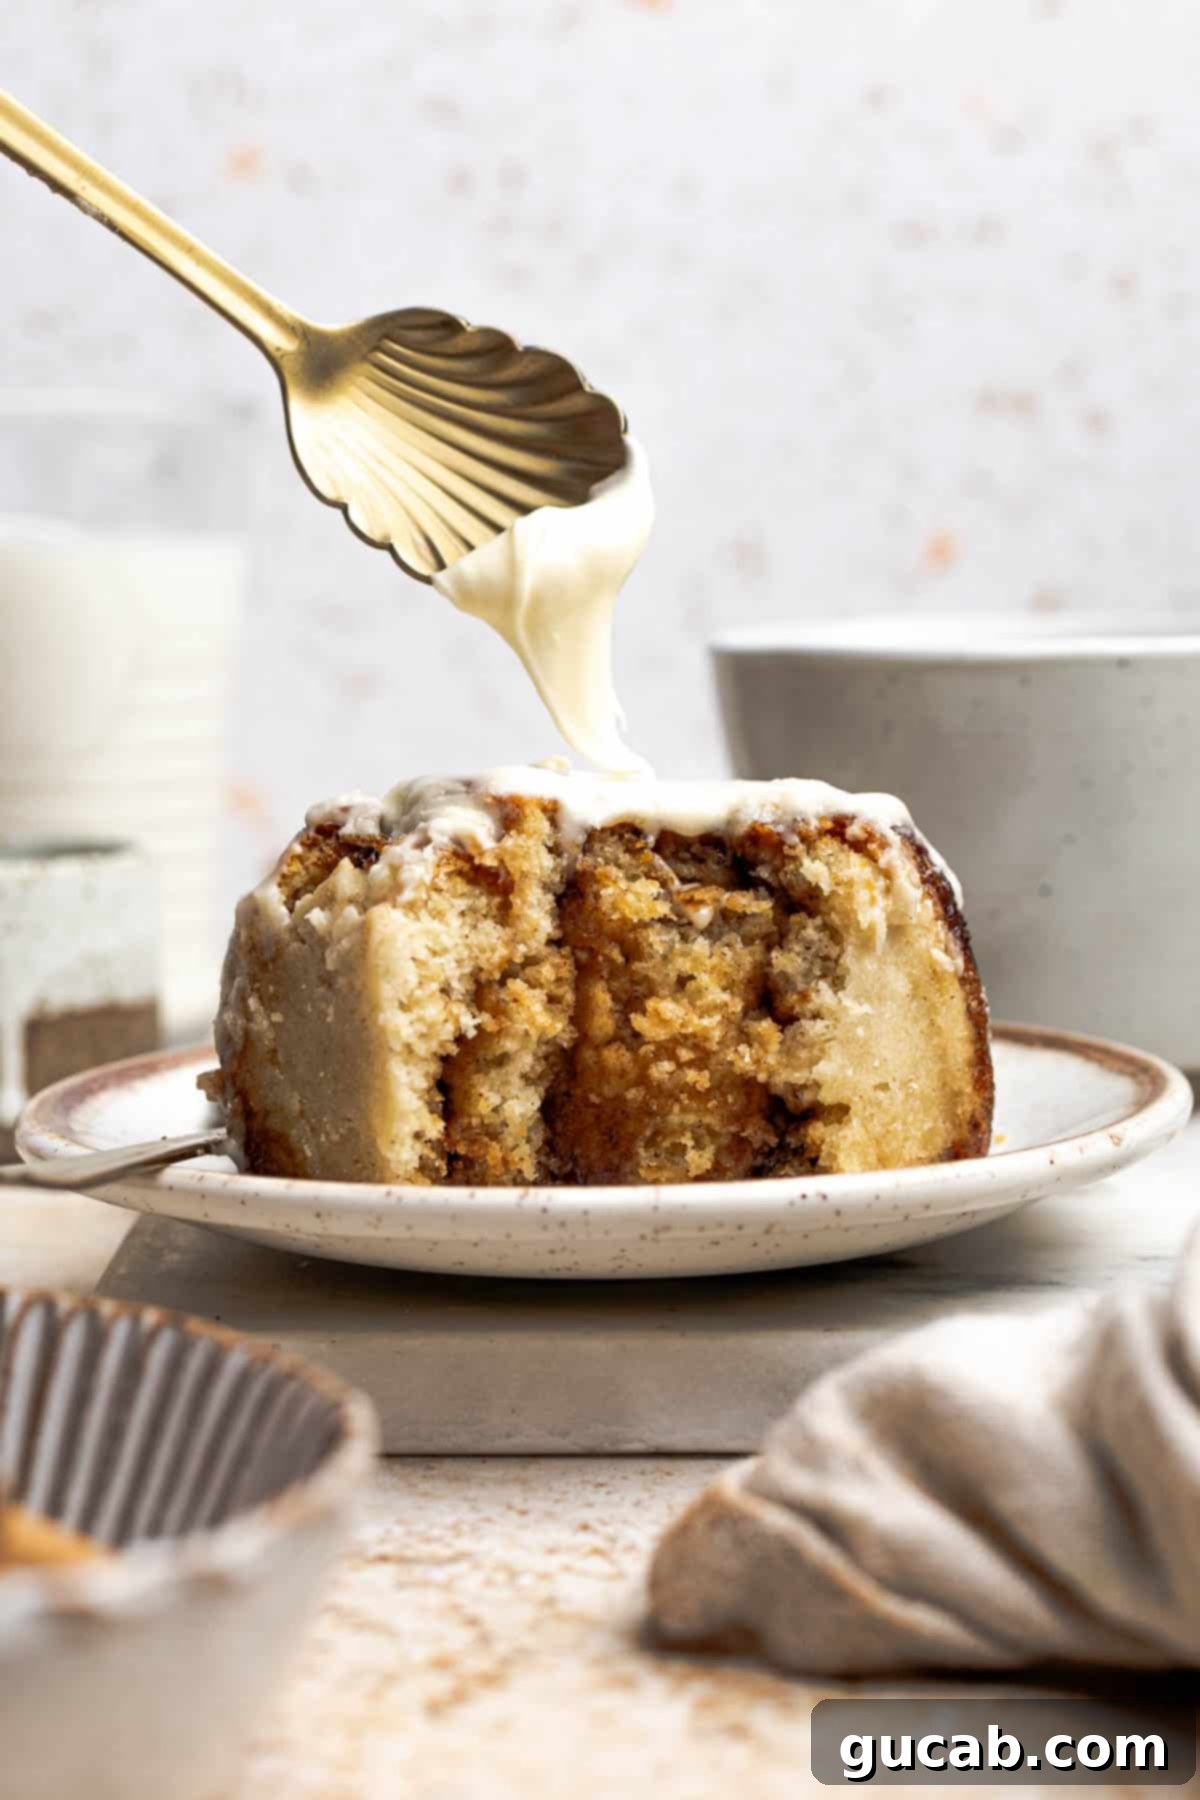
- Achieve the Perfect Gooey Center: They had to be delightfully ooey-gooey in the middle without being under-baked or tasting raw and doughy. This is a delicate balance, and it took precision to master.
- Rise Beautifully: A common pitfall in gluten-free baking is a lack of rise, resulting in dense, heavy “duds.” My rolls needed to be light, airy, and visibly risen, showcasing the magic of yeast.
- Deliver Addictive Flavor: The taste had to be so incredible, so satisfying, that it conjured memories of a Cinnabon on Christmas morning – a true comfort food experience.
- Remain Approachable: While perfection was the goal, the recipe couldn’t be overly complicated. I wanted easy-to-follow steps that would consistently yield incredible results for home bakers.
Baking with gluten-free yeast can be notoriously tricky, and using a no-yeast alternative simply wasn’t an option for achieving that authentic, fluffy cinnamon roll texture. Throughout my extensive testing, I uncovered several essential tricks and tips that make all the difference. Read on to discover these invaluable insights, ensuring your gluten-free cinnamon rolls are nothing short of spectacular.
Disclosure: This post contains affiliate links. In other words, if you click a link and purchase something I will receive a commission at no cost to you. I only recommend products I use and enjoy myself.
Key Ingredients for Unforgettable Gluten-Free Cinnamon Rolls:
Crafting exceptional gluten-free cinnamon rolls starts with understanding the role of each ingredient. Here’s a closer look at the stars of this recipe, designed to ensure your rolls are perfectly moist, fluffy, and bursting with flavor:

- Whole Milk: The fat content in whole milk is crucial for creating an incredibly rich and tender dough, contributing significantly to the luxurious texture of these rolls. While I’ve personally not tested dairy-free alternatives extensively, a reader successfully used almond milk, suggesting it can be a viable substitute for those with dairy sensitivities.
- Active Dry Yeast: This is the magic behind the pillowy soft texture of our dough. Active dry yeast is a natural leavening agent that produces carbon dioxide, causing the dough to rise and giving the rolls their characteristic lightness and airy structure. Proper activation is key!
- Granulated Sugar: Beyond sweetness, a small amount of sugar acts as food for the active dry yeast, kickstarting its activity and ensuring a robust rise. It also contributes to the golden-brown crust.
- Eggs: Eggs add essential moisture, richness, and structure to the dough, similar to how they enhance brioche. They contribute to a more tender crumb and help bind the gluten-free flours. Using them at room temperature is important for optimal dough consistency.
- Vegetable Oil: While some recipes opt for butter in the dough, I chose vegetable oil for its ability to create an exceptionally moist and tender final product. It helps keep the gluten-free dough from drying out, ensuring a soft roll.
- Bob’s Red Mill 1:1 Gluten Free All-Purpose Flour: This specific brand was used to develop this recipe, and I highly recommend it for consistent results. Gluten-free flour blends can vary significantly in their composition and how they react in recipes. If you use a different brand, note that results may differ. Some readers have reported success with Namaste Gluten-Free Flour as well.
- Unsalted Butter (for filling): Softened butter is indispensable for creating that luscious, ooey-gooey cinnamon filling. It must be truly soft and spreadable – cold butter will be nearly impossible to work into the sticky dough evenly.
- Baking Soda & Cream of Tartar: These two ingredients work together to provide an extra lift and tenderness to the gluten-free dough. In gluten-free baking, sometimes a little additional chemical leavening can help boost the yeast’s action, resulting in a lighter roll.
- Brown Sugar & Ground Cinnamon (for filling): The heart of any cinnamon roll! Brown sugar provides depth of flavor and moisture, while a generous amount of ground cinnamon delivers that classic, warm spice.
- Cream Cheese & Powdered Sugar (for frosting): The dynamic duo for our irresistible cream cheese frosting, providing a perfect balance of tangy and sweet to complement the rich rolls.
How to Master Homemade Gluten-Free Cinnamon Rolls:
While these delicious gluten-free cinnamon rolls are not inherently difficult to make, they do require a little tender loving care and adherence to the recipe’s specific instructions. Don’t be tempted to cut corners; following these steps carefully will ensure your rolls turn out absolutely delightful!
The Dough Making Process: Creating the Perfect Gluten-Free Base
First, we activate the yeast – a crucial step for a fluffy dough. Begin by gently warming the whole milk in the microwave until it reaches precisely 110 degrees Fahrenheit. Using a thermometer is highly recommended here, as accuracy ensures yeast vitality. Stir in the sugar (which acts as food for the yeast) and the active dry yeast. Allow this mixture to sit undisturbed for about six minutes. You’ll know your yeast is alive and well when it becomes wonderfully frothy and bubbly on the surface, indicating it’s ready to work its magic.
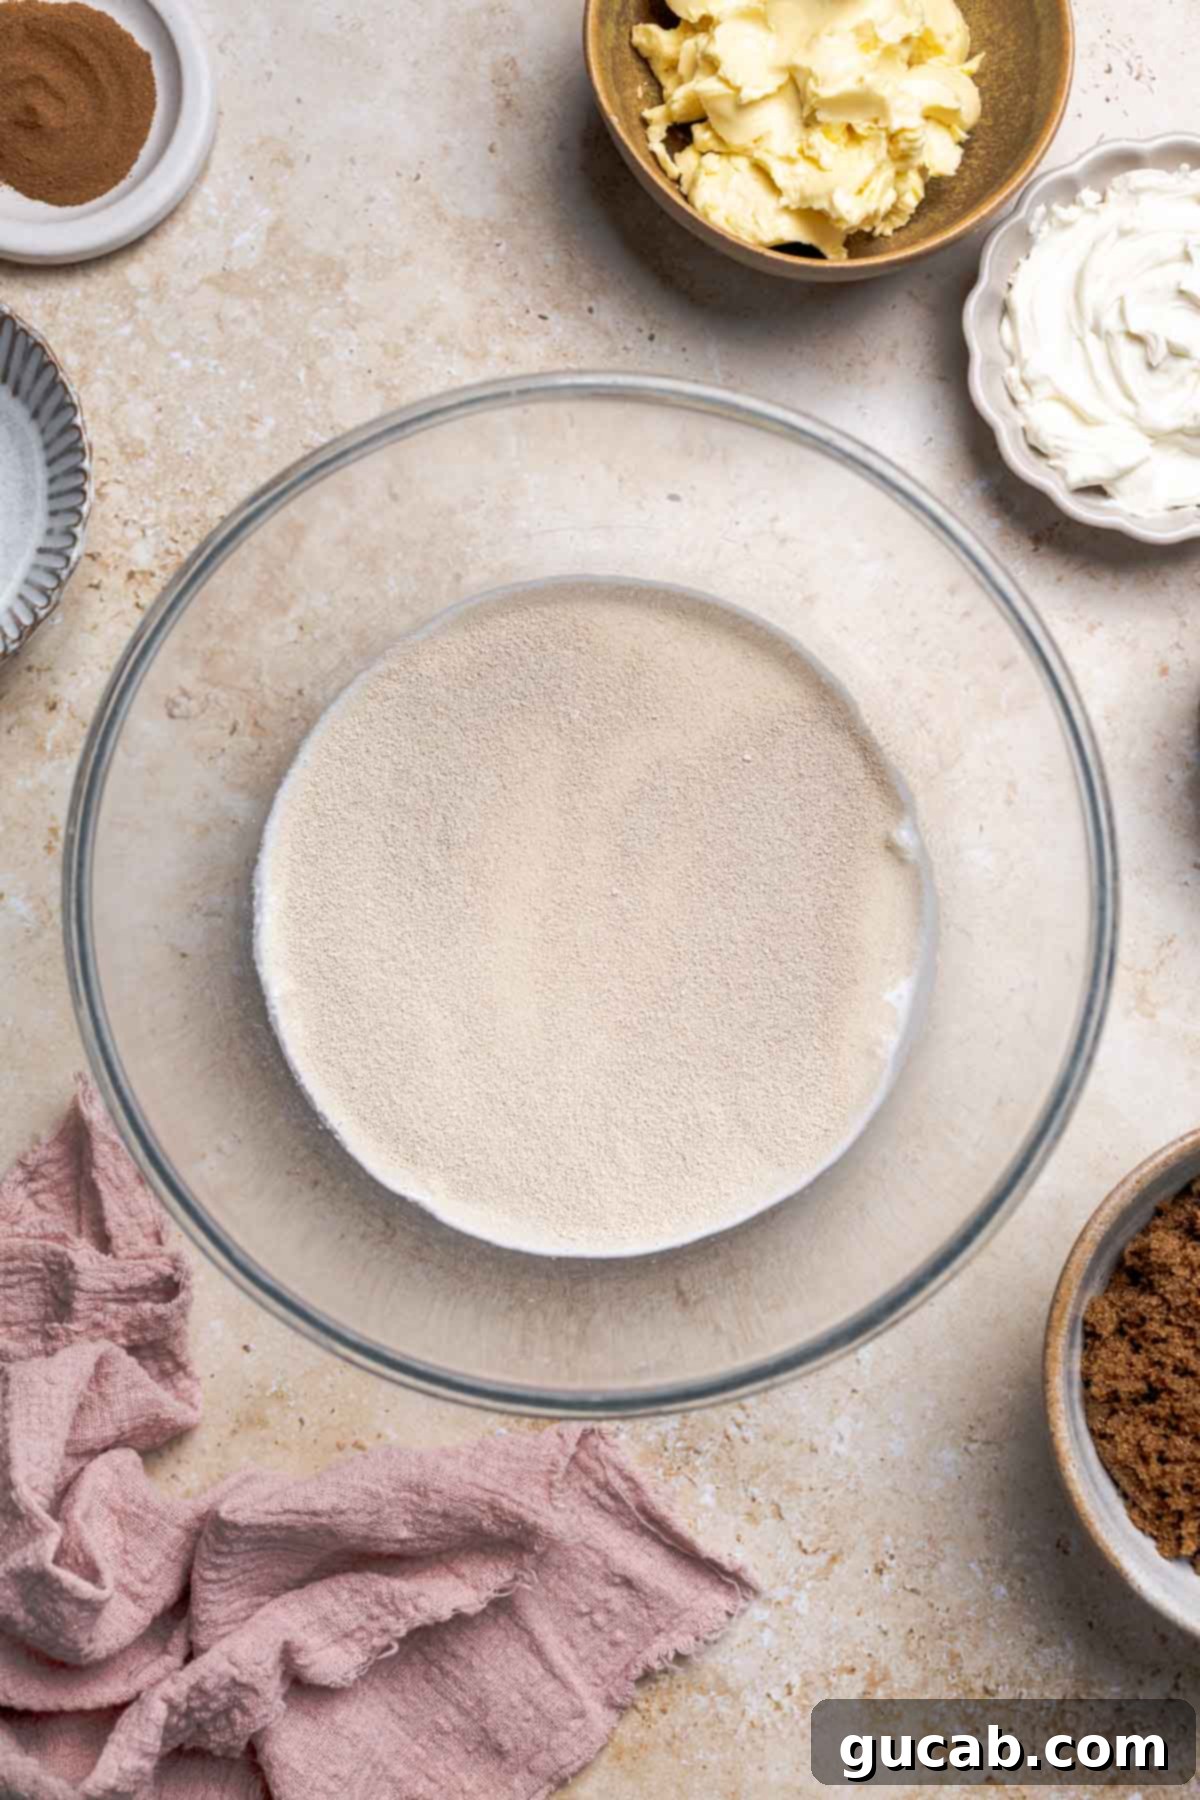
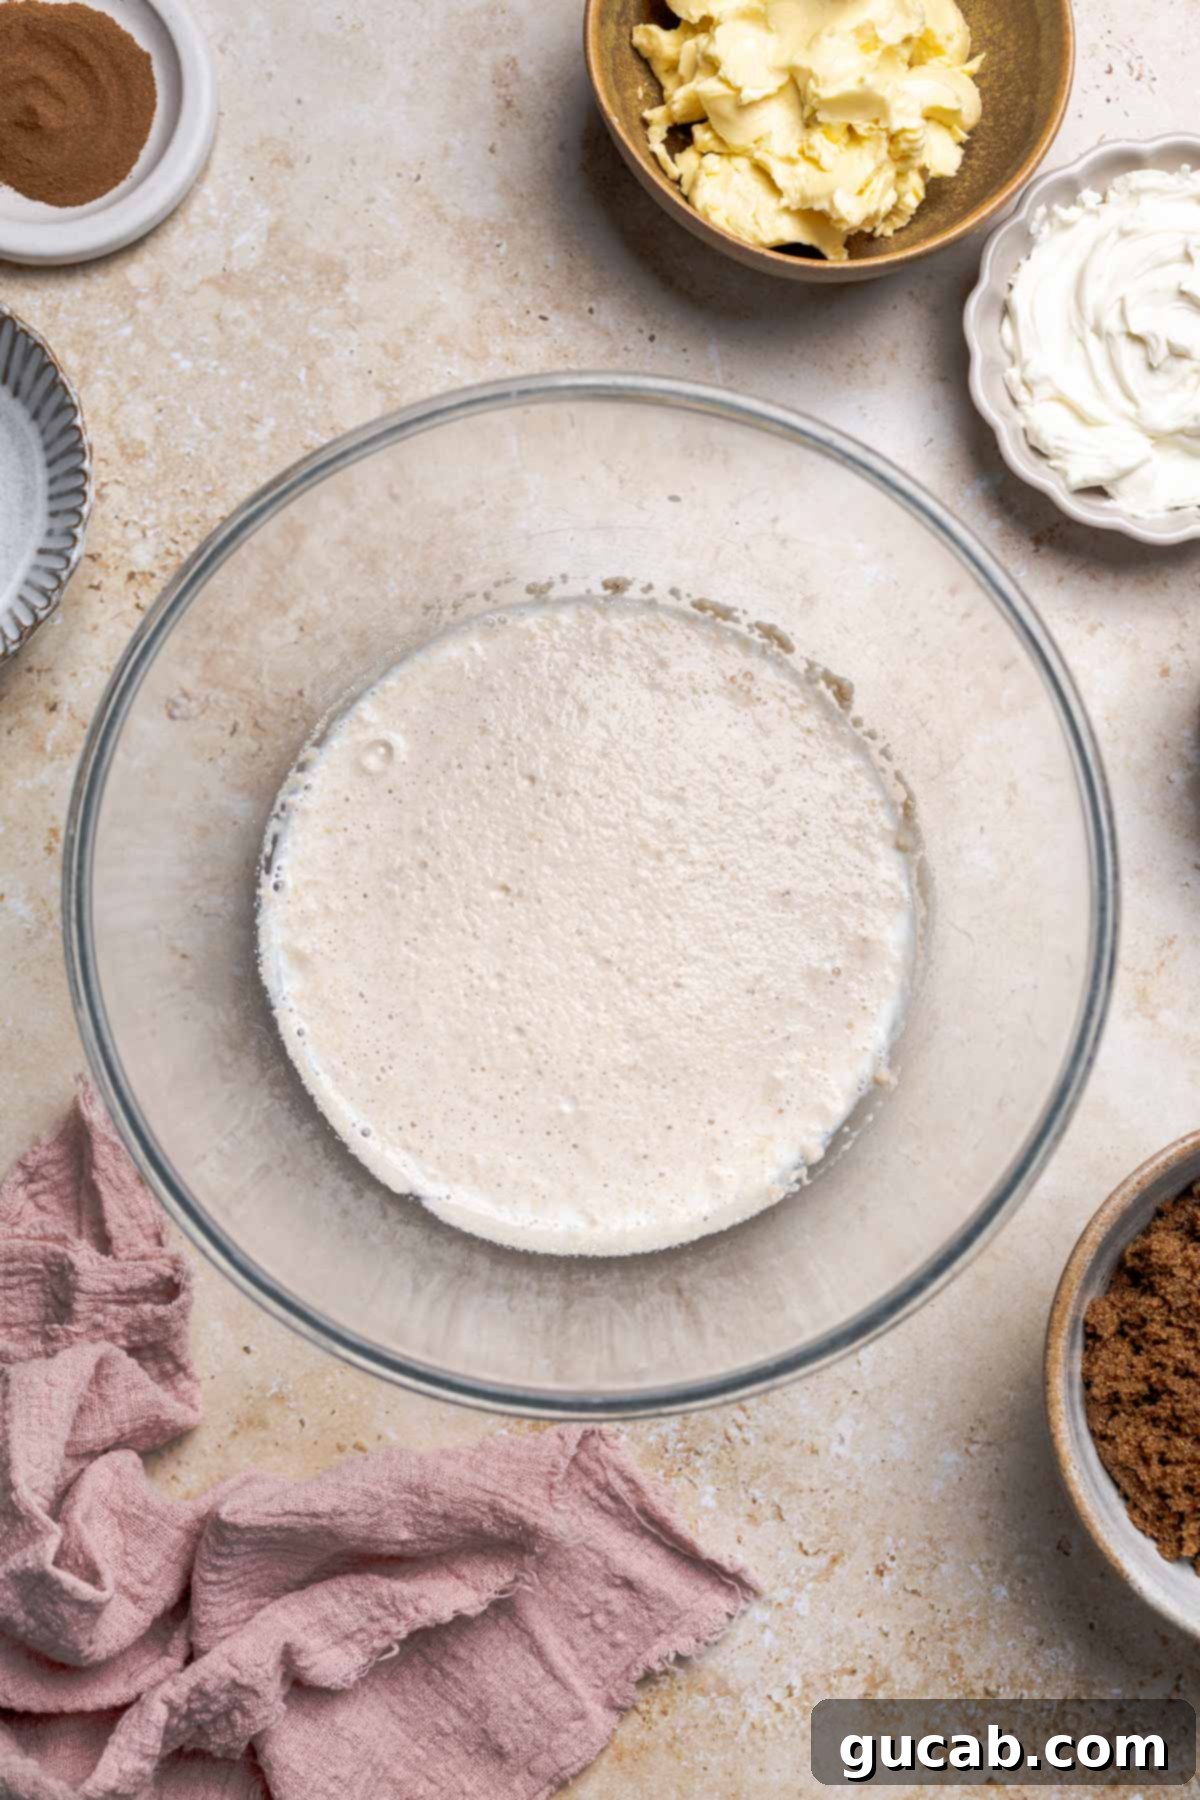
Why is this temperature so important? Yeast is a living organism. If the milk is too hot, it will kill the yeast, rendering it inactive, and your rolls won’t rise. Conversely, if the milk is too cold, the yeast won’t activate properly, resulting in a poor rise. Precision here is paramount for light and fluffy gluten-free cinnamon rolls. For more on yeast and its role in baking, consider consulting resources like this informative article about yeast.
Next, we combine the wet ingredients. Into the activated yeast mixture, gently whisk in room temperature eggs, vegetable oil, and the remaining ½ cup of sugar. Ensure everything is thoroughly incorporated. Using room temperature eggs is key to maintaining the correct temperature of the liquid, which prevents shocking the yeast and ensures its continued activity. This blend forms the moist foundation of our dough.
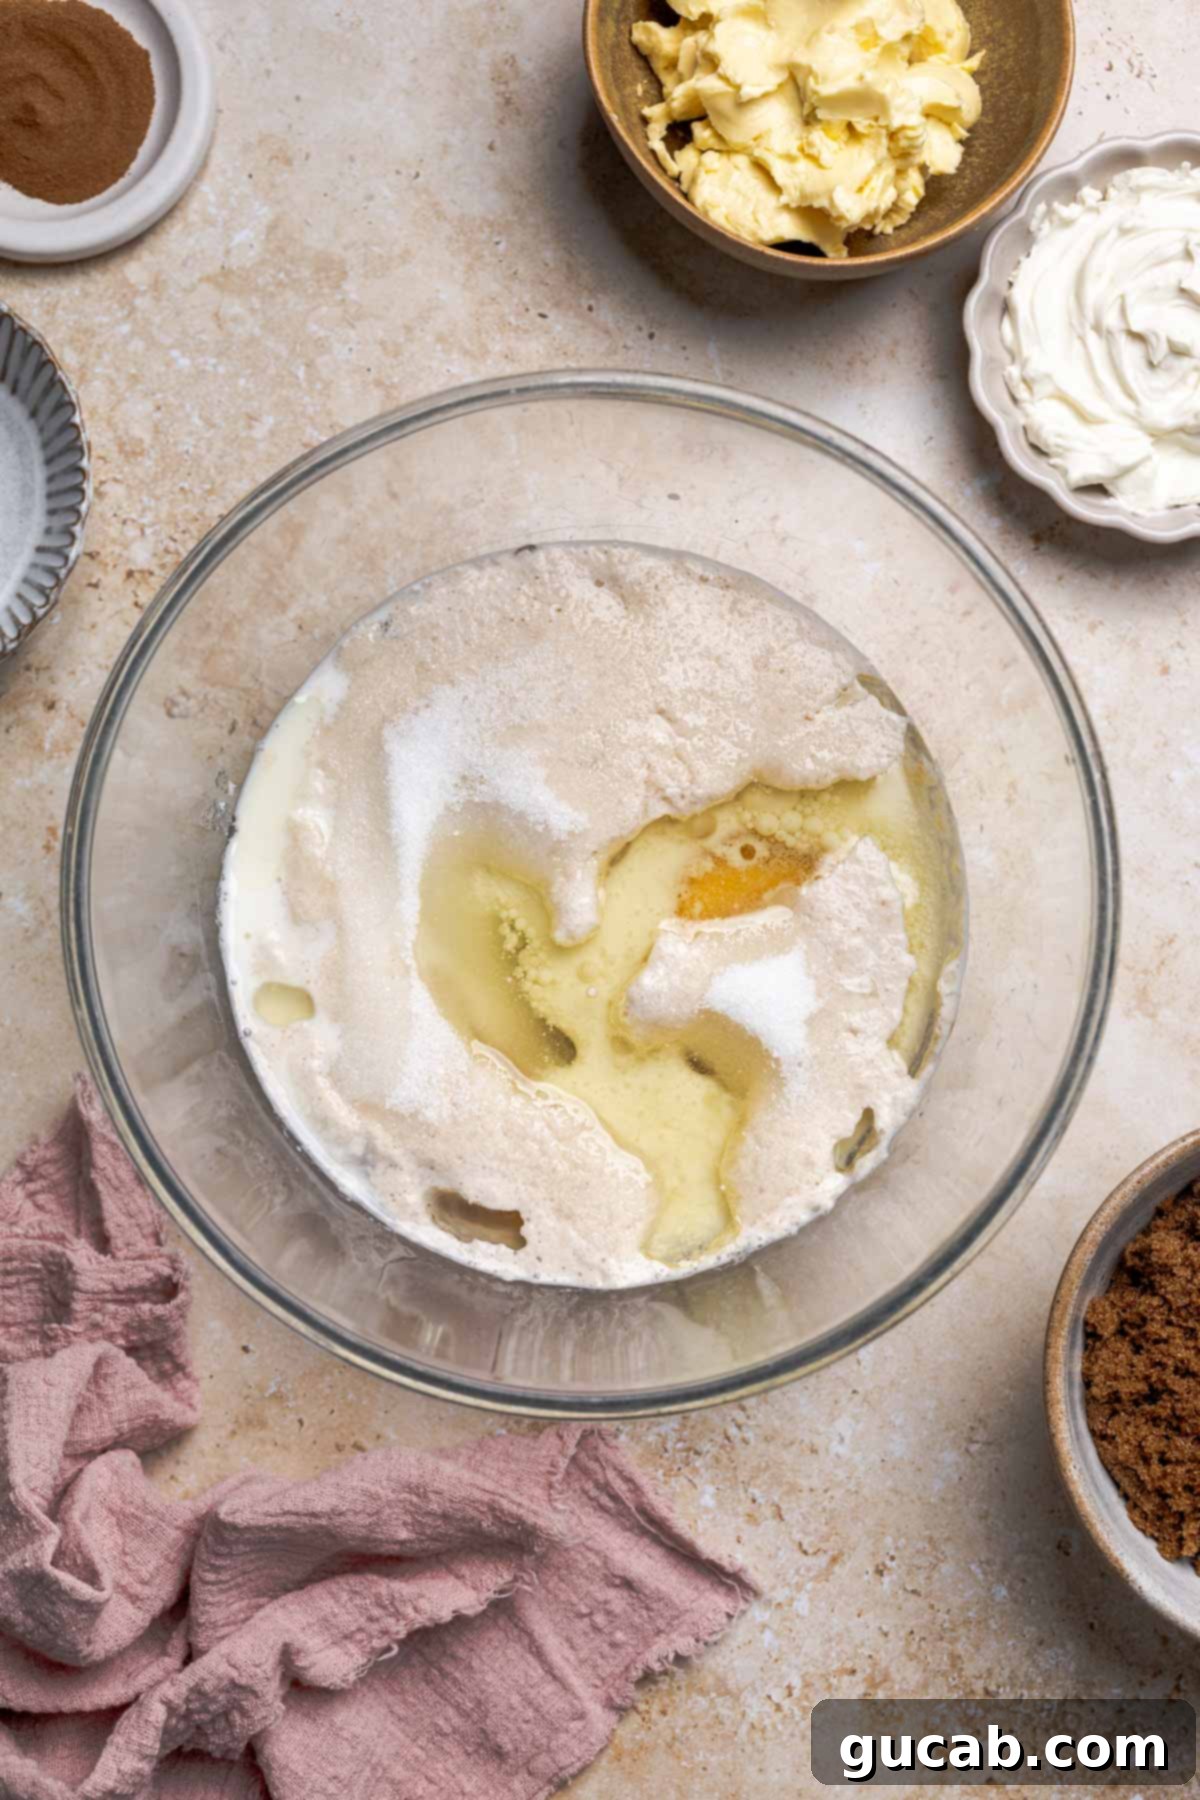
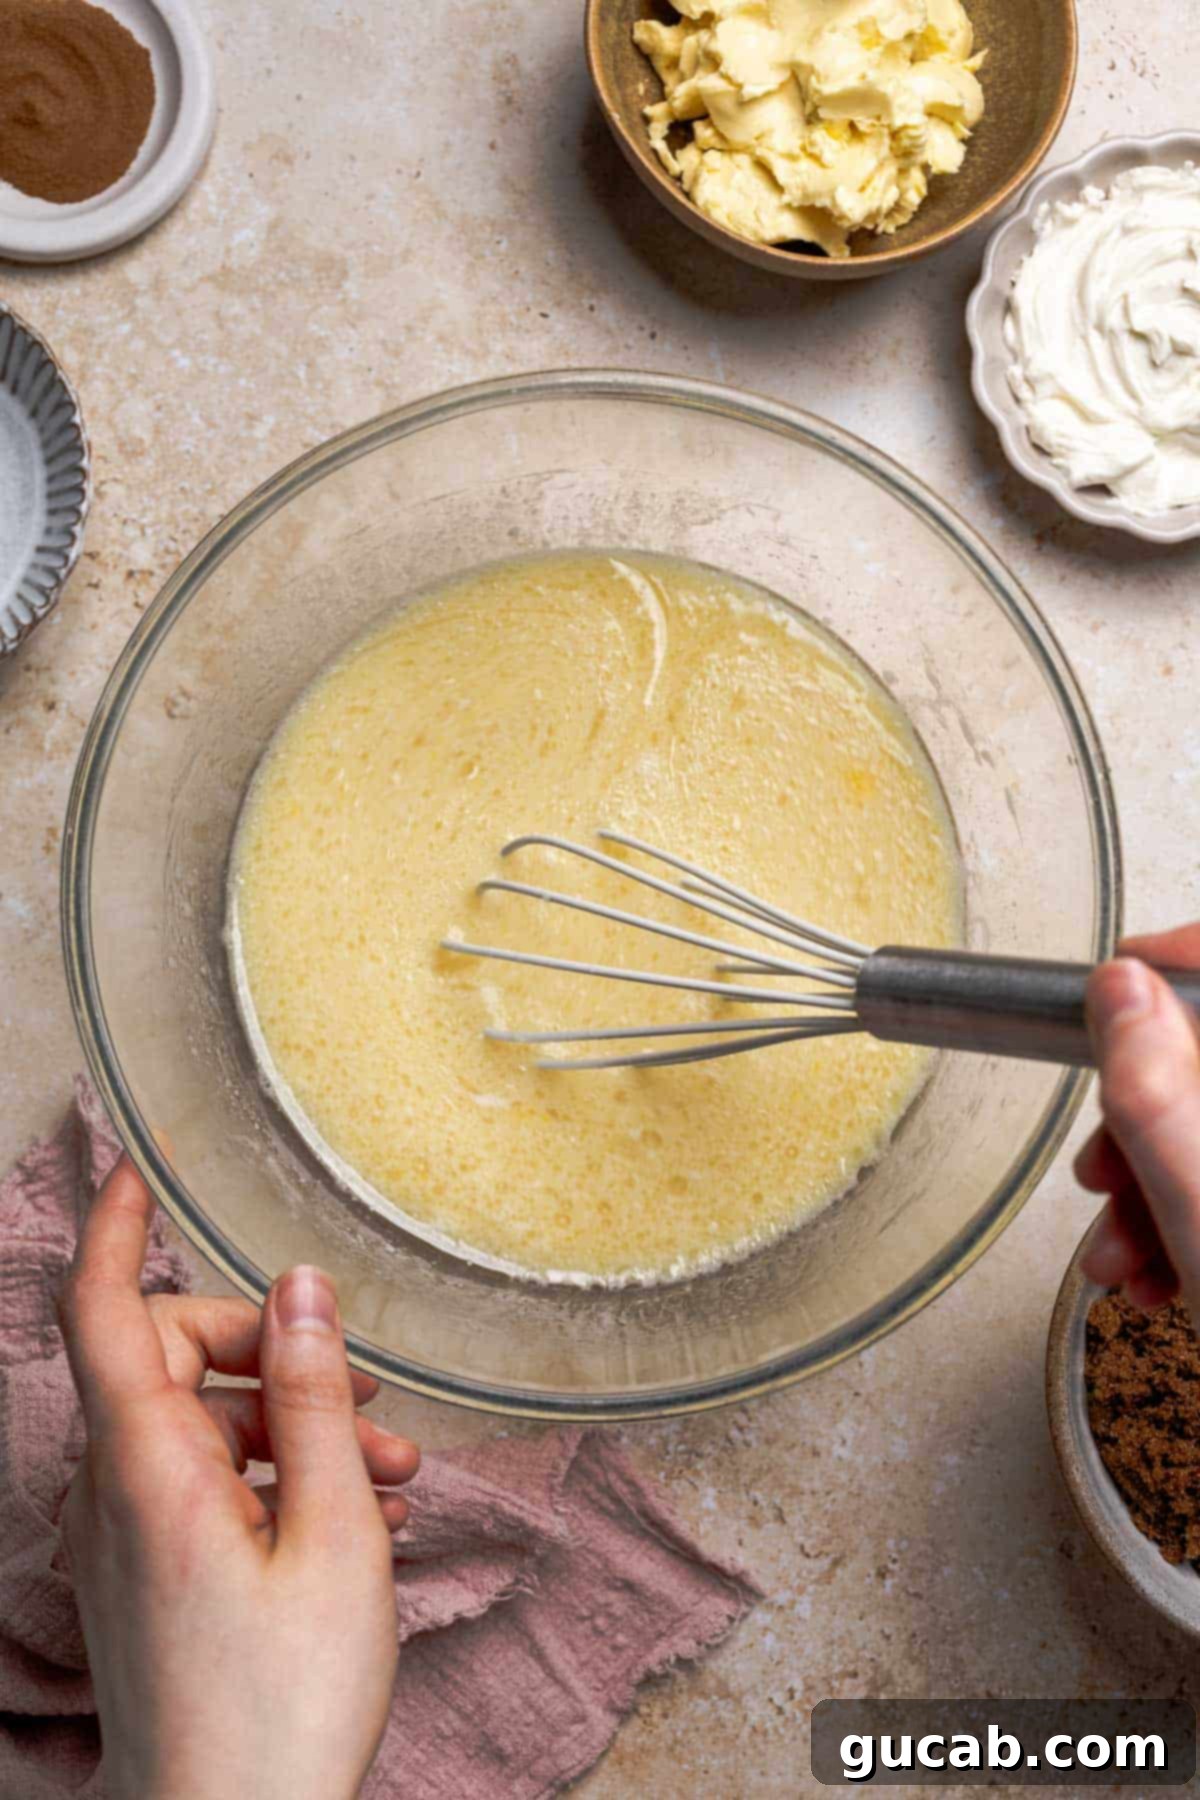
Carefully pour the milk mixture into the bowl of a stand mixer fitted with the dough hook attachment. Then, add the gluten-free flour, kosher salt, baking soda, and cream of tartar. These dry ingredients are critical for the structure and texture of our gluten-free dough. Blend on medium speed with the dough hook for a full two minutes. Be sure to stop and scrape down the sides of the bowl after about 15 seconds to ensure all the flour is thoroughly incorporated and no dry pockets remain. This initial mixing is crucial for developing the dough’s consistency.
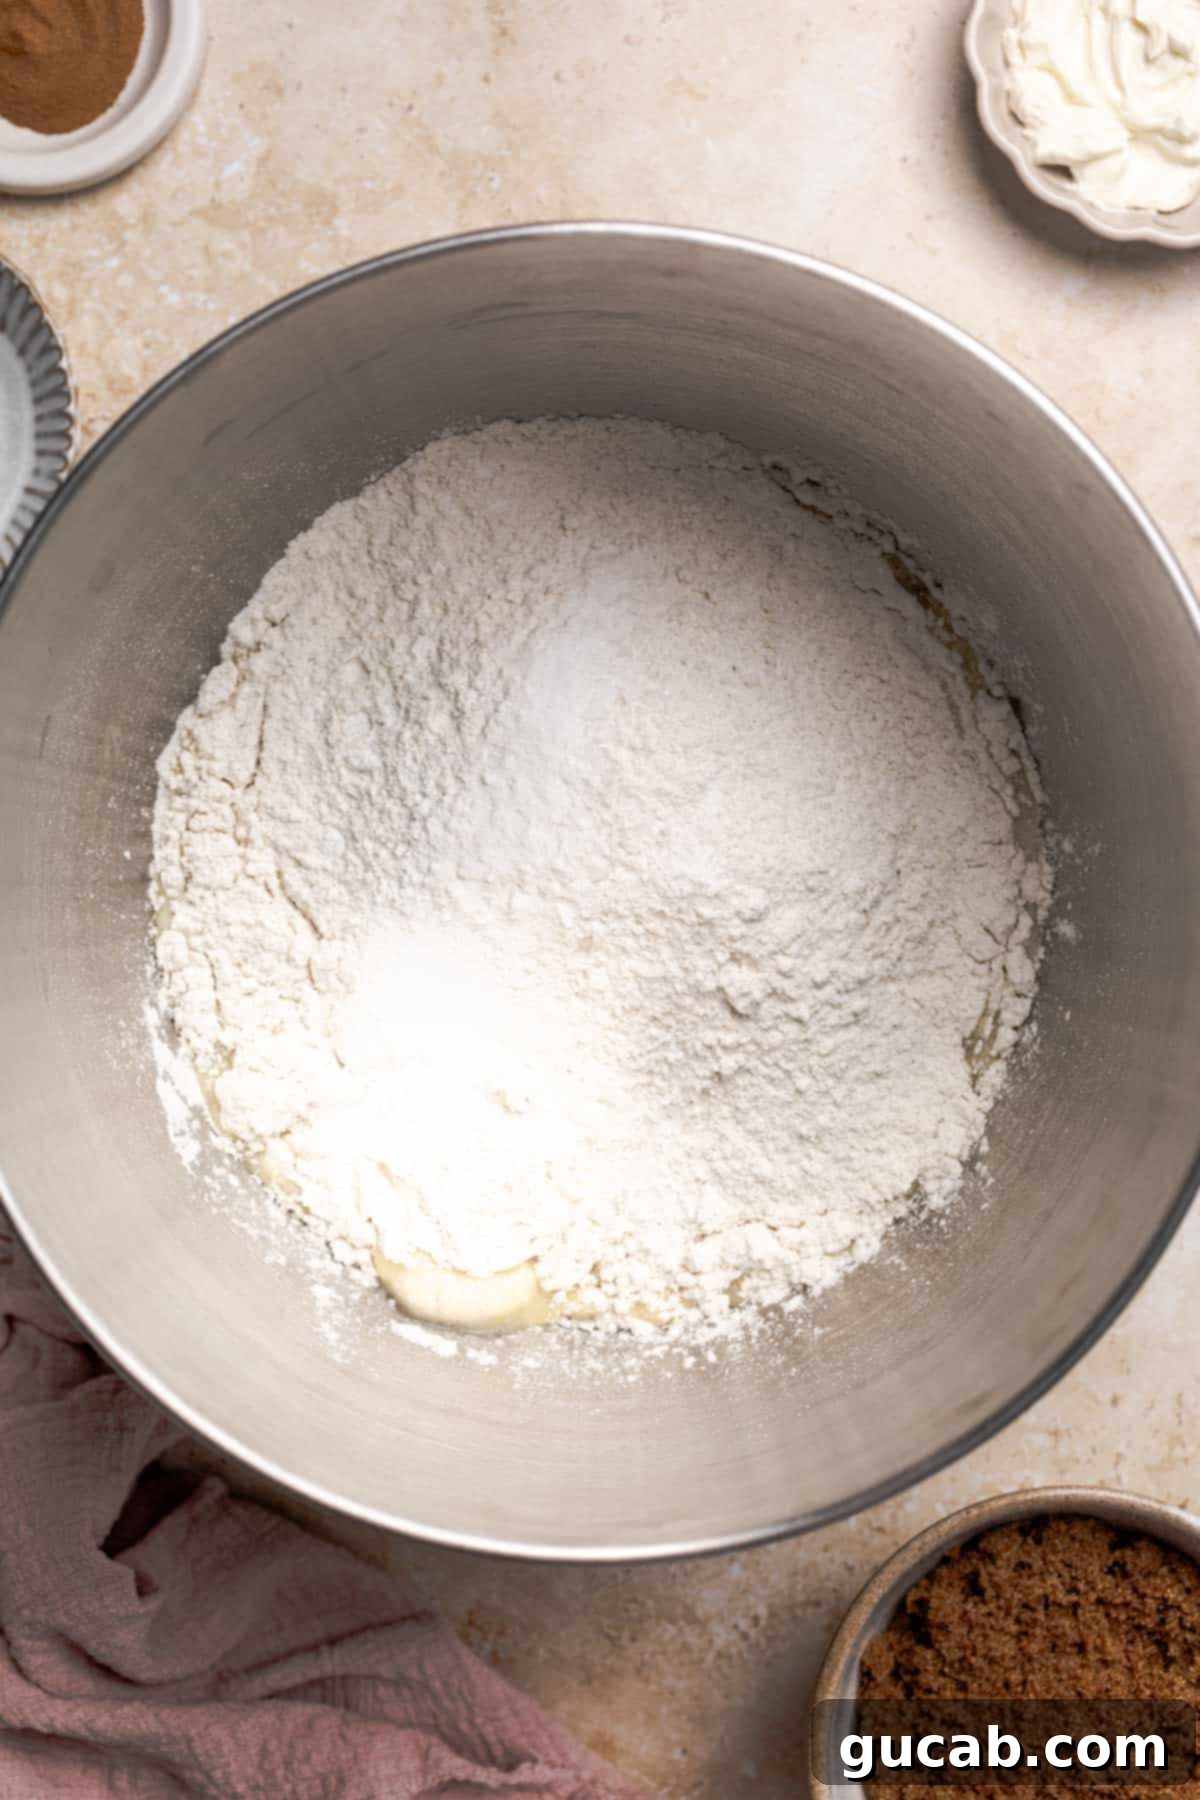
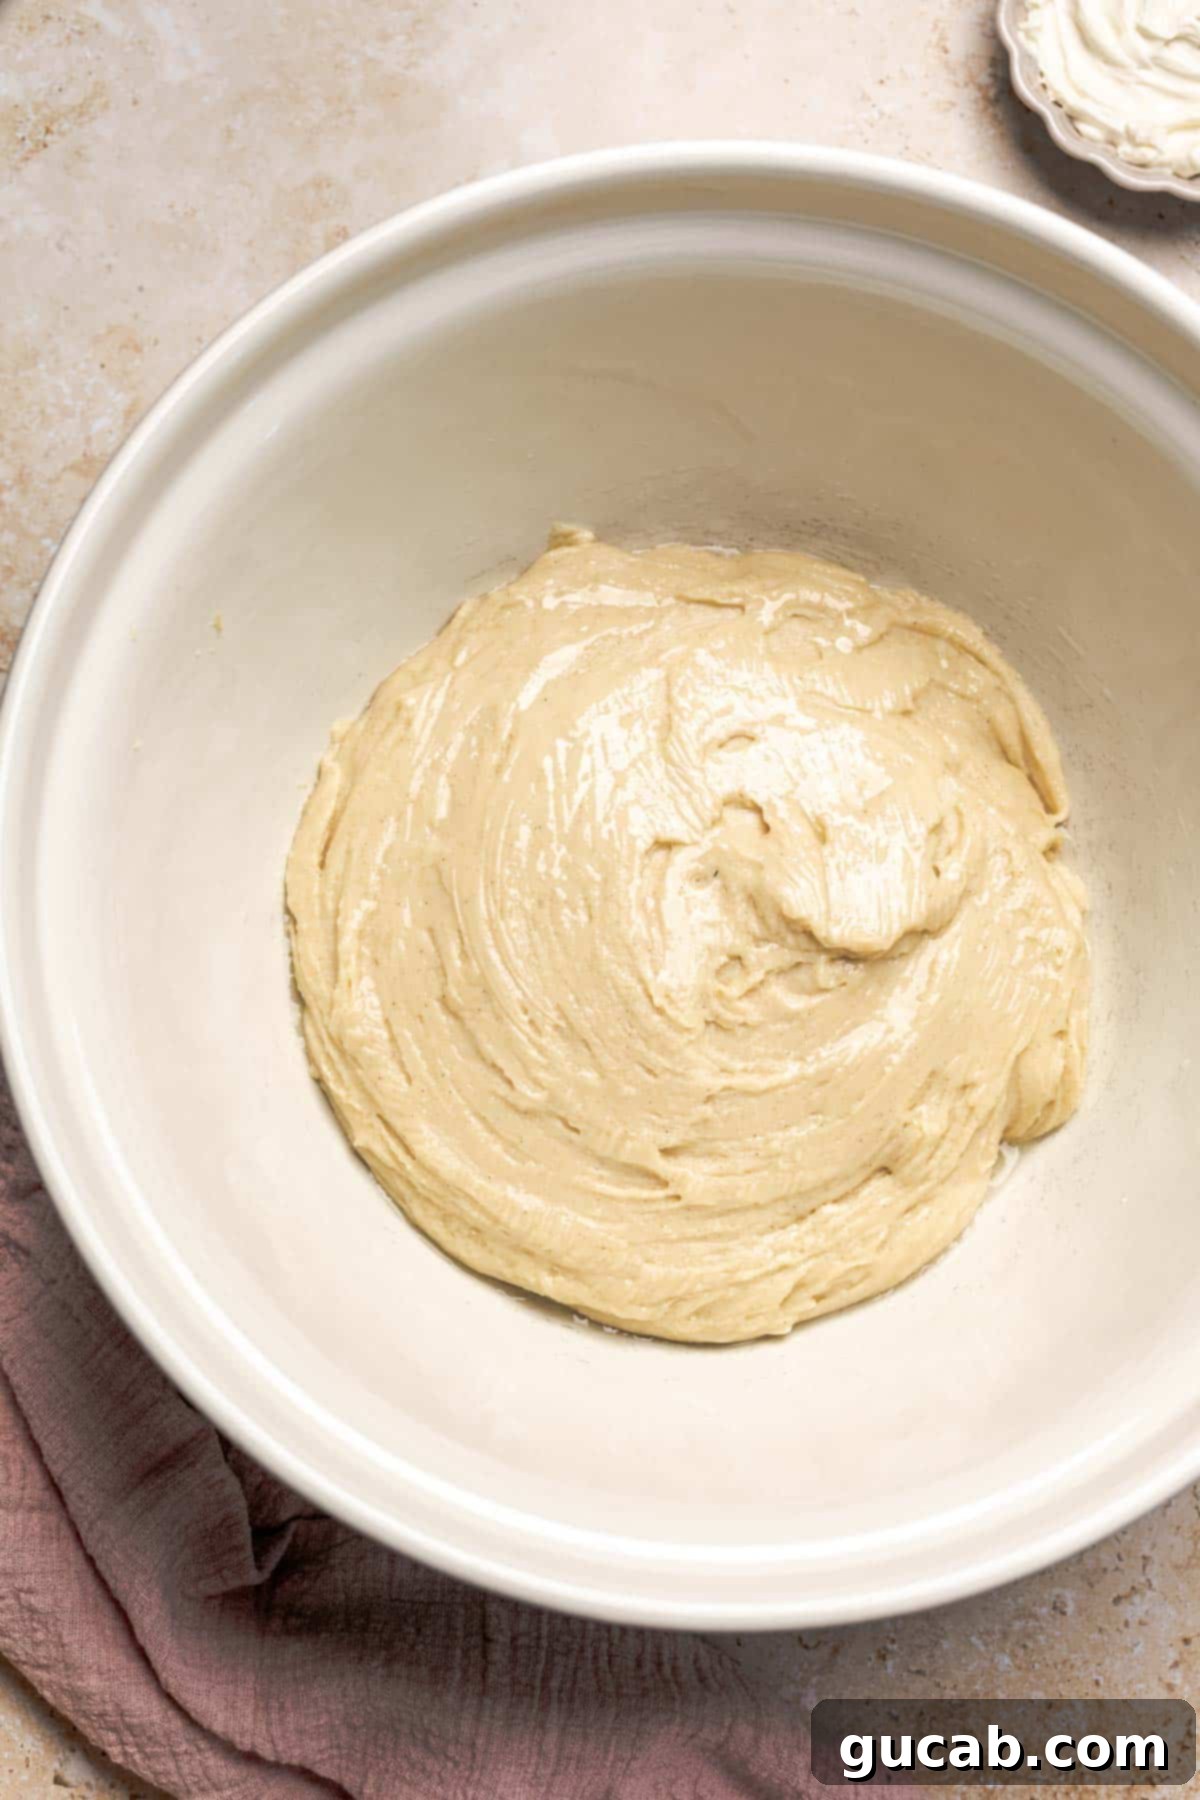
At this point, your dough should appear smooth and quite sticky. Embrace the stickiness! Unlike traditional gluten-containing doughs, a very sticky gluten-free dough is a good sign. It indicates a higher moisture content, which is essential to prevent dense, dry rolls and ensure they remain wonderfully moist and tender after baking.
The First Rise: Allowing the Dough to Develop Flavor and Texture
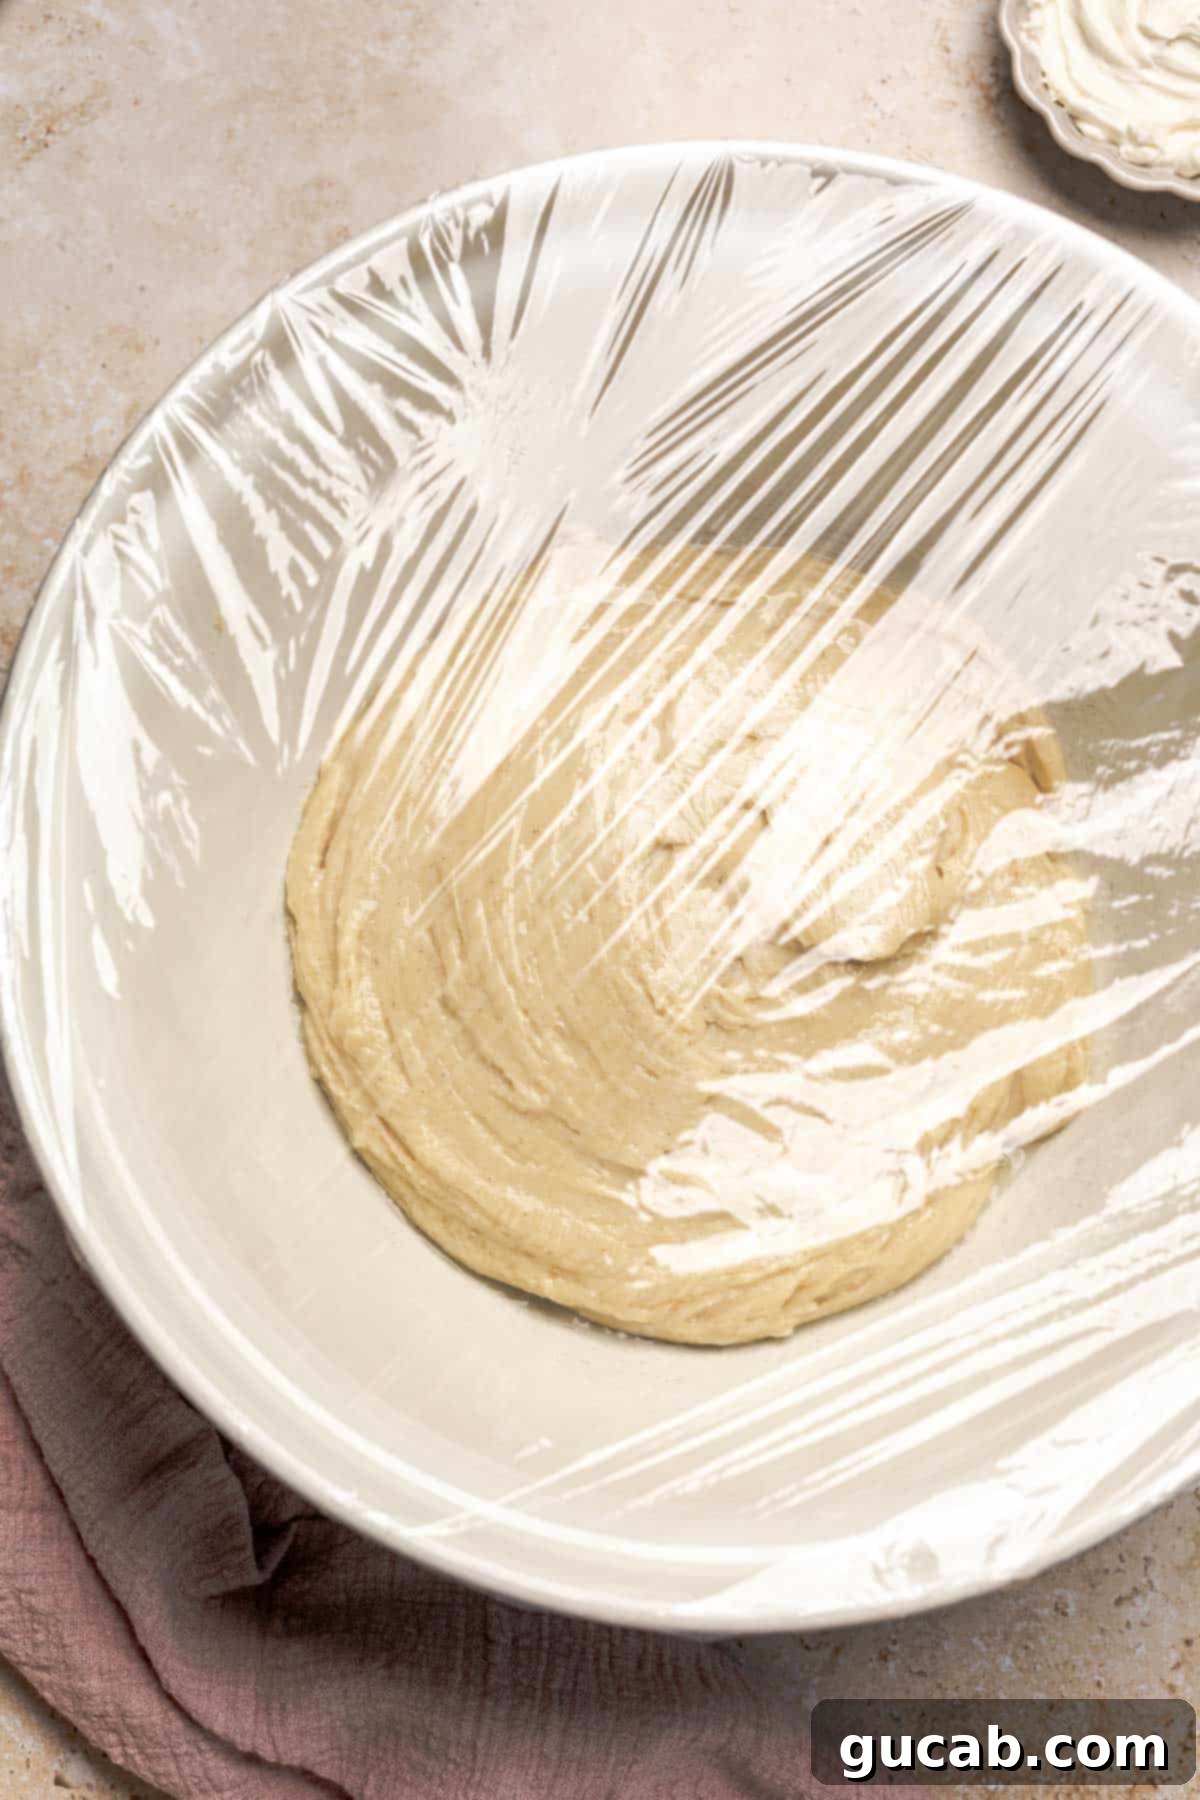
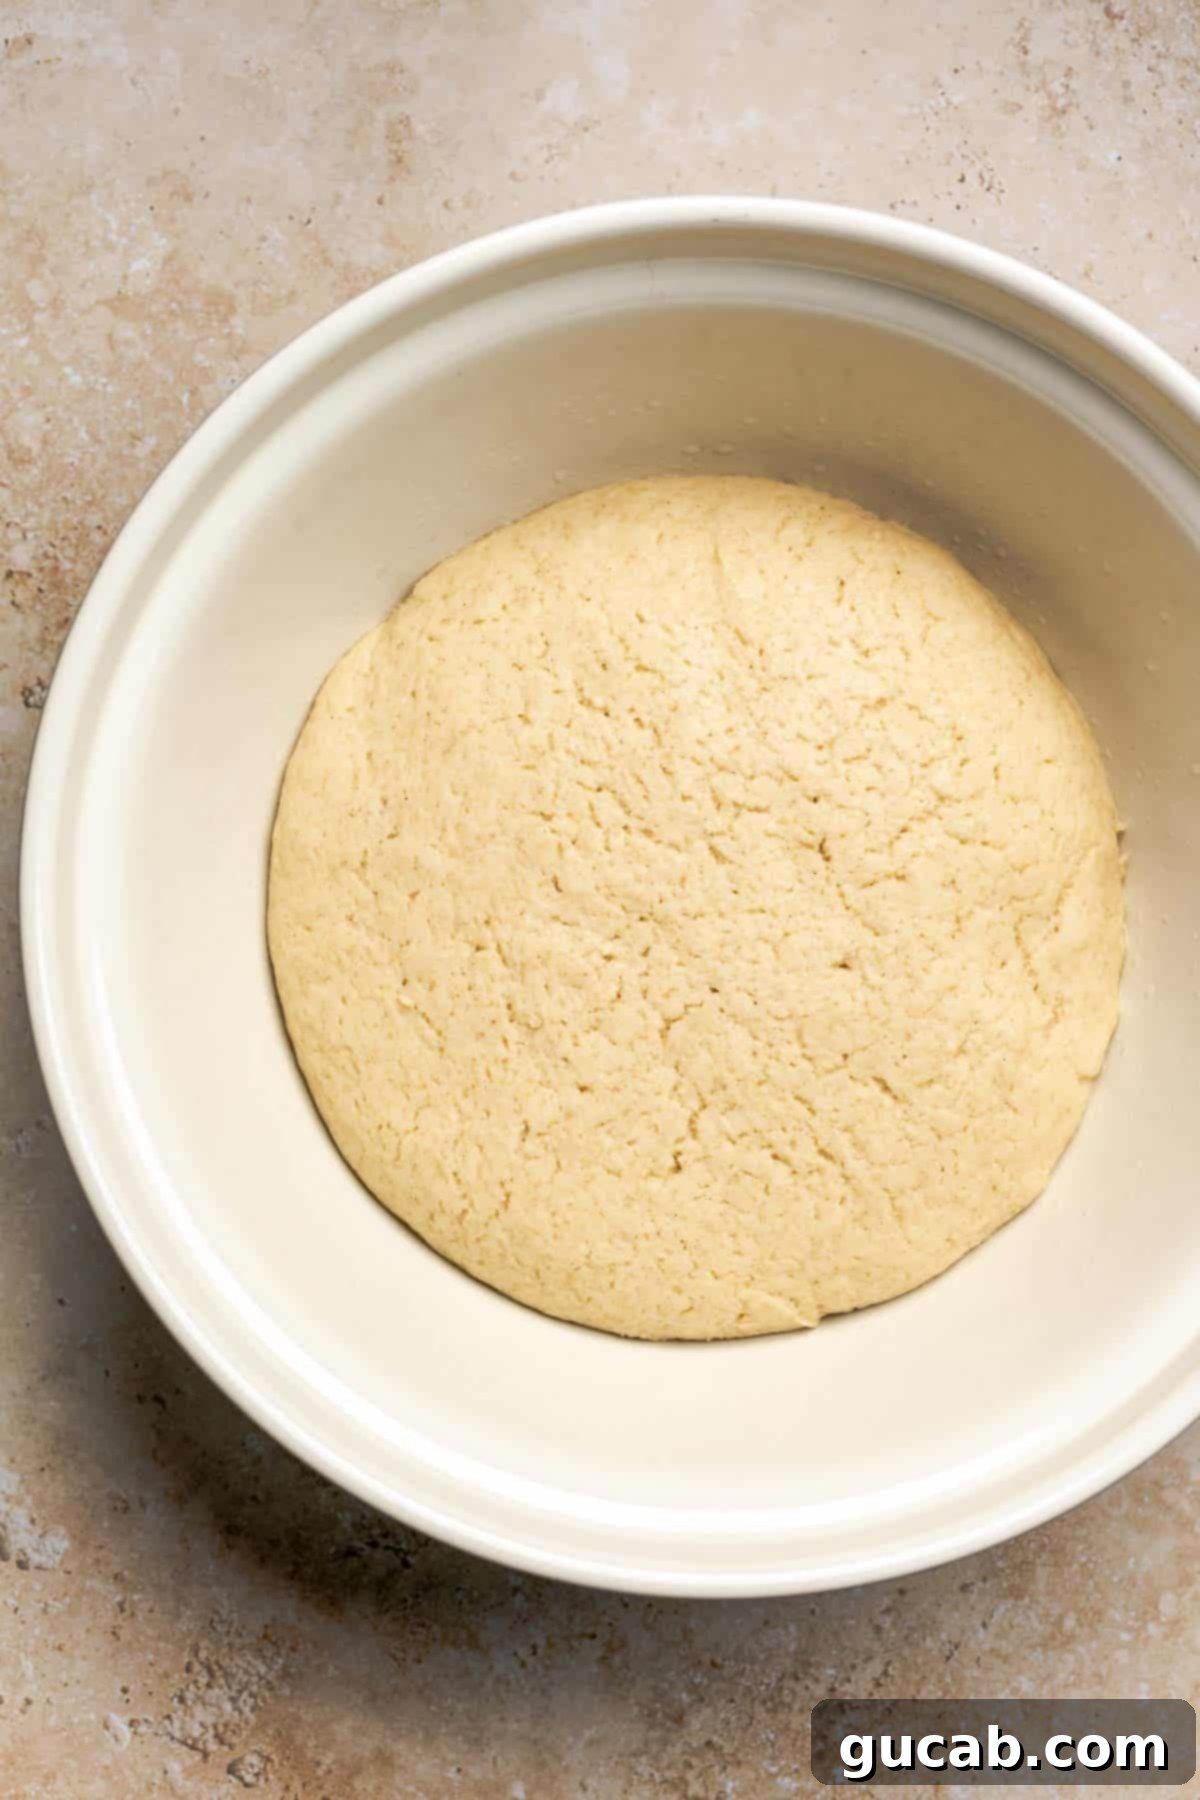
Gently scrape the sticky dough into a large, lightly greased bowl. A quick brush of a small amount of oil over the top surface of the dough will prevent it from drying out and forming a crust during the rise. Cover the bowl tightly with plastic wrap (saran wrap) to create a warm, humid environment. Set it aside in a warm, draft-free spot for two full hours to rise. This initial rise allows the yeast to work, developing flavor and the light, airy texture we’re aiming for. The dough should visibly expand, though it may not double in size like traditional wheat dough.
Shaping the Rolls: The Art of Rolling and Filling
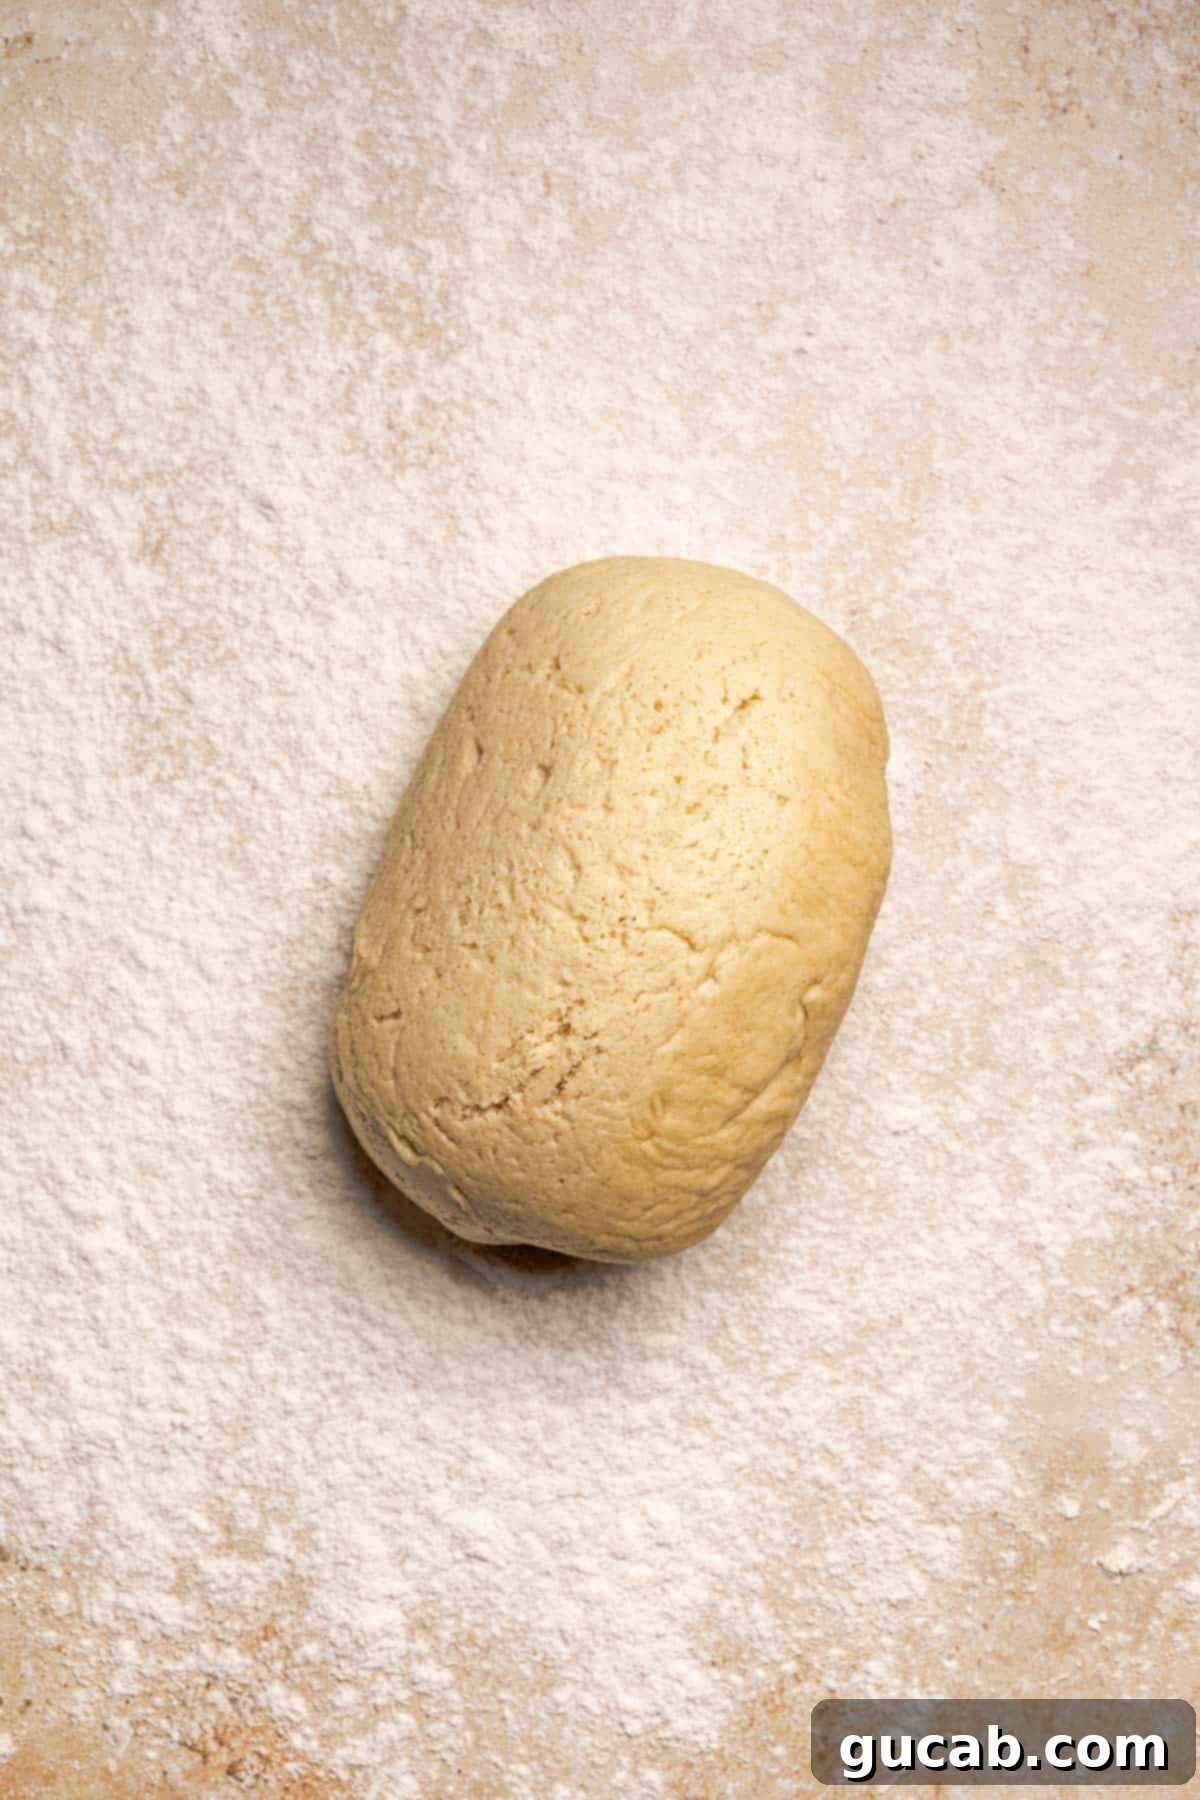
Once your dough has completed its first rise, it’s time for shaping. Generously sprinkle a clean, large work surface with gluten-free flour. This step is critical because gluten-free dough, especially one designed to be moist, will be very sticky. Carefully transfer the risen dough onto the floured surface and then sprinkle more flour on top of the dough itself. This double-flouring technique prevents the dough from sticking to both the counter and your rolling pin, making it much easier to handle.
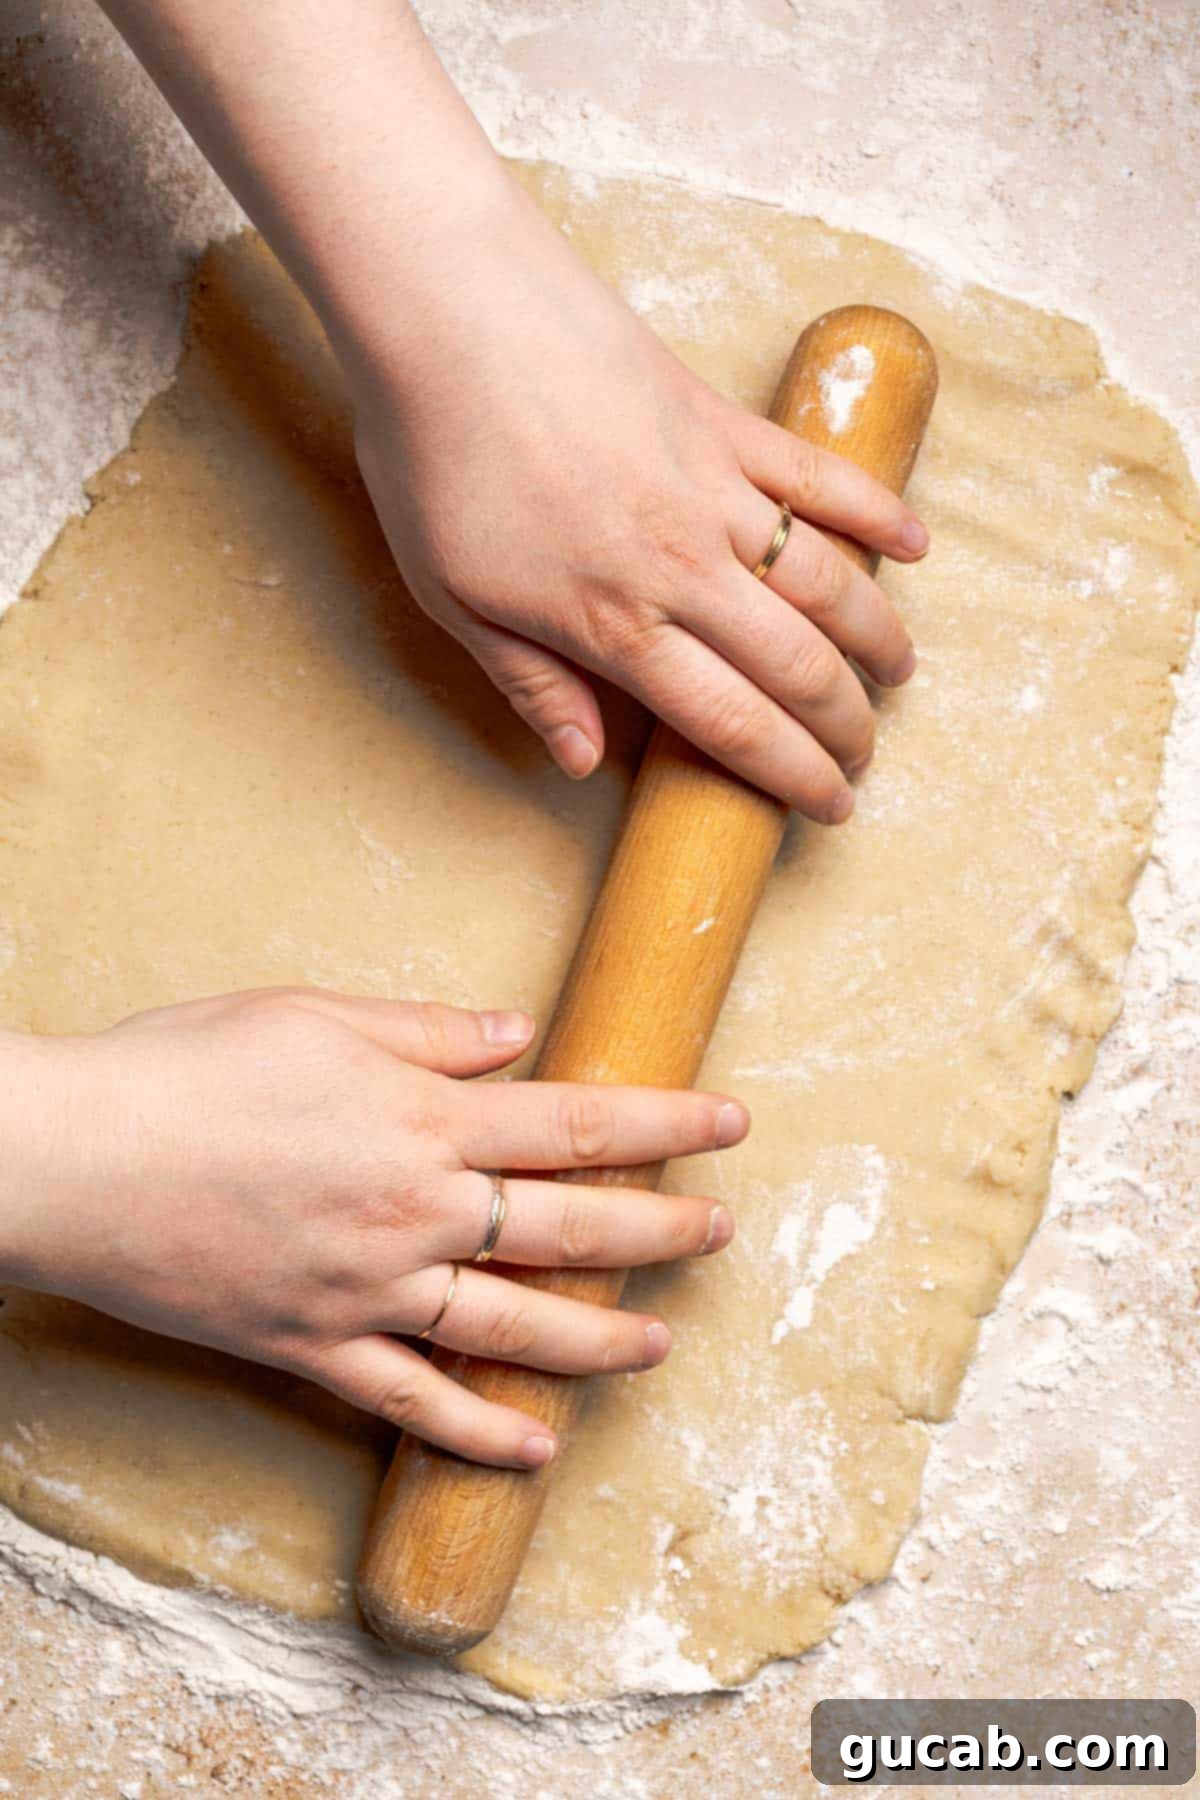
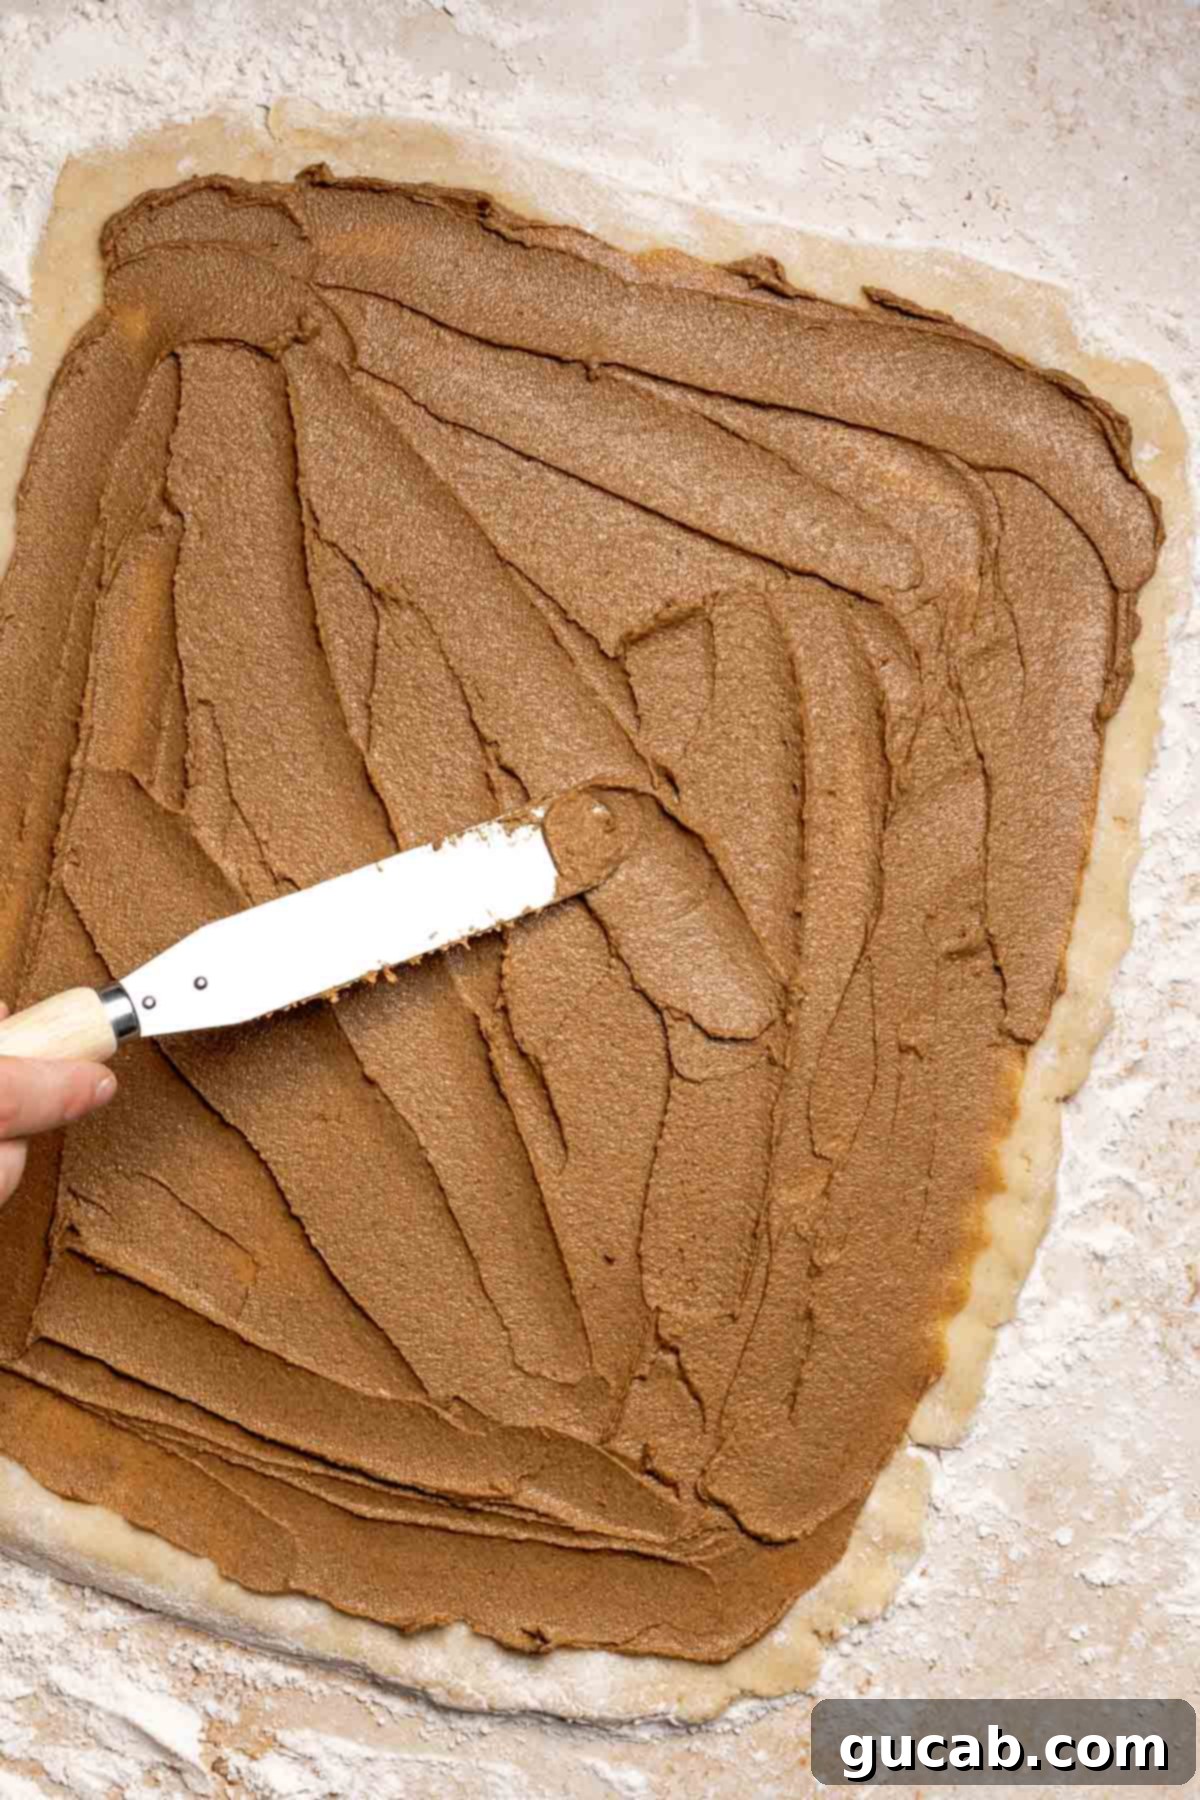
Gently roll the dough into a rectangular shape, aiming for approximately 11 by 13 inches. Don’t worry if it’s not perfectly precise; close enough is fine. Once rolled, use an offset spatula to spread the luscious cinnamon butter filling evenly across the dough, leaving a small ¼-inch gap on all sides. The butter for the filling should be perfectly soft and spreadable, not melted, to ensure it glides effortlessly over the dough without tearing it.
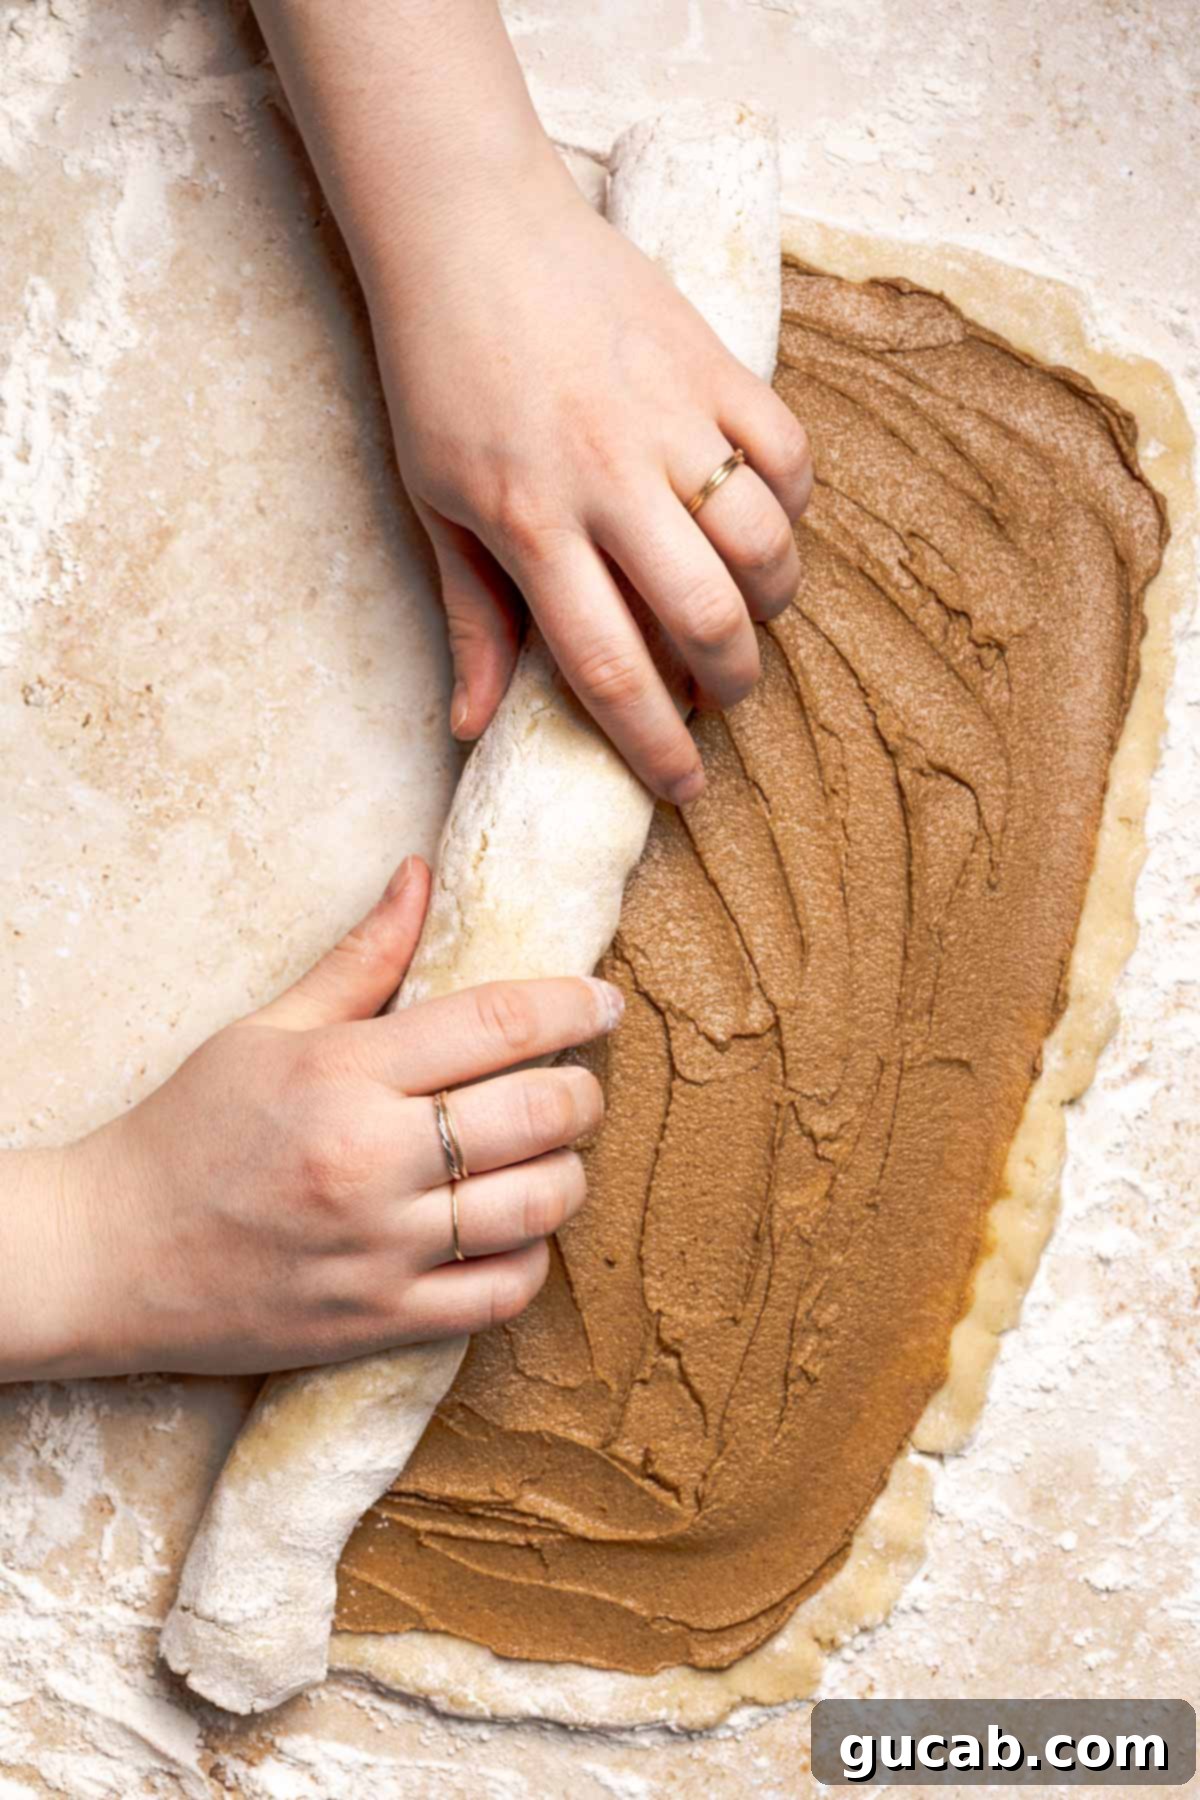
Starting from the long side closest to you, carefully roll the dough into a tight log. As you roll, the dough will naturally lengthen slightly. My log typically ends up around 18 inches long at this stage. Keep the roll as even and tight as possible to create beautiful, consistent spirals in your finished cinnamon rolls.
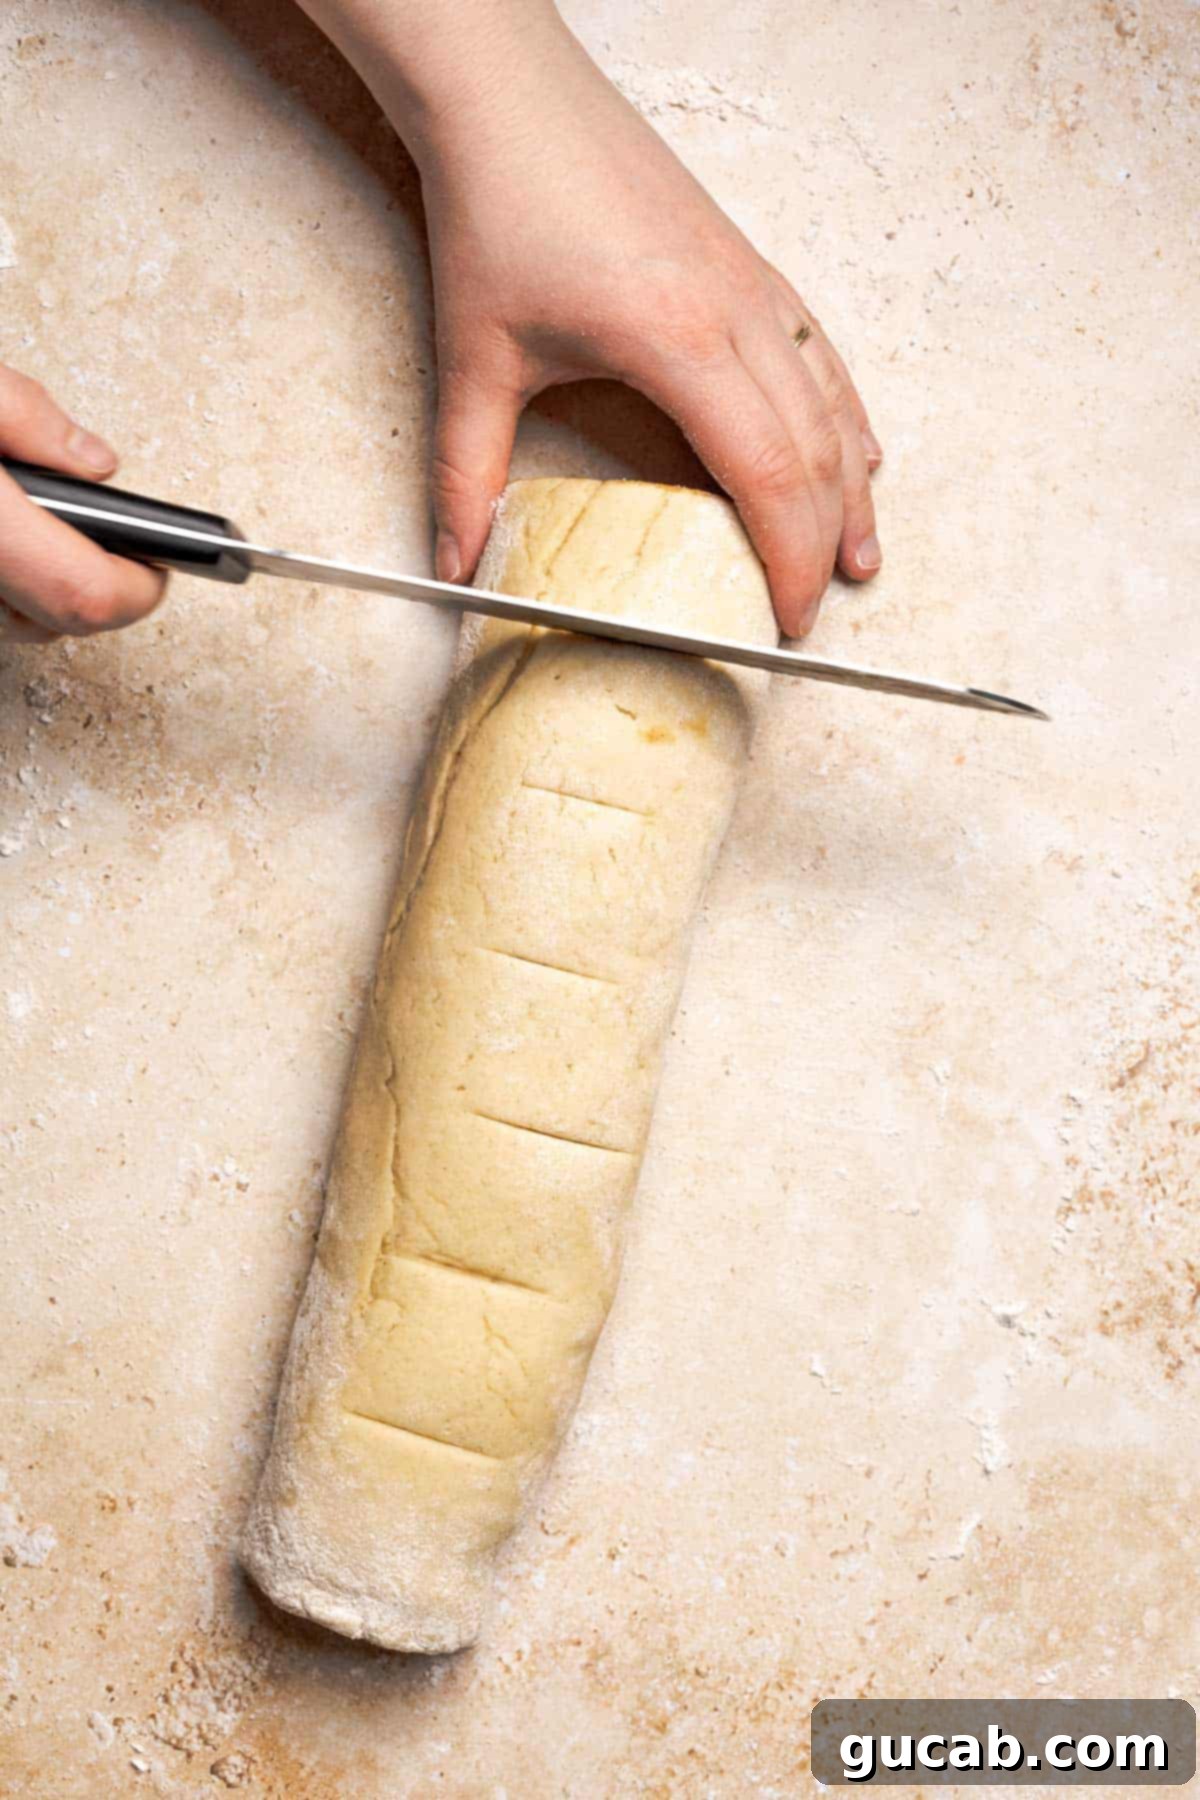
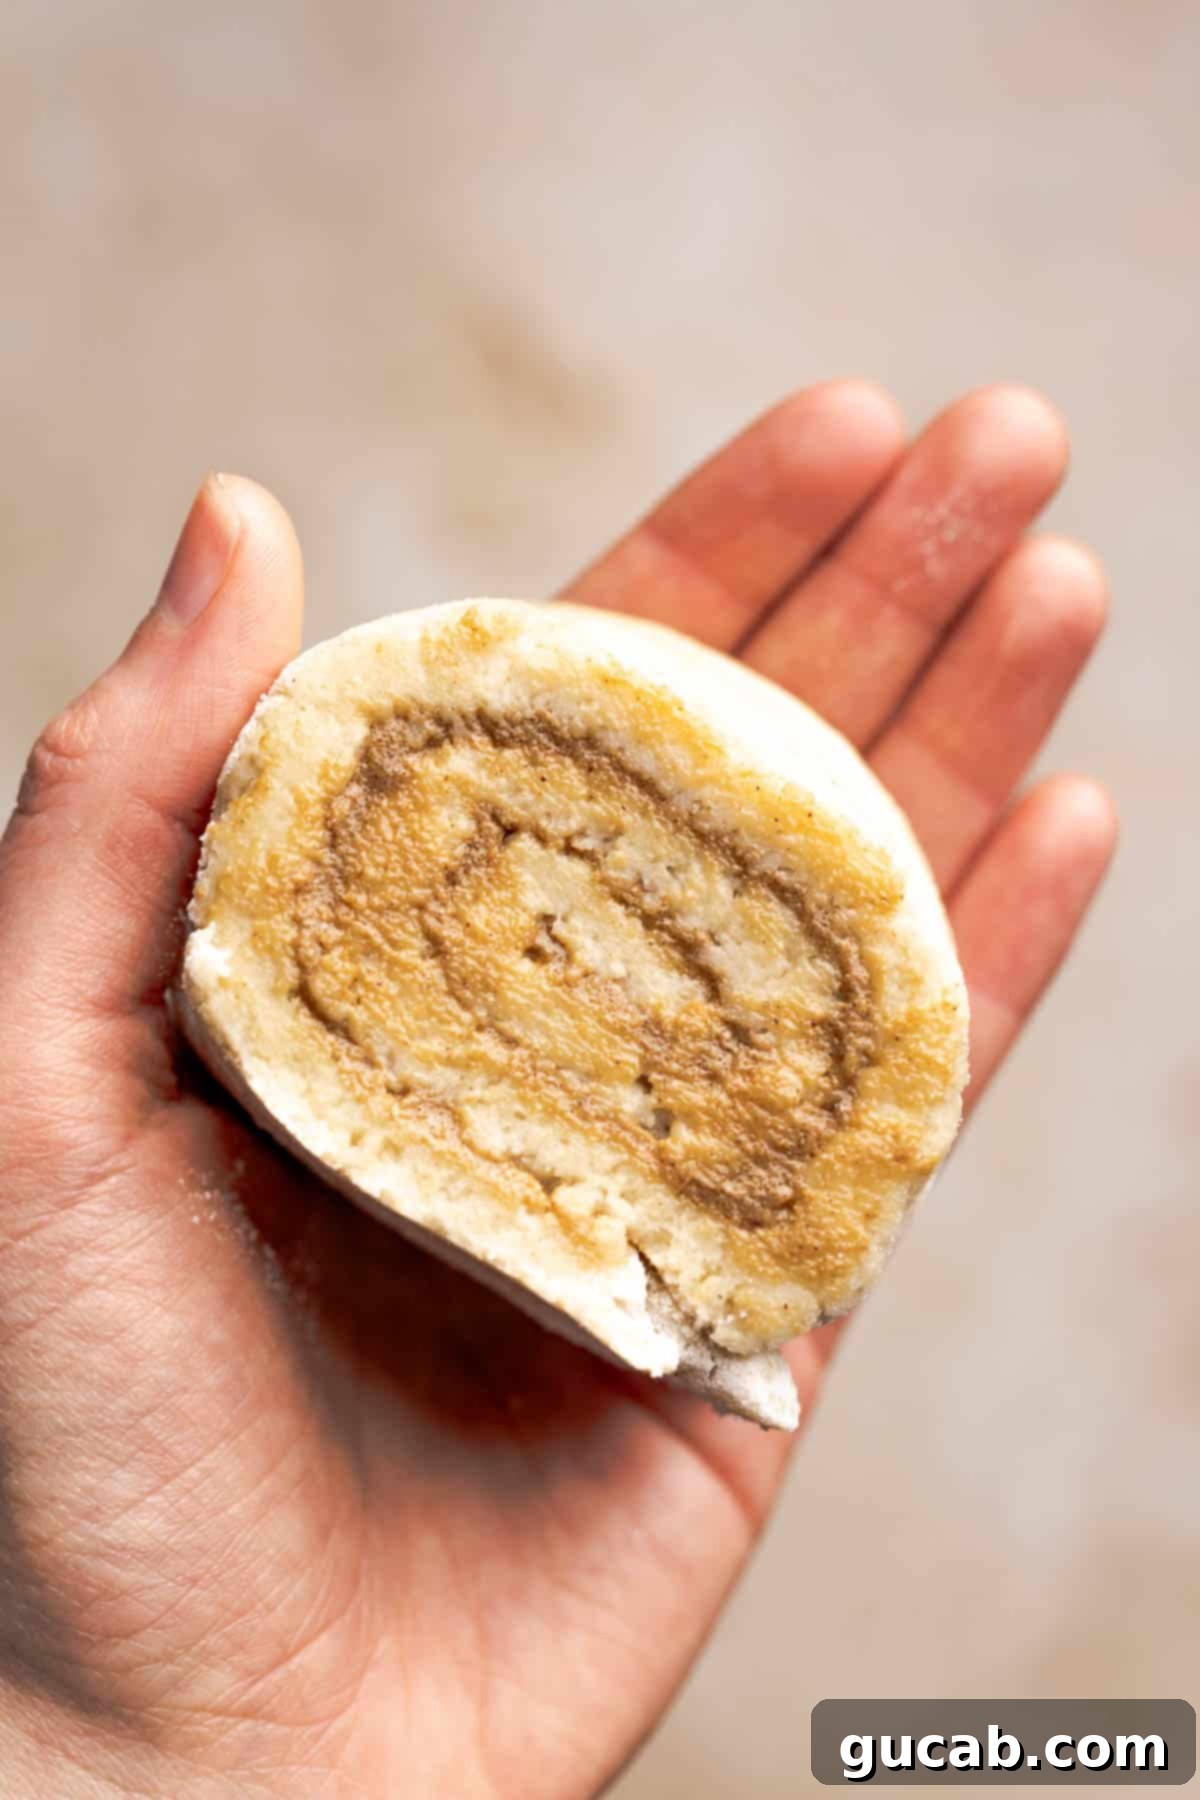
Using a sharp knife or even unflavored dental floss, cut the log into 9 equal pieces. For me, this typically results in rolls that are about 2 inches thick. Remember, perfection isn’t the goal here; just do your best to cut the rolls as evenly as possible – they don’t have to be absolutely exact to be delicious!
Baking the Rolls: Achieving Golden Perfection
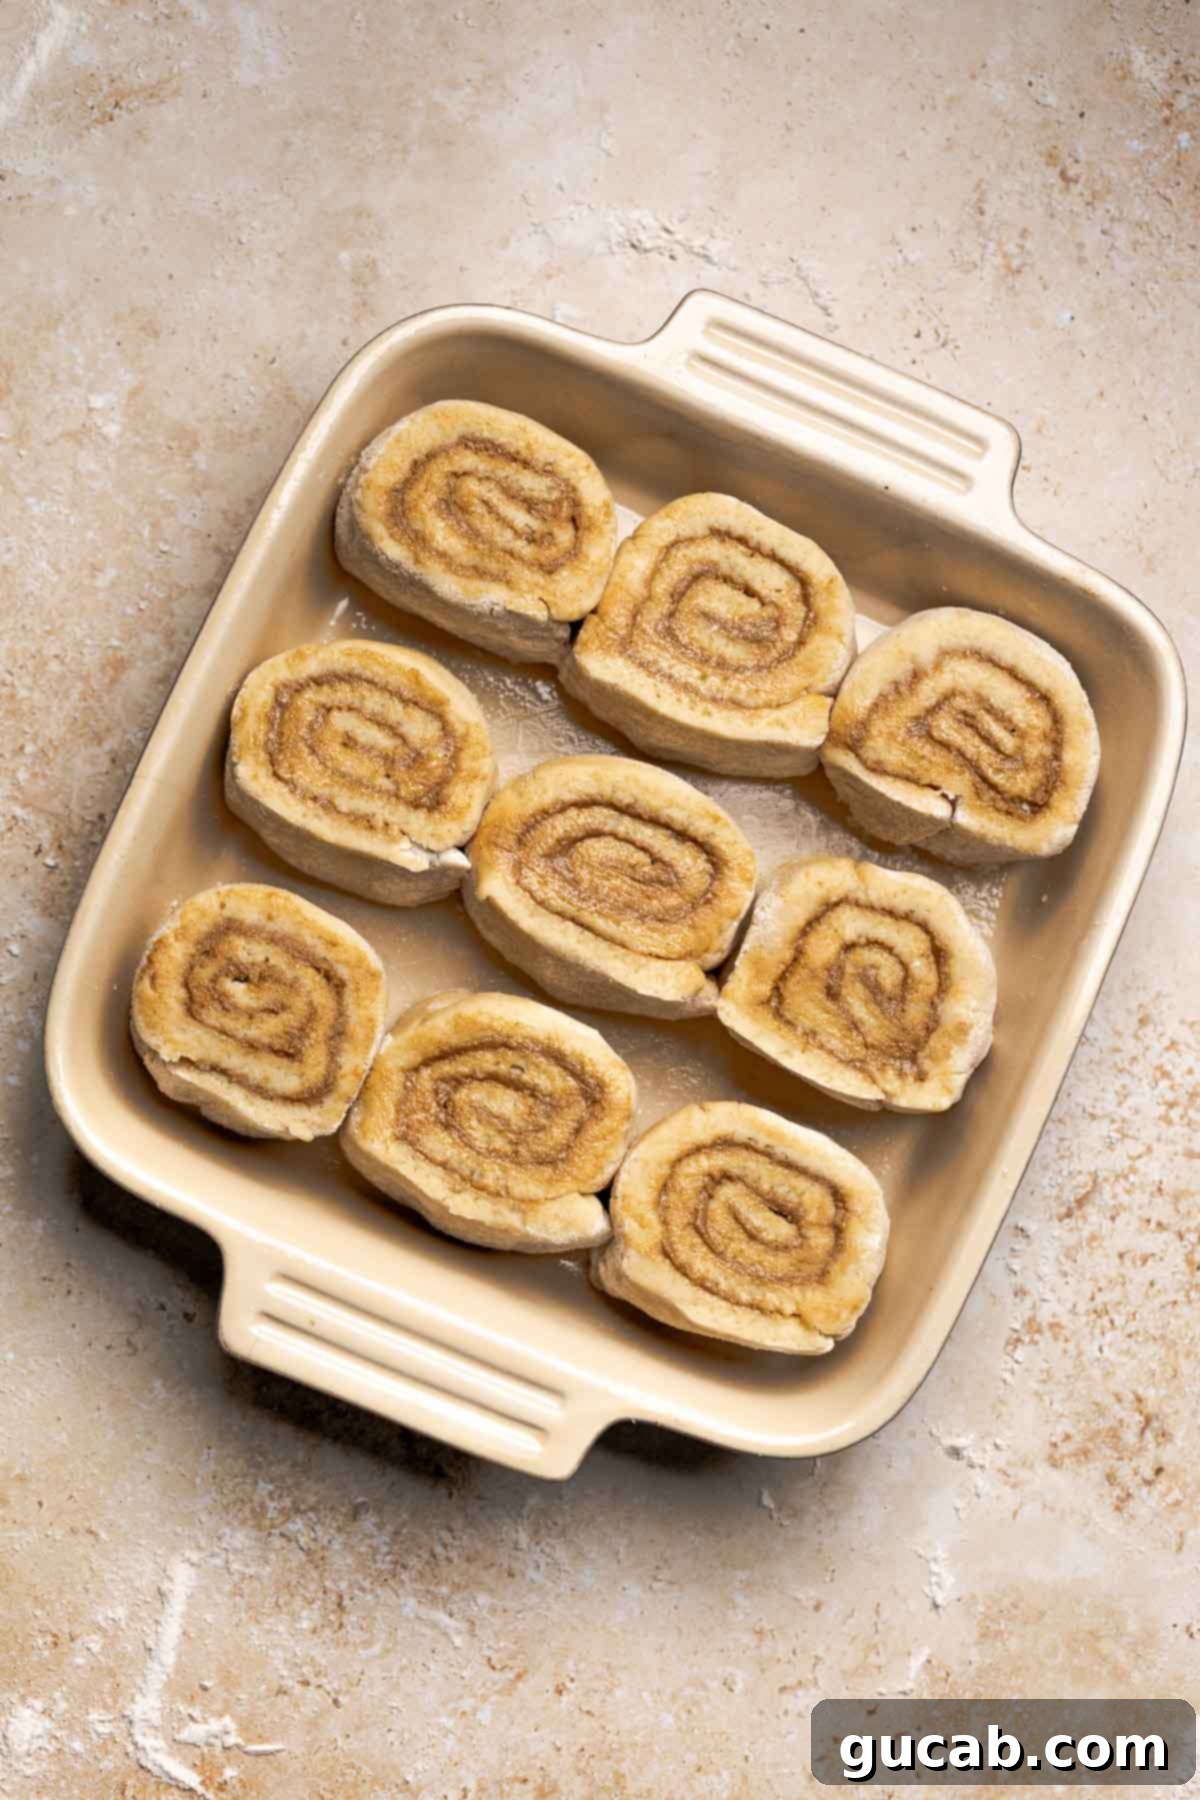
Prepare an 8×8 inch baking pan by generously greasing it with nonstick cooking spray. Carefully arrange the 9 cut rolls into the pan, creating three rows with three rolls each, ensuring they are evenly spaced. It’s important for the rolls to be nestled closely next to each other in the pan. This closeness encourages them to rise into one another during baking, creating wonderfully soft sides and those sought-after sticky centers, culminating in a gorgeous, cohesive pan of cinnamon rolls.
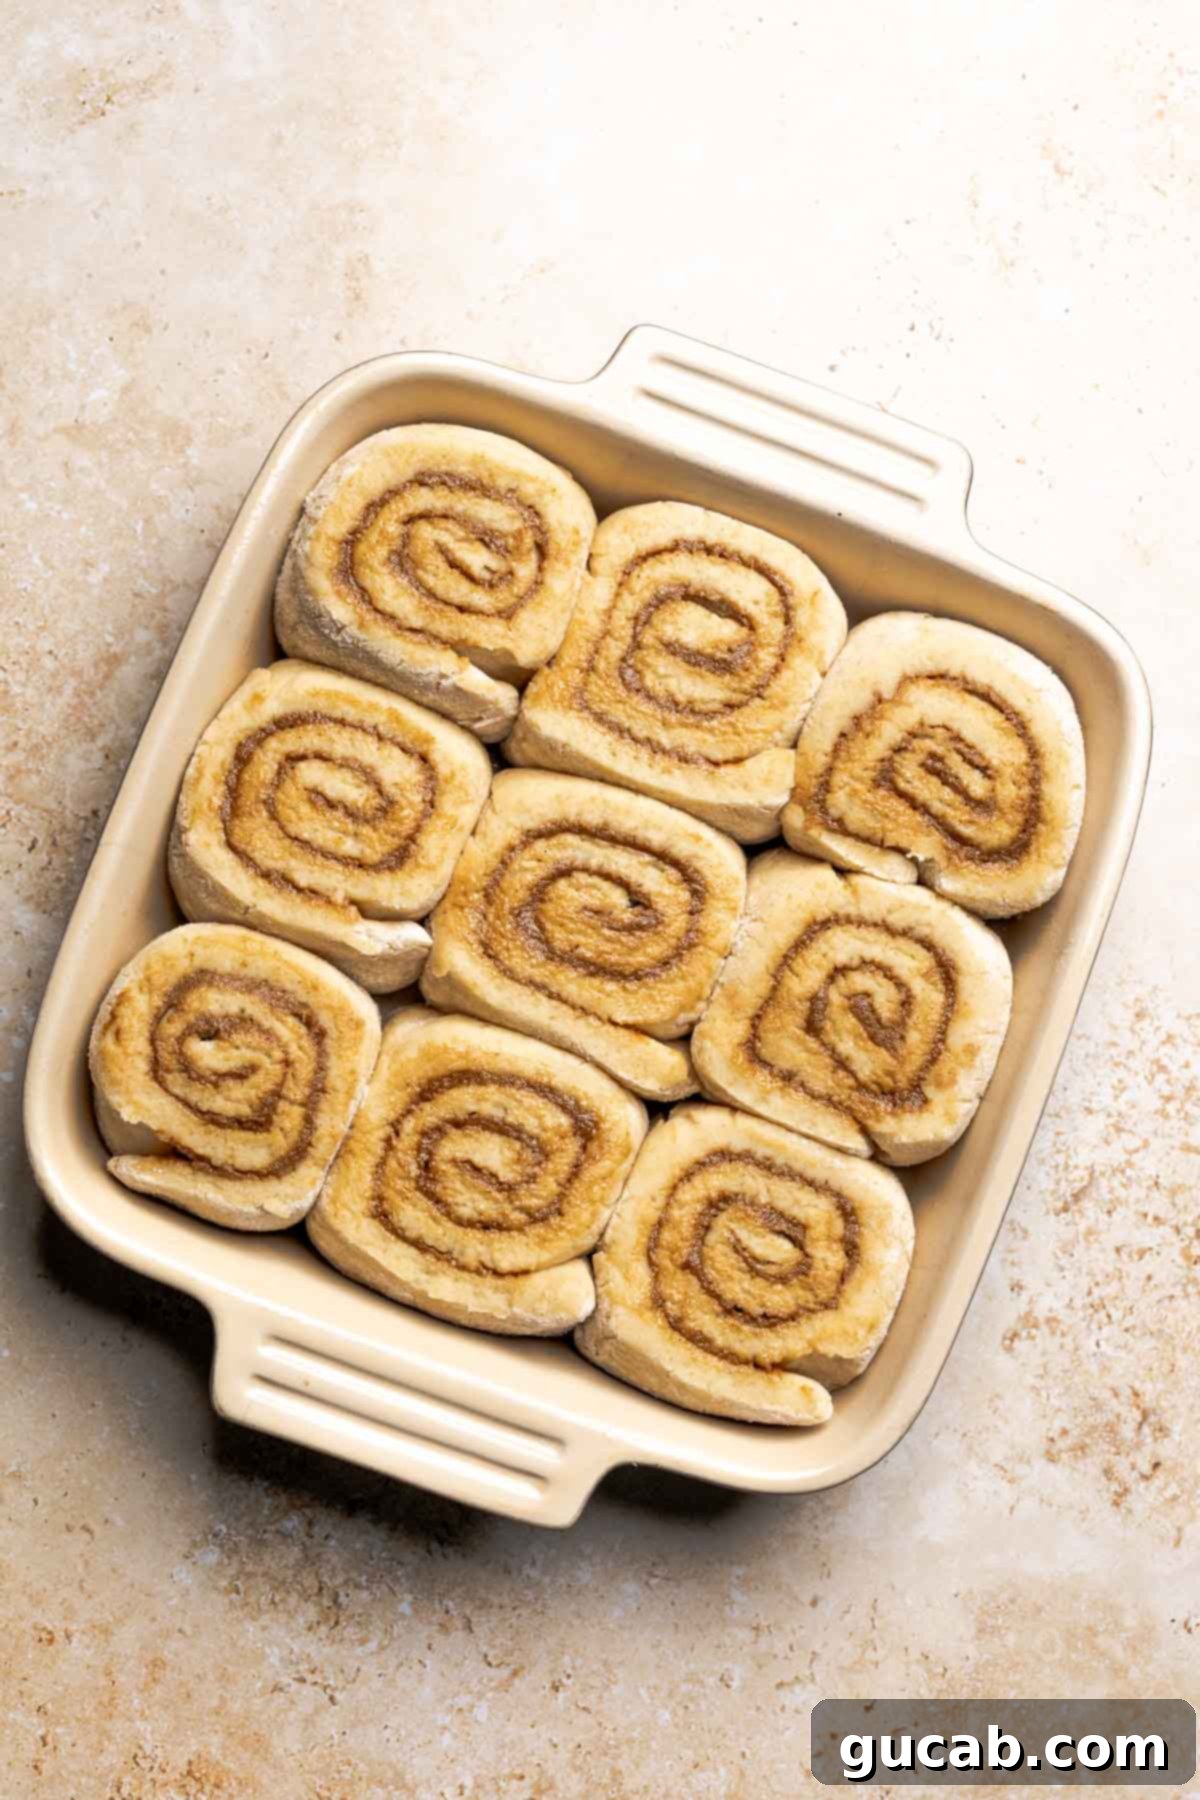
Now, let the rolls undergo a second rise in the pan for another 45 minutes. This final proofing helps them achieve maximum fluffiness. Once risen, bake them in a preheated oven at 350 degrees Fahrenheit on the middle rack for 30 to 34 minutes. The key is to look for golden-brown tops, but more importantly, ensure the insides are cooked through yet remain incredibly soft and tender, never dry. This cooking time can vary slightly depending on your oven, so keep an eye on them!
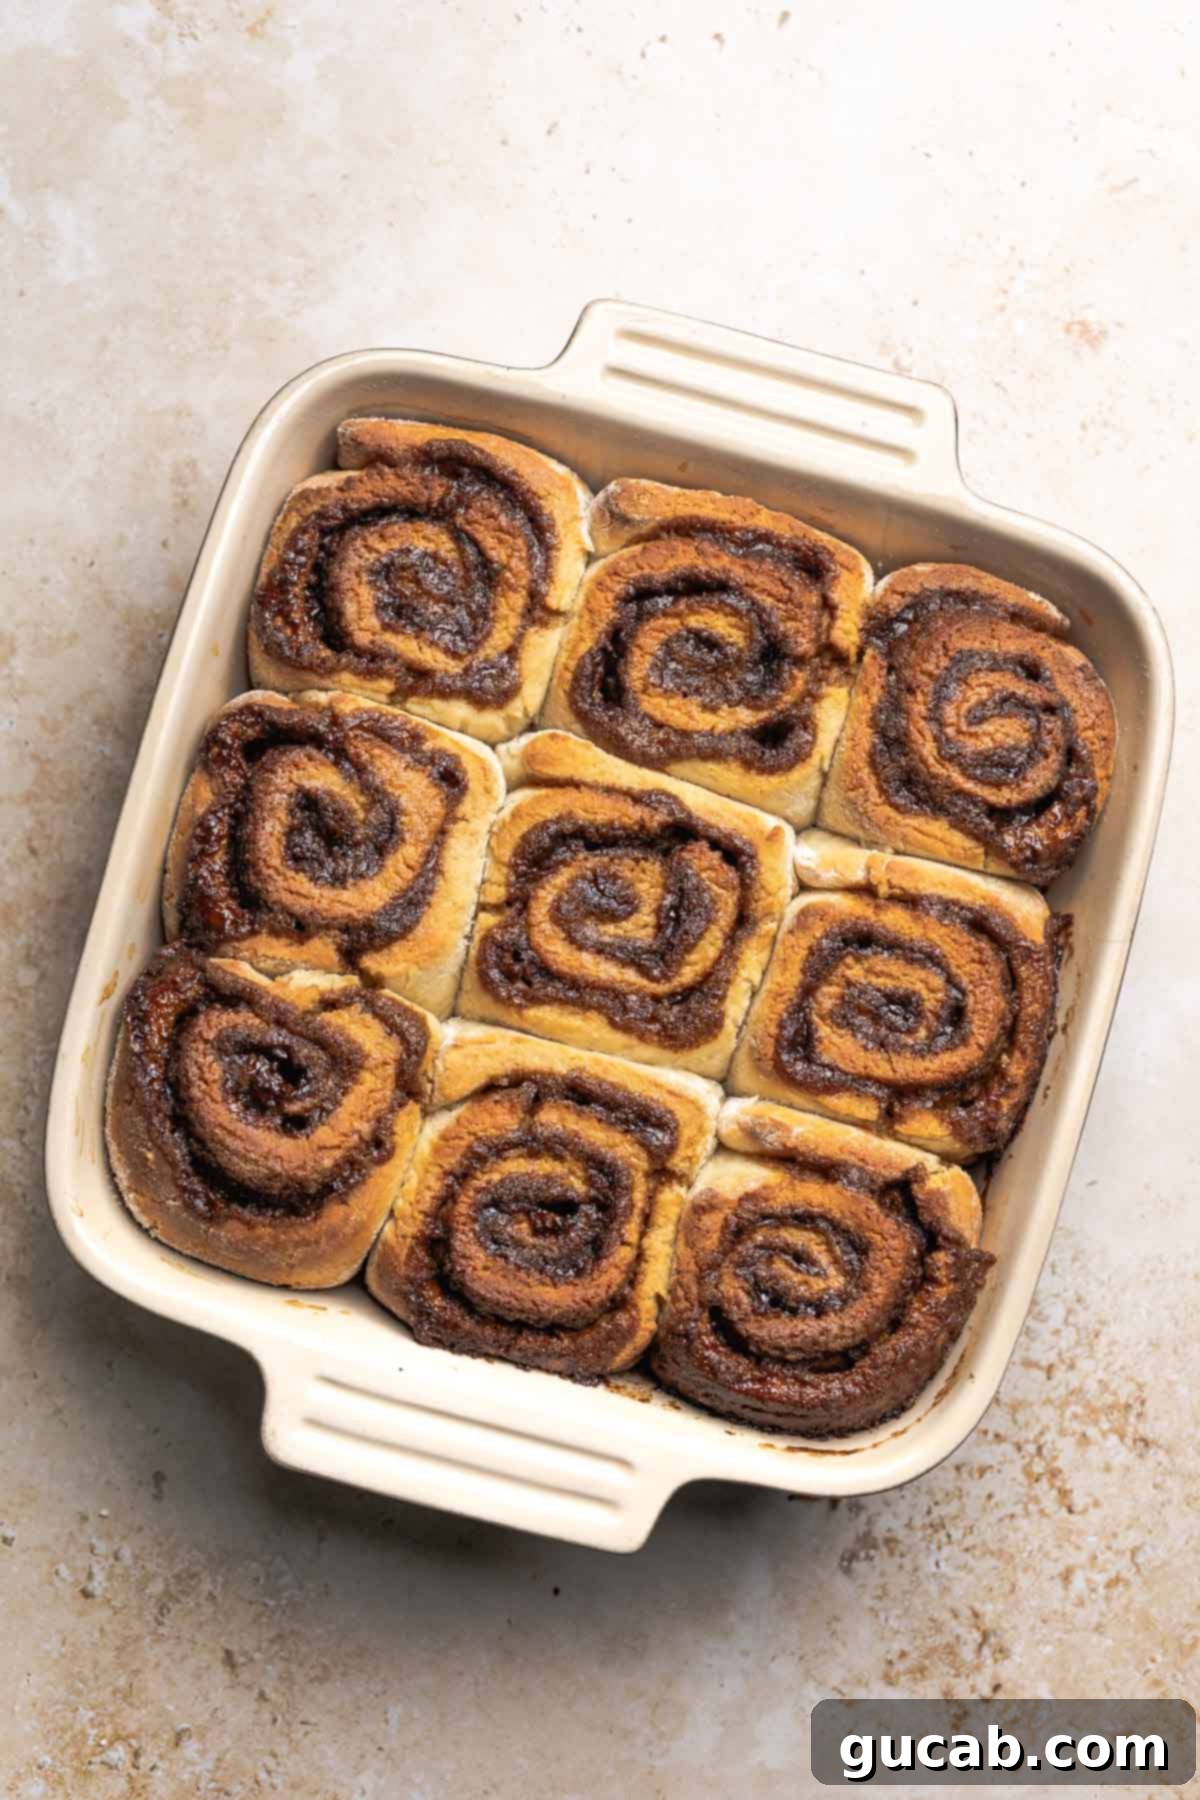
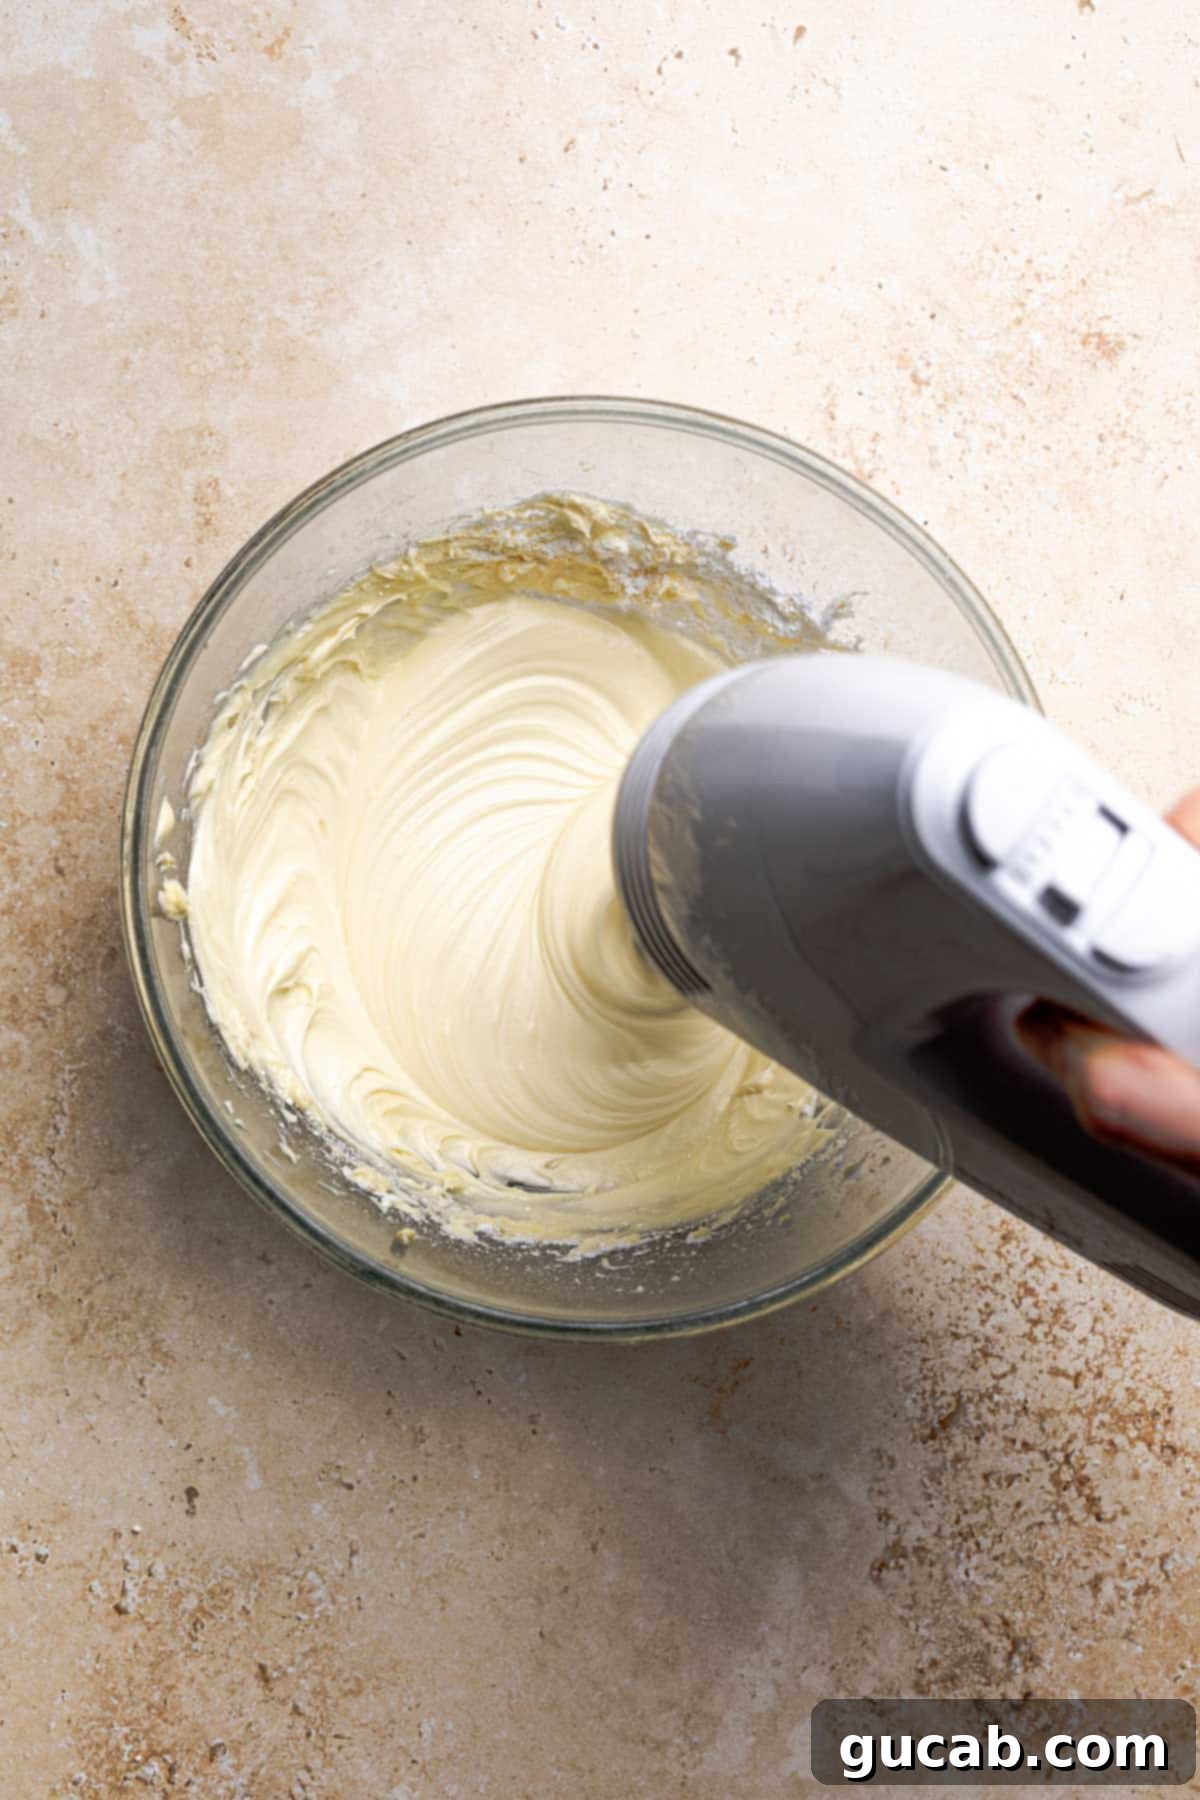
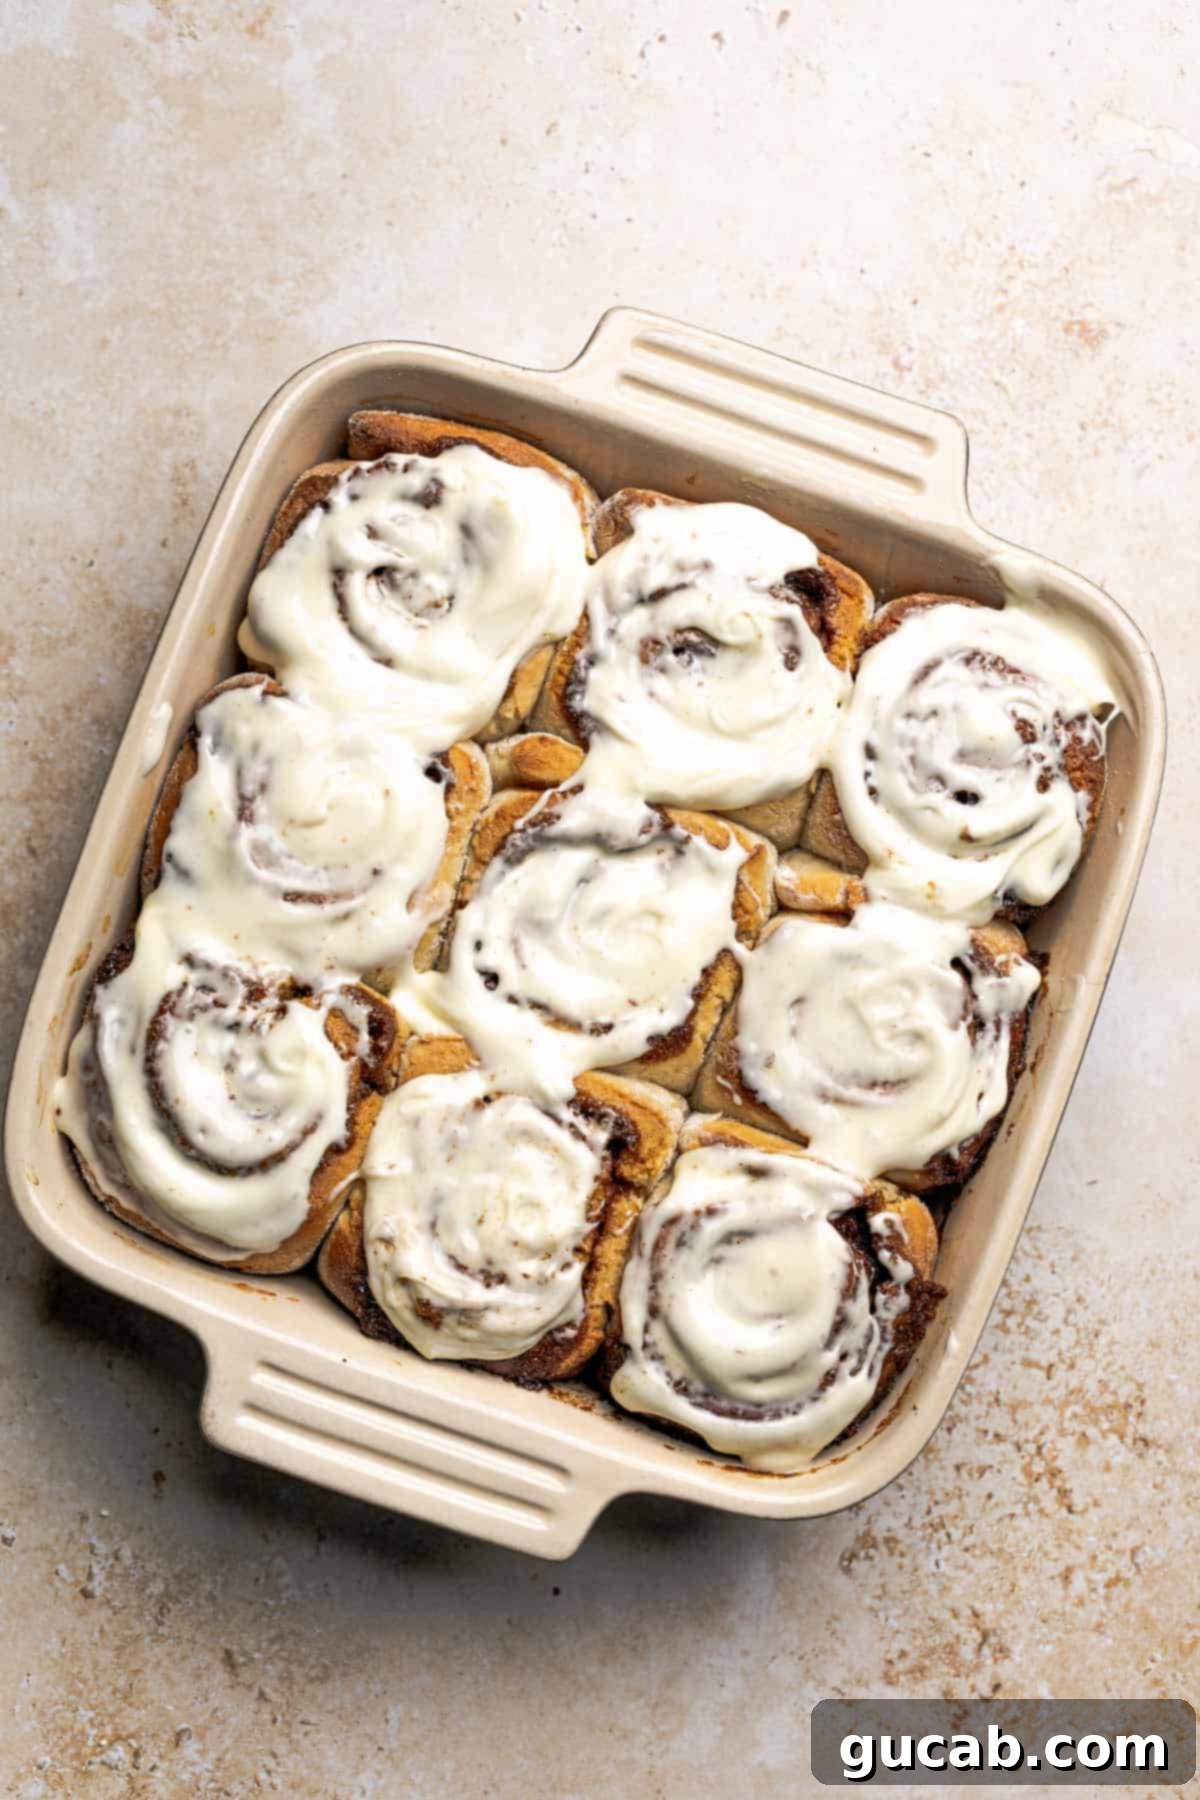
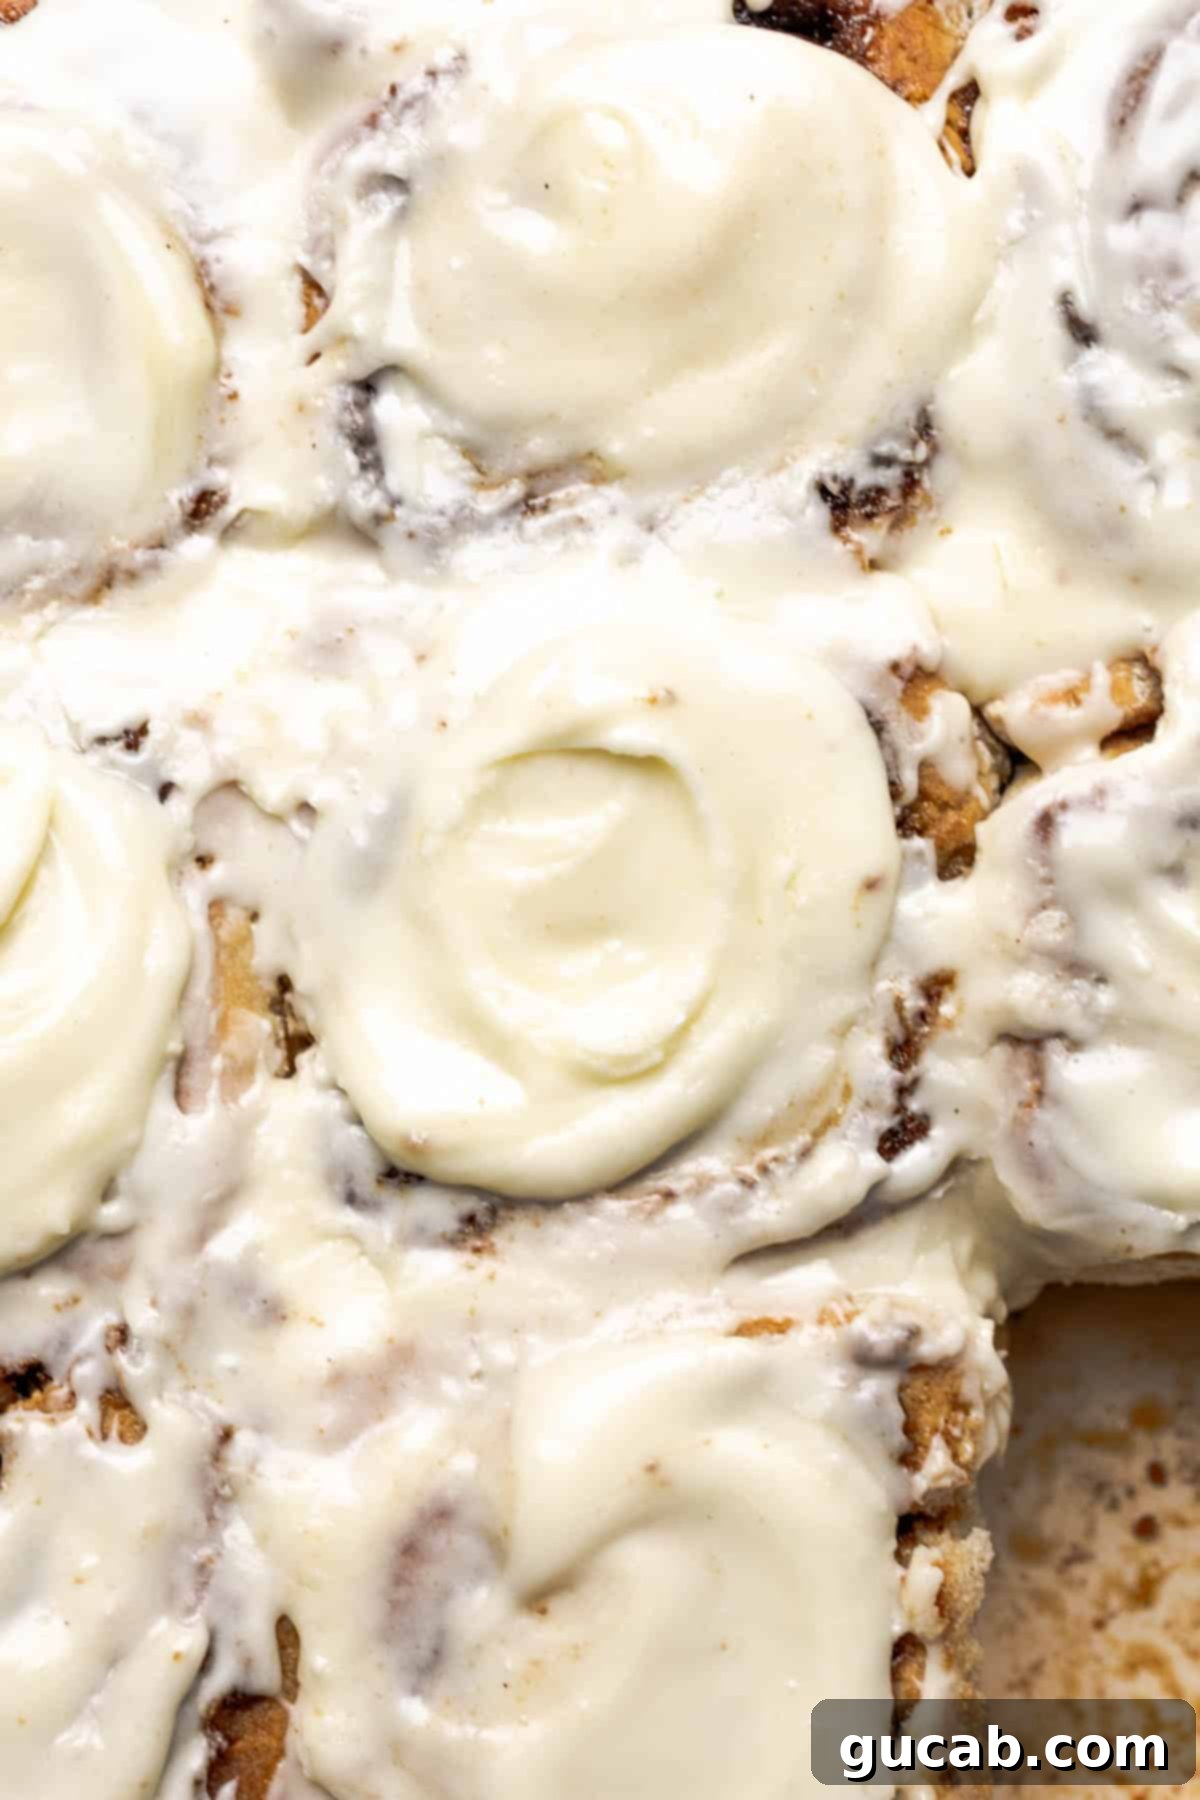
While the cinnamon rolls are still slightly warm (not straight out of the oven, but warm enough to cause a slight melt), prepare and generously spread the cream cheese frosting over them. The warmth will allow the frosting to melt just enough to create a gorgeous, slightly glazed finish before it sets. This technique creates an extra layer of deliciousness, infusing the top of the rolls with creamy sweetness. Don’t worry if it seems like a lot of frosting – you’ll want every bit of it!
Expert Recipe Tips for Perfect Gluten-Free Cinnamon Rolls:
To ensure your gluten-free cinnamon rolls turn out perfectly every time, keep these key tips in mind:
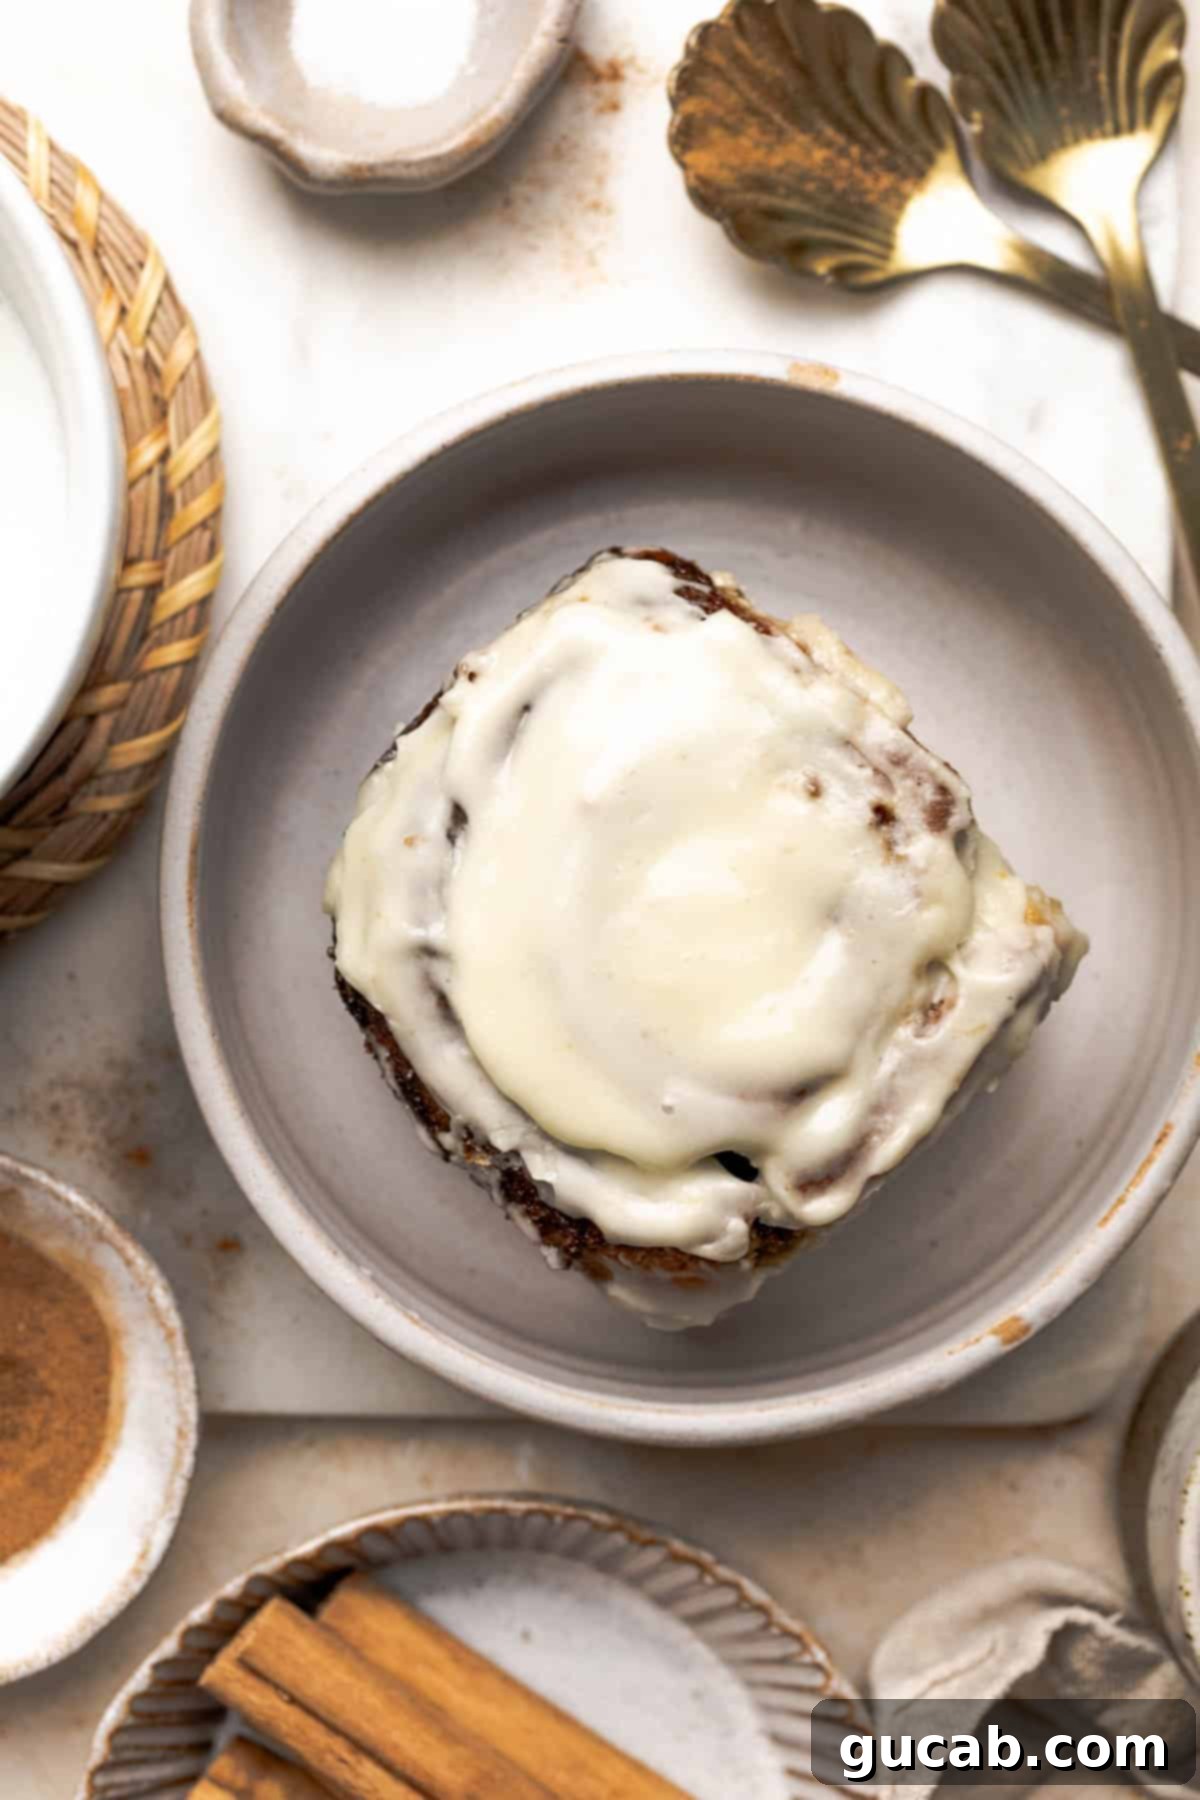
- Enjoy Them Fresh: Cinnamon rolls, especially homemade ones, are truly at their absolute best on the day they are made. The dough is freshest and the filling is most gooey. If you have leftovers, they’re still delicious on day two, but consider gifting them to a friend or freezing them individually. Freezing allows you to pull out a single roll for a quick treat later without compromising texture. They do tend to dry out more quickly than their gluten-filled counterparts.
- Room Temperature Ingredients: Always use room temperature eggs. Adding cold eggs to your yeast mixture can significantly lower the liquid’s temperature, inhibiting or even killing the active yeast. This can result in a dough that doesn’t rise properly, leading to dense rolls.
- Optimal Frosting Application: For the most luscious experience, ice the rolls while they are still slightly warm, but not piping hot straight out of the oven. If they’re too hot, the frosting will completely melt and run off. The gentle warmth allows the cream cheese icing to melt slightly and seep into the nooks and crannies of the roll, creating an incredibly rich and integrated flavor. As a personal preference, I sometimes save a little frosting to add another dollop once they’ve cooled slightly, for an extra burst of creamy sweetness.
- Embrace the Stickiness: Gluten-free dough is inherently softer and stickier than traditional wheat-based dough. Do not be alarmed by its consistency! This stickiness is actually a good thing; it translates to a more moist and tender baked roll. When rolling out the dough, be generous with your gluten-free flour on both your work surface and the top of the dough. This will make handling much easier and prevent sticking.
- Don’t Overbake: Overbaking is the enemy of soft, gooey cinnamon rolls. Keep a close eye on your rolls during the last few minutes of baking. They should be golden brown on top, but the centers should still feel soft and yield slightly when gently pressed. An instant-read thermometer can be helpful; the internal temperature should be around 200-205°F (93-96°C).
- The Power of a Stand Mixer: While not strictly mandatory, a stand mixer with a dough hook attachment is highly recommended for this recipe. It helps combine the sticky gluten-free dough thoroughly and efficiently, saving you effort and ensuring a consistent mixture.
Storage & Freezing: Keeping Your Cinnamon Rolls Fresh
While fresh is always best for these gluten-free delights, here’s how to properly store and freeze them:
- Short-Term Storage: As mentioned, gluten-free cinnamon rolls are truly best enjoyed the day they are made. If you have any glorious leftovers, store them in an airtight container in the refrigerator for up to 4 days. Remember, cream cheese frosting is perishable and should never be stored at room temperature.
- Reheating Leftovers: To bring them back to life, you can quickly reheat individual rolls in the microwave until just warm and soft. For a pan of rolls, wrap them loosely in foil and warm in a preheated oven at a low temperature (around 300°F / 150°C) until heated through, about 10-15 minutes. This helps maintain their moistness.
- Freezing for Later: If you plan to freeze your cinnamon rolls for a future treat, allow them to cool completely after baking, and then freeze them *without* frosting. Wrap each roll individually in plastic wrap, then place them in an airtight freezer bag or container. They can be stored for up to 2-3 months. When ready to enjoy, thaw them at room temperature before warming them up in the oven or microwave. Frost them fresh once thawed and warmed. If you decide to freeze them already frosted, be aware that the icing texture might change upon thawing and reheating. If they are frozen with frosting, always let them come to room temperature before warming, or the icing will melt completely.
More Delicious Gluten-Free Recipes to Try:
- Flaky Gluten-Free Buttermilk Biscuits
- Perfectly Fluffy Gluten-Free Pancakes
- Crispy Gluten-Free Waffle Recipe

Fluffy Gluten-Free Cinnamon Rolls with Cream Cheese Frosting
Carolyn
Pin Recipe
Equipment
-
Stand Mixer with Dough Hook Attachment
-
Large Mixing Bowl
-
8×8 inch Baking Pan
-
Offset Spatula
-
Rolling Pin
Ingredients
For the Dough:
- 1 cup Whole milk (heated to 110°F)
- 3 teaspoons Active dry yeast
- 1 teaspoon Granulated Sugar (for yeast activation)
- 2 Large Eggs (room temperature)
- ½ cup Vegetable Oil
- ½ cup Granulated Sugar (for the dough)
- 3 ¼ cups Bob’s Red Mill 1:1 Gluten Free All-Purpose Flour
- ¾ teaspoon Kosher Salt
- ½ teaspoon Baking Soda
- ½ teaspoon Cream of Tartar
For the Gooey Cinnamon Filling:
- 8 tablespoons Unsalted butter (softened, not melted)
- ¾ cup Packed Light Brown Sugar
- ½ tablespoon Ground Cinnamon
For the Dreamy Cream Cheese Frosting:
- 4 tablespoons Unsalted butter (room temperature)
- 2 ounces Full-fat cream cheese (about a quarter of a standard block, room temperature)
- 1 ¼ cup Powdered Sugar (confectioners’ sugar)
Instructions
For the Gooey Cinnamon Filling:
-
In a medium bowl, combine the 8 tablespoons of softened unsalted butter, ¾ cup of brown sugar, and ½ tablespoon of ground cinnamon. Stir well with a spoon or beat with an electric mixer until fully combined and creamy. Set this delicious filling aside at room temperature.
For the Gluten-Free Dough:
-
First, activate the yeast: Preheat your oven to 350°F (175°C) for later. Microwave the whole milk until it precisely reaches 110°F (43°C) – use a thermometer for accuracy. Pour the warm milk into a large bowl, then sprinkle in the active dry yeast and 1 teaspoon of granulated sugar. Stir gently and let it sit for six minutes. The yeast mixture should become frothy and bubbly, indicating it’s active and ready.
-
Into the frothy yeast mixture, add the two room temperature eggs, ½ cup of vegetable oil, and the remaining ½ cup of granulated sugar. Whisk thoroughly until all ingredients are well combined. Pour this liquid mixture into the bowl of a stand mixer fitted with the dough hook attachment. Add the 3 ¼ cups of gluten-free all-purpose flour, ¾ teaspoon of kosher salt, ½ teaspoon of baking soda, and ½ teaspoon of cream of tartar to the mixer bowl. Beat on medium speed for 2 minutes. Stop after 15 seconds to scrape down the sides of the bowl with a spatula, ensuring all the flour is fully incorporated into the sticky dough. The dough will be soft and sticky – this is perfectly normal and desired for a moist gluten-free roll.
-
Using a spatula, carefully scrape the sticky dough out of the mixer bowl and into a large, separate bowl that has been greased. Lightly brush the top surface of the dough with a small amount of oil to prevent it from drying out. Cover the bowl tightly with plastic wrap and set it aside in a warm, draft-free place to rise for two hours. During this first rise, the dough should noticeably increase in volume.
-
After the dough has risen, generously sprinkle gluten-free flour over a large, clean work surface. Carefully transfer the risen dough onto this floured area, and then sprinkle additional flour onto the top of the dough. This double-flouring technique is crucial for managing the sticky gluten-free dough. Using a rolling pin, gently roll the dough into a rectangular shape, aiming for approximately 11 by 13 inches long. Evenly spread the prepared cinnamon butter filling over the entire surface of the dough, leaving a ¼-inch unfiilled border on all sides.
-
Starting from the long side closest to you, carefully and tightly roll the dough up into a log shape. As you roll, the dough may lengthen slightly; aim for a log that is roughly 18 inches long. Once rolled, use a sharp knife or unflavored dental floss to cut the log into 9 relatively equal pieces. Each roll should be about 2 inches thick. Don’t worry if they’re not perfectly uniform – they’ll still bake up beautifully.
-
Lightly grease an 8×8 inch baking pan with nonstick cooking spray. Carefully arrange the 9 cut cinnamon rolls into the pan in three rows of three, nestling them closely together. This allows them to rise into each other, creating soft, gooey sides. Cover the pan loosely with plastic wrap and let the rolls rise for an additional 45 minutes. Then, bake them on the middle rack of your preheated 350°F (175°C) oven for 30 to 34 minutes, or until the tops are golden brown and the insides are soft but fully cooked. While the rolls are baking, prepare your luscious cream cheese frosting.
For the Dreamy Cream Cheese Frosting:
-
In the bowl of a stand mixer with the paddle attachment (or using a hand mixer), beat the 4 tablespoons of room temperature butter on medium speed for about 30 seconds. This step ensures that even if your butter is slightly cool, it becomes perfectly smooth, helping it emulsify with the cream cheese without any lumps.
-
Add the 2 ounces of room temperature full-fat cream cheese to the butter and continue to beat on medium speed for an additional minute until the mixture is light, fluffy, and well combined. Stop the mixer and scrape down the sides of the bowl with a spatula to ensure everything is evenly incorporated.
-
Add ¾ cup of the powdered sugar to the cream cheese mixture. Begin beating on low speed for 5 seconds to prevent the sugar from puffing out of the bowl. Once moistened, increase the speed to medium-high and beat for 1 minute until smooth and creamy.
-
Finally, add the last ½ cup of powdered sugar to the bowl. Beat on low speed for 5 more seconds, then switch to medium-high speed and beat for another minute until the frosting is light, airy, and beautifully smooth.
-
Once the cinnamon rolls are out of the oven and have cooled for about 10-15 minutes (they should still be warm to the touch, but not piping hot), generously spread the prepared cream cheese frosting over them. The warmth will allow the frosting to melt slightly, creating a delectable glaze. Serve immediately and enjoy every gooey bite! You can leave any leftover frosting on the side for those who desire extra indulgence.
Video
Nutrition
