Irresistible Oreo Chocolate Chip Cookies: The Ultimate Homemade Recipe
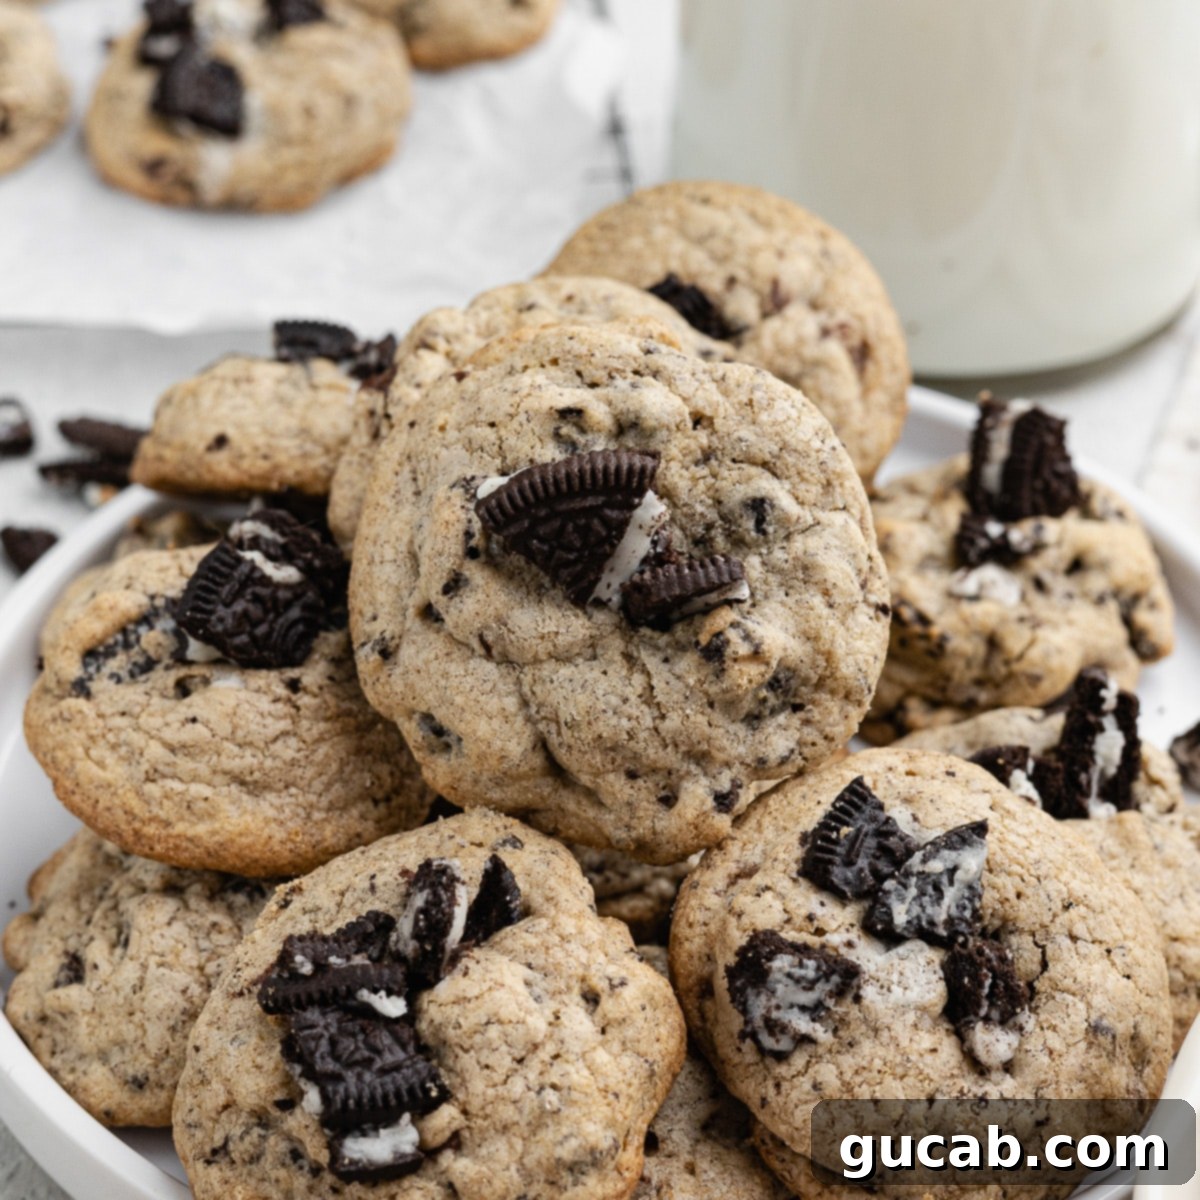
Indulge in the ultimate cookie experience with these incredible Oreo Chocolate Chip Cookies! Featuring perfectly golden-brown edges, delightfully soft and chewy centers, and an abundance of crushed Oreos and rich chocolate chips, these cookies are a true crowd-pleaser. My kids, and frankly, everyone who tries them, absolutely devours these treats in mere seconds. Get ready to bake your new favorite cookie!
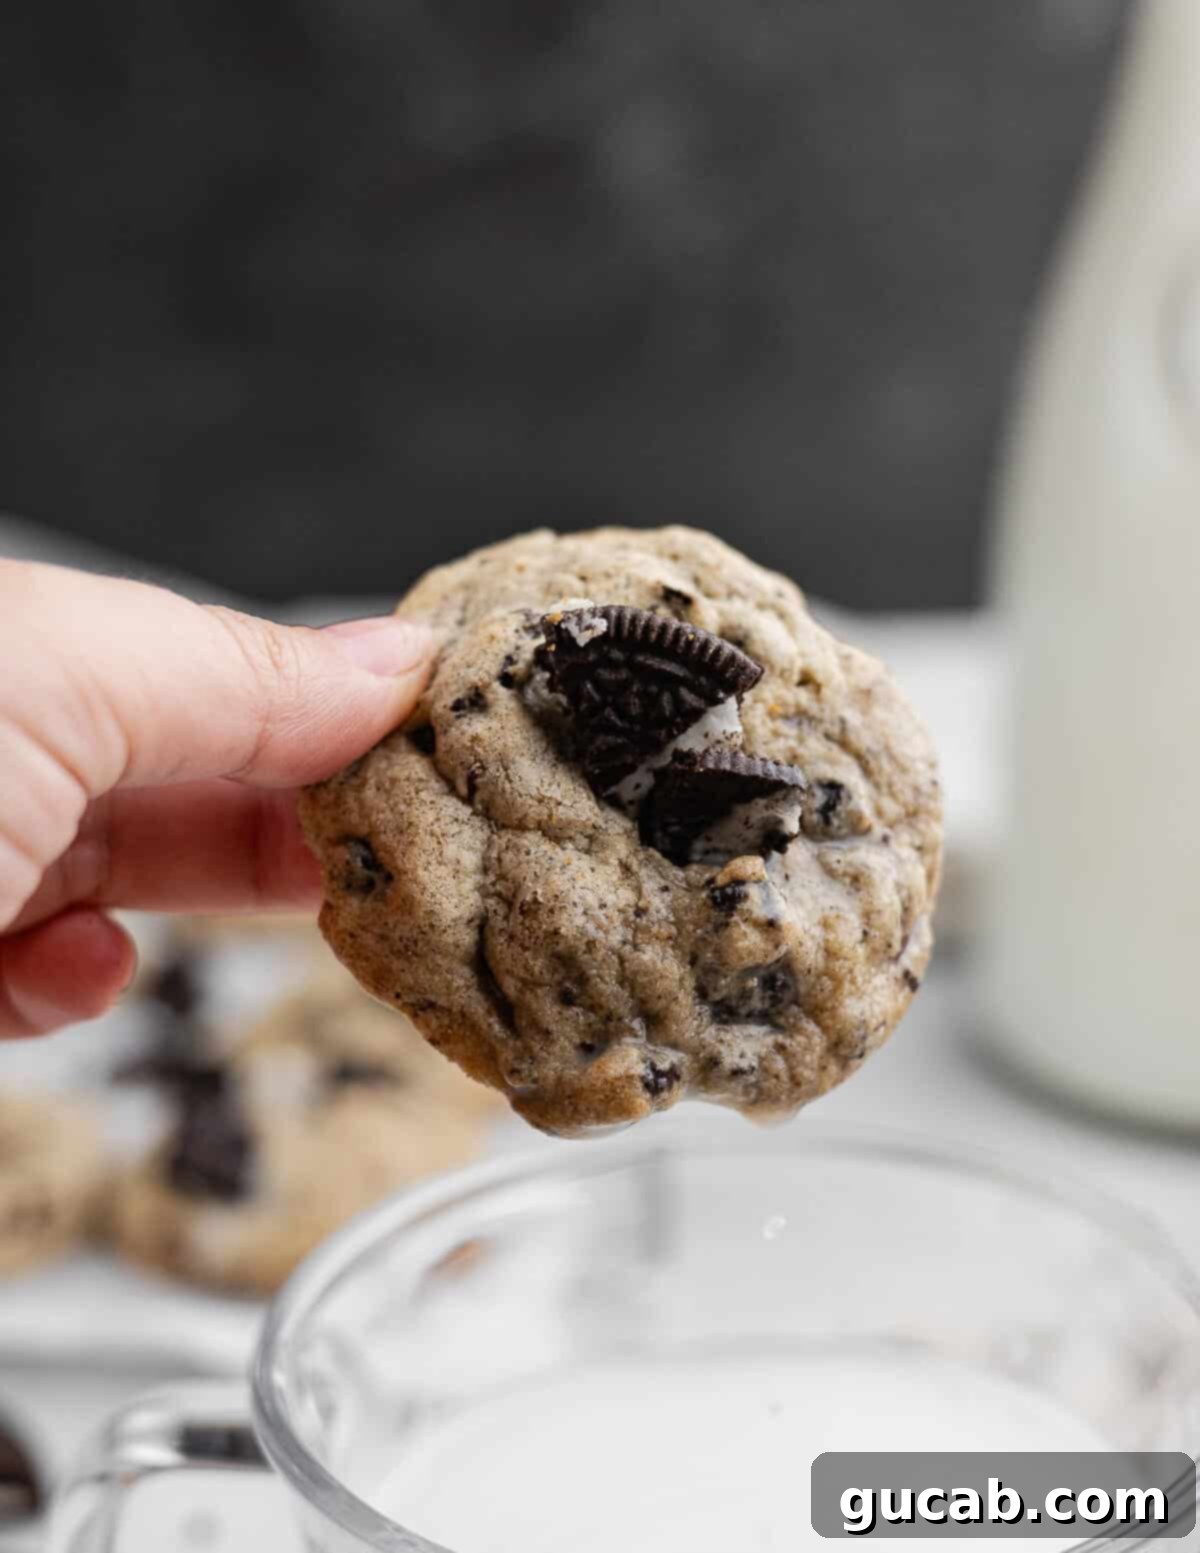
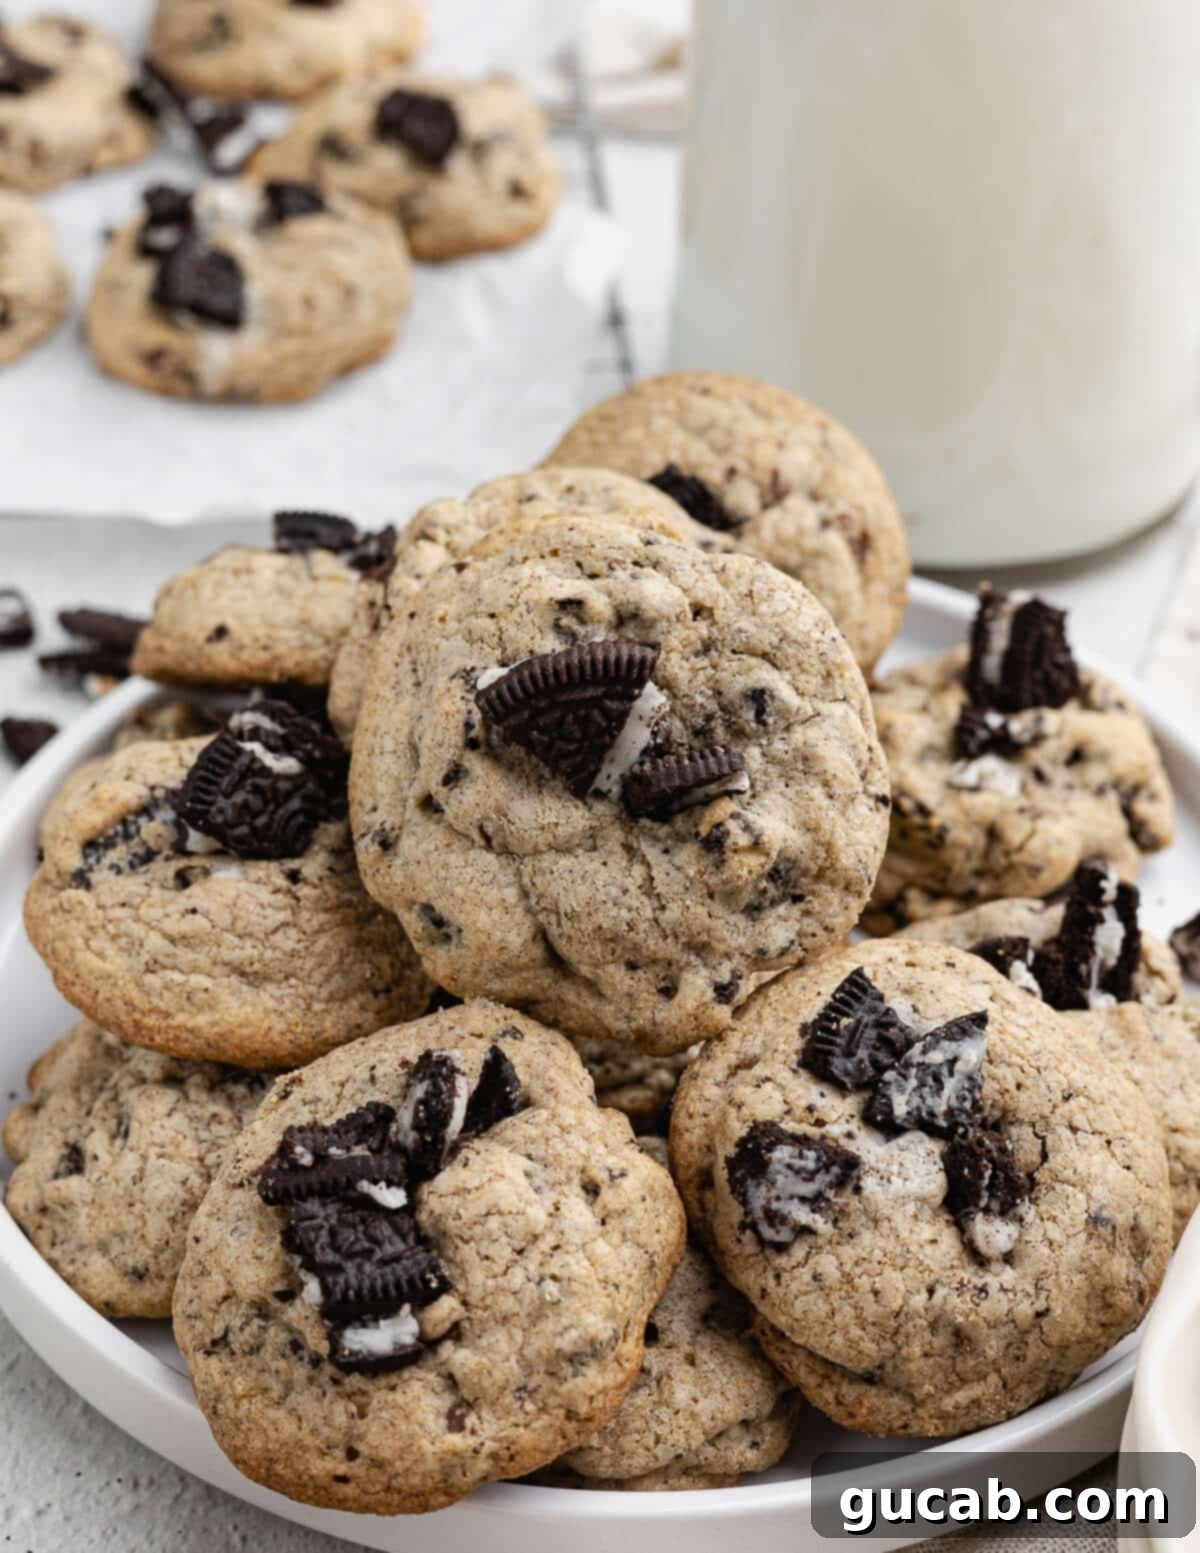
It’s safe to say that I’m a certified cookie enthusiast, constantly dreaming up new and exciting cookie combinations. These chocolate chip Oreo cookies, often affectionately called “cookies and cream cookies,” have quickly become one of my all-time favorites! They strike the perfect balance: wonderfully crispy edges, delightfully soft and tender centers, and the ideal thickness for that satisfying bite. Best of all, they’re absolutely bursting with the iconic flavor and crunch of crushed Oreos, complemented by melty chocolate chips in every bite.
These highly addictive cookies tend to disappear remarkably fast. However, on the rare occasion you’re fortunate enough to have leftovers, rest assured that they freeze beautifully, ensuring you can enjoy a perfect treat whenever a craving strikes!
Essential Ingredients for Perfect Oreo Chocolate Chip Cookies
Crafting these irresistible cookies starts with a selection of quality ingredients. Each component plays a crucial role in achieving the desired texture, flavor, and overall deliciousness. Here’s a closer look at what you’ll need and why:
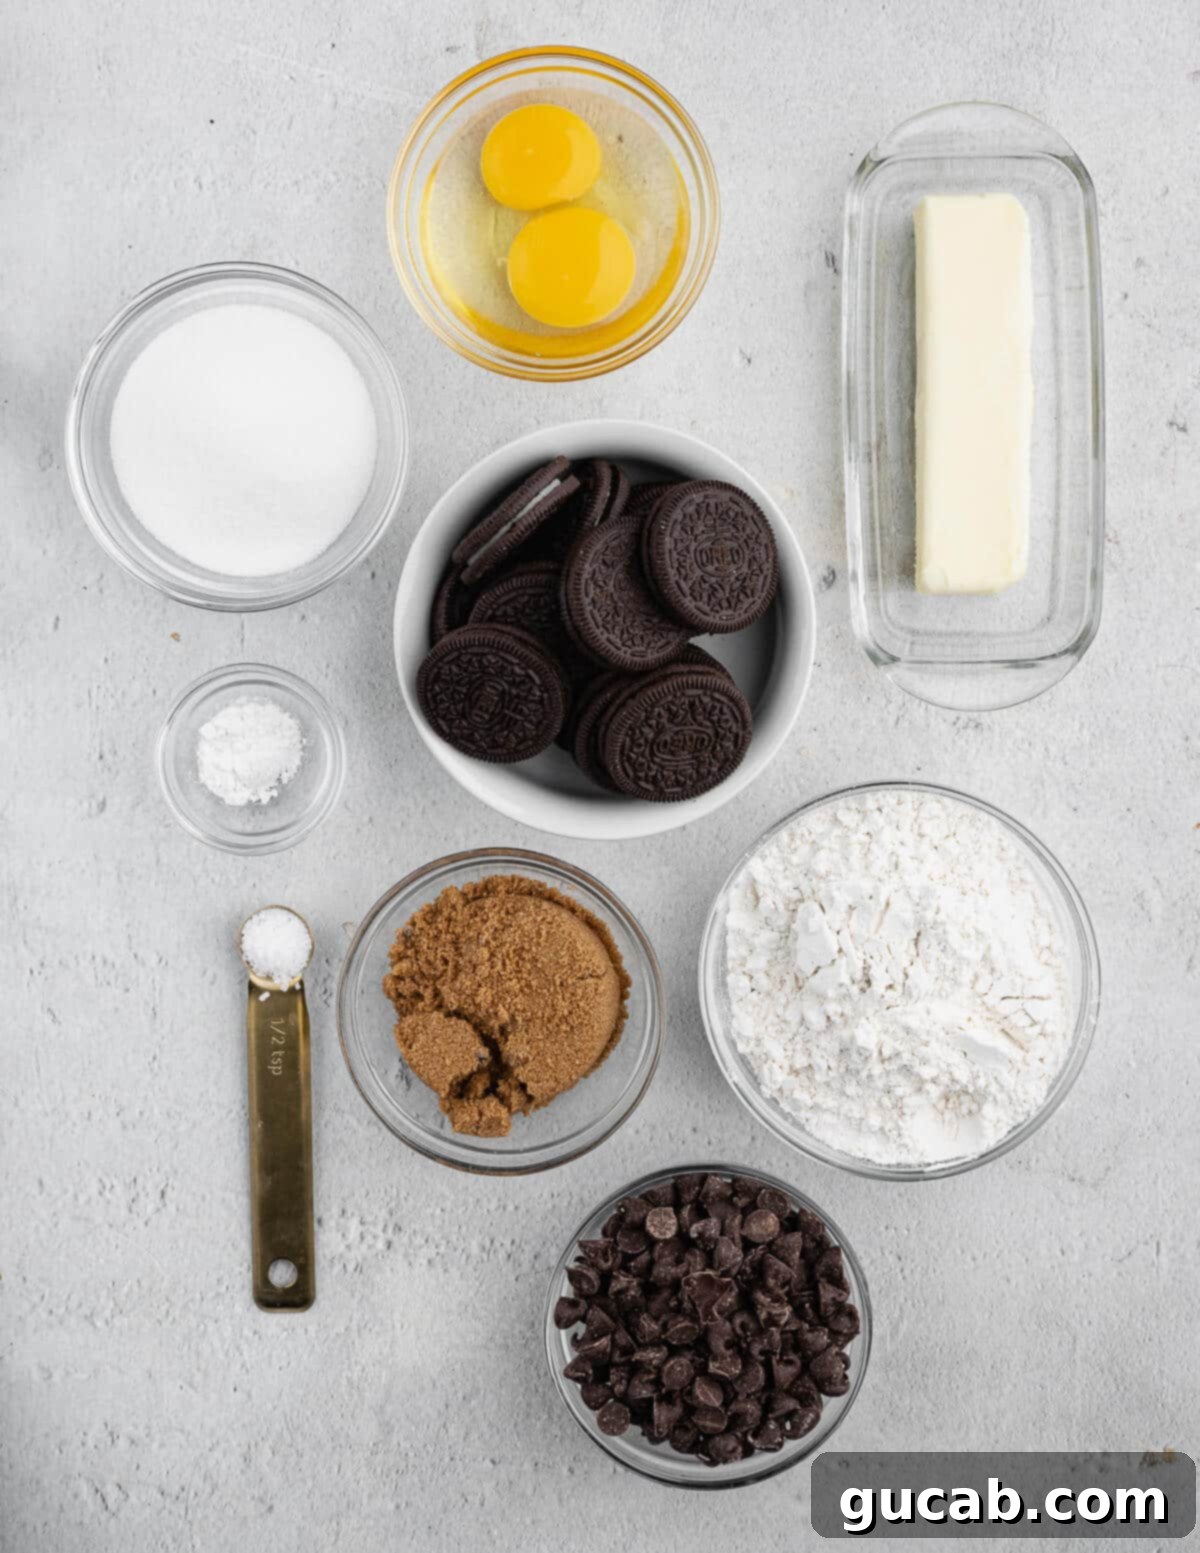
- Unsalted butter: Butter is absolutely key to achieving that wonderfully tender and chewy texture in our cookies. I always opt for unsalted butter in my baking recipes. This allows me to precisely control the amount and type of salt in the dough, ensuring the perfect flavor balance. If you only have salted butter on hand, it’s perfectly fine to use, just remember to omit the extra salt from the recipe to prevent your cookies from becoming too salty.
- Sugar & brown sugar: This dynamic duo is essential for both sweetening the cookies and achieving that perfect spread. Granulated sugar contributes to the crispness of the edges, while brown sugar adds moisture, chewiness, and a delightful caramel-like flavor, thanks to its molasses content.
- Egg + yolk: Trust me on this little secret! Using one whole large egg plus an additional egg yolk is a game-changer. The extra yolk adds richness and fat to the dough, resulting in cookies that are incredibly soft, tender, and melt-in-your-mouth delicious. It also helps bind the dough and enhances its chewiness.
- All-purpose flour: The foundation of our cookie structure. When measuring flour, it’s crucial to do it correctly to avoid dense or dry cookies. I recommend “fluffing” the flour in its container with a spoon or whisk, then gently spooning it into your measuring cup before leveling it off with a straight edge. Avoid scooping directly with the measuring cup, as this can compact the flour and lead to using too much.
- Baking soda: This leavening agent is vital for giving our cookies a slight lift and preventing them from being too dense. Baking soda reacts with the acidic molasses found in the brown sugar, producing carbon dioxide gas that helps the dough rise and spread beautifully during baking.
- Kosher salt: A touch of salt is more than just a seasoning; it’s a flavor enhancer. It balances the sweetness of the sugars and chocolate, bringing out the depth of flavor in all the ingredients and preventing the cookies from tasting overly saccharine.
- Chocolate chips: For this recipe, I typically use semi-sweet chocolate chips, which offer a balanced sweetness that pairs wonderfully with the Oreos. However, feel free to experiment with your favorites! Dark chocolate chips will add a deeper, more intense chocolate flavor, while milk chocolate chips will make them extra sweet and creamy. White chocolate chips are also a fantastic alternative for a different flavor profile.
- Oreos: The star of the show! To maximize the iconic “cookies and cream” flavor and texture, we’ll use a combination of finely crushed Oreo crumbs and larger Oreo pieces. The crumbs infuse the entire dough with that distinctive chocolate sandwich cookie taste, while the larger pieces provide delightful pockets of crunch and texture throughout each cookie. Don’t forget a few extra pieces for topping before baking for that irresistible visual appeal!
How to Bake Amazing Oreo Chocolate Chip Cookies
Let’s get baking! This step-by-step guide will ensure you create perfectly baked, mouth-watering Oreo chocolate chip cookies every time. Follow along carefully for the best results.
First, preheat your oven to 375 degrees Fahrenheit (190°C). Proper oven preheating is crucial for consistent baking and ensures your cookies spread and cook evenly from the moment they enter the oven. Next, line a baking sheet with either parchment paper or a silicone baking mat. These are essential for preventing your cookies from sticking to the pan and make for super easy cleanup. I personally love silicone baking mats – they’re reusable, dishwasher-safe, and create a perfectly non-stick surface! I keep at least three on hand for all my baking needs.
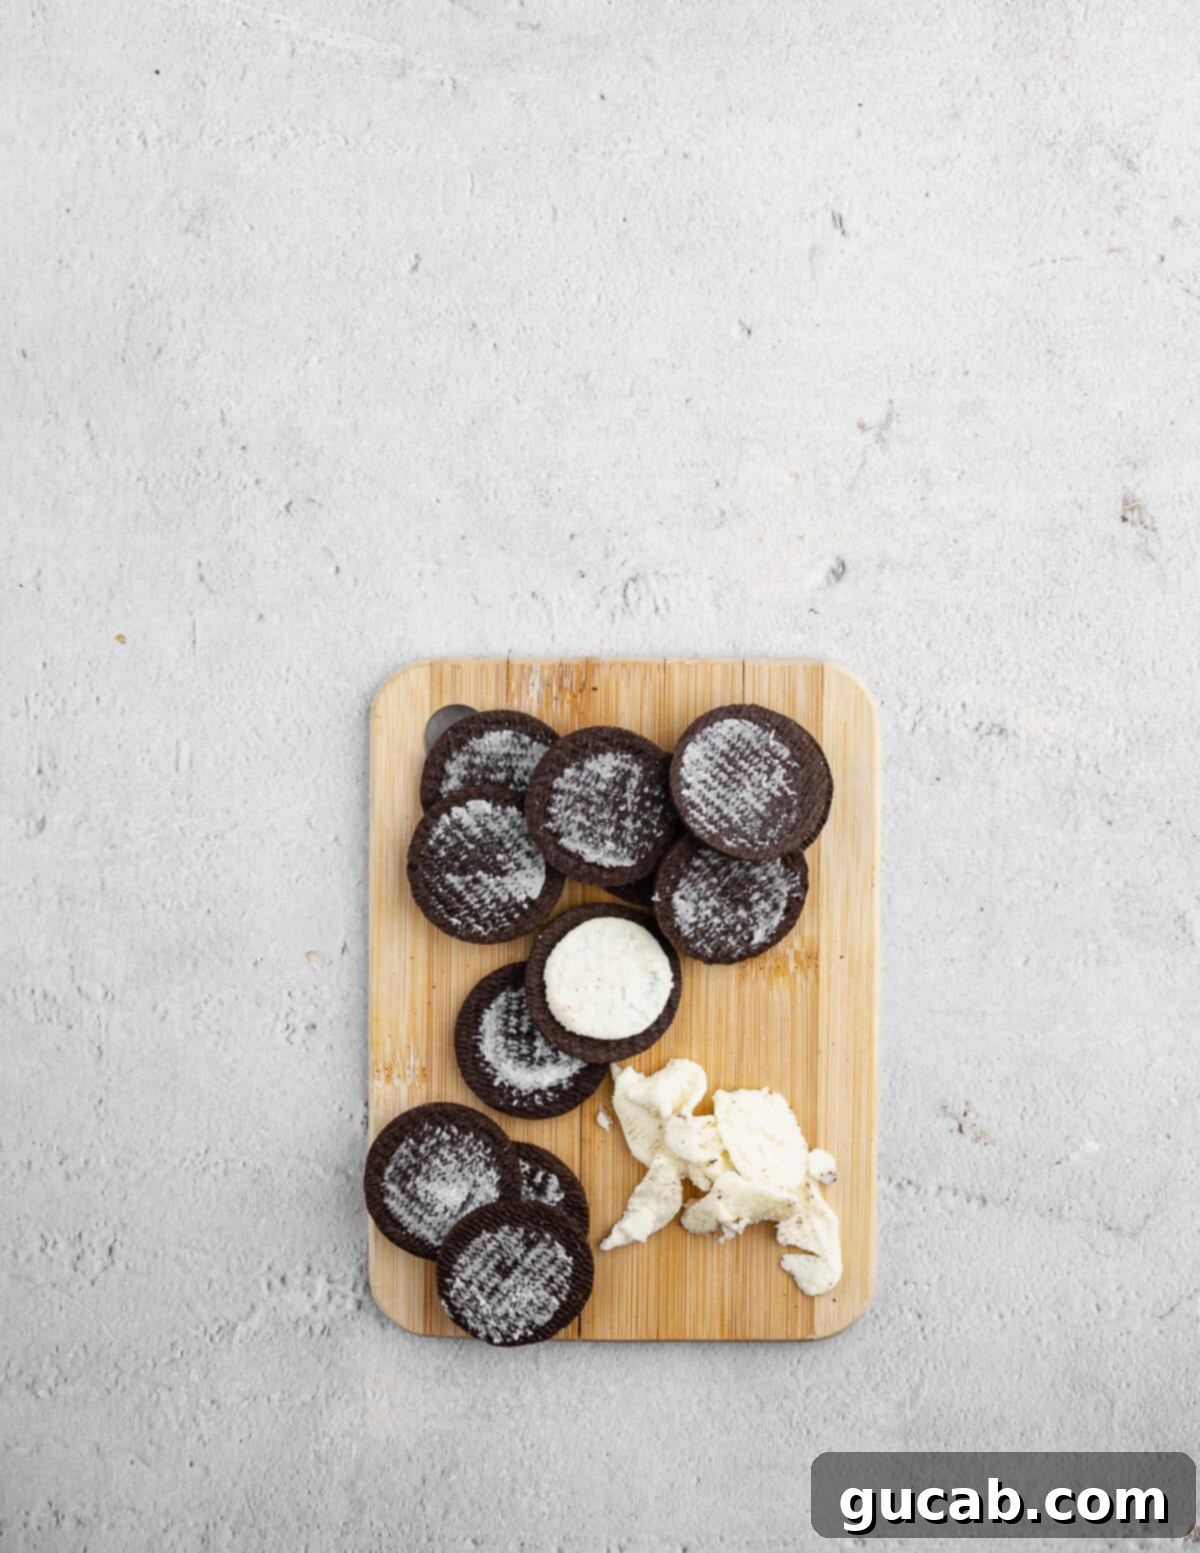
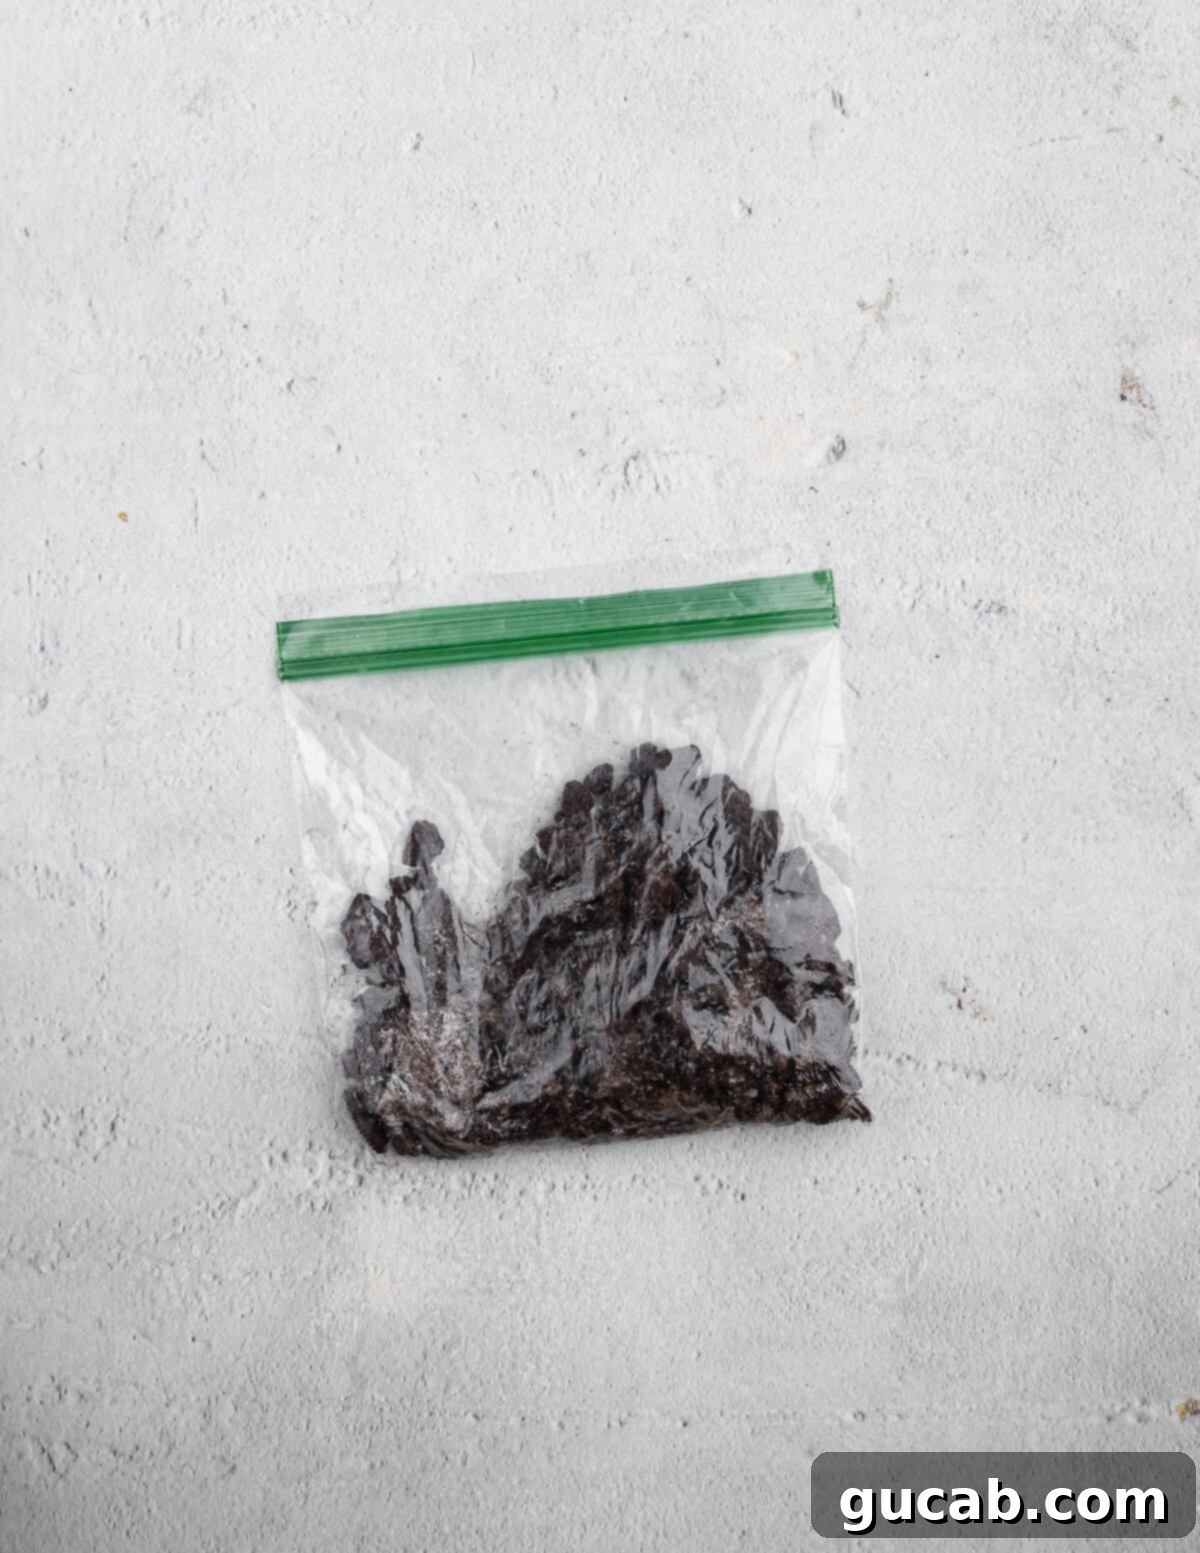
- Prepare the Oreo crumbs: Begin by carefully separating the filling from five of your Oreo cookies. You can set the cream filling aside for another delightful use (perhaps a milkshake or as a topping for ice cream!). Place the ten chocolate cookie halves into a sturdy zip-top bag. Using a rolling pin, the bottom of a glass, or even your hands, crush the cookies into a combination of fine crumbs and small pieces. Don’t worry if there are a few larger chunks – these will add wonderful texture to your finished cookies.
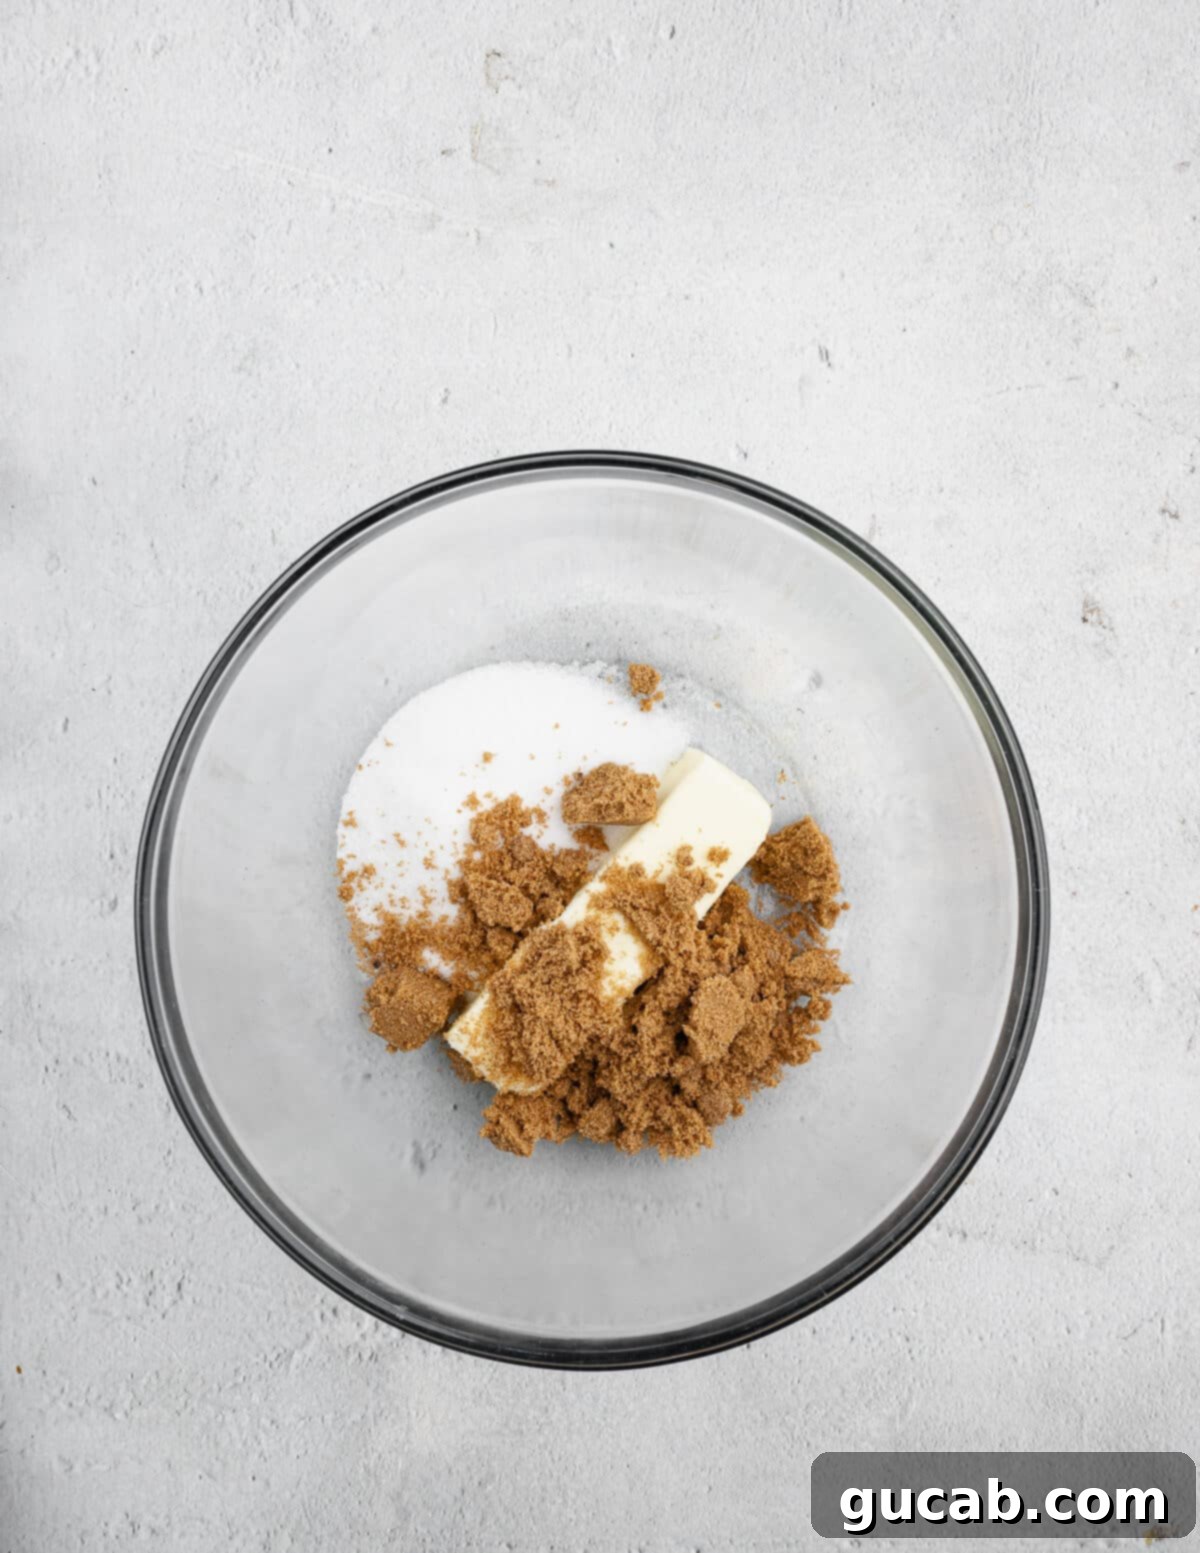
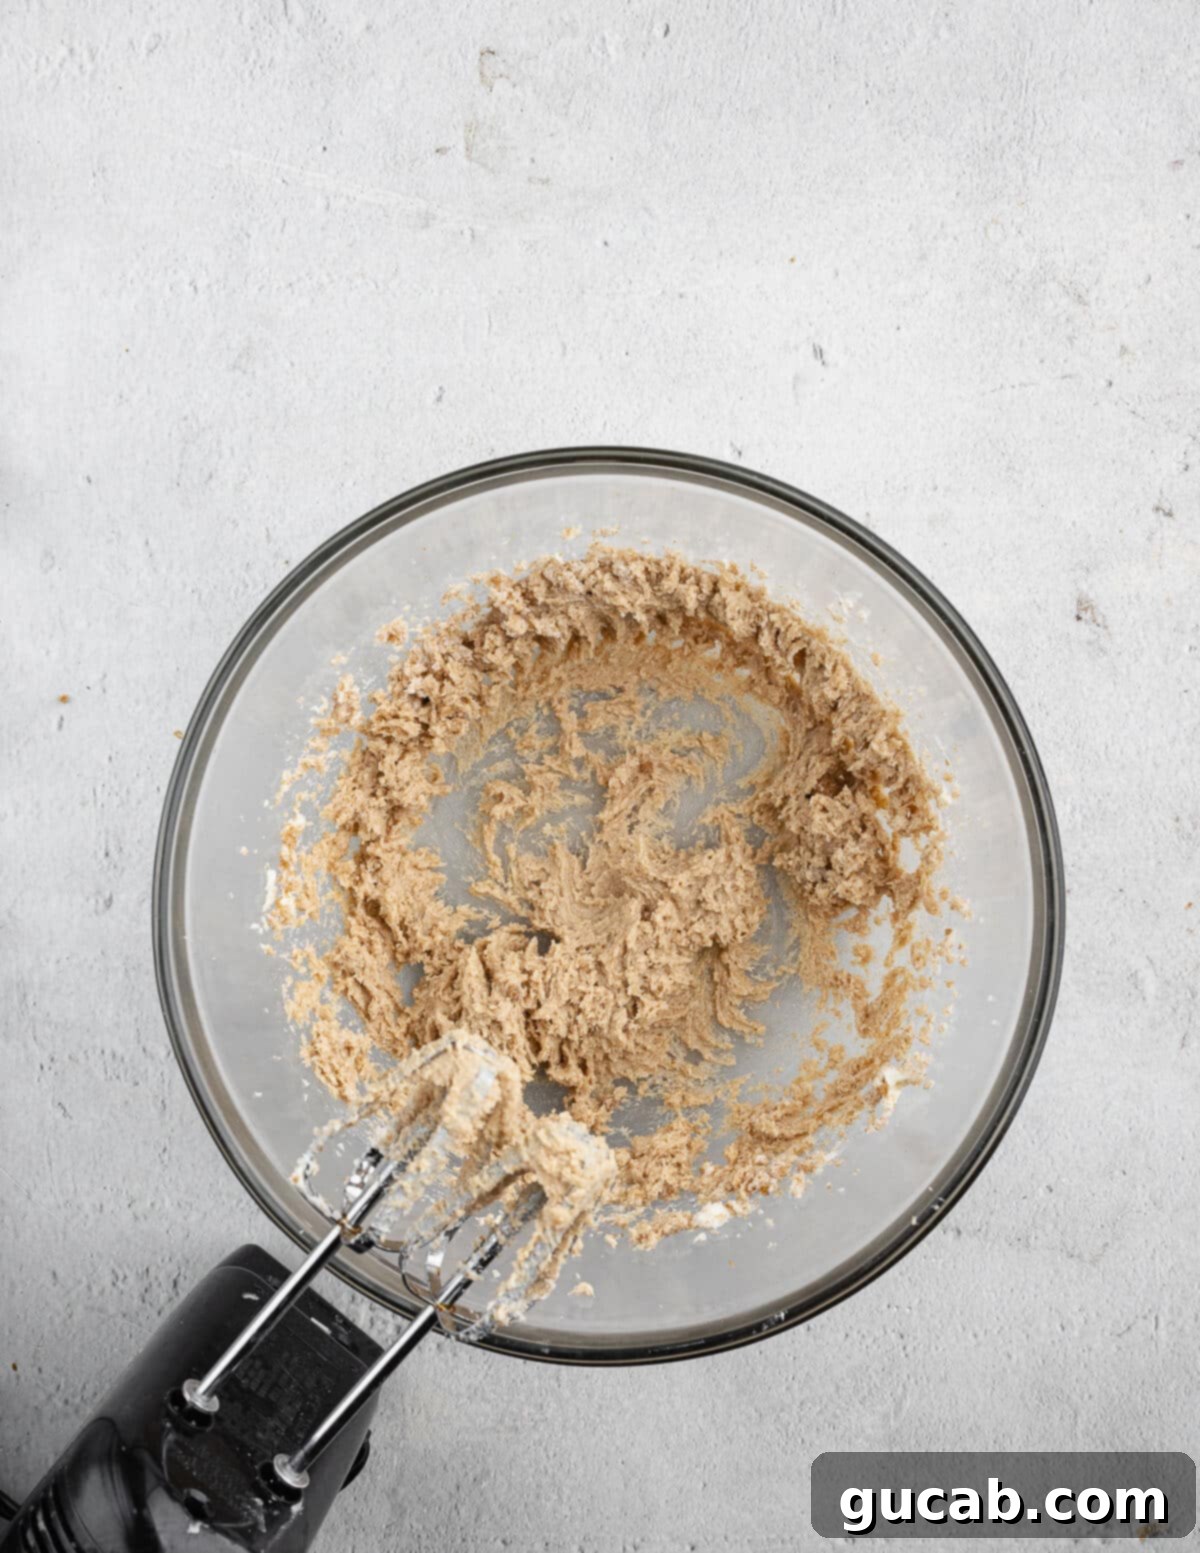
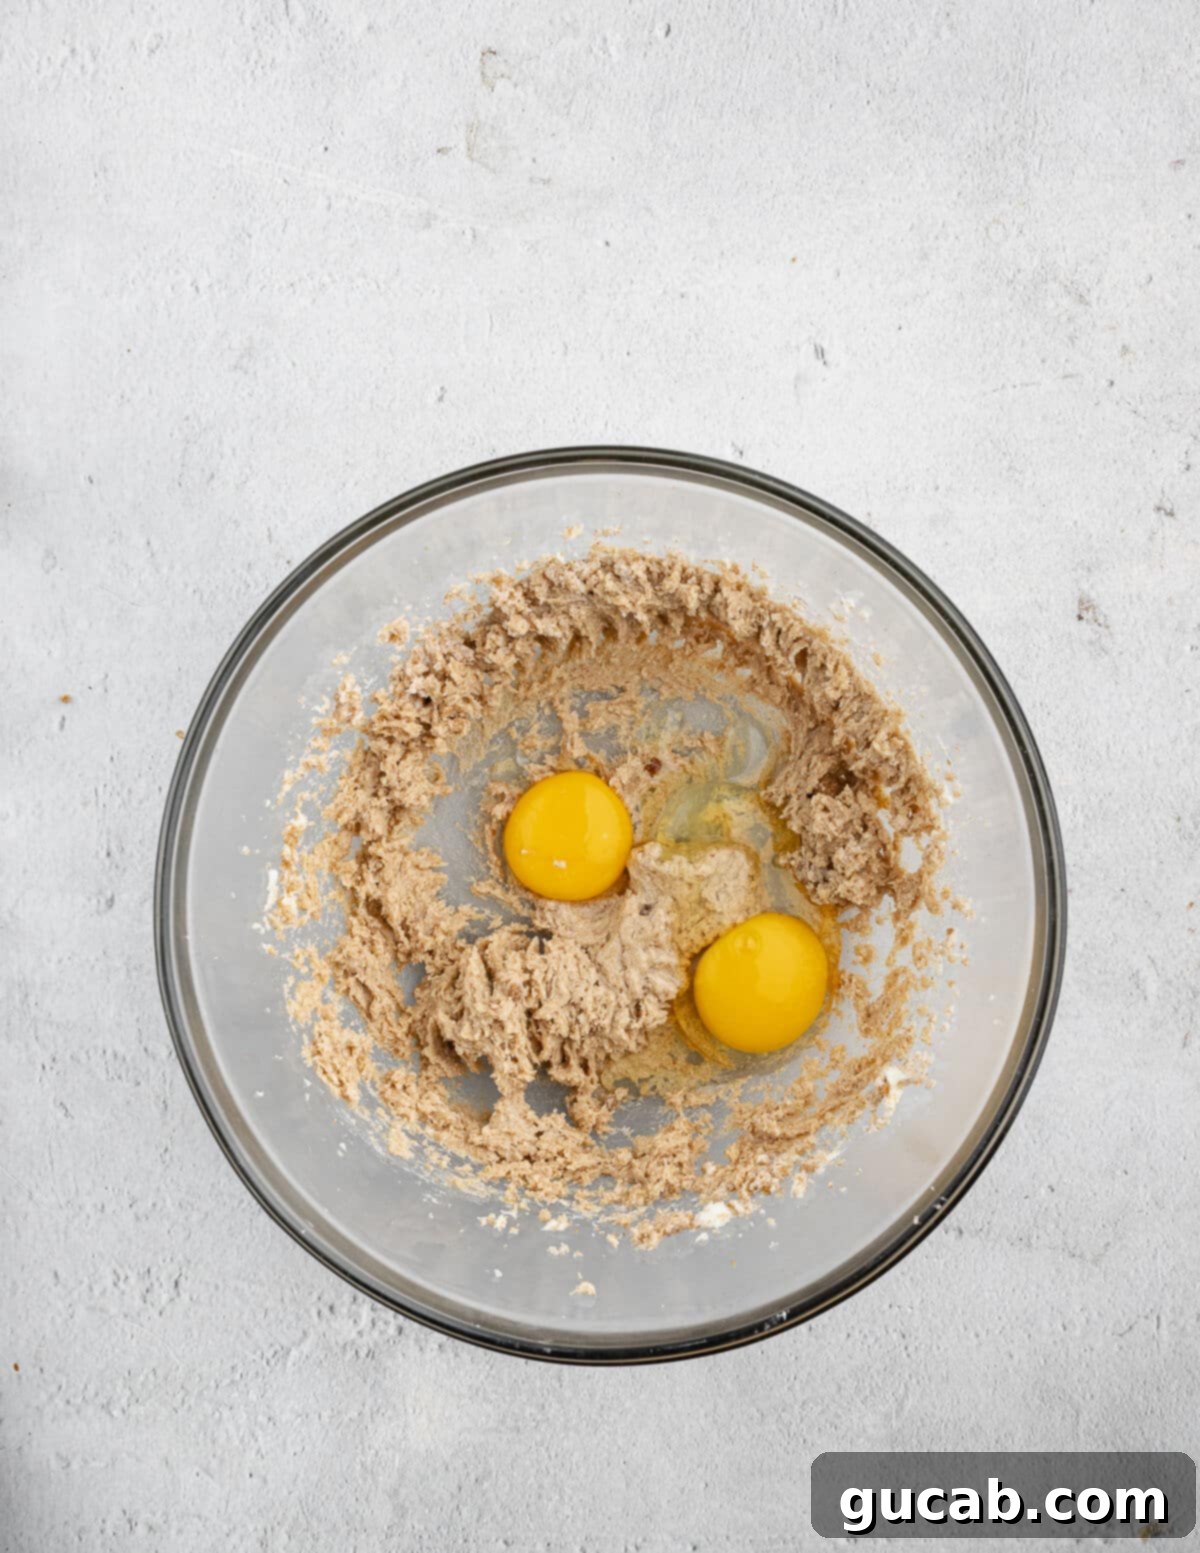
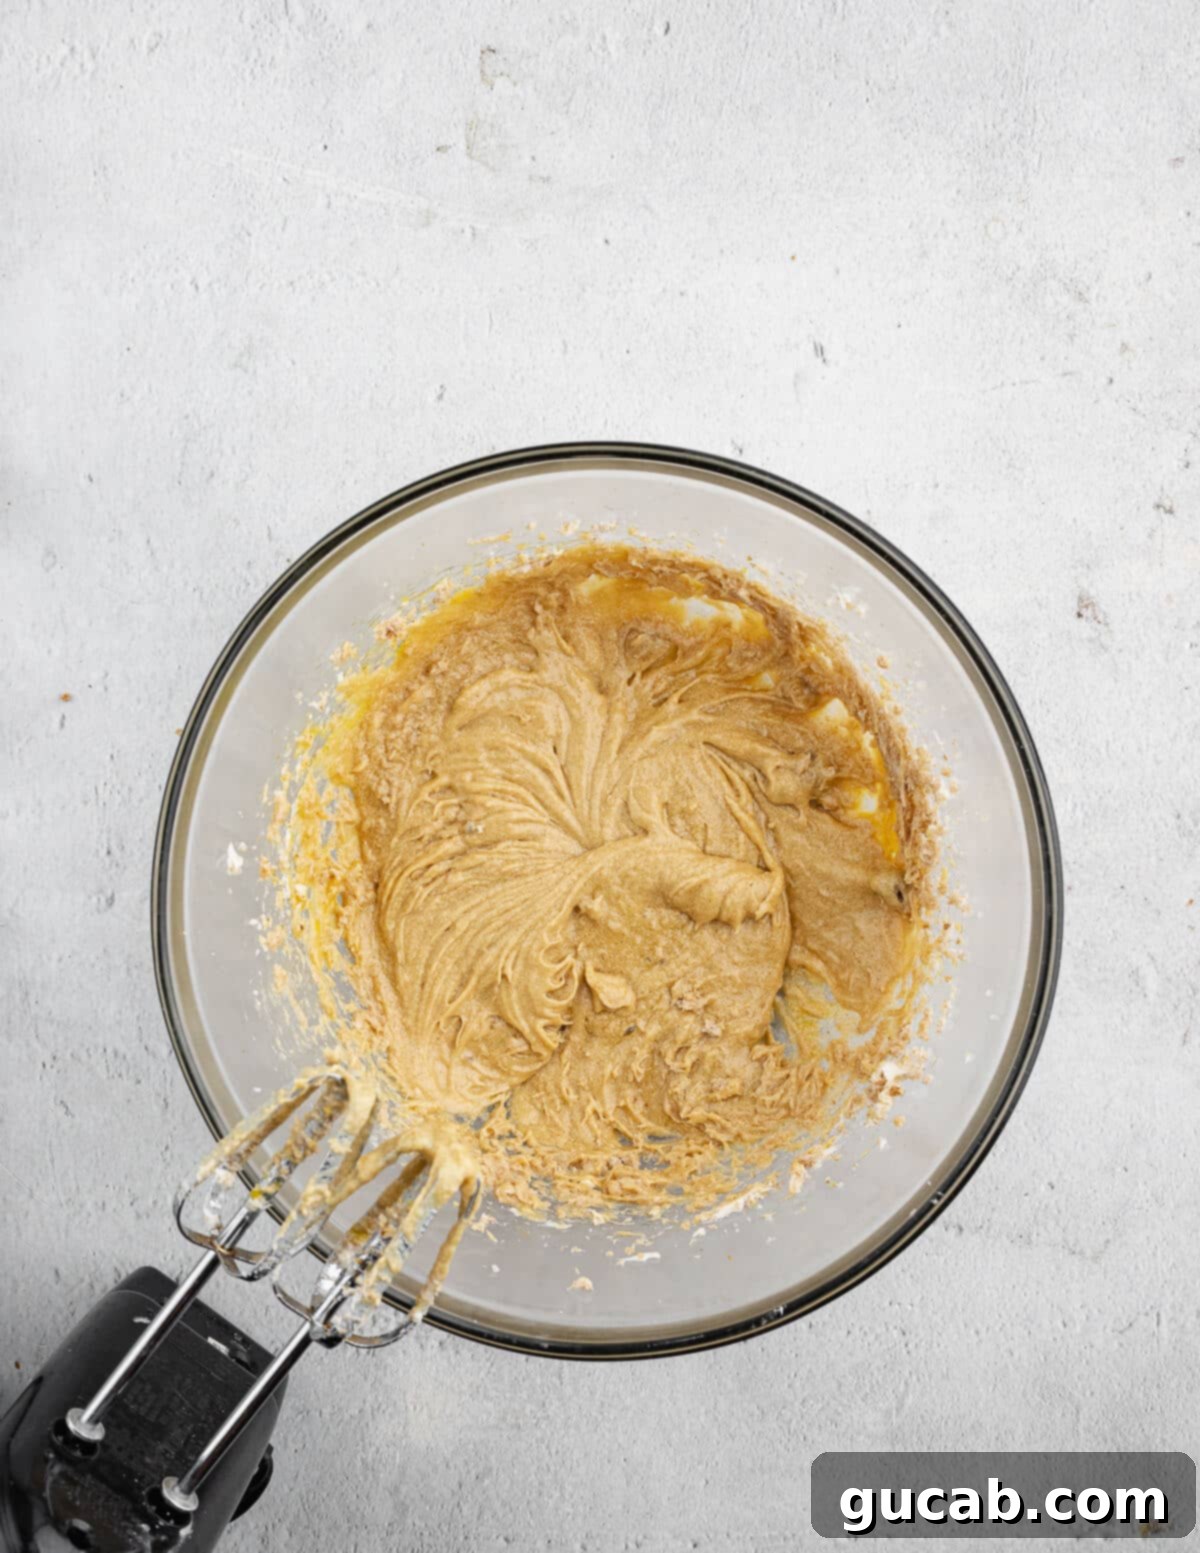
- Cream the butter and sugar: In a large mixing bowl (or the bowl of a stand mixer fitted with the paddle attachment), combine the softened unsalted butter, granulated sugar, and brown sugar. Beat these ingredients together on medium-high speed for about 2 to 3 minutes, or until the mixture becomes visibly lightened in color and takes on a fluffy, airy consistency. This “creaming” process incorporates air, which contributes to the cookies’ final texture. Once creamed, beat in the large egg and the extra egg yolk until they are fully incorporated and the mixture is smooth.
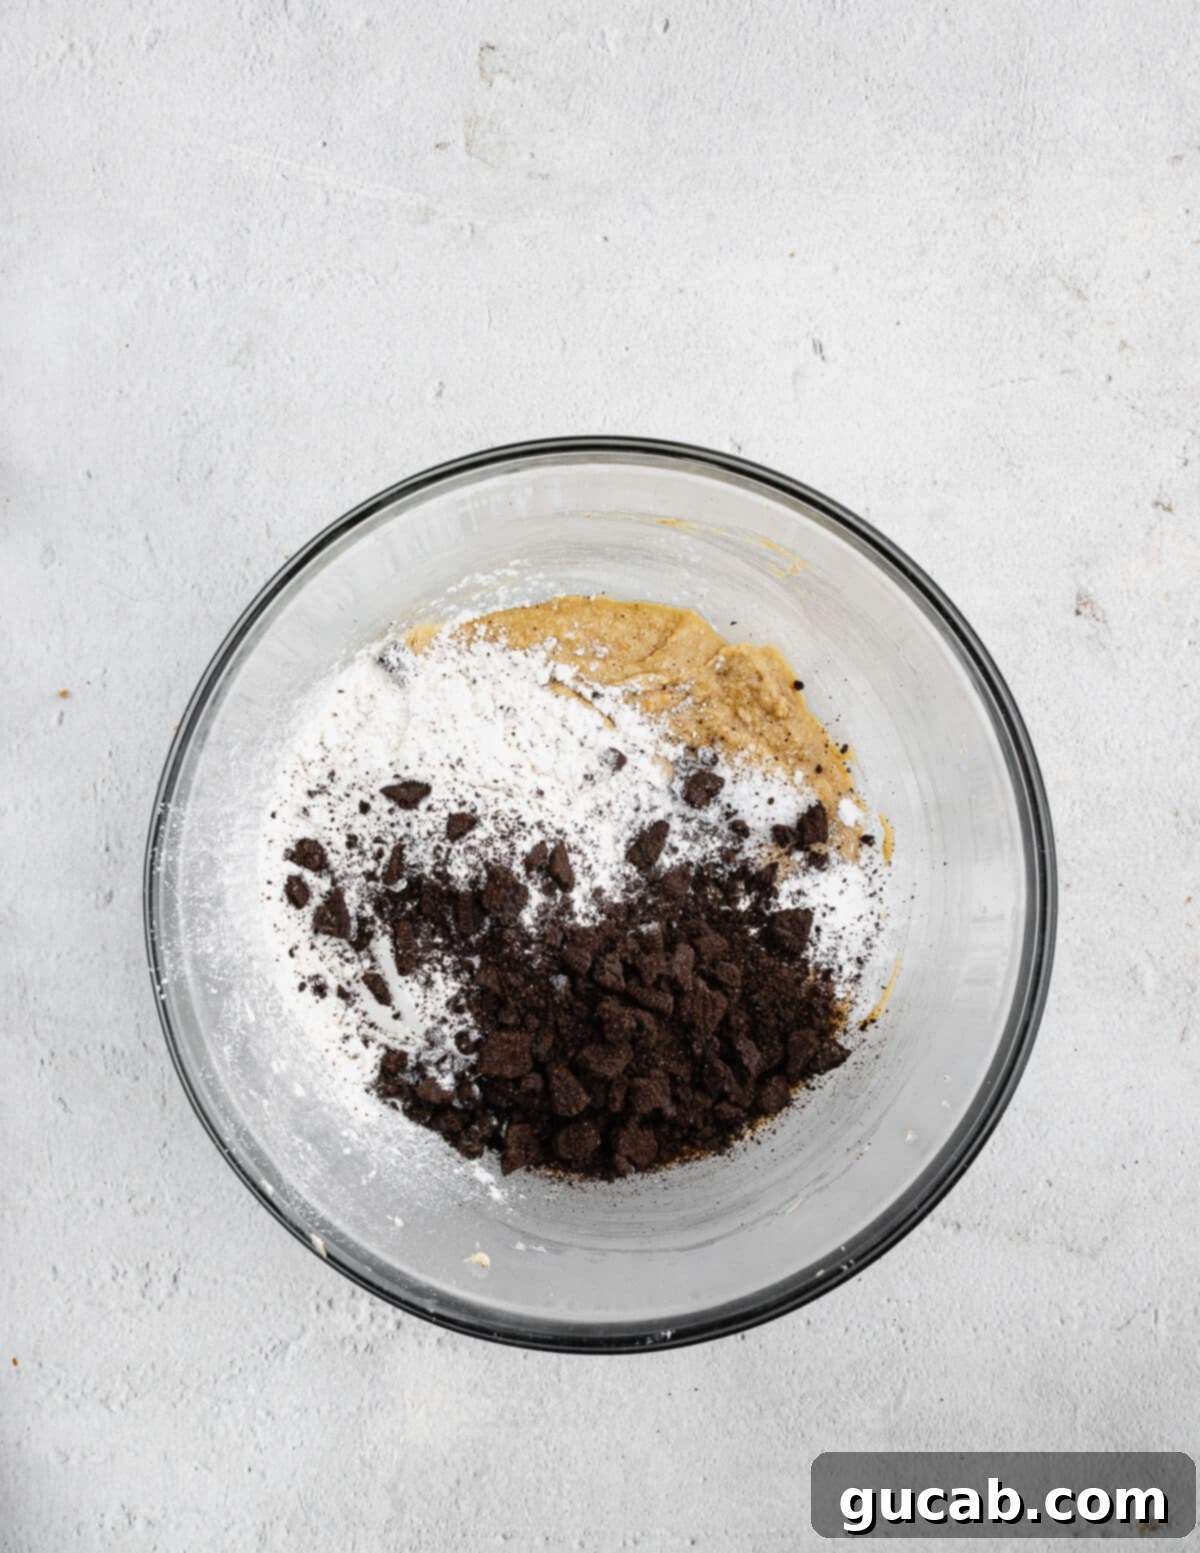
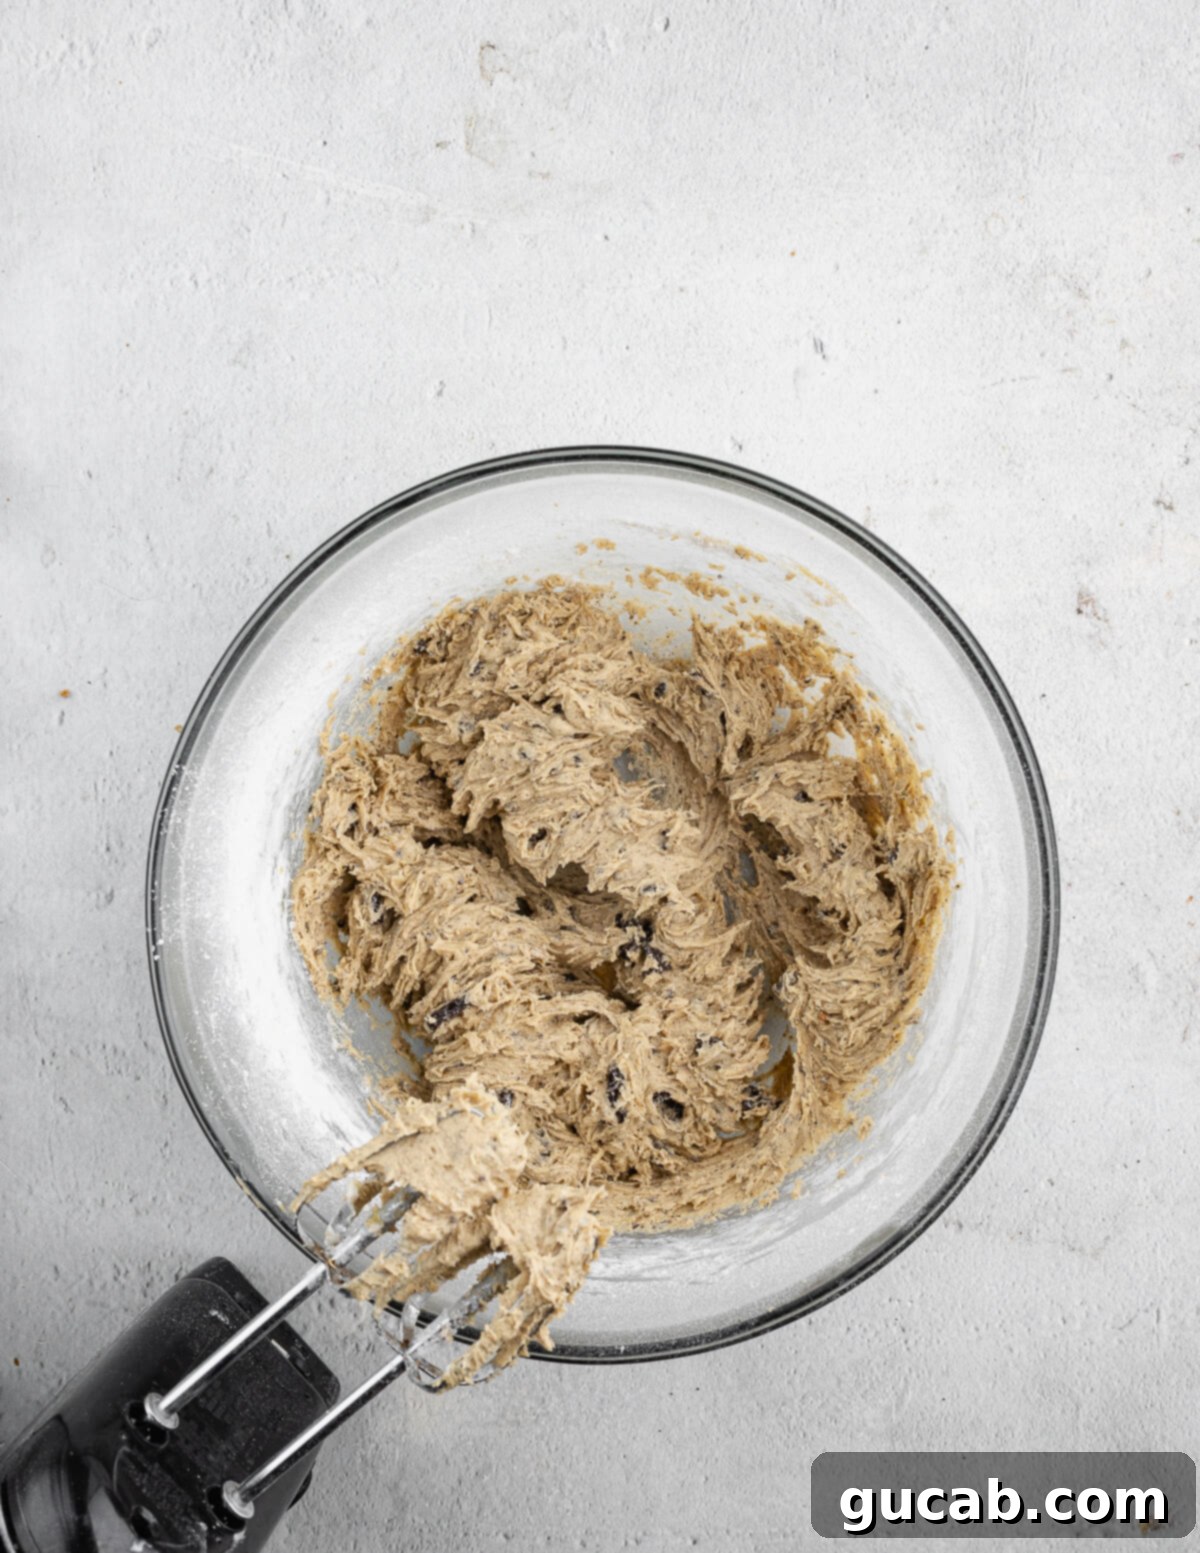
- Incorporate dry ingredients: To the wet ingredients, add the prepared Oreo cookie crumbs, all-purpose flour, baking soda, and kosher salt. Mix on low speed just until a cohesive cookie dough forms. It’s very important to avoid over-mixing at this stage, as overworking the flour can develop too much gluten, resulting in tough rather than tender cookies. Mix only until the dry streaks disappear.
- Add Oreos and chocolate chips: Once your base dough is ready, break the remaining 8 Oreo cookies into rough pieces – a combination of small and medium chunks works best for varied texture. Gently fold these Oreo pieces and the semi-sweet chocolate chips into the cookie dough until they are evenly distributed. Good news! This recipe is designed to be baked immediately, so there’s no need to chill the dough, saving you valuable time.
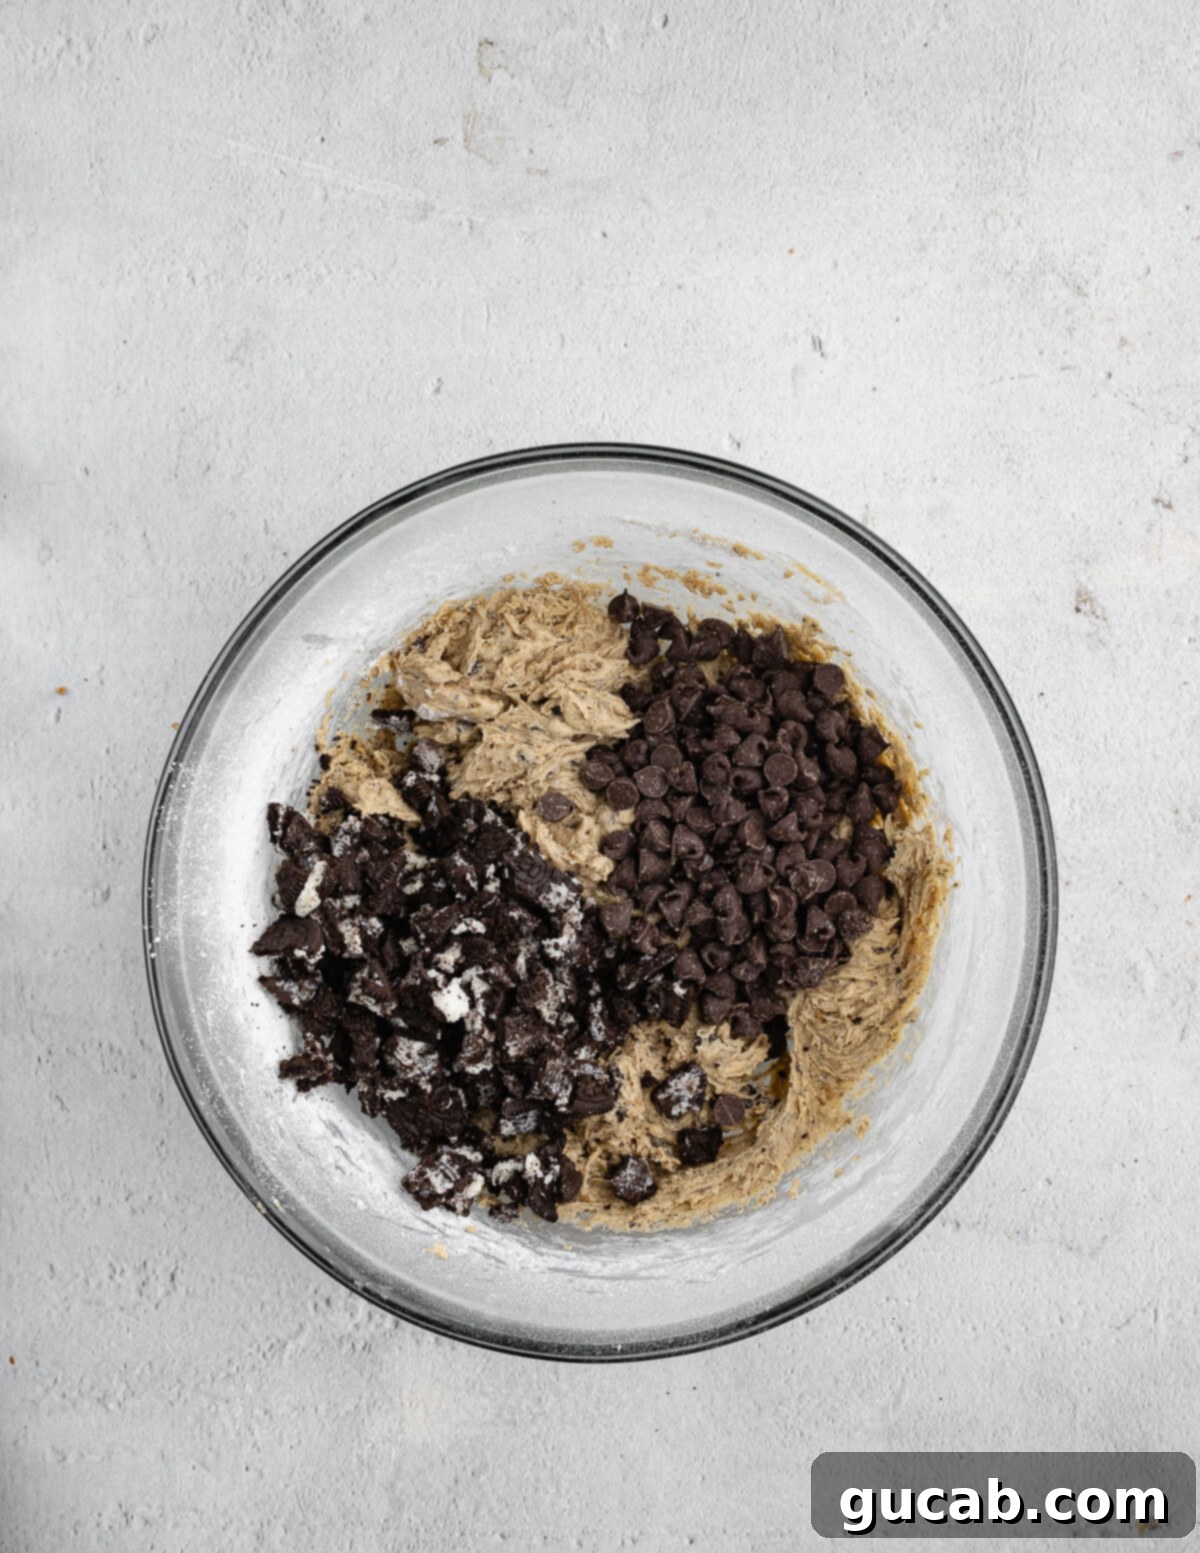
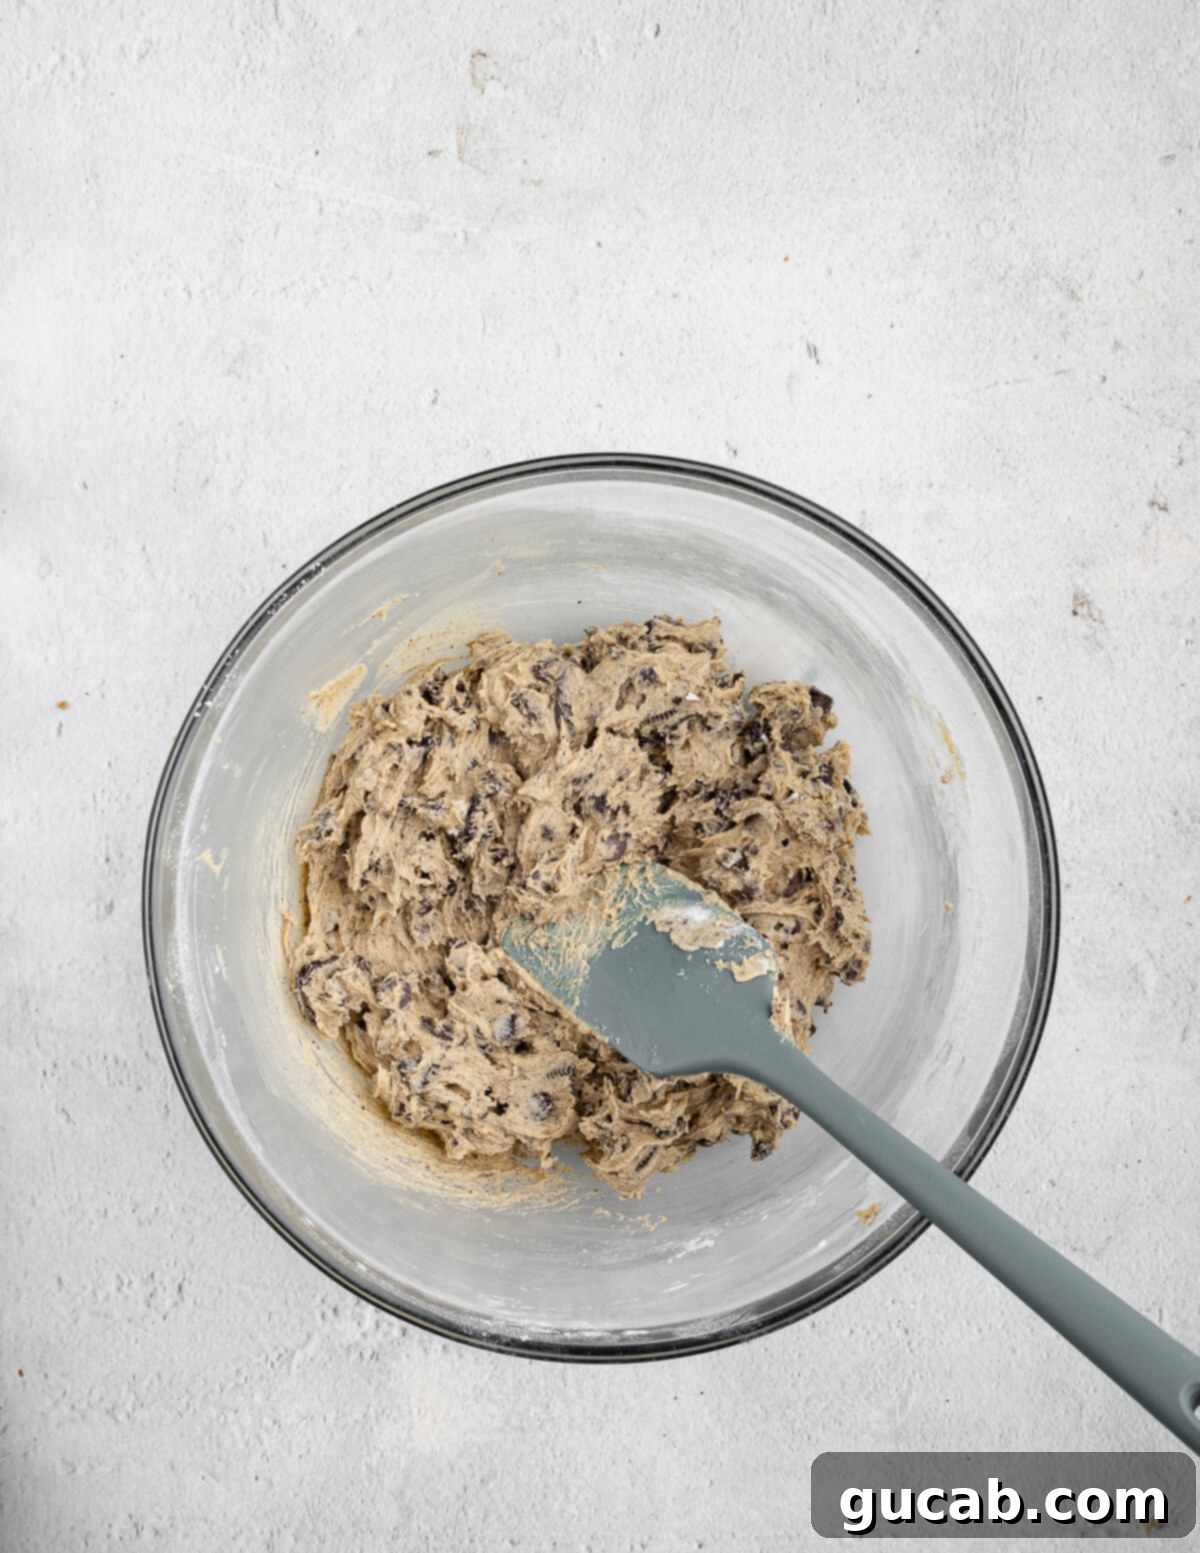
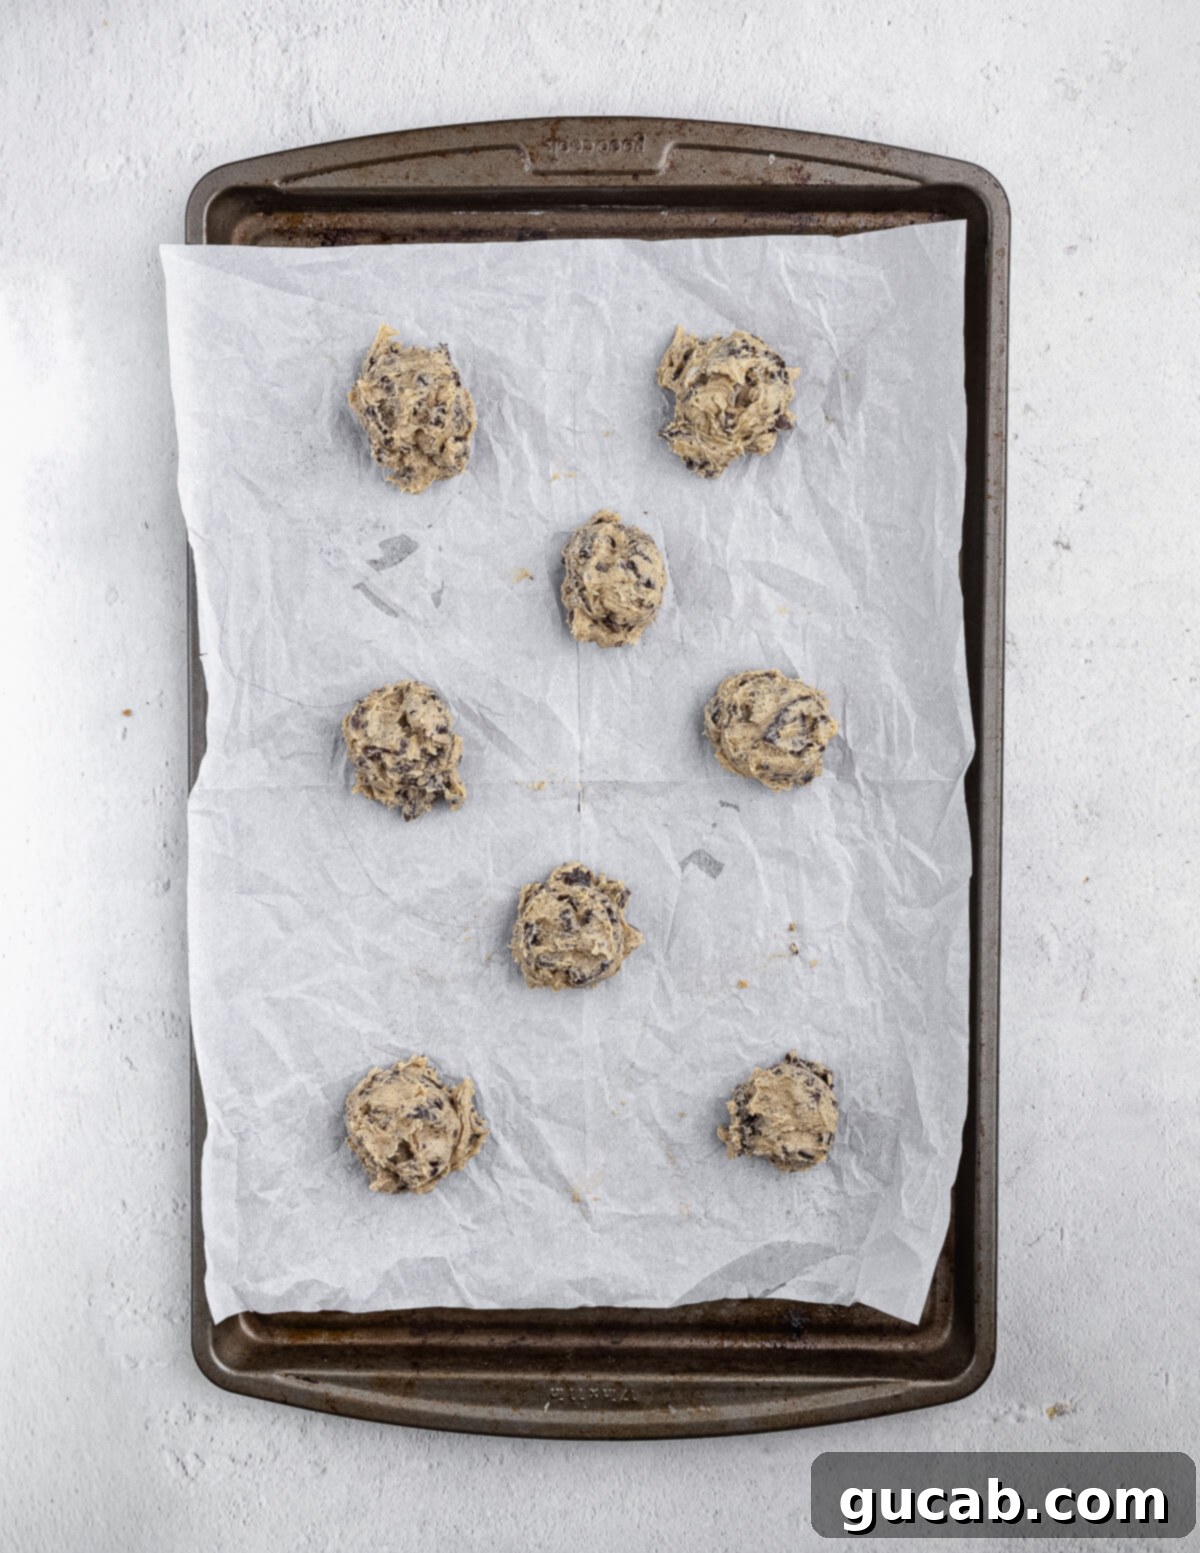
- Scoop the cookies: Using a portion scoop is highly recommended for this step. Not only does it help create cookies that are beautifully uniform in size and shape, but it also ensures they bake evenly, preventing some from being overdone while others are underbaked. You can find various sizes of portion scoops readily available on Amazon or at most kitchen supply stores. For standard-sized cookies, a 1.5-2 tablespoon scoop (often labeled #40 or #30) is perfect. Scoop about 8 cookies onto your prepared baking sheet, leaving enough space between them for spreading.
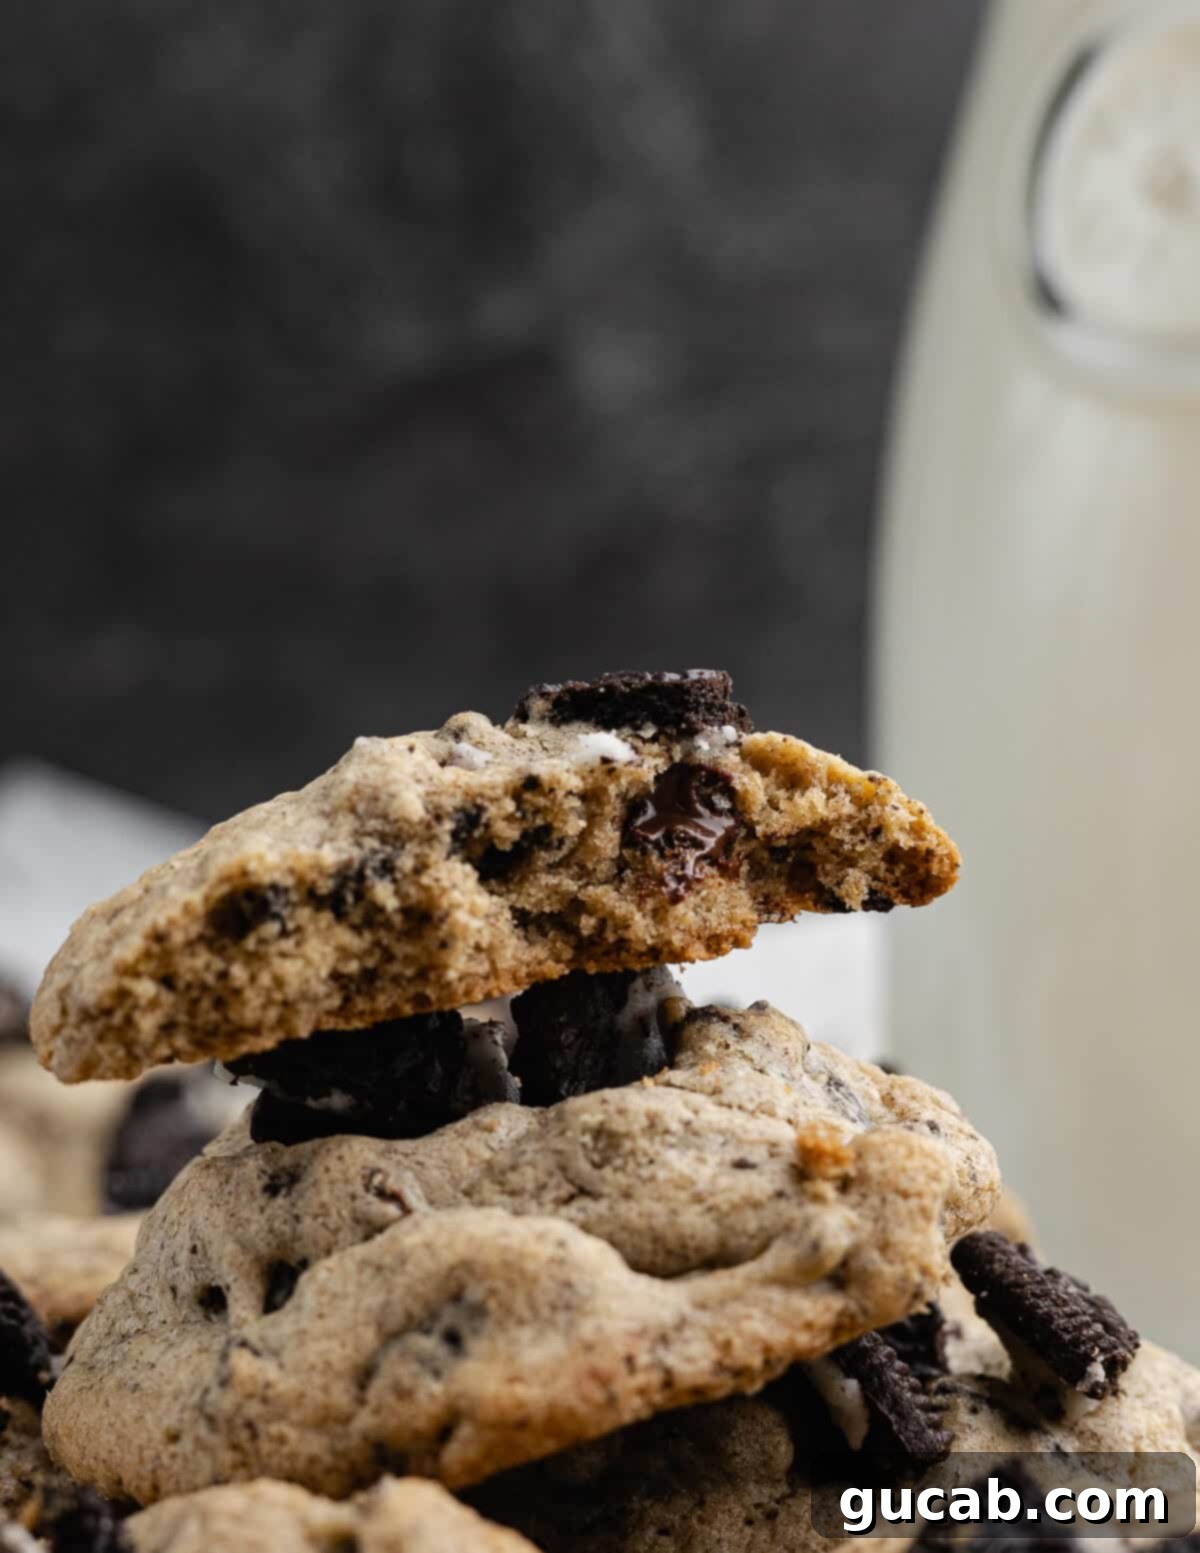
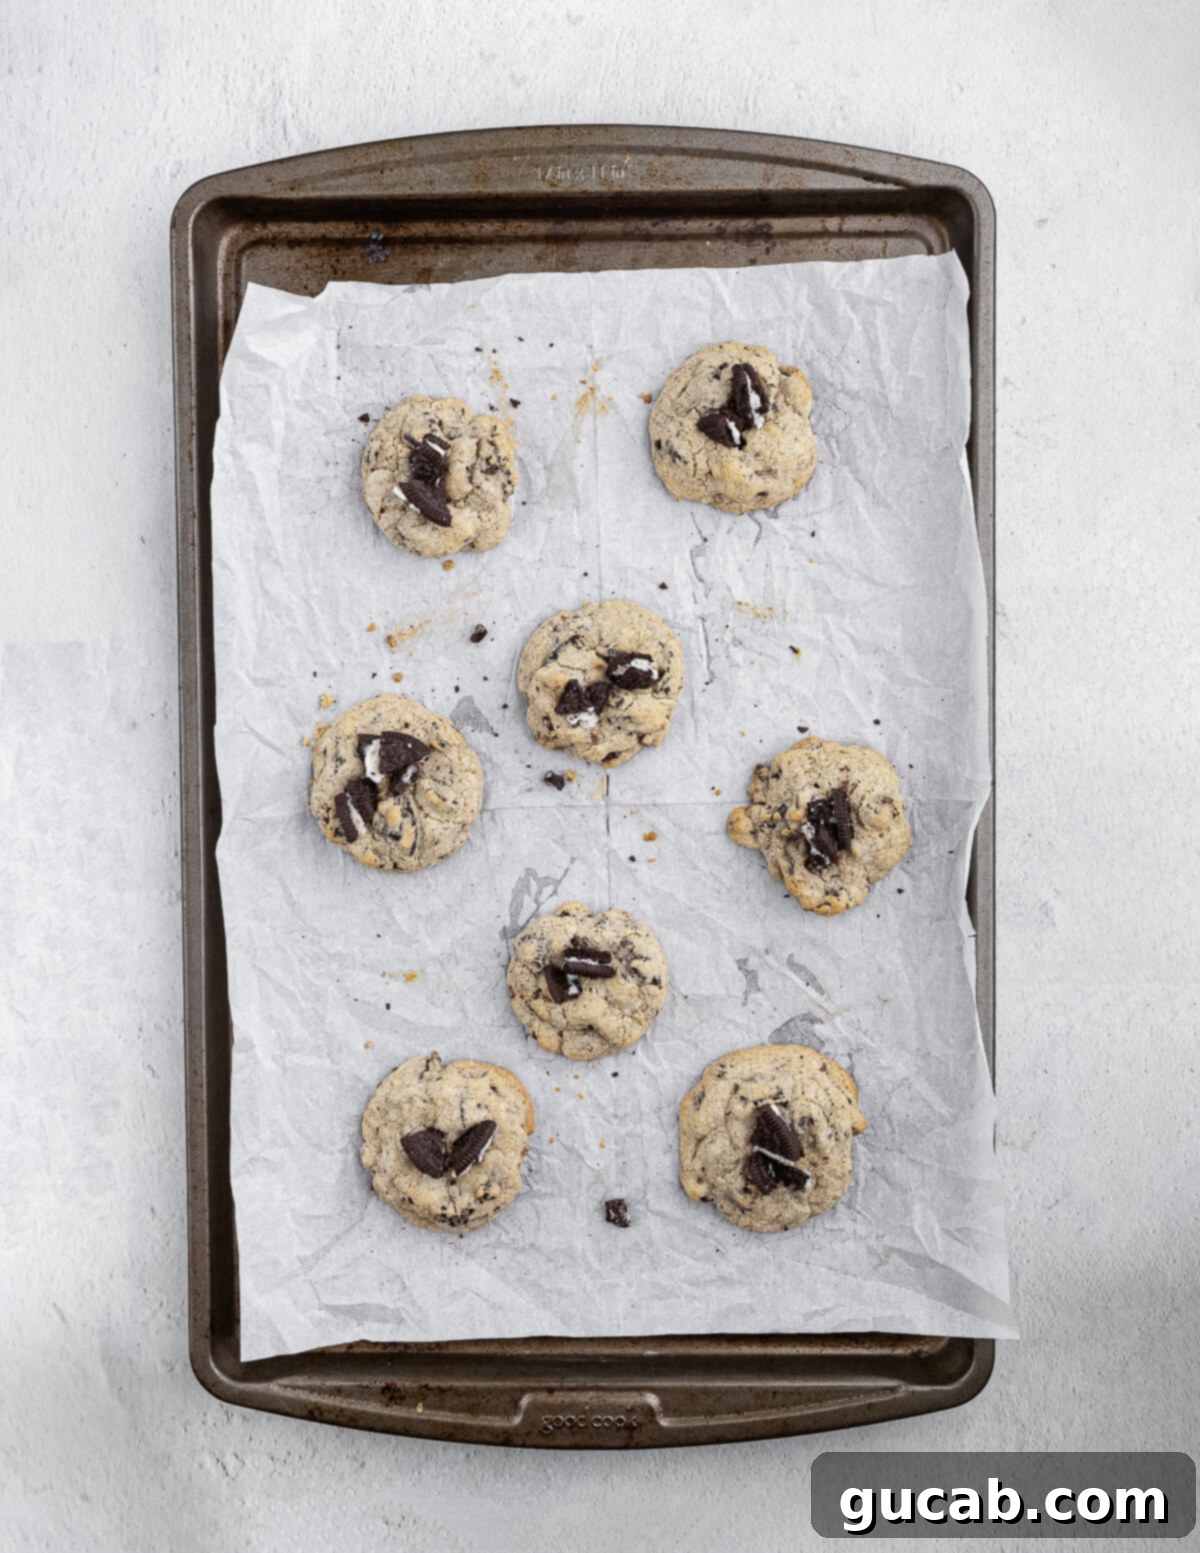
- Bake the cookies: Place the baking sheet into your preheated oven. Bake for approximately 8 minutes for standard-sized cookies. You’ll know they’re done when the edges appear golden brown, but the centers still look slightly soft, puffy, and even a little underdone. This is the secret to a perfectly soft and chewy cookie! Remember, cookies continue to set and firm up as they cool on the baking sheet. If the entire cookie appears deeply brown when you pull it out of the oven, it’s likely overbaked and will result in a harder, crispier texture. For larger cookies, you might need an extra 1-2 minutes, baking for around 10 minutes total. Repeat with the remaining cookie dough until all your delicious Oreo Chocolate Chip Cookies are baked.
Top Cookie Making Tips for Success
Achieving bakery-quality cookies at home is easier than you think with a few pro tips. Keep these in mind to ensure your Oreo Chocolate Chip Cookies turn out perfectly every single time:
- Don’t forget to top each cookie with a few Oreo pieces before baking. This simple step is a visual cue that immediately tells everyone exactly what kind of deliciousness they’re about to enjoy. We truly eat with our eyes first, and those visible Oreo chunks on top make the cookies look incredibly appetizing and professional. It’s an easy way to elevate their appearance and make them even more irresistible.
- Do not overbake the cookies! This is perhaps the most crucial tip for soft, chewy cookies. Your cookies are perfectly done when their edges are beautifully golden brown, but their centers still look a bit lighter, slightly puffy, and even a tad “underbaked.” This is exactly what you want! As the cookies cool on the baking sheet, they will continue to cook from the residual heat (this is called carry-over baking) and firm up to that ideal soft and chewy texture. If you wait until the entire cookie is deeply brown in the oven, it will be overbaked, resulting in a drier, crispier cookie once cooled.
- Let the cookies cool for a few minutes on the baking sheet before transferring to a wire rack. Freshly baked cookies are very delicate and fragile right out of the oven. Attempting to move them too soon will almost certainly cause them to fall apart. Give them at least 5 minutes to set up and firm up on the warm baking sheet before carefully transferring them to a wire rack to cool completely. This patience pays off for perfectly intact cookies.
- Always line your sheet pans with parchment paper or a silicone baking mat. This isn’t just for easy cleanup; it’s essential for preventing your cookies from sticking to the pan. A non-stick surface ensures your cookies release easily and maintain their shape, preventing any frustrating tearing or breaking.
- Use room temperature ingredients: Ensure your butter and eggs are at room temperature. Room temperature butter creams better with sugar, incorporating more air for a lighter, softer cookie. Room temperature eggs emulsify more easily into the batter, creating a smoother, more uniform dough.
- Measure accurately: Baking is a science! Using proper measuring cups and spoons, especially for flour (spoon and level, don’t scoop directly), is vital for consistent results. A kitchen scale is even better for precision, particularly for flour.
Delicious Variations to Try
While the classic Oreo Chocolate Chip Cookie is a masterpiece on its own, don’t hesitate to get creative! These variations offer exciting twists to keep your baking fresh and fun:
- Oreo White Chocolate Cookies: For a delightful contrast in flavor, simply swap out the semi-sweet chocolate chips for an equal amount of high-quality white chocolate chips or chunks. The creamy sweetness of white chocolate pairs absolutely wonderfully with the rich, dark chocolate of the Oreos, creating a truly decadent treat.
- Gluten-Free: Making these cookies gluten-free is simple! Substitute the all-purpose flour with a good quality 1:1 gluten-free baking flour blend (such as Bob’s Red Mill 1:1 Gluten Free Baking Flour). Remember to also use gluten-free Oreo cookies, which are now widely available, to ensure the entire recipe is suitable for a gluten-free diet.
- Dairy-Free: For a dairy-free version, replace the unsalted butter with your favorite brand of dairy-free butter sticks. Ensure the chocolate chips you use are also dairy-free (many brands offer them) and, of course, that your Oreos are dairy-free (classic Oreos are generally considered vegan, but always check packaging for any changes).
- Mint Oreo Cookies: A fantastic seasonal or year-round variation! Use Mint Oreos instead of the classic ones. The refreshing mint flavor infused with the chocolate and cream will add an exciting new dimension to your cookies.
- Peanut Butter Swirl: For peanut butter lovers, gently swirl a few tablespoons of creamy peanut butter into the dough right before adding the chocolate chips and Oreos. This adds a rich, nutty depth that complements the other flavors beautifully.
- Double Chocolate Oreo Cookies: Amp up the chocolate factor by replacing some of the all-purpose flour with cocoa powder (about 1/4 cup) and using dark chocolate chips. This will create a rich, intense chocolate base for your Oreo inclusions.
Smart Storing Tips
Proper storage is key to keeping your homemade cookies fresh and delicious for as long as possible. Here’s how to store your Oreo Chocolate Chip Cookies:
- Allow your freshly baked cookies to cool completely to room temperature before storing them. Placing warm cookies in an airtight container will create condensation, making them soft and potentially soggy. Once fully cooled, transfer them to an airtight container. They will remain wonderfully fresh and chewy for up to 4 days at room temperature.
- These cookies are excellent for freezing, whether baked or unbaked, making them perfect for meal prep or unexpected guests!
- To freeze baked cookies: Once the cookies have cooled completely, carefully arrange them in a single layer in a freezer-safe container, or stack them with parchment paper in between layers to prevent sticking. Alternatively, place them in a heavy-duty plastic freezer bag, pressing out as much air as possible. For the best taste and texture, enjoy them within 3 months.
- Thawing baked cookies: You can thaw frozen cookies on the counter at room temperature for an hour or two. For a warm, freshly baked feel, microwave individual cookies in 10-second increments until just warm and soft. Be careful not to overheat them, as they can become tough or fall apart if microwaved for too long.
- To freeze them unbaked: This is a fantastic time-saver! Scoop the cookie dough balls onto a baking sheet lined with parchment paper. Place the entire baking sheet in the freezer for about 1 hour, or until the dough balls are solid. Once frozen, transfer the solid cookie dough balls to a large zip-top freezer bag or an airtight freezer-safe container. Label with the date and baking instructions. When you’re ready to bake, simply place the frozen dough balls on a lined baking sheet and bake as directed, adding an extra 2-4 minutes to the baking time since they are frozen. No need to thaw beforehand!
More Droolworthy Cookie Recipes to Explore
If you’ve loved these Oreo Chocolate Chip Cookies, you’re in for a treat! Here are more fantastic cookie recipes to satisfy your sweet tooth and expand your baking repertoire:
- Decadent Chocolate Chip Marshmallow Cookies
- Surprisingly Delicious No Butter Chocolate Chip Cookies
- Irresistible Coconut Pecan Cookies
- Rich Brown Butter Chocolate Chip Cookies
- Healthy & Hearty Flourless Oatmeal Cookies

Oreo Chocolate Chip Cookies
Carolyn
Pin Recipe
Equipment
-
Stand Mixer with the Paddle Attachment
-
Measuring cups & spoons
-
Portion Scoop
Ingredients
- ½ cup unsalted butter softened to room temperature
- ⅓ cup granulated sugar
- ⅓ cup packed light brown sugar
- 1 large egg room temperature
- 1 egg yolk room temperature
- 1 ¼ cup all-purpose flour spooned and leveled
- ½ teaspoon baking soda
- ½ teaspoon kosher salt
- ¾ cup semisweet chocolate chips
- 13 Oreo cookies 5 for crumbs, 8 for chunks, plus more for topping if desired
Instructions
-
Preheat oven to 375 degrees Fahrenheit (190°C). Line a large baking sheet with parchment paper or a silicone baking mat.
-
Carefully remove the cream filling from five of the Oreo cookies. You can discard the filling or save it for another use. Place the 10 chocolate cookie halves into a sturdy sandwich zip-top bag. Use your hands, a rolling pin, or the bottom of a glass to crush the cookies into fine crumbs with some small pieces remaining.
-
In a large bowl, using a stand mixer with the paddle attachment or a hand mixer, beat the softened unsalted butter, granulated sugar, and brown sugar together on medium-high speed for 2-3 minutes, until the mixture is lightened in color and fluffy. Add the large egg and the extra egg yolk, beating until fully combined and smooth.
-
Reduce mixer speed to low. Add the all-purpose flour, baking soda, kosher salt, and the prepared Oreo cookie crumbs to the wet ingredients. Mix just until a cohesive cookie dough forms and no dry streaks of flour are visible. Be careful not to over-mix.
-
Break the remaining 8 Oreo cookies into rough pieces. Gently fold these Oreo pieces and the semi-sweet chocolate chips into the cookie dough until they are evenly distributed throughout the dough. The dough is now ready to bake; no chilling required!
-
Using a small cookie scoop (about 1.5 to 2 tablespoons), scoop 8 cookie dough balls onto the prepared baking sheet, ensuring they are spaced a few inches apart. If desired, press a few extra Oreo pieces or chocolate chips onto the tops of the cookie dough balls for a beautiful finish.
-
Bake for 8 minutes. The cookies are done when their edges are golden brown, but the middles still look slightly soft, puffy, and a little underbaked. They will continue to set as they cool.
-
For larger cookies, bake for approximately 10 minutes, following the same doneness cues. Let the cookies cool on the baking sheet for at least 5 minutes before carefully transferring them to a wire rack to cool completely. Repeat the scooping and baking process with the remaining cookie dough until all cookies are baked. Enjoy!
Nutrition
