The Ultimate Homemade Strawberry Cake Filling: Sweet, Jammy & Irresistibly Easy
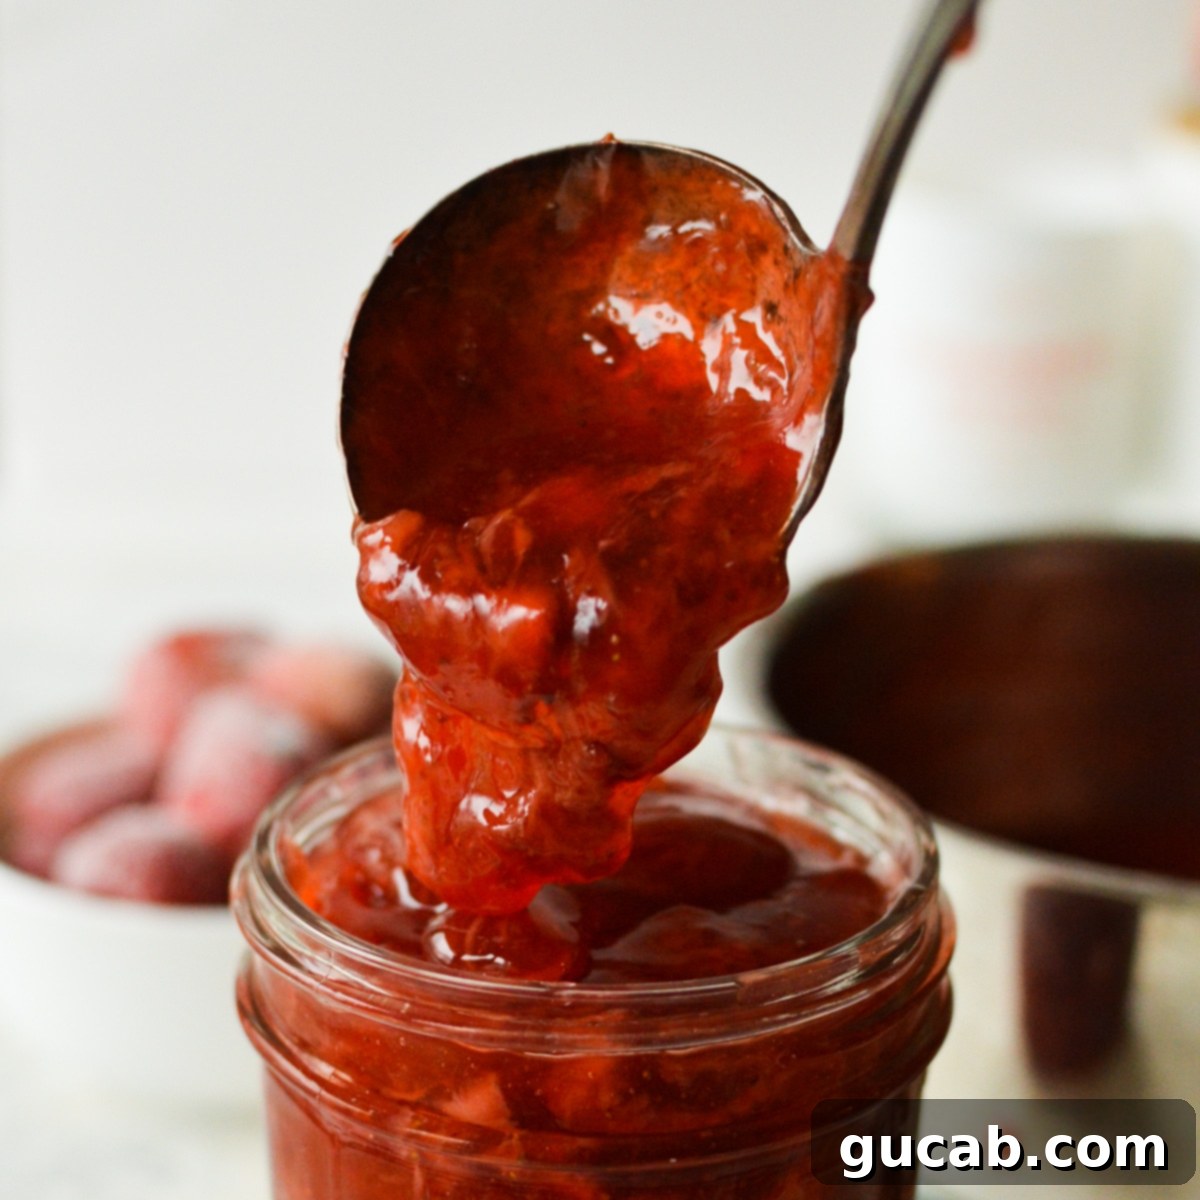
Craving a burst of fresh strawberry flavor in your desserts? Look no further! This sweet and beautifully jammy homemade strawberry cake filling is a game-changer for layer cakes, cupcakes, cheesecakes, and so much more. Crafted from simple pantry staples, it’s incredibly easy to make and comes together in just about 15 minutes. Whether luscious, ripe strawberries are overflowing at your local market during peak season or you’re using frozen berries to bring a taste of summer to the colder months, this versatile recipe ensures a delightful, fruit-packed addition to any sweet treat.
Why You’ll Fall in Love with This Easy Strawberry Filling
There’s something truly special about the arrival of strawberry season. The sight of those vibrant red berries, smelling sweet and ripe, is enough to make any dessert enthusiast’s heart sing. This strawberry filling captures that essence perfectly, offering an authentic, fresh taste that simply can’t be replicated by store-bought alternatives. Here’s why this recipe will become a staple in your kitchen:
- Unmatched Fresh Flavor: Unlike many commercial fillings that taste artificial, this homemade version lets the natural sweetness and bright acidity of the strawberries shine through. It’s pure, unadulterated strawberry goodness.
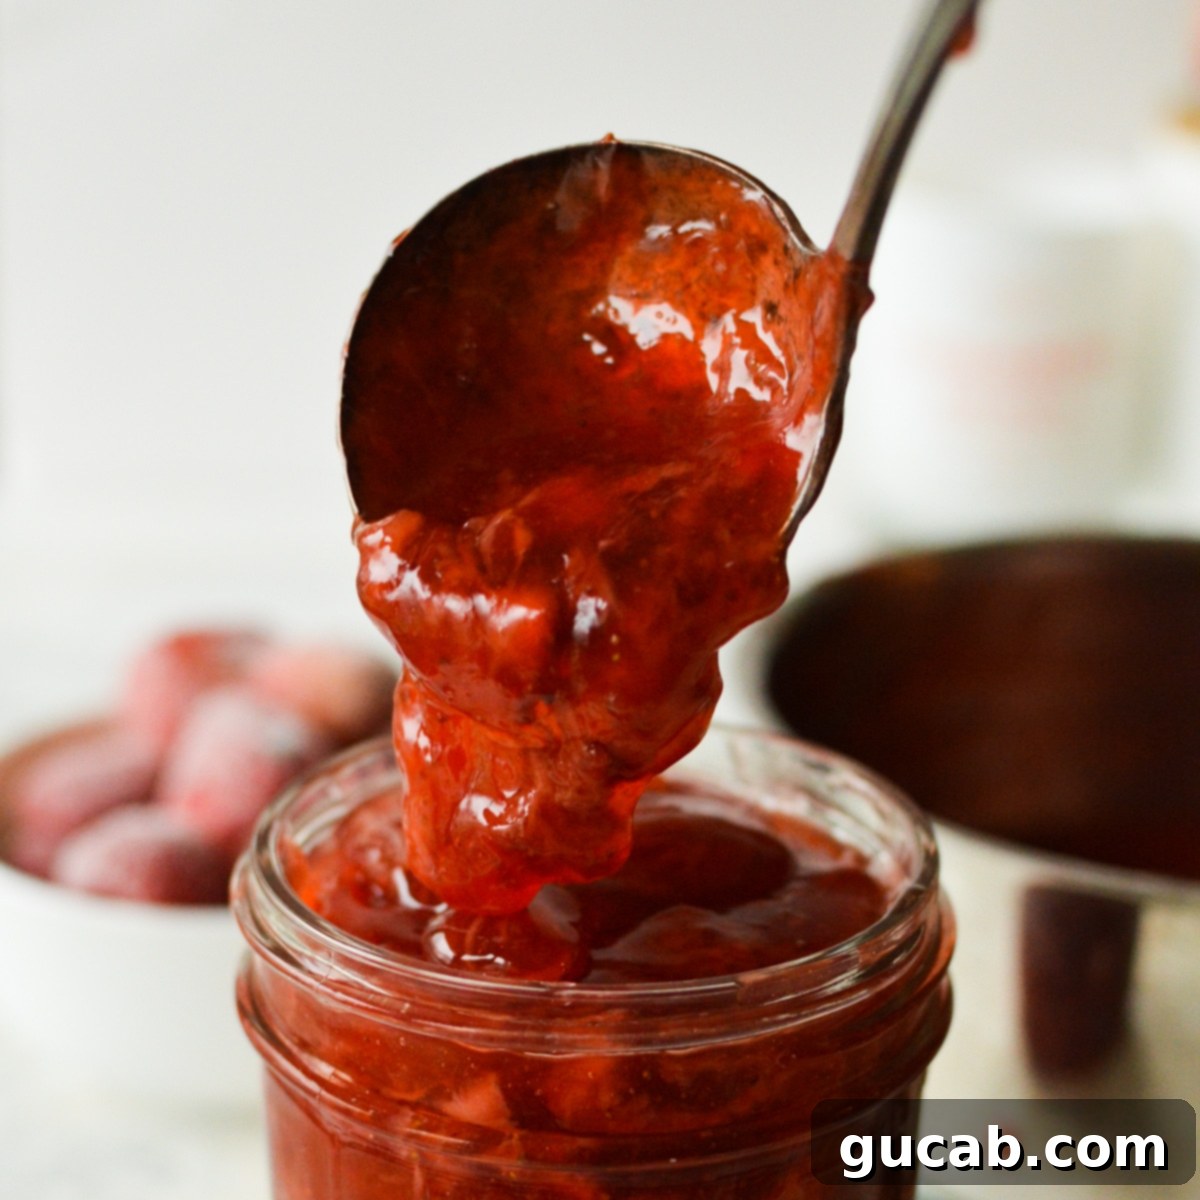
- Perfect Jammy Texture: We’ve achieved that ideal consistency – thick and spreadable, with tender pieces of fruit, without being overly stiff or gelatinous. It holds its shape beautifully in a layer cake but remains delightfully soft and luscious.
- Effortlessly Simple: With only five basic ingredients and a quick 15-minute cook time, this recipe is incredibly straightforward. Even beginner bakers will find it easy to master.
- Year-Round Versatility: Don’t limit your strawberry cravings to just spring and summer! This recipe works wonderfully with both fresh and frozen strawberries, allowing you to enjoy this delightful filling no matter the season.
- Cost-Effective: When strawberries are in season, they’re often budget-friendly. Making your own filling is not only more delicious but also more economical than buying pre-made options.
Imagine piping this incredible strawberry filling into rich chocolate cupcakes, spreading it between fluffy vanilla cake layers, or spooning it generously over a creamy cheesecake. The possibilities are endless, and the delicious results are guaranteed to impress!
Key Ingredients for the Best Strawberry Cake Filling
You only need five simple ingredients to create this fantastic strawberry filling, and chances are, you already have most of them in your pantry. The magic lies in the quality of these few components and how they work together to create a truly irresistible filling.
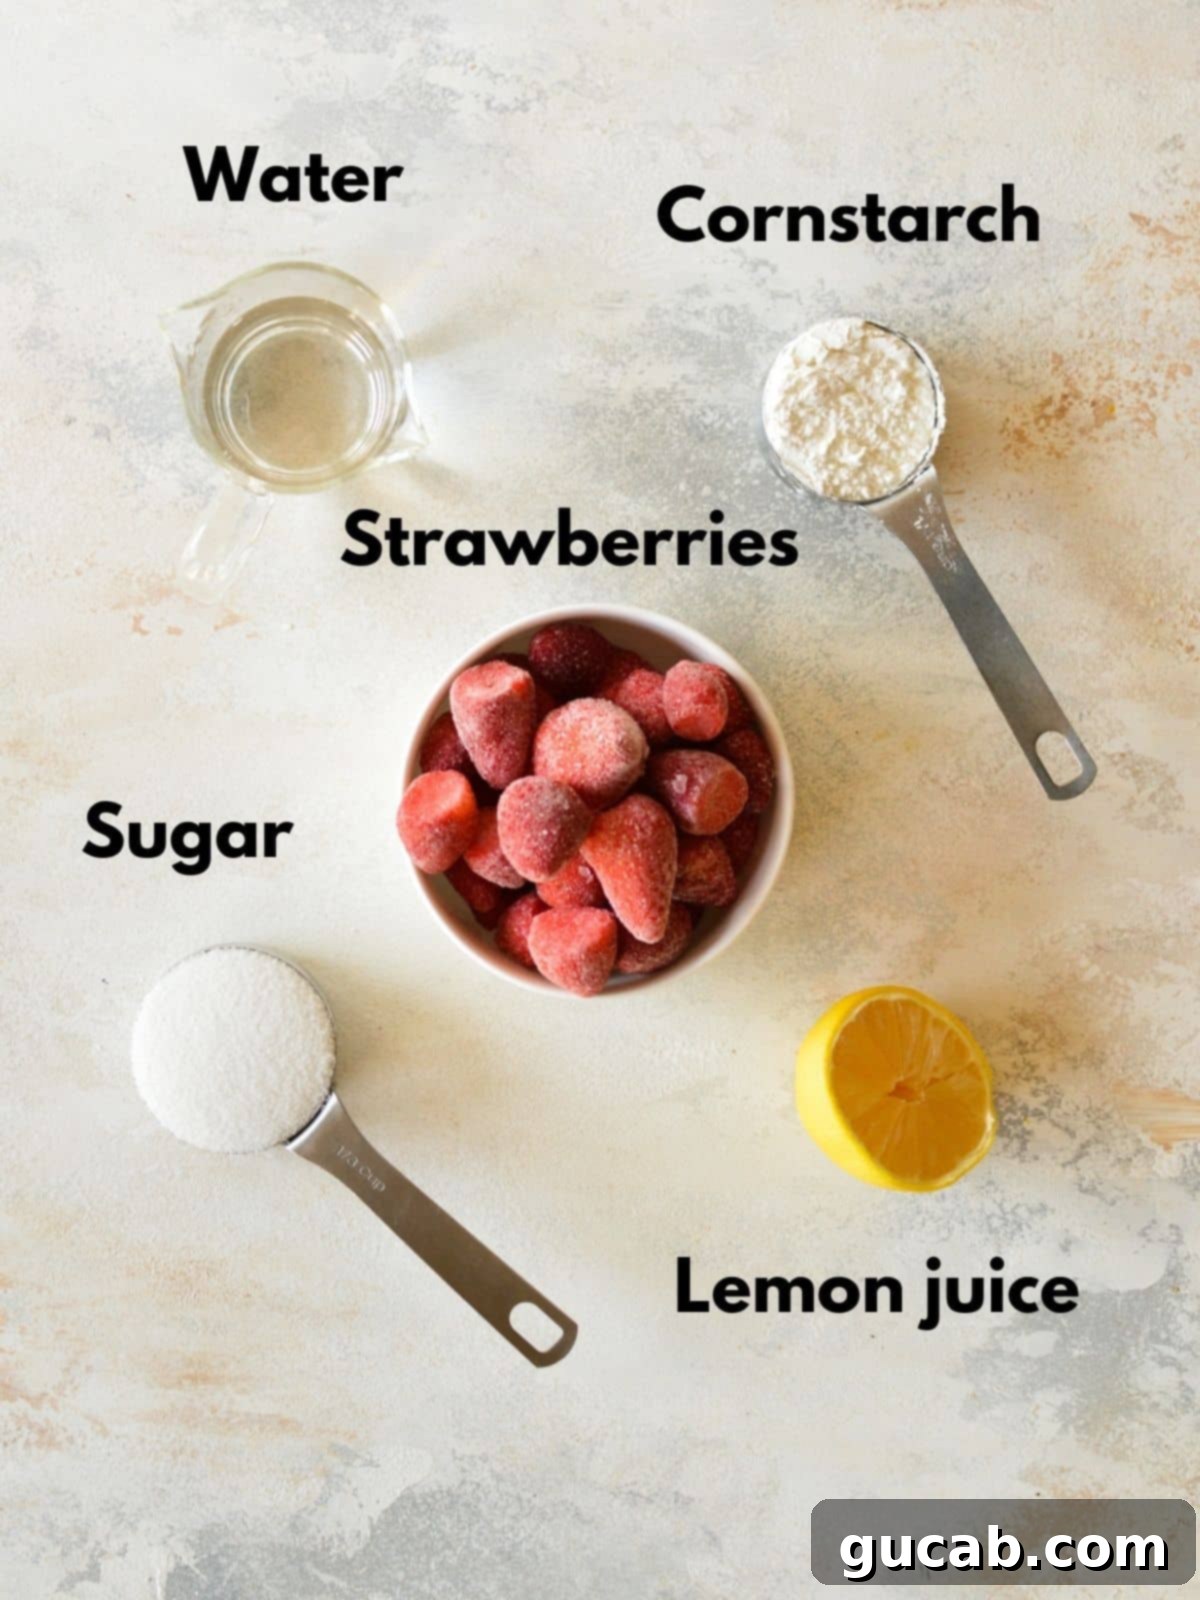
- Strawberries: These are, naturally, the star of our show! I’ve extensively tested this recipe with both fresh and frozen strawberries, and I’m happy to report that both yield excellent results.
- Fresh Strawberries: When using fresh berries, choose ones that are vibrant red, fragrant, and ripe. Avoid any that are soft, bruised, or pale. Hull them (remove the green leafy top) and cut them into quarters to ensure they break down beautifully during cooking and distribute evenly throughout the filling.
- Frozen Strawberries: Frozen strawberries are a fantastic year-round option. Allow them to partially thaw so you can easily cut them into quarters. They release more liquid than fresh berries during cooking, but the cornstarch in the recipe perfectly compensates for this.
- Granulated Sugar: Sugar sweetens the filling, highlighting the natural flavors of the strawberries. I find ½ cup to be the perfect amount for 3 cups of berries, creating a balanced sweetness that isn’t cloying. You can, however, adjust this amount slightly based on the sweetness of your strawberries and your personal preference. Sugar also helps to draw out the natural juices from the fruit, contributing to that desirable jammy texture.
- Fresh Lemon Juice: Please, do not skip this essential ingredient! A squeeze of fresh lemon juice is crucial. It adds a bright, zesty pop that enhances and balances the overall flavor of the strawberries, preventing the filling from tasting flat or overly sweet. Always opt for fresh lemon juice over bottled; the difference in flavor is remarkable and well worth the small effort.
- Cornstarch: This is our secret weapon for achieving the perfect thick, luscious consistency. Cornstarch acts as a thickening agent, ensuring the filling isn’t runny when spread between cake layers or piped into cupcakes. It’s important to mix the cornstarch with water first to create a “slurry,” which prevents lumps from forming in the filling – a common and unwelcome mishap! Just two tablespoons are plenty; too much cornstarch can result in a gummy or gelatin-like texture once chilled, which is not what we want for a fruit filling.
- Water: The water is used to hydrate the cornstarch, forming a smooth slurry. This step is vital to ensure the cornstarch dissolves properly and thickens the mixture evenly, without any unpleasant powdery pockets.
How to Make Homemade Strawberry Filling: A Simple Guide
Creating this delicious strawberry cake filling is incredibly straightforward. Follow these steps for a perfectly sweet and jammy result every time.
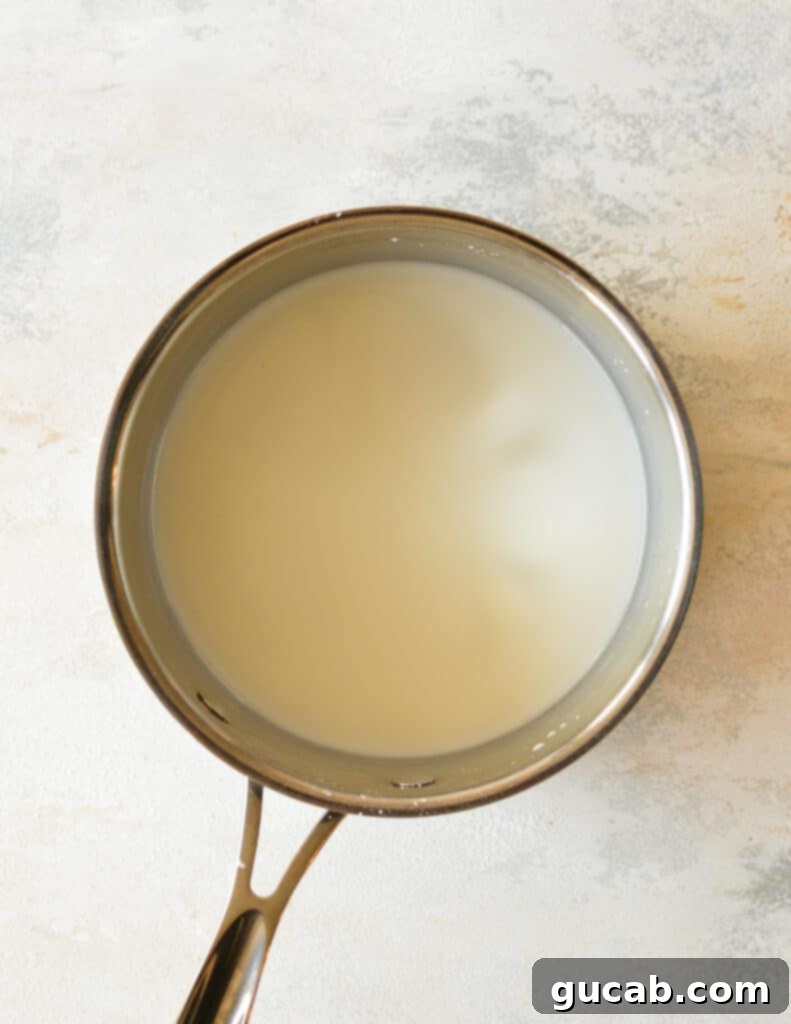
- Prepare the Cornstarch Slurry: In a small saucepan, combine the cold water and cornstarch. Whisk or stir with a spatula until the cornstarch is completely dissolved and no lumps remain. This crucial step prevents a lumpy filling.
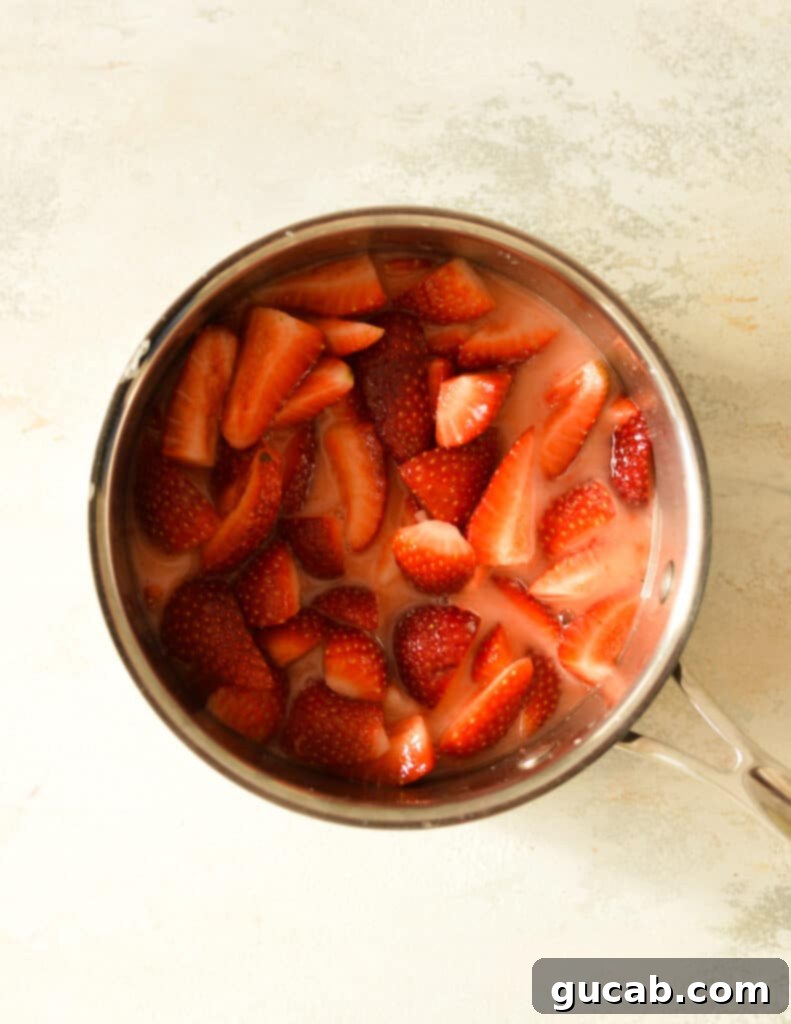
- Add Remaining Ingredients: To the saucepan with the cornstarch slurry, add your quartered strawberries (fresh or partially thawed frozen), granulated sugar, and fresh lemon juice. Stir everything together thoroughly until the sugar begins to dissolve and the strawberries are coated.
-

-

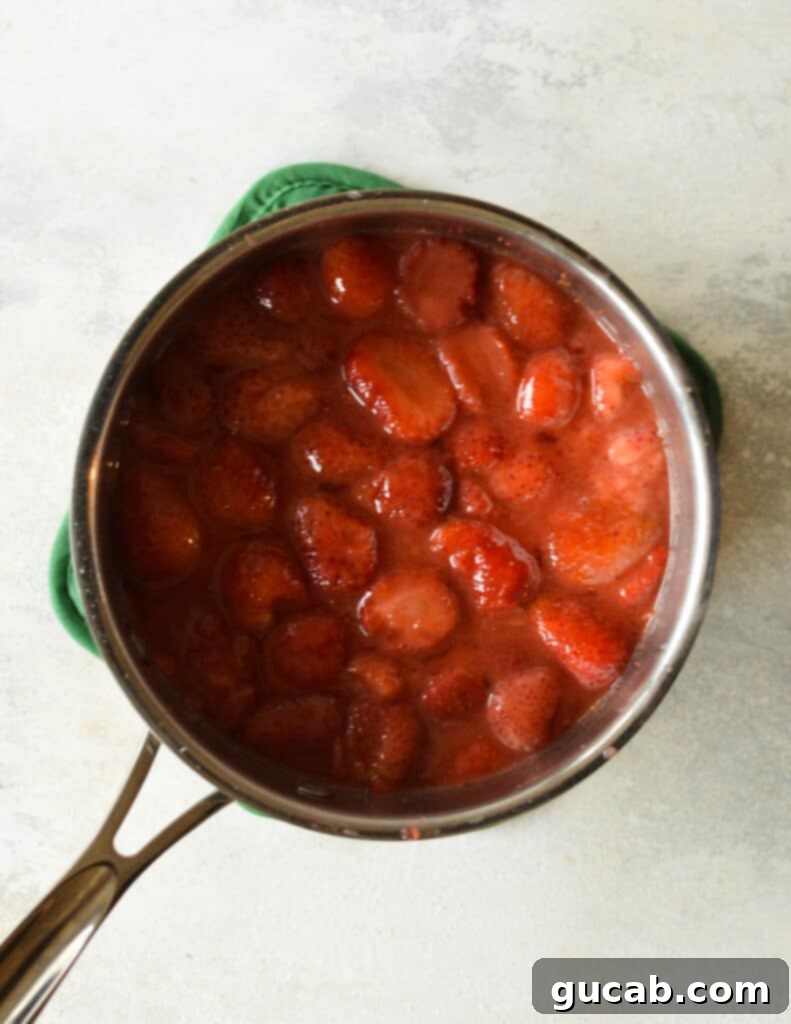
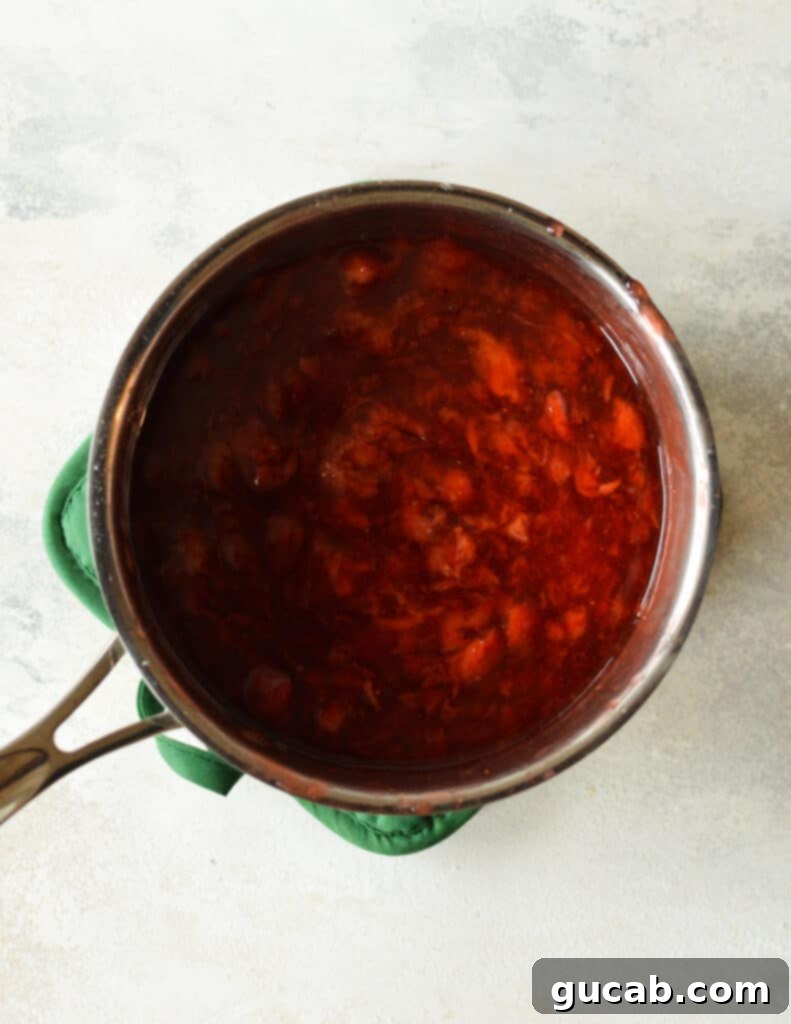
- Cook Until Thickened: Place the saucepan over medium heat. Cook the mixture, stirring continuously with a spatula or spoon for 10 to 12 minutes. As it heats, the strawberries will begin to soften and release their juices, and the cornstarch will activate, causing the mixture to thicken. During this process, you can gently mash some of the strawberries with your spatula to break them down further, creating a more uniform, jammy consistency. The filling should reach a gentle boil and visibly thicken, coating the back of your spoon.
-

-

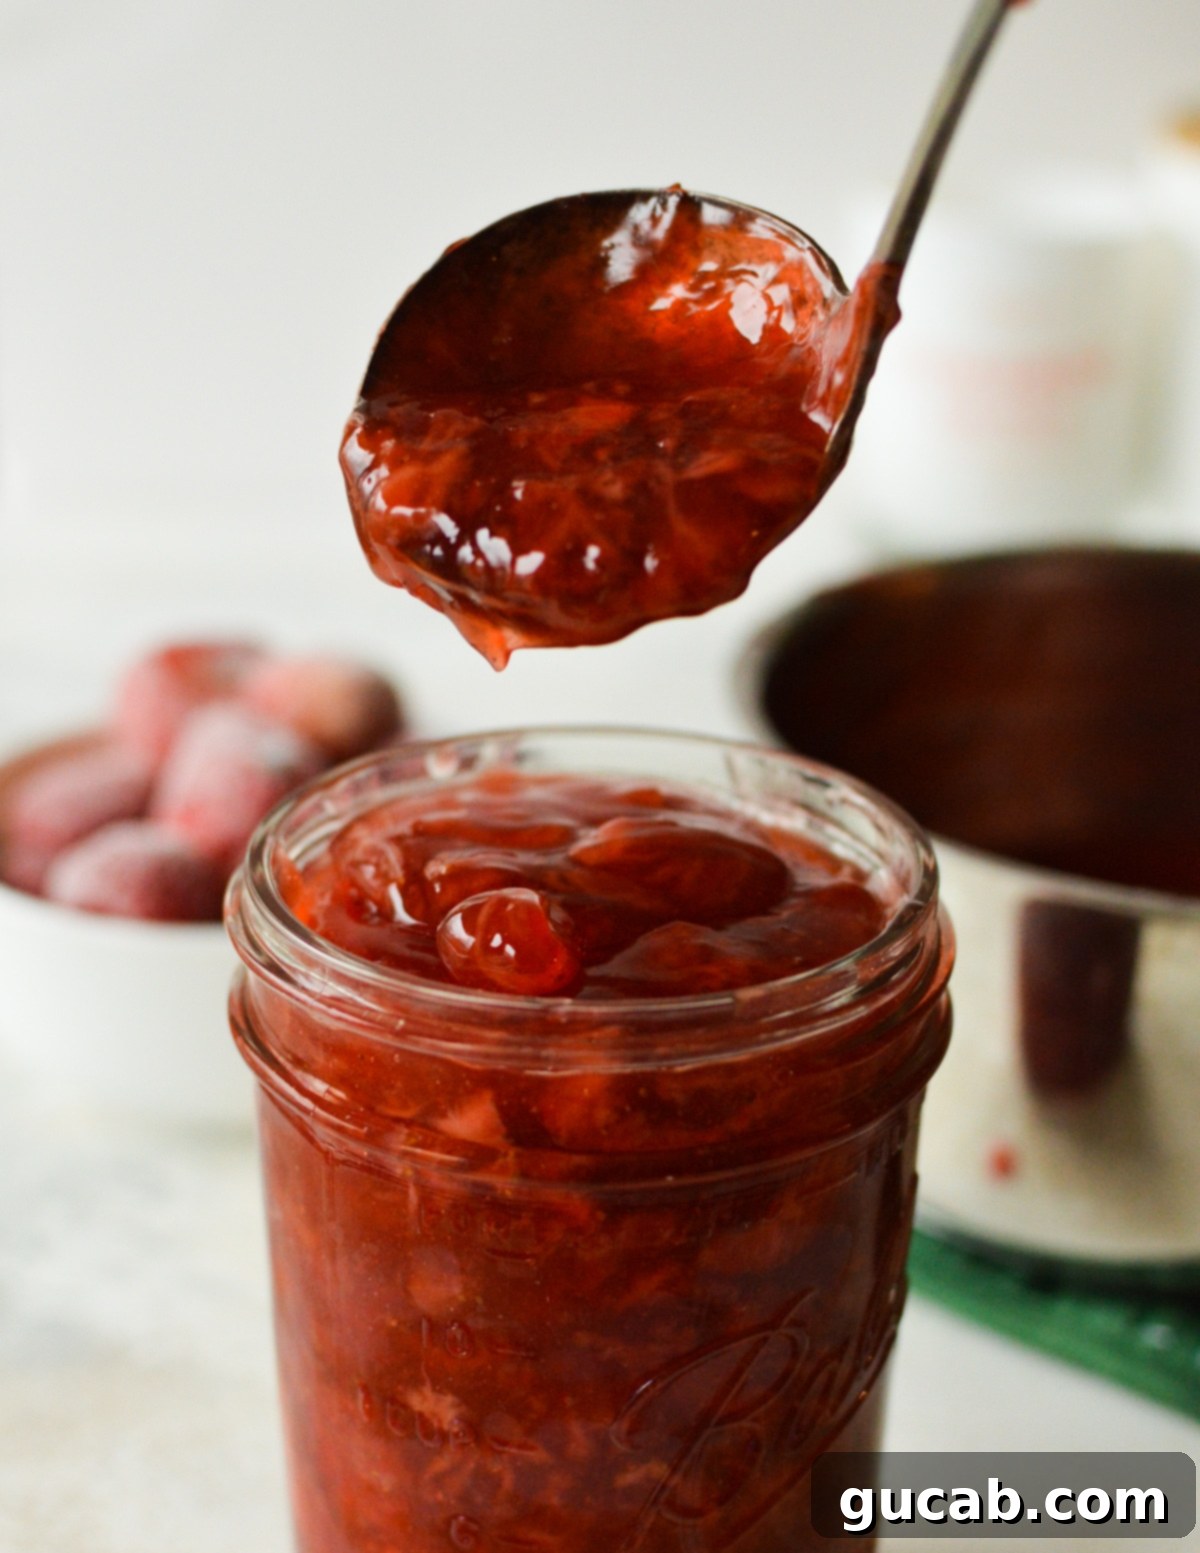
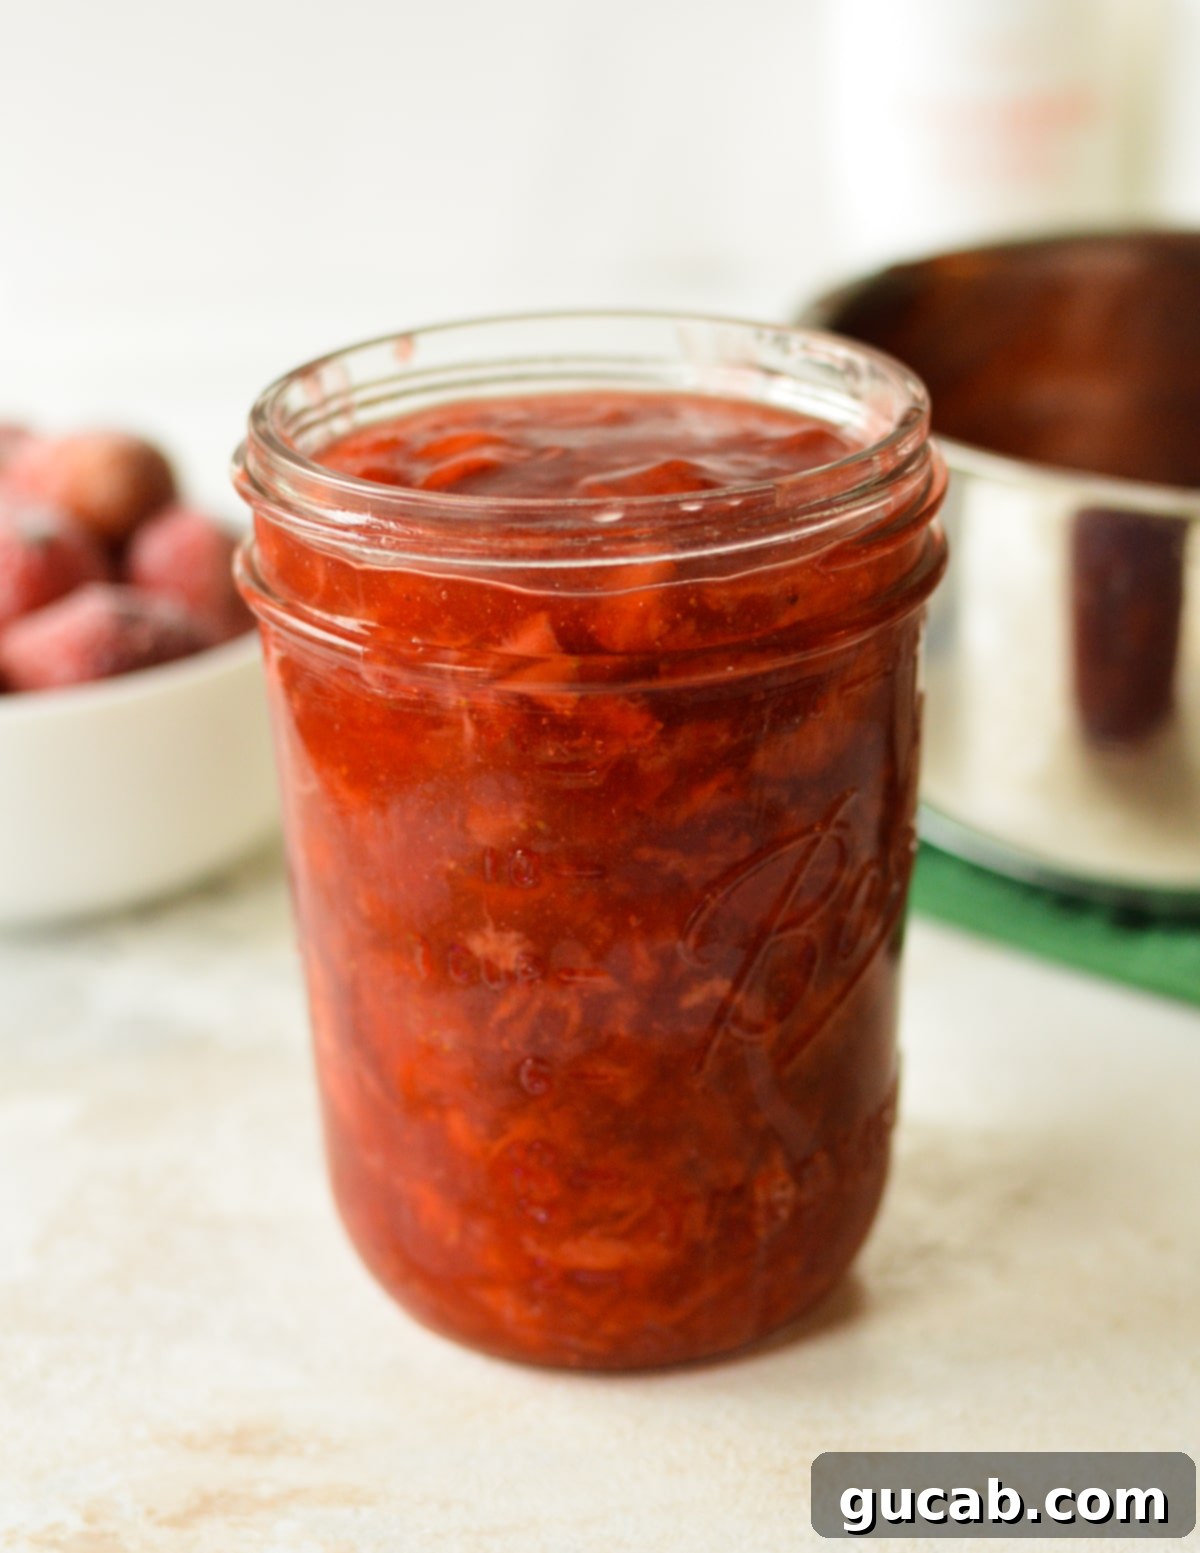
- Cool and Set: Once thickened, remove the saucepan from the heat. At this stage, the strawberry filling might still appear a bit thin – this is completely normal! It will continue to thicken significantly as it cools. Pour the hot filling into a clean glass jar or heat-proof container. Allow it to cool at room temperature for at least 2 hours before using. For faster cooling, you can refrigerate it, but ensure it’s completely chilled before assembling your desserts. Patience is key for that perfect, spreadable consistency!
Expert Recipe Tips for a Flawless Strawberry Filling
Achieving the perfect strawberry filling is easy with a few insider tricks:
- Cool Completely for Optimal Thickness: This is arguably the most important tip. The filling will appear thin right off the heat, but it undergoes a dramatic thickening process as it cools. Plan ahead and give it ample time to chill, ideally several hours or overnight in the refrigerator. Using warm or even slightly cool filling will result in a runny mess that will ooze out of your cake!
- Thaw and Quarter Frozen Strawberries: If using frozen strawberries, let them partially thaw before cutting them into quarters. This allows for more even cooking and ensures they break down beautifully into tender, bite-sized pieces within the jammy filling, rather than leaving large, icy chunks.
- Achieve the Right Sweetness: The sweetness of strawberries can vary. Taste your filling after it has cooked and cooled slightly. If you prefer it sweeter, you can stir in a tablespoon or two of extra granulated sugar (or even a touch of honey or maple syrup) while it’s still warm. If it’s too sweet, a tiny extra squeeze of lemon juice can help balance it out.
- Prevent Lumps with a Proper Slurry: Don’t rush the cornstarch slurry step. Mixing cornstarch thoroughly with cold water before adding it to hot ingredients is the only way to guarantee a smooth, lump-free filling.
- Troubleshooting Thickness:
- If it’s too thin after cooling: You can gently reheat the filling over low heat, stirring constantly, and add another small cornstarch slurry (1 tsp cornstarch mixed with 1 tbsp cold water). Cook until it thickens further, then cool again.
- If it’s too thick after cooling: A splash of hot water or lemon juice (a teaspoon at a time) can help loosen it to the desired consistency. Stir well.
Creative Ways to Use Your Homemade Strawberry Cake Filling
This luscious strawberry filling isn’t just for layer cakes! Its vibrant flavor and delightful texture make it an incredibly versatile addition to a wide range of desserts and breakfast treats. Here are some of my favorite ways to enjoy it:
- In Layer Cakes: This is its primary purpose, and it excels! Pair it with classic vanilla, rich chocolate, bright lemon, tropical coconut, or even a delicate almond cake. Its versatility means it complements many different cake flavors beautifully. Create a dam of buttercream around the edge of each layer, then generously fill the center.
- Delightful Cupcake Filling: Core the center of your cupcakes and pipe this strawberry filling inside for a wonderful surprise burst of fruit flavor. You can also spoon it on top of frosted cupcakes for an extra touch of elegance.
- Cheesecake Topping Extravaganza: Elevate a simple vanilla or plain cheesecake by spooning a generous layer of this strawberry filling over the top. It adds a beautiful color, irresistible flavor, and luxurious texture.
- Breakfast Power-Up: Transform your morning meal! Stir it into unsweetened Greek yogurt with a sprinkle of granola for a nutritious yet indulgent parfait. Swirl it into oatmeal or top your pancakes, waffles, or French toast for a special breakfast treat.
- Partner for Simple Desserts: Spoon it over slices of angel food cake or pound cake, perhaps with a dollop of whipped cream, for a quick and elegant dessert.
- Ice Cream & Dessert Garnish: Use it as a vibrant topping for vanilla ice cream, or as a garnish for panna cotta, custards, or trifles.
- Tart & Pie Filling: While designed as a cake filling, it can also be used as a delicious base for small tarts or hand pies, especially when paired with a creamy element like cream cheese or mascarpone.
Storage Tips for Freshness
Proper storage ensures your homemade strawberry filling remains fresh and delicious:
- Refrigeration: Once the strawberry filling has cooled completely, transfer it to a clean glass jar with a tight-fitting lid or an airtight container. Store it in the refrigerator for up to one week.
- Texture After Chilling: The filling will thicken considerably in the refrigerator, becoming quite firm. This is completely normal! Before using, simply give it a good stir with a spoon or spatula to loosen it up. If it’s still too stiff, you can let it sit at room temperature for 15-20 minutes or gently warm it in the microwave for a few seconds (stirring frequently) until it reaches your desired spreadable consistency.
- Freezing Not Recommended: I do not recommend freezing this particular strawberry filling. While some fruit fillings freeze well, the cornstarch in this recipe can cause the texture to become watery and undesirable once thawed. It loses its lovely jammy consistency.
How to Assemble a Layer Cake with Strawberry Filling Like a Pro
Having worked as a pastry chef for years, including a stint at a busy wedding cake bakery, I’ve frosted more than my fair share of cakes. Assembling a layer cake with a soft fruit filling requires a little technique to ensure a beautiful, stable result. Here are my tried-and-true methods:
- Prepare Your Cake Layers: The easiest way to assemble a cake, especially with a soft filling, is when your cake layers are cold or even partially frozen. This makes them much firmer and less prone to crumbling or tearing as you handle them. If freezing isn’t an option, at the very least, ensure your cake layers are completely cooled to room temperature. A warm cake will melt your frosting and lead to a messy, unstable cake.
- Create a Buttercream Dam: Place your first cake layer on your serving plate or cake stand. Using a piping bag fitted with a round tip (or simply a Ziploc bag with a corner snipped off), pipe a sturdy border of buttercream frosting around the very edge of the cake layer. This “dam” acts as a barrier, preventing the strawberry filling from oozing out the sides once you add the next cake layer and apply pressure.
- Fill the Center: Spoon your cooled and stirred strawberry filling into the center of the buttercream dam. Use an offset spatula or the back of a spoon to gently spread the filling evenly within the border, leaving a small gap from the dam itself to allow for some compression without spillage. Don’t overfill!
- Stack and Repeat: Carefully place your next cake layer on top of the filling. Gently press down to ensure it’s level. If you have more layers, repeat the dam and fill process.
- Crumb Coat and Chill: Once all layers are stacked, apply a thin “crumb coat” of buttercream over the entire cake (top and sides). This traps any loose crumbs. Chill the cake in the refrigerator for at least 15-30 minutes until the crumb coat is firm.
- Final Frosting: After chilling, apply your final layer of buttercream. I typically start by frosting the top, then move to the sides, and finally, use an offset spatula or bench scraper to smooth the frosting for a polished finish.
Frequently Asked Questions (FAQs)
Homemade strawberry filling is typically made from a simple combination of fresh or frozen strawberries, granulated sugar for sweetness, fresh lemon juice to brighten the flavors, cornstarch for thickening, and water to create a slurry with the cornstarch. These ingredients cook down to create a luscious, jammy consistency perfect for desserts.
Absolutely! If you’re short on time or prefer a quicker option, store-bought fruit jam can definitely be used as a cake filling. It will still be delicious, although it might have a slightly different, often firmer, “jammier” texture compared to a homemade filling which often incorporates more fruit pieces.
Yes, you can use both fresh or frozen strawberries for this recipe with great success. I’ve tested it with both and found the results to be consistently delicious. If you opt for frozen strawberries, be sure to let them partially thaw so you can easily cut them into quarters before cooking. This helps them break down more evenly in the filling.
It’s completely normal for the strawberry filling to appear a bit thin when it’s hot, right after you remove it from the heat. The thickening power of cornstarch fully activates as the mixture cools. It will continue to thicken significantly as it comes to room temperature and especially when chilled in the refrigerator. Patience is key – let it cool completely before assessing its final consistency.
Yes, absolutely! This strawberry cake filling is perfect for making ahead. In fact, it’s recommended to make it at least a few hours in advance, or even the day before, to allow it ample time to cool and thicken properly in the refrigerator. This also helps with planning your baking schedule.
Must-Try Cake Fillings & Frostings!
If you loved this strawberry filling, you might also enjoy these other incredible additions for your cakes and desserts:
- Decadent Peanut Butter Ganache
- Creamy Peanut Butter Cream Cheese Frosting
- Dreamy Classic Cream Cheese Frosting
Sweet & Jammy Strawberry Cake Filling
Recipe by Carolyn
Pin Recipe
Equipment
-
Small saucepan
-
Whisk or spatula
Ingredients
- 3 cups quartered strawberries (about 1 quart, fresh or partially thawed frozen)
- ½ cup granulated sugar
- ½ fresh lemon, juiced (approximately 1-2 tablespoons)
- 2 tablespoons cornstarch
- ⅓ cup cold water
Instructions
-
In a small saucepan, thoroughly combine the cornstarch and cold water. Stir with a whisk or spatula until the cornstarch is completely dissolved and no lumps are visible.
-
Add the granulated sugar, quartered strawberries, and fresh lemon juice to the saucepan. Stir everything together until well combined.
-
Place the saucepan over medium heat and cook, stirring continuously to prevent sticking, for 10 to 12 minutes. The mixture will begin to simmer, the strawberries will soften, and the filling will visibly thicken. You can gently mash some of the strawberries with your spatula for a smoother consistency.
-
Remove the pan from the heat. Pour the filling into a heat-proof glass jar or container and allow it to cool completely at room temperature. The filling will continue to thicken significantly as it cools. Refrigerate for at least 2 hours (or until thoroughly chilled) before using it to fill cakes, cupcakes, or other desserts.
Nutrition
