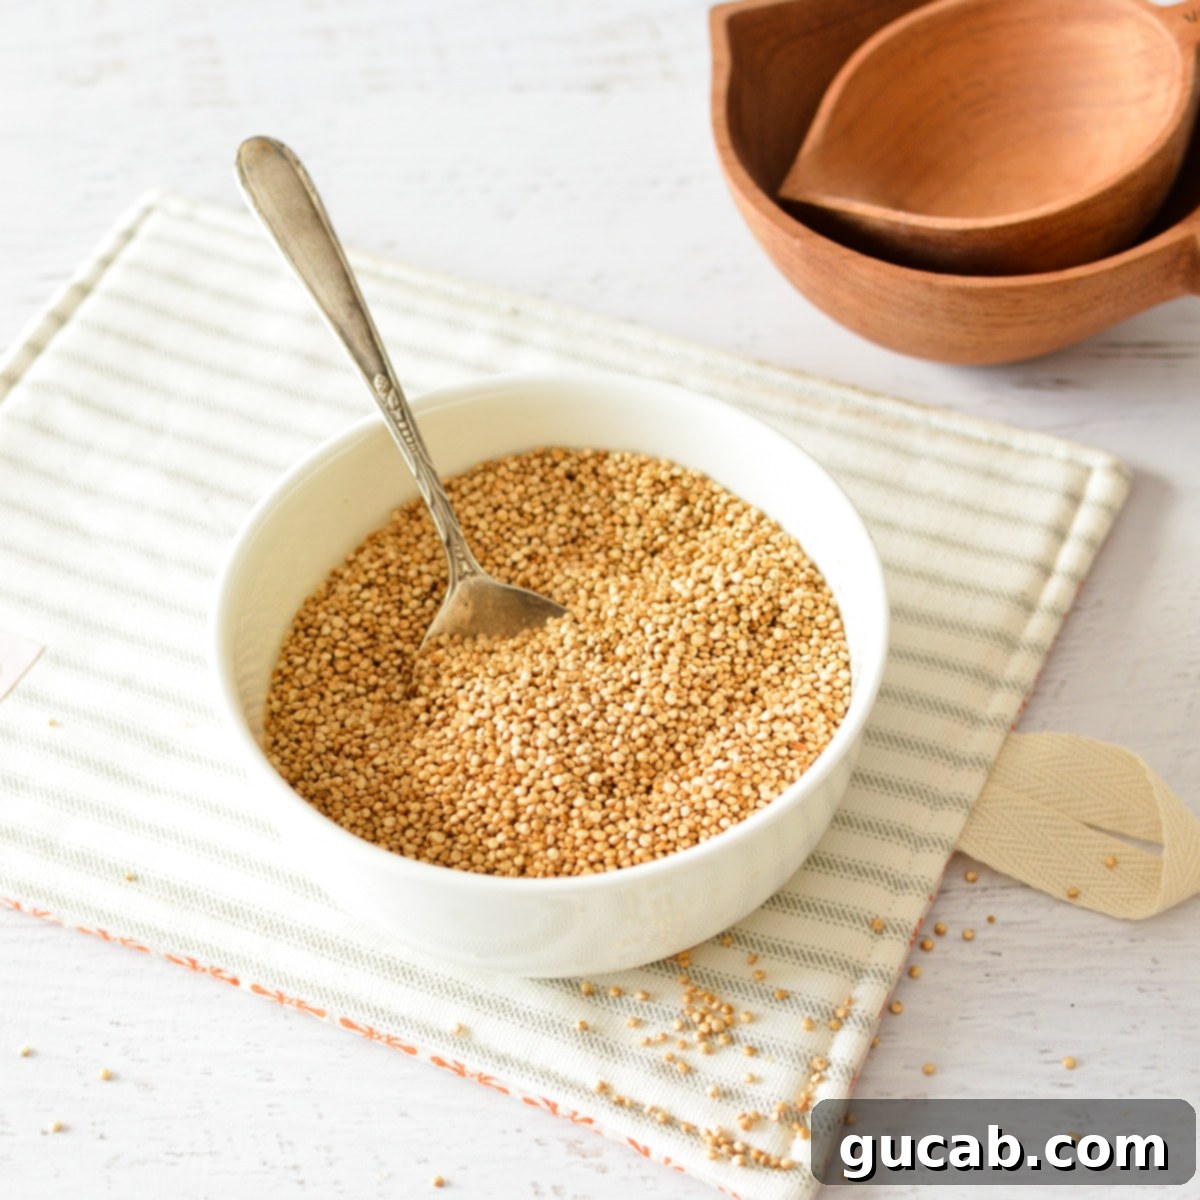
How to Make Perfect Puffed Quinoa: Your Guide to a Crispy, Nutritious Topping
Unlock the secret to creating delicious, perfectly puffed quinoa right in your own kitchen! This simple recipe transforms humble quinoa seeds into a light, airy, and incredibly crunchy ingredient that will elevate your favorite meals. Popped quinoa offers a delightful nutty flavor and a satisfying texture, making it an ideal addition to everything from creamy yogurts and vibrant salads to homemade granola and energizing smoothie bowls.
Beyond its fantastic taste and texture, puffed quinoa is a nutritional powerhouse. It’s naturally gluten-free and dairy-free, making it suitable for various dietary needs. Packed with protein, fiber, and essential minerals, it’s a smart choice for a healthy lifestyle. Forget store-bought cereals or processed toppings; learning how to puff quinoa at home is not only cost-effective but also ensures you’re enjoying a pure, wholesome ingredient with no hidden additives. Get ready to add an irresistible crunch and a boost of nutrients to your daily routine!
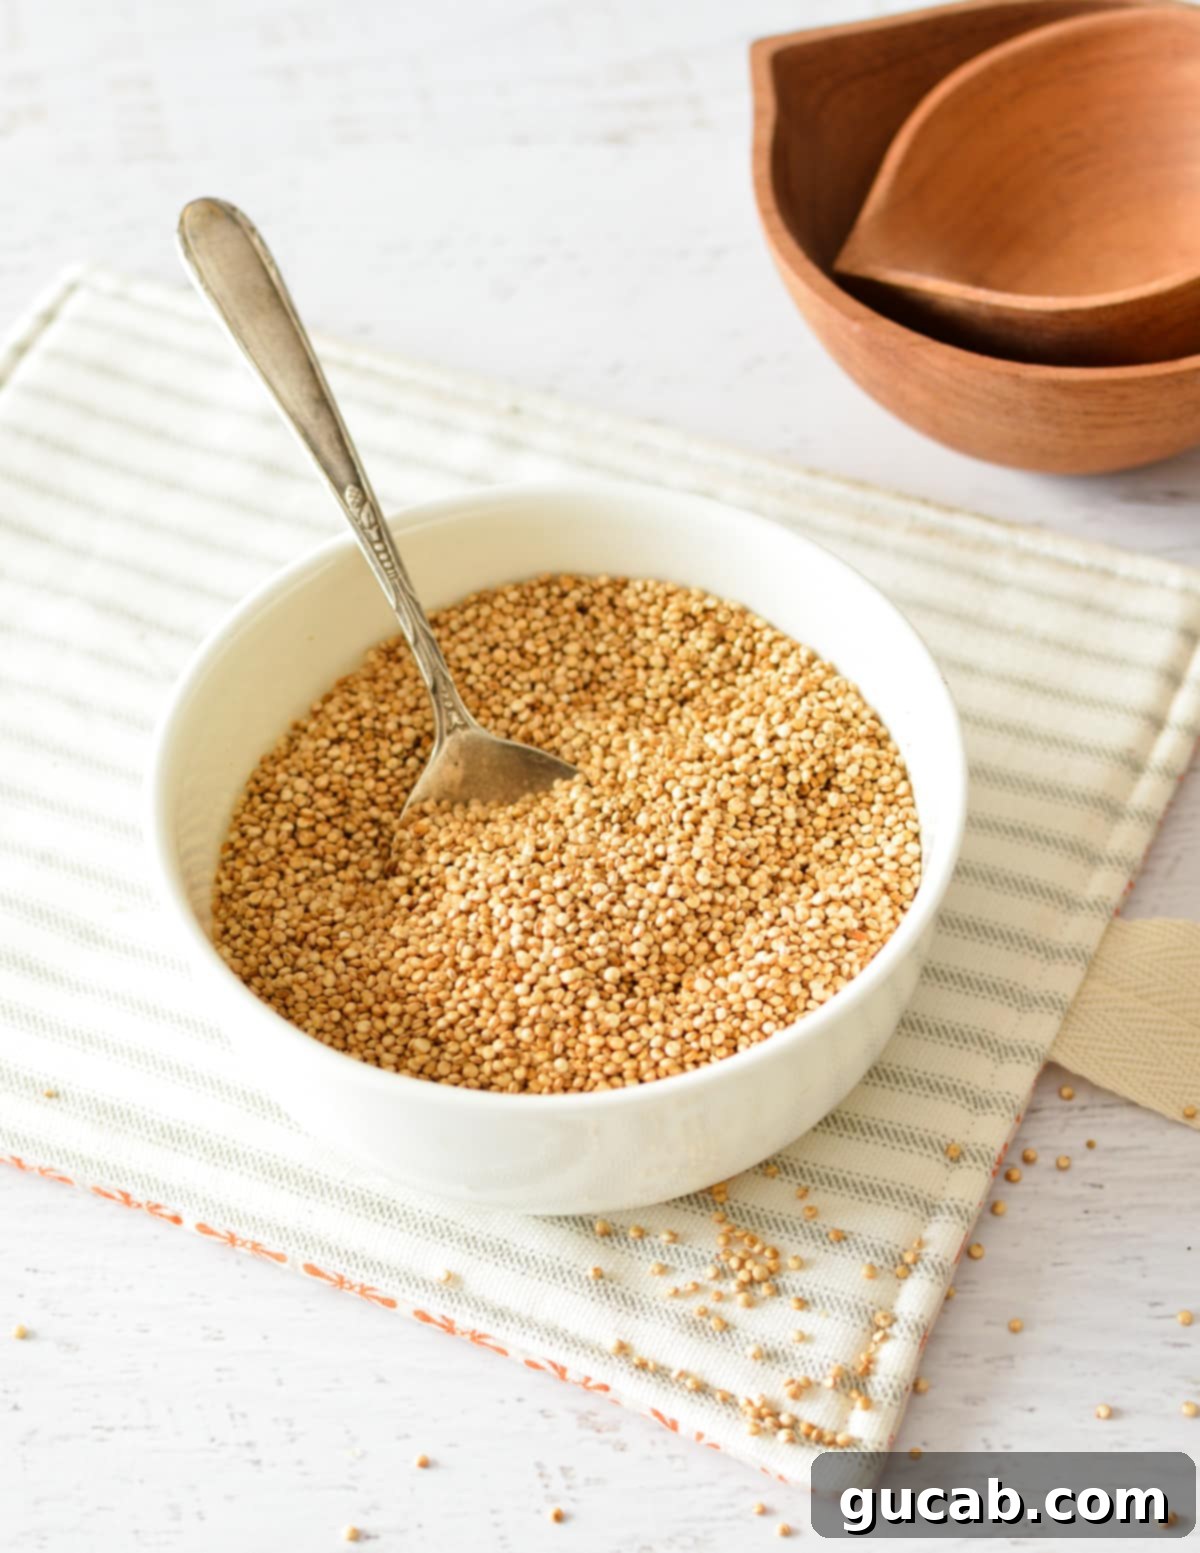
What Exactly is Puffed Quinoa?
Puffed quinoa, often referred to as popped quinoa, is raw quinoa that has undergone a rapid cooking process in a hot, dry skillet. Similar to popcorn, the intense heat causes the small quinoa seeds to “pop” open, revealing a fluffy, expanded texture. This transformation drastically changes its characteristics: it becomes lighter, crispier, and develops a more pronounced nutty, aromatic flavor that’s distinctly different from traditionally cooked quinoa.
Unlike boiled or steamed quinoa which has a soft, somewhat chewy consistency, puffed quinoa is delightfully airy and crunchy. This makes it incredibly versatile as a textural component in countless dishes. Think of it as a superfood alternative to traditional crunchy toppings like croutons, nuts, or even rice krispies. It retains all the amazing nutritional benefits of regular quinoa – complete protein, high fiber, and a wealth of vitamins and minerals – but in a form that’s perfect for adding a crispy bite.
Do I Need to Rinse Quinoa Before Popping?
The short answer is: yes, generally, you should ensure your quinoa is free of saponin. Saponin is a naturally occurring bitter-tasting coating found on quinoa seeds that acts as a natural pest deterrent. If not removed, it can impart an unpleasant soapy or bitter flavor to your finished puffed quinoa.
The good news is that most quinoa brands available today are pre-rinsed. This means the manufacturer has already taken care of removing the saponin for you. Always check the packaging for labels like “pre-rinsed,” “pre-washed,” or “ready to cook.” Sometimes this information is prominently displayed on the front, while other times you might find it in the fine print on the back of the bag.
If your quinoa is not pre-rinsed, or if you’re unsure, it’s a simple process to do it yourself. Place the quinoa in a fine-mesh sieve and rinse thoroughly under cold running water for a couple of minutes, rubbing the grains gently with your fingers. You’ll often see some foam, which indicates the saponin washing away. Continue rinsing until the water runs clear. After rinsing, it’s absolutely crucial to dry the quinoa completely before attempting to pop it. Excess moisture will prevent the quinoa from popping and will instead steam or toast it. You can spread it thinly on a baking sheet lined with parchment paper and let it air dry for several hours, or gently pat it dry with a clean kitchen towel.
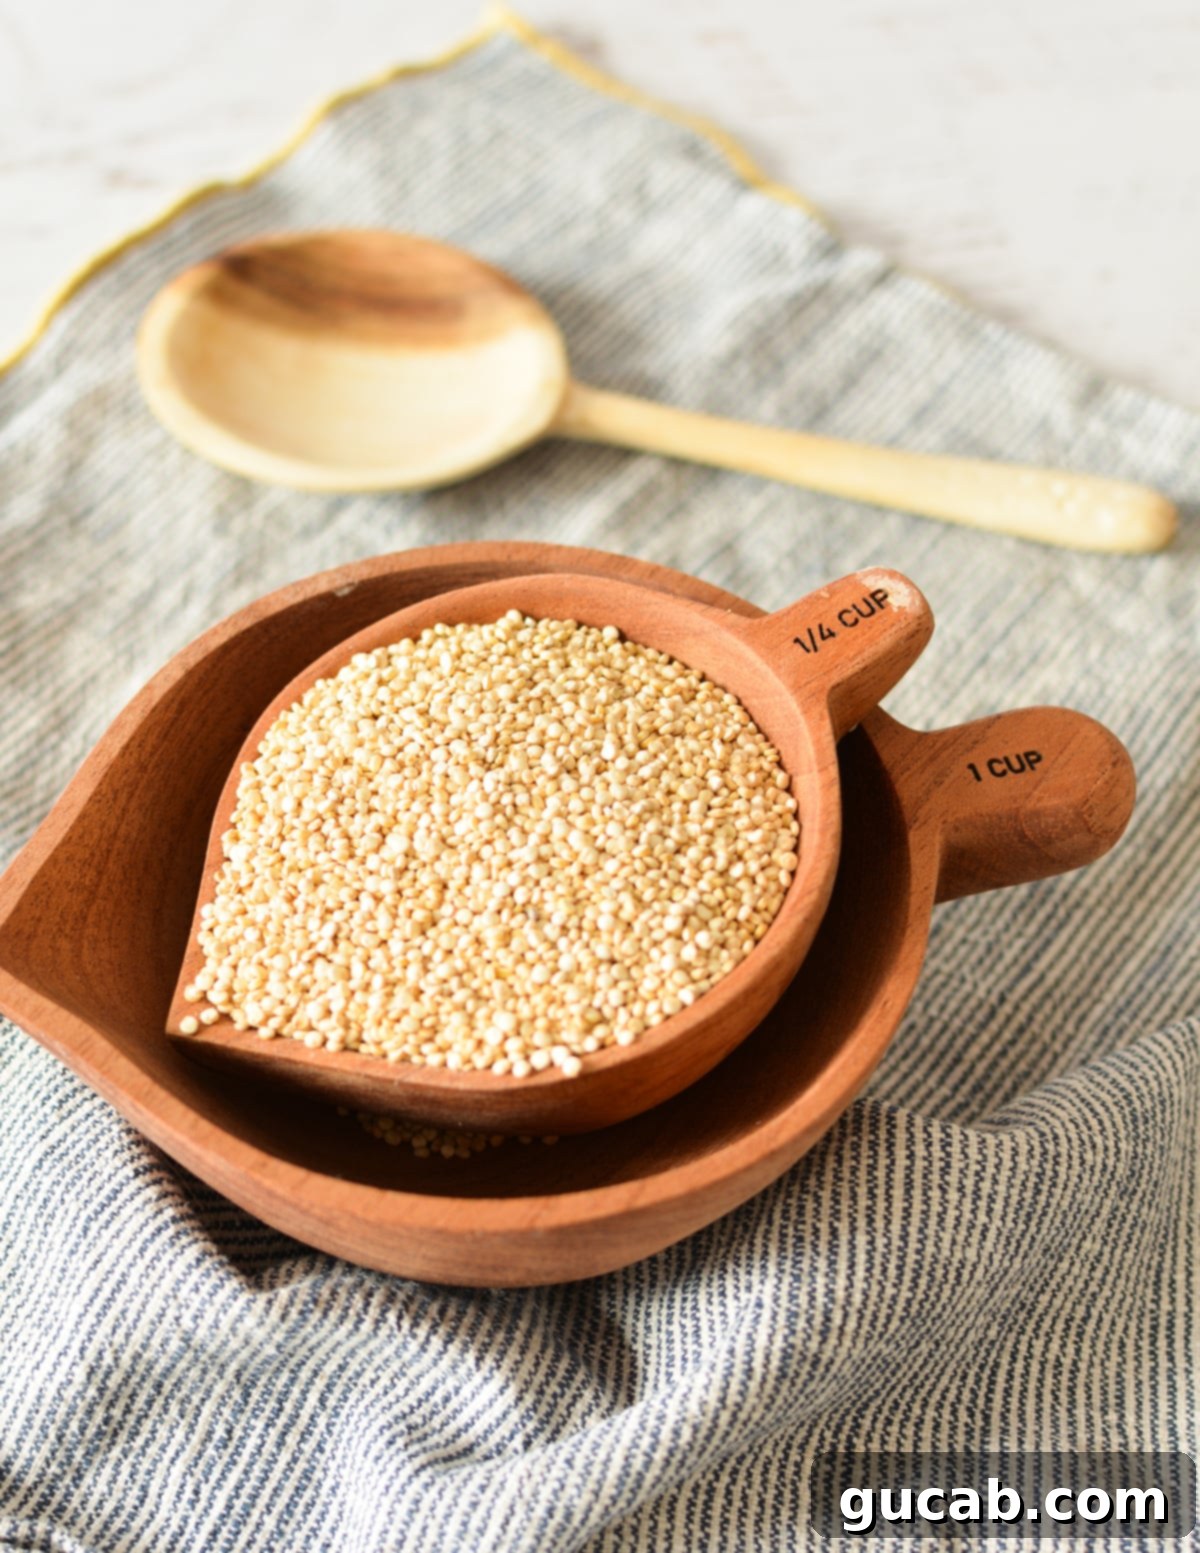
How to Make Puffed Quinoa: Step-by-Step Guide
Making puffed quinoa can be a delicate dance, as it requires the perfect balance of heat and timing. Too high, and your precious grains will burn before they have a chance to pop. Too low, and they’ll simply toast, losing that signature airy texture. Through experimentation, I’ve found that a consistent medium heat is the sweet spot for achieving nutty, crispy, golden-brown perfection. The key is ensuring your pan is thoroughly preheated before the quinoa even touches the surface.
1. Prepare Your Skillet: Get it Sizzling Hot
Begin by placing a large, heavy-bottomed stainless steel skillet over medium heat. Cast iron works well too, as it retains heat effectively. The “sizzling hot” part is crucial here; don’t rush it. Allow the skillet to heat up for at least 3-5 minutes. You can test if it’s ready by flicking a tiny drop of water into the pan – if it immediately sizzles and evaporates, you’re good to go. If it just sits there, the pan isn’t hot enough. Adding quinoa to a cold or lukewarm pan will result in toasting rather than popping.
If you prefer a nuttier and extra-crispy result, now is the time to add about a teaspoon of a neutral, high-smoke-point oil like canola, grapeseed, or avocado oil. This small amount of oil will aid in even browning and enhance the overall texture and flavor. Avoid using too much oil, as it can cause the quinoa to spit aggressively and clump together.
2. Add the Quinoa in Small Batches
Once your skillet is perfectly heated (and oiled, if using), pour in the quinoa. This is where batch size truly matters! You want just enough quinoa to cover the bottom of the skillet in a single, even layer. Overcrowding the pan is the most common mistake and will prevent even popping. When too many grains are present, the heat distribution becomes uneven, leading to some quinoa burning while others remain unpopped.
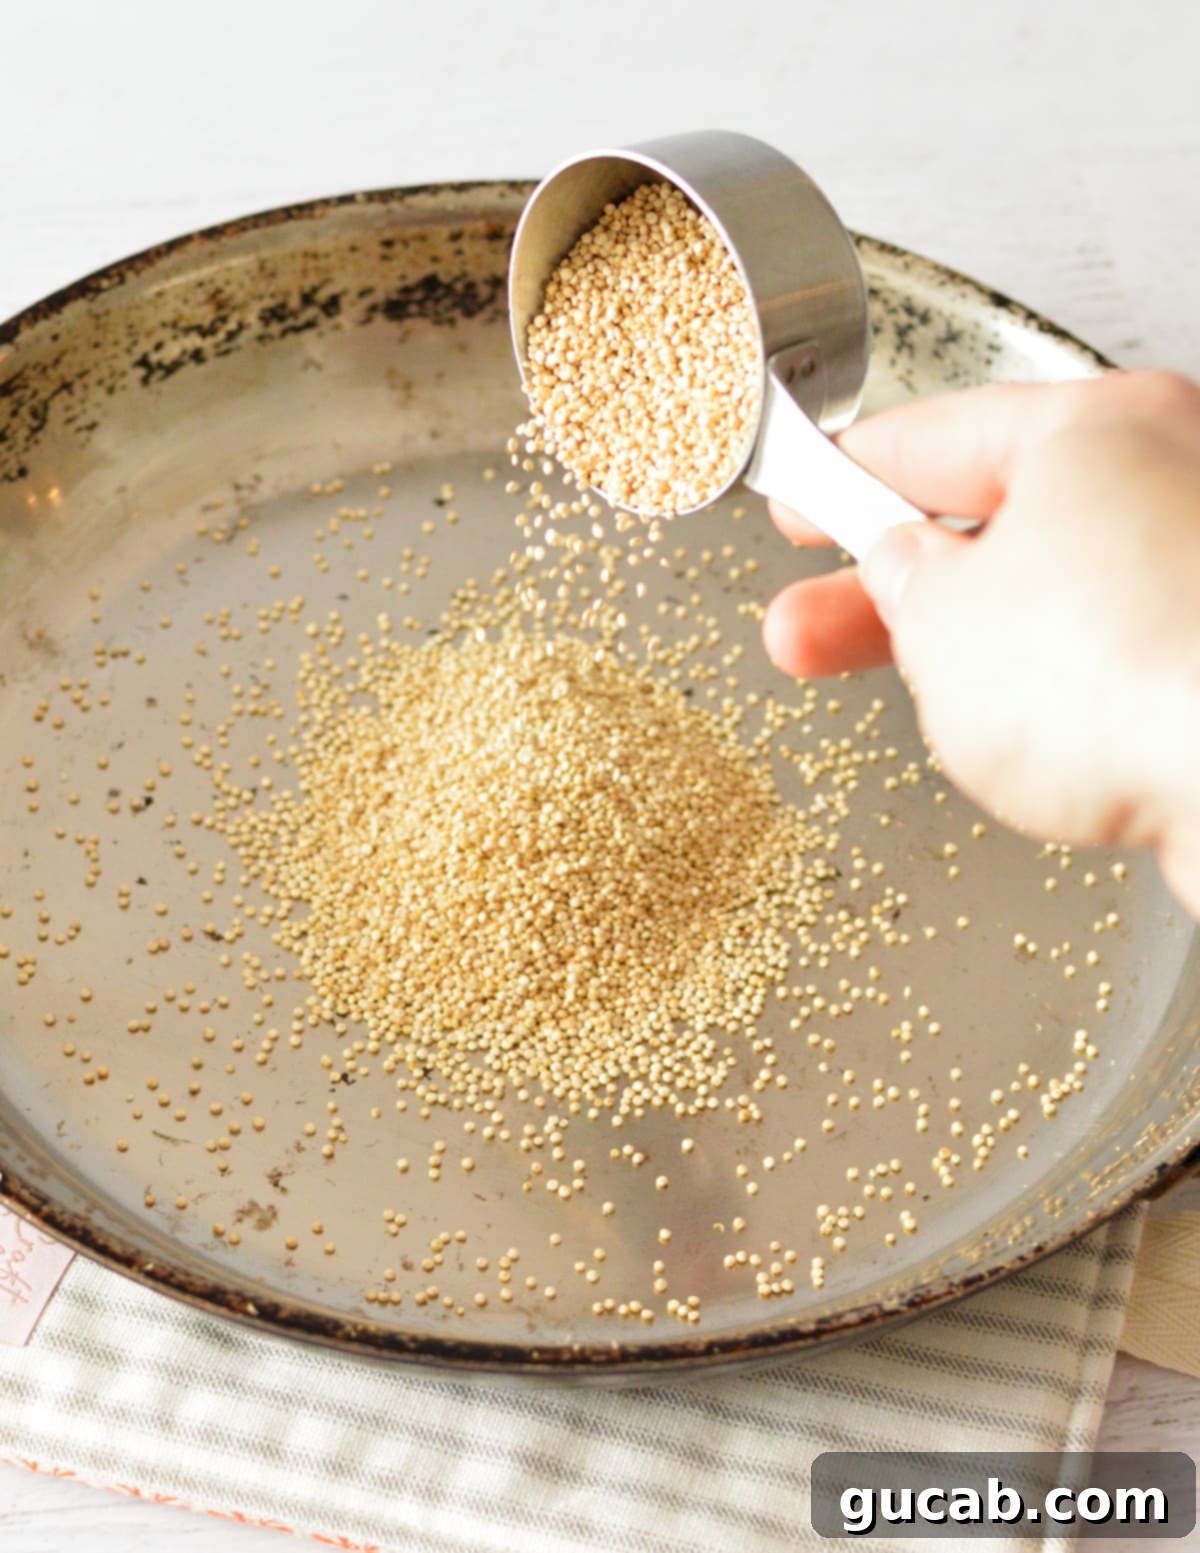
For a standard large skillet (10-12 inches), I’ve found that ⅓ cup of quinoa is the “magic number” for optimal popping. If you’re using a smaller pan, reduce the amount to ¼ cup or even less. The good news is that popping quinoa takes only a few minutes per batch, so you can easily prepare multiple batches to achieve your desired quantity without compromising quality.
3. Pop and Stir the Quinoa Constantly
As soon as the quinoa hits the hot pan, give it an immediate shake or stir with a spatula to ensure the grains spread evenly across the bottom. This initial spread ensures maximum contact with the hot surface.
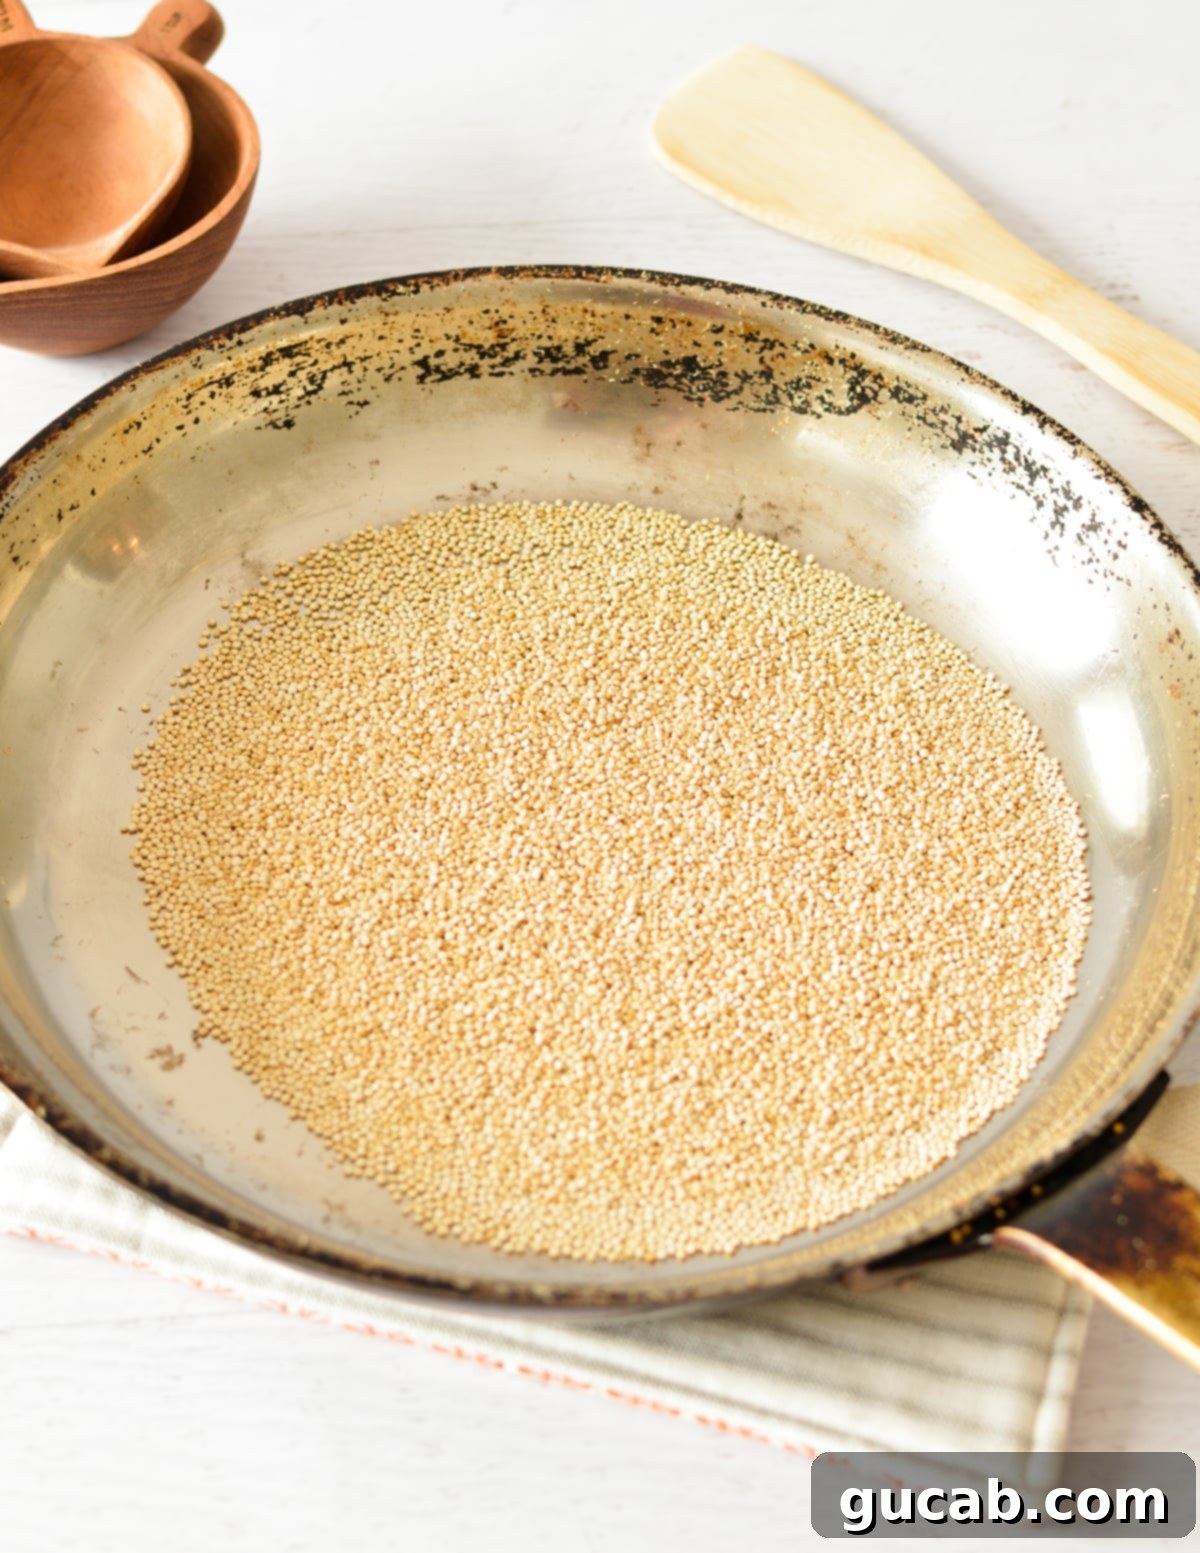
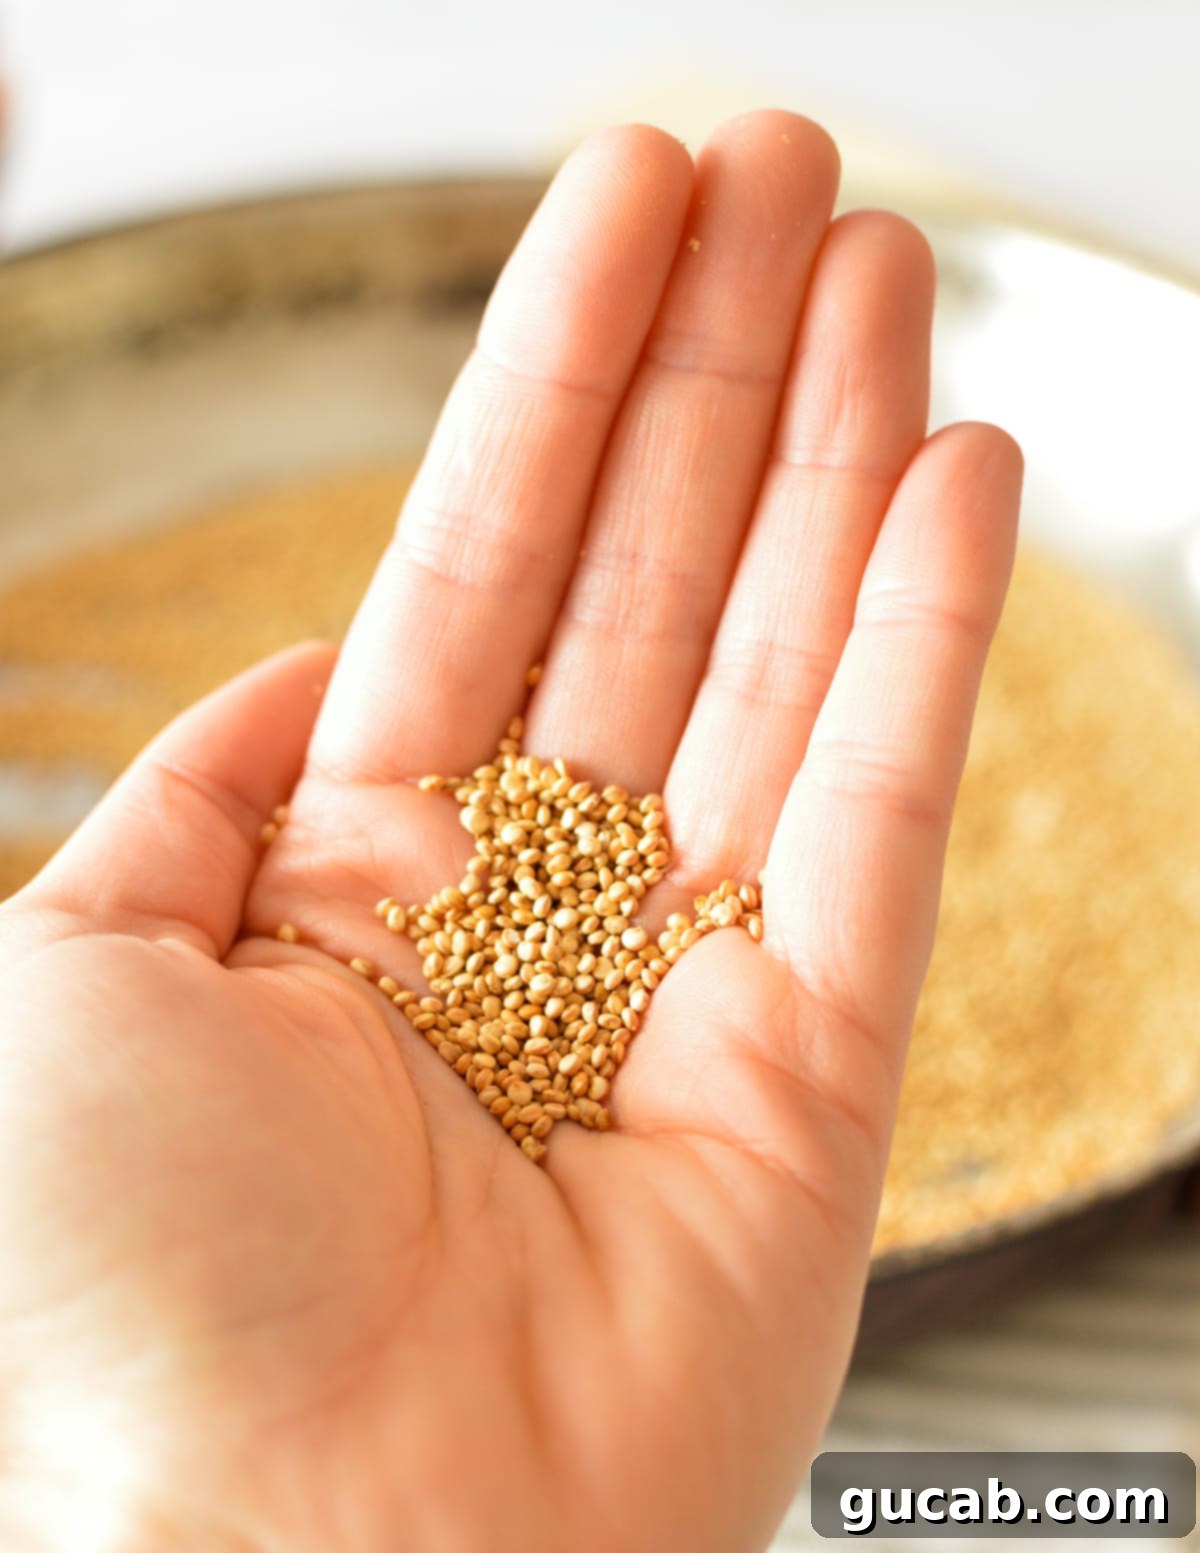
The popping will begin almost immediately, often accompanied by a faint sound, similar to tiny popcorn. It’s essential to keep the quinoa moving continuously to prevent scorching. If you’re not using oil, you can simply shake the pan back and forth every few seconds. If you’ve added oil, the quinoa tends to stick together a bit, so using a heat-resistant rubber spatula to stir and scrape the bottom of the pan will be more effective. Continue this process until most of the quinoa has popped, turned a beautiful golden brown, and releases a wonderfully nutty aroma. This usually takes just 2-4 minutes.
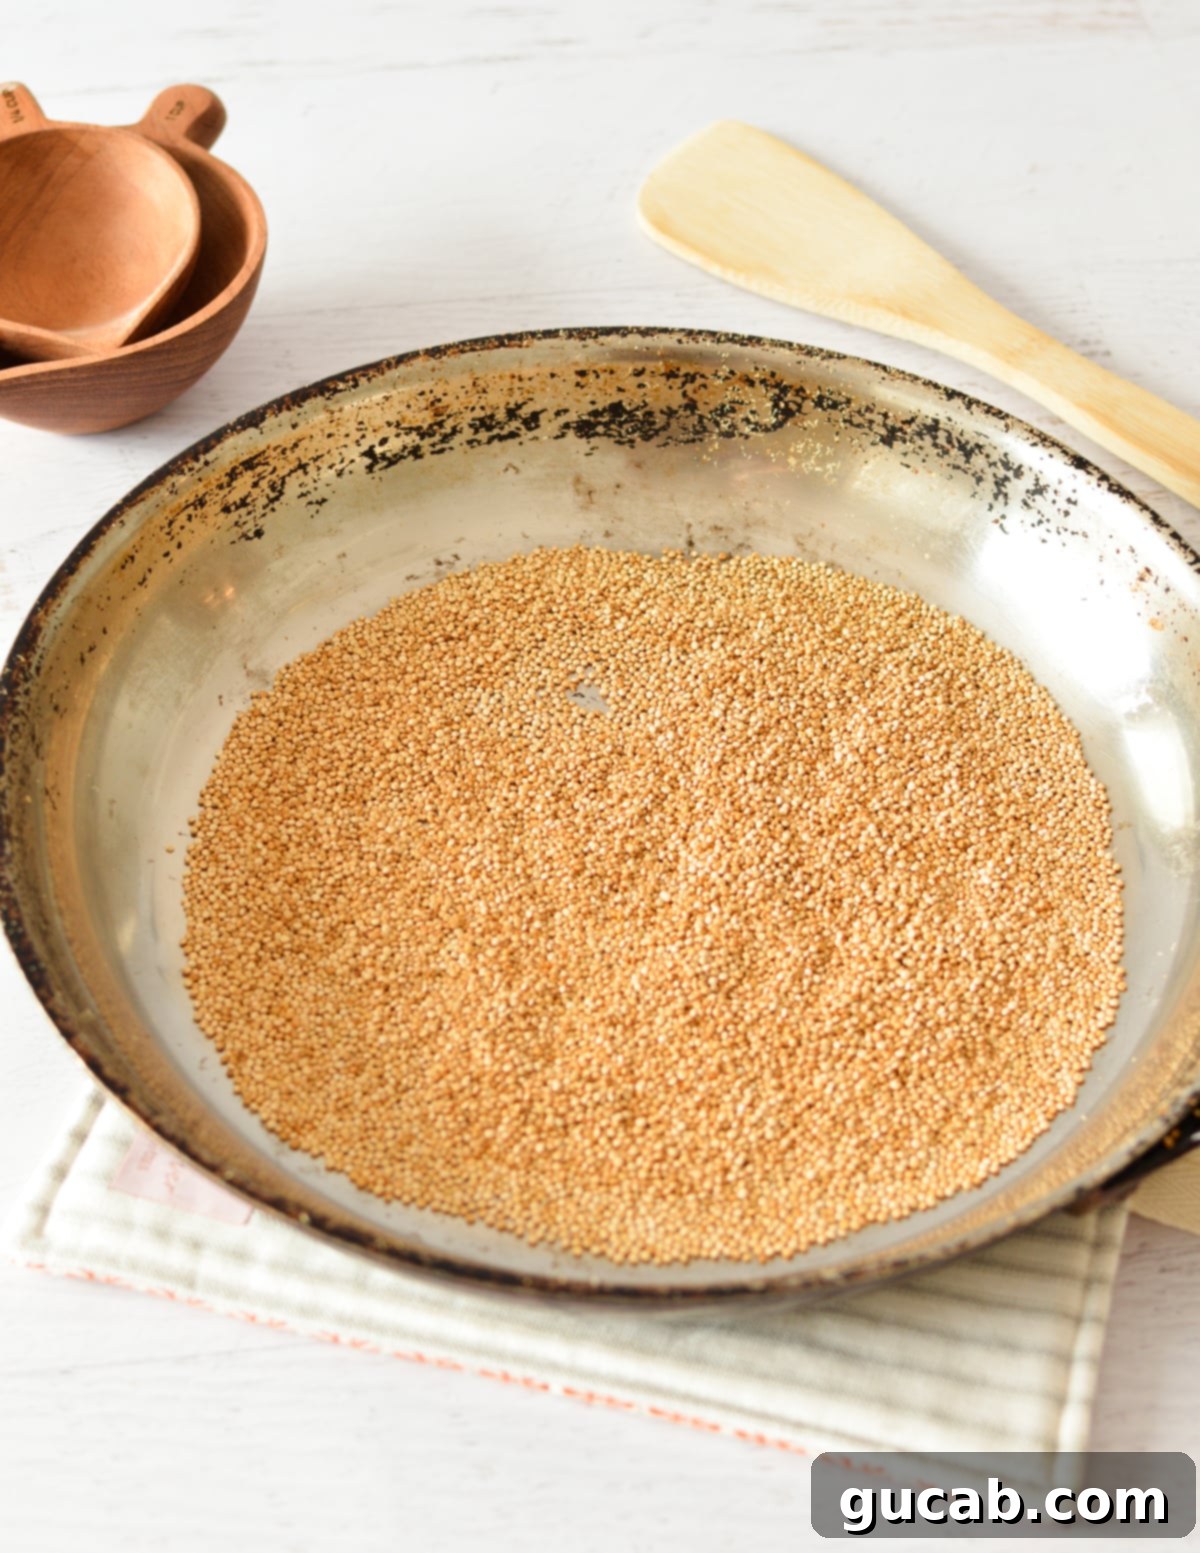
Immediately transfer the hot puffed quinoa to a separate bowl or plate to cool down. Leaving it in the hot pan, even off the heat, can lead to overcooking and a burnt flavor due to residual heat.
Expert Tips for Perfectly Puffed Quinoa Every Time
- Ensure Your Pan is Hot (But Not Too Hot!): This is the golden rule. Set your heat to a consistent medium and let your large stainless steel or cast iron skillet preheat for 3-5 minutes until it’s sizzling. A small drop of water should dance and evaporate instantly. If the pan isn’t hot enough, the quinoa won’t pop; it will just dry out and toast. If it’s too high, it will burn rapidly.
- The Power of a Teaspoon of Oil: While optional, adding a single teaspoon of a neutral, high-smoke-point oil (like canola, grapeseed, or avocado oil) makes a significant difference. It helps the quinoa achieve a beautiful, even golden-brown color, enhances its natural nutty flavor, and contributes to an even crisper texture. Be mindful of the quantity – too much oil will lead to spitting and clumpy quinoa.
- Work in Small Batches: Resist the urge to dump an entire cup of quinoa into the pan. For optimal popping, the quinoa needs direct and consistent contact with the hot surface. More than ⅓ cup for a large skillet (10-12 inches) will overcrowd the pan, leading to uneven cooking – some grains will pop, some will burn, and many will remain unpopped. Patience with batches pays off!
- Constant Movement is Key: Quinoa kernels are tiny and have a high surface area-to-volume ratio, making them susceptible to burning quickly. From the moment they hit the pan, you must keep them moving. Shake the pan vigorously every few seconds if cooking without oil. If using oil, a rubber spatula is your best friend for continuous stirring and ensuring all grains are exposed to the heat.
- Dry Quinoa is Happy Quinoa: If you rinse your quinoa at home, it is absolutely paramount that it is bone dry before popping. Any residual moisture will cause the quinoa to steam instead of pop, resulting in chewy, dense grains rather than light, airy puffs. Spread it out on a clean towel or baking sheet and allow it to air dry completely for several hours if necessary.
- Listen and Watch: Your senses are your best tools. Listen for the subtle popping sounds and watch for the grains to expand and turn golden brown. The moment the popping significantly slows down and the color is right, remove the quinoa from the heat immediately.
Creative Ways to Use Puffed Quinoa
Puffed quinoa is far more versatile than just a simple crispy topping. Its light texture and nutty flavor make it an excellent ingredient for adding crunch, volume, and nutrition to a wide array of dishes. Here are some of my favorite ways to incorporate this delightful superfood into your cooking:
- Elevate Your Breakfast:
- Yogurt and Smoothie Bowls: Sprinkle a generous amount over your morning yogurt, a vibrant acai bowl, or a creamy fruit smoothie. It provides an incredible crispy crunch that contrasts beautifully with soft textures, along with a healthy dose of protein and fiber to keep you full.
- Hot Cereal Topping: Add it to oatmeal or porridge just before serving for an unexpected textural delight.
- Salad Sensation:
- Crunchy Alternative to Croutons: Say goodbye to soggy croutons! Puffed quinoa makes a fantastic, gluten-free, and nutrient-dense substitute for adding a satisfying crunch to any salad. It works particularly well in fresh green salads, grain bowls, or even a light chicken or tuna salad.
- Baking and Snacks:
- Homemade Granola Bars & Clusters: Fold popped quinoa into your favorite homemade granola bar recipe or energy bite mixture. It adds a light, airy texture that won’t make your bars too dense, plus a boost of whole grains.
- Breakfast Cookies & Muffins: Incorporate it into your breakfast cookie or muffin batter for added texture, fiber, and protein. It gives a satisfying chew and crunch without being heavy.
- Healthy Cereal Base: Mix it with dried fruits, nuts, and a touch of cinnamon for a quick, homemade breakfast cereal.
- Chocolate Bark or Clusters: Melt some dark chocolate, stir in puffed quinoa, and spread it thinly on parchment paper to cool. Break into pieces for a surprisingly delicious and crunchy treat.
- Savory Snack Attack:
- Seasoned Savory Snack: Toss the cooled puffed quinoa with your favorite spices (think a pinch of smoked paprika, garlic powder, onion powder, and a dash of kosher salt). Enjoy it plain as a healthy, crispy snack, similar to puffed rice cakes but with more nutritional value.
- Bread Crumb Alternative: Lightly crush it and use it as a gluten-free breading for chicken, fish, or vegetables.
Storage Solutions for Maximum Crispness
Proper storage is essential to maintain the delightful crispness of your homemade puffed quinoa. The main enemy here is moisture, which will quickly turn your airy puffs into a chewy, unappealing texture.
First and foremost, allow the popped quinoa to cool completely to room temperature before even thinking about storing it. This step is non-negotiable! If you transfer warm or even slightly warm quinoa to a sealed container, the residual heat will create condensation inside the jar. This moisture will then be absorbed by the quinoa, rendering it soft and soggy.
Once thoroughly cooled, transfer the puffed quinoa to an airtight container. A glass jar with a tight-fitting lid or a sealed plastic container works perfectly. Store it in a cool, dry place, away from direct sunlight or humidity. Your pantry or a cupboard is ideal. Avoid refrigerating it, as the cool, moist environment can also lead to a loss of crispness.
When stored correctly, homemade puffed quinoa will retain its crisp texture and fresh flavor for up to two weeks. This makes it a great ingredient to prepare in advance for quick and healthy additions to your meals throughout the week.
Frequently Asked Questions About Puffed Quinoa
There are a few common culprits when your quinoa refuses to pop. The most frequent issues relate to heat and quantity:
- Pan Not Hot Enough: If your skillet isn’t sizzling hot when the quinoa is added, the grains will simply toast or dry out rather than popping. Ensure medium heat and proper preheating.
- Heat Too High: Conversely, if the heat is excessively high, the quinoa will burn very quickly before it has a chance to expand and pop. Stick to a consistent medium heat.
- Too Much Quinoa: Overcrowding the pan is a big no-no. Each grain needs direct contact with the hot surface to pop. If you add too much, the heat won’t distribute evenly, leading to a mix of burnt, toasted, and unpopped grains. Work in small batches.
- Moisture Content: If your quinoa was rinsed and not thoroughly dried, the moisture will cause it to steam and become chewy instead of popping. Make sure your quinoa is completely dry before adding it to the pan.
Yes, absolutely! Puffed quinoa retains all the fantastic nutritional benefits of cooked quinoa. It’s still a complete protein, meaning it contains all nine essential amino acids. It remains high in fiber, magnesium, B vitamins, iron, potassium, calcium, phosphorus, and vitamin E. The popping process is a dry heat method that doesn’t add significant fat or alter its core nutritional profile, only its texture.
While you can toast quinoa in an oven or air fryer, these methods typically don’t achieve the same light, airy “pop” that you get from pan-popping. The dry, intense, and direct heat of a hot skillet is generally required for the rapid expansion that creates puffed quinoa. Oven or air fryer methods often result in a crispier, toasted quinoa which is delicious in its own right, but not truly “puffed.”
More Delicious Quinoa Recipes to Try
- Quinoa Salad with Feta & Peaches
- Herby Quinoa Salad with Avocado and Chickpeas
- Salmon Quinoa Bowl with Chipotle Mayo
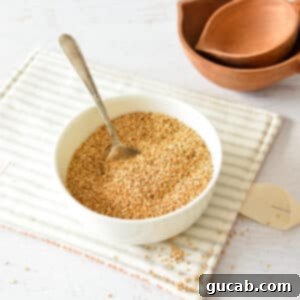
Popped Quinoa
Carolyn
Pin Recipe
Equipment
-
A large stainless steel or cast-iron skillet
Ingredients
- ⅓ cup quinoa (pre-rinsed and completely dry)
- 1 teaspoon canola oil or other high-smoke-point oil optional, for extra crunch
Instructions
-
Heat a large stainless steel or cast-iron skillet over medium heat for 3-5 minutes until sizzling hot. If using oil, add it now and swirl to coat the pan.
-
Pour the ⅓ cup quinoa into the hot skillet, ensuring it’s in a single, even layer. If you used oil, use a spatula to spread it around as it might stick slightly.
-
The quinoa should begin to pop almost immediately. Continuously shake the pan every few seconds (or stir with a spatula if using oil) to prevent burning and ensure even popping.
-
Continue to cook and stir/shake until most of the quinoa is popped, golden brown, and aromatic (about 2-4 minutes). Immediately transfer the hot quinoa to a plate or bowl to cool completely. Repeat for additional batches.
Nutrition
