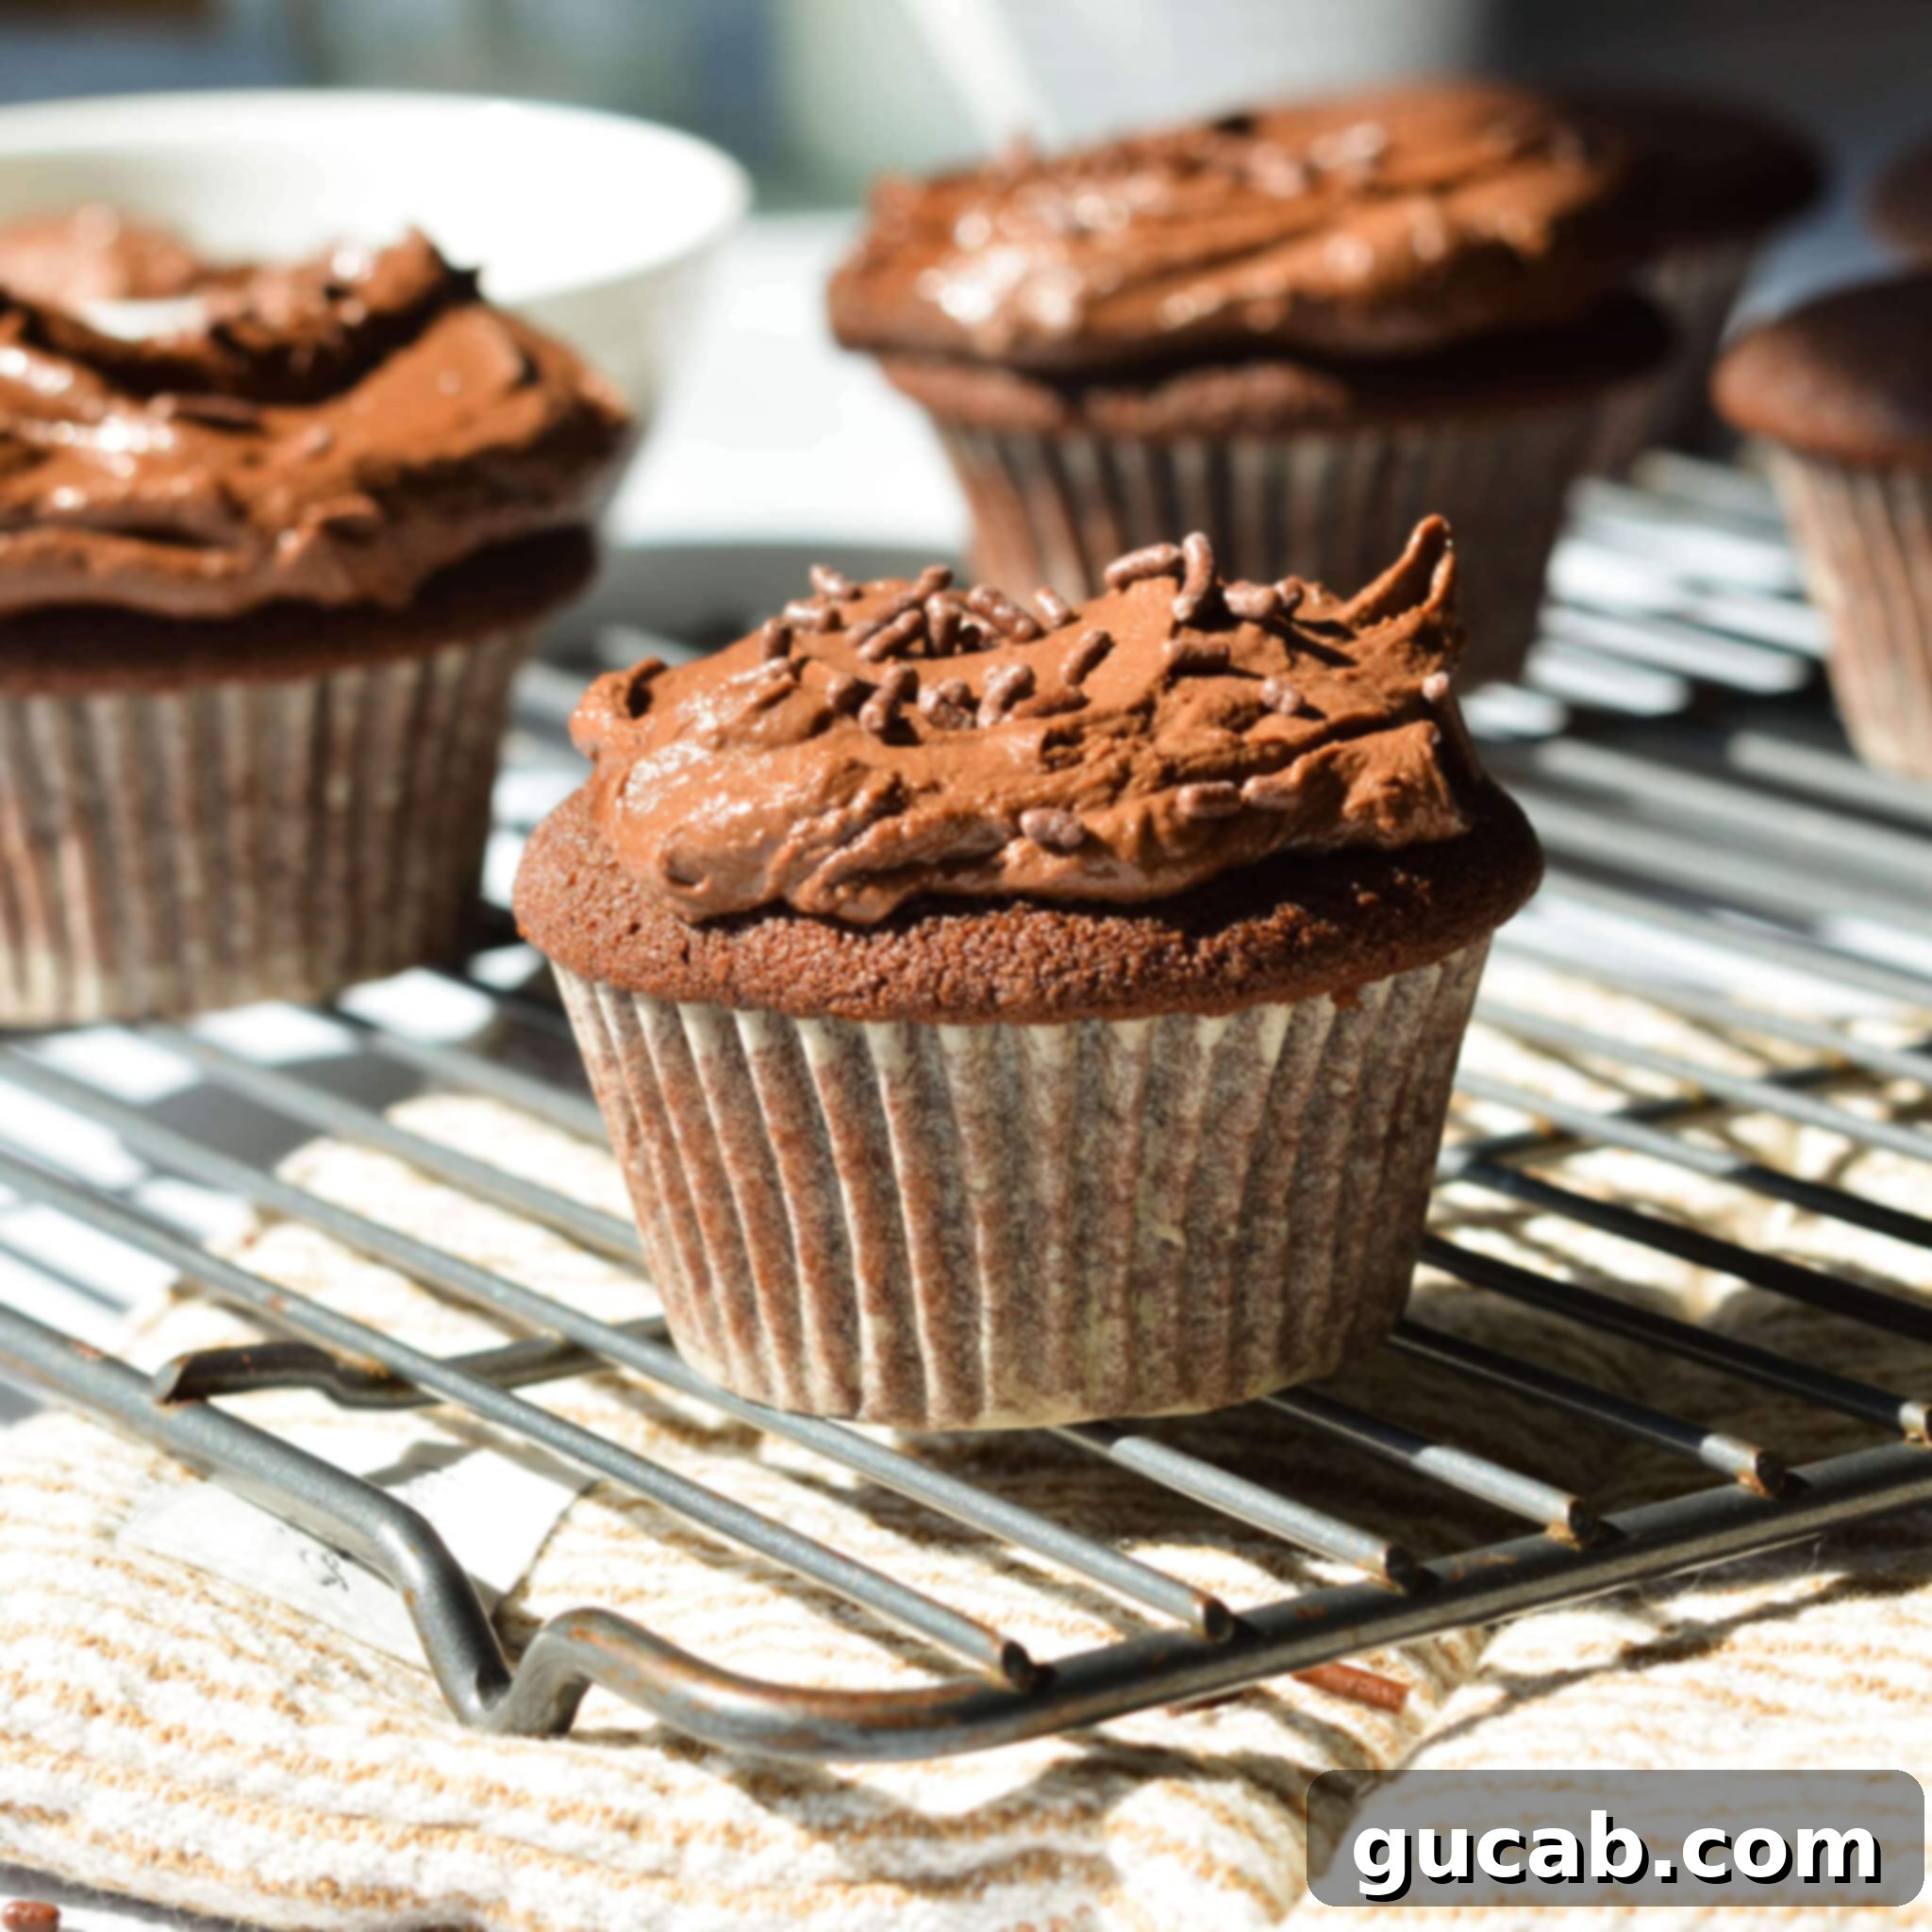
Ultimate Fluffy & Moist Gluten-Free Chocolate Cupcakes with Rich Chocolate Buttercream
Prepare to be amazed! These gluten-free chocolate cupcakes are a true revelation – incredibly light, wonderfully fluffy, and perfectly moist. They are bursting with a deep, decadent chocolate flavor, beautifully complemented by a luscious, rich chocolate buttercream. If you’ve ever doubted the magic of gluten-free baking, this recipe is here to change your mind forever.
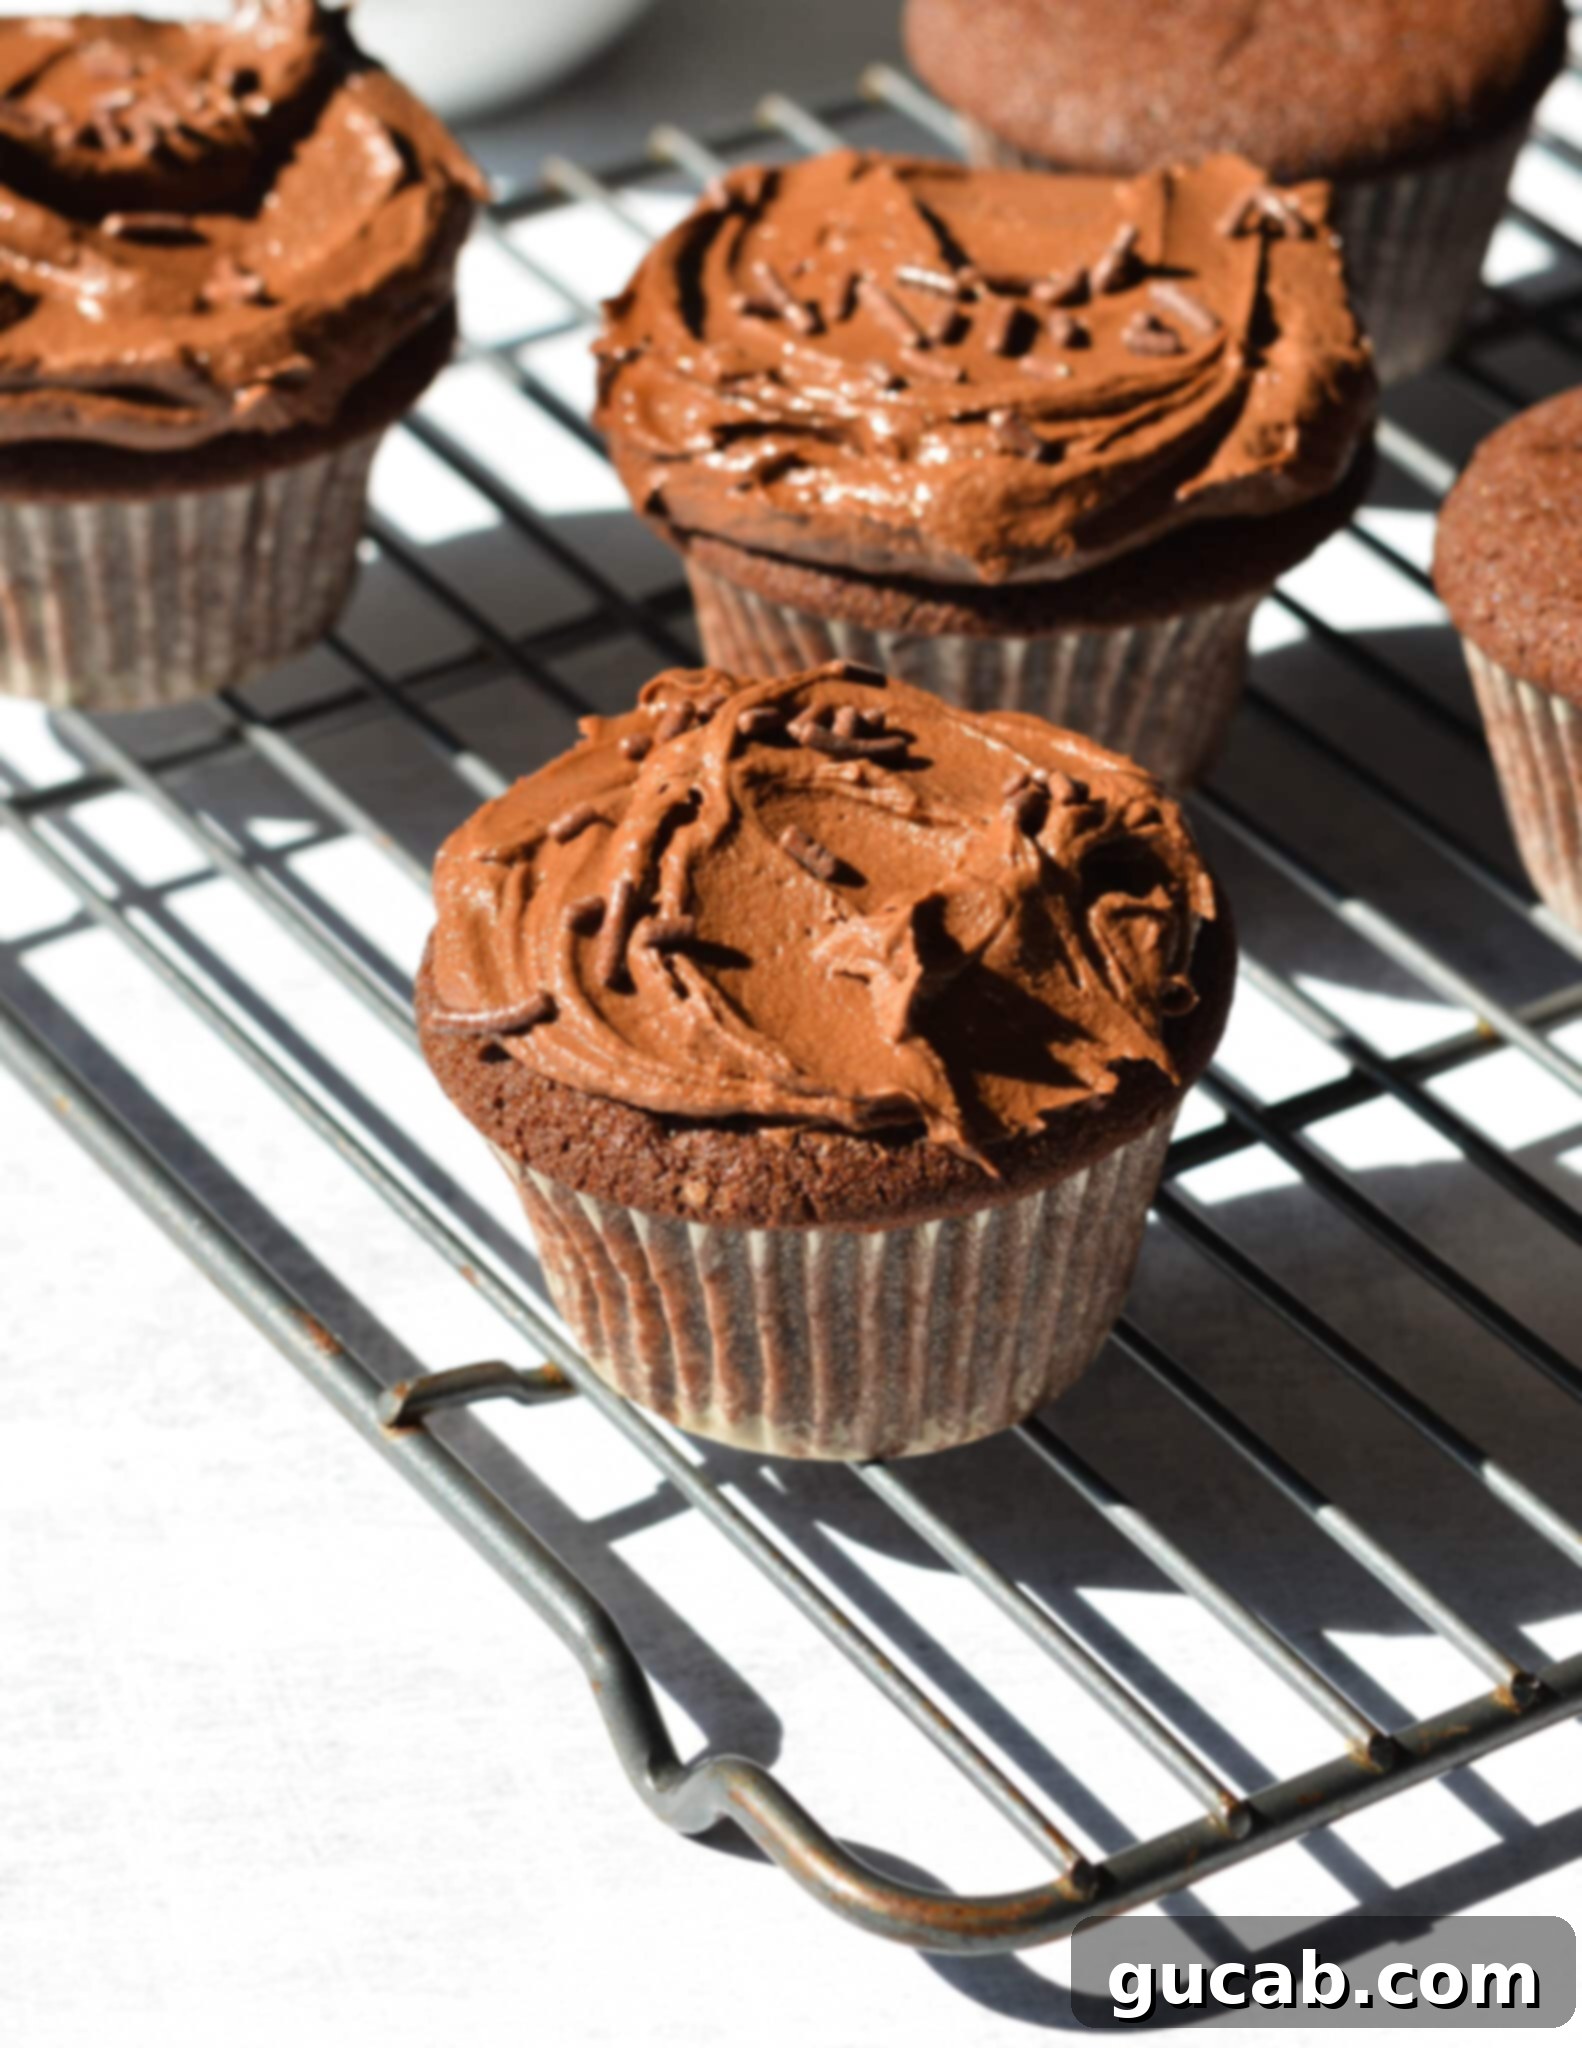
Why These are The Best Gluten-Free Chocolate Cupcakes You’ll Ever Make
For anyone living gluten-free, finding a truly exceptional baked good can be a challenge. How many times have you ordered a “gluten-free” cupcake at a bakery, only to be met with a dense, crumbly, and utterly disappointing texture? This recipe is specifically designed to overcome those common gluten-free baking pitfalls. These aren’t just good for gluten-free cupcakes; they are simply phenomenal cupcakes, period! My entire family, gluten-eaters and all, wholeheartedly agrees – these beauties are dangerously delicious and incredibly addictive.
The secret lies in a careful selection of ingredients and a unique baking method that ensures an ultra-soft, pillowy crumb every single time. You get all the rich, intense chocolate flavor you crave, without any of the dryness or grittiness often associated with gluten-free desserts. Say goodbye to stodgy disappointments and restore your faith in the art of gluten-free baking with this foolproof recipe. Trust me, these will become your go-to chocolate cupcake recipe!
Essential Ingredients for Perfect Gluten-Free Chocolate Cupcakes
Achieving the perfect texture and flavor in gluten-free baking often comes down to understanding your ingredients. Here’s a closer look at the key components that make these chocolate cupcakes so special:
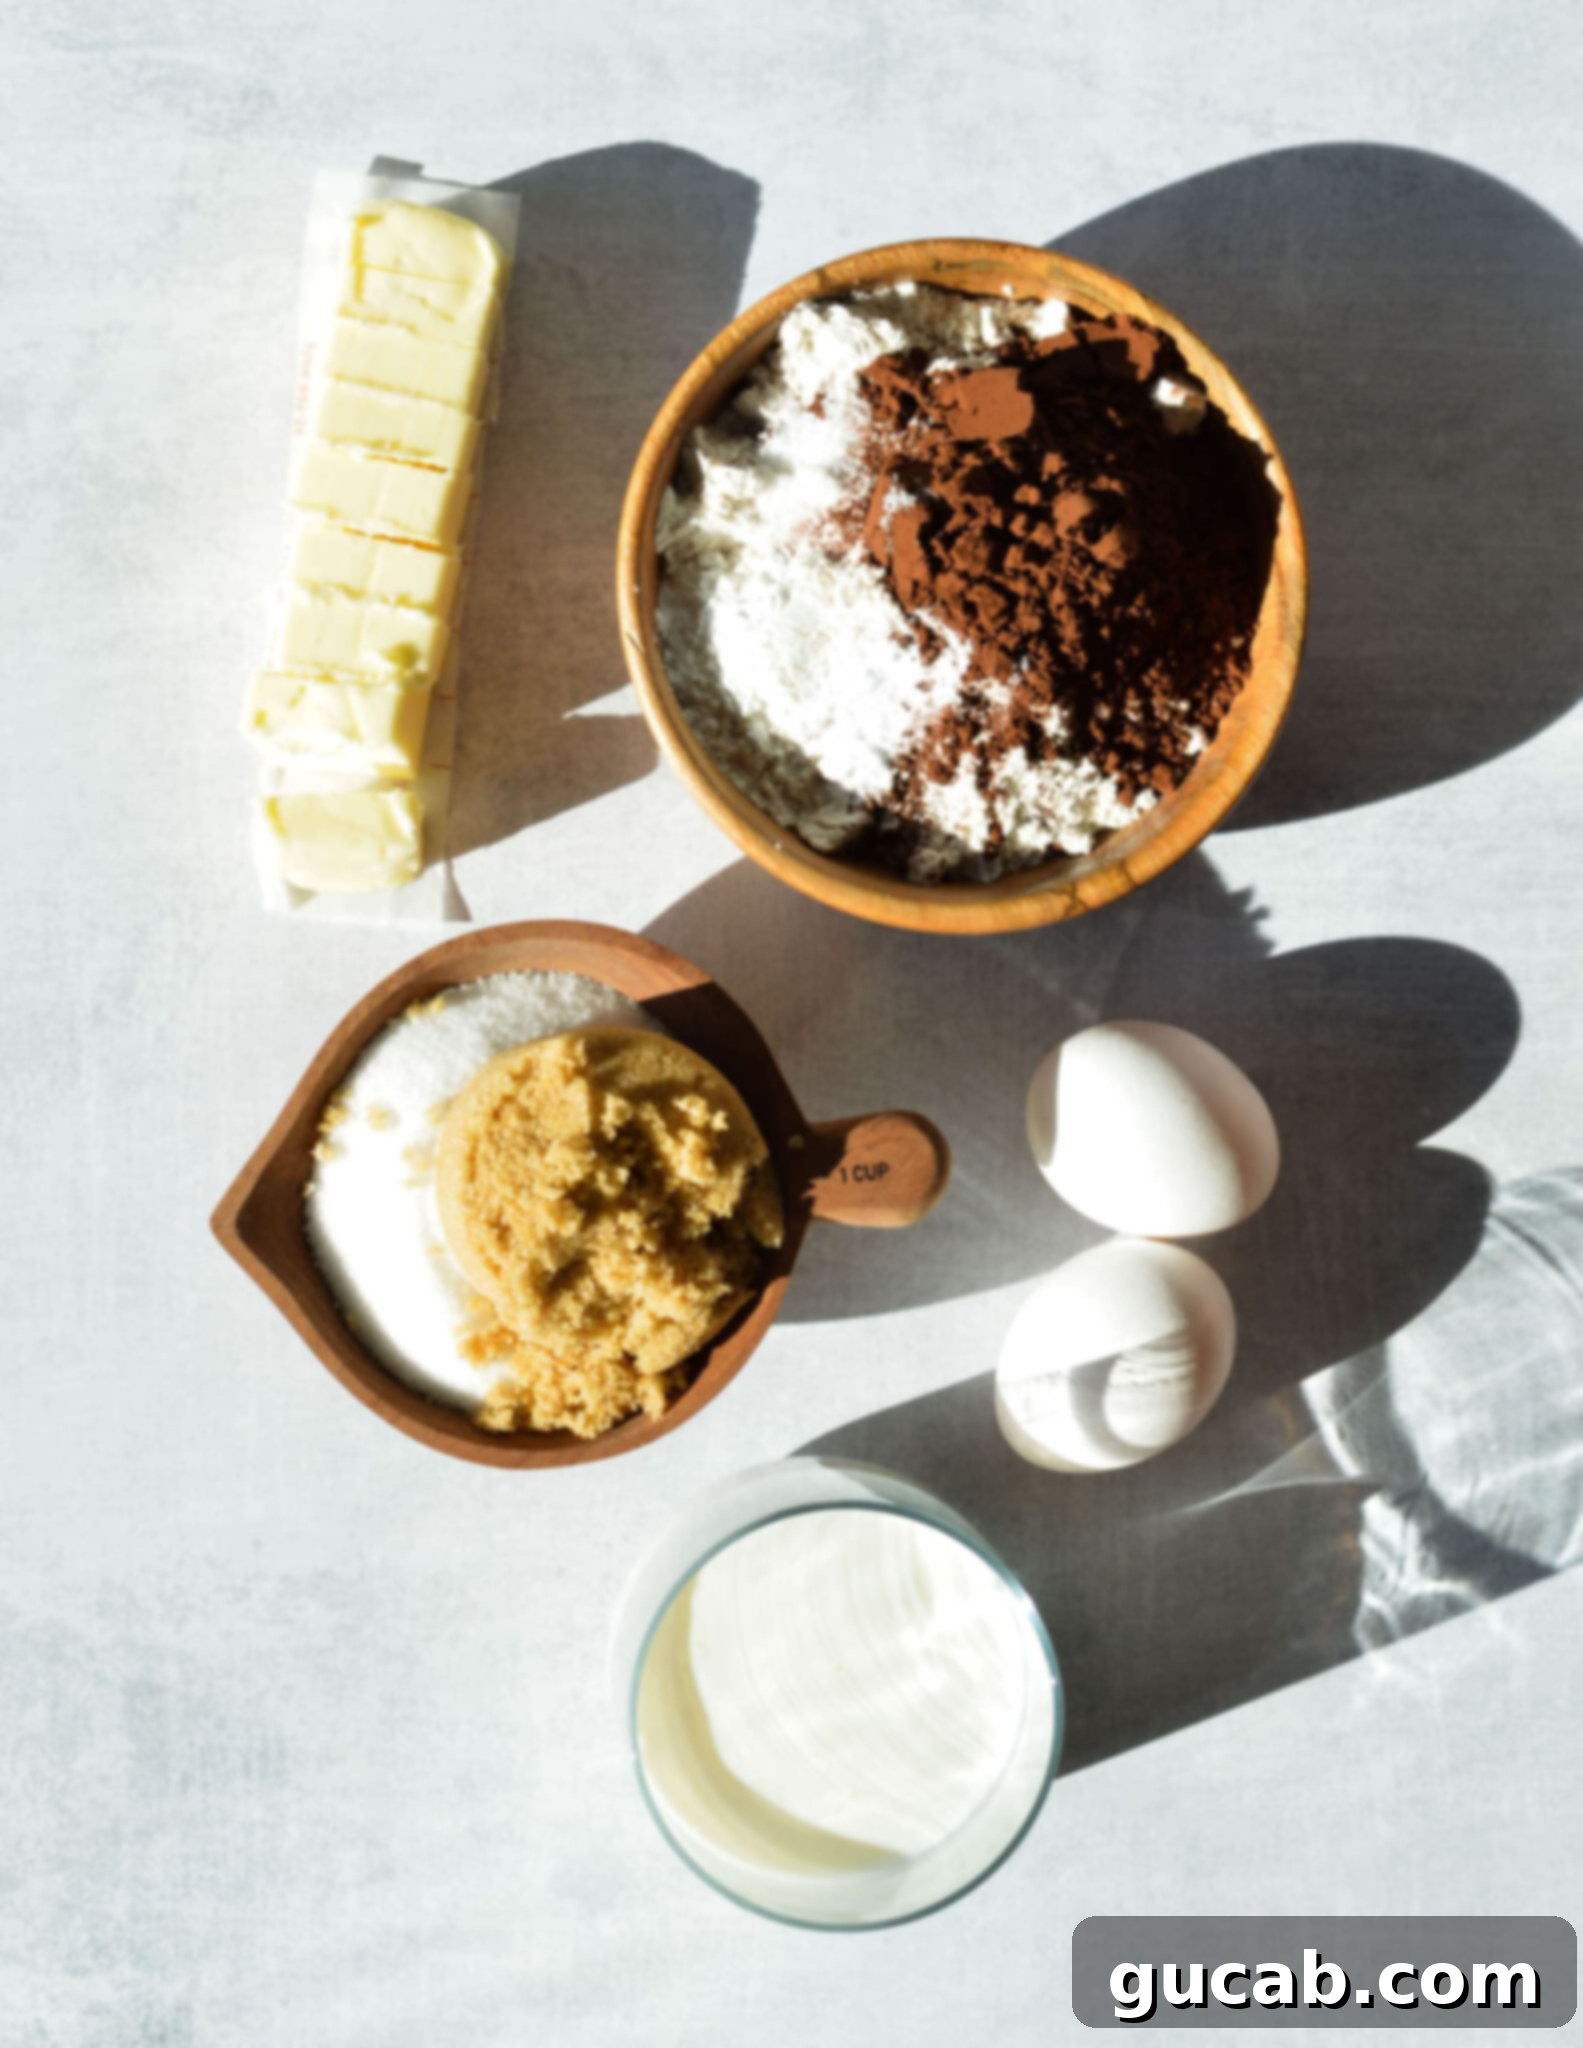
- Gluten-Free Flour: I specifically recommend Bob’s Red Mill’s 1 to 1 Gluten Free Baking Flour in the recipe. This isn’t just a suggestion – it’s crucial for the best results! Gluten-free flour blends vary significantly in their composition of alternative flours (rice, tapioca, potato, etc.) and starches. Each blend reacts differently, impacting the texture and moisture of your baked goods. Using the brand the recipe was developed with ensures consistency and the desired light, fluffy outcome. While other blends might work, results may vary, so stick to the recommended one for perfection.
- Dutch Cocoa Powder: For these cupcakes, I used Hershey’s Special Dark Cocoa Powder. You’ll often find it right next to their natural cocoa. Dutch-processed cocoa powder is treated with an alkali to reduce its acidity, resulting in a darker, richer chocolate flavor that is less bitter than natural cocoa. It also reacts differently with leavening agents; since it’s less acidic, it requires baking soda (an alkali) to be balanced with an acidic ingredient (like buttermilk in this recipe) to activate properly and provide lift. This contributes to the deep color and moist crumb.
- Buttermilk: Do not substitute store-bought buttermilk with regular milk or a homemade buttermilk hack (milk + vinegar/lemon juice). Store-bought buttermilk has a specific consistency and acidity that is vital for creating an ultra-soft and fluffy texture in these cupcakes. The acid in buttermilk reacts with the baking soda, helping the cupcakes rise beautifully and ensuring a tender crumb.
- Unsalted Butter: It’s essential that your unsalted butter is properly softened. This means leaving it on the counter for at least 2 hours, or carefully microwaving it in short bursts (5-10 seconds) until it yields slightly to a gentle touch but is not melted. Softened butter creams properly, incorporating air into the batter, which is key for a light and airy cupcake. Melted butter will completely change the texture, making the cupcakes dense.
- Eggs: Large eggs, preferably at room temperature, help to emulsify the batter, adding structure and richness. Room temperature eggs blend more evenly into the mixture, creating a smoother batter.
- Sugars (Granulated & Brown): The combination of granulated sugar and brown sugar adds both sweetness and moisture. Brown sugar, with its molasses content, contributes to the moistness and a subtle caramel note, enhancing the overall flavor profile.
How to Master These Irresistible Gluten-Free Chocolate Cupcakes
While these gluten-free cupcakes are surprisingly simple to make, we’ll be using a slightly unconventional method to ensure their signature light and fluffy texture. Instead of the typical creaming method where butter and sugar are beaten first, we’ll start by combining the softened butter with the dry ingredients. This “reverse creaming” technique coats the flour particles with fat, which helps to prevent gluten development (though less of a concern with GF flour, it still contributes to a tender crumb) and results in a cake with a super fine, velvety texture.
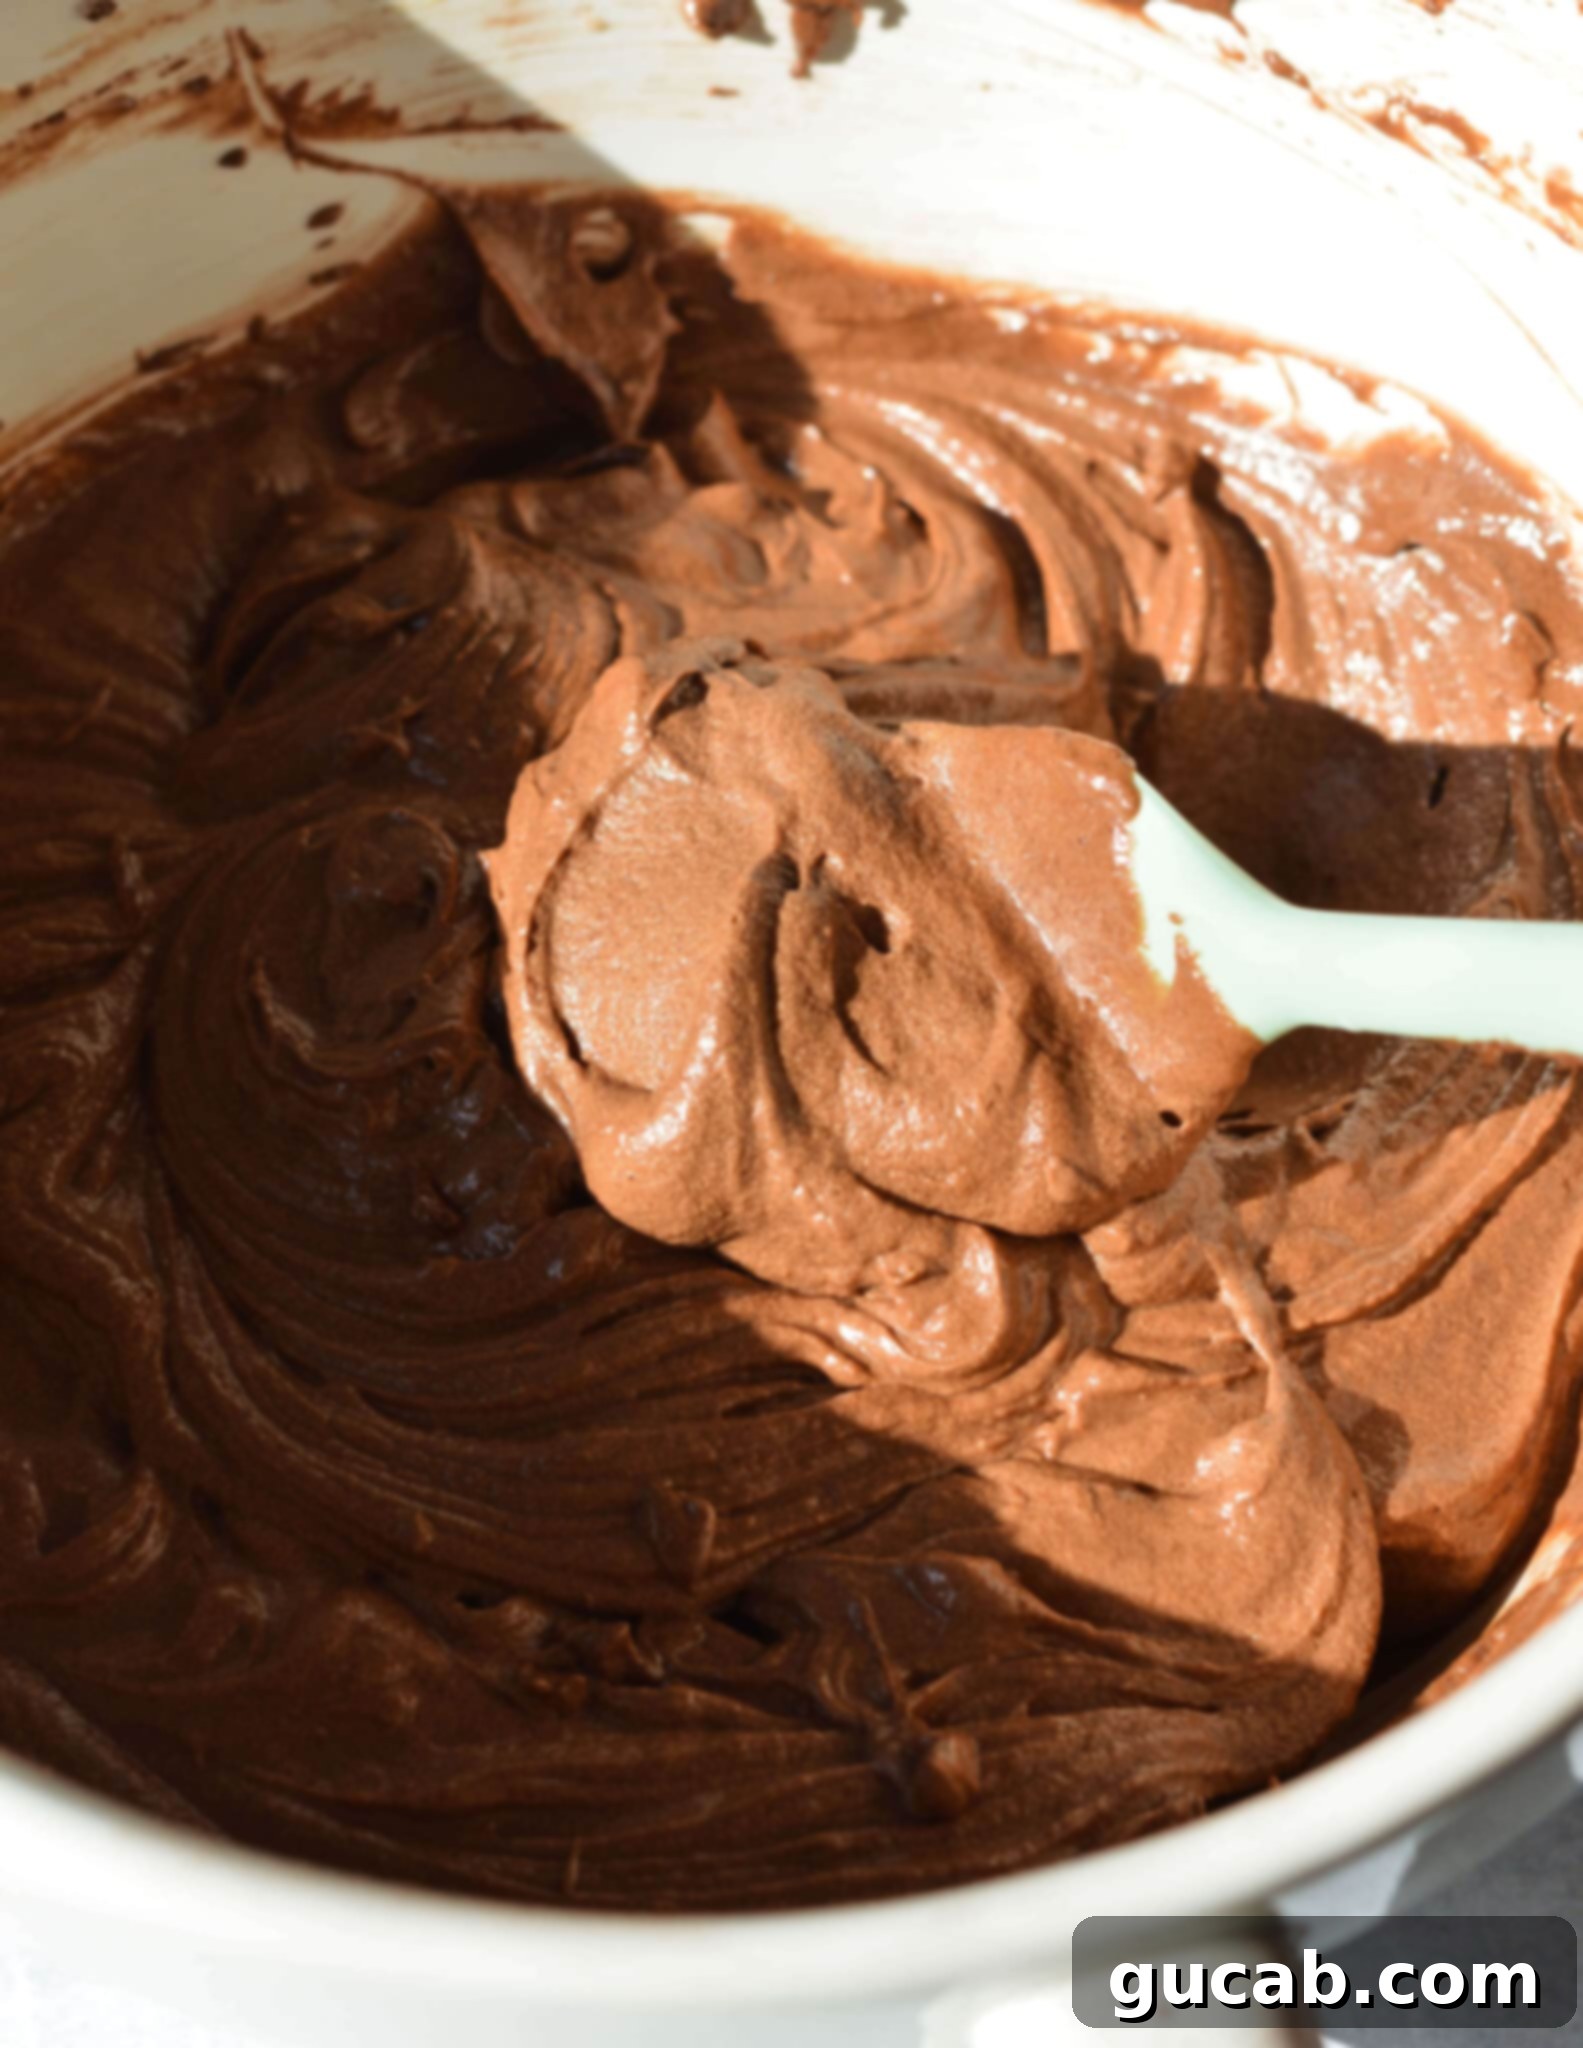
This unique approach creates a luxurious, mousse-like batter that looks almost like a rich chocolate dessert before it even hits the oven. It’s this exquisite batter that transforms into the lightest, most delightful gluten-free cupcakes you’ve ever tasted!
1. Crafting the Perfect Gluten-Free Cupcake Batter:
- Prepare Your Workspace: Start by preheating your oven to 350 degrees Fahrenheit (175°C) and lining a 12-cup muffin tin with cupcake liners. Having everything ready beforehand ensures a smooth baking process.
- Combine All Dry Ingredients: In the bowl of your stand mixer (fitted with the paddle attachment) or a large bowl with an electric hand mixer, combine all the dry ingredients: gluten-free flour blend, granulated sugar, brown sugar, kosher salt, Dutch cocoa powder, baking powder, and baking soda. Mix on low speed for about 30 seconds to ensure they are thoroughly combined and there are no lumps. This step is crucial for even distribution of leavening agents.
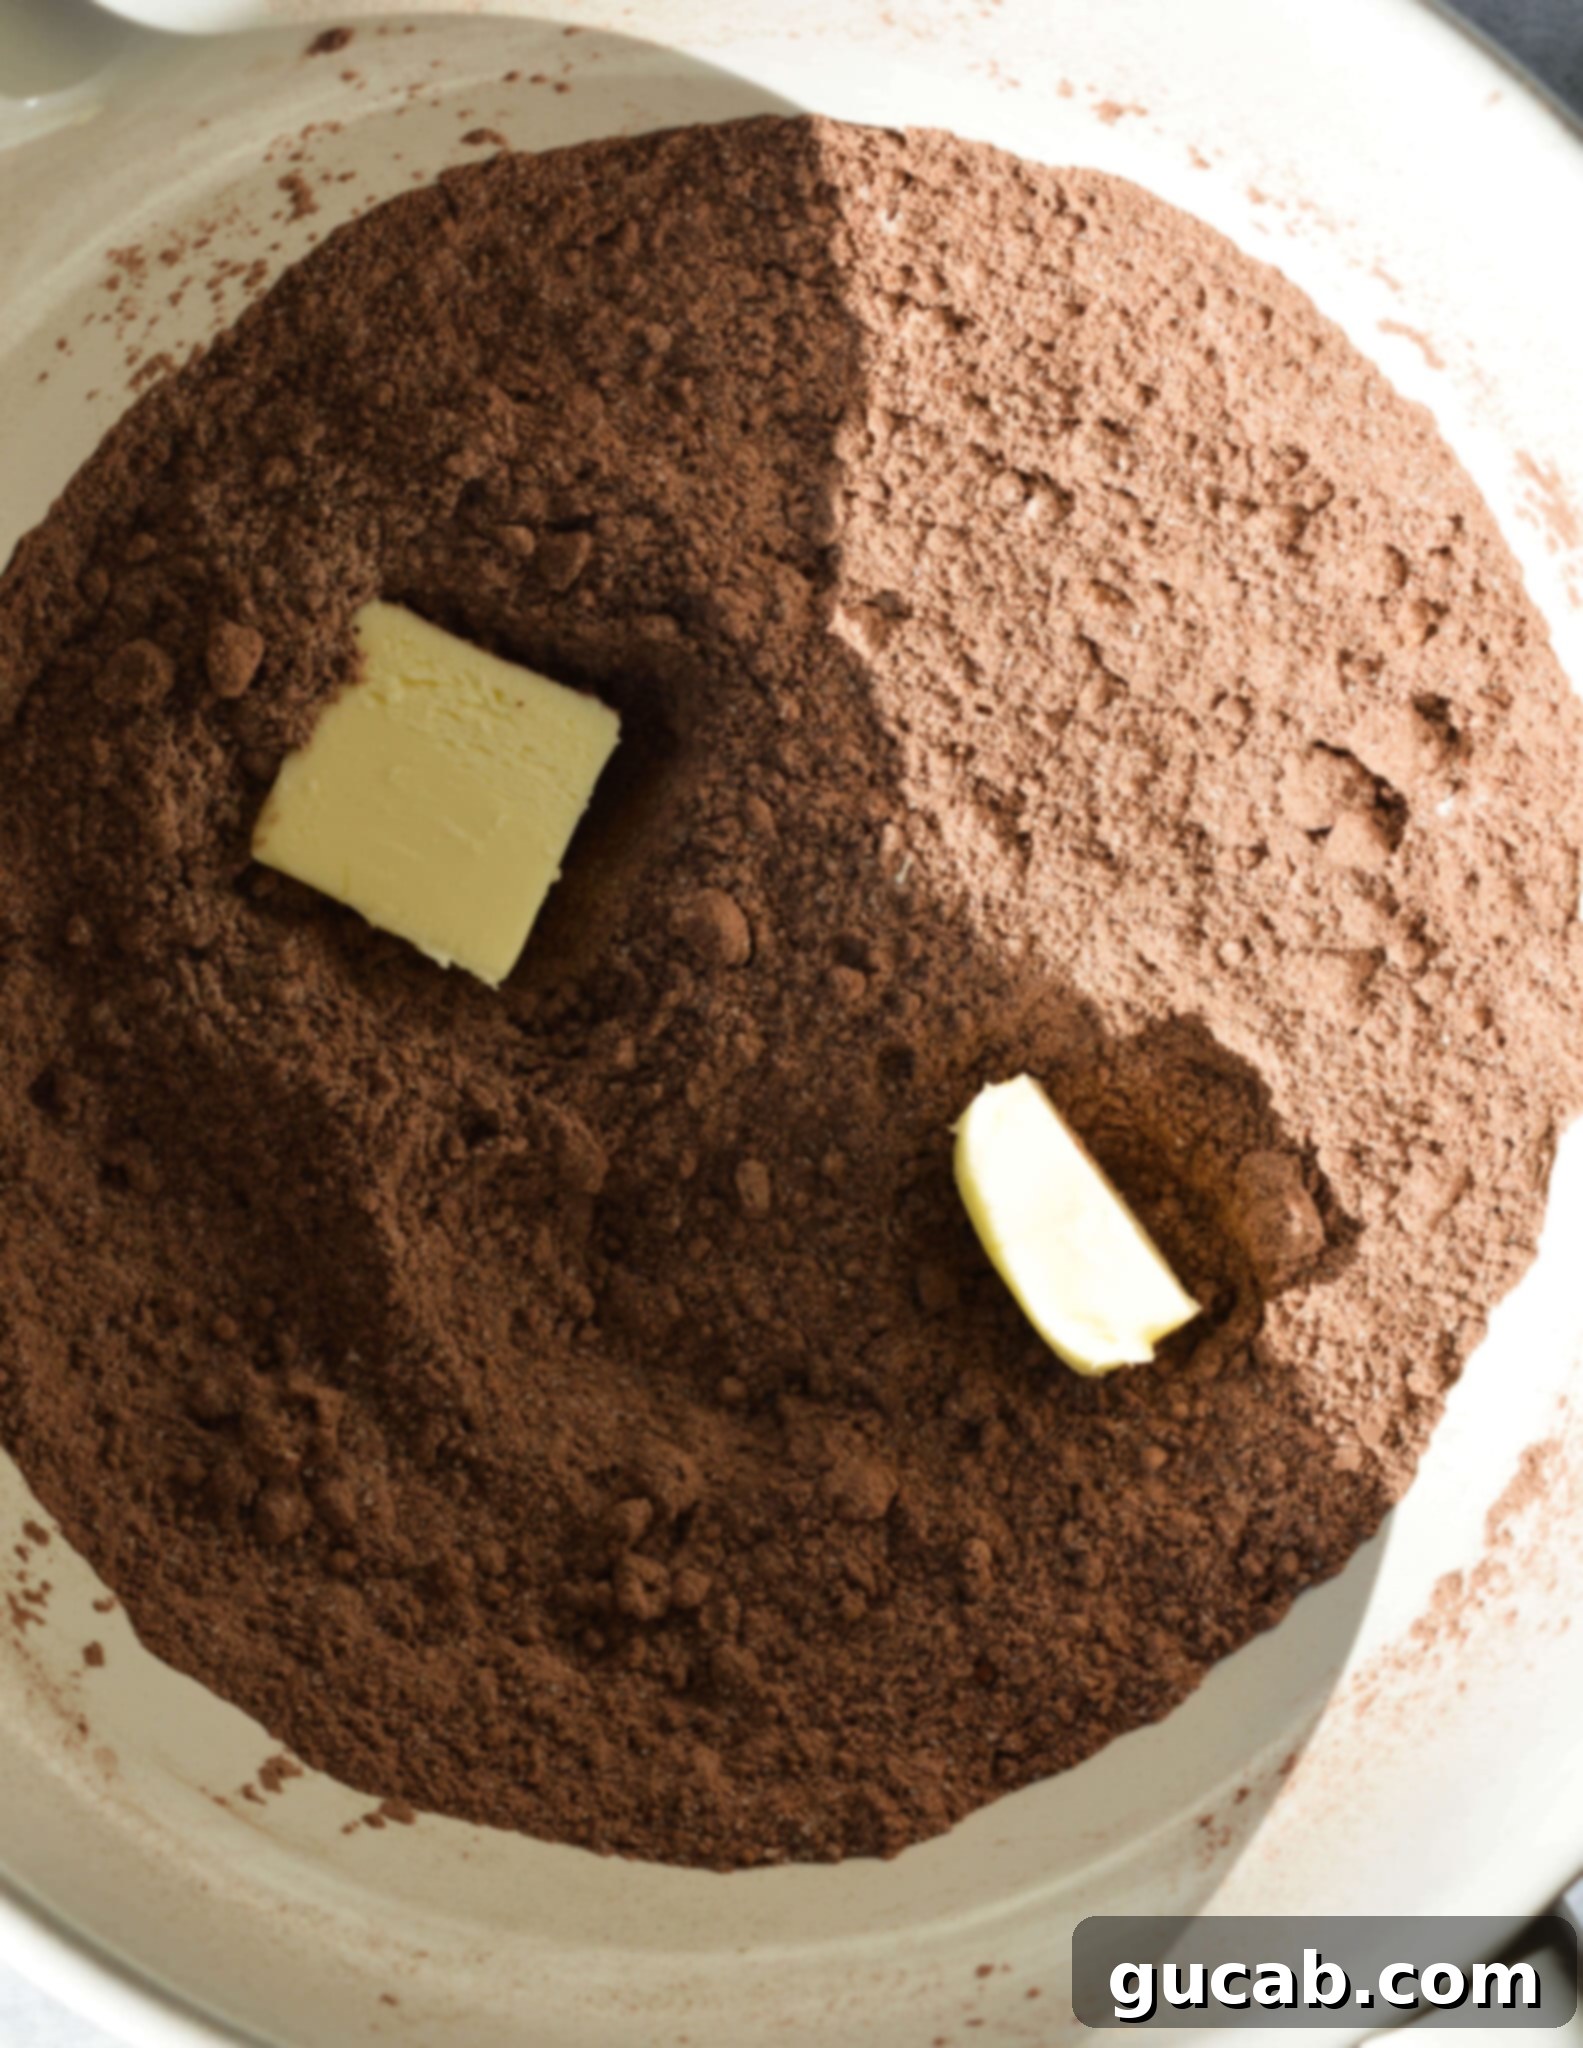
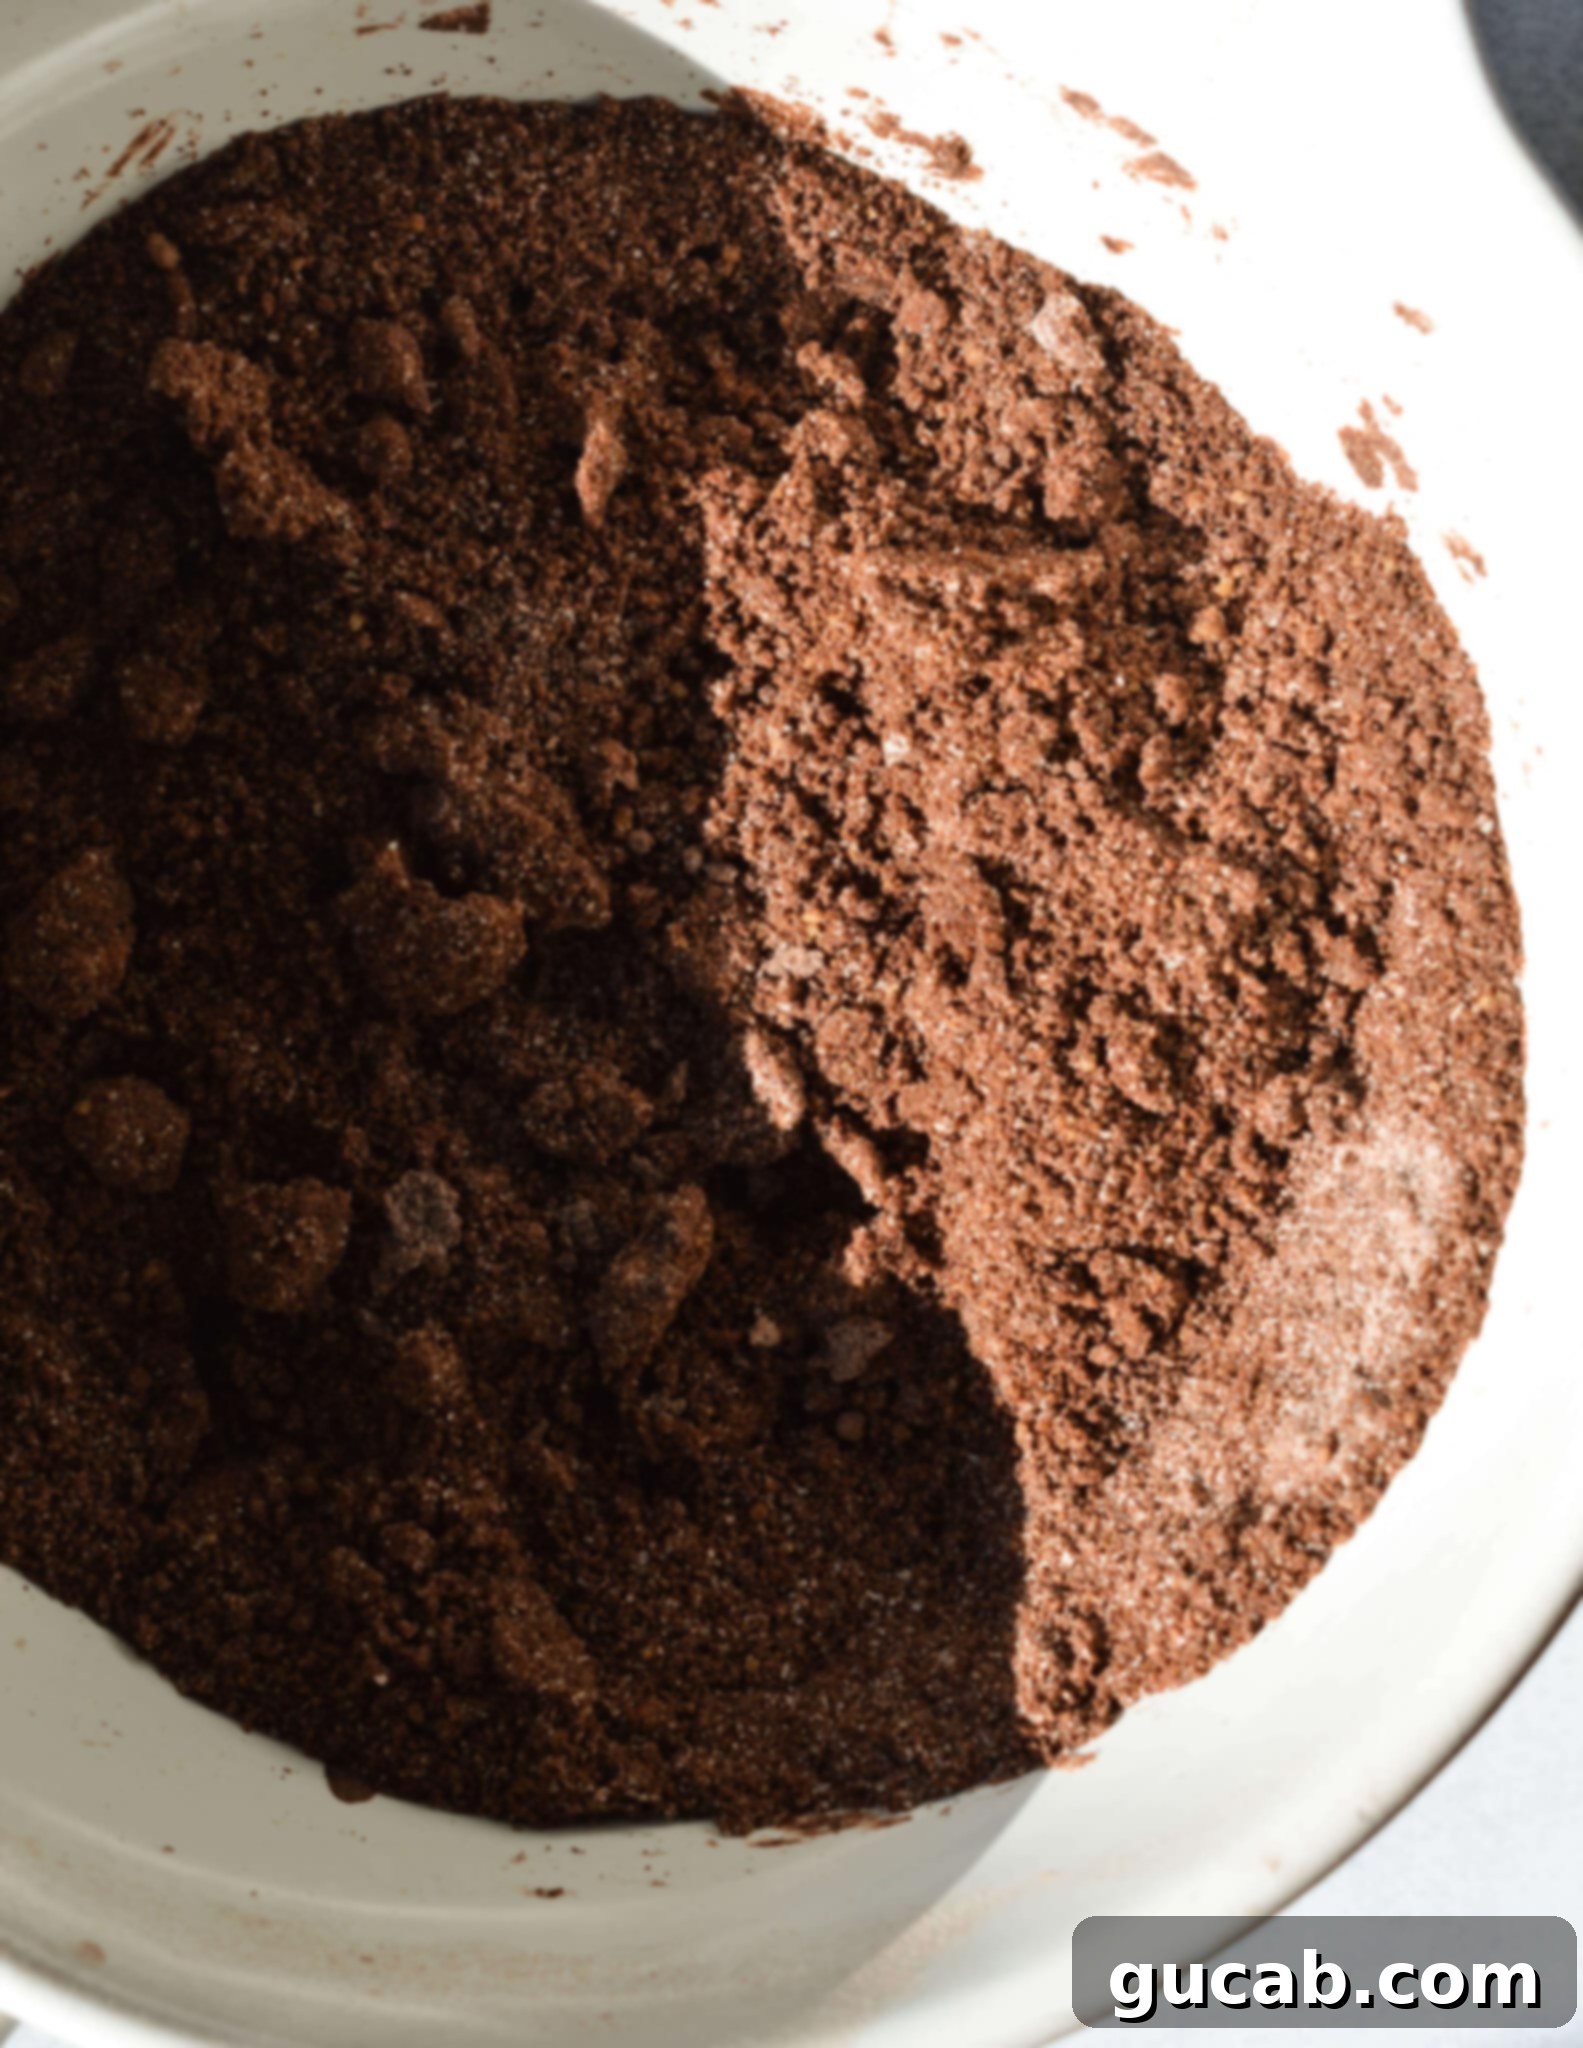
- Incorporate the Softened Butter: Cut your softened unsalted butter into 8 small pieces. Add these pieces one or two at a time to the dry mixture, beating on low speed after each addition. Continue mixing until the butter is fully incorporated and the mixture resembles coarse, moist sand. This unique step coats the flour particles, setting the stage for a tender crumb.
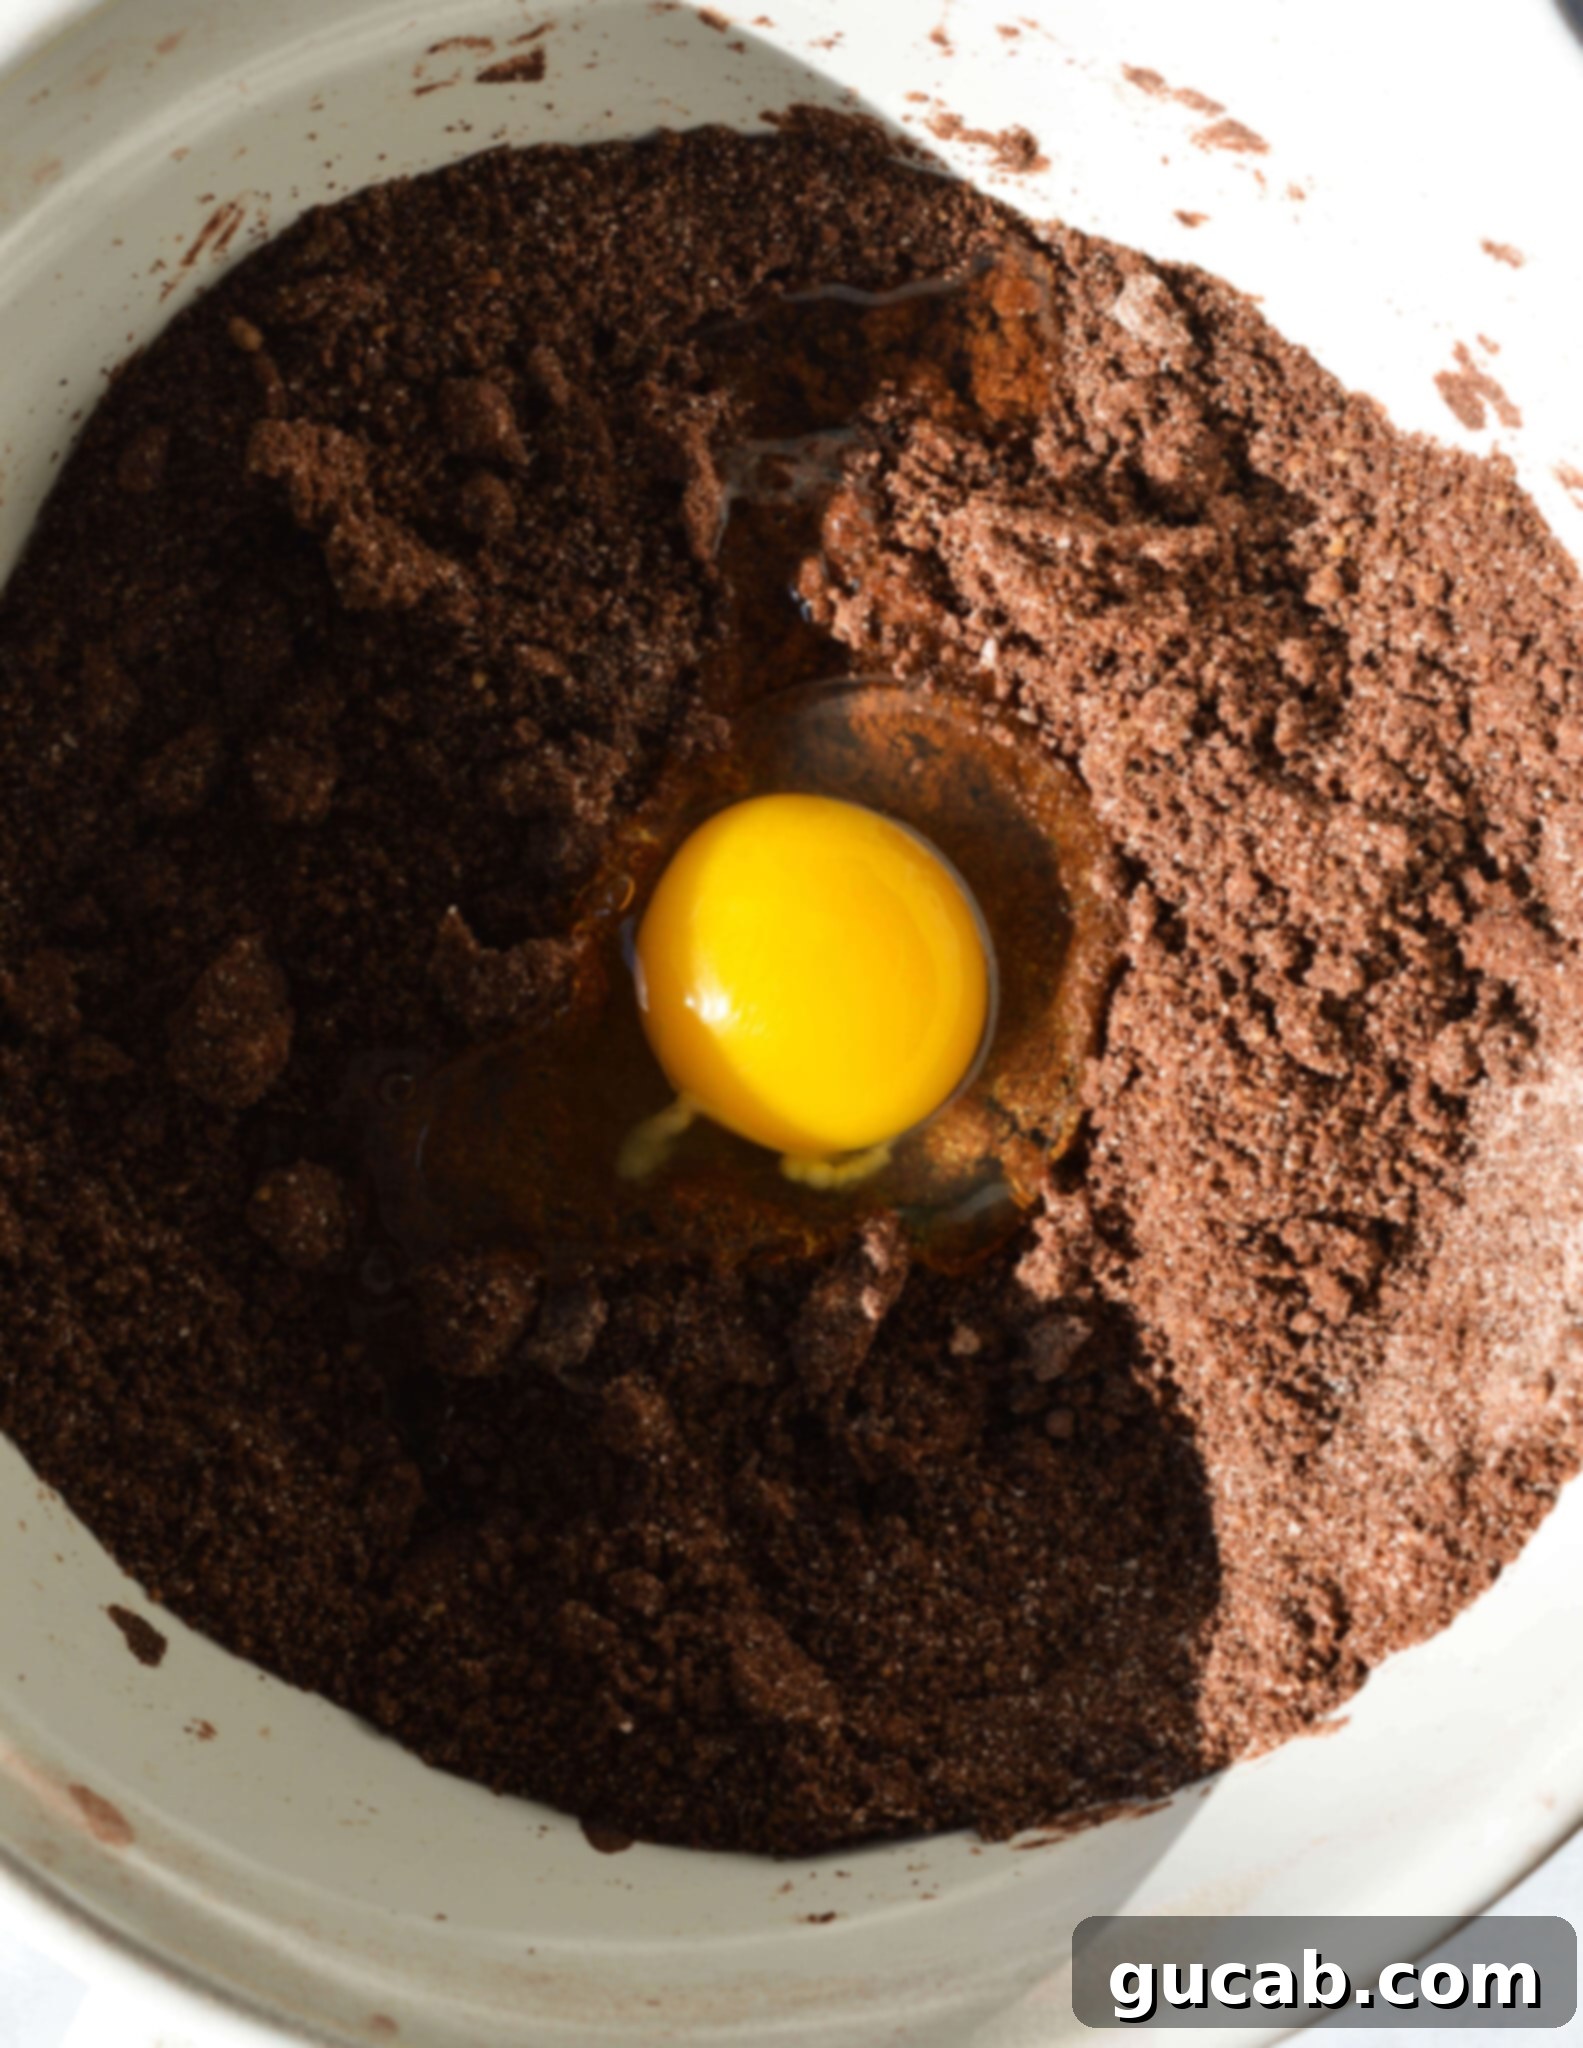
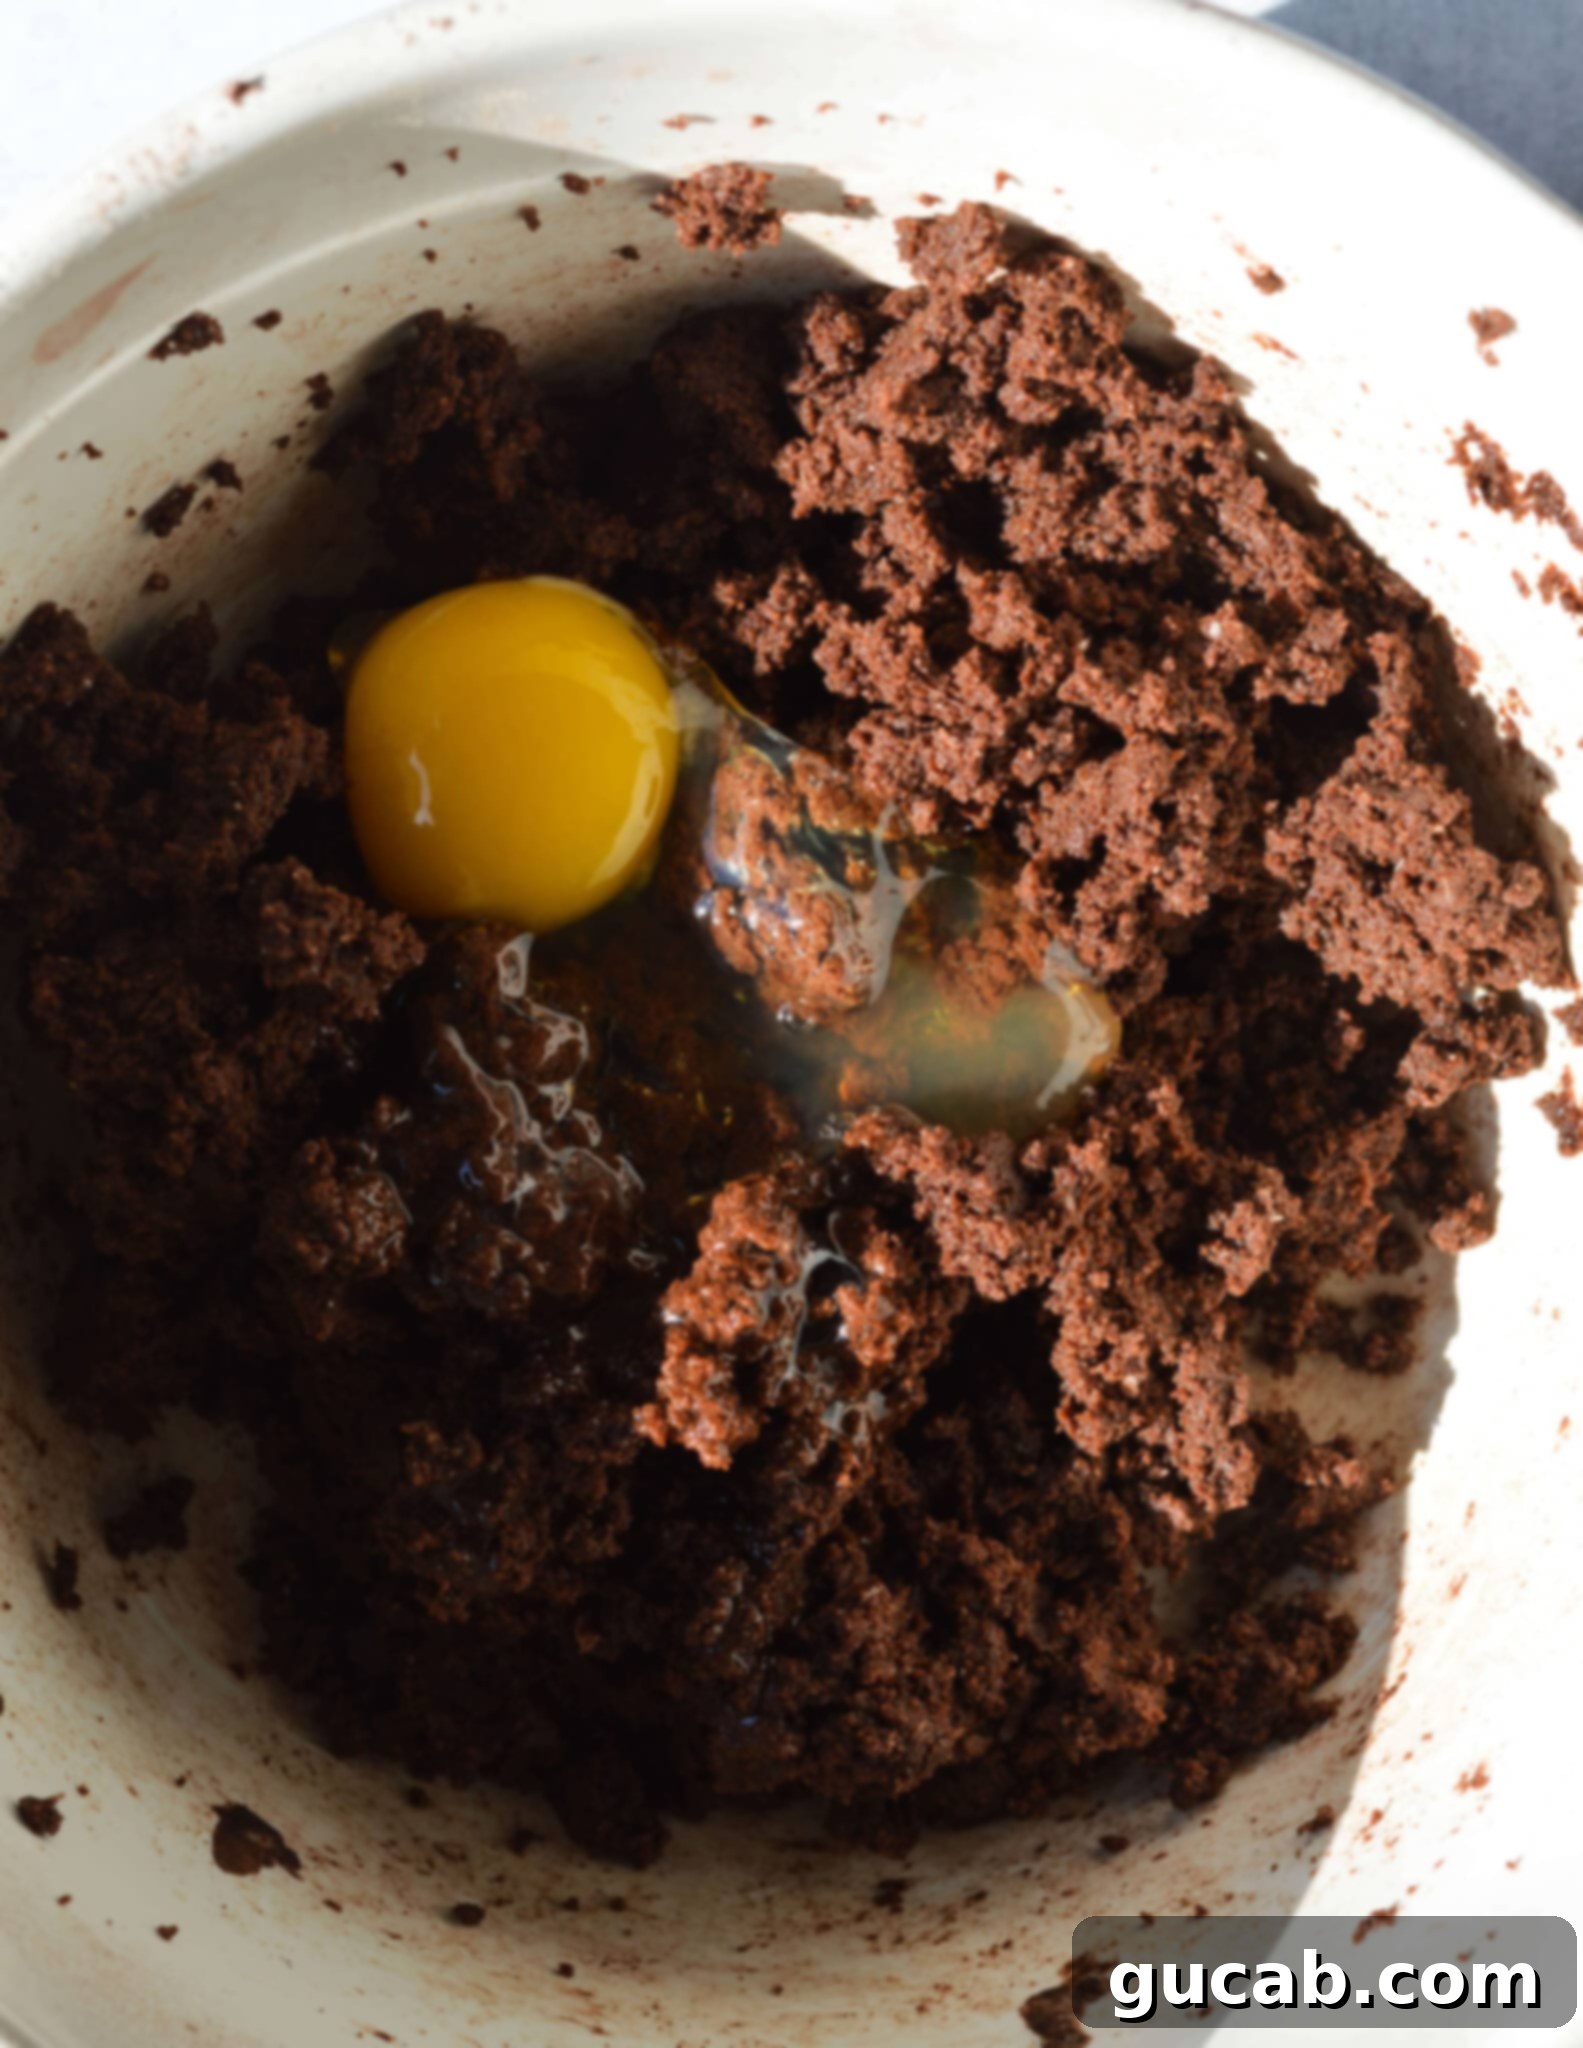
- Add the Eggs: Crack your two large eggs into a separate small bowl, then add them one at a time to the mixer, beating thoroughly after each addition until just combined. After the first egg, the mixture will be quite thick, resembling cookie dough. Don’t worry, this is normal! After the second egg, the batter will lighten up considerably and become smoother. Be sure to scrape down the sides of the bowl with a rubber spatula to ensure everything is evenly mixed.
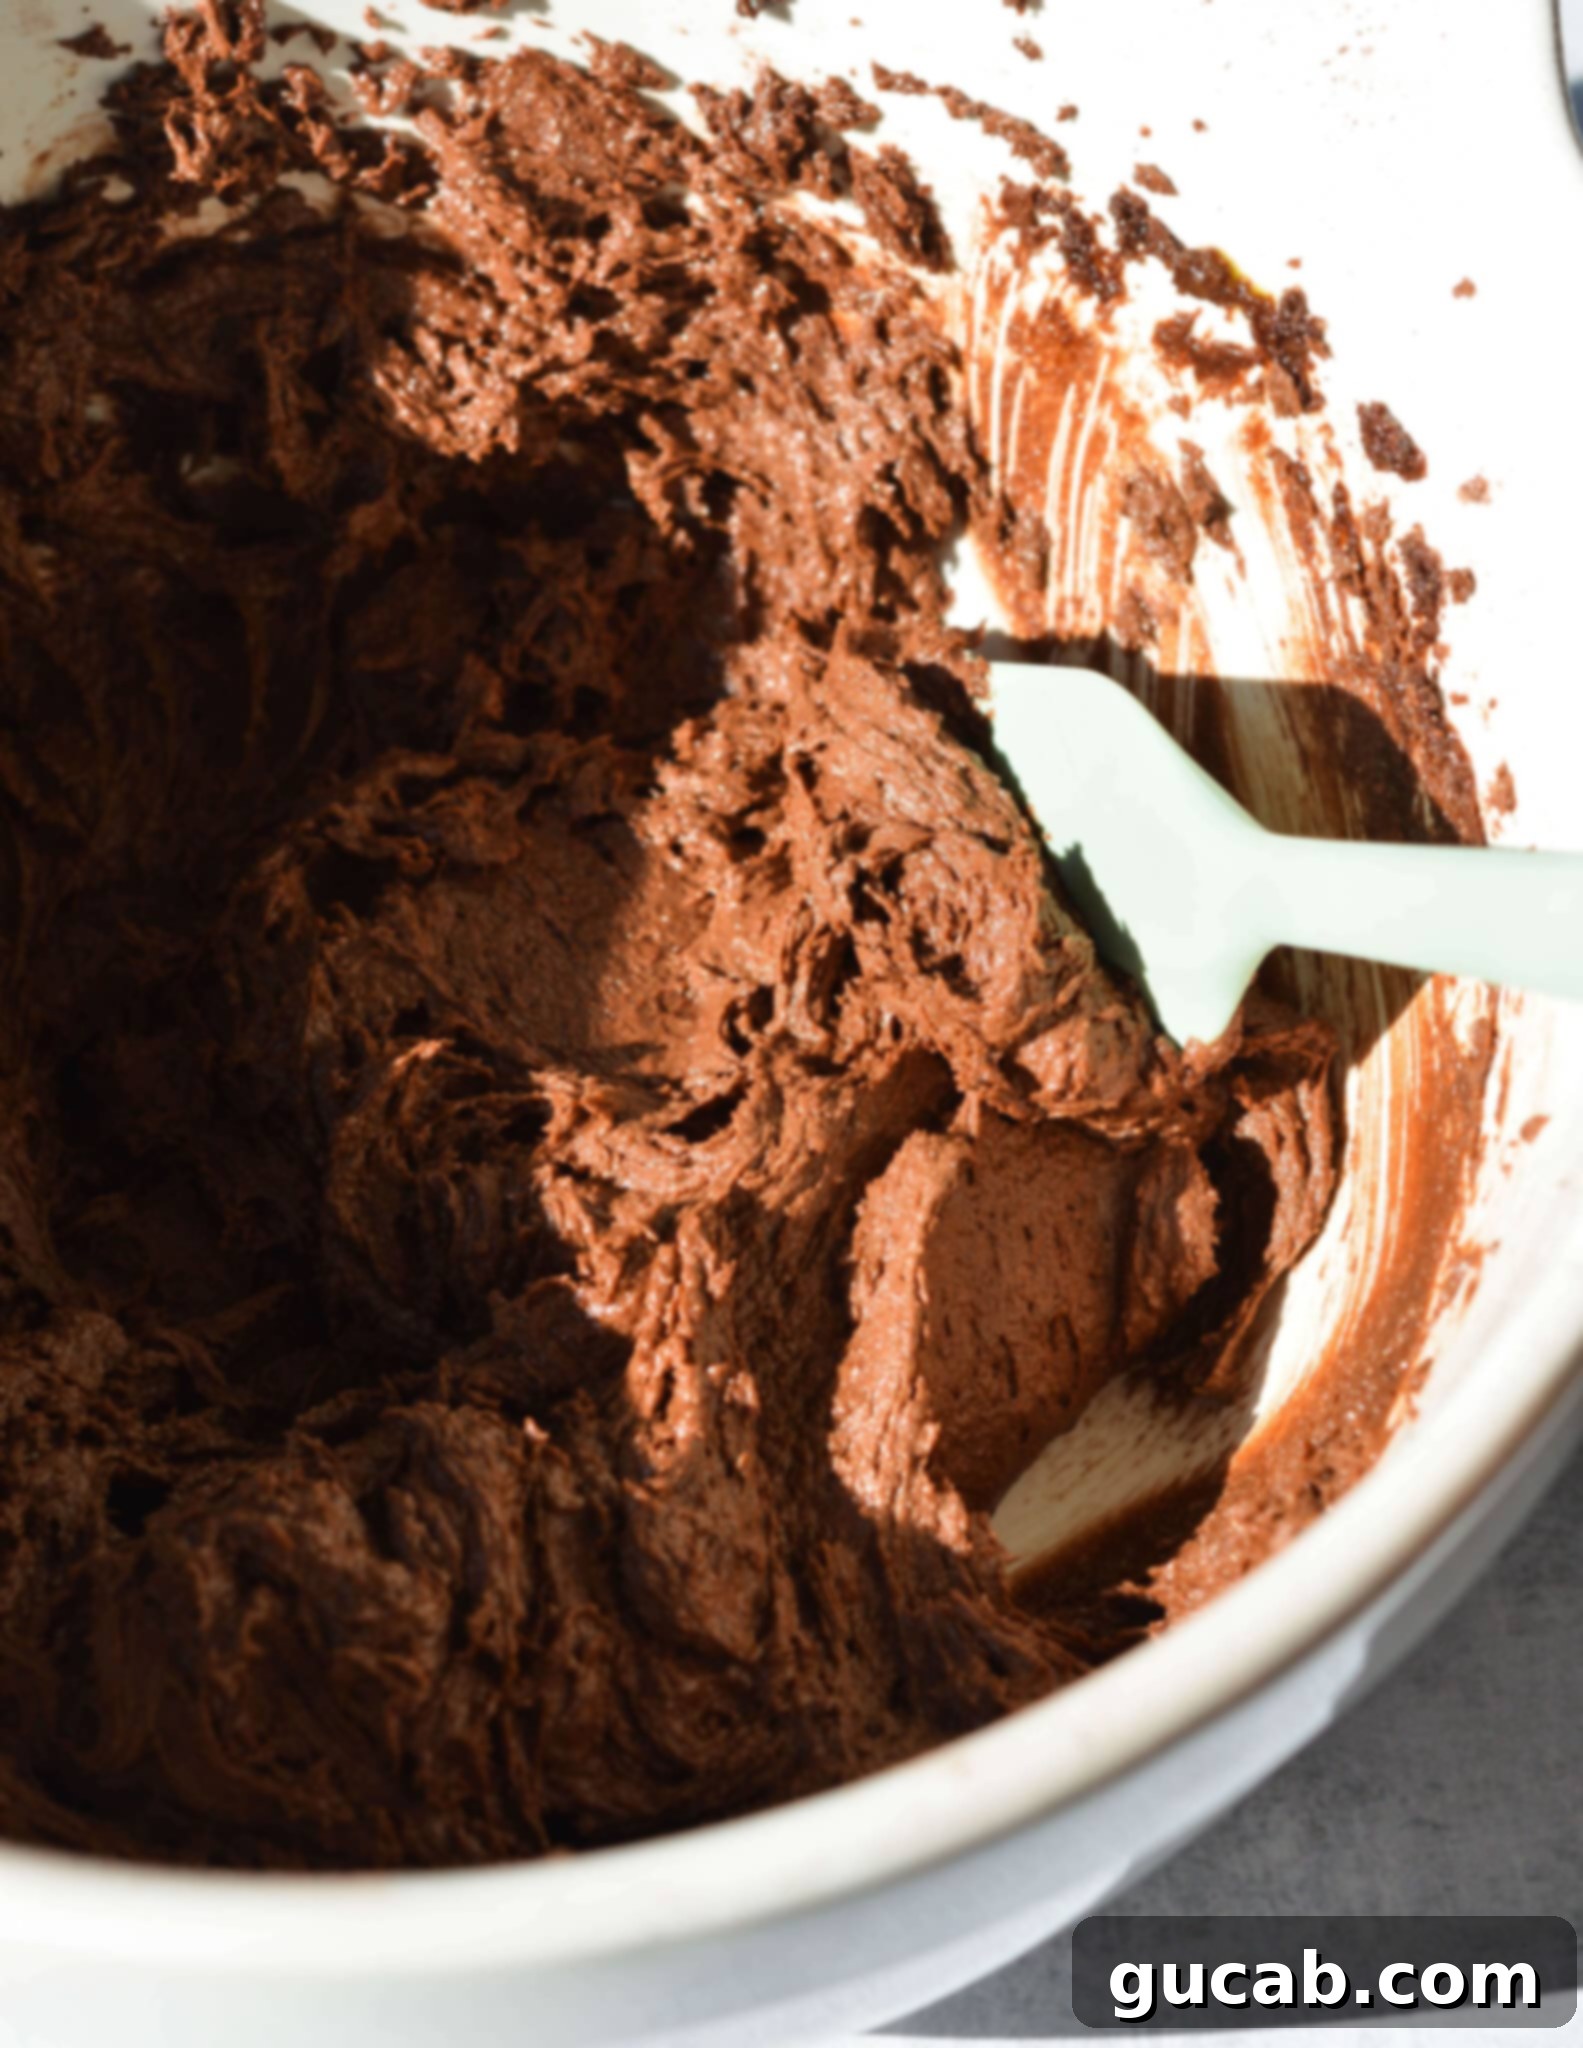
- Introduce the Wet Ingredients: With the mixer on medium-low speed, gradually add the buttermilk and vanilla extract. Beat until the liquids are just combined into the batter. This step is where the magic happens! The batter will transform into a light, airy, and fluffy consistency, much like a thick chocolate mousse. It should not be thin or runny. Overmixing at this stage can lead to tough cupcakes, so mix only until smooth.
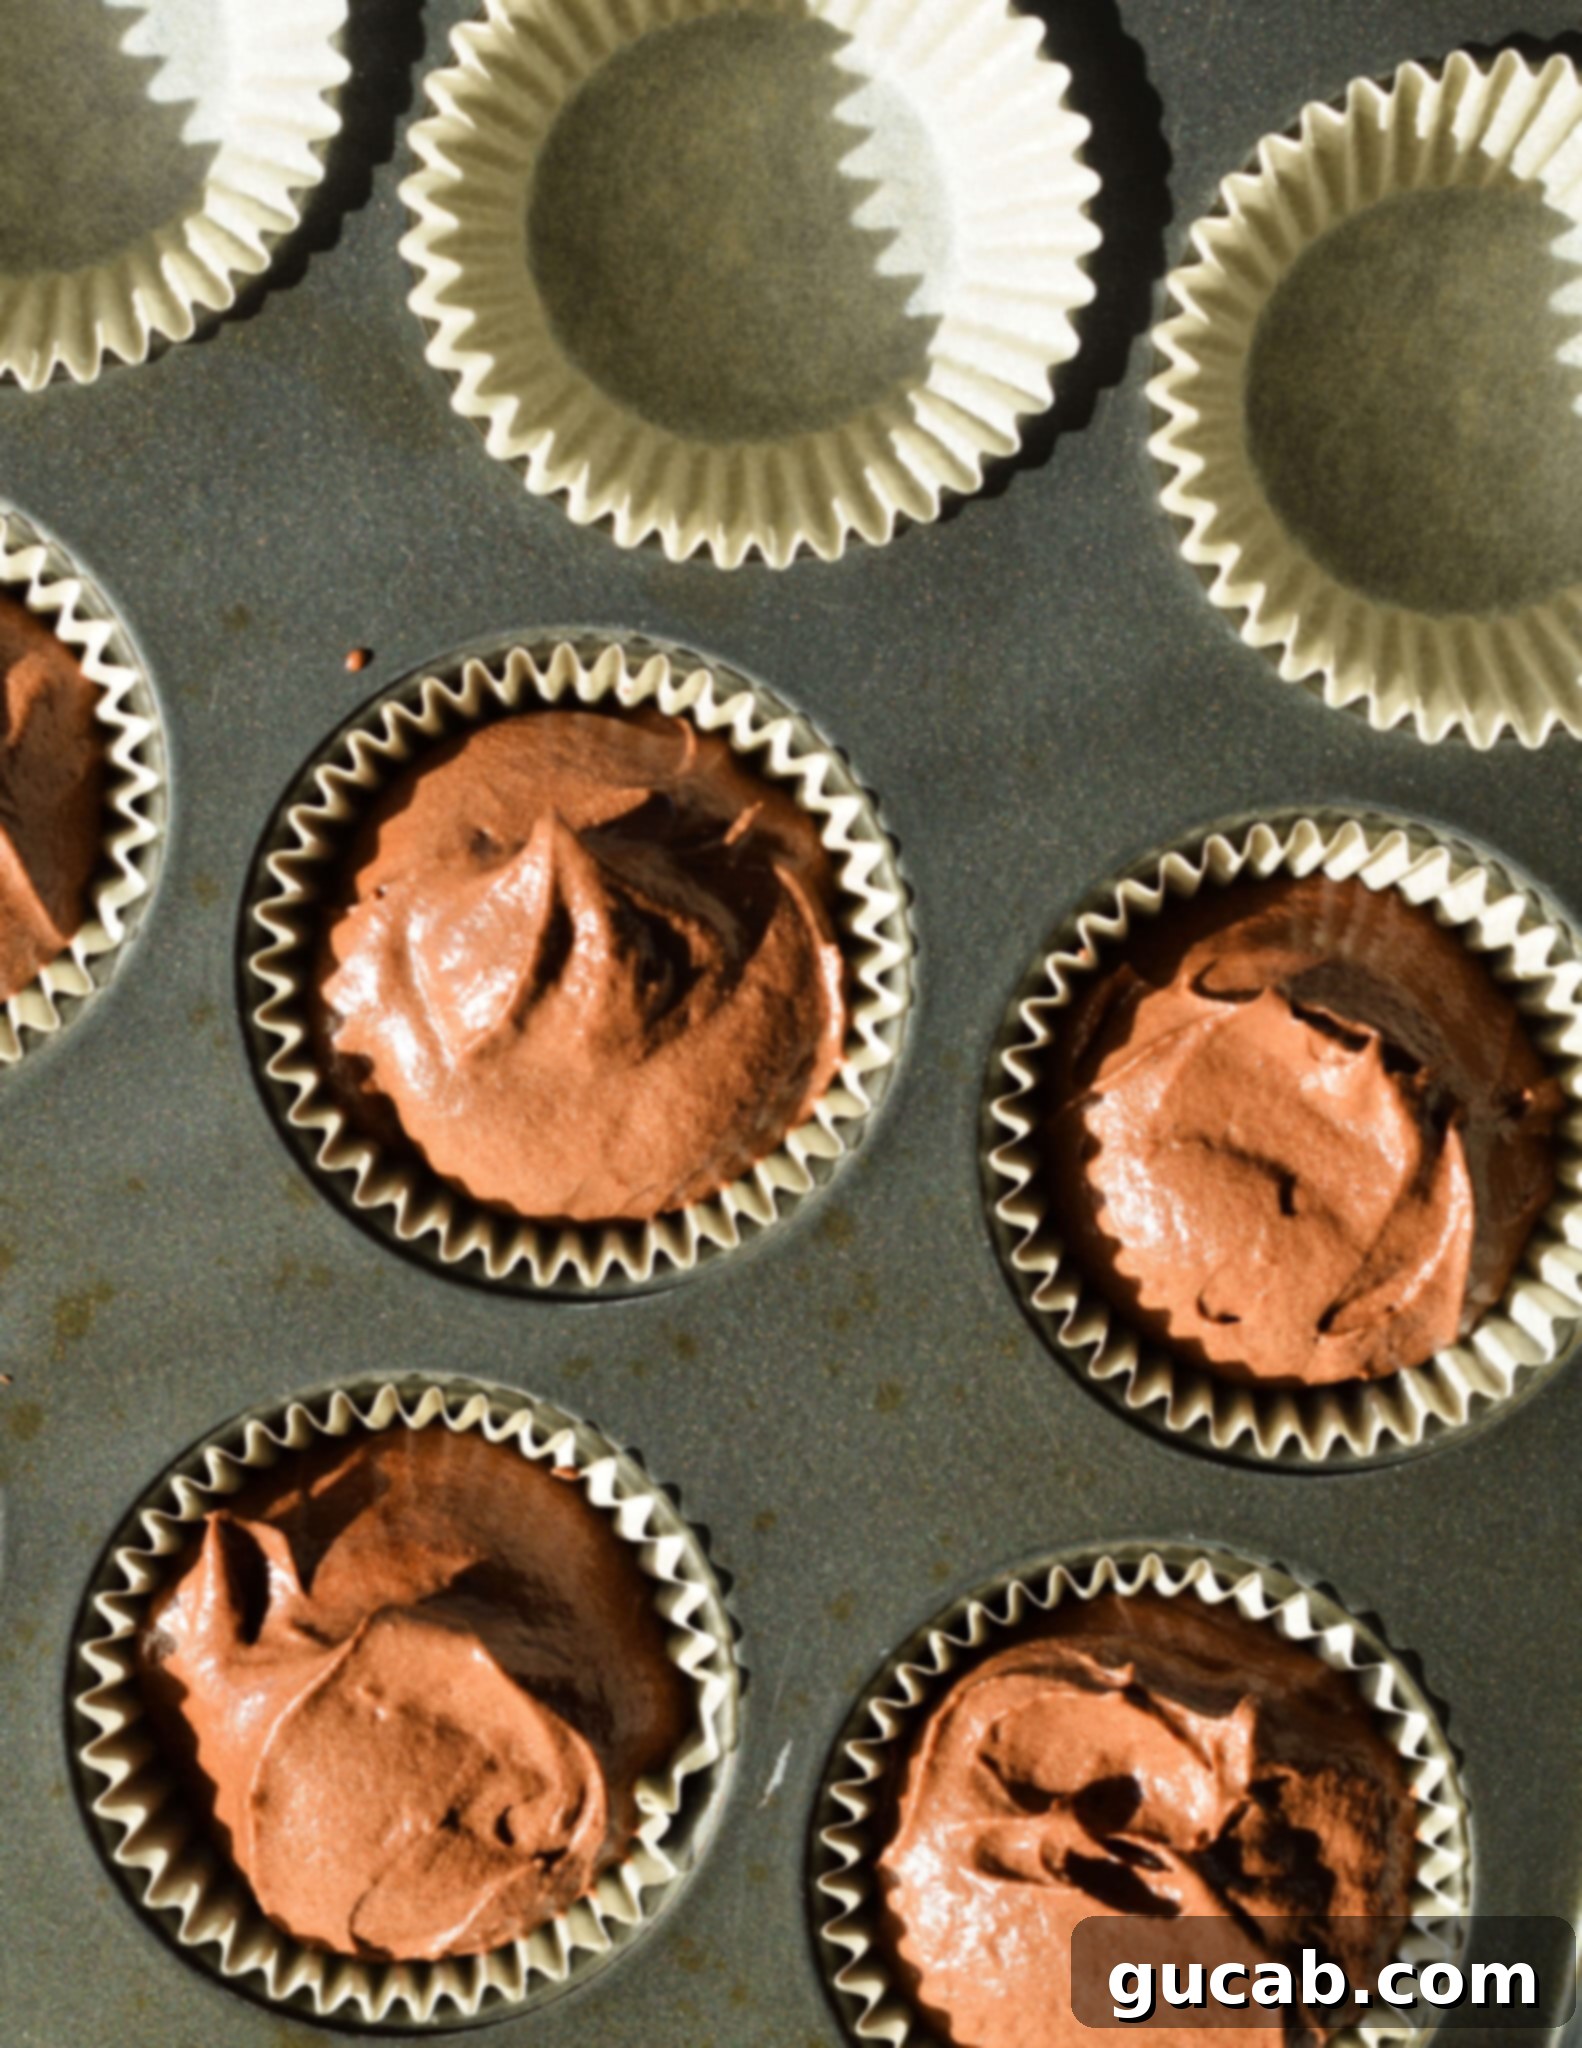
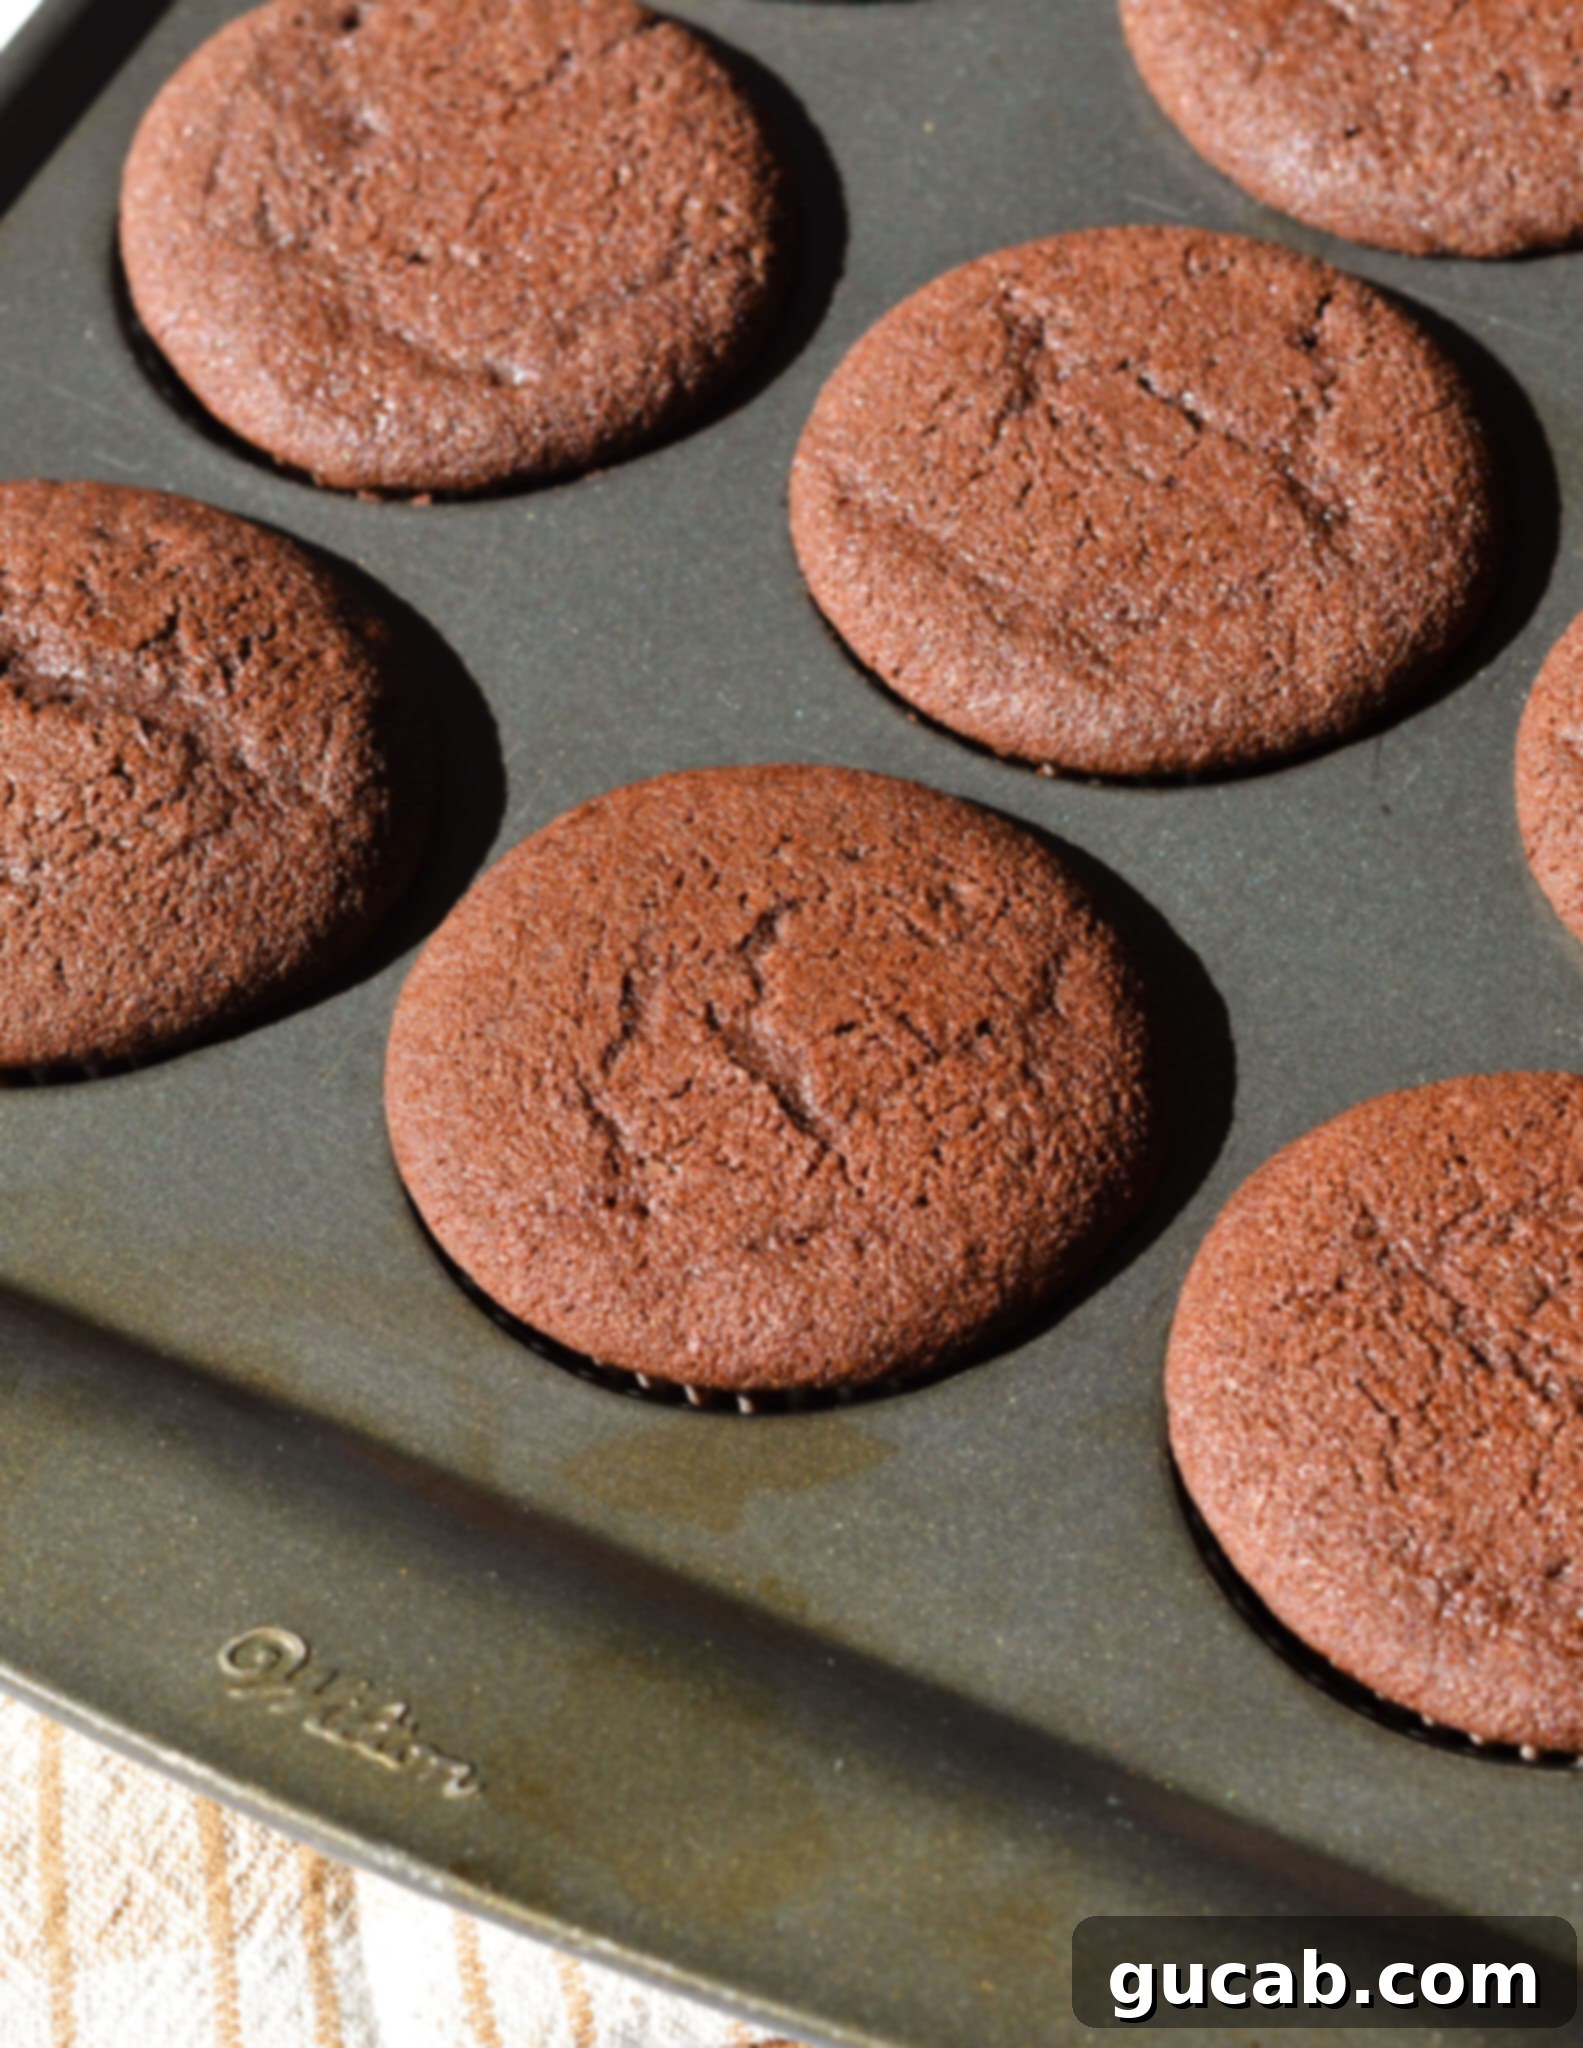
- Scoop and Bake to Perfection: Using a portion scoop (a large ice cream scoop works perfectly), evenly divide the mousse-like batter among the 12 lined muffin cups. This ensures uniform cupcake size and even baking. Bake for approximately 20 minutes, or until a toothpick inserted into the center of a cupcake comes out clean. Be vigilant and check a couple of minutes early, as overbaking can quickly lead to dry gluten-free cupcakes.
- Cooling is Key: Once baked, allow the cupcakes to cool in the muffin tin for at least 10 minutes. This allows them to set properly and prevents them from sticking or falling apart when transferred. After 10 minutes, gently remove them and transfer them to a wire rack to cool completely before frosting. This step is critical; frosting warm cupcakes will melt your beautiful buttercream!
2. Whipping Up the Rich Chocolate Buttercream:
- Prepare the Chocolate Ganache Base: In a small, microwave-safe bowl, combine the dark chocolate chips and 2 tablespoons of heavy cream. Microwave on high for about 20 seconds, or until the cream just starts to bubble around the edges (be careful not to burn it!). Remove from the microwave and stir continuously until the chocolate is completely melted and the mixture is smooth and glossy. Set this aside to cool completely to room temperature. This ganache forms the rich, intensely chocolatey foundation of our buttercream.
- Cream the Softened Butter: In the bowl of your stand mixer (again, with the paddle attachment) or using an electric hand mixer, beat the softened unsalted butter on medium speed for about 30 seconds. You want it to become lighter in color and fluffy, indicating that air has been incorporated.
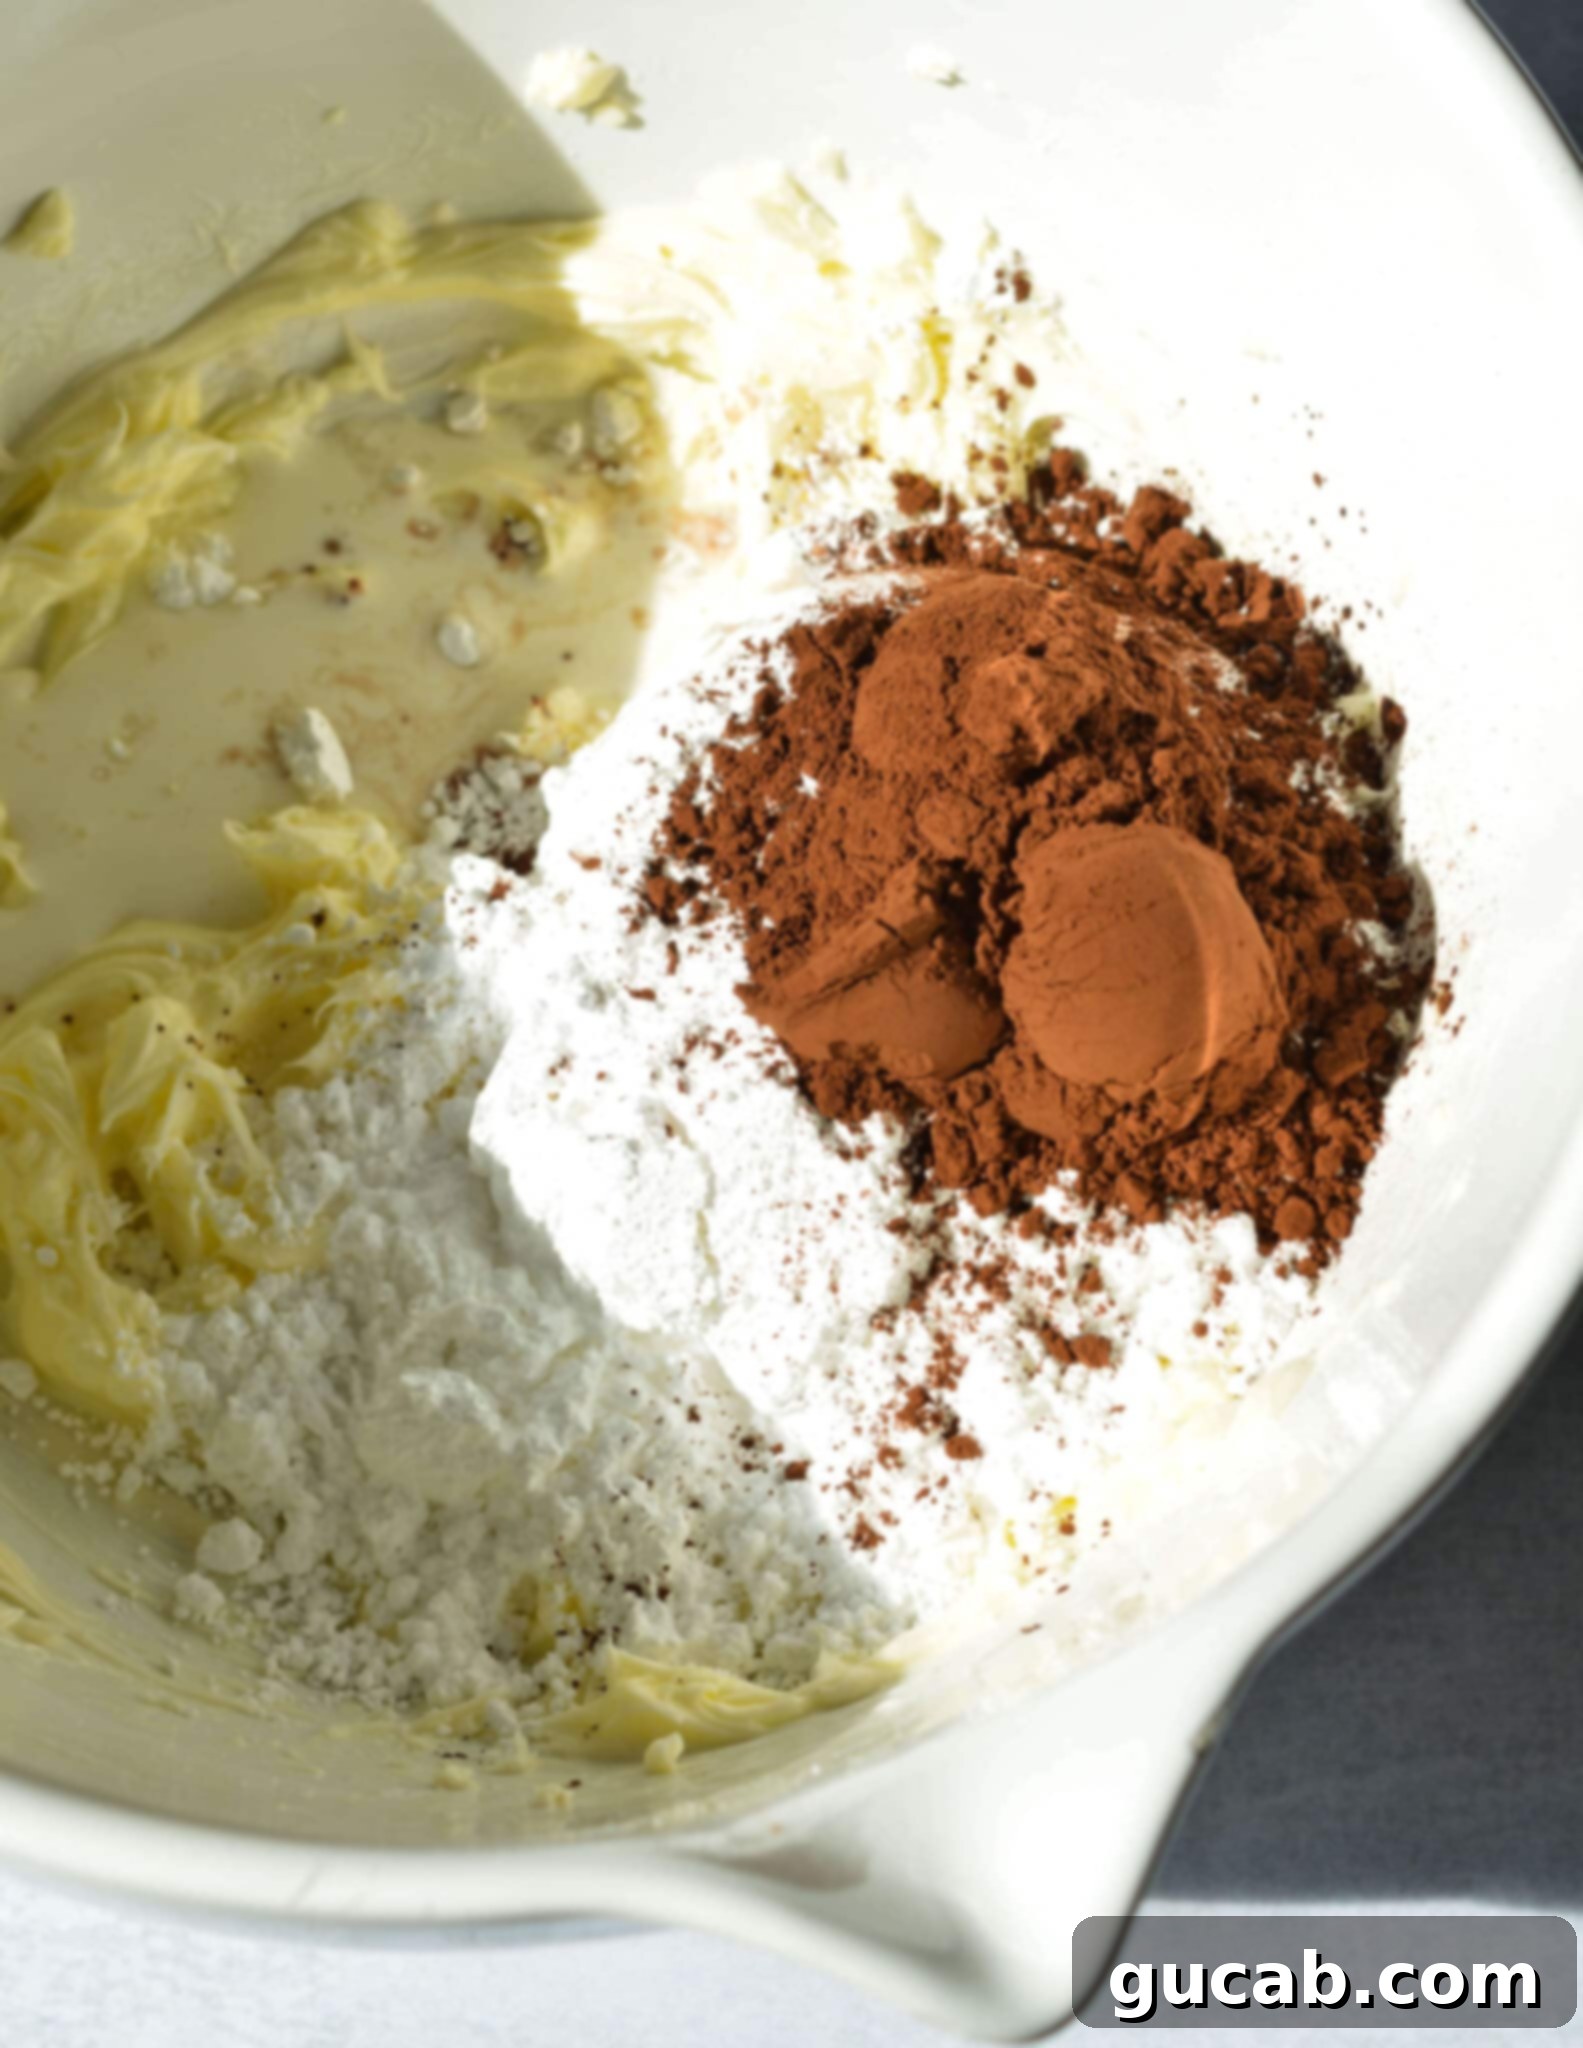
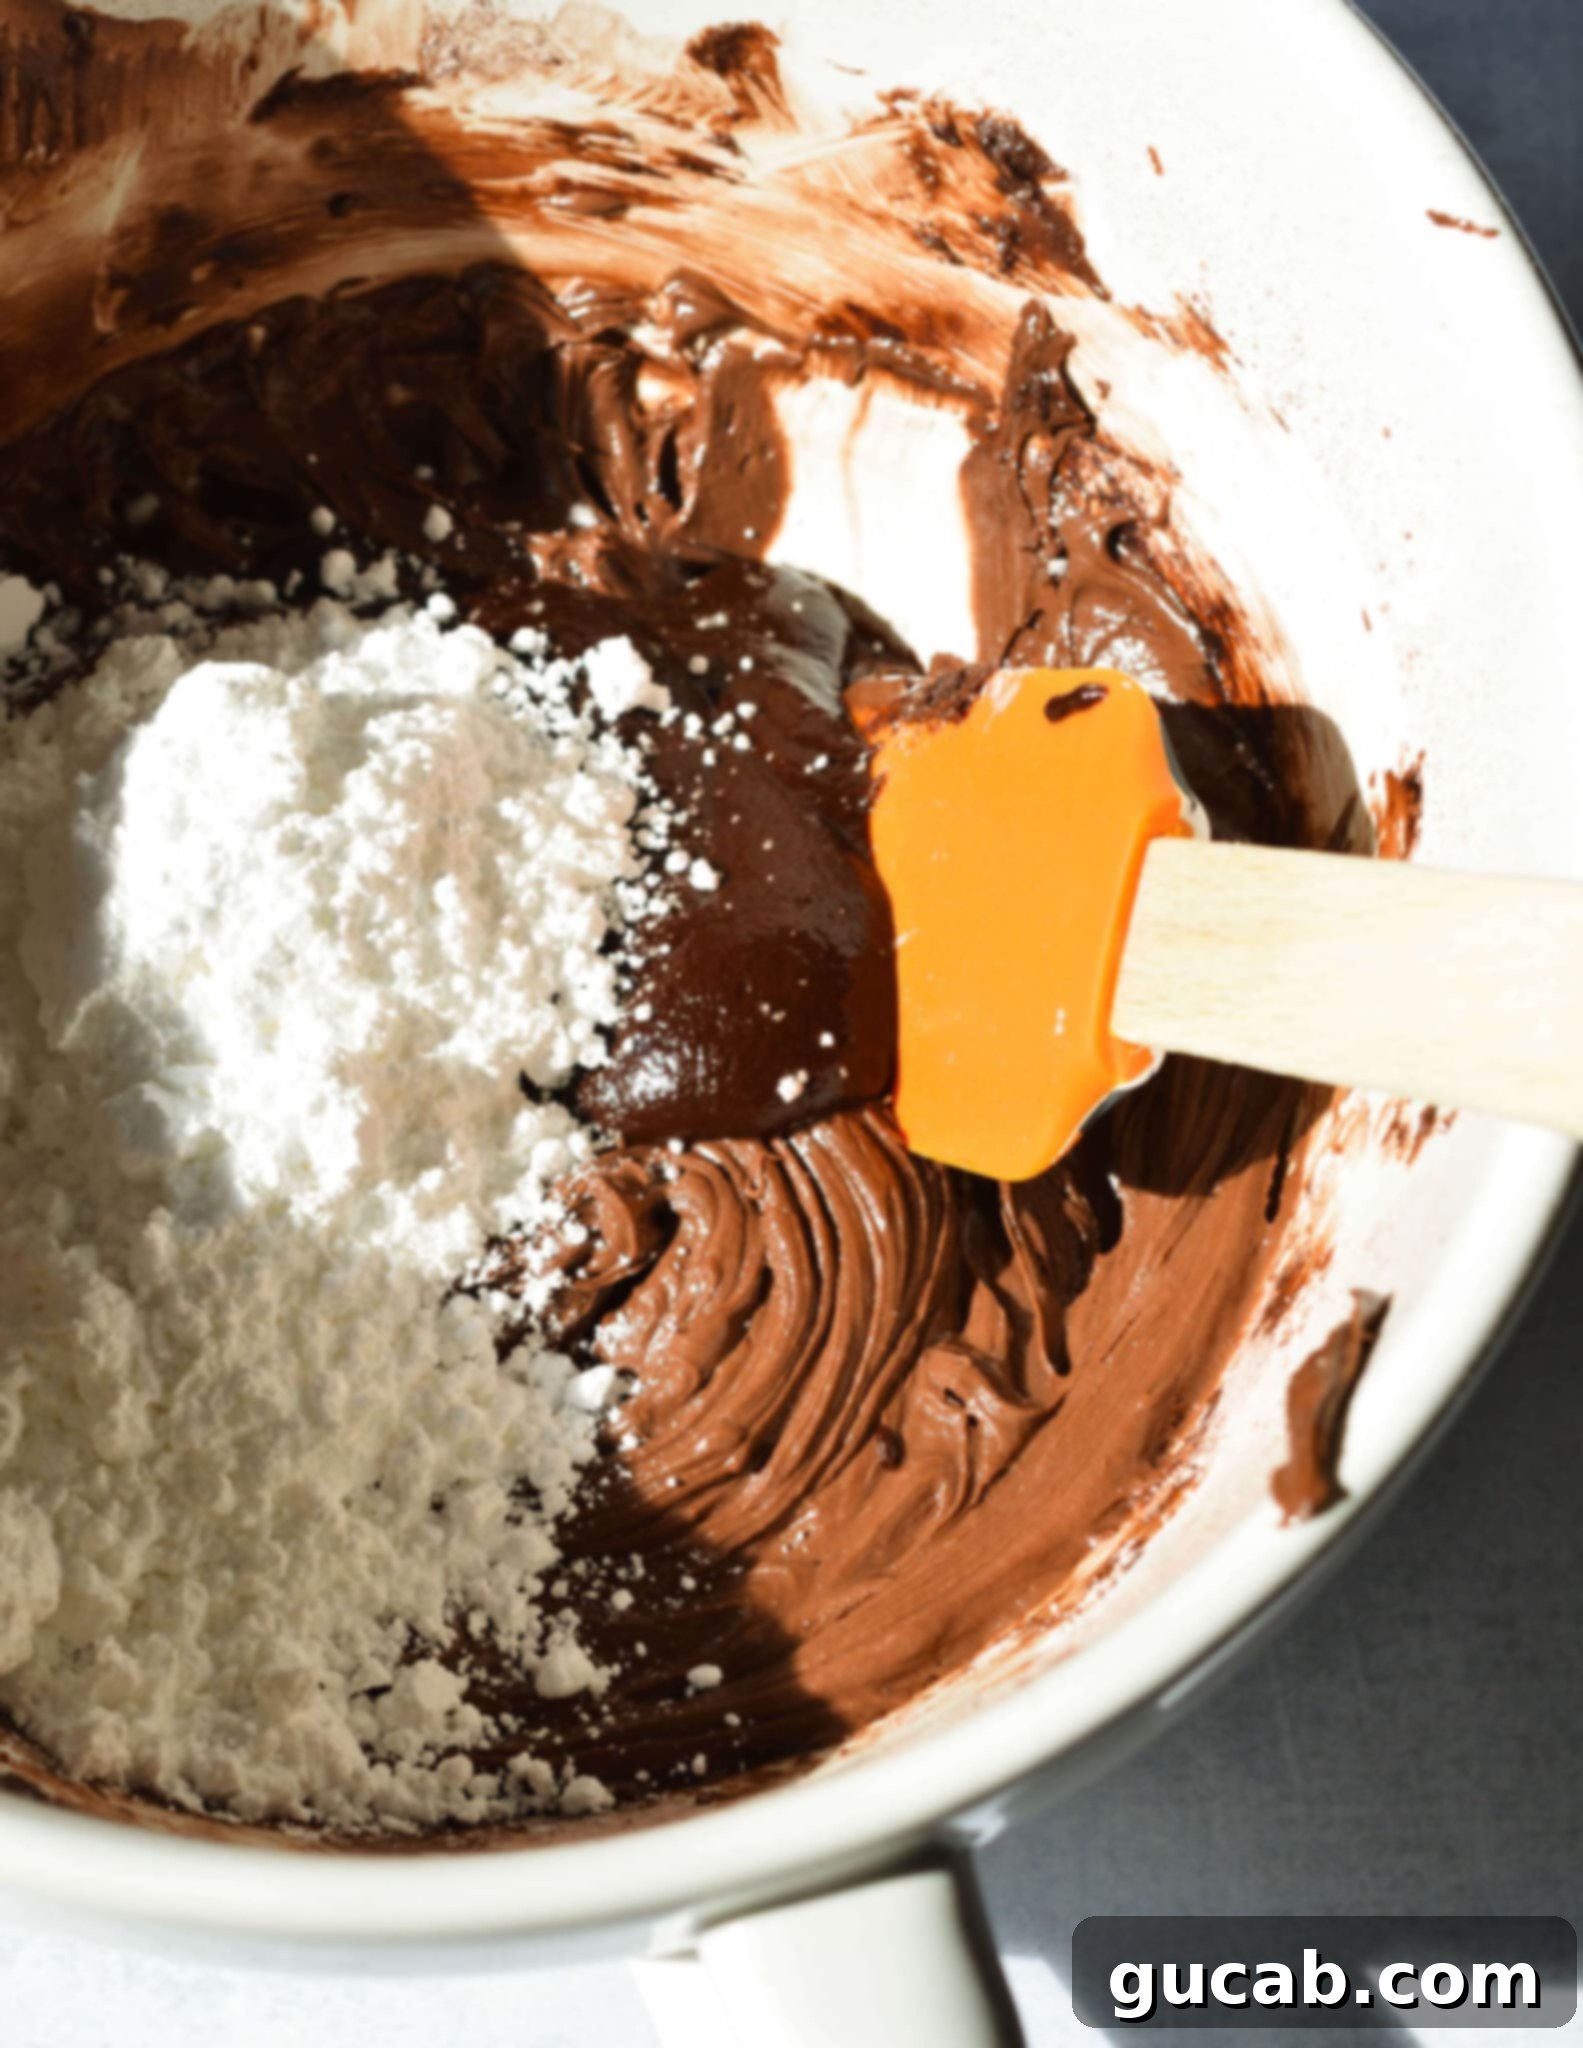
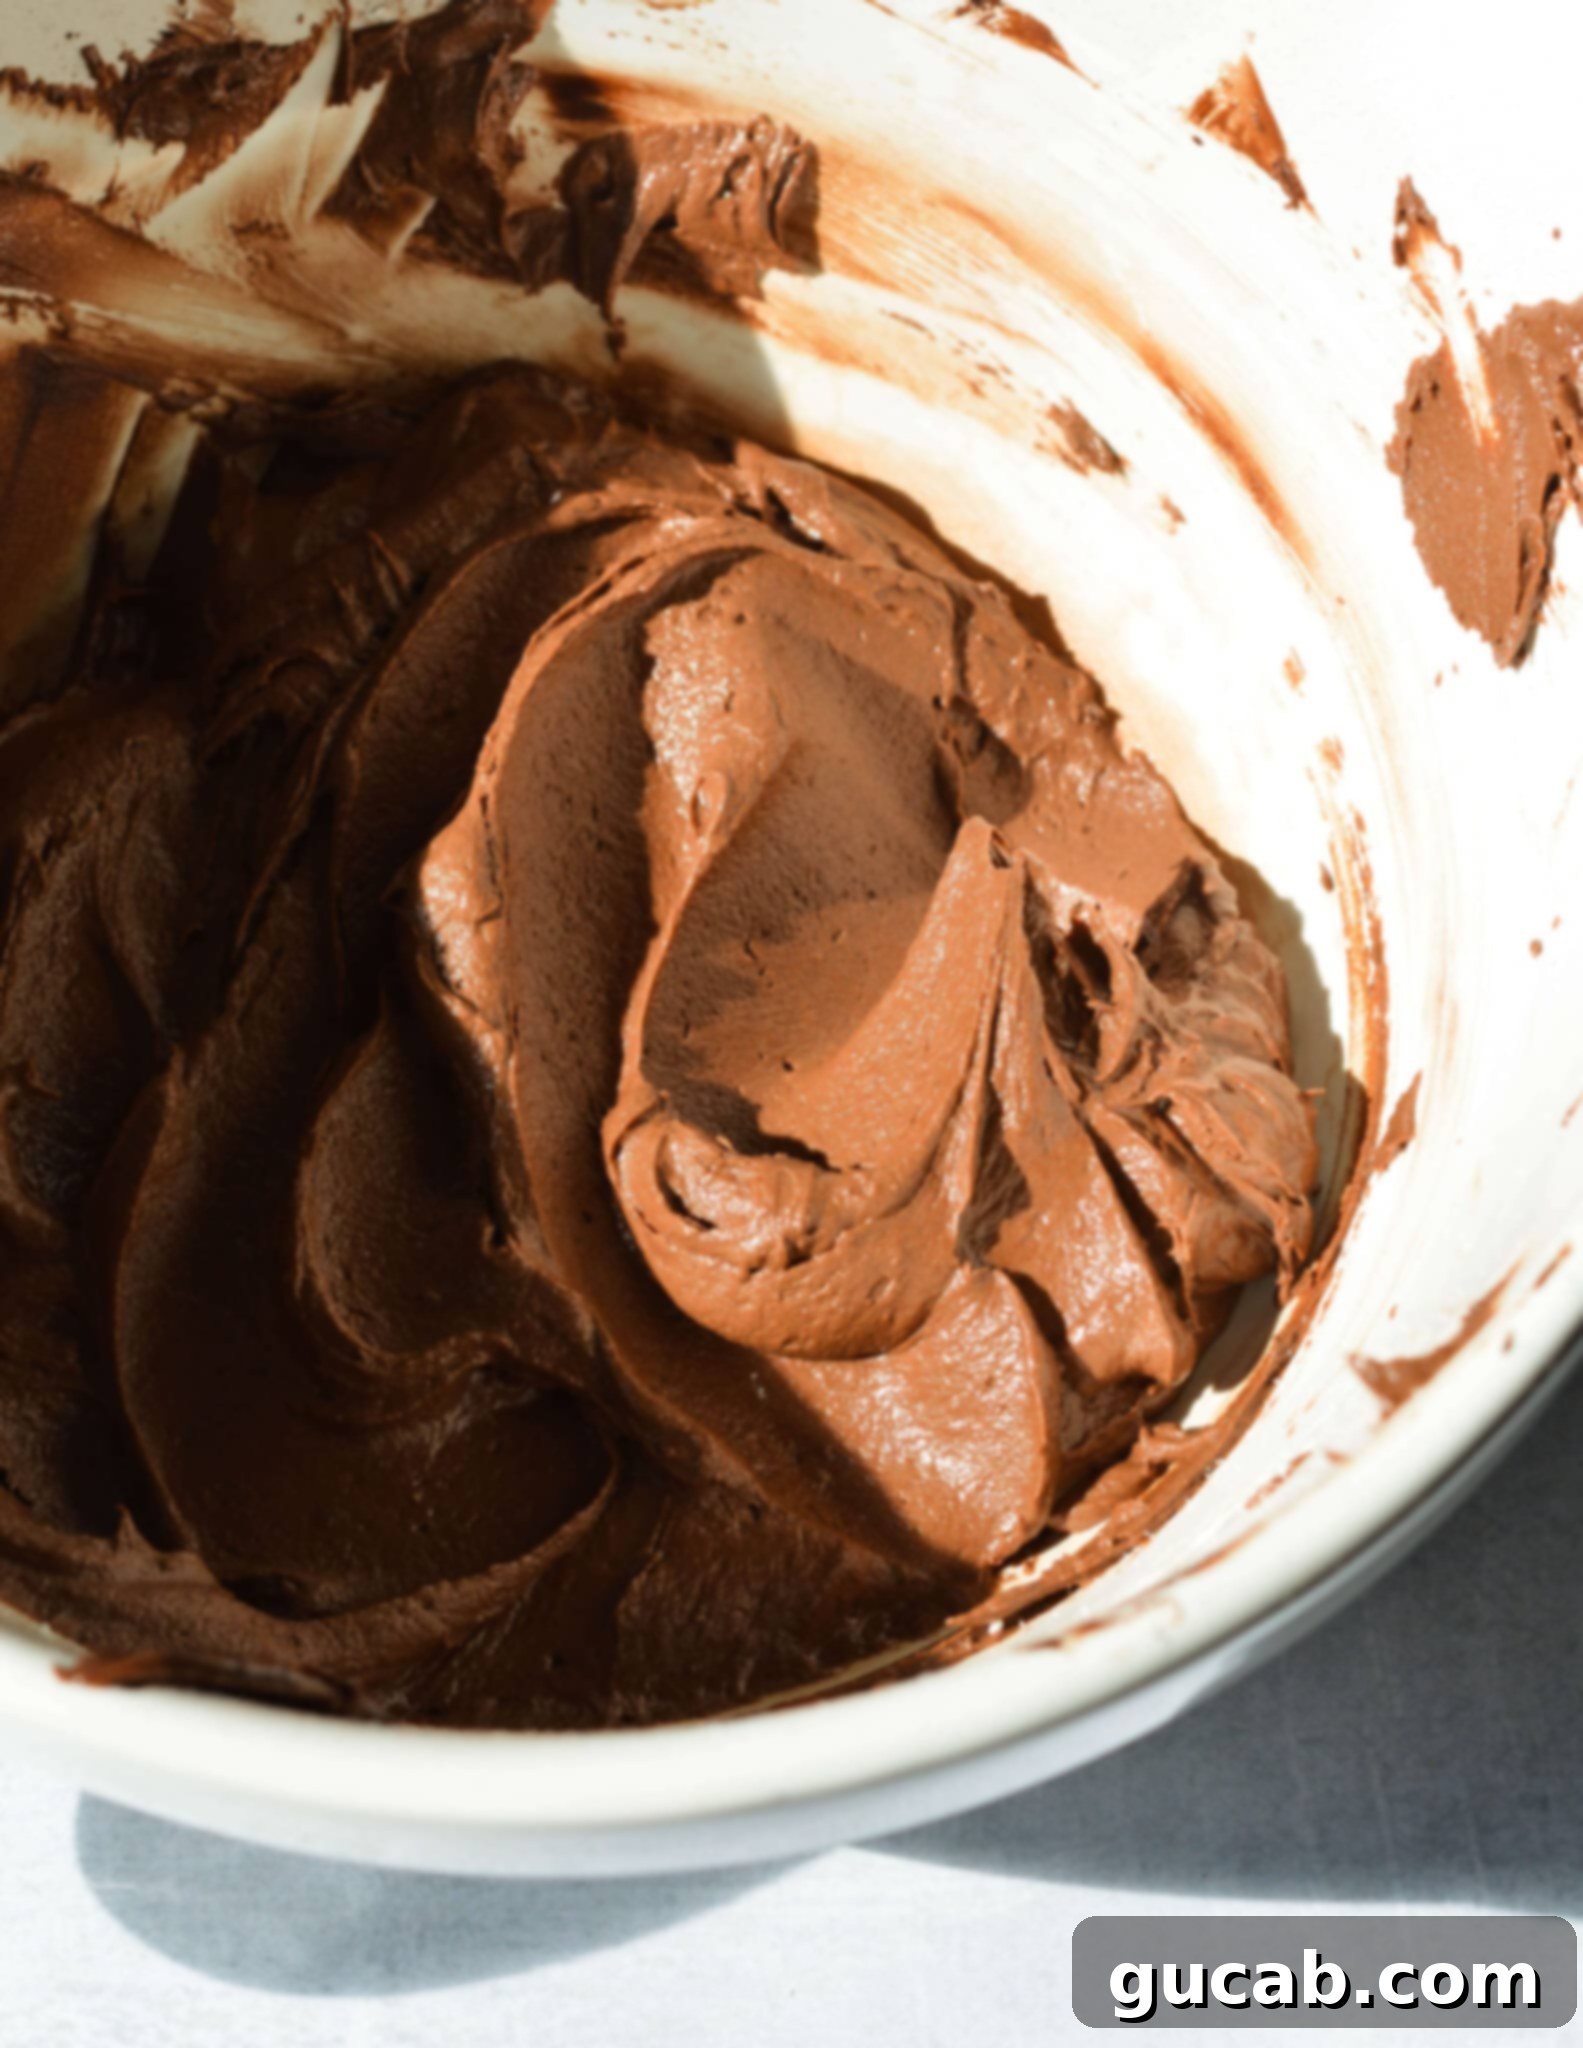
- Build the Buttercream: Add 1 cup of powdered sugar, the Dutch cocoa powder, and 1 tablespoon of heavy cream to the creamed butter. Start mixing on low speed to avoid a cloud of powdered sugar, then gradually increase to medium speed. Beat for about 1 minute until well combined and fluffy.
- Add the Ganache and Finish: Ensure your chocolate ganache is completely cool to the touch. Scrape down the sides of the bowl, then add the cooled ganache along with the remaining ½ cup of powdered sugar. Beat on medium speed for another minute, or until the frosting is incredibly light, smooth, and fluffy, yet still rich and deeply chocolatey. The consistency should be perfect for piping or spreading.
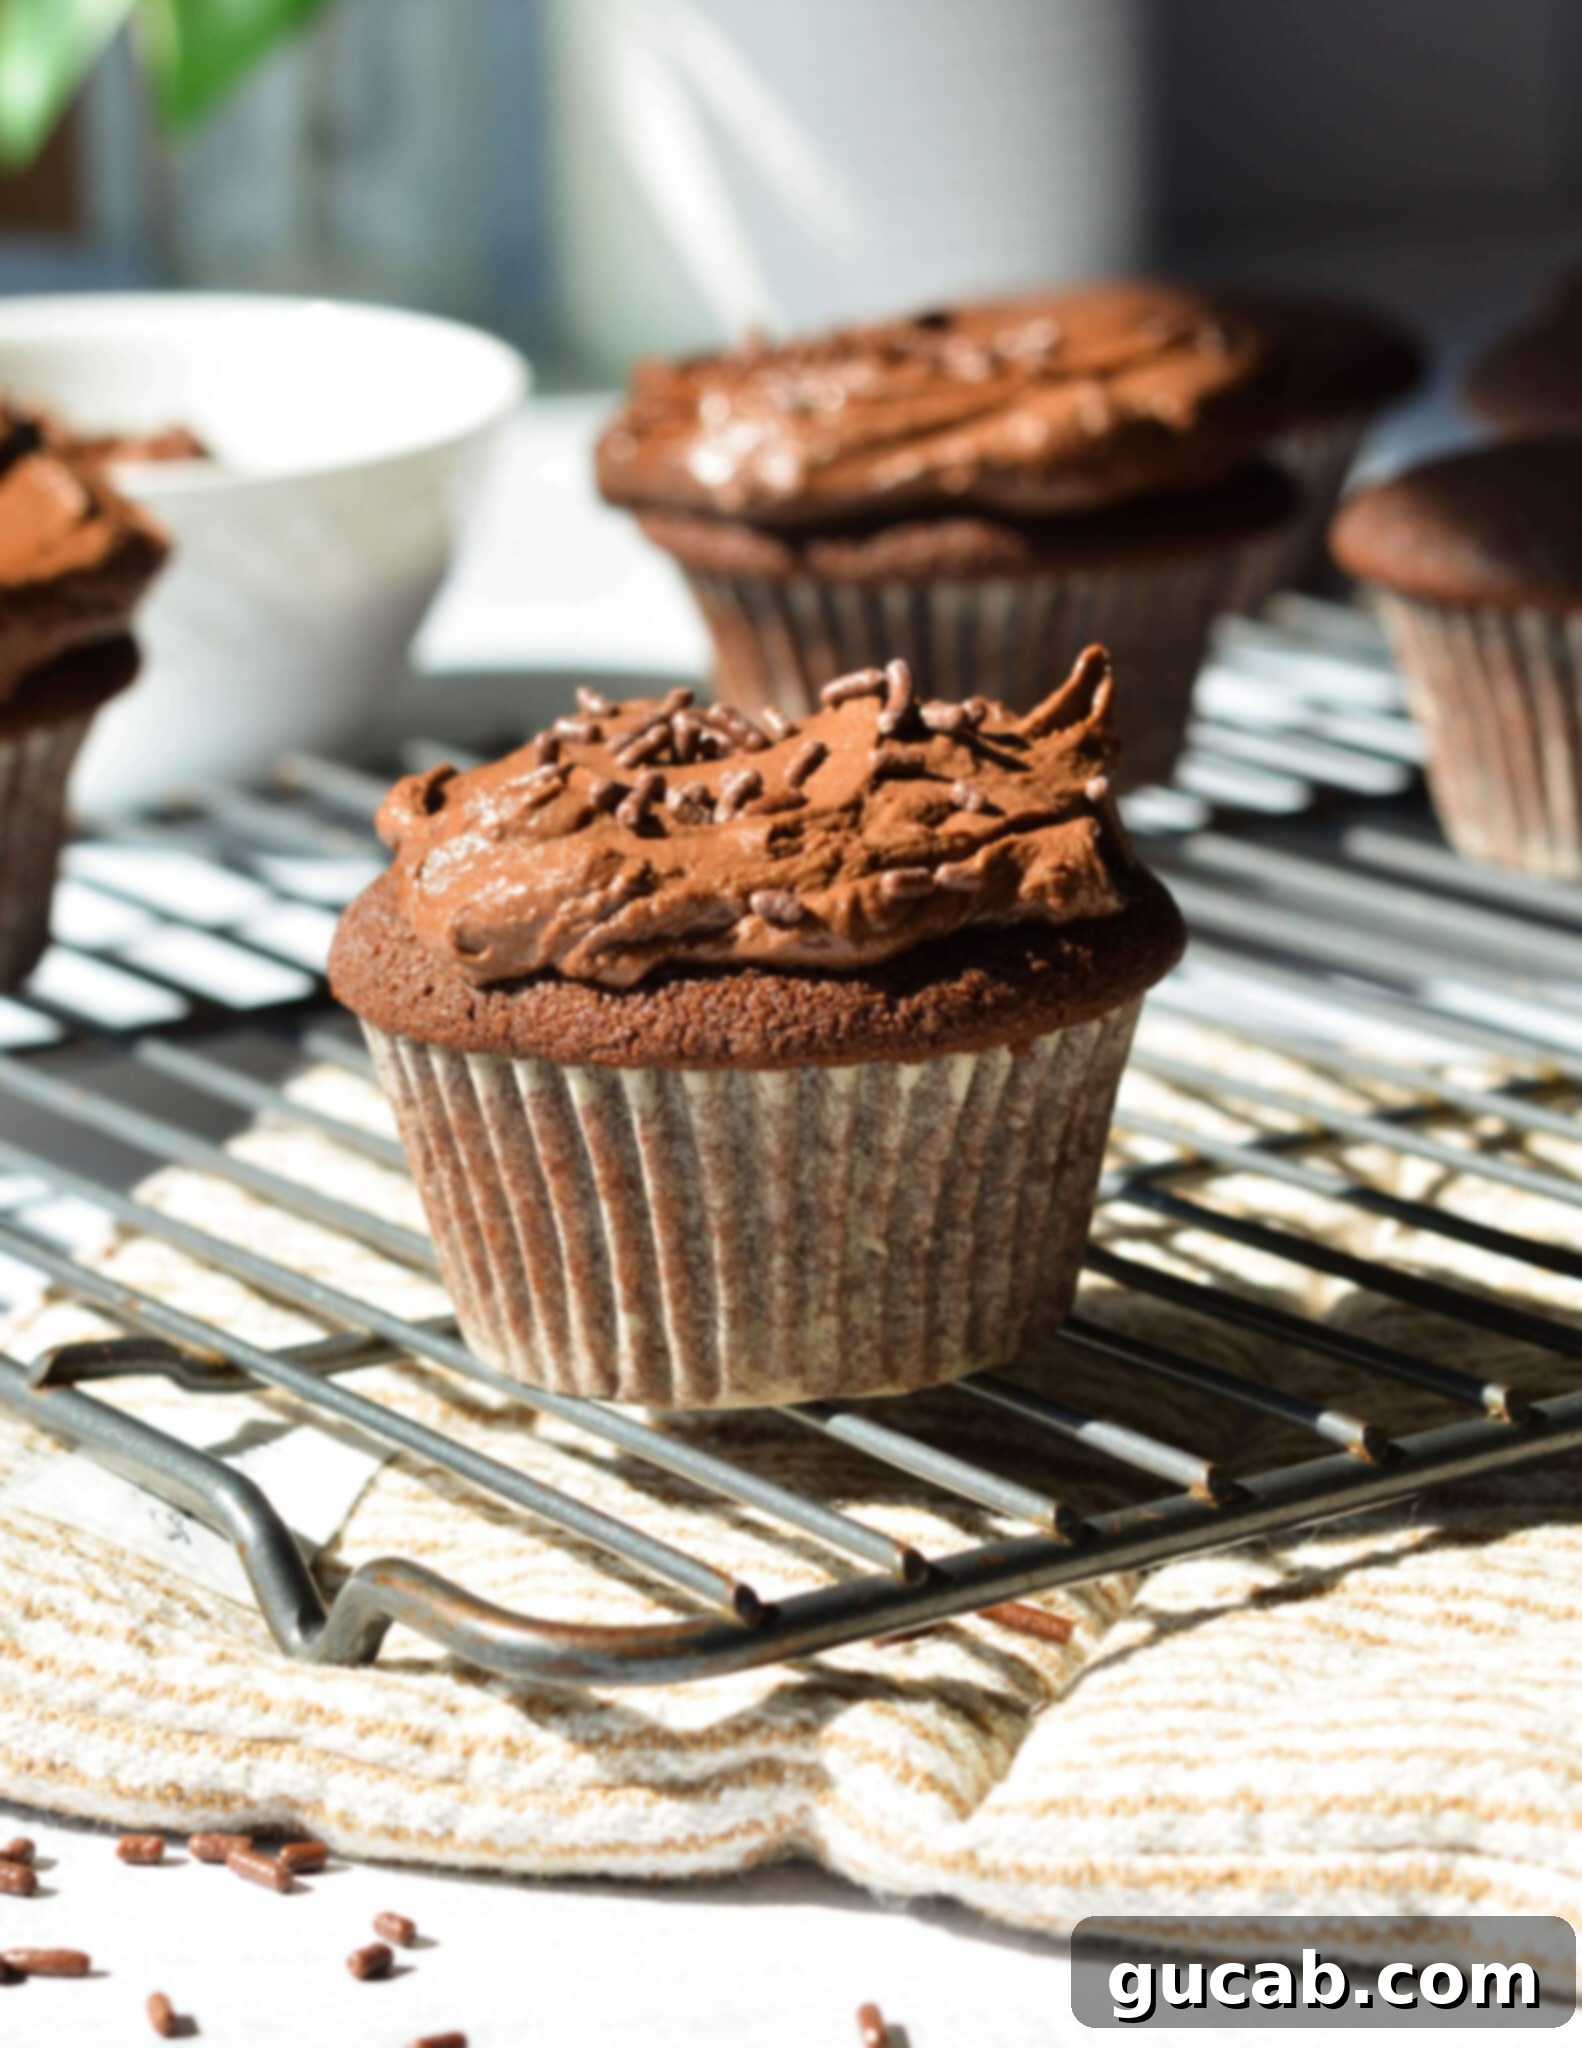
- Frost and Enjoy: Once your cupcakes are thoroughly cooled (this cannot be stressed enough!), apply your beautiful chocolate buttercream. You can use an offset spatula for a rustic look or pipe it on for an elegant finish. Add sprinkles or chocolate shavings if desired.
Expert Tips for Gluten-Free Cupcake Perfection:
- Avoid Overbaking at All Costs: Gluten-free baked goods can go from perfectly moist to dry and crumbly in a flash. My cupcakes usually take exactly 20 minutes in my oven. Start checking them a minute or two early with a toothpick. When the toothpick comes out clean or with just a few moist crumbs, they are done!
- Measure Flour Accurately: For gluten-free baking, precise flour measurement is crucial. Always spoon your flour into the measuring cup and then level it off with a straight edge. Scooping directly from the bag can compact the flour, leading to too much flour and a dry, dense cupcake.
- Ensure Room Temperature Ingredients: Softened butter, room temperature eggs, and buttermilk all emulsify much better, creating a smoother, more uniform batter and a superior final texture. Plan ahead and take them out of the fridge at least 1-2 hours before baking.
- Don’t Overmix the Batter: Once you add the wet ingredients (buttermilk and vanilla), mix only until just combined. Overmixing can lead to a tougher texture, even with gluten-free flour.
- Cool Cupcakes Completely Before Frosting: This is non-negotiable! Buttercream is primarily butter, and it will melt into a messy puddle on warm cupcakes. Be patient and allow your cupcakes to cool completely on a wire rack before you even think about frosting them.
- Sift Dry Ingredients (Optional but Recommended): Sifting your gluten-free flour, cocoa powder, baking powder, and baking soda together can help prevent lumps and ensure a finer, more even crumb in your cupcakes.
Storage & Freezing Tips for Maximum Freshness:
These delicious gluten-free chocolate cupcakes are so good, you’ll want to savor every last bite. Here’s how to store them to maintain their incredible freshness and even how to freeze them for later enjoyment:
- Short-Term Storage (Room Temperature): Transfer the cooled, frosted cupcakes to an airtight container. If you don’t have a container tall enough, you can cover a plate of cupcakes tightly with plastic wrap. I recommend double-wrapping them to ensure all edges are sealed and prevent them from drying out. They will stay fresh at room temperature for up to 2-3 days. For best results, keep them away from direct sunlight or heat.
- Refrigeration (for longer freshness): If you need to store them for longer, or if your kitchen is particularly warm, place the airtight container of cupcakes in the refrigerator. They will last for up to 5 days. Remember to bring them back to room temperature for about 15-30 minutes before serving to ensure the buttercream is soft and the cake is tender.
- Freezing Frosted Cupcakes: Yes, these cupcakes are freezer-friendly! This is a fantastic way to enjoy them whenever a craving strikes.
- Initial Freeze: Arrange the frosted cupcakes in a single layer on a baking sheet. Place the baking sheet in the freezer for about 1-2 hours, or until the frosting is completely solid. This prevents the frosting from sticking to itself or getting smushed.
- Long-Term Storage: Once the cupcakes are frozen solid, transfer them to a freezer-safe zip-top bag or an airtight container. If using a bag, gently squeeze out as much air as possible. Label the bag or container with the date. Freeze for up to 3 months for optimal freshness.
- Thawing Frozen Cupcakes:
- Counter Thawing: The best way to thaw frozen cupcakes is to remove them from the freezer and let them sit on the counter at room temperature for 1-2 hours (still in their airtight container or bag). This slow thawing process helps prevent condensation from making the cupcakes soggy.
- Microwave Thawing (Quick Method): If you’re in a hurry, you can thaw individual cupcakes in the microwave in 5-second increments. Be very careful not to overheat them, as this will melt the frosting and potentially dry out the cake. Just a few short bursts should be enough to bring them to a soft, enjoyable texture.
More Delicious Gluten-Free Cake & Cupcake Recipes:
- Gluten Free Funfetti Cupcakes
- Gluten Free Vanilla Cupcakes
- Gluten Free Red Velvet Cupcakes
- Gluten Free Pumpkin Cupcakes with Cinnamon Maple Frosting
- Gluten Free Chocolate Pound Cake
Gluten Free Chocolate Cupcakes
Carolyn
Pin Recipe
15
minutes
20
minutes
35
minutes
Dessert
American
12
cupcakes
340
kcal
Equipment
-
cupcake tin
-
Stand Mixer with the Paddle Attachment or electric hand mixer
Ingredients
For the chocolate cupcakes:
-
1
cup
Bob’s Red Mill’s 1 to 1 Gluten Free Baking Flour
or gluten-free all-purpose flour blend* -
½
cup
sugar -
⅓
cup
brown sugar -
¼
cup
Dutch cocoa powder
I used Hershey’s dark cocoa powder -
½
teaspoon
kosher salt -
1
teaspoon
baking powder -
¼
teaspoon
baking soda -
8
tablespoons
unsalted butter, softened -
2
large eggs -
⅔
cup
buttermilk -
1
teaspoon
vanilla
For the chocolate buttercream:
-
8
tablespoons
unsalted butter, softened -
¼
cup
dark chocolate chips -
3
tablespoons
heavy cream, divided -
1½
cups
powdered sugar -
2
tablespoons
Dutch cocoa powder
I used Hershey’s dark
Instructions
For the cupcakes:
-
Preheat oven to 350 degrees Fahrenheit. Line a muffin tin with cupcake liners and set aside.
-
In the bowl of a stand mixer, combine the gluten-free flour, sugar, brown sugar, kosher salt, cocoa powder, baking powder, and baking soda. Mix on low speed to combine.
-
Cut the softened butter into 8 pieces. Add each piece to the flour mixture and mix after each addition, until the mixture looks like sand.
-
Add the eggs, one at a time, beating after each addition. You should have a very thick batter at this point. Scrape down the sides of the bowl with a spatula.
-
On medium-low speed, add the buttermilk and vanilla, beating until well combined. The batter should be thick yet light, similar to the consistency of mousse.
-
Use a portion scoop to divide the batter between the muffin liners. You should get 12 cupcakes.
-
Bake until a toothpick comes out clean, about 20 minutes. Don’t overbake!
-
Let the cupcakes cool in the muffin tin for at least 10 minutes before you transfer to a cooling rack.
For the chocolate buttercream:
-
In a small bowl, combine the dark chocolate chips and 2 tablespoons of heavy cream. Melt in the microwave until the cream starts to bubble up but doesn’t overflow, about 20 seconds. Stir until smooth, then set aside to cool.
-
In the bowl of a stand mixer, beat the butter for 30 seconds.
-
Add 1 cup of powdered sugar, the cocoa powder, and 1 tablespoon of cream to the mixer. Beat on medium speed for another minute.
-
Once the chocolate mixture is cool, add it to the mixer with ½ cup of powdered sugar. Beat for another minute on medium speed.
-
Once the cupcakes are completely cool, use it to frost the cupcakes.
Nutrition
Calories:
340
kcal
Carbohydrates:
41
g
Protein:
3
g
Fat:
20
g
Saturated Fat:
12
g
Polyunsaturated Fat:
1
g
Monounsaturated Fat:
5
g
Trans Fat:
1
g
Cholesterol:
73
mg
Sodium:
307
mg
Potassium:
109
mg
Fiber:
2
g
Sugar:
31
g
Vitamin A:
584
IU
Vitamin C:
0.04
mg
Calcium:
73
mg
Iron:
1
mg
gluten free chocolate cupcakes
Tried this recipe?
Let us know how it was!
