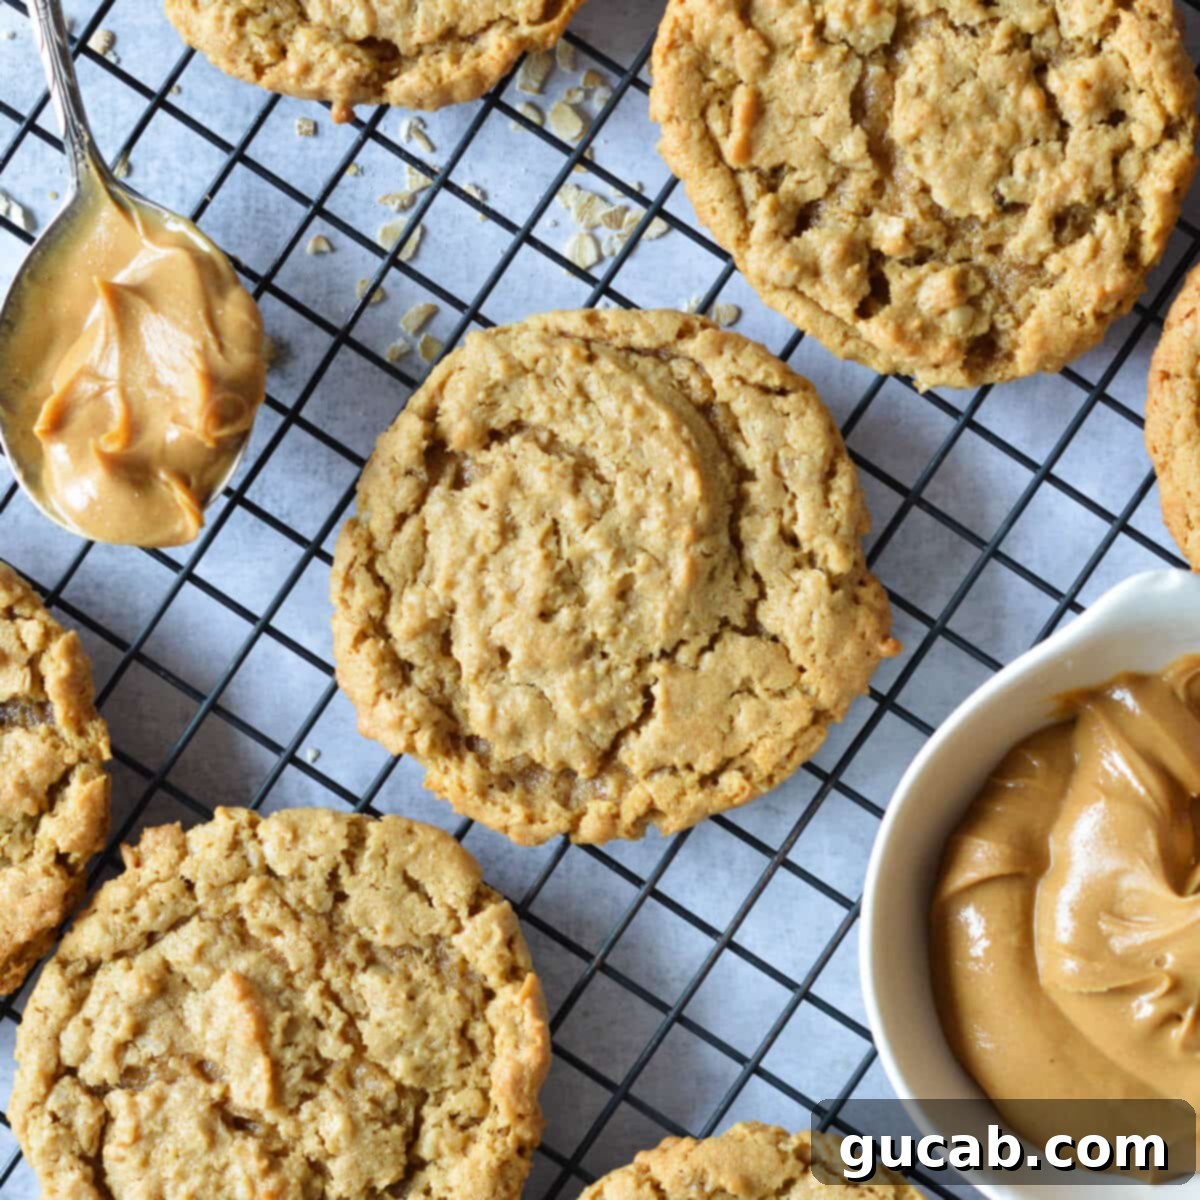
Irresistible Flourless Peanut Butter Cookies: Your Ultimate Guide to Chewy, Gluten-Free Perfection
Welcome to the world of truly exceptional peanut butter cookies! For every peanut butter enthusiast, these incredible flourless peanut butter cookies are a dream come true. Boasting beautifully crackled tops, delightfully chewy edges, and perfectly soft, melt-in-your-mouth middles, they redefine what a cookie can be. This recipe is not just easy to whip up; it’s also incredibly freezer-friendly, making it ideal for meal prepping delicious treats or satisfying those sudden cookie cravings. Get ready to discover your new favorite way to enjoy peanut butter in cookie form!
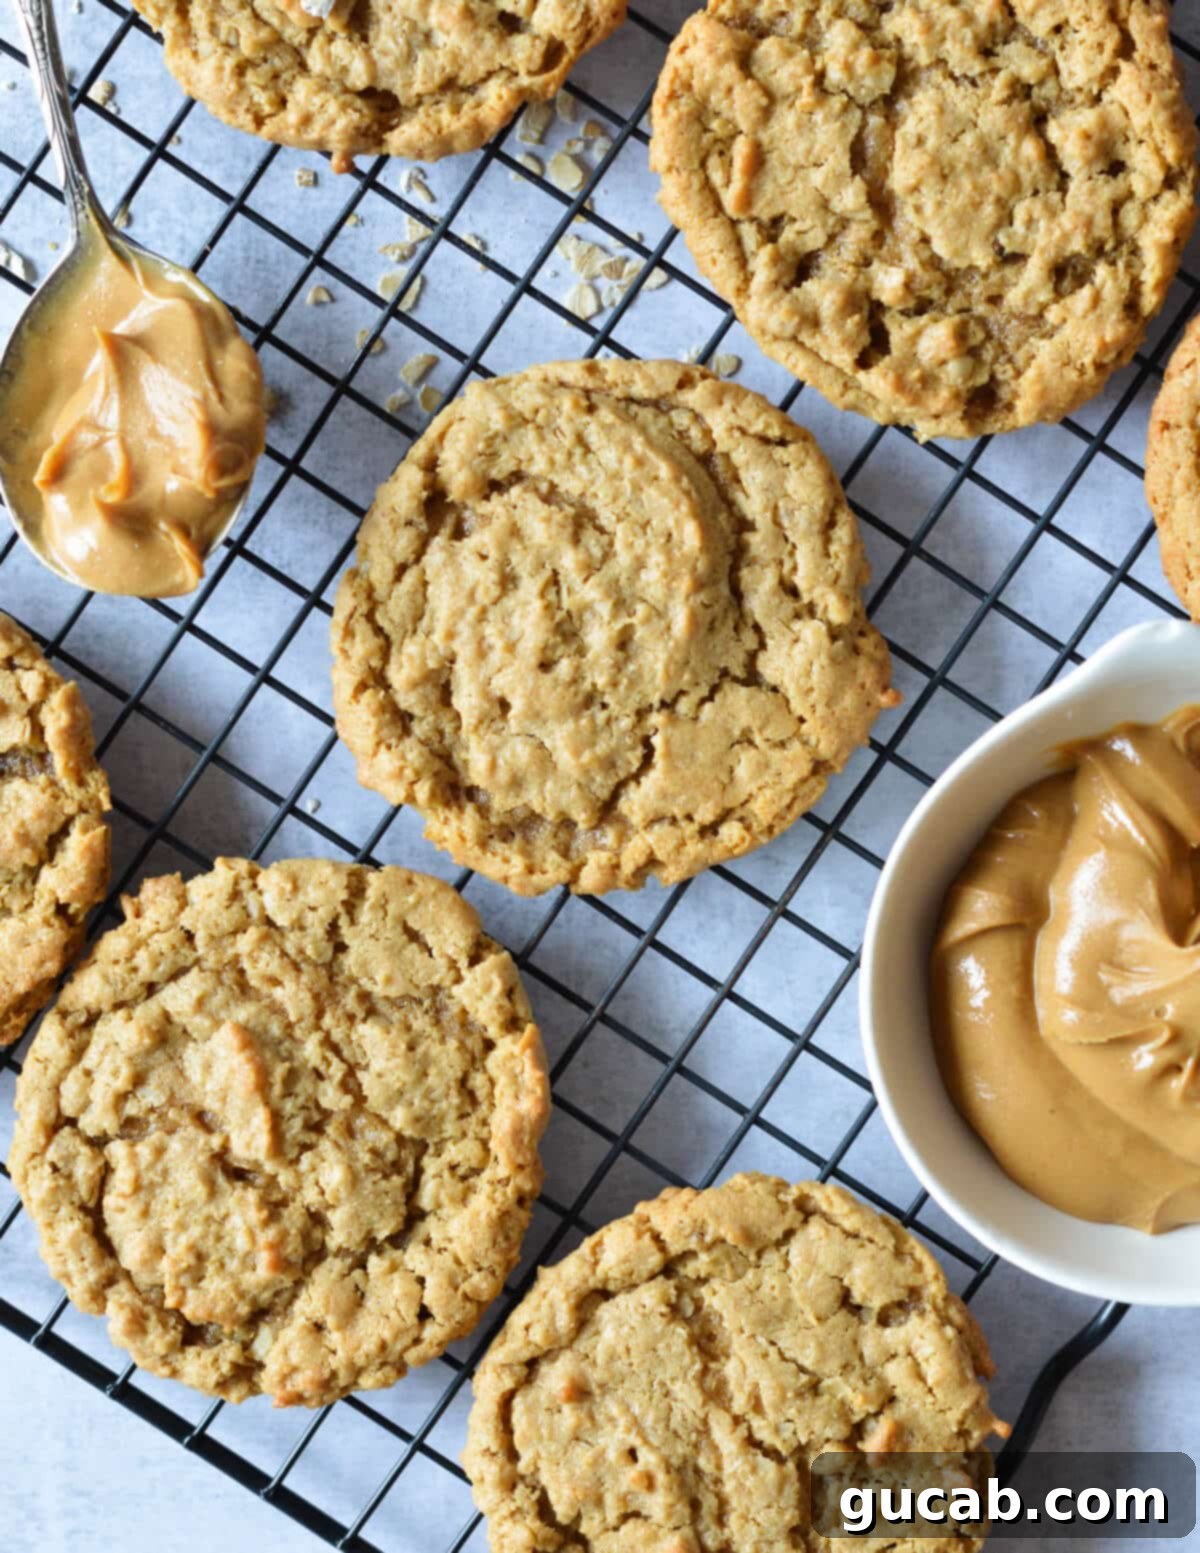
Why These Flourless Peanut Butter Cookies Will Become Your Obsession
My no-flour peanut butter cookies aren’t just good; they’re pure perfection – what I affectionately call “dangerously good.” These are the kind of cookies that tempt you to devour the entire batch in one sitting, and honestly, we won’t judge if you do! What makes them truly impressive is their incredible flavor and texture, despite lacking two traditional cookie staples: flour and butter. This recipe strips down to the essentials, putting the rich, nutty flavor of peanut butter front and center, exactly where it belongs. Sorry, not sorry – these cookies are all about celebrating that beloved spread!
Beyond their undeniable deliciousness, this flourless cookie recipe offers fantastic benefits. It’s naturally dairy-free, making it suitable for those with lactose sensitivities or dietary preferences. Furthermore, it’s completely gluten-free, providing a wonderful option for individuals with celiac disease or gluten intolerance without compromising on taste or texture. Everyone who tries them falls in love, including my 7-year-old daughter, who typically isn’t a fan of peanut butter. That’s a testament to their universal appeal and incredible taste!
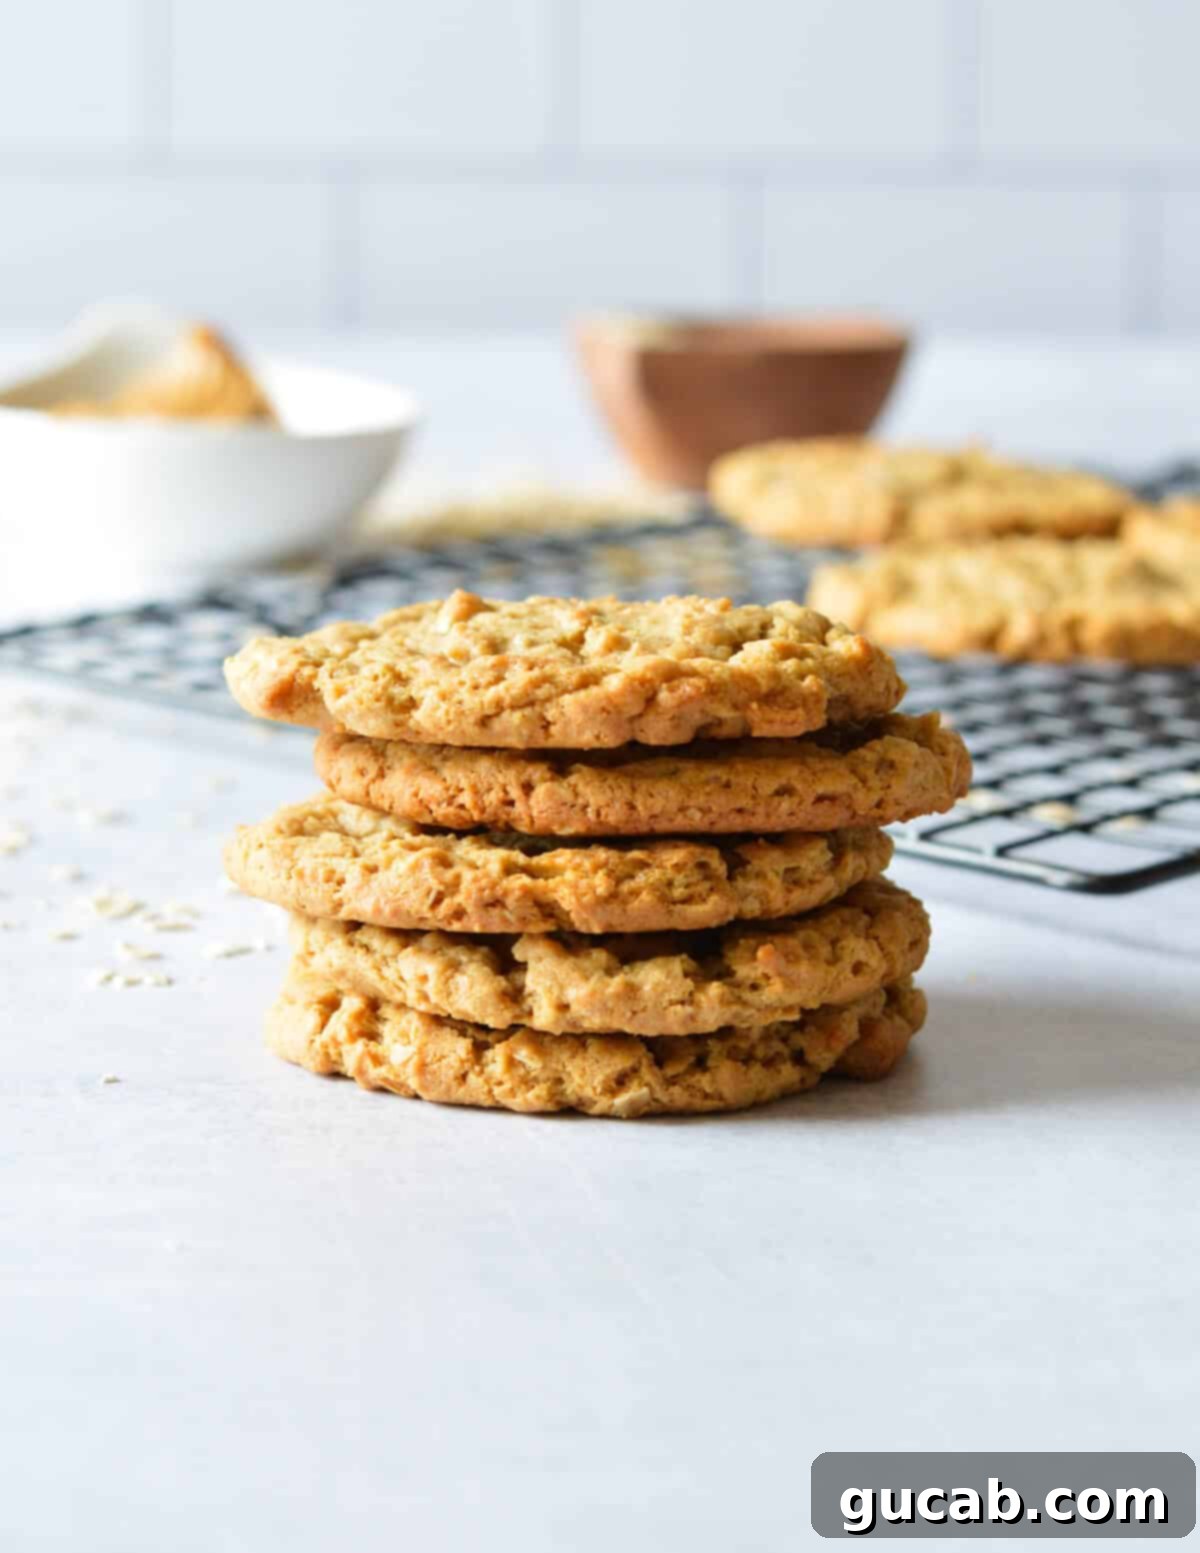
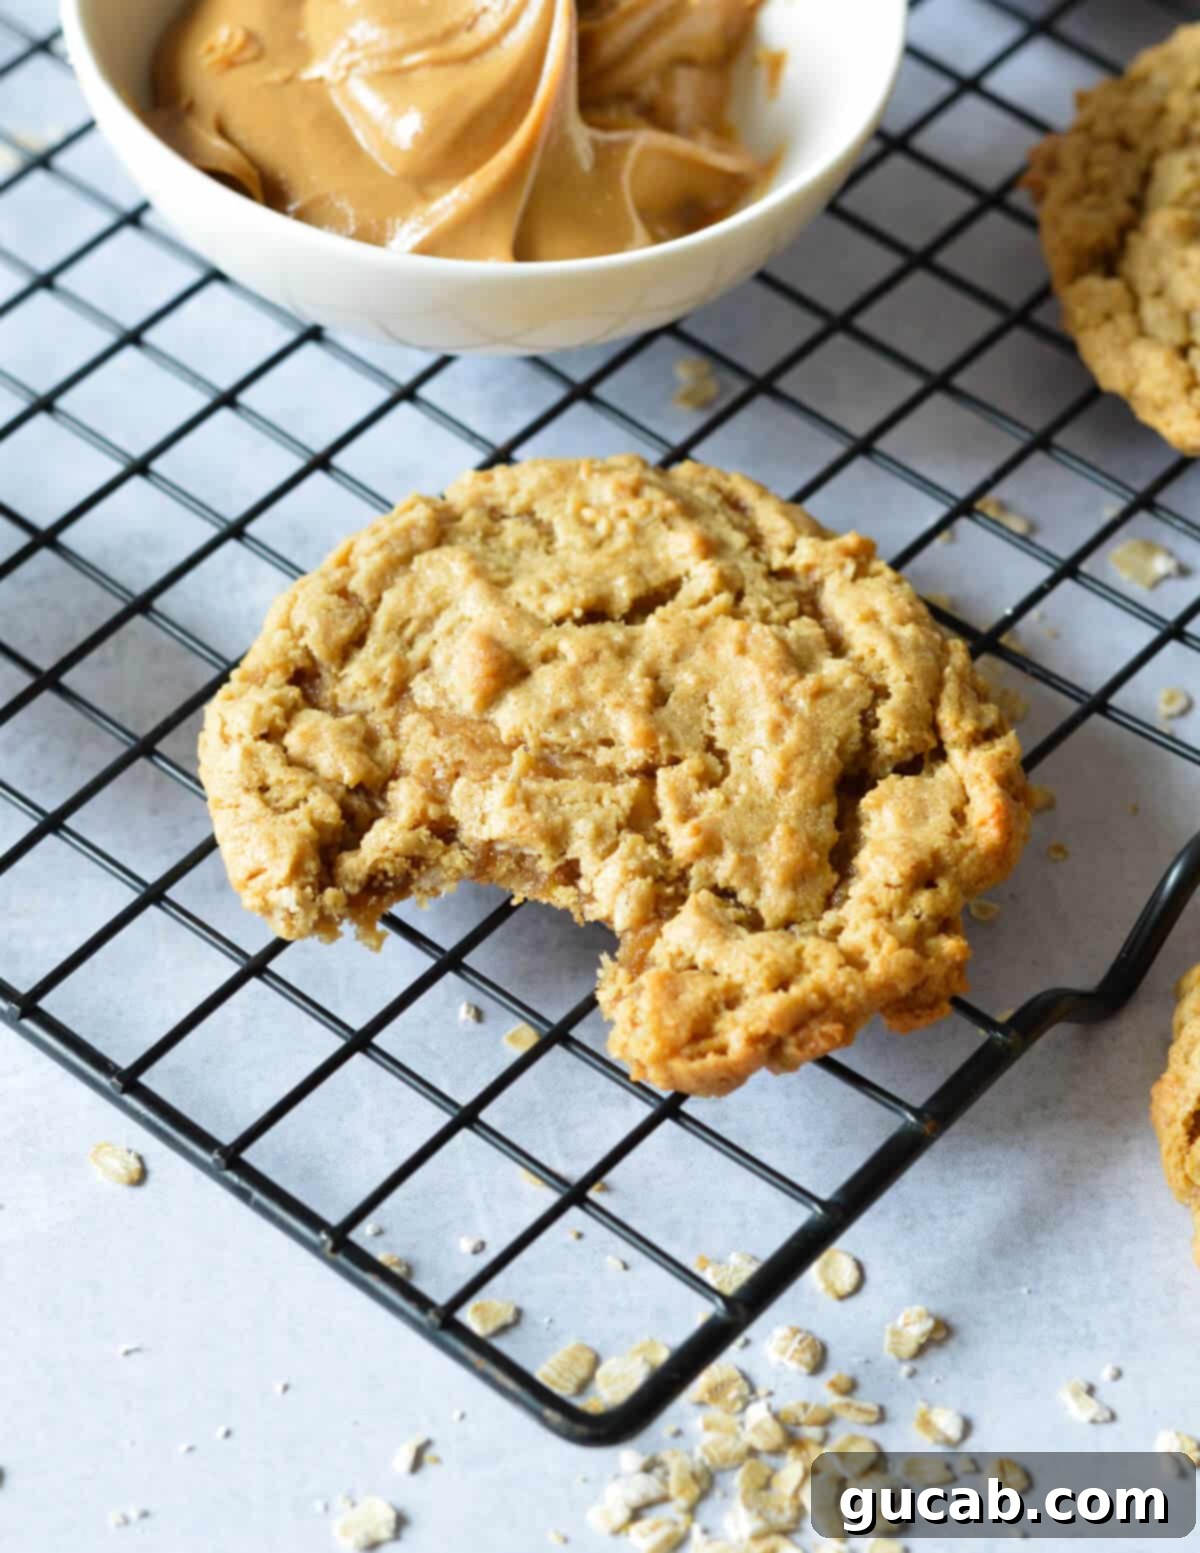
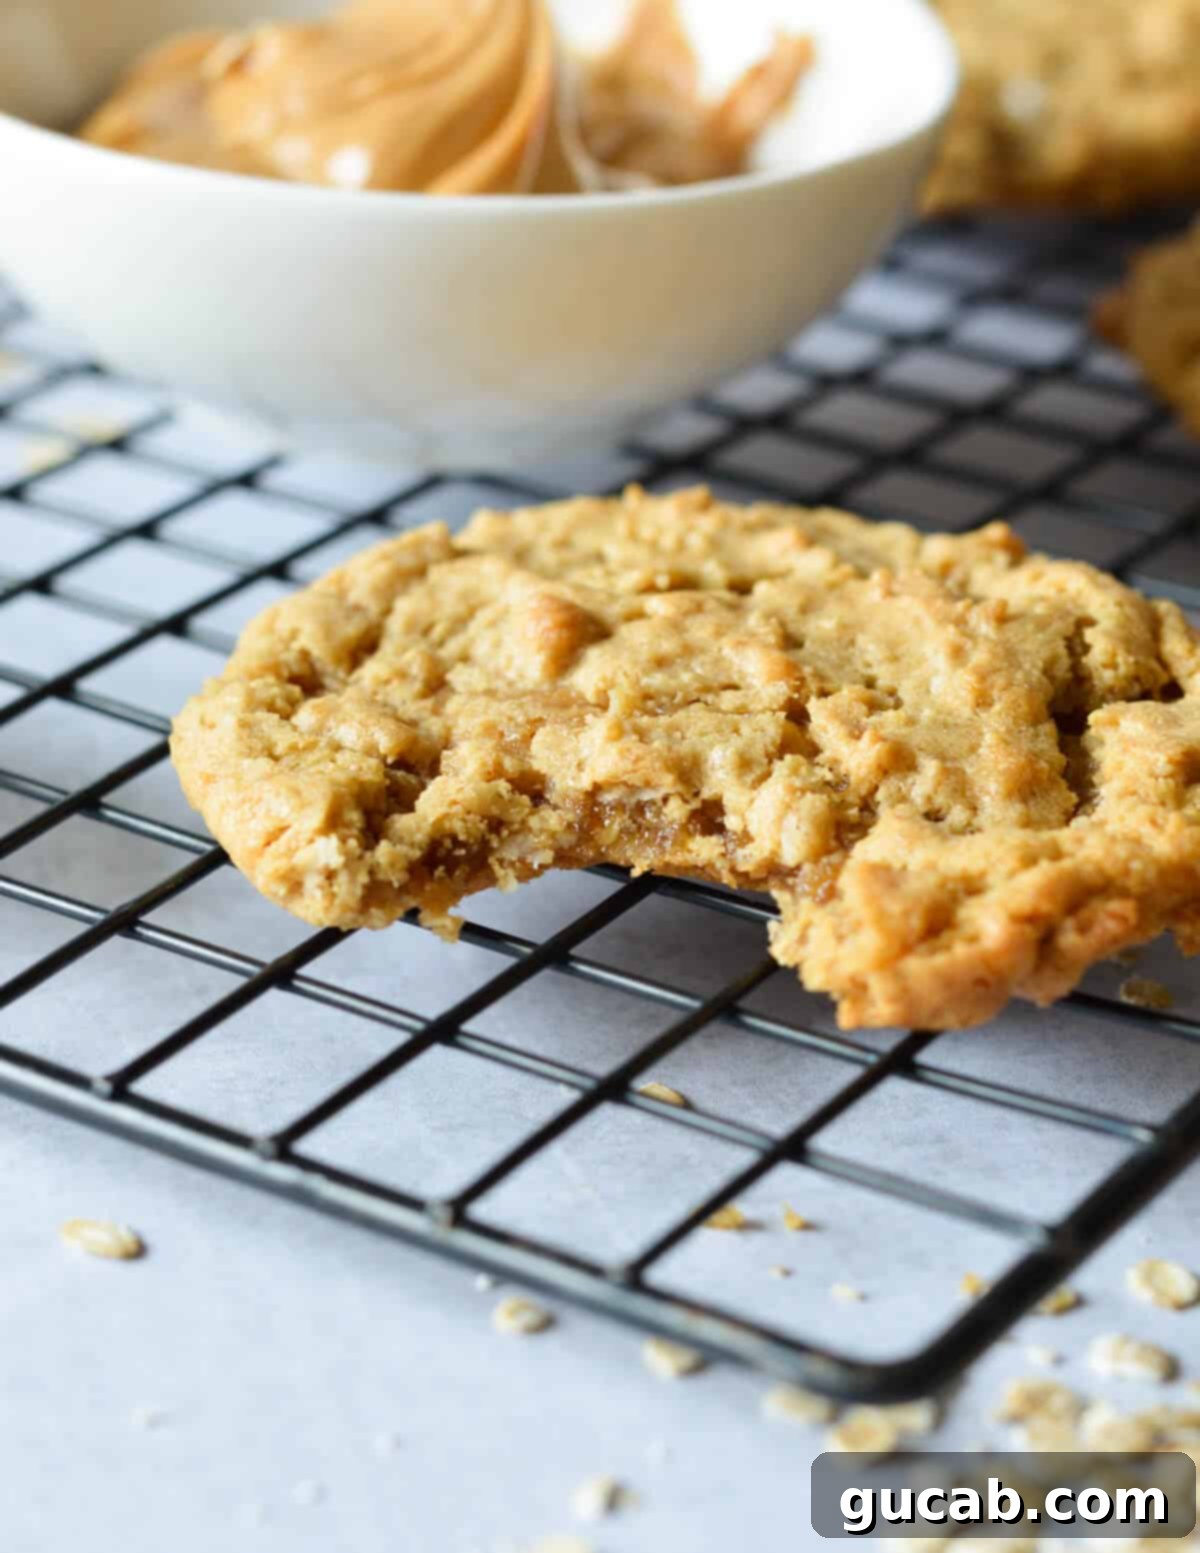
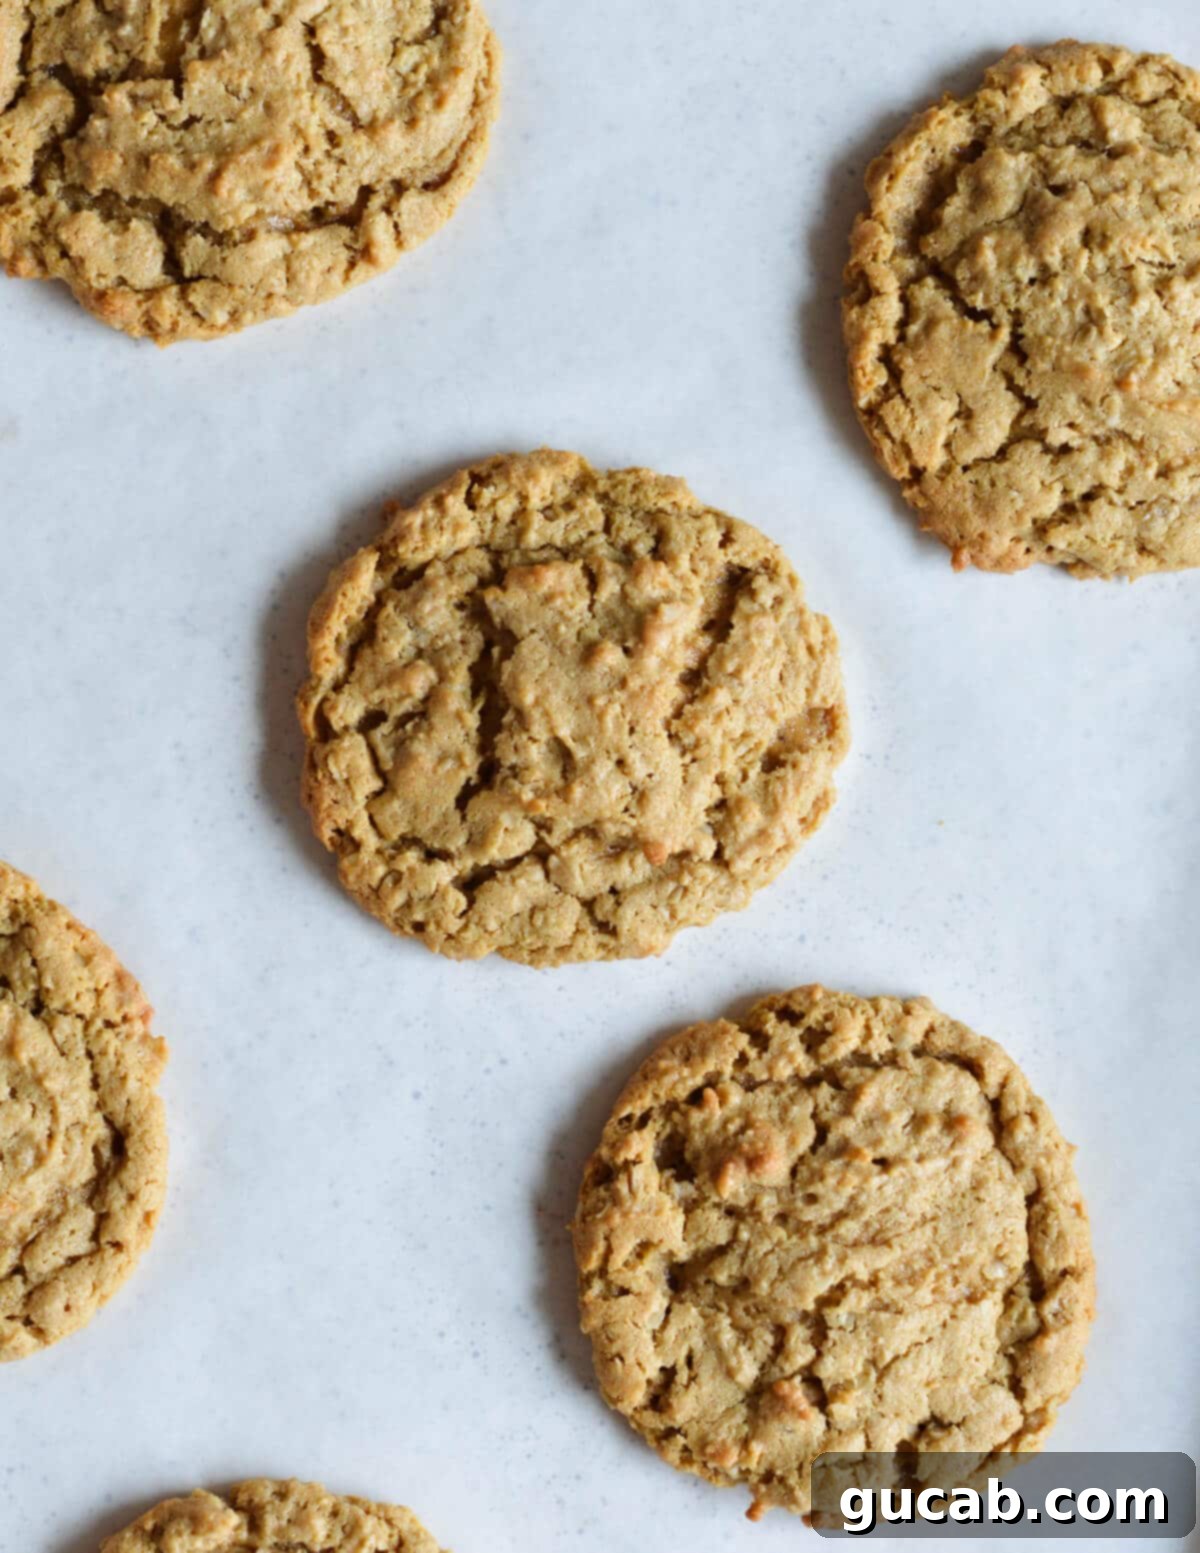
Their delightful texture is another reason for their popularity. The combination of ingredients works magic, creating cookies with that signature crackled top, a satisfyingly chewy bite around the edges, and a wonderfully soft and tender center. They hold their shape beautifully and offer a comforting, homemade taste that feels both familiar and special. Plus, the ease of preparation means you can have a fresh batch ready in under 30 minutes, making them the perfect last-minute treat for guests or a quick indulgence for yourself.
Essential Ingredients for Your Perfect Peanut Butter Cookies
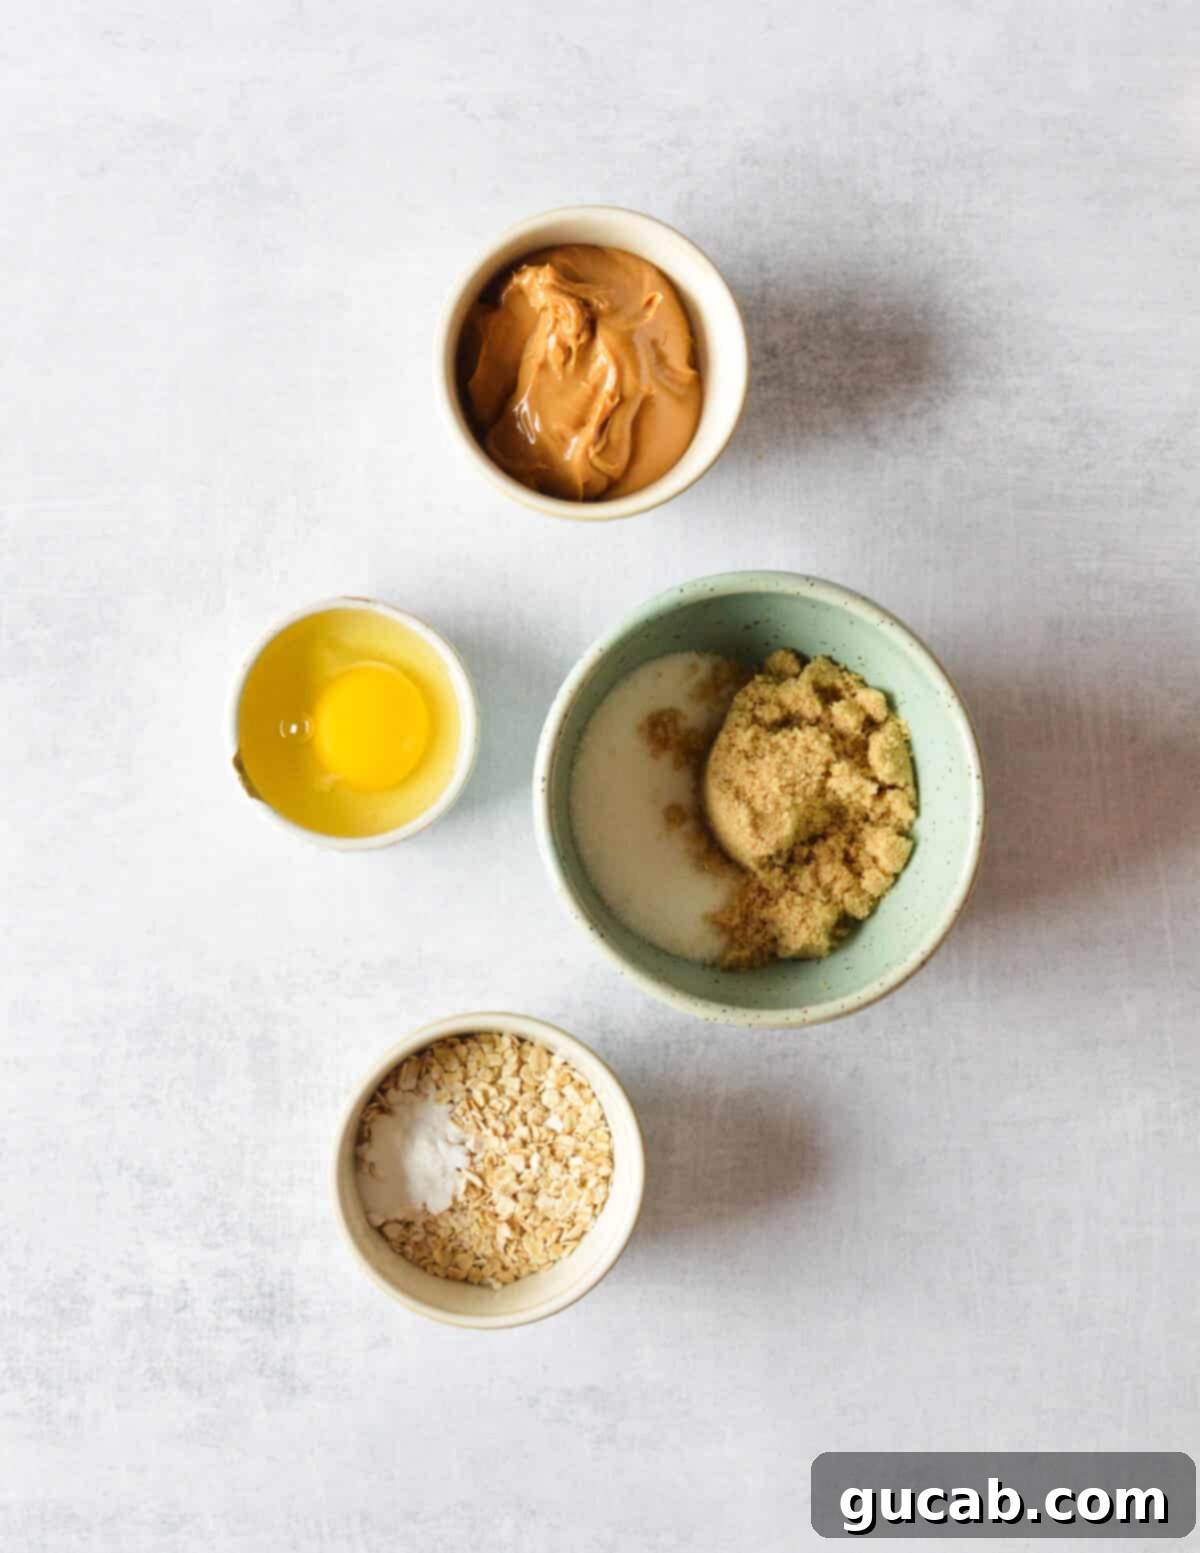
Achieving the perfect flourless peanut butter cookie relies on a few key ingredients working in harmony. Here’s a closer look at what you’ll need and why each component is crucial:
- Peanut Butter: This is the star of the show! I used creamy peanut butter for a smoother texture, but my gut tells me that crunchy peanut butter would be absolutely super delicious, adding an extra layer of texture and nuttiness. It’s important to use a conventional, processed peanut butter (like Peter Pan or Jif) for this recipe. I strongly advise against using natural peanut butter, as its oil separation and different consistency can significantly alter the cookie’s texture and lead to a less predictable outcome. The stabilizers in conventional peanut butter are key to the structure of these flourless delights.
- Brown Sugar: This ingredient is a true MVP in our recipe. Brown sugar not only provides a rich, caramel-like sweetness but also contributes significantly to the cookies’ chewy texture and moisture. More importantly, it reacts with the baking soda, aiding in a slight rise during baking. When you pull the cookies out of the oven, this reaction ensures they naturally sink a little as they cool, which is precisely what creates those beautiful, inviting crackles on top and contributes to that desired chewy center.
- Granulated Sugar: While brown sugar adds chewiness and depth, granulated sugar is included for straightforward sweetness and to help with the crispness around the edges, balancing the chewiness of the brown sugar. It also plays a role in the overall browning and the crackled appearance of the cookies.
- Egg: The humble egg is essential! In this flourless recipe, the egg acts as a primary binder, holding all the ingredients together to form a cohesive dough. It provides crucial structure, preventing the cookies from crumbling apart, and also adds richness and moisture, contributing to the soft middle texture we crave.
- Quick Oats: While these cookies are flourless, quick oats provide just a tiny bit of chew and structure without adding any gluten. They help absorb some moisture and give the cookies a slight, pleasant chewiness that mimics the texture often found in traditional cookies. For strictly gluten-free cookies, ensure you use certified gluten-free quick oats.
- Baking Soda: Rise, baby, rise! As mentioned, baking soda is the leavening agent that reacts with the acid in the brown sugar (and other ingredients) to create carbon dioxide gas. This gas helps the cookies expand and puff up slightly in the oven. Without it, the cookies would be far too dense and flat, missing that airy chewiness and perfect crackled finish.
- Kosher Salt: My absolute favorite salt for baking! A touch of kosher salt is vital for balancing the sweetness and enhancing all the flavors in the cookie. It brings out the deep, nutty taste of the peanut butter and prevents the cookies from being overly sweet. Once you start baking with kosher salt, you’ll likely never go back – its pure flavor and larger crystals make a noticeable difference.
Crafting Your Flourless Peanut Butter Cookies: A Step-by-Step Guide
These flourless peanut butter cookies are not only incredibly delicious but also remarkably simple to make, requiring minimal effort and time. Here’s a detailed breakdown of each step to ensure your cookies turn out perfectly every time:
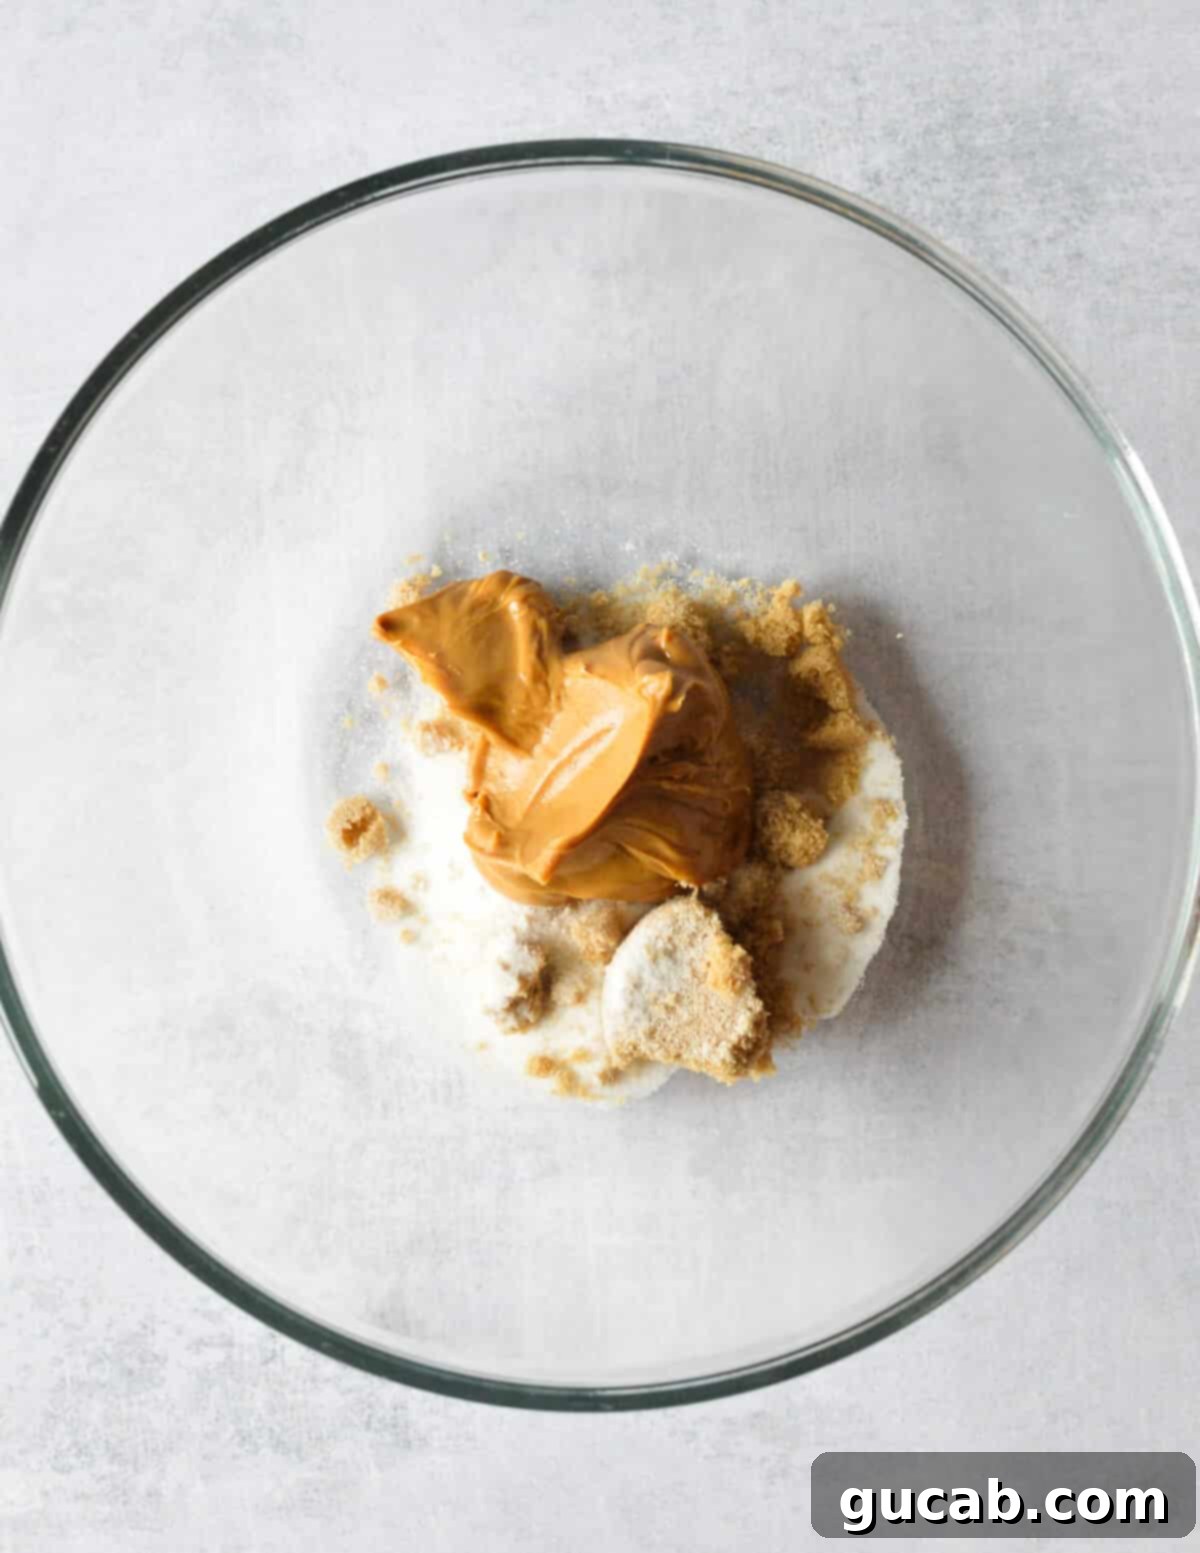
- Step 1: Cream the Wet Ingredients. Begin by gathering your stand mixer with the paddle attachment, or a hand mixer if preferred. In a large mixing bowl, combine the creamy peanut butter, granulated sugar, and brown sugar. Beat these ingredients together on medium speed for approximately 2 minutes. During this time, you’ll observe the mixture transforming: it will lighten in color, become noticeably creamier, and gain some volume. This creaming process incorporates air, which is crucial for a lighter texture in your finished cookies.
- Step 2: Incorporate the Egg. Once your peanut butter and sugar mixture is light and fluffy, crack in the large egg. Continue to beat on medium speed, ensuring the egg is fully incorporated into the mixture. Scrape down the sides of the bowl as needed to make sure everything is evenly combined. The dough should now look cohesive and slightly glossy.
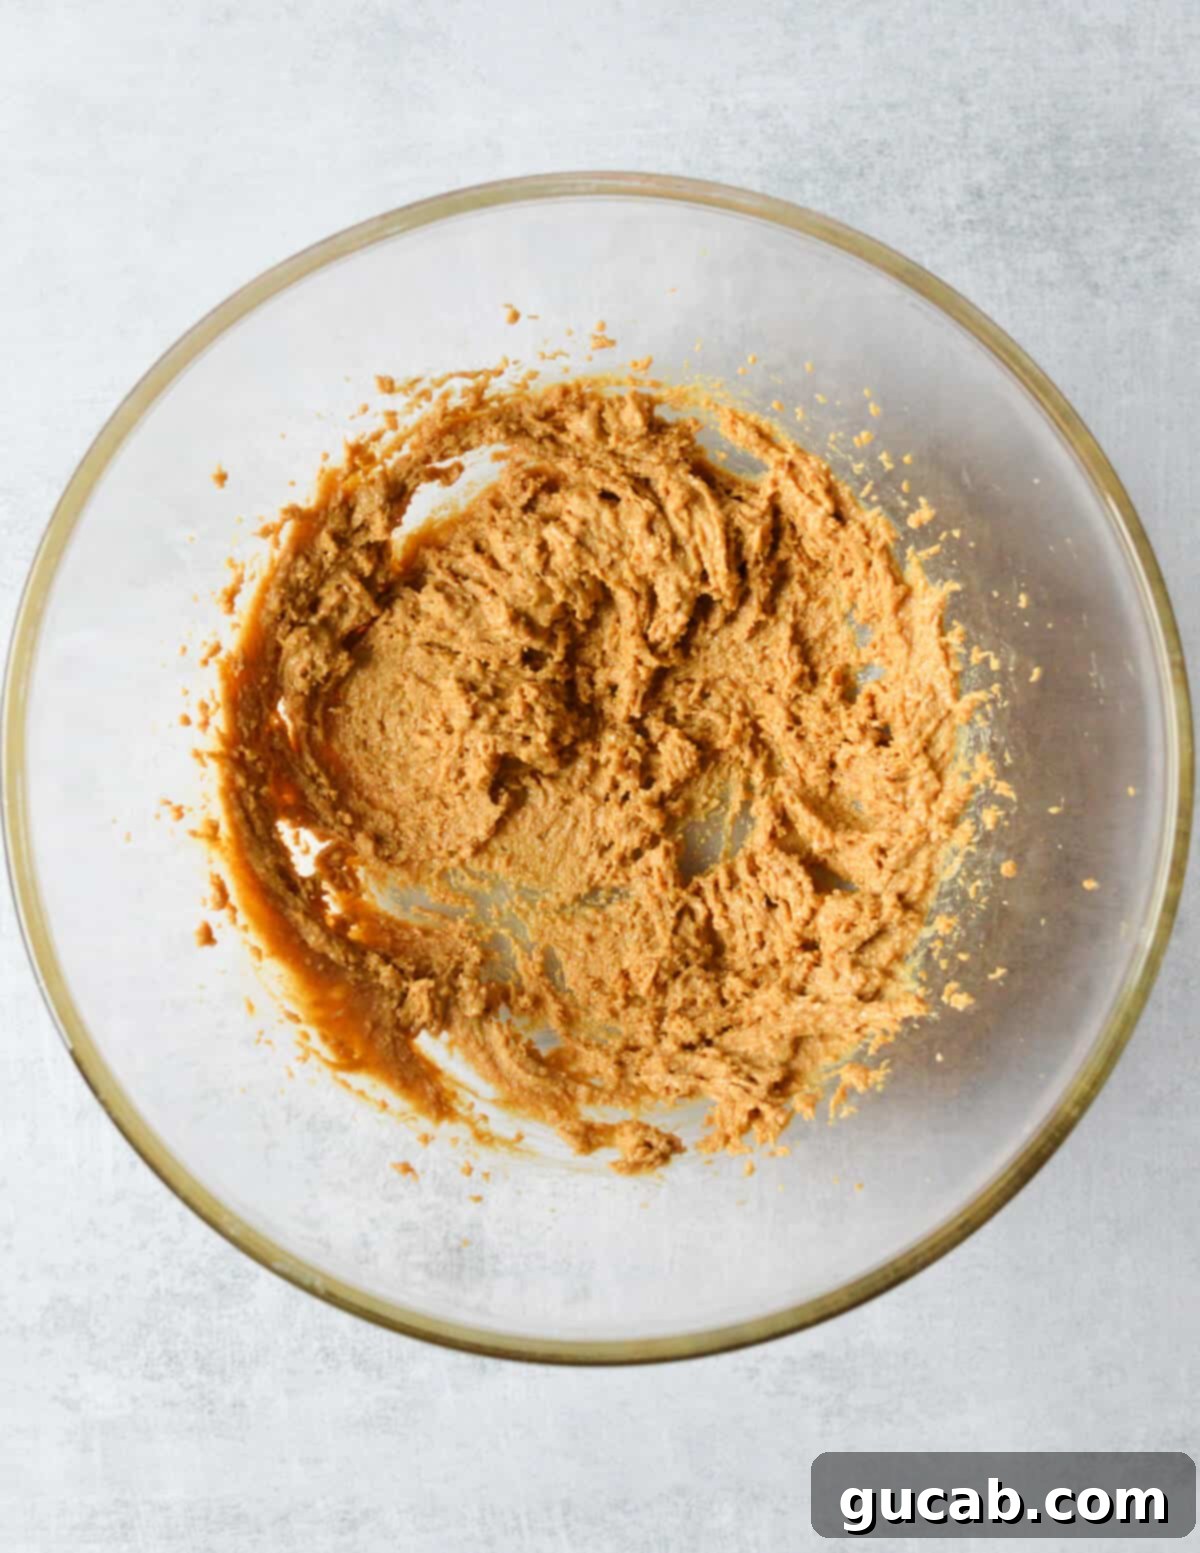
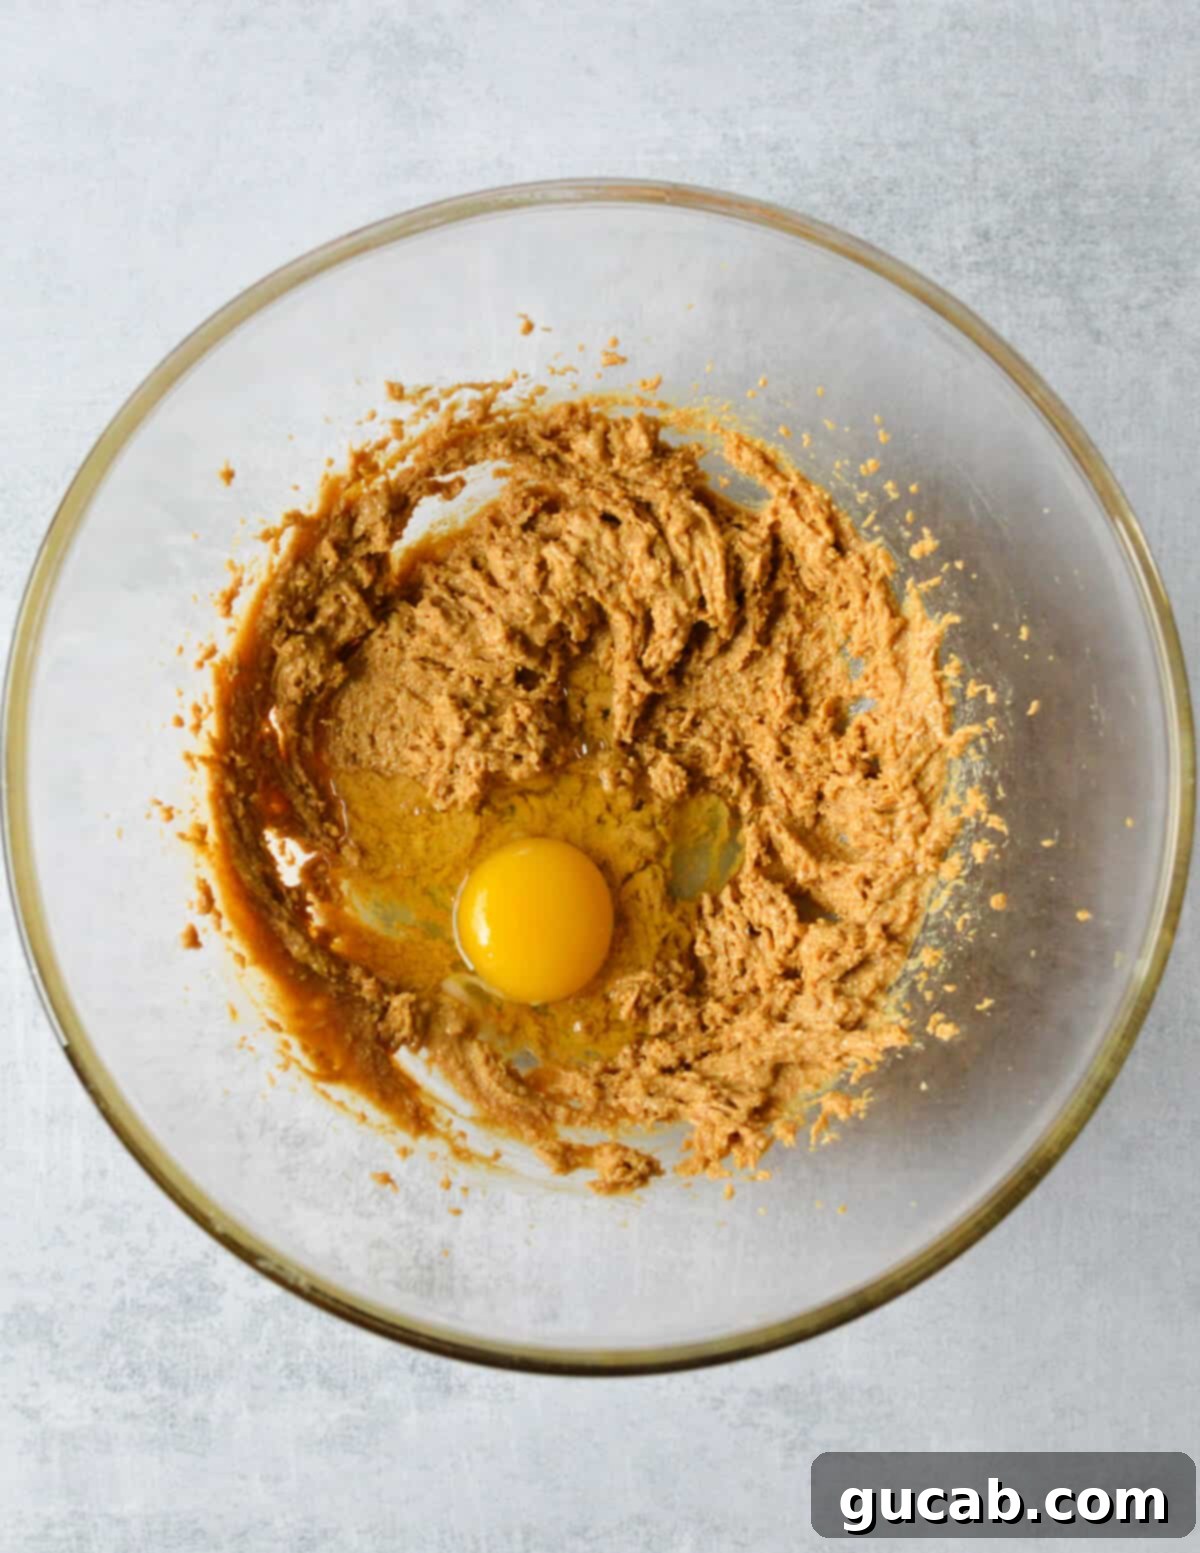
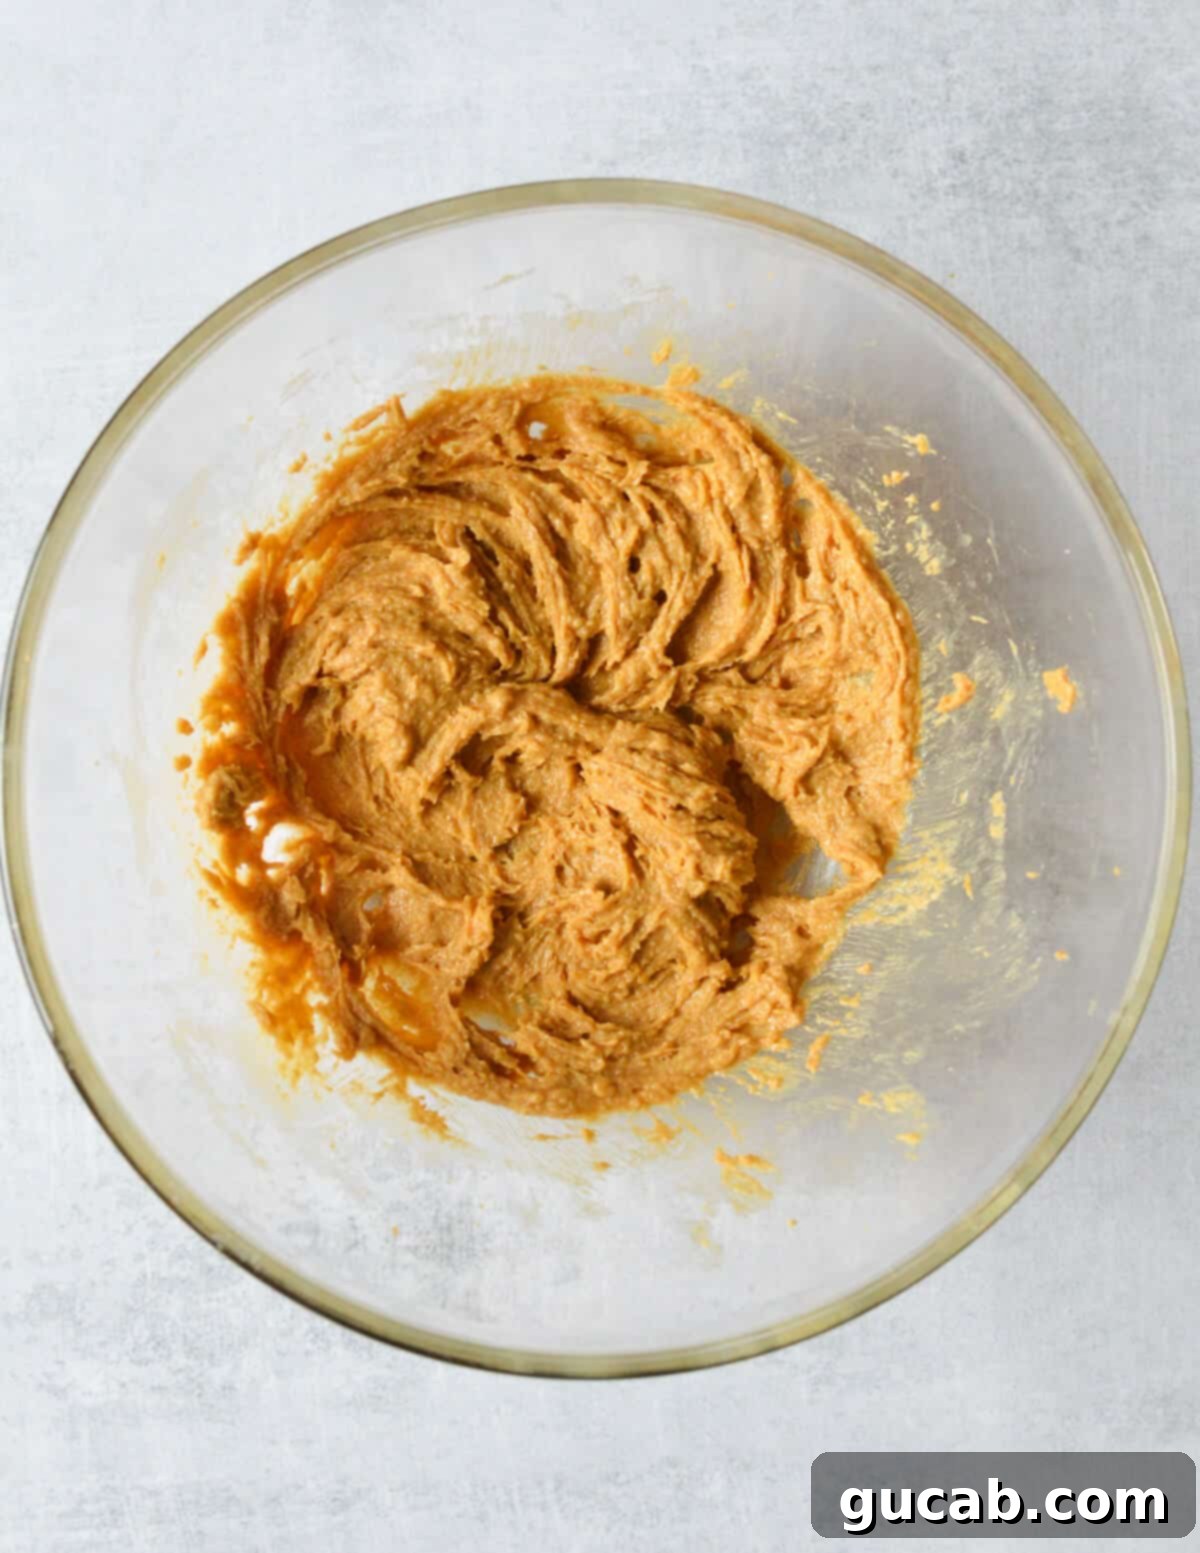
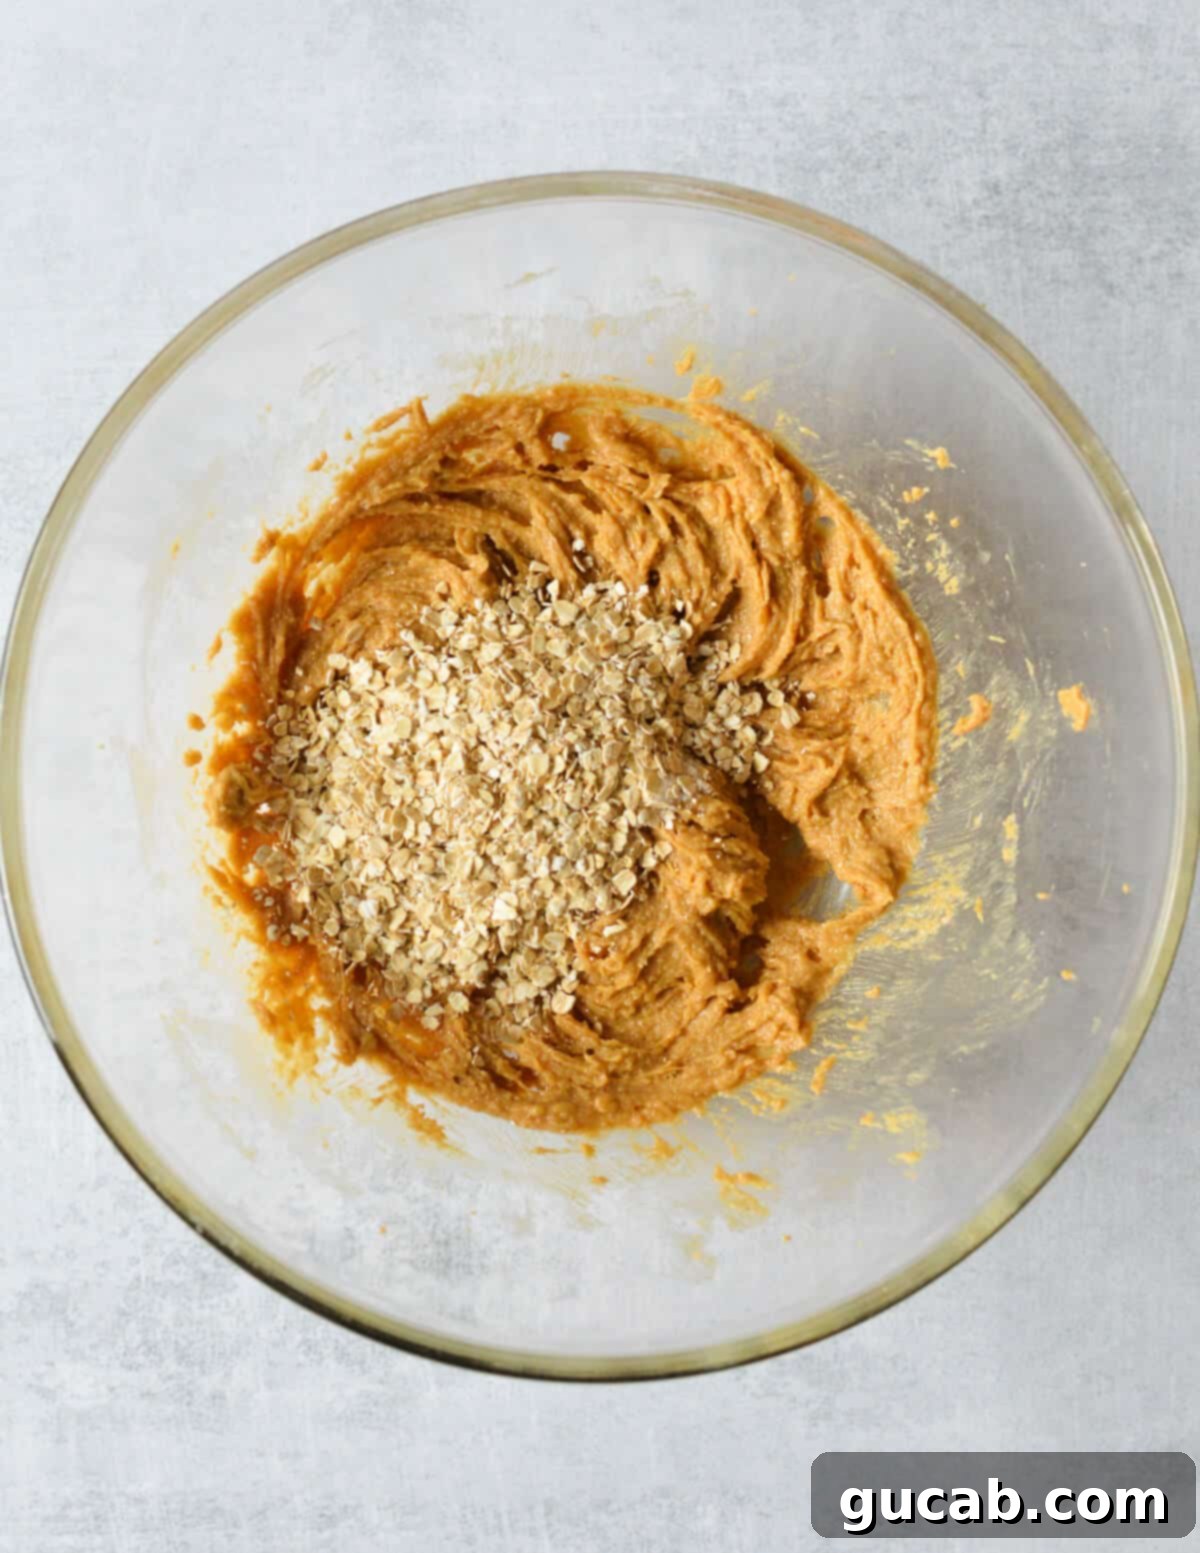
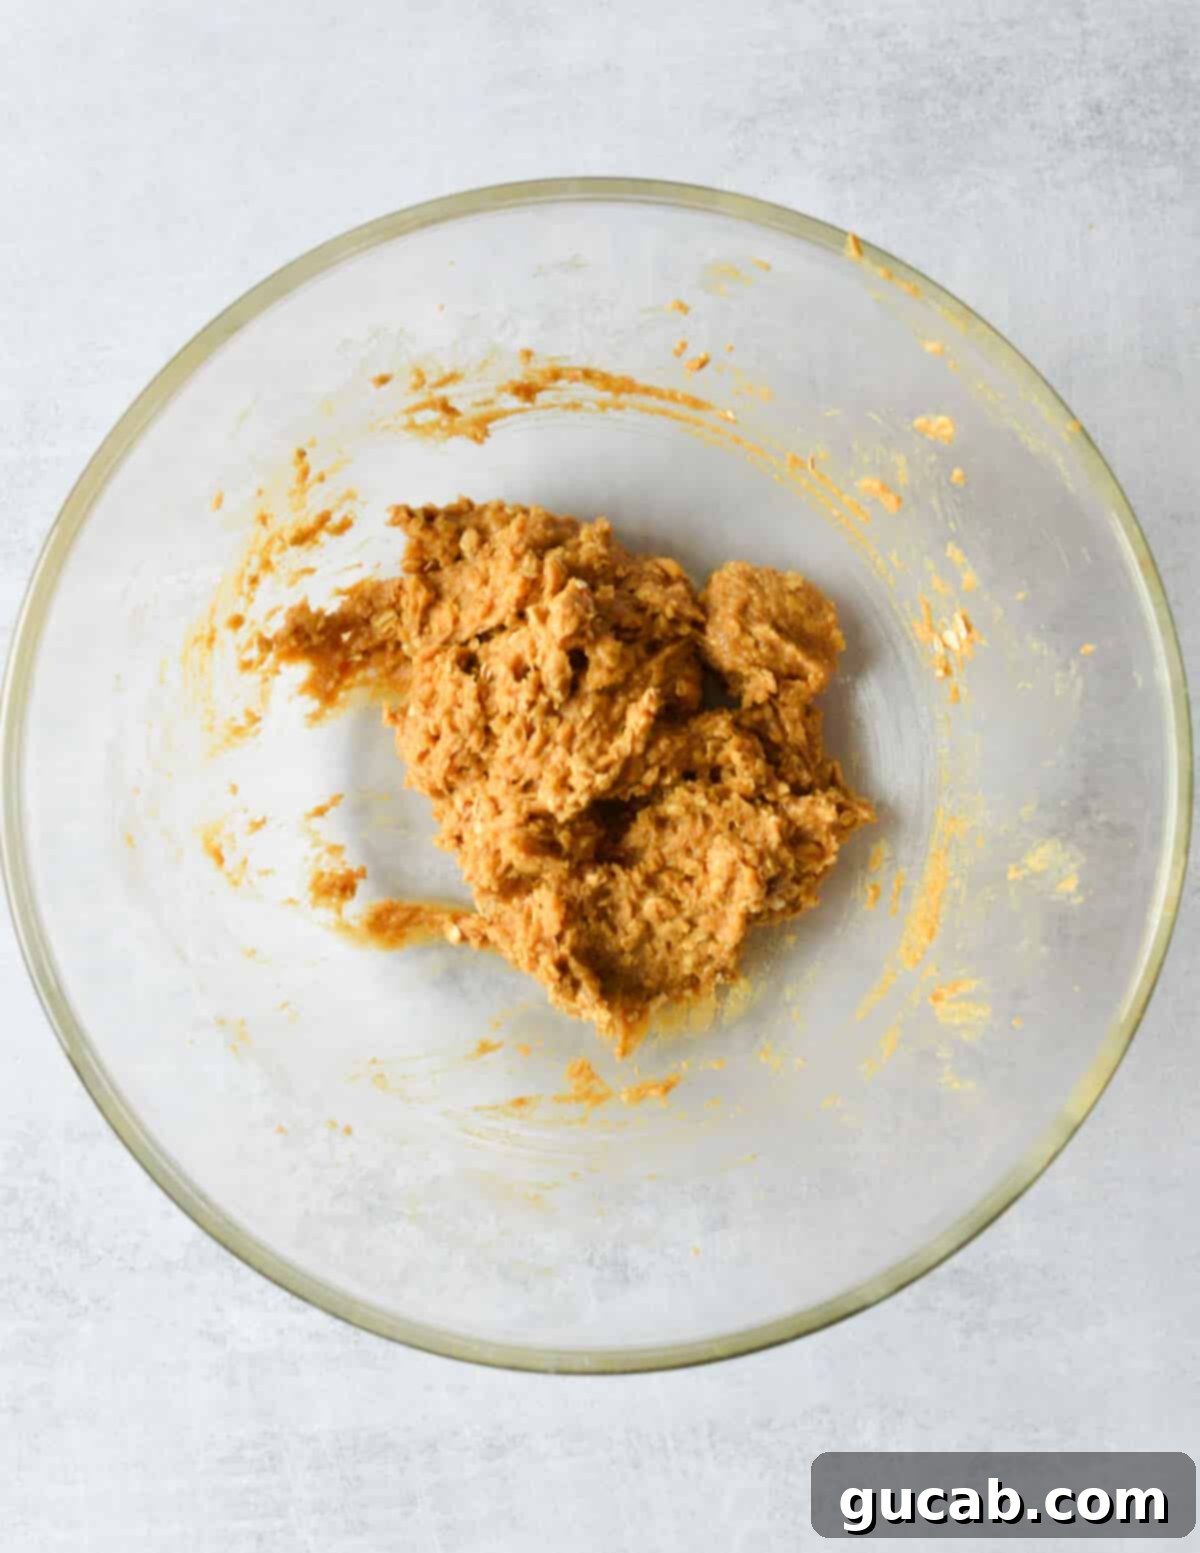
- Step 3: Add the Dry Ingredients. Now it’s time to introduce the quick oats, baking soda, and kosher salt. Add these dry ingredients to the wet mixture in the bowl. Beat on low speed until everything is just incorporated. Be careful not to overmix; overmixing can lead to tougher cookies. The finished cookie dough should be wonderfully soft and quite sticky, which is exactly the texture you’re looking for.
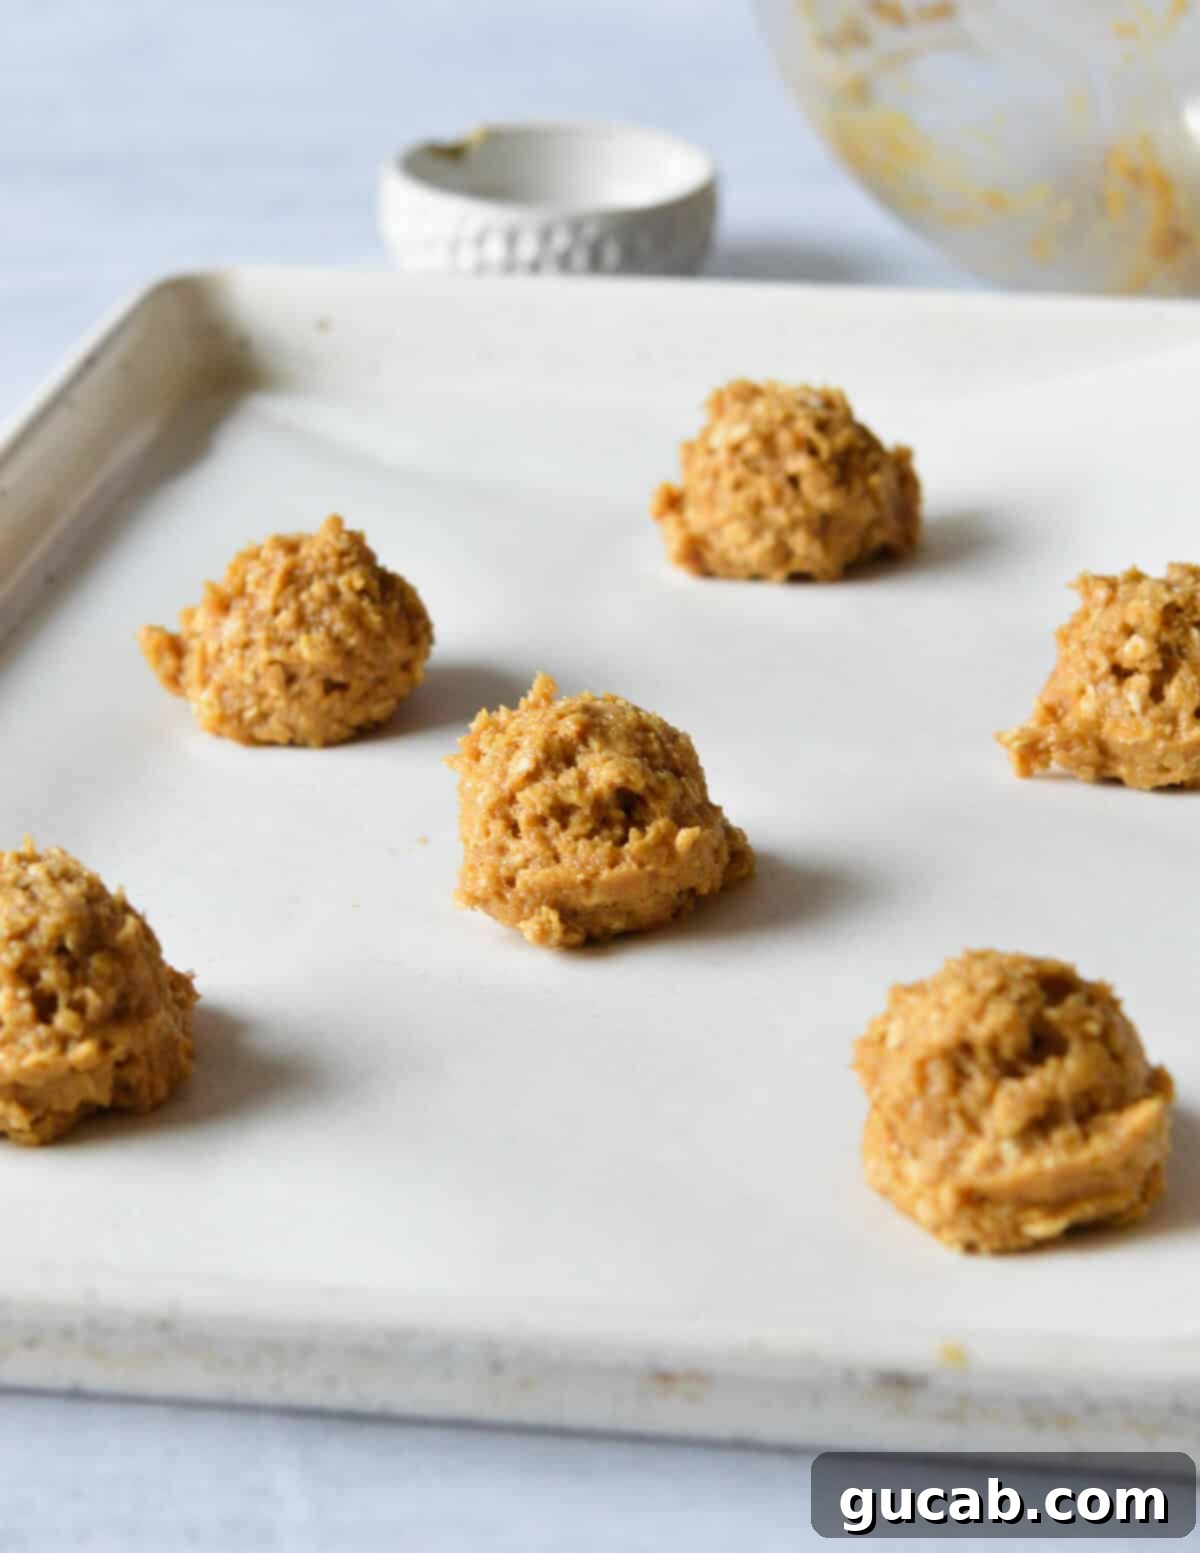
- Step 4: Scoop and Space Your Cookies. Preheat your oven to 350°F (175°C). Line a large baking sheet with parchment paper or a Silpat baking mat. Using a small cookie scoop (about 1.5 tablespoons), scoop generous balls of cookie dough onto the prepared baking sheet. It’s crucial to give these cookies plenty of space, as they will spread significantly during baking. To prevent them from running into each other, I recommend placing no more than 6 cookies per standard-sized sheet pan. This allows for even baking and proper air circulation.
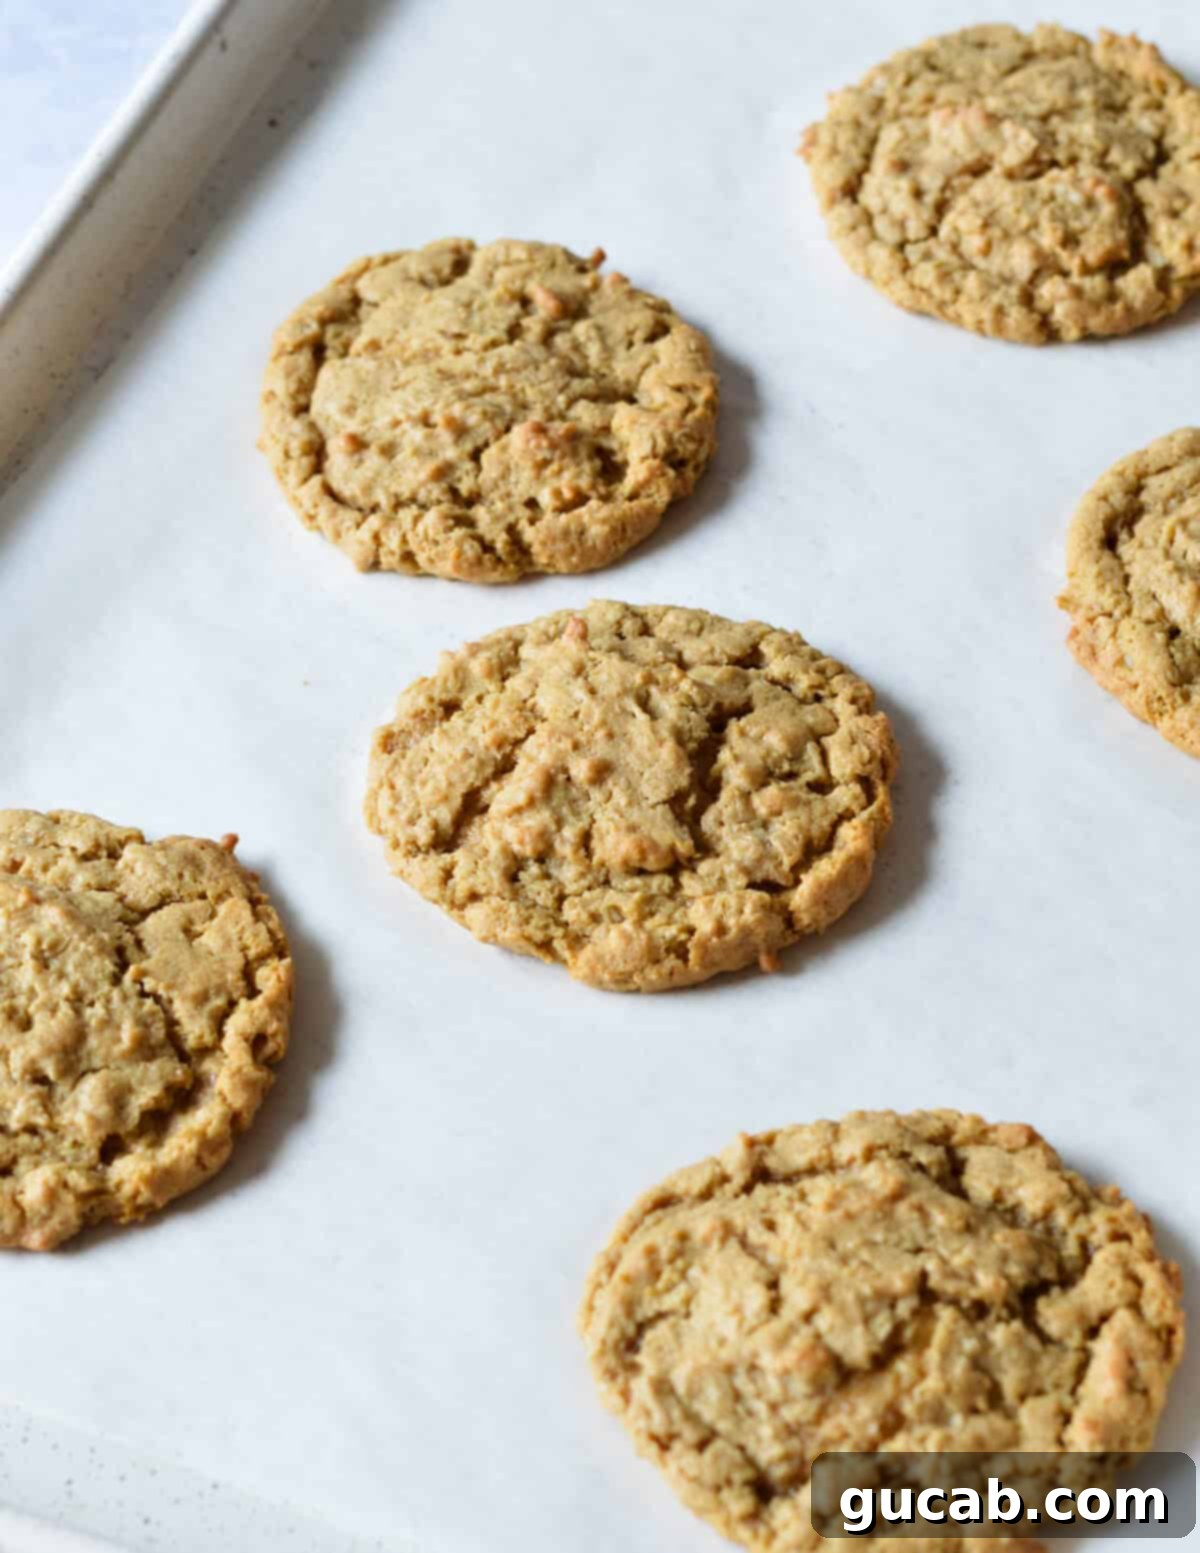
- Step 5: Bake to Perfection. Transfer the baking sheet to your preheated oven and bake for exactly 11 minutes. Keep a close eye on them during the last few minutes. The cookies are done when their edges appear lightly golden brown, but the middles still look slightly underdone and puffy. This “underdone” appearance is key to ensuring a soft, chewy interior once they cool.
- Step 6: Cool and Enjoy. This step is just as critical as baking! Once out of the oven, allow the cookies to cool on the hot sheet pan for at least 5 to 10 minutes. During this resting period, they will continue to set up and firm, transitioning from delicate to perfectly structured. Attempting to transfer them sooner will likely result in them falling apart due to their soft texture. After 10 minutes, they’ll be firm enough to move to a wire rack to cool completely. Repeat the process with any remaining cookie dough until you have a full batch of these delightful treats.
Expert Tips for Flourless Peanut Butter Cookie Success
Achieving the perfect texture and flavor for these flourless peanut butter cookies is easy with a few insider tips:
- Do Not Overbake the Cookies! This is perhaps the most crucial tip for soft and chewy cookies. As mentioned in the baking instructions, cookies are perfectly done when their edges are lightly golden brown, but their centers still look slightly underbaked and soft. They will continue to cook and set as they cool on the hot baking sheet. If the entire cookie looks fully baked and firm when you remove it from the oven, it will set up to be crispy and hard once completely cool, losing that desirable soft and chewy texture. Err on the side of slightly underbaked for ultimate chewiness.
- Allow the Cookies to Cool on the Sheet Pan. Patience is a virtue when it comes to these cookies! Immediately after baking, these cookies are very fragile. Their structure is still setting, and if you try to transfer hot cookies to a wire rack too soon, they are highly likely to fall apart. Allowing them to cool and firm up on the baking sheet for at least 10 minutes gives them the necessary time to stabilize. After this period, they will be strong enough to be moved gently to a wire rack to finish cooling completely. This step ensures beautiful, intact cookies.
- Use the Right Peanut Butter. This recipe has not been tested with natural peanut butter, and I strongly recommend against using it. Natural peanut butter, which often separates into oil and solids, has a different fat content and consistency than conventional peanut butter. This difference can significantly impact the cookie’s texture, leading to a greasy or crumbly result that doesn’t hold together as intended in a flourless recipe. For consistent and delicious results, stick to a creamy, processed peanut butter (like Peter Pan or Jif). The stabilizers in these types of peanut butter are vital for the structure of these particular cookies.
- Measure Precisely. Baking is a science, especially when you’re working with a unique flourless recipe. Use proper measuring cups and spoons, and for best results, consider using a kitchen scale for accuracy, especially for the peanut butter and sugars. This ensures the correct ratio of ingredients, which directly impacts the texture and spread of your cookies.
- Don’t Flatten the Dough Balls. Unlike some traditional peanut butter cookie recipes where you press down with a fork, these flourless cookies naturally spread and develop their crackled tops on their own. Scooping them as round balls is sufficient; let the oven do the work!
Storage & Freezing: Keeping Your Cookies Fresh and Delicious
One of the many great things about these flourless peanut butter cookies is how well they store and freeze, allowing you to enjoy them days or even months after baking!
Storage Tips:
- Always let the cookies cool completely before you store them! Storing warm cookies will create condensation inside the container, leading to soggy cookies and potentially promoting spoilage.
- Once fully cooled, transfer your cookies to a zip-top bag or an airtight container. Store them at room temperature on your countertop or in your pantry. These cookies will maintain their optimal freshness, chewy texture, and delicious flavor for up to 5 days.
Freezing Tips:
As an avid baker, I am a huge fan of freezing treats! It’s the perfect way to manage portions, reduce waste, and ensure you always have a delightful dessert on hand. You can freeze these flourless peanut butter cookies in one of two convenient ways:
- Freeze them after they’re baked: This is a fantastic option for having ready-to-eat cookies whenever a craving strikes. Once the cookies have cooled completely, arrange them in a single layer on a baking sheet and flash freeze for about 30 minutes until solid. This prevents them from sticking together. Then, transfer the frozen cookies to a heavy-duty zip-top freezer bag or an airtight freezer-safe container, separating layers with parchment paper if stacking. They can be frozen for up to 3 months. To enjoy, simply defrost them at room temperature for an hour or two, or pop them into the microwave in 15-second intervals until they are perfectly soft and warm.
- Freeze them as cookie dough and then bake: This method is ideal for fresh, warm cookies anytime without the full baking session. Scoop the raw cookie dough into individual balls onto a parchment-lined plate or small baking sheet. Flash freeze these dough balls for about 1-2 hours until they are solid. Once frozen, transfer the dough balls to a zip-top freezer bag or an airtight freezer-safe container. They can be frozen for up to 3 months. When you’re ready to bake, there’s no need to thaw! Simply place the frozen cookie dough balls on a parchment-lined sheet pan and bake from frozen as directed in the recipe, adding an extra 2-3 minutes to the baking time to account for the frozen state. This allows you to bake just a few cookies at a time, ensuring maximum freshness and enjoyment.
Freezing cookies is truly a must for me. If I ate all the treats I baked fresh, I’d probably morph into a sugar cube! More importantly, I hate to waste perfectly good desserts and/or food, and freezing ensures that every delicious cookie gets enjoyed.
Delicious Cookie Variations and Mix-Ins
While perfect on their own, these flourless peanut butter cookies are also the ideal canvas for a variety of tasty mix-ins. Their robust peanut butter flavor pairs beautifully with many additions, allowing you to customize each batch to your liking. If you’re maintaining a dairy-free or gluten-free diet, always double-check that any mix-ins you choose are also certified dairy-free and/or gluten-free to keep your cookies compliant.
Here are some delicious options to inspire your next batch:
- Chocolate Chips: A classic pairing that never disappoints, transforming them into irresistible flourless peanut butter chocolate chip cookies! For a generous amount of chocolate in every bite, I recommend adding ⅔ cup of chocolate chips. If you prefer a more moderate chocolate presence, ½ cup will do the trick. Dark, milk, or semi-sweet chocolate chips all work wonderfully.
- Butterscotch Chips: For a different kind of sweet, caramel-like flavor, butterscotch chips are an excellent choice. Their distinct taste complements the peanut butter beautifully, offering a nostalgic and comforting twist.
- White Chocolate Chips: Peanut butter and white chocolate create an undeniably killer combination! The creamy, sweet notes of white chocolate perfectly balance the saltiness and richness of the peanut butter, making for an incredibly decadent cookie.
- M&M’s: Add a pop of color and extra chocolatey crunch with M&M’s. These are especially fun for holidays (think seasonal M&M’s!) or for baking with kids.
- Dried Fruit: For a touch of natural sweetness and chewiness, dried fruits are a delightful addition. Consider cranberries (for a tart contrast), cherries (for rich fruitiness), raisins, or golden raisins. Chop larger dried fruits into smaller pieces for even distribution throughout the dough.
- Chopped Nuts: If you’re a fan of extra crunch, chopped peanuts (for even more peanut-y goodness!), almonds, or cashews can be folded into the dough. This adds texture and a deeper nutty flavor profile.
- Espresso Powder: For an elevated flavor, add a teaspoon of instant espresso powder to the dry ingredients. It won’t make the cookies taste like coffee, but it will significantly deepen and enhance the chocolate and peanut butter flavors.
Experiment with your favorite combinations to find your ultimate flourless peanut butter cookie creation!
More Delicious Cookie Recipes to Explore
If you loved these flourless peanut butter cookies, you’re in for a treat! Here are a few more irresistible cookie recipes from our collection that you might enjoy, ranging from classic chewy textures to other gluten-free delights:
- Chewy Peanut Butter Cookies
- Oat Flour Peanut Butter Cookies
- Peanut Butter Oatmeal Cookies
- Flourless Oatmeal Cookies
Flourless Peanut Butter Cookies
Carolyn
Pin Recipe
Equipment
-
Stand mixer or hand mixer
-
Baking Sheets
-
Parchment Paper or Silpat
-
Small Cookie Scoop
Ingredients
- ½ cup Peanut Butter, creamy
- ¼ cup Brown Sugar
- ¼ cup Granulated Sugar
- 1 Large Egg
- ⅓ cup Quick Cooking Oats Use certified gluten-free oats for gluten-free cookies
- ½ t. Baking Soda
- ¼ t. Kosher Salt
Instructions
-
Preheat your oven to 350 degrees Fahrenheit (175°C). In the bowl of a stand mixer fitted with the paddle attachment, or using a hand mixer, beat together the creamy peanut butter, brown sugar, and granulated sugar for about 2 minutes until the mixture is lighter in color and fluffy.
-
Add the large egg to the mixture and beat until it is fully incorporated, scraping down the sides of the bowl as needed to ensure everything is well combined.
-
Next, add the quick oats, baking soda, and kosher salt to the bowl. Beat on low speed until all the dry ingredients are just mixed in. The cookie dough will be soft and sticky.
-
Using a small portion scoop (approximately 1.5 tablespoons), scoop 6 cookies onto a baking sheet lined with a Silpat or parchment paper. Remember to leave ample space between each cookie, as they will spread significantly in the oven.
-
Bake for 11 minutes. The edges should be golden brown and the middles should still look slightly soft and underdone. Allow the cookies to cool and set up on the sheet pan for at least 5-10 minutes before transferring them to a wire rack. Remove the cookies and repeat with the rest of the cookie dough.
Nutrition
Frequently Asked Questions About Flourless Peanut Butter Cookies
Here are some common questions and answers to help you master these delicious flourless peanut butter cookies:
- Can I use natural peanut butter for this recipe?
No, I highly recommend against using natural peanut butter (the kind that separates oil). Conventional peanut butter with stabilizers (like Peter Pan or Jif) is crucial for the correct texture and structure of these flourless cookies, ensuring they hold together and spread properly. - Are these cookies truly gluten-free?
Yes, this recipe is naturally gluten-free as it doesn’t use any wheat flour. However, if you have a severe gluten allergy or celiac disease, make sure to use certified gluten-free quick oats to avoid cross-contamination. - Can I make these cookies vegan?
To make these cookies vegan, you would need to replace the egg. A “flax egg” (1 tablespoon ground flaxseed mixed with 3 tablespoons water, allowed to sit for 5 minutes) might work, but it hasn’t been tested specifically for this recipe. The texture might be slightly different. - Why are my cookies falling apart?
Cookies falling apart is often due to two main reasons: not letting them cool on the baking sheet long enough (they are very fragile when hot) or using natural peanut butter, which lacks the binding agents found in conventional peanut butter. Ensure you follow the cooling instructions carefully. - How can I prevent my cookies from being too dense?
Overmixing the dough can sometimes lead to a denser cookie. Beat until just combined after each addition. Also, ensure your baking soda is fresh and active, as it’s the primary leavening agent for these flourless cookies. - Can I add other mix-ins besides chocolate chips?
Absolutely! These cookies are very versatile. Feel free to add butterscotch chips, white chocolate chips, M&M’s, or even dried fruit like cranberries or chopped nuts for extra flavor and texture. Just be mindful of gluten-free/dairy-free requirements for any additions. - What’s the best way to store baked cookies?
Store fully cooled cookies in an airtight container at room temperature for up to 5 days. For longer storage, see our detailed freezing tips above!
We hope these tips help you create the most delightful flourless peanut butter cookies!
