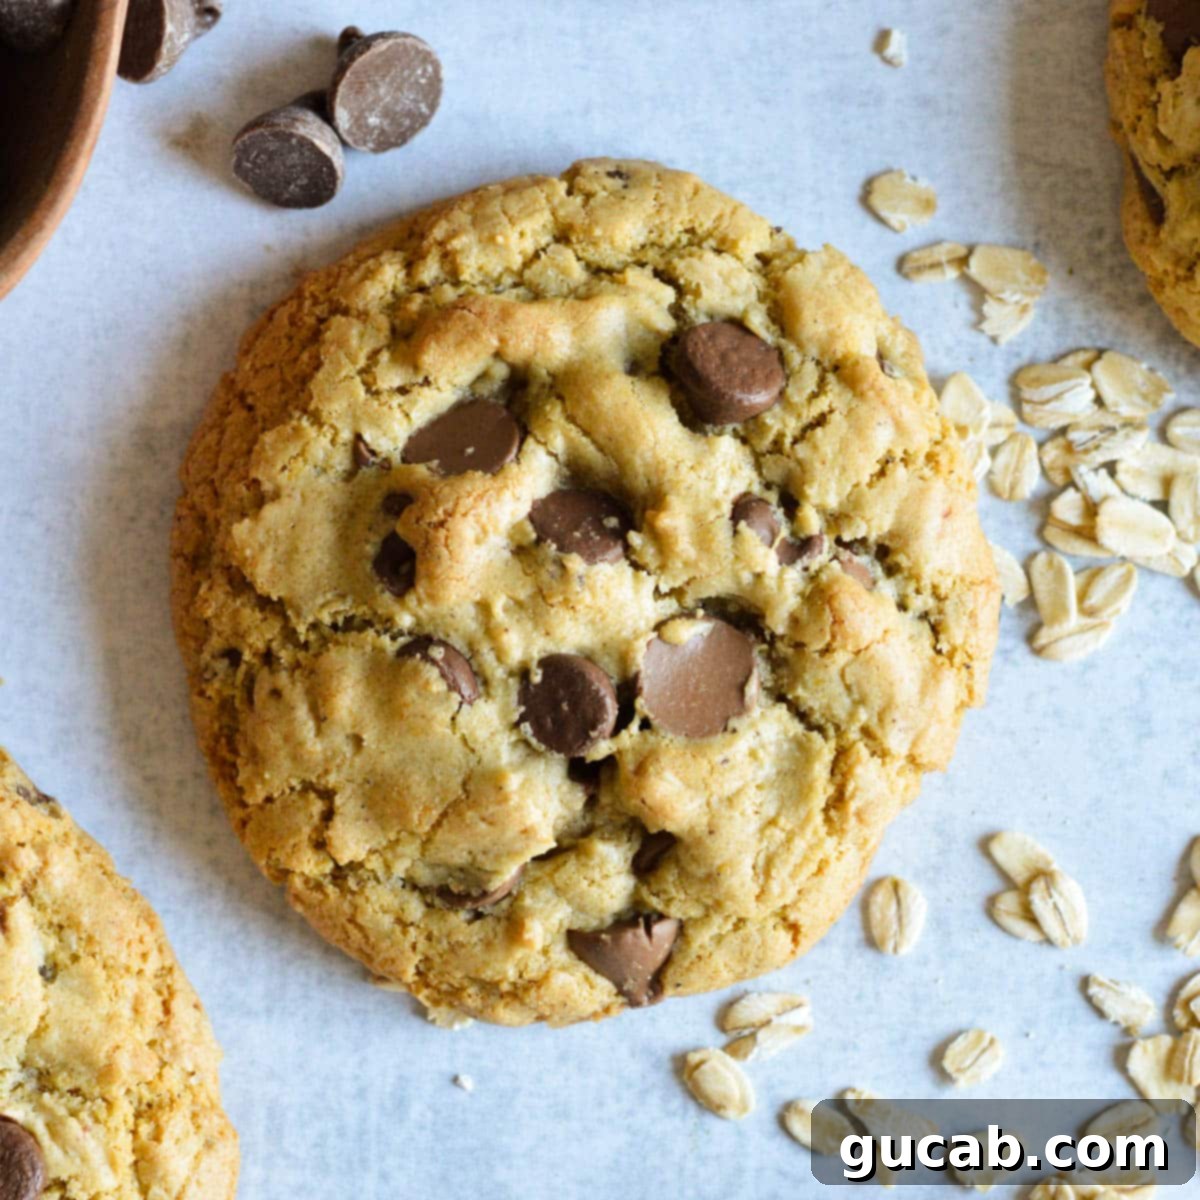
Irresistible Brown Butter Chocolate Chip Cookies: Your New Favorite Recipe
Prepare to bake the most incredible cookies of your life! These brown butter chocolate chip cookies are the epitome of cookie perfection. They boast irresistibly crisp, golden-brown edges that give way to wonderfully soft and chewy middles, generously studded with an abundance of melty chocolate chips. The secret? The magical transformation of butter into a rich, nutty, caramelized delight that elevates every bite. Trust us, once you try this recipe, you’ll understand why it’s the only one you’ll ever need.
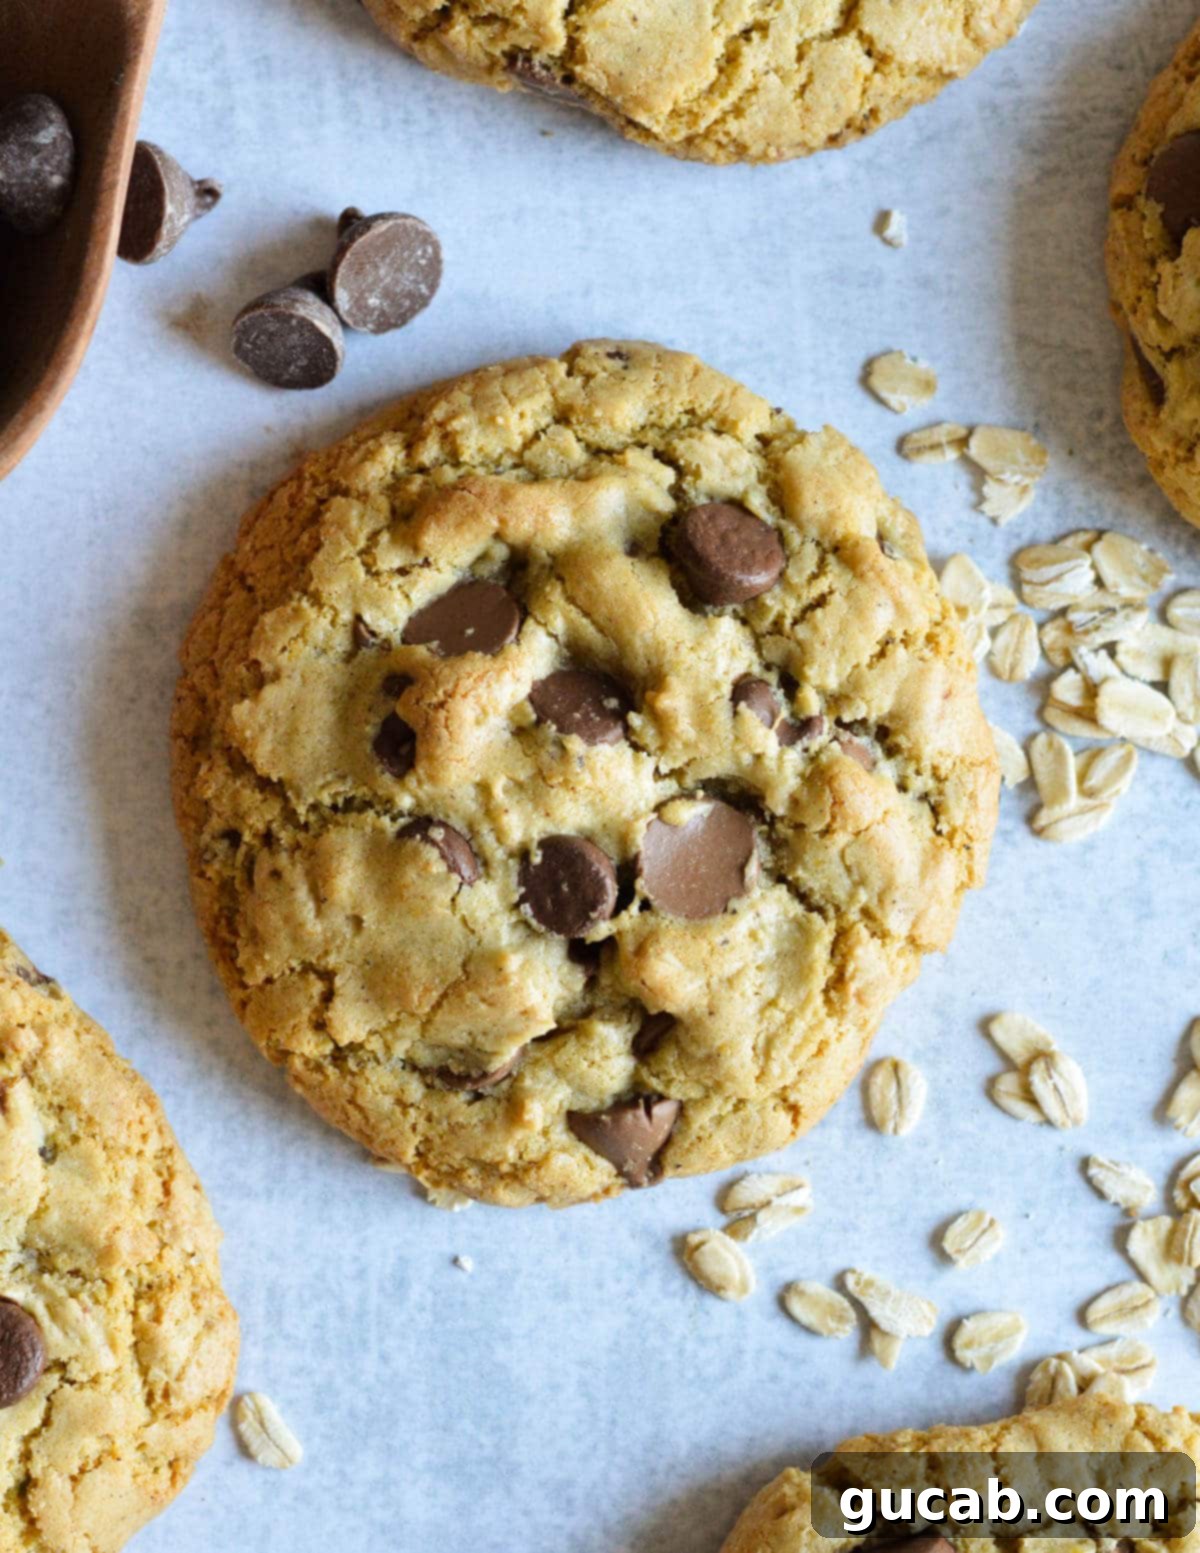
The Quest for the Ultimate Chocolate Chip Cookie Experience
My culinary journey has always held a special place for the classic chocolate chip cookie. It’s a humble dessert, yet so many factors can subtly influence its perfection. I embarked on a personal mission to create what I genuinely believe to be the ultimate version—a cookie that satisfies every craving and leaves you yearning for “just one more.” After countless batches, meticulous experiments with ingredient ratios, oven temperatures, and mixing techniques, I finally nailed it. This recipe isn’t merely good; it’s a true game-changer, setting an unparalleled standard for homemade cookie excellence.
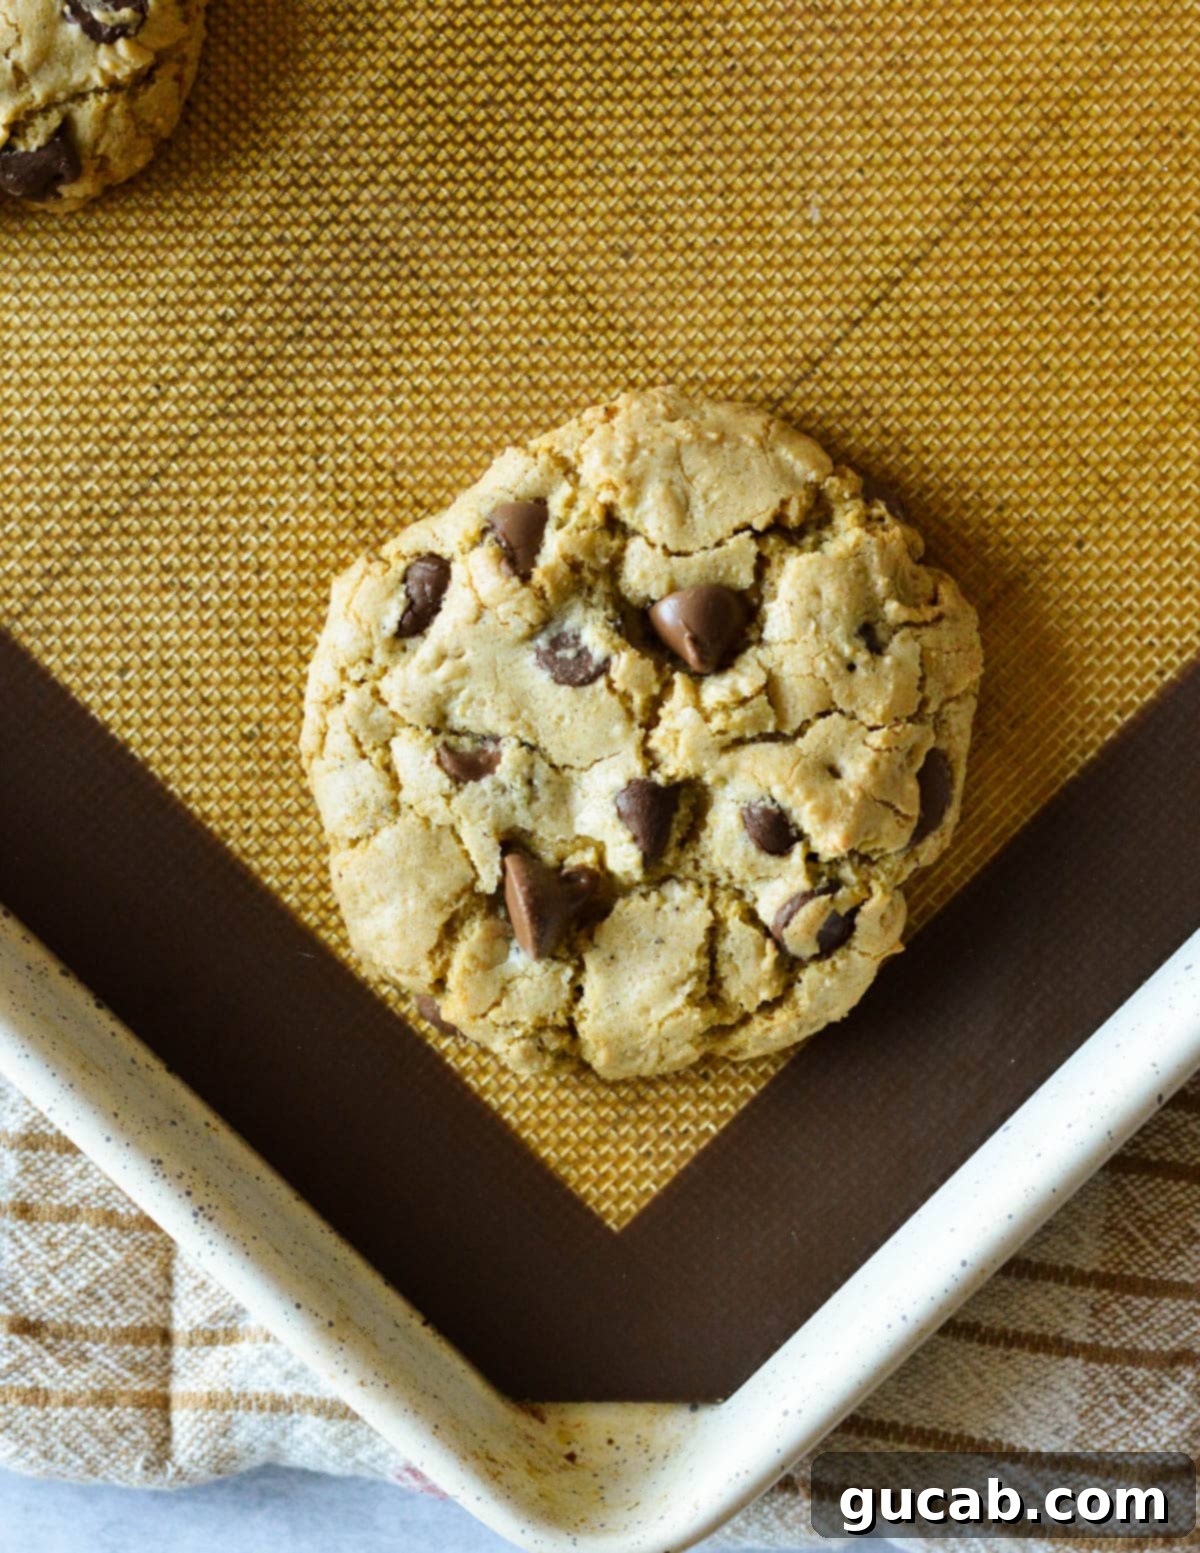
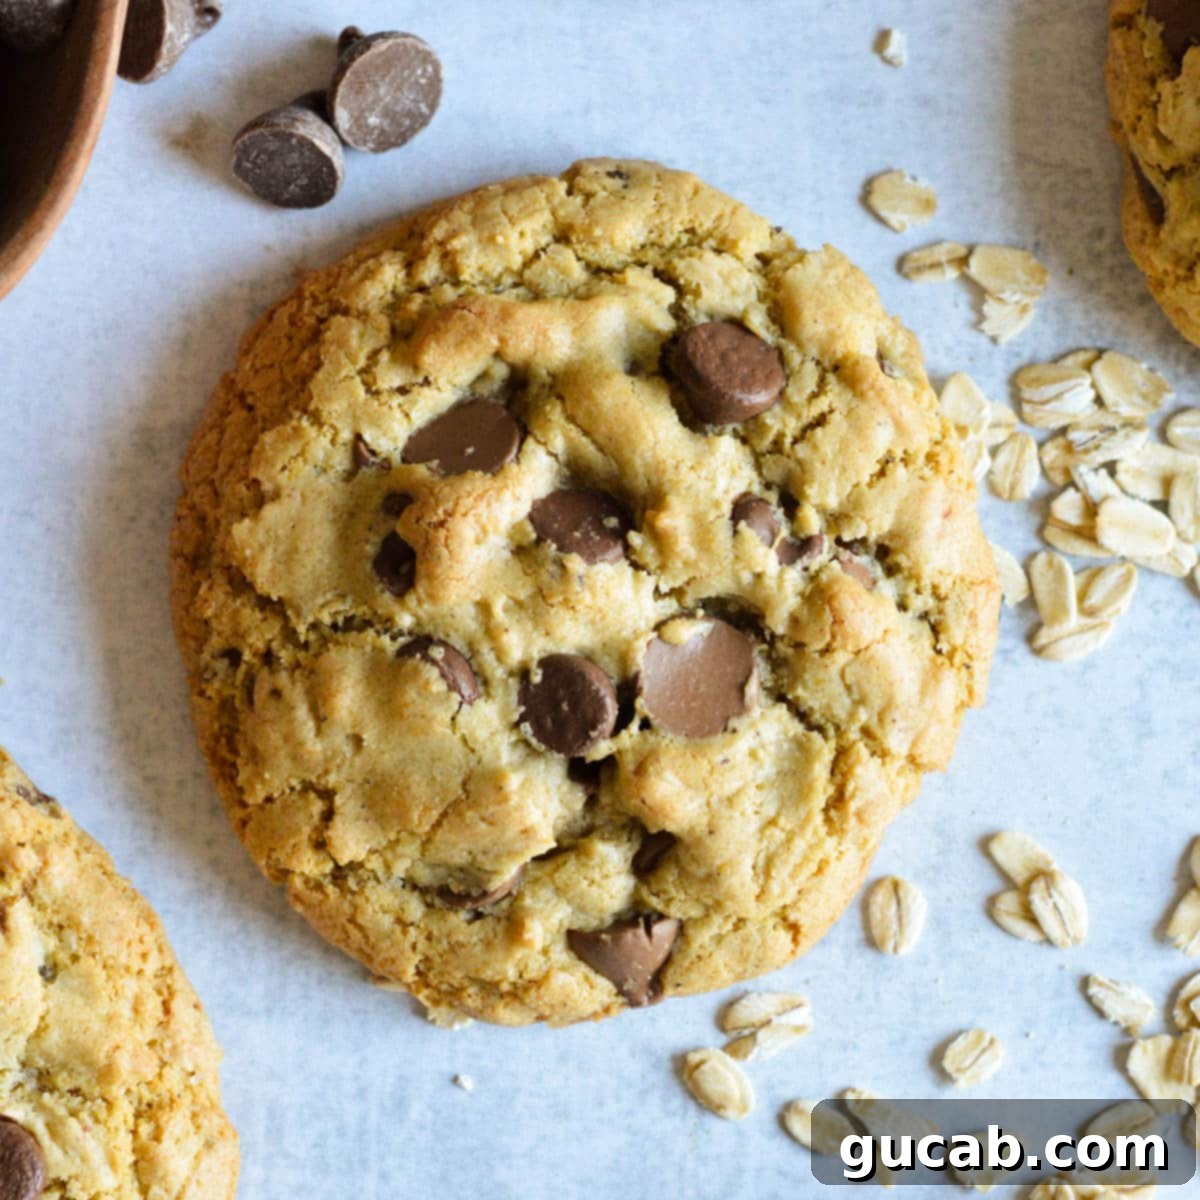
What precisely makes these brown butter chocolate chip cookies stand head and shoulders above the rest? They are perfectly thick and delightfully substantial, adorned with beautifully cracked tops that hint at their internal richness and complexity. Each bite offers a harmonious contrast: a satisfying crispness around the golden-brown edges giving way to an incredibly soft, almost fudgy center. And, of course, they are absolutely loaded with a generous amount of melty chocolate chips, ensuring a decadent, gooey experience in every single mouthful. The thoughtful addition of a touch of old-fashioned oats provides a subtle, pleasant chew and a rustic textural element that beautifully complements the overall sweetness and the deep, nutty flavor of the brown butter. These carefully balanced attributes combine to make these cookies truly otherworldly. My children, who are notoriously discerning critics, enthusiastically attest to their addictive quality, always begging for “Just. One. More.” These brown butter chocolate chip cookies are, without a doubt, that exceptionally good!
Decoding the Key Ingredients: What Makes This Recipe Special?
Every single ingredient and its precise amount in this recipe are chosen with careful intention, contributing specifically to the unparalleled texture, profound flavor, and overall resounding success of these magnificent cookies. Understanding their individual roles will not only enhance your appreciation for the careful balance within this recipe but also empower you to achieve consistently perfect, bakery-quality results every single time you bake. Here’s a closer look at what you need and why each component is vital:
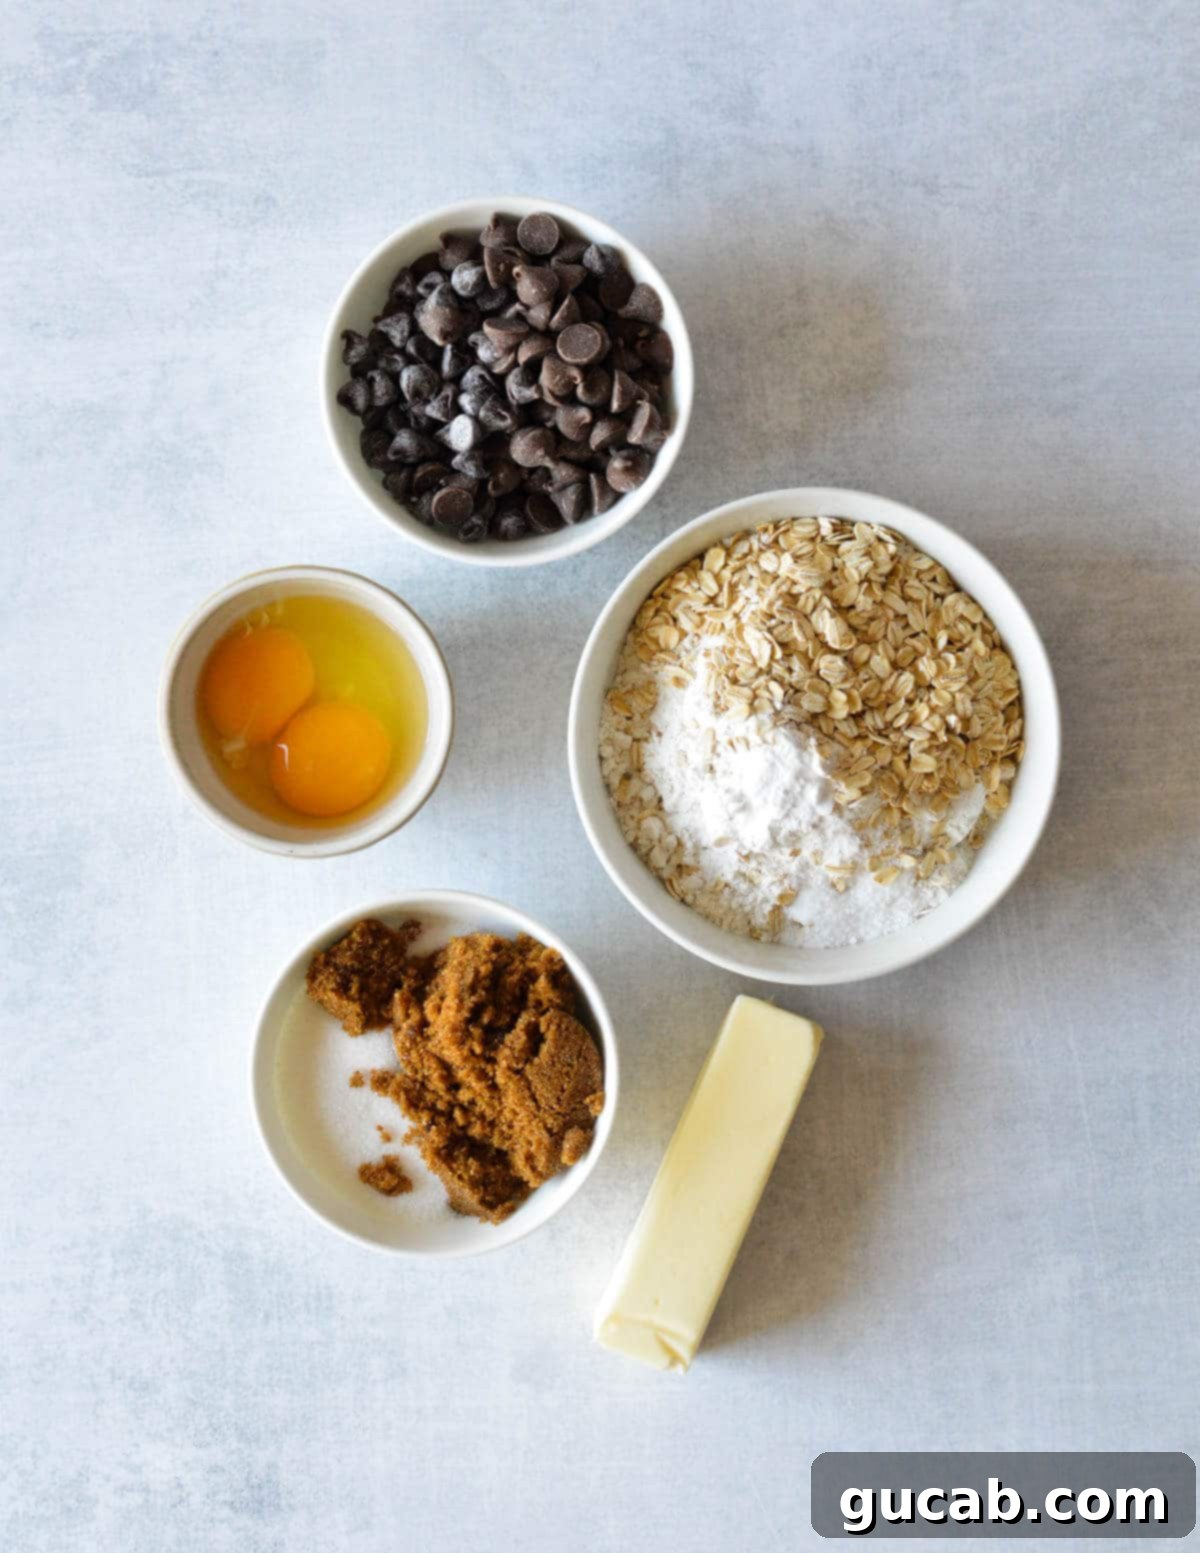
- Unsalted Butter: This is undoubtedly the star of our show, as it’s destined for the crucial browning process! Using unsalted butter grants you complete and precise control over the salt content in your finished cookies. The transformative browning process, which involves the Maillard reaction, converts ordinary butter into a deeply nutty, wonderfully complex, and exquisitely aromatic ingredient. This develops a rich, toasted, caramel-like flavor that is simply unparalleled and impossible to replicate with unbrowned butter. You’ll need one standard stick, which conveniently measures 8 tablespoons or 4 ounces.
- White and Brown Sugar: This dynamic duo is absolutely essential for cultivating the perfect, multifaceted cookie texture. Granulated white sugar plays a vital role in contributing to the desirable crispness of the cookie’s edges and promoting the ideal amount of spread during baking. Dark brown sugar, with its significantly higher molasses content, is crucial for infusing the cookies with moisture, creating a wonderfully chewy texture, and adding a deeper, more pronounced caramel-like flavor. The natural acidity of molasses in dark brown sugar also reacts beneficially with baking soda, contributing to those characteristic and aesthetically pleasing crackled tops.
- Vanilla Extract: Never underestimate the profound power of a high-quality vanilla extract! It acts as a masterful flavor enhancer, expertly weaving together and amplifying all the other sweet and nutty notes in the cookie. Investing in a pure vanilla extract, rather than imitation, makes a truly noticeable difference in the overall aroma and taste profile. Pro Tip: Purchasing a large bottle from a wholesale club like Costco often offers exceptional value, ensuring you always have this indispensable ingredient readily available for all your baking adventures.
- Egg + Extra Yolk: This is a golden secret for achieving an exceptionally rich, tender, and soft middle. The whole large egg provides essential moisture and contributes to the cookie’s overall structure, while the additional egg yolk introduces extra fat content without adding more egg white. This crucial extra fat is what helps create an incredibly tender, delightfully chewy, and satisfyingly dense interior, effectively preventing a dry or cakey texture and significantly boosting the cookies’ inherent richness.
- All-Purpose Flour: This common baking staple forms the primary structural foundation for our cookies. It is absolutely crucial not to over-measure your flour; too much will invariably lead to dry, crumbly, and dense cookies. The dough will indeed feel noticeably stickier and softer than many conventional cookie doughs you might be accustomed to, and this specific consistency is precisely what you desire for a perfectly chewy and soft-baked result. For those with dietary considerations, Bob’s Red Mill’s 1-to-1 Gluten-Free Baking Flour can serve as an excellent and highly effective alternative.
- Baking Soda: This indispensable leavening agent is vital for providing the necessary chemical rise during baking and plays a key role in contributing to the cookies’ signature, appealingly crackled tops. When activated by the mild acidity present in brown sugar (molasses) and combined with the oven’s heat, it produces carbon dioxide gas. This gas causes the cookies to spread and puff up slightly before settling into that ideal, perfectly flat, intensely chewy shape with delicate, crinkly edges.
- Kosher Salt: Salt in baking is far more than just a seasoning; it acts as a critical flavor enhancer, effectively balancing the sweetness and significantly intensifying all the other nuanced flavors, particularly the rich chocolate and deep brown butter notes. If you only have regular table salt on hand, it is imperative to reduce the amount specified by half, as table salt crystals are much finer and thus more potent by volume than kosher salt.
- Chocolate Chips: A generous and abundant amount of chocolate is an absolute non-negotiable for a truly satisfying cookie experience! This recipe ingeniously calls for a fantastic combination of both milk chocolate and semi-sweet chocolate chips. This thoughtful blend delivers the creamy, comforting sweetness of milk chocolate alongside the deeper, slightly bitter notes of semi-sweet chocolate, culminating in a complex, multi-layered, and deeply satisfying chocolate experience. Feel empowered to experiment further with chocolate chunks or even finely chopped chocolate bars for varied melt characteristics and textural surprises within your cookies.
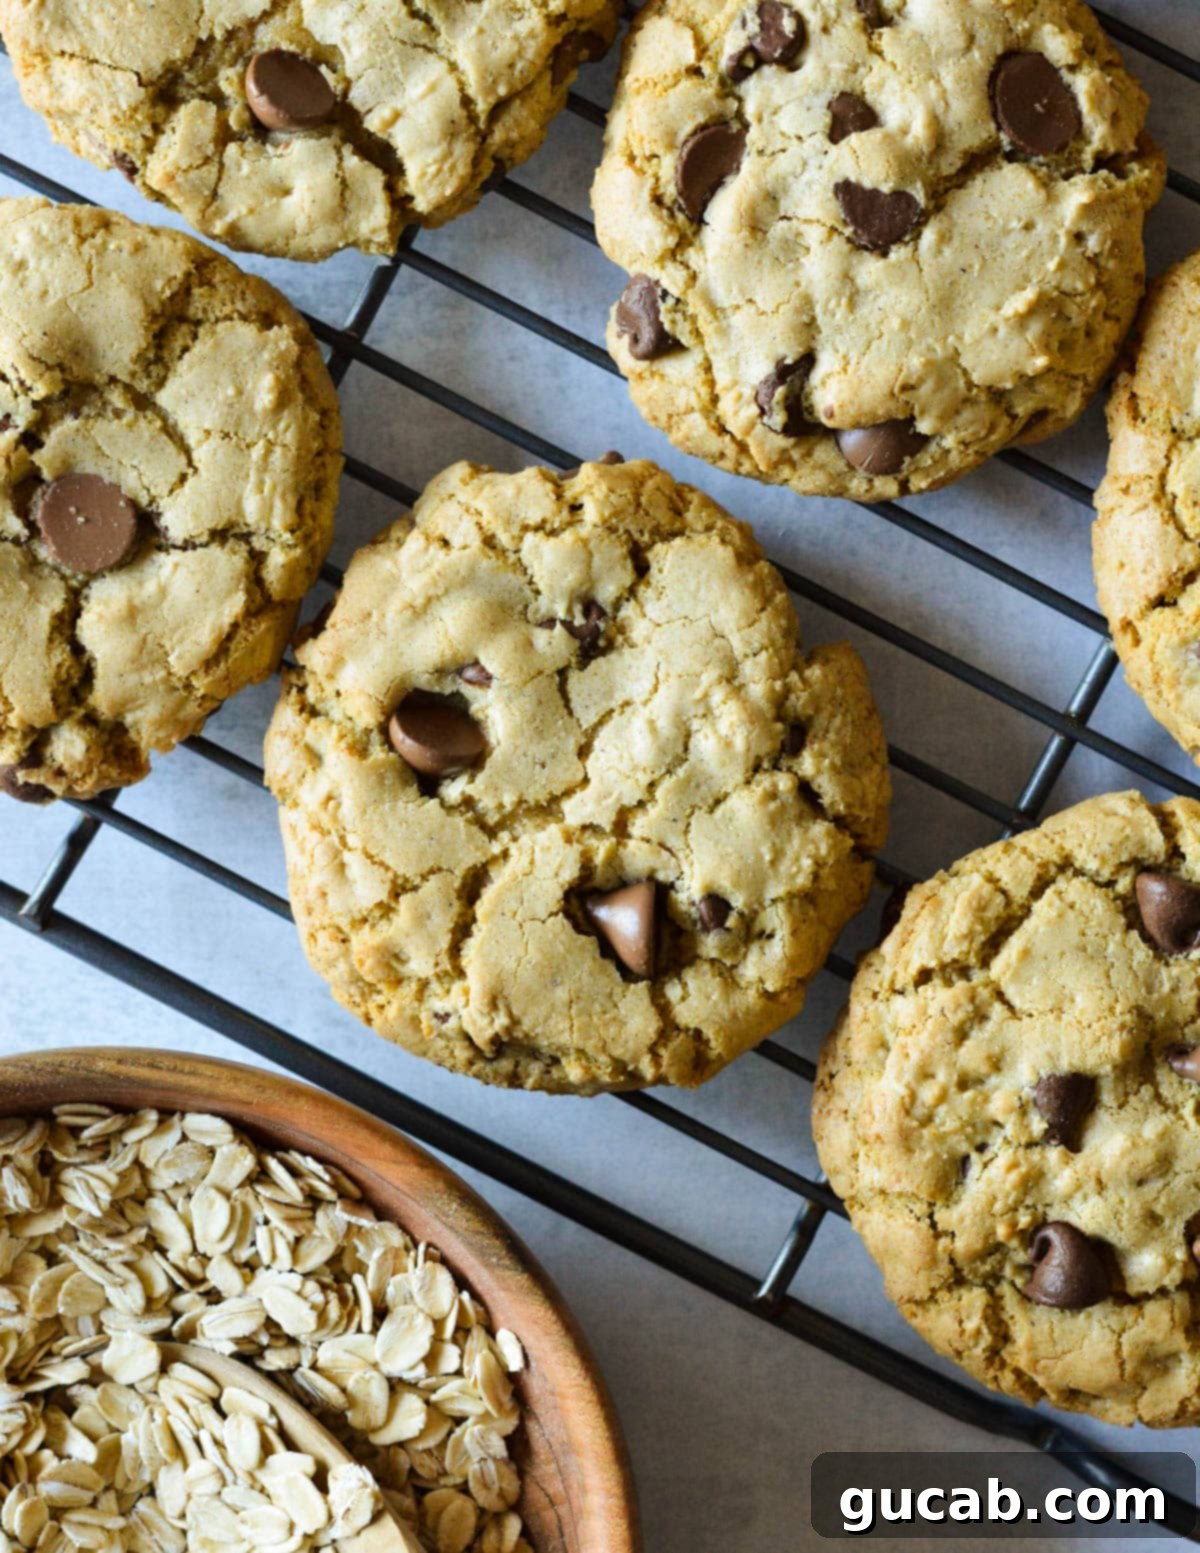
Mastering the Art of Browning Butter for Enhanced Flavor
Browning butter is a technique that, while simple, is profoundly transformative and truly elevates these cookies from merely good to absolutely extraordinary. It miraculously turns ordinary melted butter into a fragrant, deeply nutty, and beautifully caramelized delight, imparting an incredible depth of flavor that is the hallmark of these cookies. It’s surprisingly easy to execute, requiring just a few minutes, but it does demand your complete and undivided attention to prevent burning. Here’s how to achieve perfectly browned butter every single time, ensuring maximum flavor payoff:
- Choose the Right Pan: Begin this crucial process with a light-colored, small saucepan. The light color of the pan is absolutely critical because it allows you to clearly and easily observe the subtle yet important color changes as the butter gradually browns. A dark-bottomed pan, conversely, can obscure these vital visual cues, making it significantly easier to accidentally burn your precious butter. Add your measured unsalted butter to this chosen pan.
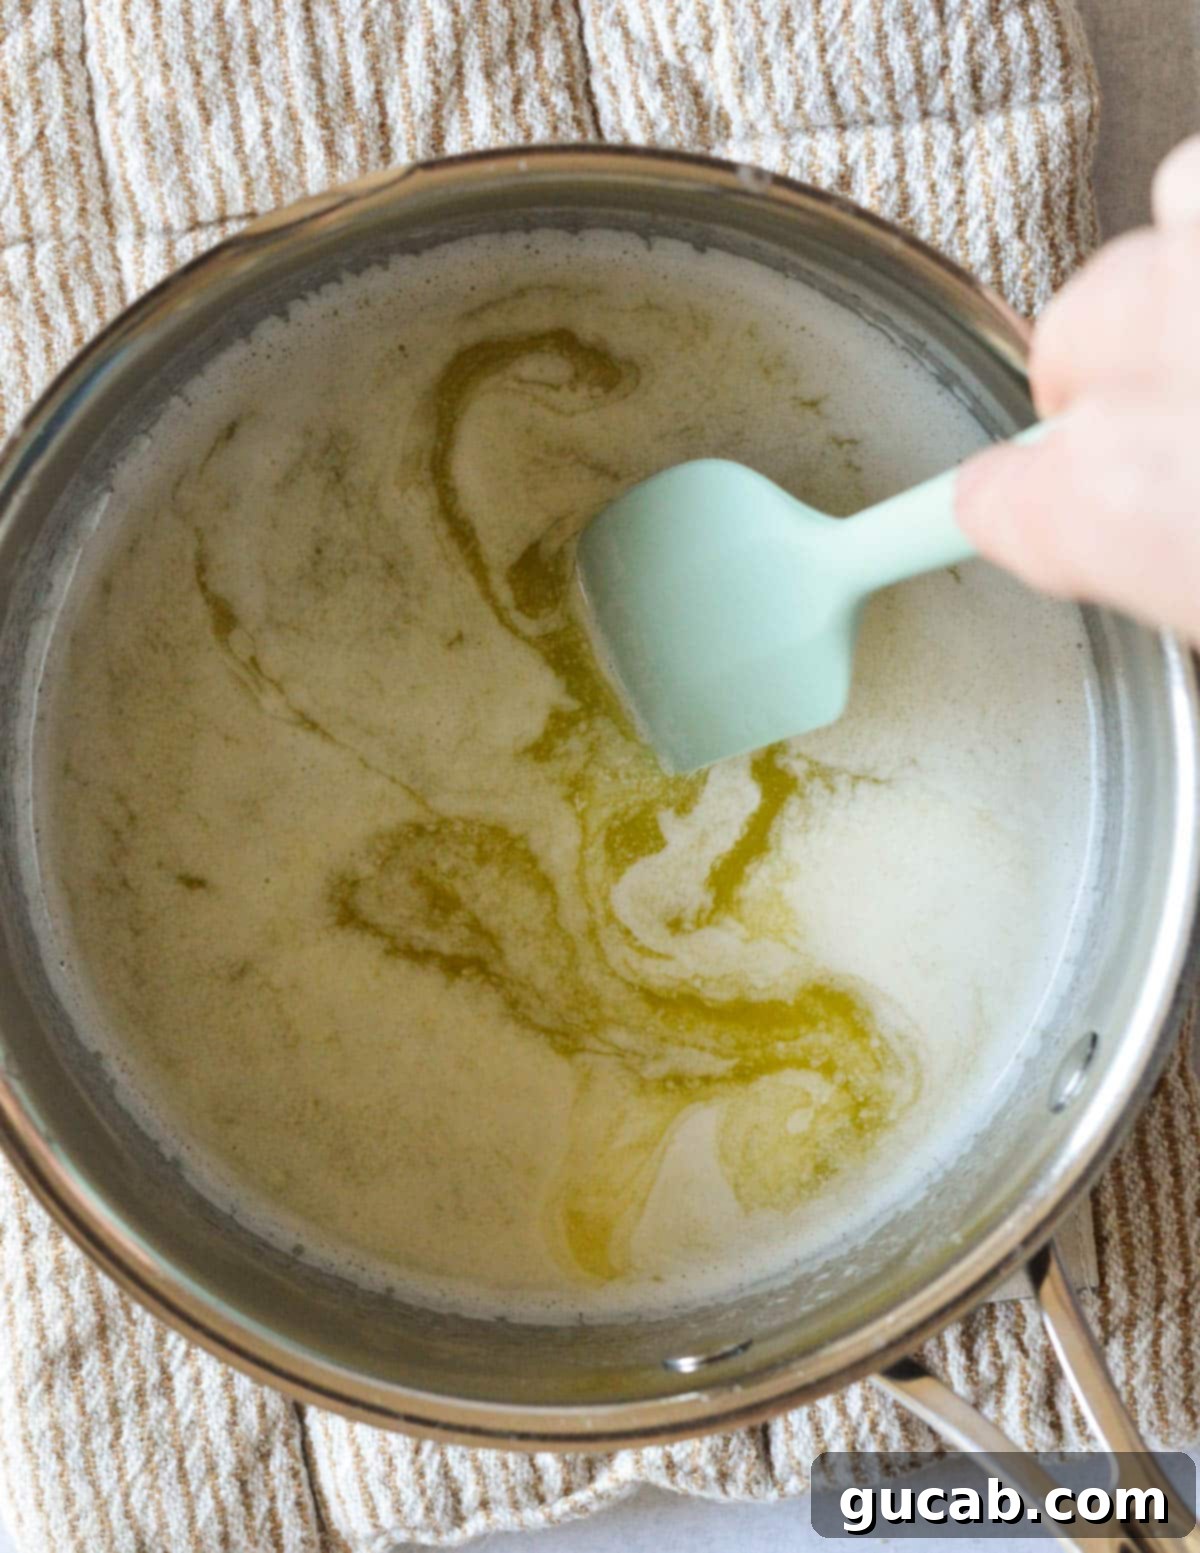
- Melt and Sizzle: Place the saucepan containing the butter over a consistent medium heat. It is imperative to resist the temptation to use medium-high heat, as this significantly increases the risk of rapidly burning the butter before it has a chance to properly brown. Allow the butter to melt completely. Once fully melted, it will commence sizzling and forming a layer of foam on its surface. This sizzling sound is a clear indication that the water content naturally present in the butter is actively evaporating. Stir the butter occasionally during this initial phase to ensure even heating and prevent sticking.
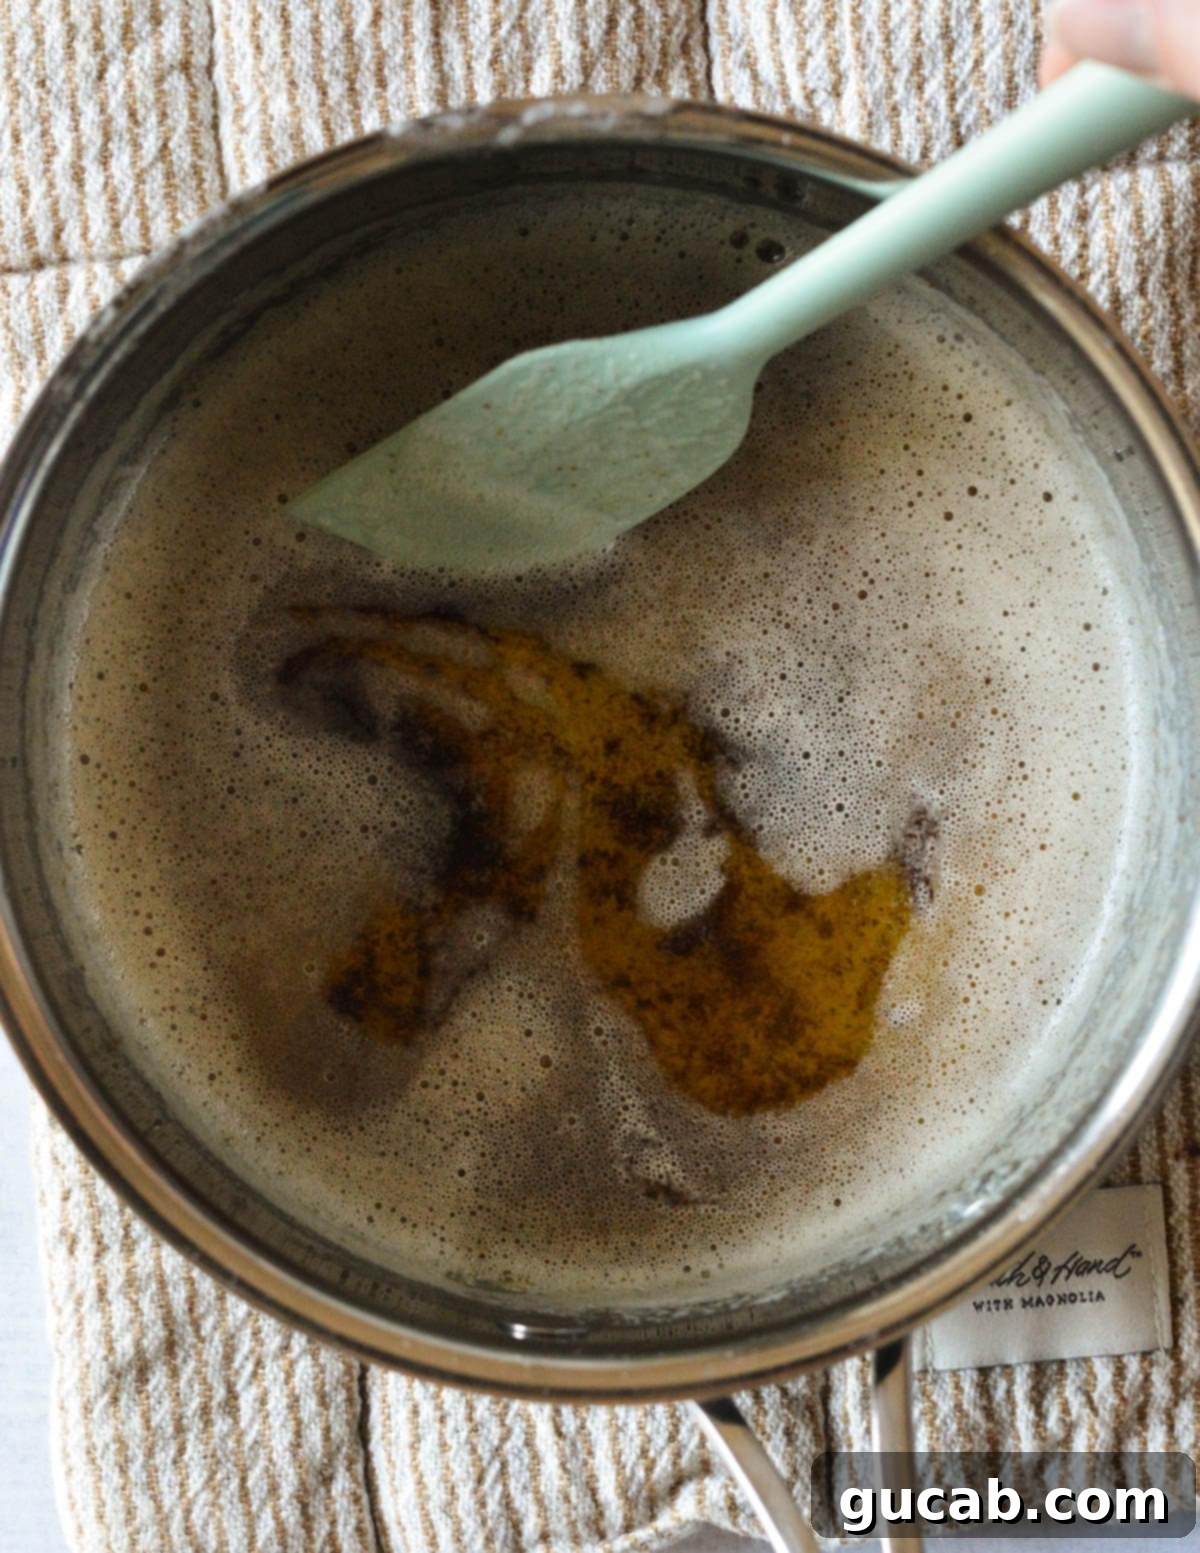
- Watch for Golden Brown and Nutty Aromas: As the water continues to evaporate, the milk solids, which are distinct components within the butter, will separate and gradually begin to sink towards the bottom of the pan. These solids will then start to transform, turning a beautiful golden brown color, and concurrently, you’ll notice a distinct, wonderfully nutty, and rich aroma beginning to fill your kitchen. This is the scent of true flavor development! Continue to stir the butter continuously during this stage to prevent these precious solids from sticking to the bottom and burning. Maintain a very close eye on it; the critical transition from a perfect golden brown to an undesirable burnt state occurs very quickly! The bottom of the pan should display delightful, evenly browned specks of milk solids.
- Immediate Transfer to Cool: The precise moment the butter achieves a rich, amber-golden brown color and the milk solids at the bottom of the pan are uniformly browned, immediately remove the pan from the heat source. This step is absolutely crucial. Promptly transfer the entirety of the browned butter, ensuring you scrape out all the delicious browned bits, into a separate, heat-proof mixing bowl. It is vital not to leave it in the hot saucepan, as the residual heat from the pan will cause it to continue cooking and can very quickly burn, rendering it bitter and unusable for your cookies. Allow it to cool slightly, ideally to around room temperature, before proceeding with the subsequent steps of the cookie recipe.
- For a more in-depth exploration of this essential technique, Serious Eats offers an excellent and detailed guide on how to make brown butter, which can further enhance your understanding and confidence.
Crafting Your Brown Butter Chocolate Chip Cookies: A Detailed Step-by-Step Guide
With your perfectly browned butter now prepared and cooling, it’s time to embark on the exciting journey of bringing these truly incredible cookies to life! Before you even begin the mixing process, a small amount of thoughtful preparation will go an exceptionally long way in ensuring your baking success and producing a flawless batch of cookies.
First and foremost, preheat your oven to a precise 400 degrees Fahrenheit (approximately 200 degrees Celsius). This specific temperature might initially strike you as quite high for baking cookies, but it is absolutely critical for achieving that elusive, ideal combination of wonderfully crisp, golden edges and an incredibly soft, deeply chewy interior. I extensively tested various oven temperatures—including 325°F, 350°F, 375°F, and ultimately 400°F—and 400°F consistently delivered the perfect amount of cookie spread and that highly desirable, rich golden-brown coloring without ever compromising or overbaking the precious, tender center. Simultaneously, line two standard baking sheets with either high-quality silicone baking mats or parchment paper; this essential step prevents any sticking whatsoever and ensures that your cookies bake evenly and release effortlessly.
- Brown the Butter to Perfection: As comprehensively detailed in the preceding section, your initial step is to brown your unsalted butter in a small, light-colored saucepan over medium heat. Keep a vigilant watch for those unmistakable nutty aromas and the appearance of golden-brown milk solids at the bottom of the pan. Once this perfect stage is achieved, immediately transfer the browned butter, along with all the flavorful brown bits, to a large mixing bowl to halt the cooking process and allow it to cool slightly while you gather and prepare your other ingredients.
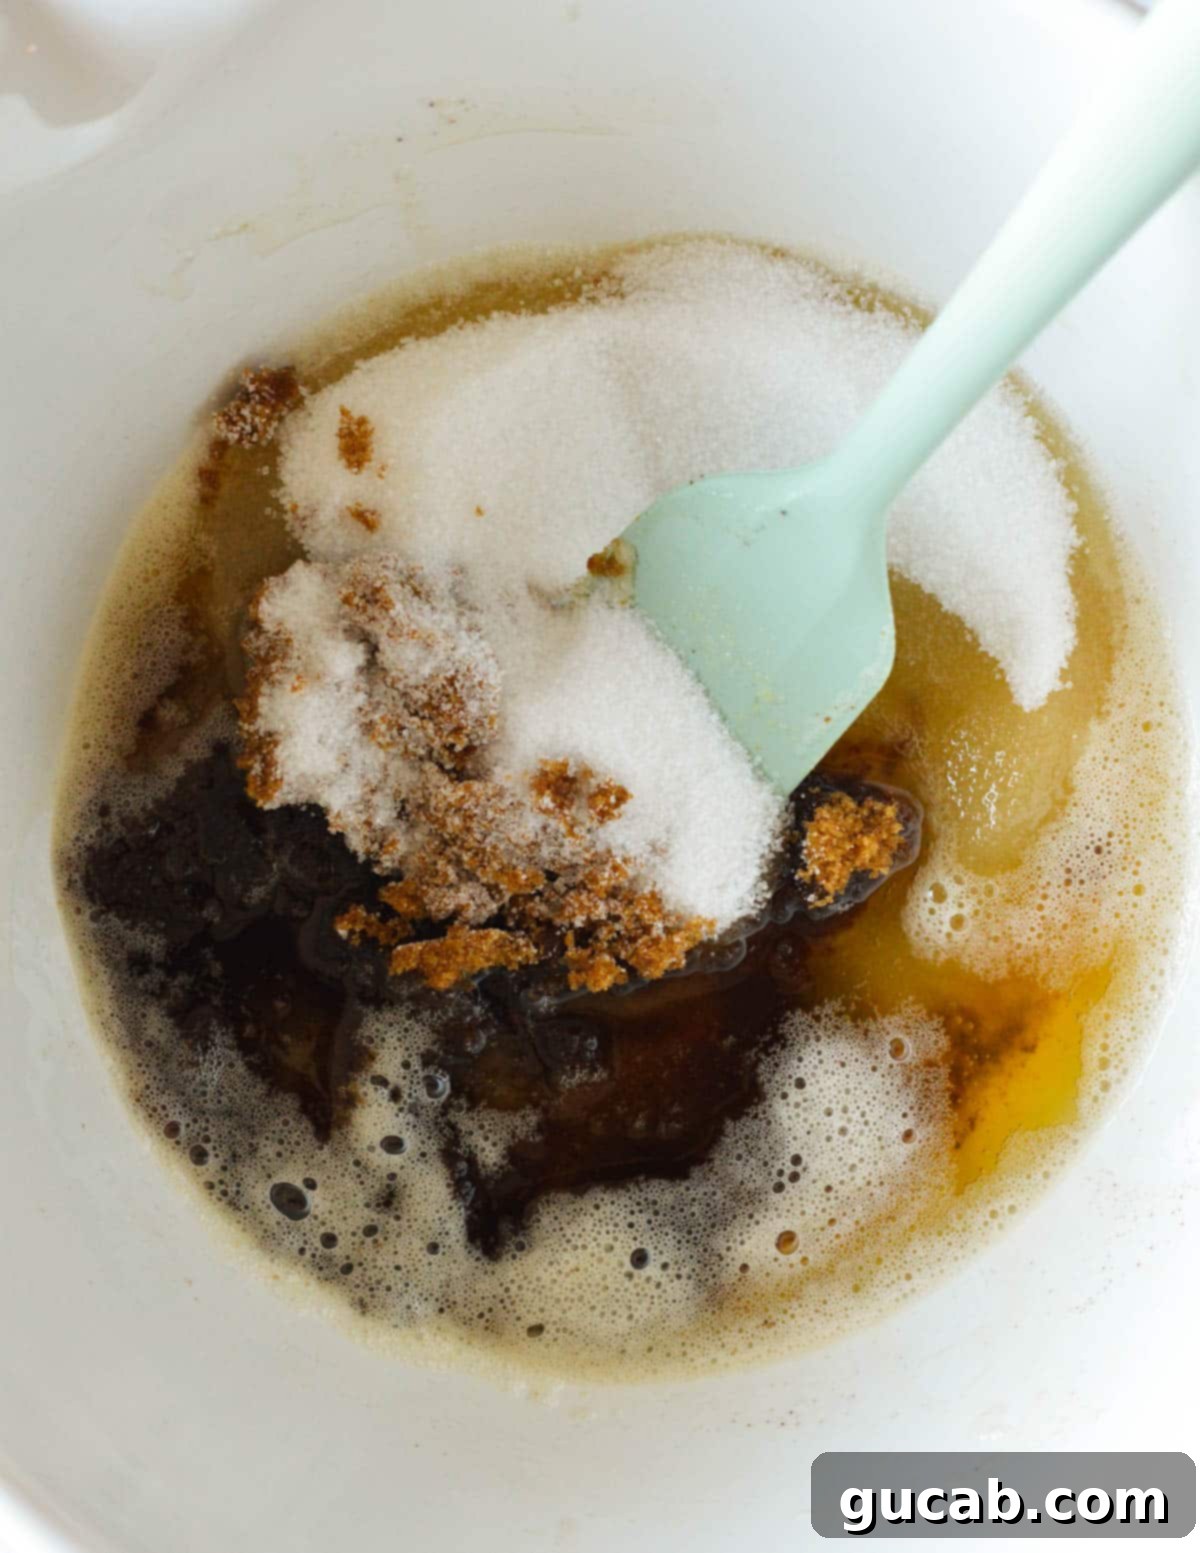
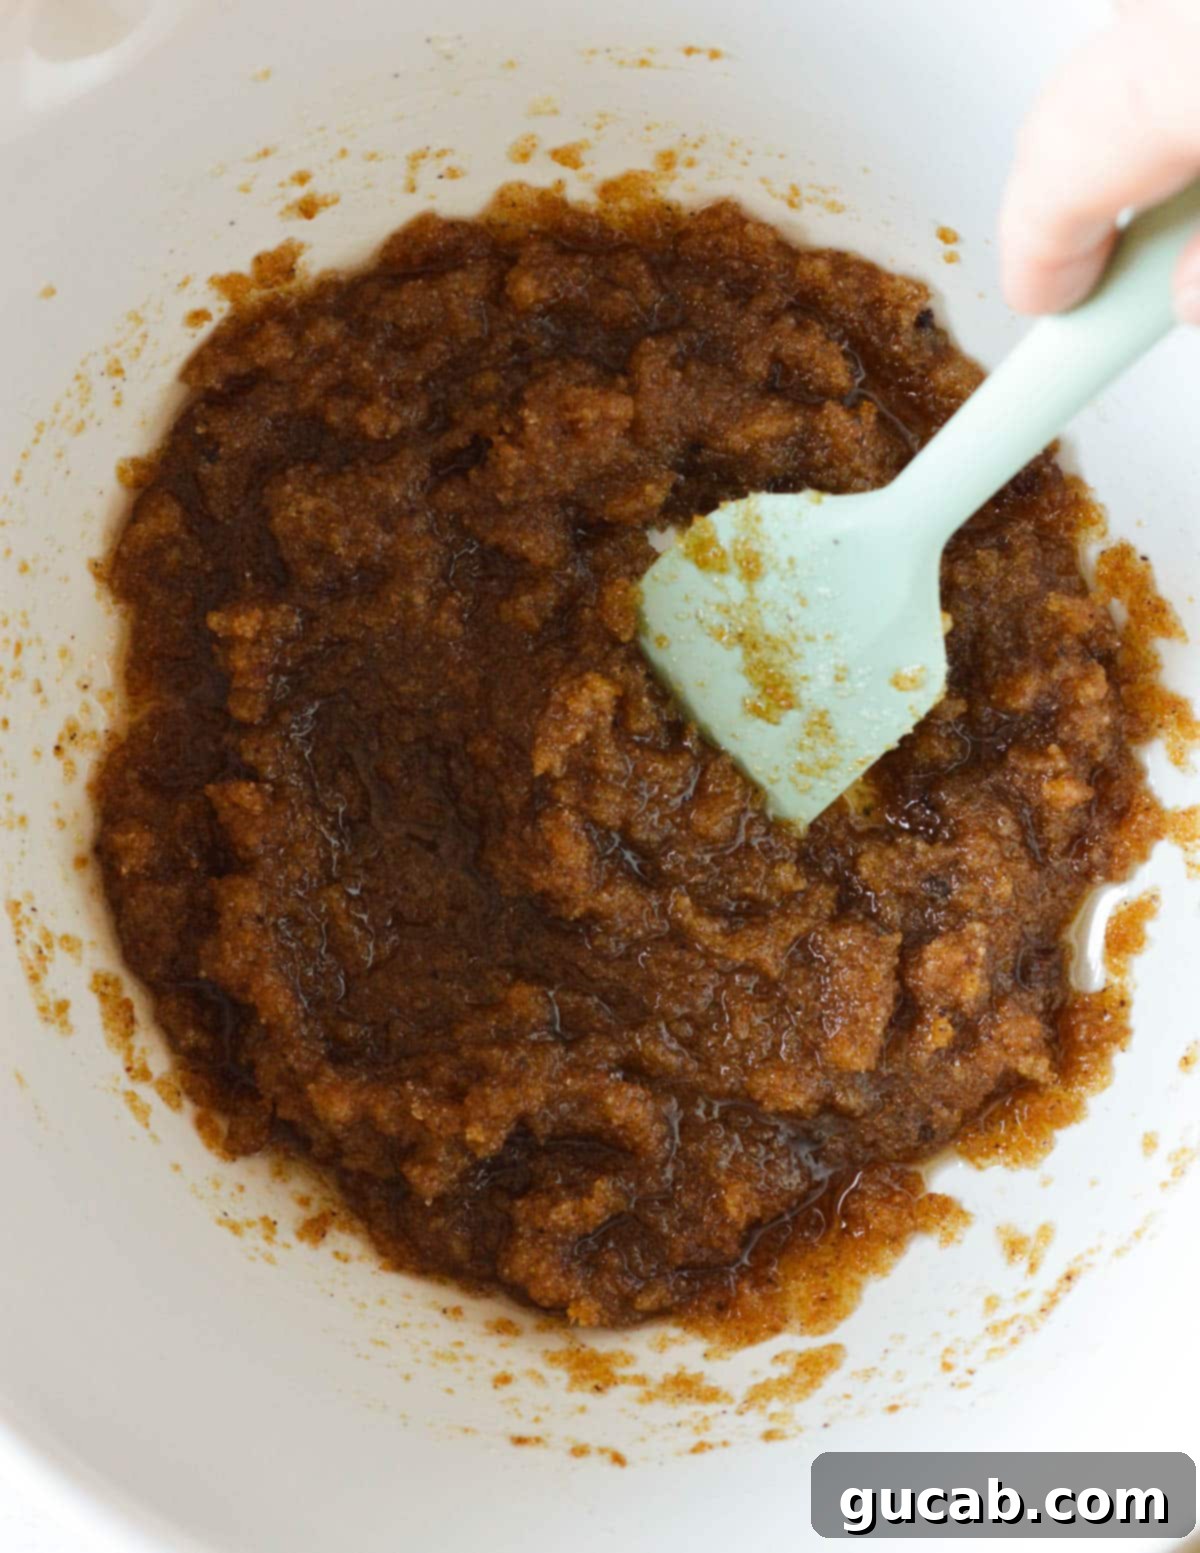
- Combine with Sugars: Into the bowl with your slightly cooled browned butter, add both the granulated white sugar and the rich dark brown sugar. It is truly important to note that you absolutely do not need an electric mixer for this particular step! A sturdy rubber spatula or a solid wooden spoon will be perfectly sufficient and, in fact, preferred. Stir diligently until both types of sugars are fully incorporated into the butter, and the mixture appears well combined and achieves a somewhat uniform consistency.
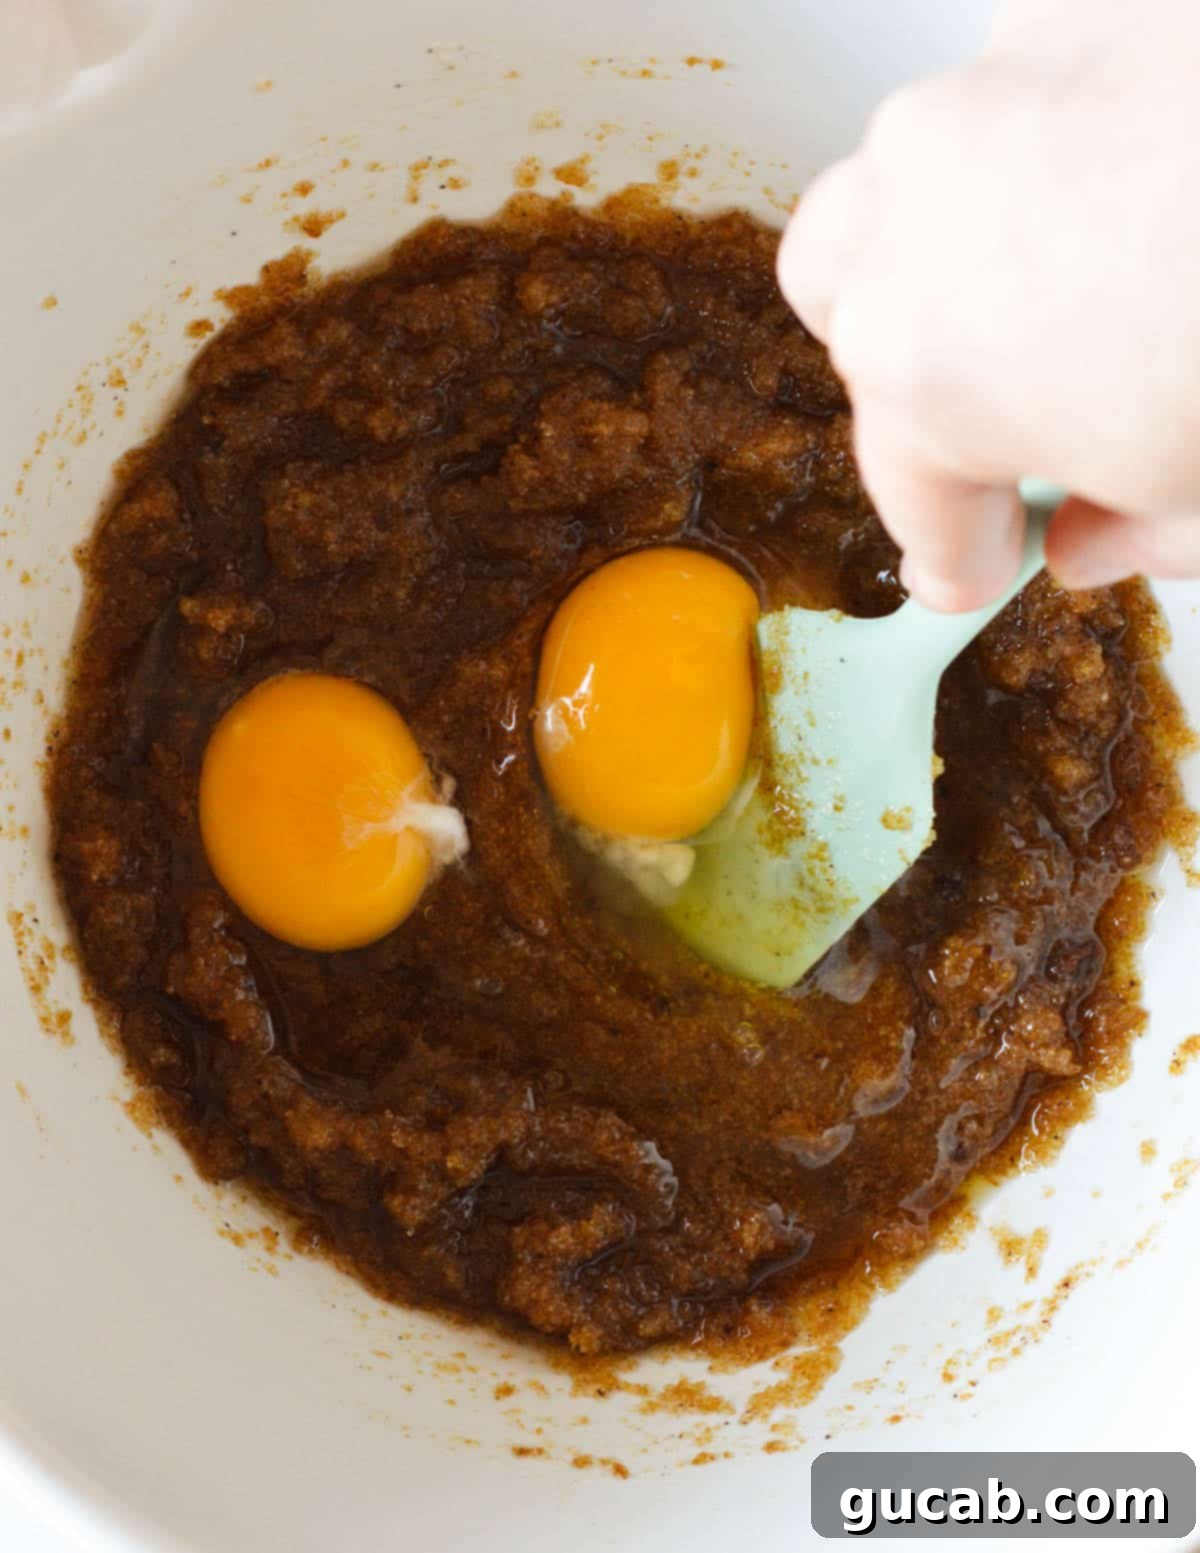
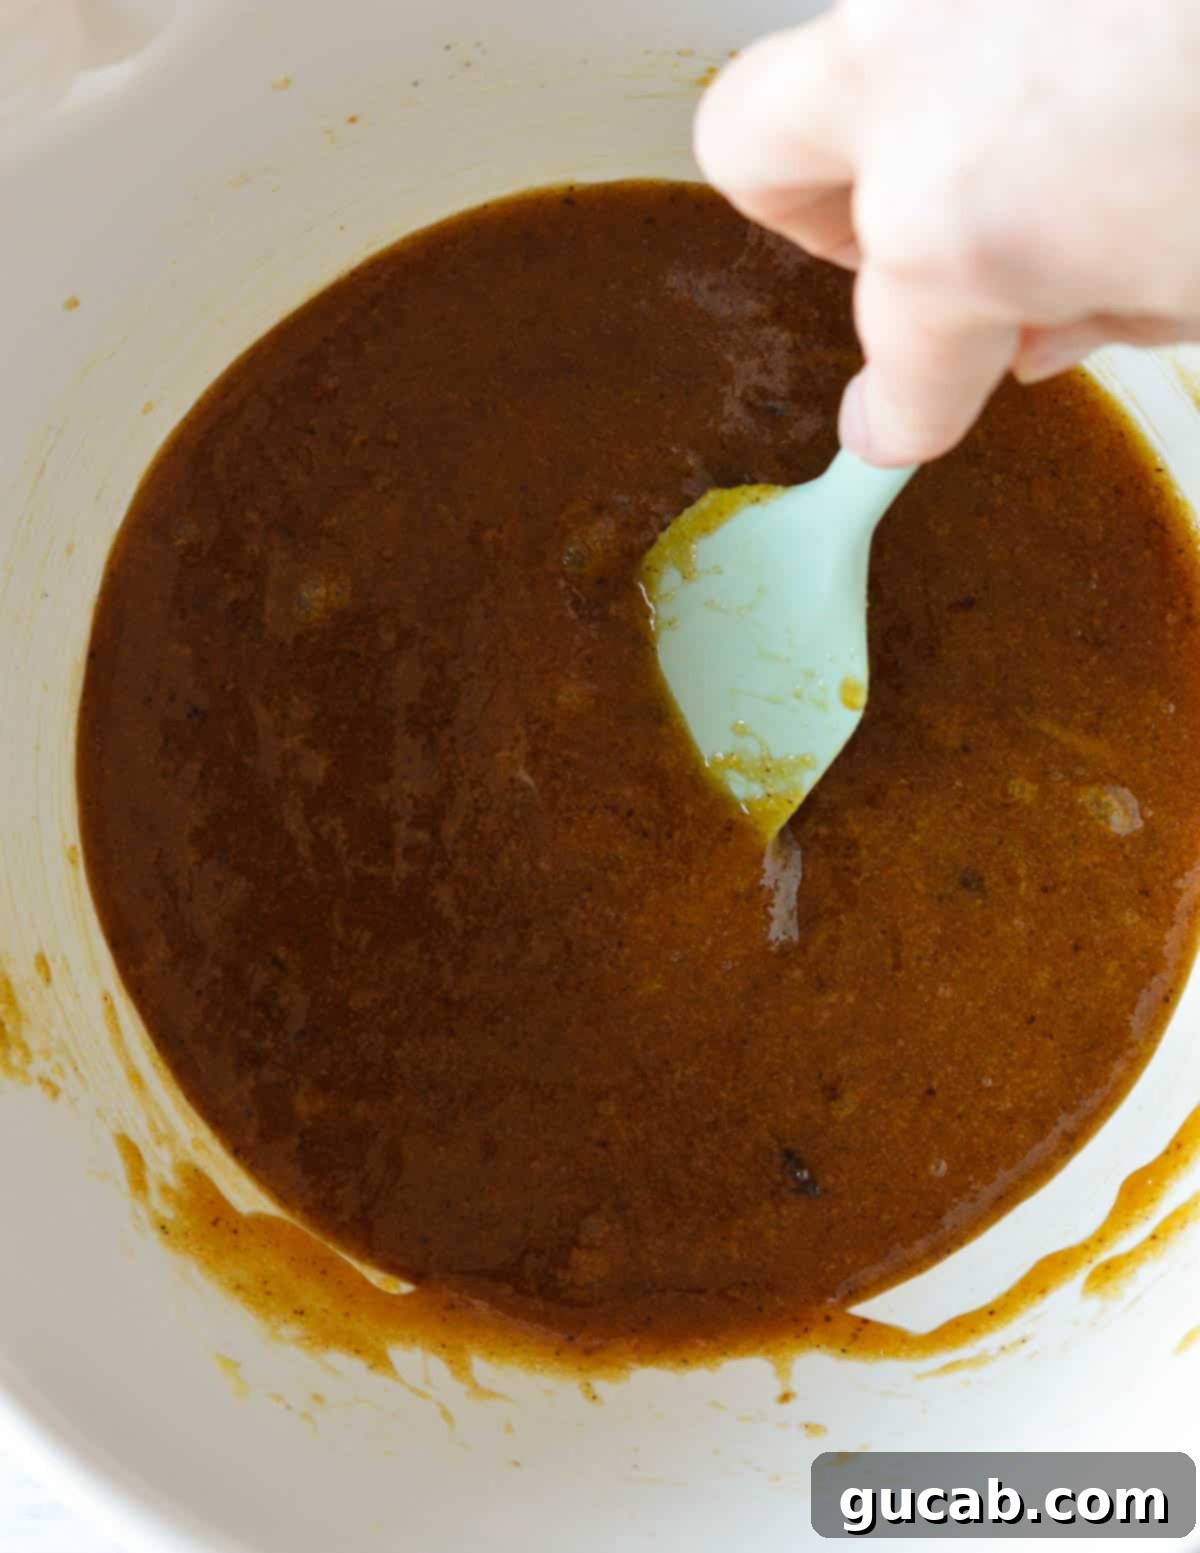
- Incorporate Egg and Yolk for Richness: Next, introduce the vanilla extract, the large egg, and the crucial extra egg yolk into your butter-sugar mixture. Once again, manual mixing is highly recommended and produces superior results here. Stir gently, just until these wet ingredients are fully incorporated into the mixture. It’s important to actively avoid over-beating, as incorporating too much air at this stage can regrettably lead to a cakey texture, and our primary objective is to achieve a dense, wonderfully chewy cookie.
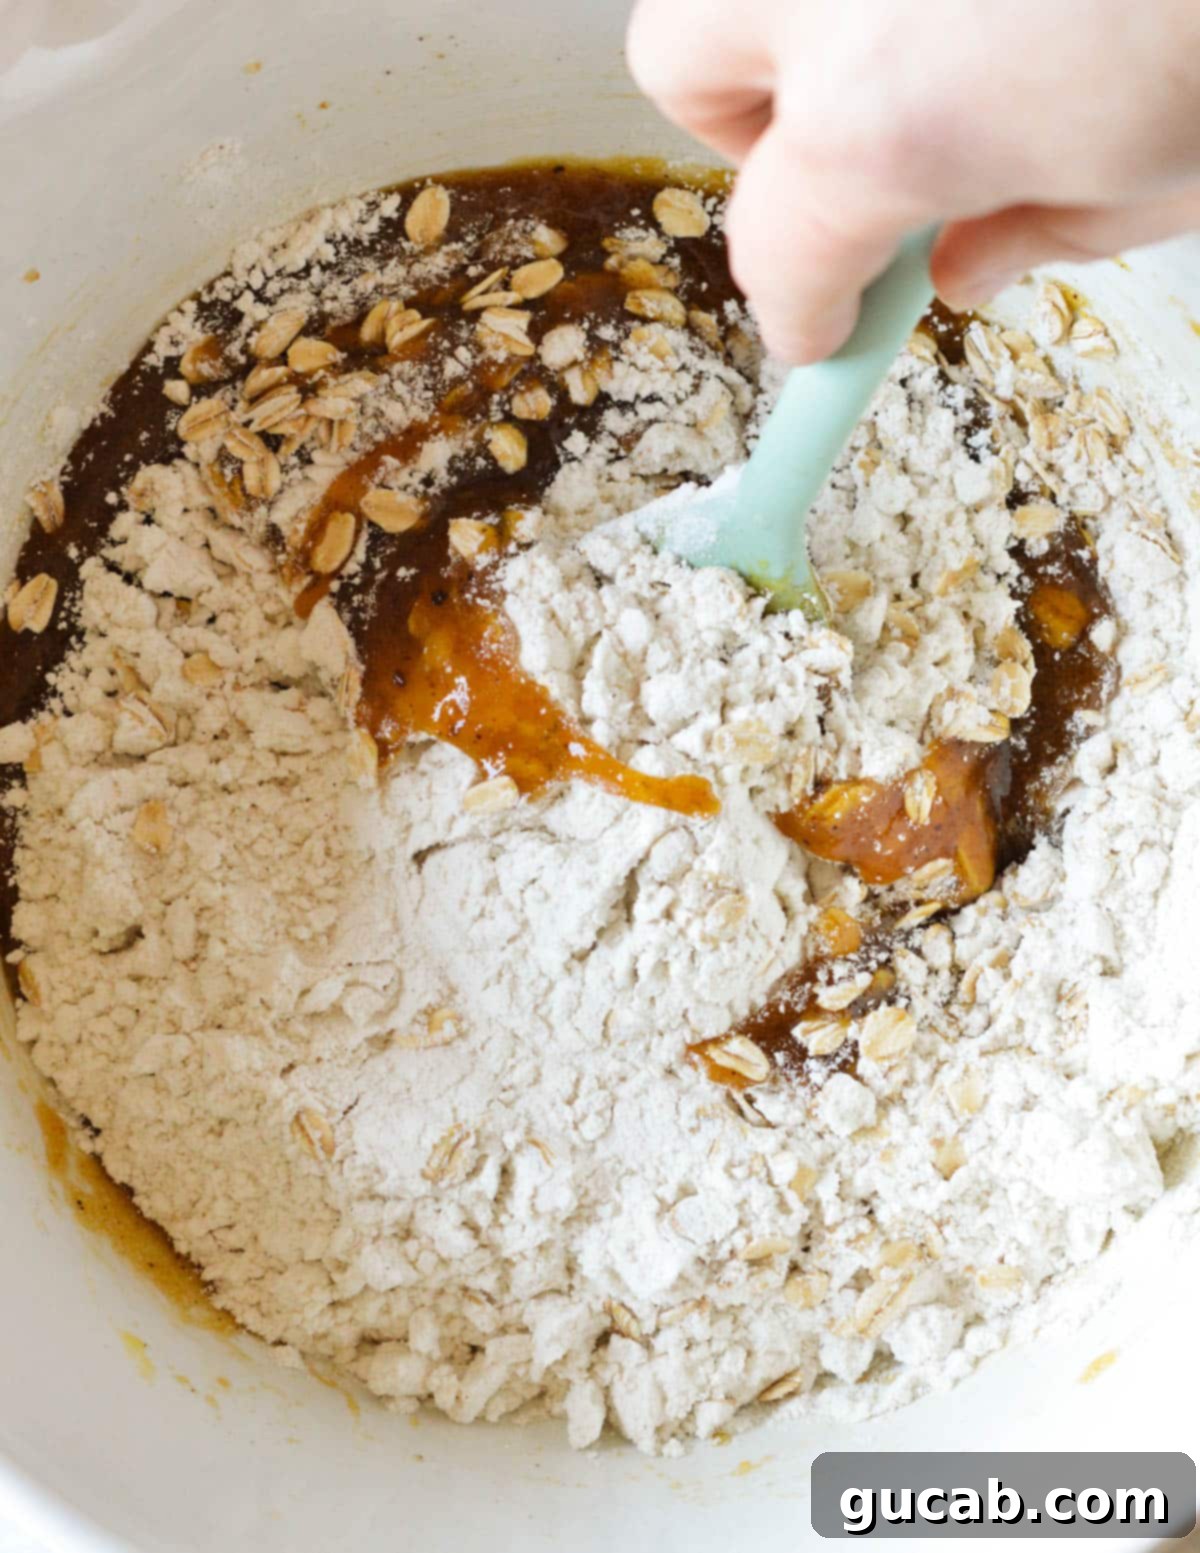
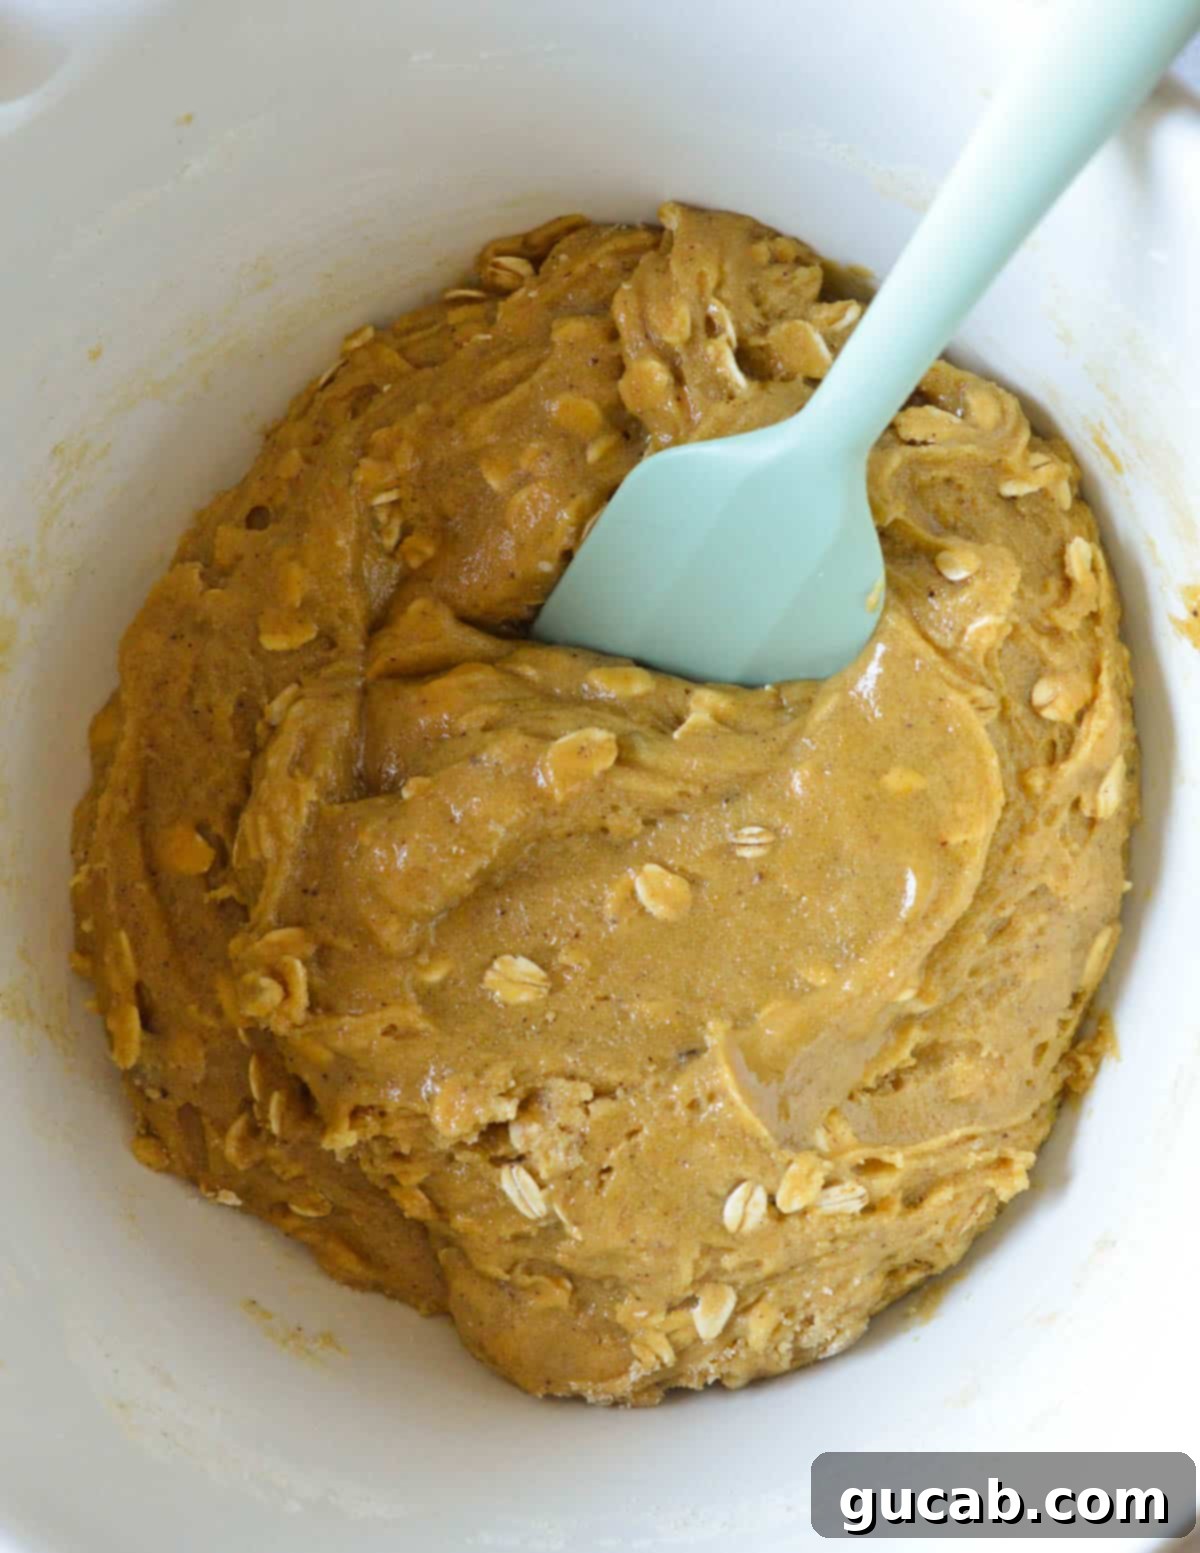
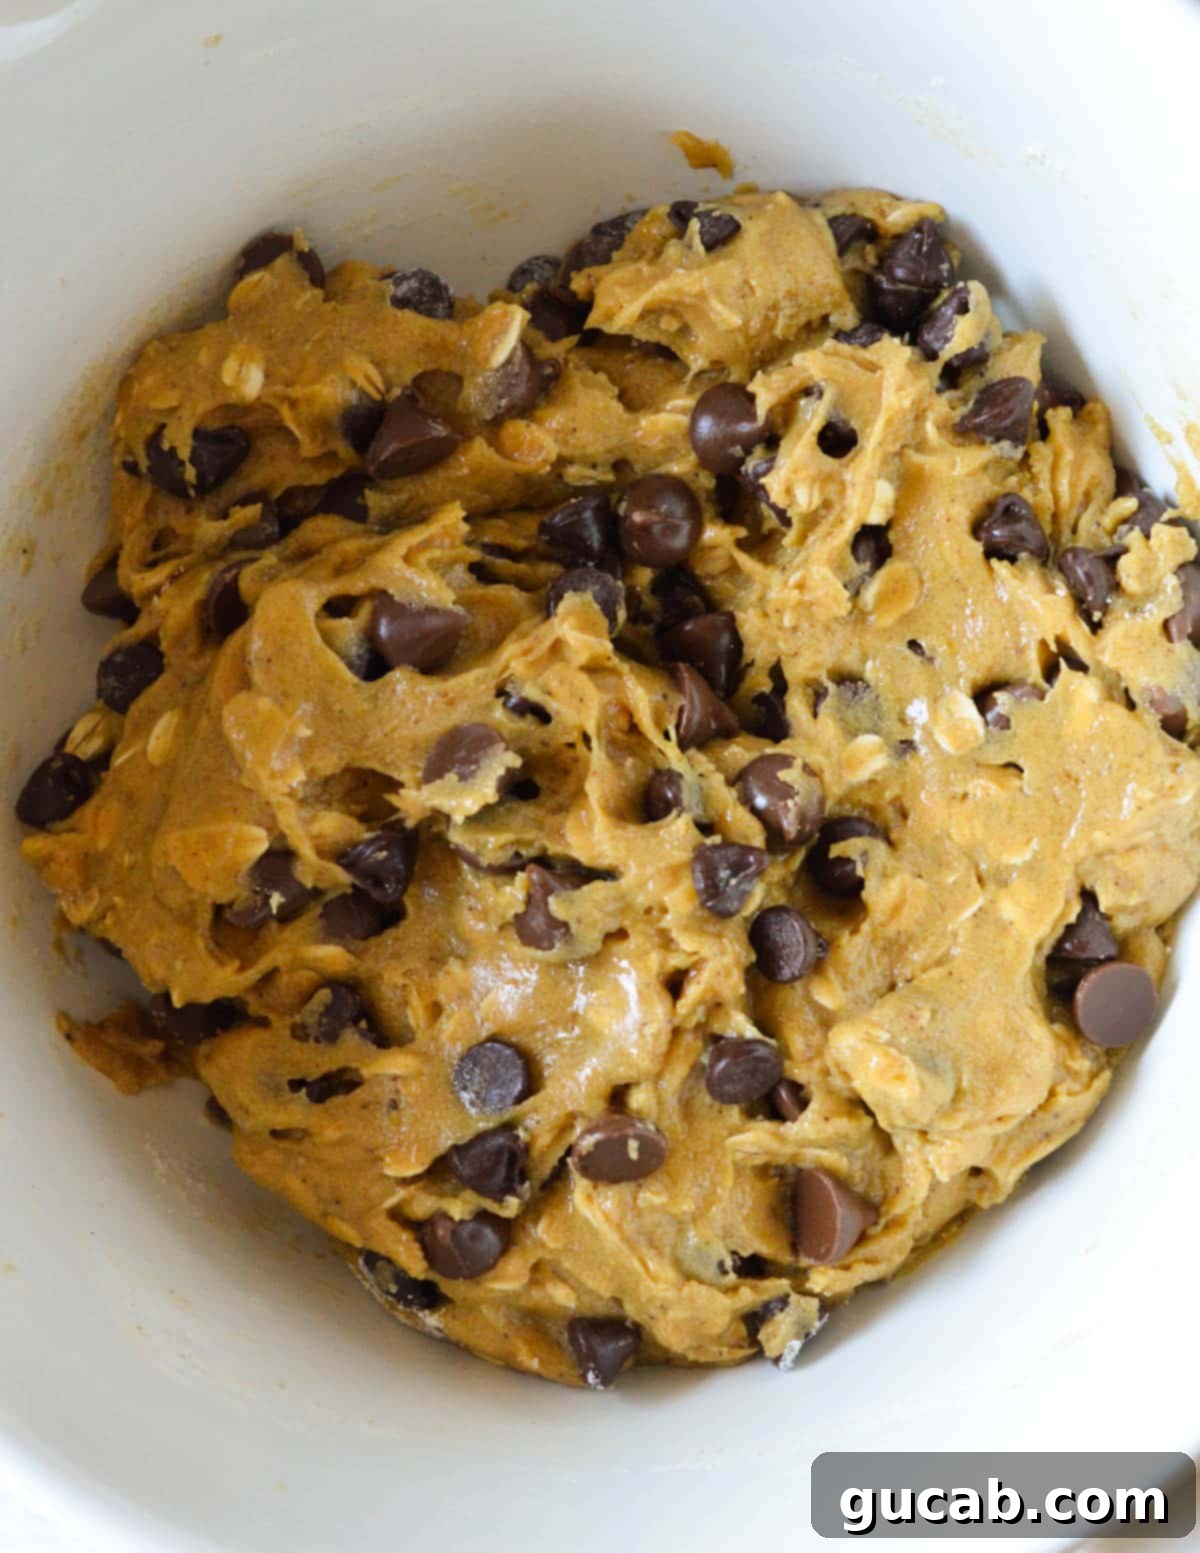
- Add the Dry Ingredients Thoughtfully: In a completely separate bowl (or, if your mixing bowl is generously sized, you can carefully whisk them directly into the wet ingredients), thoroughly whisk together the all-purpose flour, old-fashioned oats, baking soda, and kosher salt. Gradually add this dry mixture to your wet ingredients. Utilize your trusty spatula to stir diligently until the ingredients are just combined and a cohesive cookie dough begins to form. Crucially, the dough will be noticeably stickier and softer in consistency than many typical cookie doughs you may have encountered, and this specific characteristic is perfectly normal and highly desired for the final texture! Make sure to actively avoid overmixing, as this can regrettably over-develop the gluten, leading to cookies that are tough rather than tender.
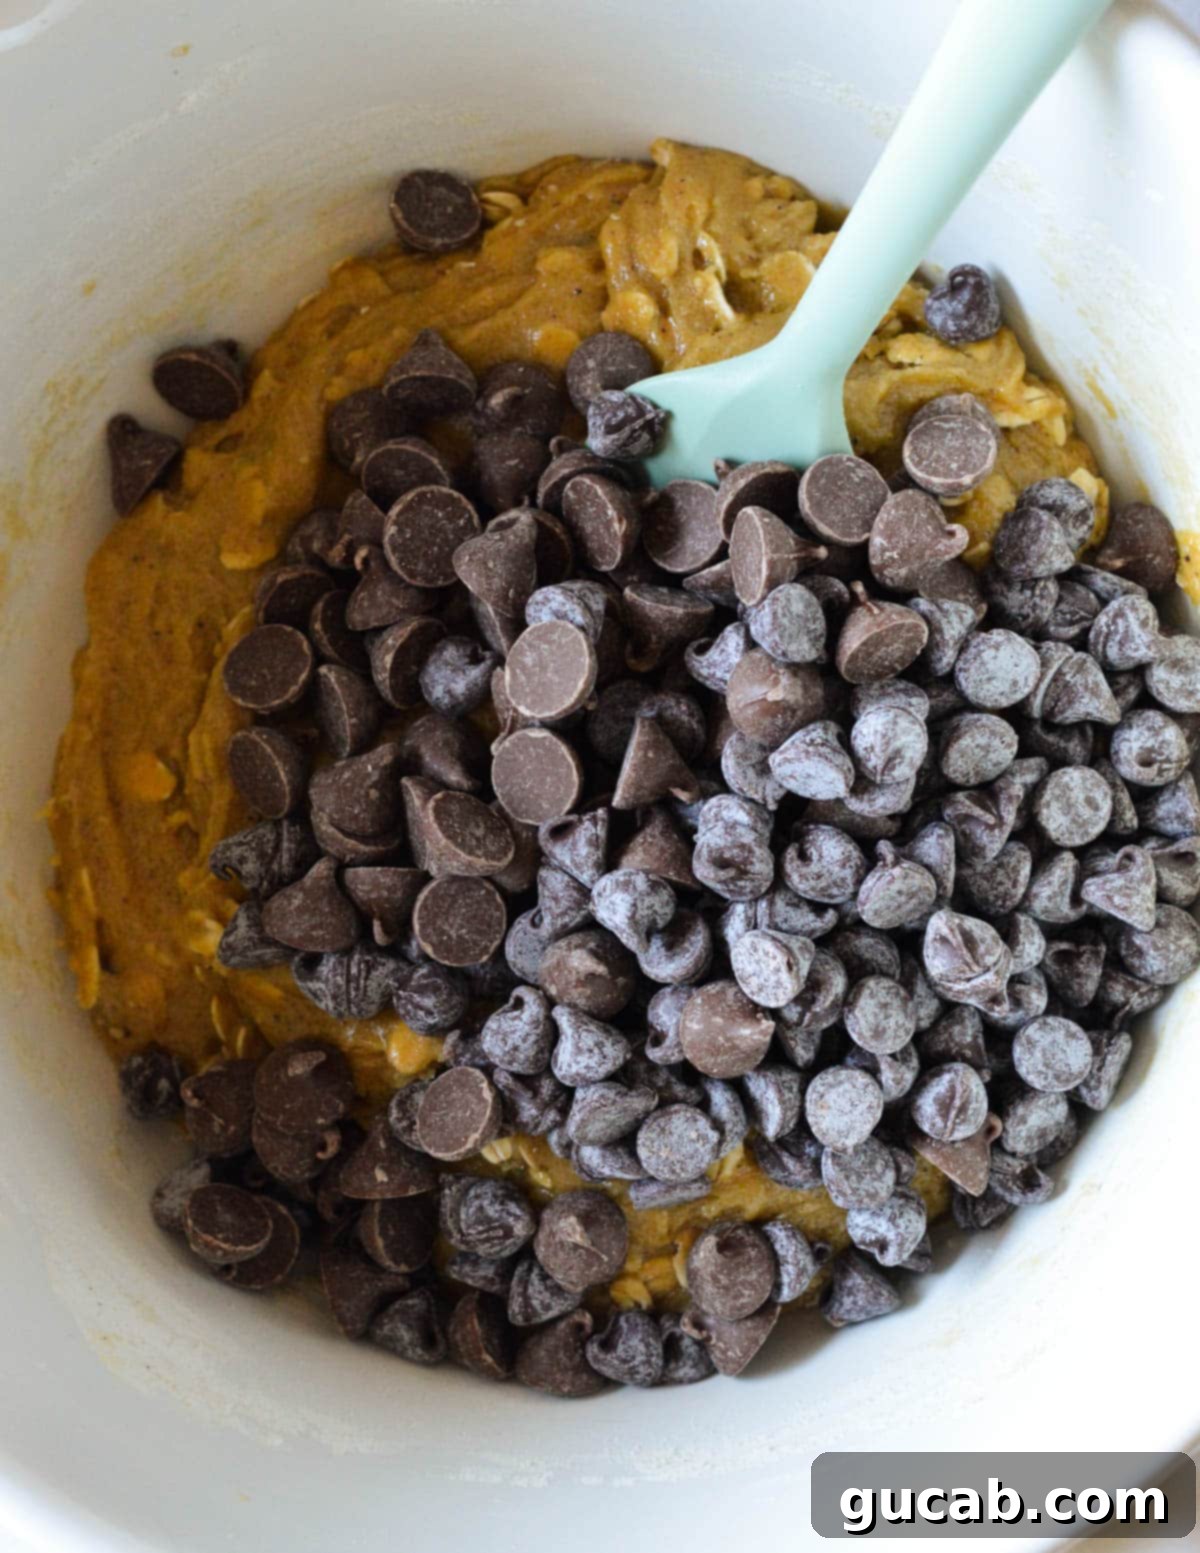
- Stir in the Abundant Chocolate: Now, for what many consider the absolute best part – the chocolate! Add both the semisweet chocolate chips and the milk chocolate chips to your meticulously prepared dough. Using your spatula, gently but thoroughly fold them in until they are perfectly and evenly distributed throughout every inch of the dough. My personal philosophy dictates that a chocolate chip cookie should be truly bursting with chocolate in every single bite, so please, do not be at all shy with the quantity! After all, nobody wants to play a frustrating game of “seek the chocolate” in their eagerly anticipated cookie, right?!
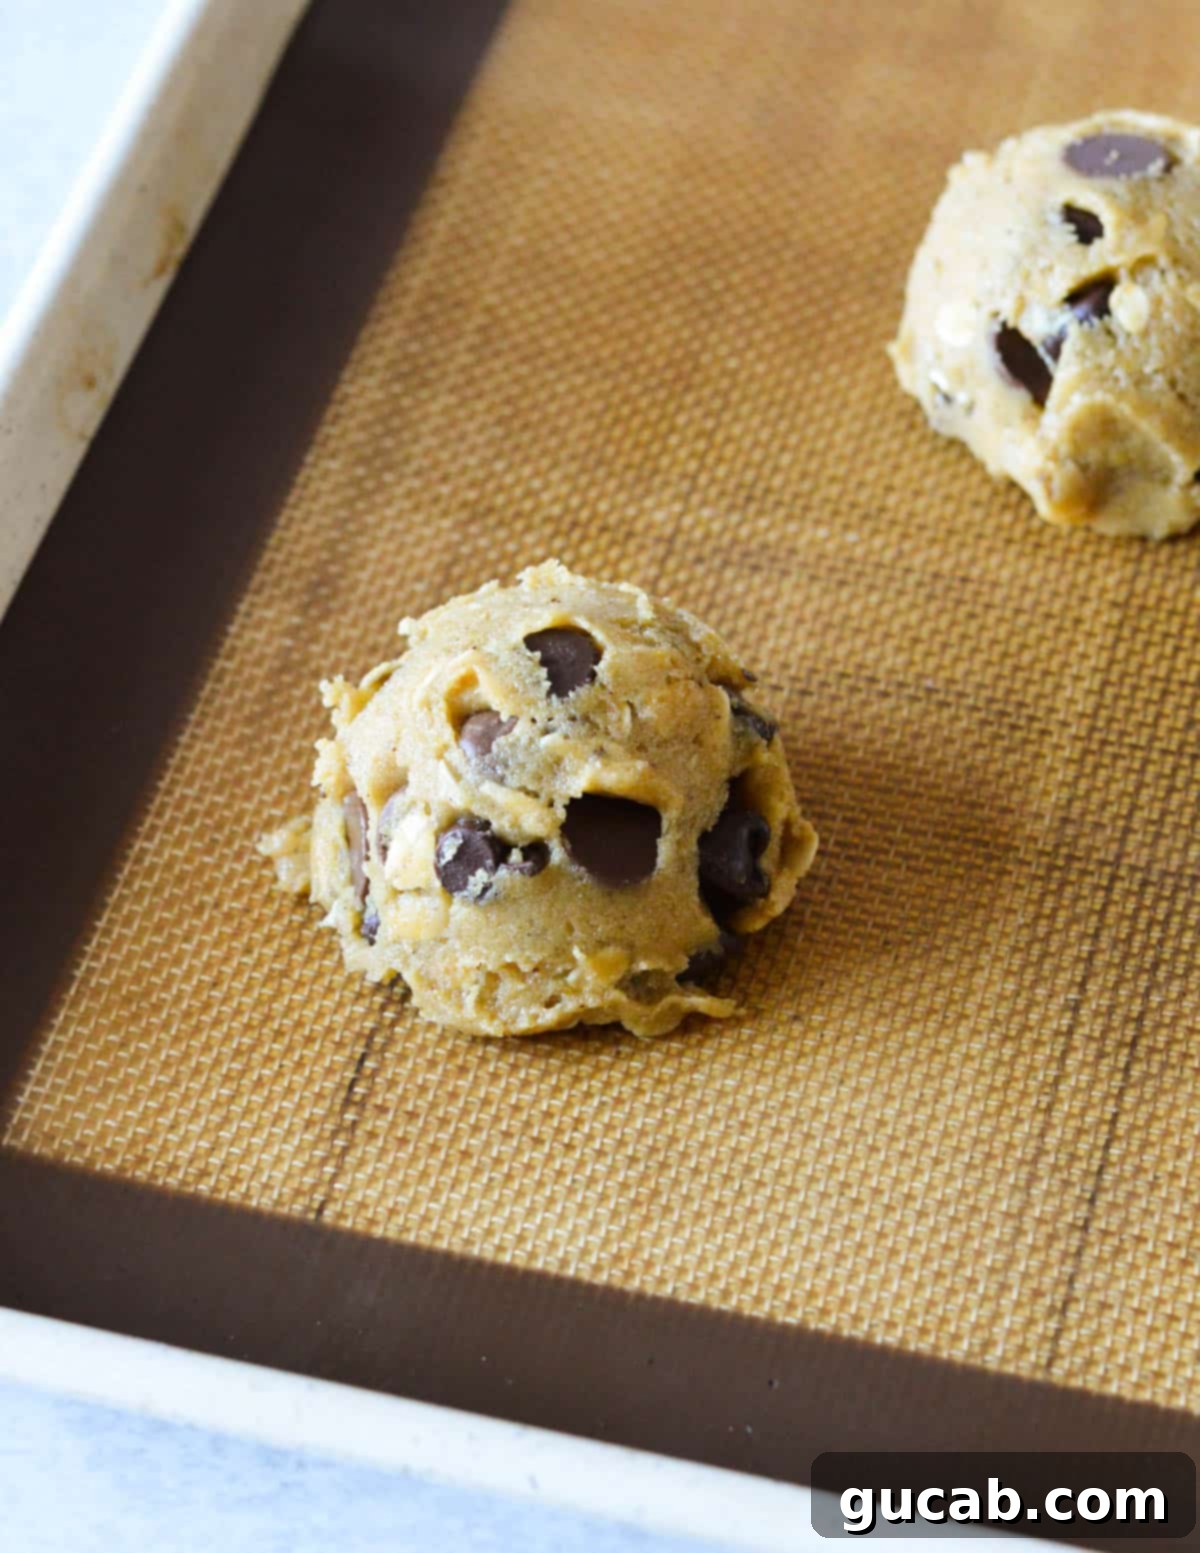
- Scoop the Cookies Evenly: This exceptionally versatile recipe yields either 12 wonderfully generous “big” cookies or approximately 21 slightly smaller, medium-sized cookies, depending on your preference. For achieving consistently uniform size and ensuring even baking across the entire batch, I wholeheartedly recommend utilizing a portion scoop (often referred to as an ice cream scoop). Scoop uniform balls of dough onto your carefully prepared baking sheets, ensuring you leave ample space—at least 2 inches—between each dough ball, as these cookies are designed to spread beautifully.
- Bake to Golden Perfection: Carefully place your prepared baking sheets into the preheated 400°F oven. For the larger, “big” cookies, bake for precisely 9 minutes. For the slightly smaller cookies, bake for exactly 7 minutes. These specific baking times are absolutely crucial for achieving the intended texture, so please trust them implicitly! When you retrieve them from the oven, the cookies should appear beautifully golden brown around their edges but will still look noticeably slightly soft and wonderfully underbaked in their very centers. This seemingly “underbaked” appearance is the key to their ultimate, melt-in-your-mouth chewy texture! They will continue to firm up and fully set as they gradually cool on the residual heat of the baking sheet.
- The Essential Cooling Period: Once you remove them from the oven, resist the compelling urge to move them immediately. Hot cookies are inherently fragile! They are still actively setting up and finalizing their structure as they undergo the cooling process. If you attempt to transfer them too soon, while they are still warm or hot, they will almost certainly lose their shape or even fall apart entirely. Allow them to rest undisturbed on the hot baking sheet for a critical period of at least 10 minutes. This essential cooling time allows their centers to firm up properly and ensures they hold their magnificent shape beautifully. After this initial resting period, you can then carefully transfer them to a wire rack to cool completely, ready for enjoyment.
Expert Tips for Unbeatable Cookie Perfection
Achieving the absolute best brown butter chocolate chip cookies is wonderfully simple when armed with a few invaluable insider tricks. Keep these expert tips firmly in mind for consistently delicious, perfectly textured results every single time you bake:
- No Mixer Required, and It’s Actually Better That Way! Unlike a multitude of cookie recipes that frequently demand the use of a powerful stand mixer, this particular recipe thrives on its elegant simplicity. You genuinely do not need an electric mixer; a sturdy spatula and a spacious mixing bowl are truly all the equipment you require. Overmixing the dough with an electric mixer can regrettably incorporate an excessive amount of air, ultimately leading to a more cakey texture rather than the wonderfully desired chewy, dense cookie we are aiming for. Hand-mixing also serves the beneficial purpose of preventing the over-development of gluten, which in turn helps keep your finished cookies exquisitely tender.
- Trust the “Underbaked” Look – It’s the Secret! This is, quite possibly, the most crucial and transformative tip for these cookies! When you triumphantly pull your cookies from the oven, they should ideally appear beautifully golden brown and set around their edges, but still look noticeably soft, puffy, and slightly underbaked in their very centers. This seemingly “underbaked” state is the absolute key to achieving their ultimate, wonderfully chewy texture! If they appear fully cooked and firm throughout while still hot, they are, unfortunately, likely overbaked, which will result in a drier, crunchier cookie rather than the soft, perfectly chewy one you desire.
- Patience During Cooling is Absolutely Essential: Remember, hot cookies are incredibly fragile! Their internal structure is still actively setting and solidifying as they gradually cool down. If you attempt to move them too soon, while they are still warm or hot from the oven, they will almost certainly lose their shape, crumble, or simply fall apart. Allow them to rest undisturbed on the baking sheet for a minimum of 10 minutes. This critical cooling period allows the centers to properly firm up and coalesce, ensuring that they hold their beautiful shape and texture perfectly when finally transferred.
- Measure Flour Correctly Every Single Time: For consistently accurate and reliable baking results, always employ the “spoon and level” method for measuring your flour. Gently spoon your all-purpose flour into your dry measuring cup, then carefully level off the excess with the straight edge of a knife or a spatula. Scooping flour directly from the bag can significantly compact it, leading to a much greater quantity of flour than intended, which will inevitably result in cookies that are dry, dense, and potentially crumbly.
- Avoid Overcrowding Your Baking Pan: It is paramount to give your precious cookie dough balls ample space to spread out and expand gracefully on the baking sheet. Overcrowding the pan can regrettably lead to uneven baking (some cookies might be undercooked, others overcooked) and, worse yet, cookies that merge into one giant, misshapen, unappealing blob. A general rule of thumb is to place no more than six generously sized cookies per standard baking sheet to ensure optimal air circulation and even baking.
- A Finishing Touch of Flaky Sea Salt: For an extra layer of sophisticated, gourmet flavor that truly elevates these cookies, consider sprinkling a few delicate flakes of high-quality sea salt (such as Maldon sea salt) over the tops of your cookies immediately after they emerge from the oven. The fine salt crystals will melt ever so slightly and adhere beautifully, providing a delightful and intriguing contrast to the inherent sweetness of the cookie and the rich chocolate. This small but significant addition dramatically enhances the overall taste experience, creating a perfect sweet-and-salty balance.
Storage & Freezing: Extend the Life of Your Delicious Cookies
These delightful brown butter chocolate chip cookies are not just incredibly irresistible when enjoyed fresh out of the oven; they are also wonderfully freezer-friendly! This fantastic versatility means you can effortlessly extend their shelf life and enjoy them for much longer, whether you prefer to freeze baked cookies for a quick, convenient treat or keep a stash of ready-to-bake cookie dough on hand for impromptu baking sessions whenever a craving strikes.
To store baked cookies:
- It is absolutely crucial to ensure that your cookies have cooled completely to room temperature before attempting to store them. Storing warm cookies will inevitably create undesirable condensation within the container, which will regrettably make them soggy and diminish their delightful texture.
- Once thoroughly cooled, carefully transfer the baked cookies to an airtight container or a robust, heavy-duty zip-top bag. Store them at a cool room temperature for an optimal period of up to 3 days. They will maintain their wonderfully chewy texture, though the crispness of their edges might soften ever so slightly over this time.
- For a significantly extended shelf life, especially beyond 3 days, it is always best practice to store them in the freezer to preserve their freshness and quality.
To freeze cookies or cookie dough:
- Freezing Baked Cookies: Once your cookies are completely cool, arrange them in a single layer on a baking sheet and place them in the freezer for approximately an hour, or until they are solid. This technique, known as “flash freezing,” is excellent for preventing them from sticking together. Subsequently, transfer the frozen cookies to a freezer-safe zip-top bag or an airtight container, ensuring you remove as much air as possible, and clearly label it with the date. They will maintain their quality exceptionally well for up to 3 months. To reheat, simply microwave a single frozen cookie for 20-30 seconds (or until it’s wonderfully warm and gooey in the center), or, for a crispier edge, pop it into a preheated oven at 300°F (150°C) for a few minutes.
- Freezing Cookie Dough: This method is truly perfect for having fresh-baked cookies at a moment’s notice! Utilize a portion scoop to scoop individual cookie dough balls onto a plate or a parchment-lined sheet pan. Place this pan in the freezer until the dough balls are completely solid (this typically takes between 1-2 hours). Once thoroughly frozen, transfer the solid dough balls to a freezer-safe zip-top bag, squeeze out as much air as possible, and meticulously label it with the date. Freeze for up to 3 months. When you’re ready to bake, simply place the frozen dough balls directly onto a prepared baking sheet and bake as directed in the recipe instructions, adding an additional 1-3 minutes to the total baking time, or until they are beautifully golden brown. There’s absolutely no need to thaw them beforehand!
More Delicious Cookie Recipes to Explore and Enjoy:
- Coffee Cookies
- Coconut Pecan Cookies
- Flourless Oatmeal Cookies
- Peanut Butter Oatmeal Cookies
- Lemon Sugar Cookies
- Triple Chocolate Cookies
- Oreo Chocolate Chip Cookies
Brown Butter Chocolate Chip Cookies
Carolyn
Pin Recipe
Equipment
-
Sheet pans
-
small saucepan
Ingredients
- 8 tablespoons unsalted butter (4 ounces)
- ½ cup sugar
- ¼ cup dark brown sugar
- 1 teaspoon vanilla extract
- 1 large egg
- 1 egg yolk
- 1¼ cup all-purpose flour
- ⅓ cup old fashioned oats
- ½ teaspoon baking soda
- ½ teaspoon kosher salt
- ½ cup semisweet chocolate chips (I used Ghirardelli)
- ½ cup milk chocolate chips
Instructions
-
Preheat oven to 400 degrees Fahrenheit. This is not a typo! It should be 400 degrees. Line two sheet pans with parchment paper or silicone baking mats.
-
In a small saucepan, add the butter. Melt the butter over medium heat. Once the butter starts to sizzle, stir the butter until it turns a golden brown color and the milk solids at the bottom of the pan turn brown. Be careful not to burn it.
-
Transfer the butter to a large bowl to cool so it doesn’t continue to brown. Add the sugar and brown sugar and stir to combine.
-
Add the vanilla extract, egg, and egg yolk to the mixture. Stir until incorporated.
-
Add the all-purpose flour, oats, baking soda, and kosher salt to the mixture. Use a spatula to stir until a cookie dough forms. The dough will be sticky!
-
Add the semisweet and milk chocolate chips to the dough and stir to mix in. This recipe makes 12 big cookies or 21 small cookies.
-
Use a large cookie scoop to scoop 6 cookie dough balls onto each pan, giving them space to spread.
-
Bake for 9 minutes for big cookies and 7 minutes for smaller cookies. They don’t take long to bake! They will look golden brown but underbaked when they come out of the oven. They set up as they cool!
-
Let the cookies set up on the sheet pan for at least 10 minutes before transferring to a wire rack to cool.
Nutrition
