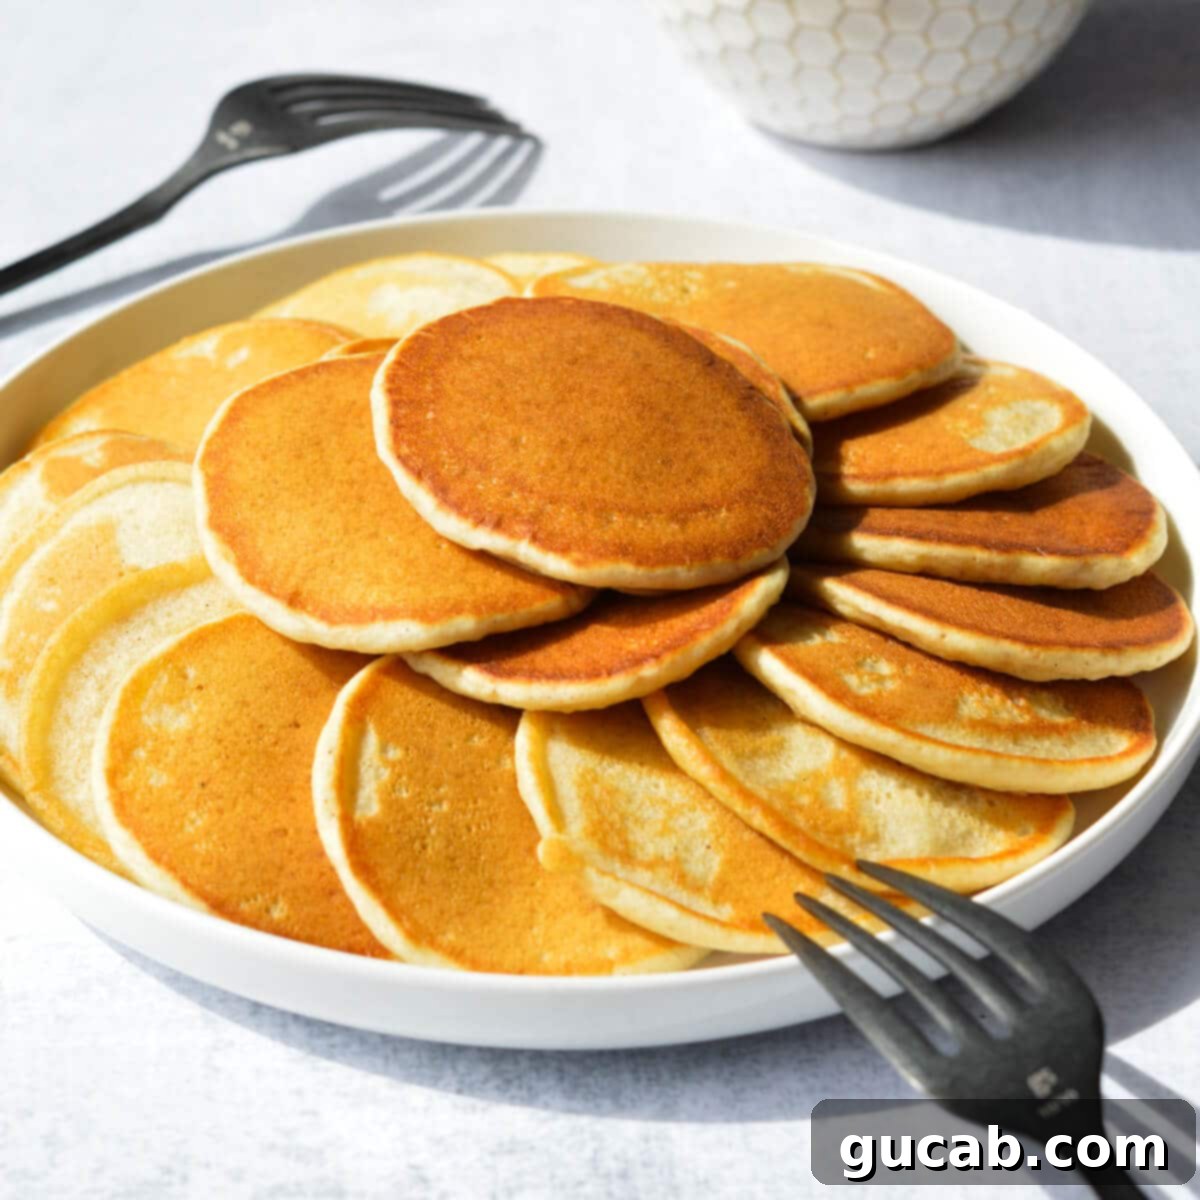
Fluffy & Fun Silver Dollar Pancakes: The Ultimate Miniature Breakfast Treat
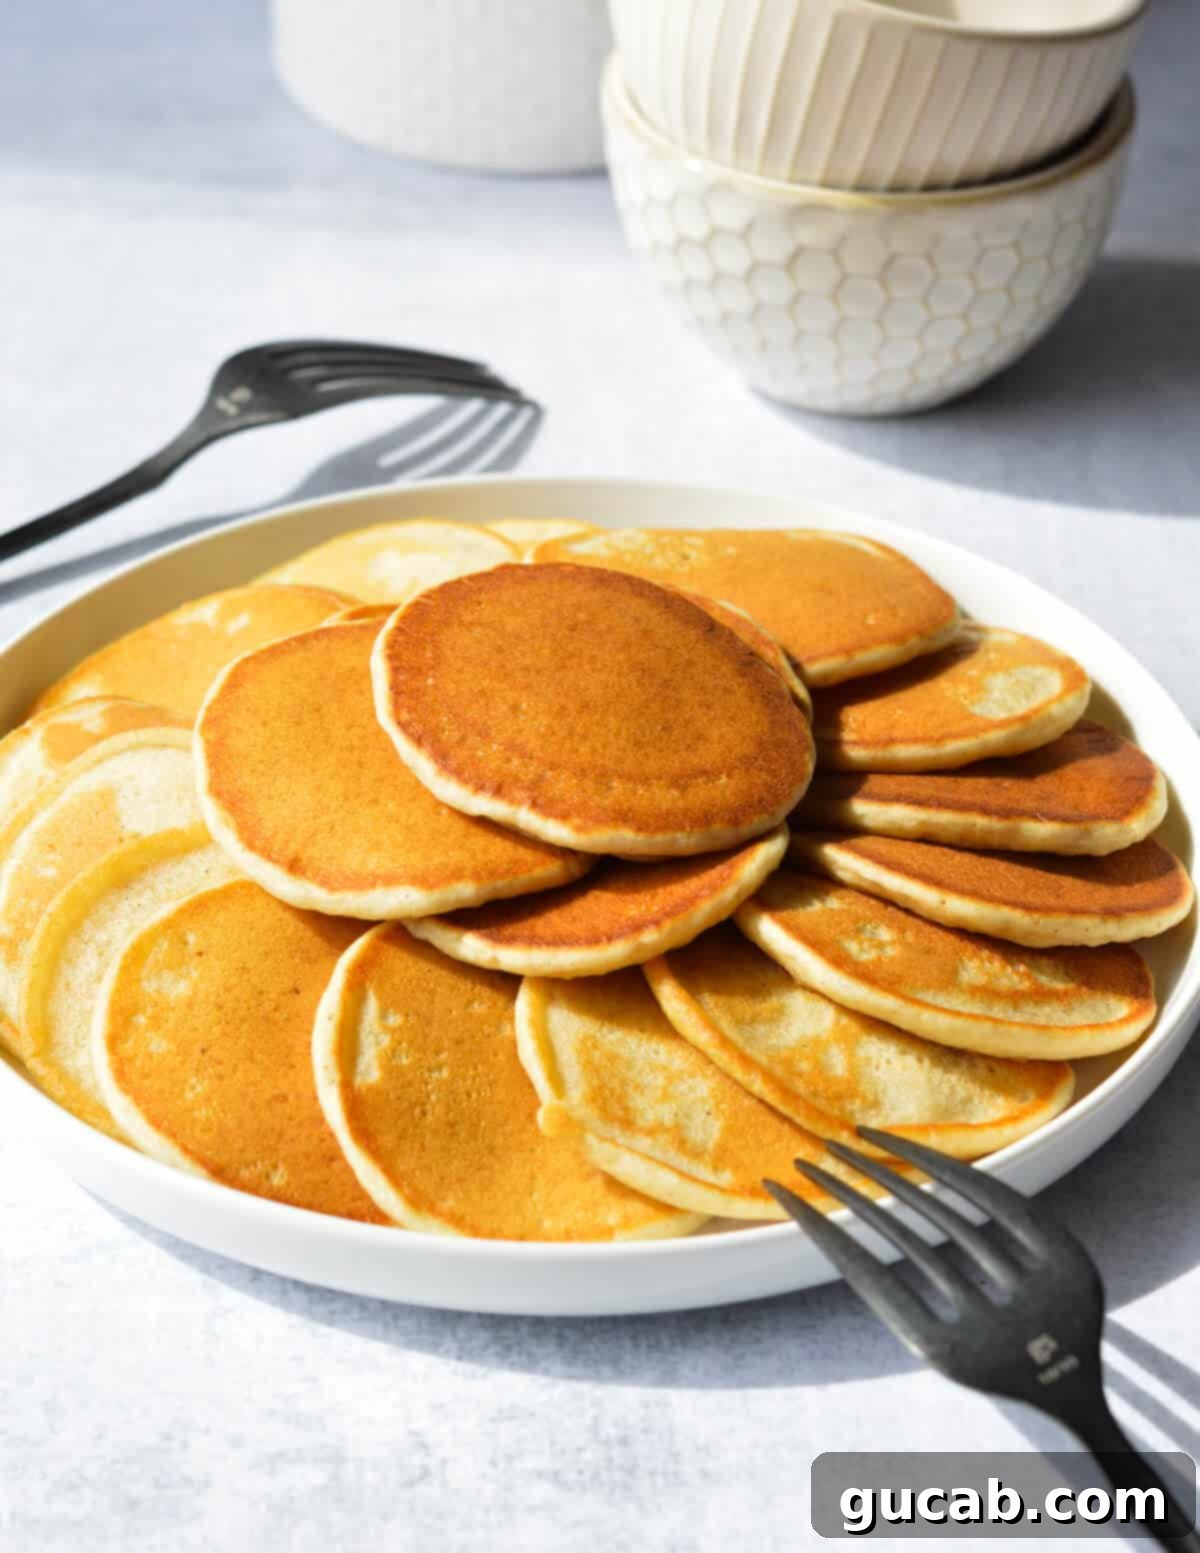
Welcome to the delightful world of silver dollar pancakes! These charmingly miniature pancakes are not just tiny; they’re incredibly light, exquisitely fluffy, and boast a subtle sweetness that makes every bite a joy. Perfectly sized for dipping into your favorite syrup or for little hands to manage, they transform any breakfast or brunch into a truly fun and memorable experience. It’s no wonder kids adore them – and adults quickly fall in love too! Forget ordinary pancakes; these bite-sized wonders are here to elevate your morning meal.
Why You’ll Fall in Love with These Silver Dollar Pancakes
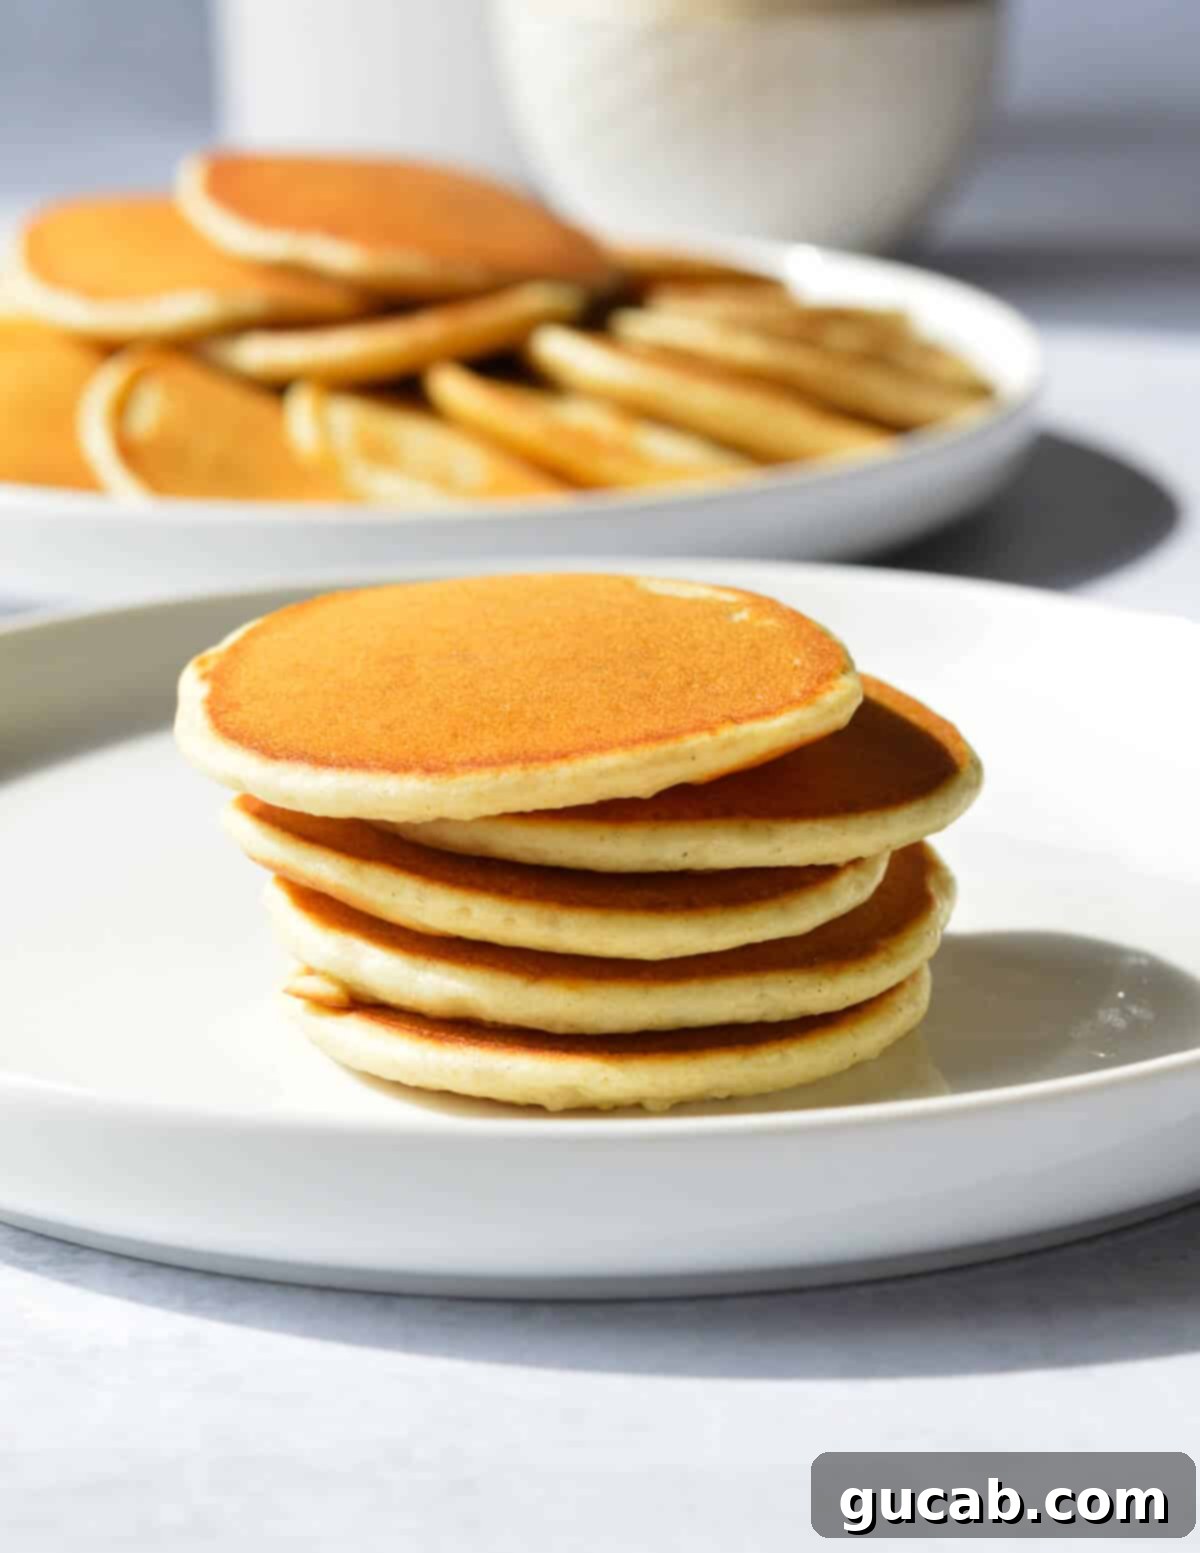
There’s something undeniably enchanting about a short stack of miniature pancakes. These silver dollar pancakes are more than just cute; they offer a unique combination of texture, flavor, and sheer breakfast delight that sets them apart from their larger counterparts. If you’re looking for a breakfast that’s both adorable and delicious, you’ve found your perfect match!
Here’s why these tiny treats will become a staple in your kitchen:
- Unmatched Fluffiness: Crafted to be incredibly light and airy, each silver dollar pancake melts in your mouth, offering a heavenly texture that is simply irresistible. The combination of baking powder and baking soda creates an impressive rise, resulting in a cloud-like interior.
- Perfectly Bite-Sized: At approximately 2 ½ inches wide, these mini pancakes are the ideal size for a single bite. This makes them fantastic for dipping into maple syrup, fruit compotes, or even chocolate sauce without the mess of cutting larger pancakes. They’re also ideal for serving alongside a full breakfast spread, allowing everyone to enjoy a little bit of everything.
- Subtly Sweet Flavor: We’ve carefully balanced the sugar content to provide just enough sweetness for a delightful taste on its own, allowing any added syrups or toppings to truly shine without overwhelming the palate. This delicate sweetness makes them versatile for both sweet and savory accompaniments.
- Kid-Friendly Fun: Children are naturally drawn to these miniature delights. Their small size makes them easy for little hands to hold and eat, promoting independent eating and making breakfast an exciting adventure rather than a chore. Prepare for smiles and requests for “more mini pancakes!”
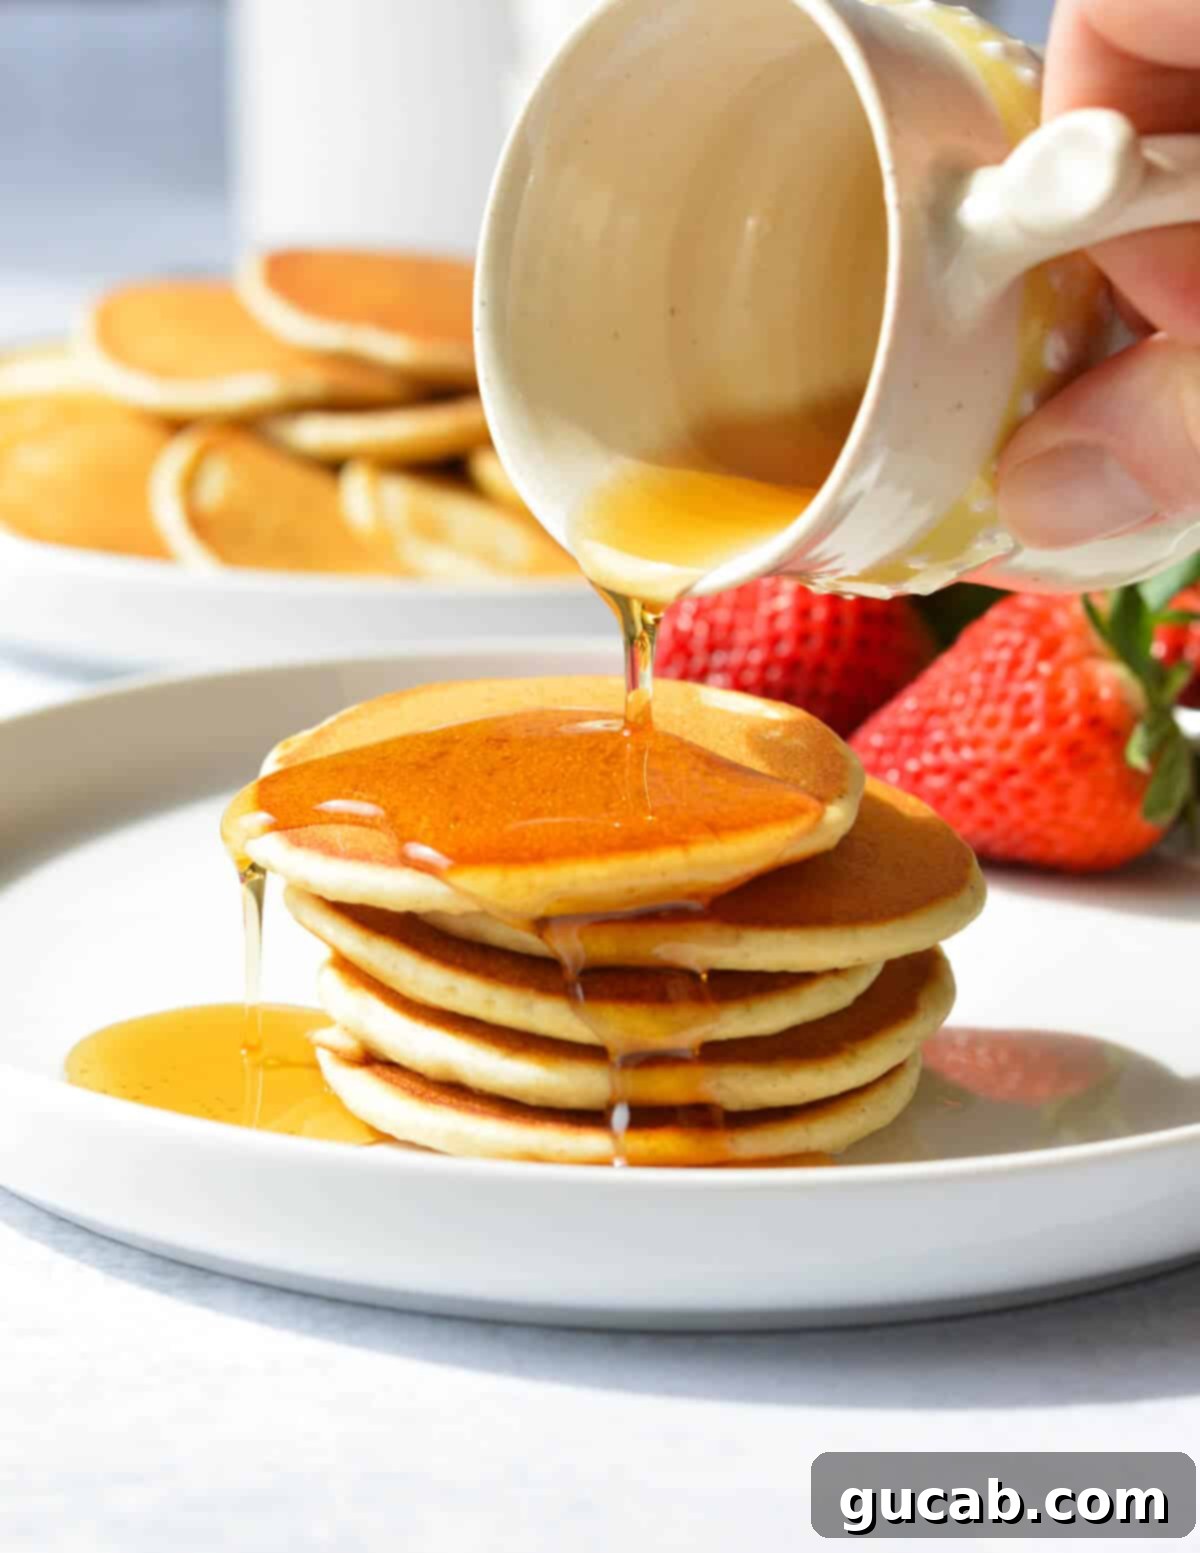
- Great for Dipping: The compact nature of these pancakes makes them superior dippers. Whether it’s a rich maple syrup, a creamy yogurt dip, or a vibrant berry coulis, each pancake acts as a perfect vehicle for your favorite breakfast condiments.
- Easy to Make: Despite their gourmet appearance, these silver dollar pancakes are surprisingly simple to whip up. The batter comes together quickly, and the cooking process is straightforward, making them accessible for home cooks of all skill levels.
Our batter, though on the thinner side, is perfectly formulated. Don’t let the consistency fool you; it ensures they spread just enough in the skillet, bubble beautifully, and cook into perfectly golden, fluffy mini pancakes every time. It’s a breakfast mashup we can’t help but love, bringing joy to both kiddos and adults alike!
Essential Ingredients for Fluffy Silver Dollar Pancakes
Creating the perfect batch of silver dollar pancakes begins with high-quality ingredients and understanding their role. Here’s a detailed look at what you’ll need and why each component is crucial for achieving that coveted light and fluffy texture:
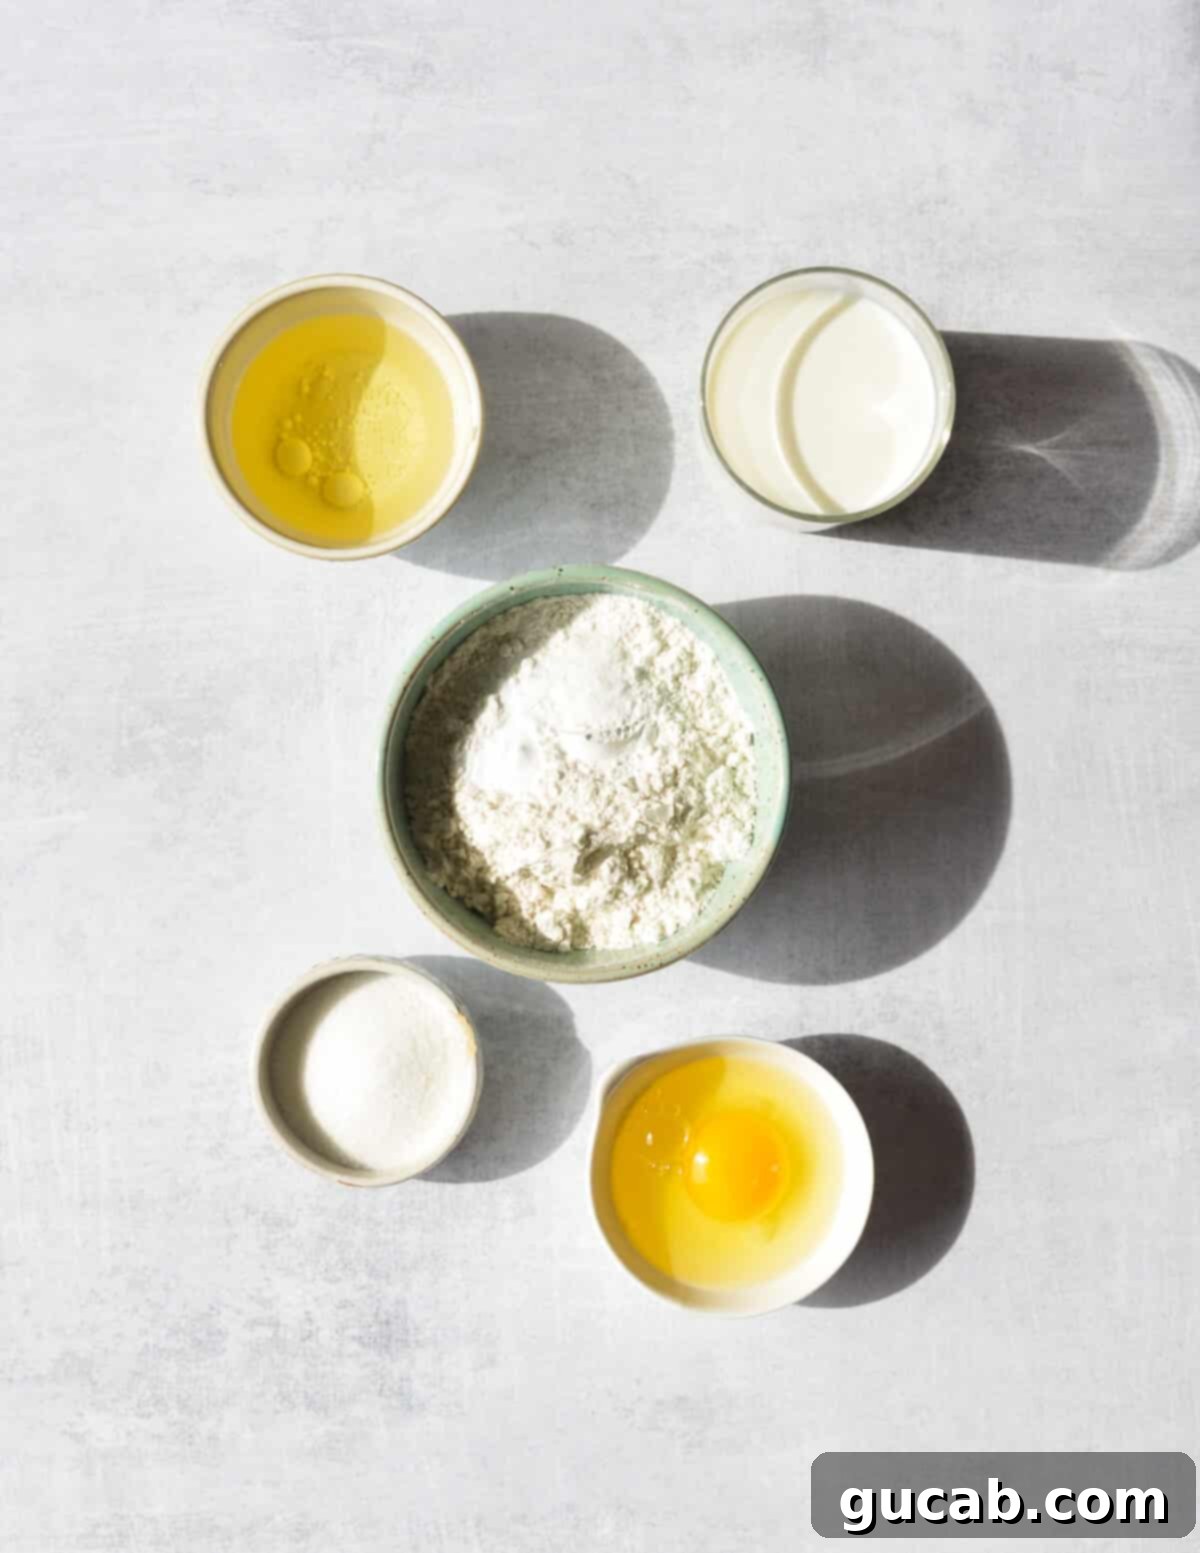
- All-Purpose Flour: This is the foundation of our pancakes, providing structure and contributing to that wonderfully light and fluffy texture. For those with dietary restrictions, you can easily substitute with Bob’s Red Mill’s 1 to 1 Gluten-Free Baking Flour. This particular gluten-free blend is designed to mimic the texture of conventional flour, ensuring your gluten-free silver dollar pancakes are just as delightful.
- Granulated Sugar: We use just enough sugar to impart a subtle, delicate sweetness to the pancakes themselves. This allows the natural flavor of the flour and other ingredients to shine through, and it ensures that when you add maple syrup or other sweet toppings, the overall flavor isn’t overly saccharine. It’s a foundational sweetness that complements, rather than dominates.
- Baking Powder & Baking Soda: These are your power duo for maximum fluffiness! You absolutely need BOTH for the ideal rise and airy texture. Baking powder provides the initial lift, while baking soda reacts with the acidic components in the batter (like buttermilk, though whole milk has enough natural acidity or can be enhanced with a tiny bit of vinegar if needed) to create even more bubbles, resulting in those signature light and tender pancakes. Don’t skimp on either!
- Kosher Salt: A small amount of salt is a secret weapon in baking. It doesn’t make the pancakes taste salty; instead, it cleverly enhances all the other flavors, bringing out the subtle sweetness and richness of the batter. It’s a flavor enhancer that makes a noticeable difference.
- Large Egg: The egg plays several vital roles. It acts as a binder, holding the ingredients together and providing essential structure to the pancakes as they cook. Additionally, it adds richness and moisture to the batter, contributing to a more tender crumb and a beautiful golden hue. Make sure it’s lightly beaten before adding to the wet ingredients.
- Whole Milk: For the ultimate fluffy pancakes, whole milk is highly recommended. The higher fat content in whole milk contributes to a richer flavor and a more tender, moist crumb. Skim milk or low-fat milk can result in flatter, less fluffy pancakes due to the lack of fat. If you prefer, a plant-based milk like almond milk or oat milk can be used, but be aware that the texture might be slightly different.
- Vegetable Oil: This ingredient contributes to the tender texture and helps achieve an even, beautiful golden-brown color. You can also use an equal amount of melted unsalted butter for a slightly richer flavor profile. If using butter, ensure it’s melted and slightly cooled before adding it to the wet ingredients to avoid cooking the egg.
Step-by-Step Guide: How to Make Silver Dollar Pancakes
Making these miniature pancakes is incredibly simple and satisfying! The process closely resembles that of regular-sized pancakes, with just a few mindful adjustments to ensure they turn out perfectly small and delightfully fluffy.
1. Prepare the Pancake Batter
The key to perfect silver dollar pancakes starts with a well-mixed, yet not overmixed, batter. Pay attention to consistency!
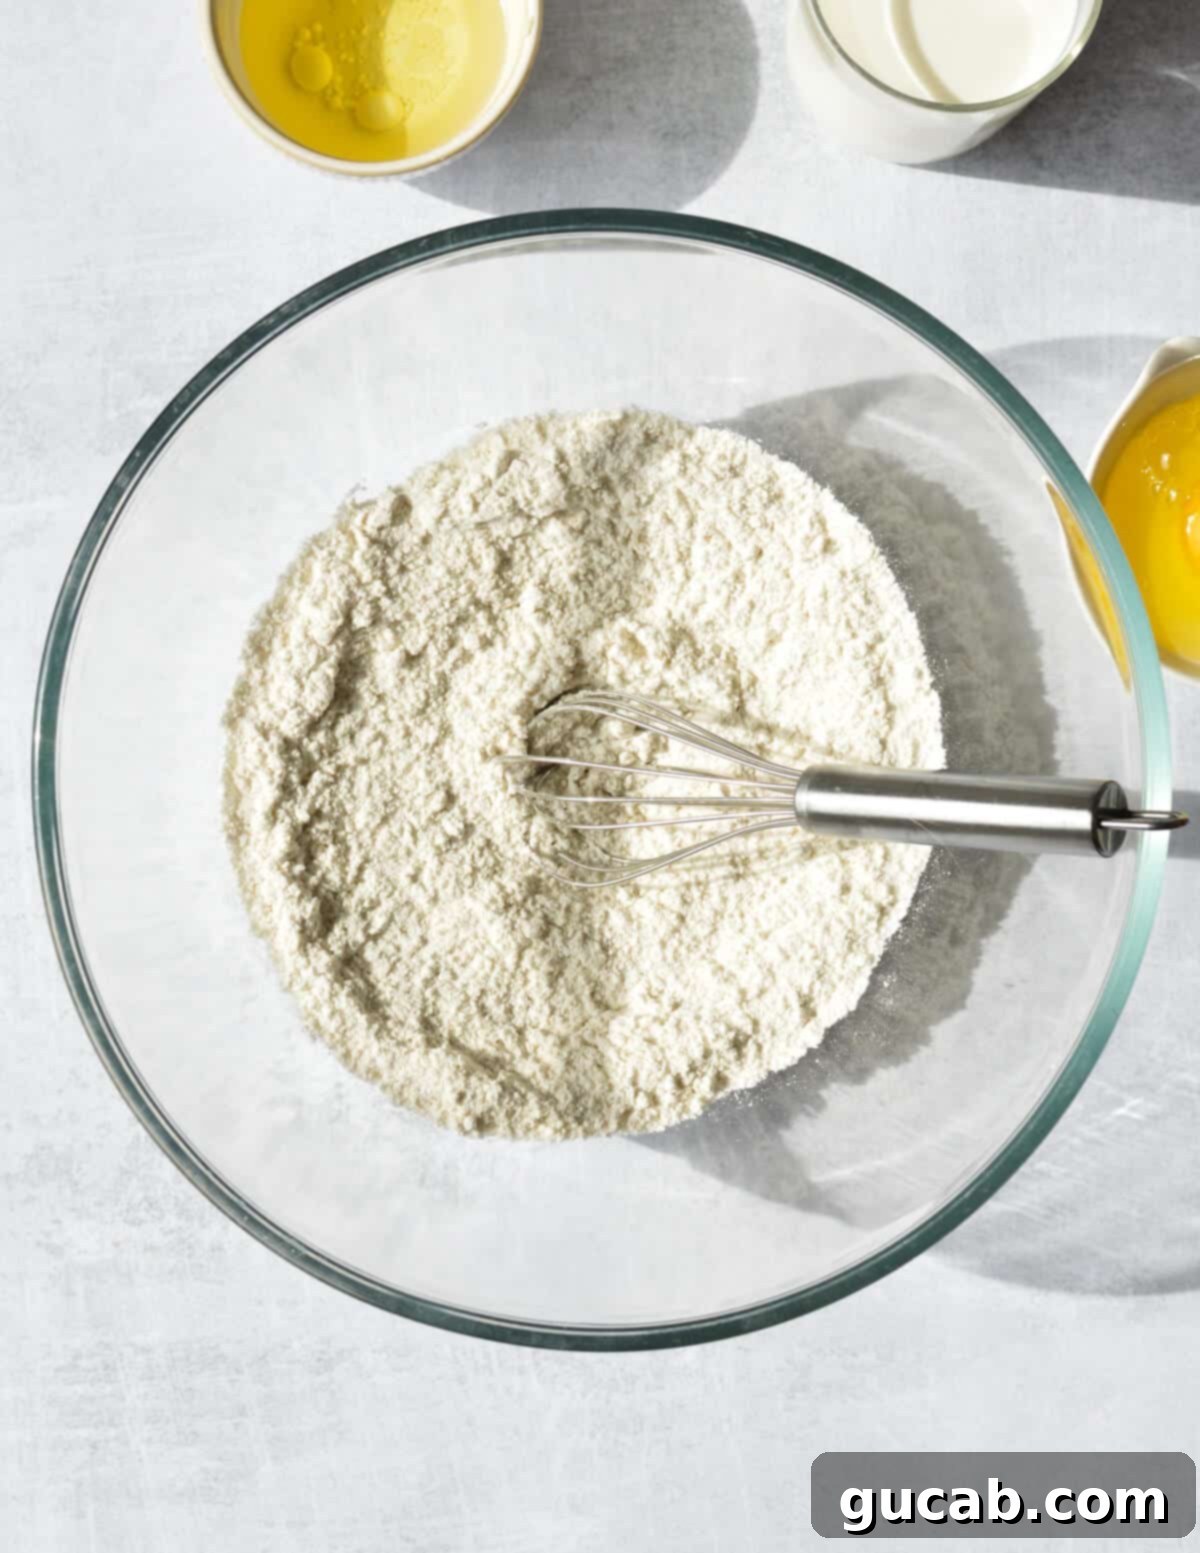
- Combine Dry Ingredients: In a large mixing bowl, measure out your all-purpose flour, granulated sugar, baking powder, baking soda, and kosher salt. Use a whisk to gently stir these dry ingredients together. This step is crucial for ensuring that the leavening agents (baking powder and baking soda) are evenly dispersed throughout the flour, which will guarantee a consistent rise in every single pancake.
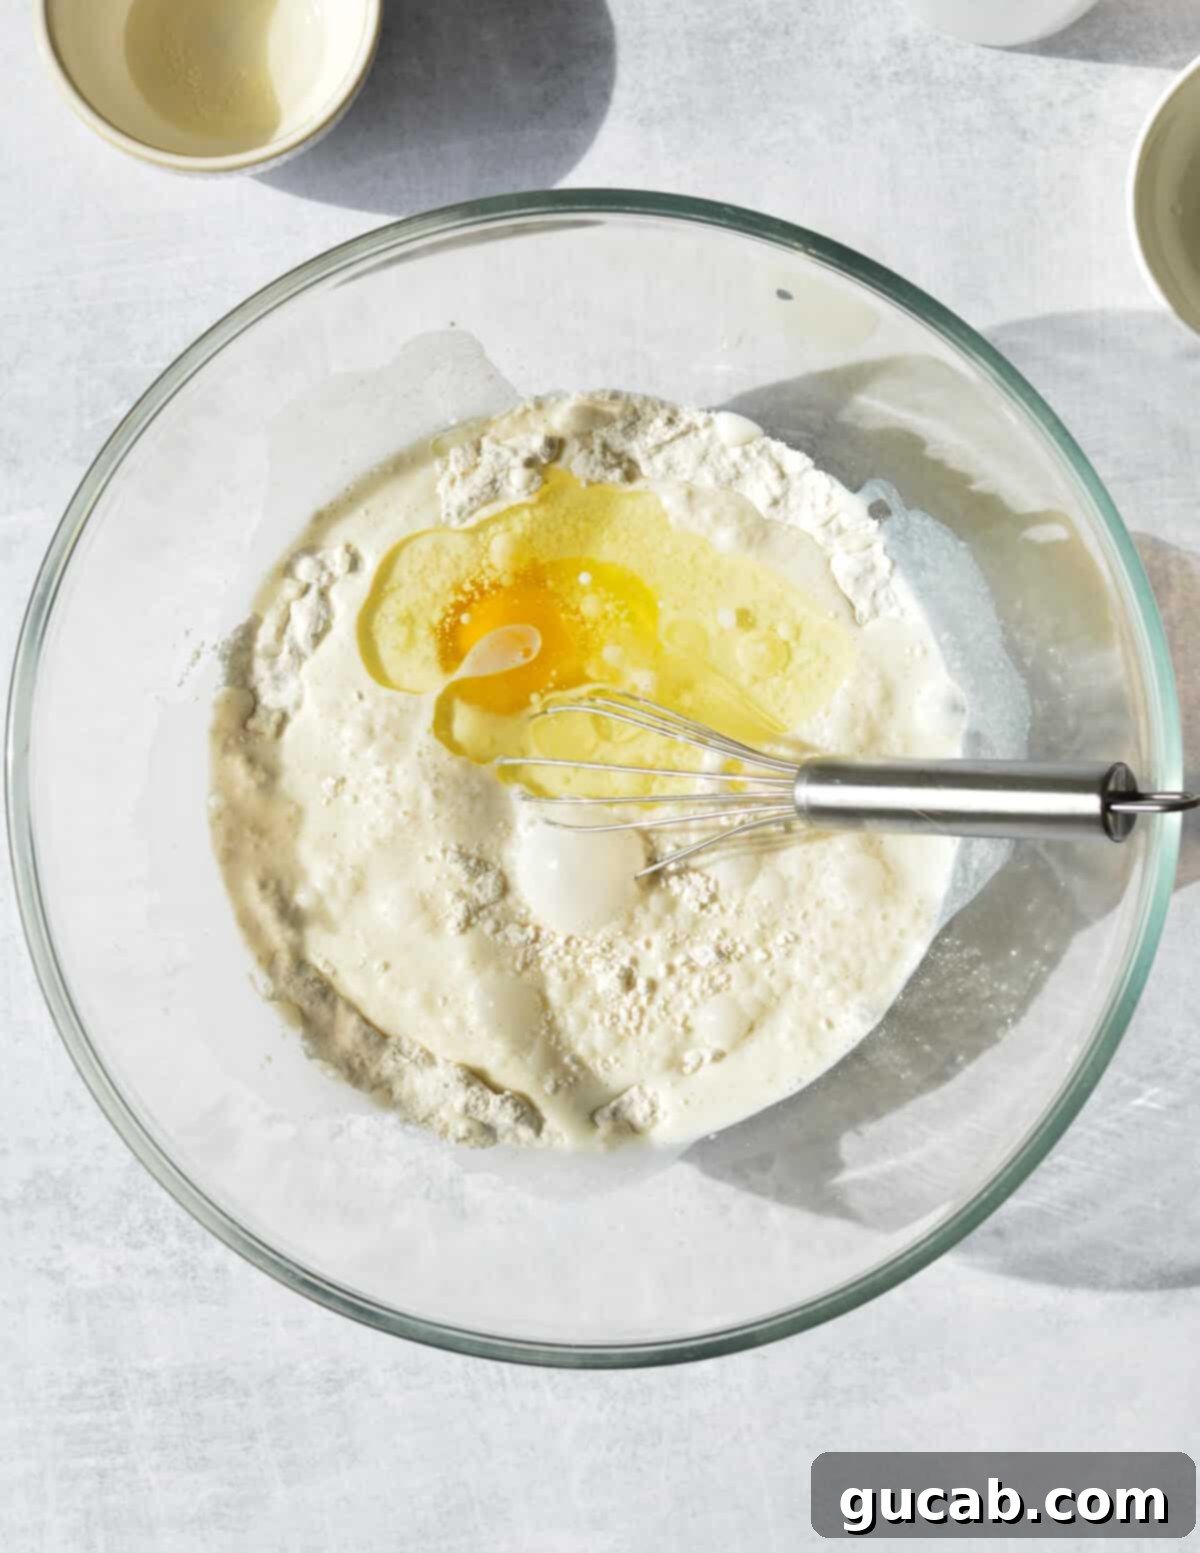
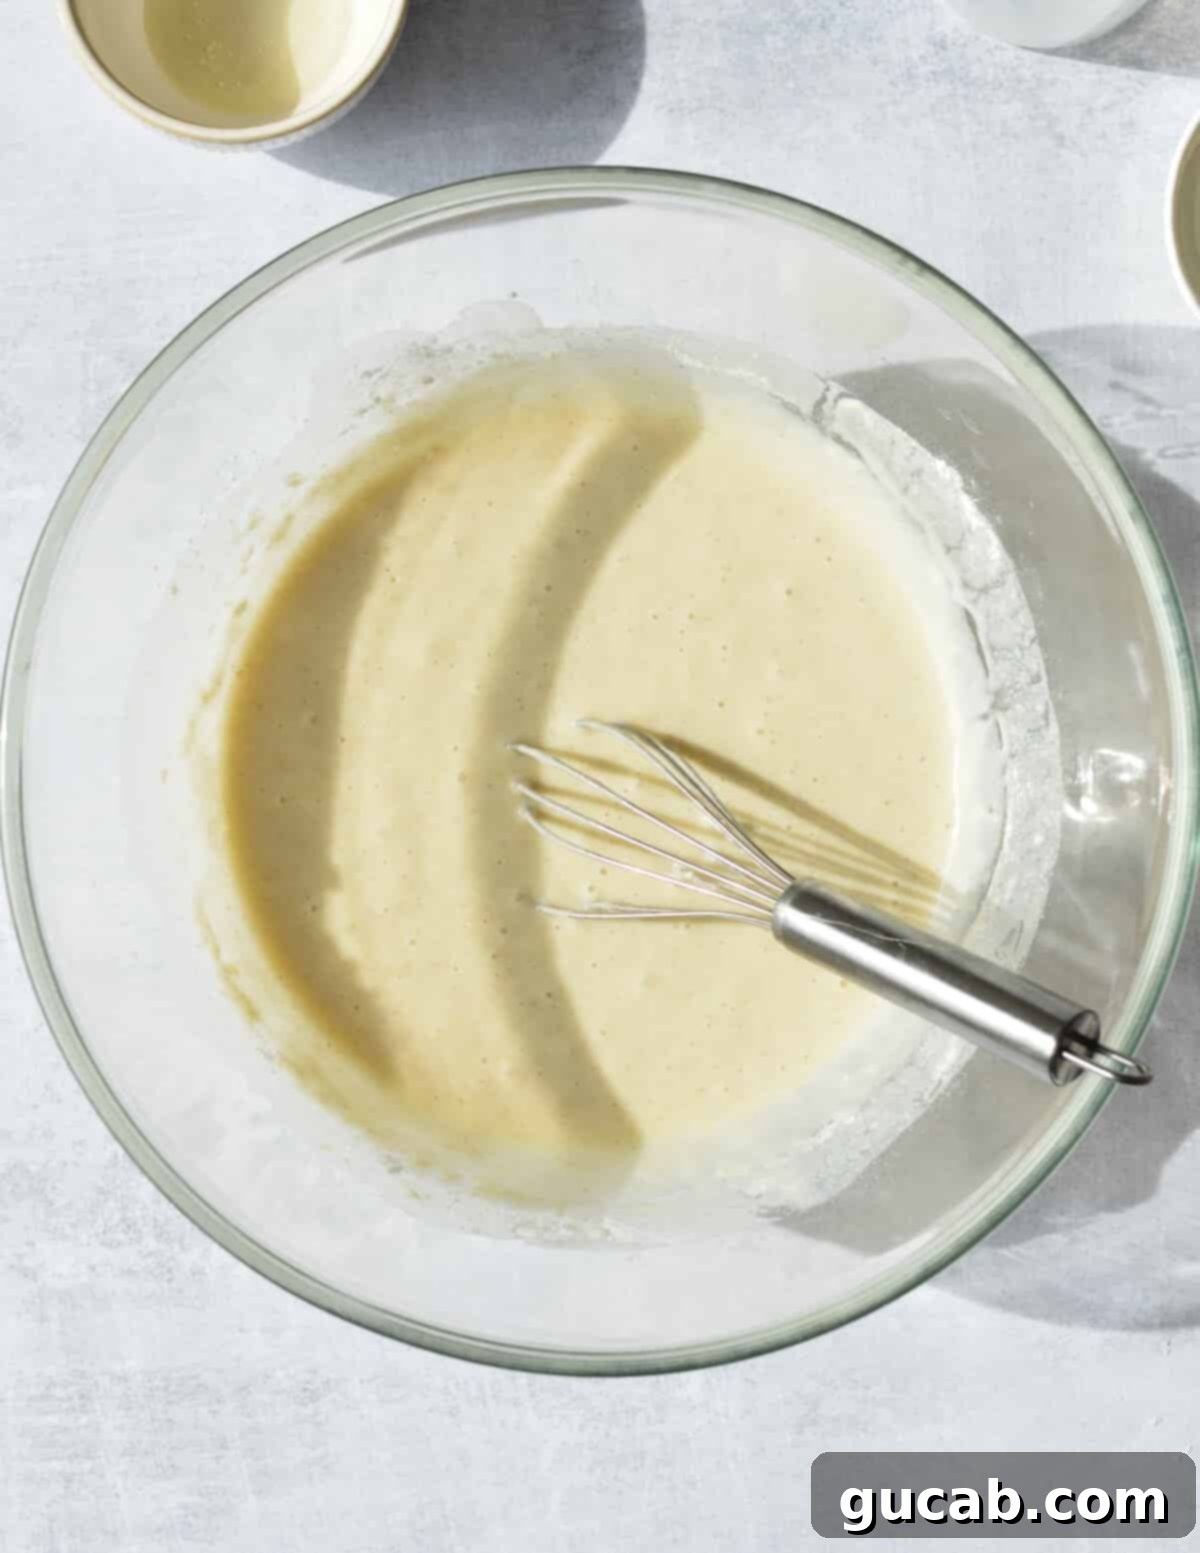
- Add Wet Ingredients and Whisk: Create a small well in the center of your dry ingredients. Pour in the whole milk, vegetable oil (or melted butter), and the lightly beaten large egg. Using your whisk, gently mix everything until just combined. It’s absolutely essential not to overmix the batter! A few lumps are perfectly fine and even desired. Overmixing develops the gluten in the flour, which can lead to tough, chewy pancakes instead of the light, fluffy texture we’re aiming for. The resulting batter should be on the thinner side; this consistency is key for the batter to spread easily into perfect small circles in the skillet without becoming too thick.
2. Cook the Silver Dollar Pancakes
Patience and proper heat management are key to achieving beautifully golden and fully cooked miniature pancakes.
- Rest the Batter and Heat the Skillet: Allow your pancake batter to rest for a full 10 minutes. This seemingly small step is vital; it gives the baking powder ample time to activate, resulting in a lighter and fluffier end product. While the batter rests, heat a large nonstick skillet over medium heat. It’s important that your skillet is properly preheated and up to temperature *before* you add any batter. If the pan isn’t hot enough, the pancakes will spread too much, absorb too much oil, and won’t brown nicely. A few drops of water should sizzle and evaporate immediately. Add a small amount of vegetable oil or butter to the skillet, just enough to lightly coat the surface.
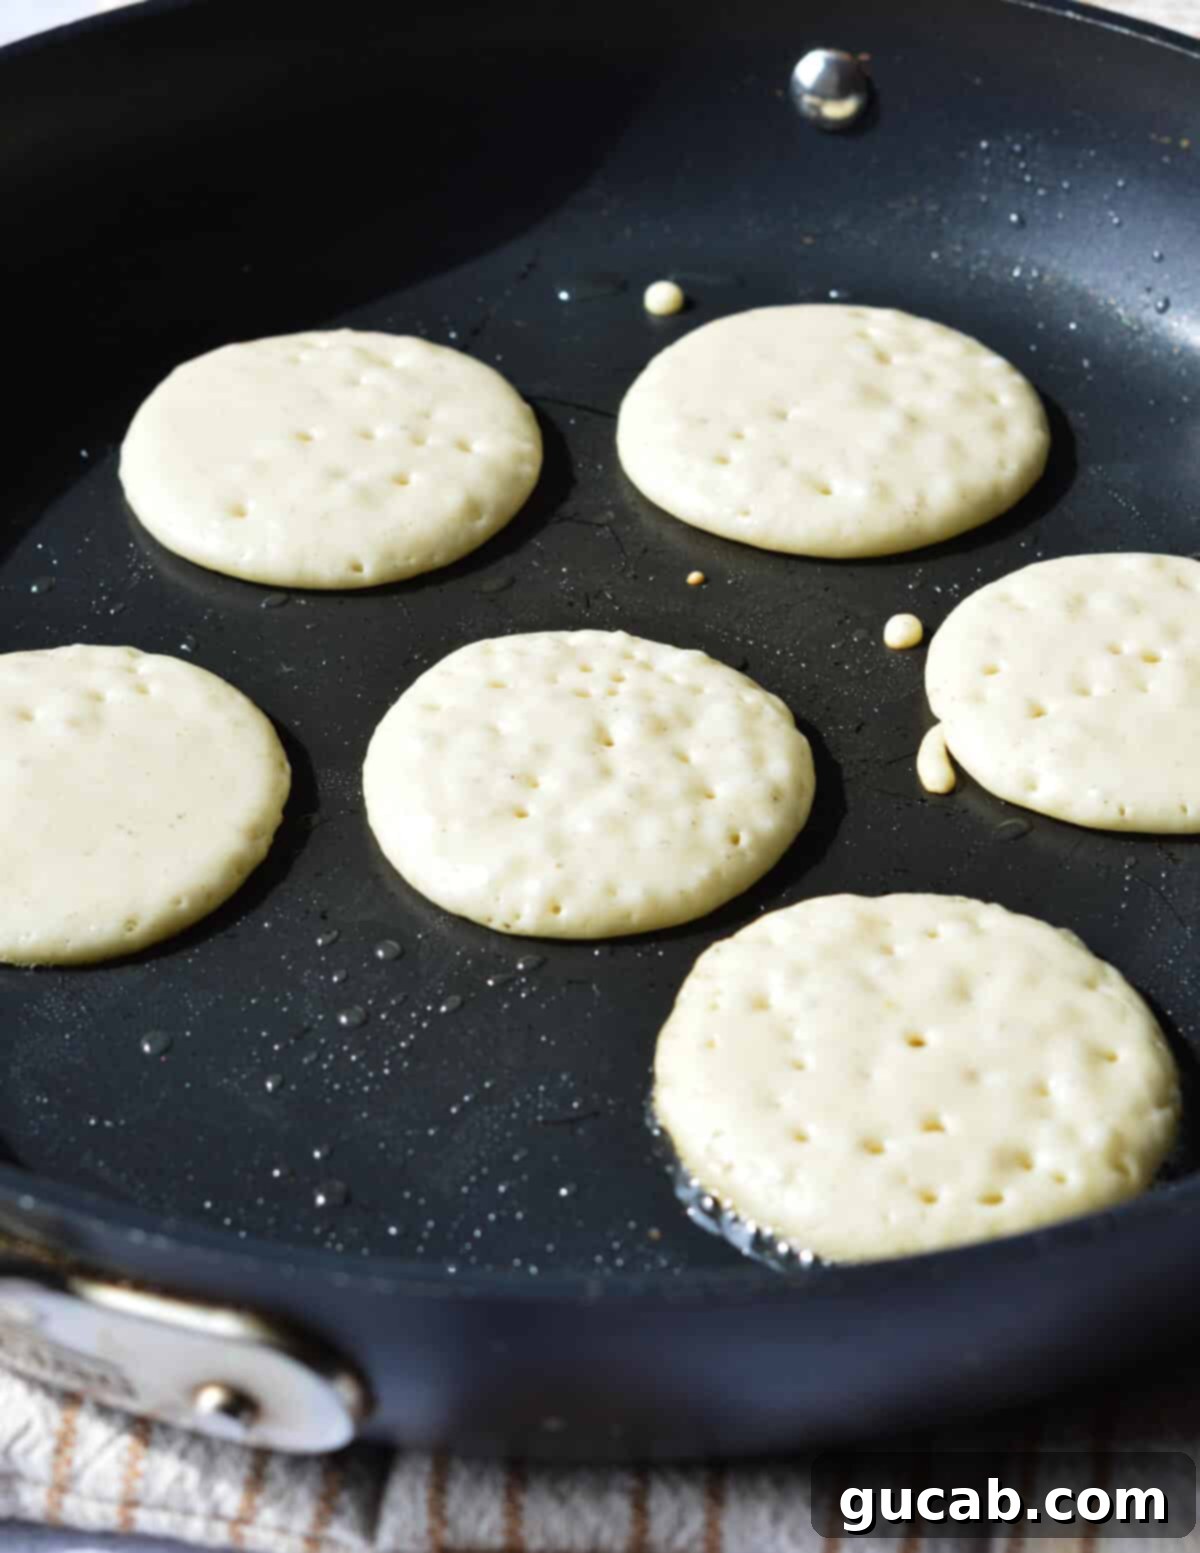
- Portion and Cook: You’ll only need one level tablespoon of batter per silver dollar pancake. Use a measuring tablespoon to scoop and gently pour 6 to 7 pancakes into the hot skillet, leaving a little space between each for expansion. The batter should spread naturally to about 2 ½ inches wide.
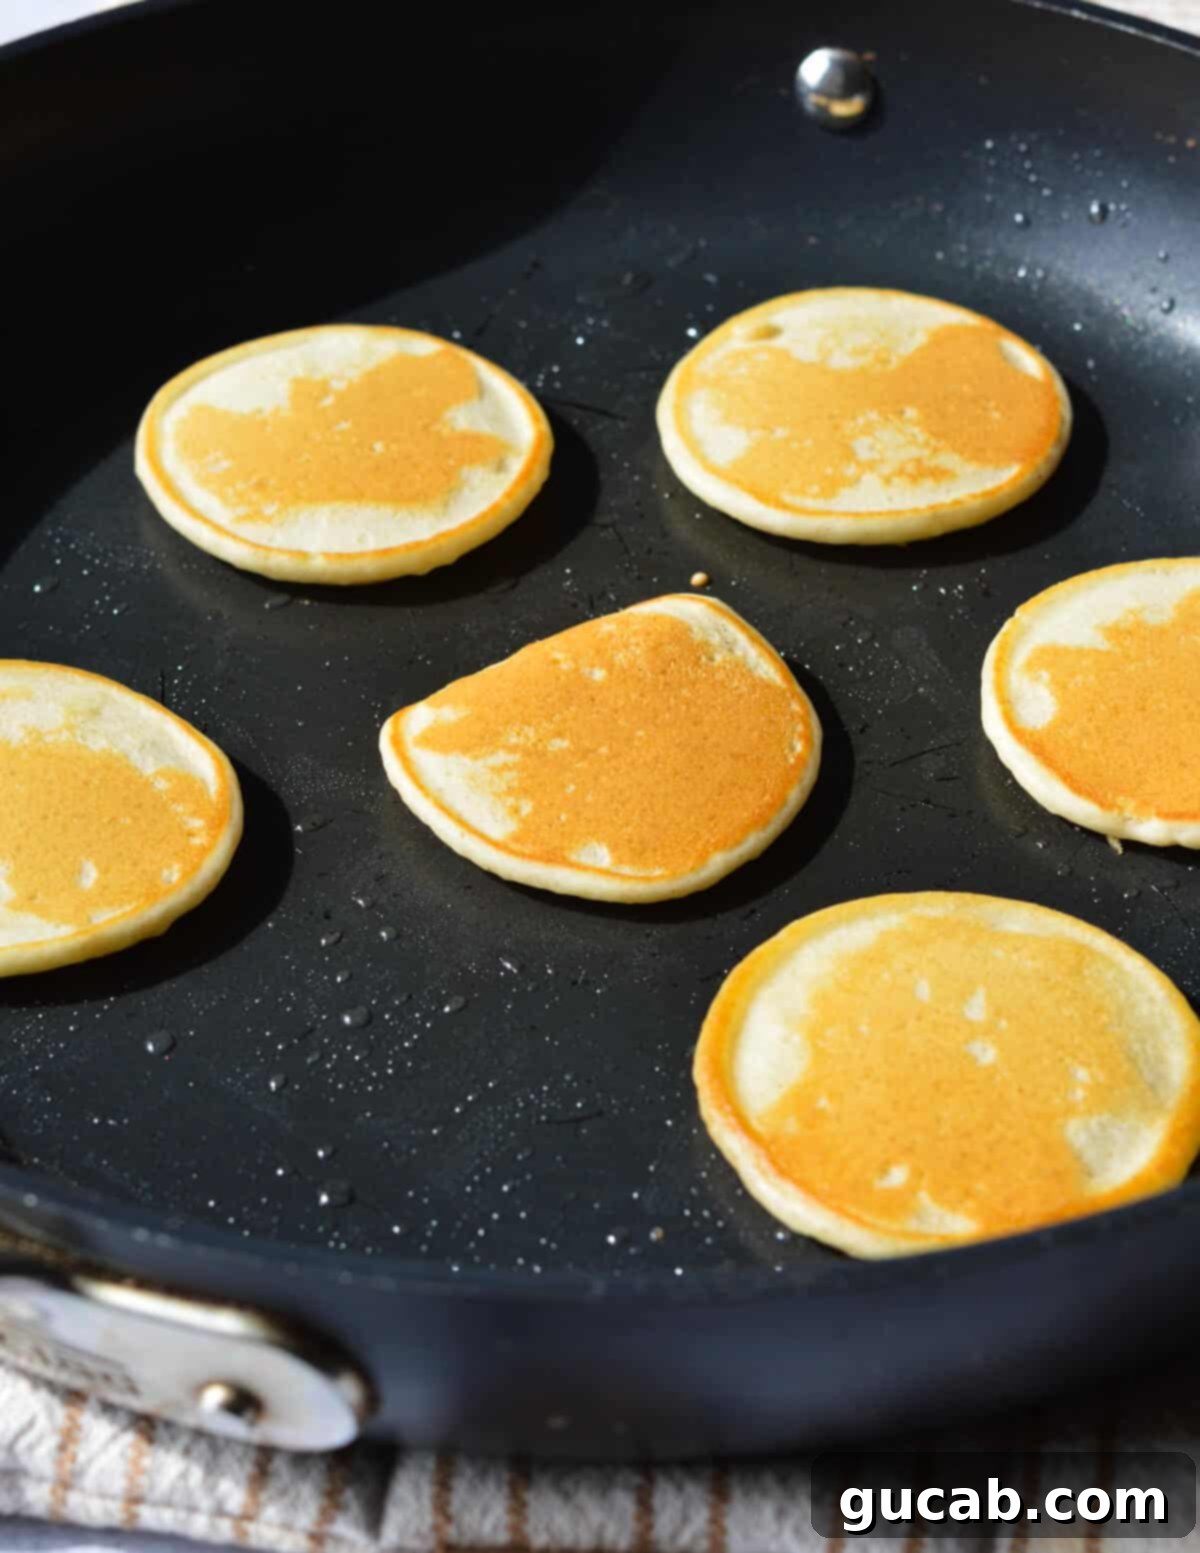
- Flip and Finish: Let the pancakes cook for 1 to 2 minutes on the first side. You’ll know they’re ready to flip when you see plenty of bubbles forming on the surface and the edges appear set and slightly dry. Carefully use a thin-set spatula to flip each pancake. Cook for another 1 to 2 minutes on the second side, until they are beautifully golden brown and cooked through. Transfer the cooked pancakes to a plate and repeat the process with the remaining batter, adding a tiny bit more oil to the skillet between batches if needed. To keep the first batches warm, you can place the plate of cooked pancakes in a very low oven (around 200°F / 95°C).
Expert Tips for Pancake Perfection
Achieving consistently perfect silver dollar pancakes is easy with these insider tips:
- Thin Batter is Your Friend: Unlike some thicker pancake batters, the batter for silver dollar pancakes should be noticeably thin. This is crucial because the tiny pancakes need to spread easily and uniformly once they hit the hot skillet. If the batter is too thick, your mini pancakes will turn out dense and cakey, rather than light and fluffy. Don’t be afraid if it looks a bit runny; that’s exactly what we want!
- Preheat the Skillet Properly: A common mistake is not allowing the skillet to get hot enough before adding the batter. A properly heated skillet is vital for immediate browning and an even golden crust. If your skillet isn’t hot, the pancakes will cook slowly, stick, and won’t develop that beautiful golden exterior. Aim for medium heat and give the pan a good 5-7 minutes to warm up.
- Mastering Heat Control: Watch your pancakes closely. If they are browning too quickly and getting dark before they’ve had a chance to cook through, your heat is too high. Conversely, if they are pale and not browning, increase the heat slightly. The sweet spot is usually around 1.5 minutes per side for a perfect golden color and fully cooked center. Adjust the temperature as needed between batches.
- Don’t Overmix the Batter: We’ve said it before, but it bears repeating! Overmixing develops gluten, which makes pancakes tough and chewy. Mix until just combined – a few lumps are totally fine and actually preferred for tender pancakes.
- Use a Squeeze Bottle for Perfect Circles: For exceptionally round and uniform silver dollar pancakes, consider transferring your batter to a squeeze bottle. This gives you excellent control over portion size and placement, making it easy to create beautiful, consistent shapes.
- Keep Cooked Pancakes Warm: As you cook multiple batches, transfer the finished pancakes to a baking sheet in a warm oven (around 200°F / 95°C). This ensures all your pancakes are delightfully warm when served.
Storage, Freezing, and Reheating for Convenience
These silver dollar pancakes are so delicious, you might want to make a big batch to enjoy throughout the week or freeze for future quick breakfasts. Here’s how to properly store and reheat them:
- Cool Completely Before Storing: The most important step for both refrigeration and freezing is to ensure the pancakes are entirely cool. Storing warm pancakes can lead to condensation, making them soggy and prone to spoilage or freezer burn. Lay them out in a single layer on a wire rack until they reach room temperature.
- Refrigeration: Once cooled, stack the pancakes with parchment paper between layers to prevent sticking. Store them in a zip-top bag or an airtight container in the refrigerator for up to 3 days.
- Freezing: Silver dollar pancakes are incredibly freezer-friendly, making them perfect for meal prep!
- Flash Freeze First: For best results, arrange the cooled pancakes in a single layer on a baking sheet and freeze for about 1-2 hours until solid. This prevents them from sticking together in the bag.
- Long-Term Storage: Once flash-frozen, transfer the solid pancakes to a freezer-safe zip-top bag or an airtight container. They will keep well in the freezer for up to 3 months. Clearly label the bag with the date.
- Reheating Instructions:
- Microwave: This is the quickest method. Place a few pancakes on a microwave-safe plate. Heat in 15-second increments until just warm. Be careful not to overheat them, as this can make them chewy or rubbery.
- Toaster/Toaster Oven: For a slightly crispier edge, reheat frozen or refrigerated pancakes in a toaster or toaster oven on a low setting for 1-2 minutes, or until heated through.
- Oven: For larger batches, preheat your oven to 350°F (175°C). Spread pancakes in a single layer on a baking sheet and heat for about 5-7 minutes, or until warm.
Delicious Serving Suggestions & Variations
While these silver dollar pancakes are fantastic on their own, pairing them with the right toppings and sides can elevate your breakfast experience. Here are some ideas:
Classic & Sweet Toppings:
- Pure Maple Syrup: The quintessential pancake pairing. Its rich, warm sweetness is a perfect complement.
- Fresh Berries: Strawberries, blueberries, raspberries, or a mixed berry compote add a burst of freshness and natural sweetness.
- Whipped Cream: A dollop of light, homemade whipped cream adds an indulgent touch.
- Chocolate Sauce: A drizzle of chocolate syrup or melted chocolate is a favorite, especially with kids.
- Nut Butters: Peanut butter, almond butter, or hazelnut spread can add protein and a creamy texture.
- Powdered Sugar: A simple dusting of powdered sugar makes for an elegant presentation.
- Honey Butter: (As seen in the “More Pancake Recipes” section, Honey Butter is an excellent choice!)
Savory Pairings:
- Crispy Bacon or Sausage: The salty crunch of breakfast meats provides a wonderful contrast to the sweet pancakes.
- Scrambled or Fried Eggs: A complete breakfast wouldn’t be complete without some eggs on the side.
- Yogurt and Granola: Serve alongside a bowl of Greek yogurt and crunchy granola for added texture and probiotics.
Creative Variations for Your Batter:
- Chocolate Chip Silver Dollars: Fold ½ cup of mini chocolate chips into the batter for a sweet surprise.
- Blueberry Mini Pancakes: Gently fold in ½ cup of fresh or frozen blueberries (do not thaw if frozen) for a fruity twist.
- Zesty Lemon Pancakes: Add 1 teaspoon of lemon zest to the dry ingredients for a bright, citrusy flavor.
- Spiced Pancakes: A pinch of cinnamon or nutmeg (¼ to ½ teaspoon) can add warmth and depth to the flavor profile.
Discover More Pancake Recipes:
If you love pancakes as much as we do, explore these other fantastic recipes from our collection:
- Joanna Gaines Best Buttermilk Pancake Recipe
- Honey Pancakes
- Fluffy Gluten Free Pancakes
- Thin & Crispy Pancakes
- Honey Butter
Silver Dollar Pancakes
Carolyn
Pin Recipe
Equipment
-
Large nonstick skillet
-
Large Bowl
Ingredients
- 1 cup + 2 tablespoons all-purpose flour see note for GF option
- 3 tablespoons sugar
- 1 teaspoon baking powder
- ½ teaspoon baking soda
- ¼ teaspoon kosher salt
- 1 large egg lightly beaten
- 1 cup whole milk
- ¼ cup vegetable oil
Instructions
-
In a large bowl, combine the all-purpose flour, baking powder, baking soda, and kosher salt.
-
Add the whole milk, vegetable oil, and egg to the flour mixture. Whisk until a pancake batter forms. It should be fairly thin.
-
Let the pancake batter sit for 10 minutes. Meanwhile heat a large nonstick skillet over medium heat.
-
Add 1 tablespoon of oil to the skillet. The skillet should be hot and up to temperature before you add the batter.
-
Use a tablespoon measurement to scoop the pancake batter into the skillet. You should have room for 6 to 7 pancakes.
-
Let the pancakes cook for 1 to 2 minutes per side. Use a thin-set spatula to flip the pancakes and cook for 1 to 2 minutes more. Transfer the pancakes to a plate and repeat with the remaining batter.
Notes
Nutrition
Tried this recipe?Let us know how it was!
