Perfectly Creamy Stoneground Grits: A Simple & Irresistible 3-Ingredient Recipe
Prepare to fall in love with the ultimate comfort food: incredibly thick and creamy grits! This foolproof recipe, featuring just three essential ingredients, transforms humble stoneground corn into a luxurious dish that’s perfect for any meal. Whether you’re seeking a hearty breakfast, a satisfying lunch, or a comforting dinner side, these grits are a versatile and beloved classic that the whole family will adore.

There’s something truly magical about a bowl of expertly prepared grits. For many, it’s a nostalgic taste of home; for others, a delightful discovery. My family, in particular, absolutely raves about these ultra-creamy stoneground grits. It’s a rare culinary triumph in our household, a dish that garners zero complaints and instead sparks a friendly competition for the last spoonful in the pot. Even my pickiest eaters eagerly devour them!
While often associated with leisurely Saturday mornings, these creamy grits are so easy and adaptable that they frequently grace our weeknight dinner table too. Their rich, satisfying texture and mild flavor make them an ideal accompaniment to almost anything, from savory meats to lighter vegetable dishes. This guide will walk you through creating the most delicious, perfectly cooked stoneground grits, ensuring a creamy, consistent result every time.
Understanding Stoneground Grits: The Foundation of Flavor
Before diving into the recipe, it’s crucial to understand what makes stoneground grits special and why they are non-negotiable for achieving that authentic, superior creaminess. Grits are a staple in Southern cuisine, traditionally made from dried corn kernels that have been ground. The “stoneground” distinction refers to the traditional milling process where the corn is slowly ground between two stones. This method retains more of the corn’s germ and bran, resulting in a coarser, more flavorful grit with a rustic texture and rich, nutty corn flavor. This less-processed nature is key to their slow liquid absorption and the incredible, velvety texture they develop during cooking.
Unlike instant or quick-cooking grits, which are finely ground and processed to cook rapidly, stoneground grits require patience. This longer cooking time is not a drawback; it’s a feature. It allows the grits to slowly absorb the liquid, fully hydrate, and release their natural starches, creating a depth of flavor and a luxurious consistency that simply cannot be replicated with their faster-cooking counterparts. If you’re looking for the best, truly creamy grits, always reach for stoneground.
Key Ingredients for Unforgettable Creamy Grits
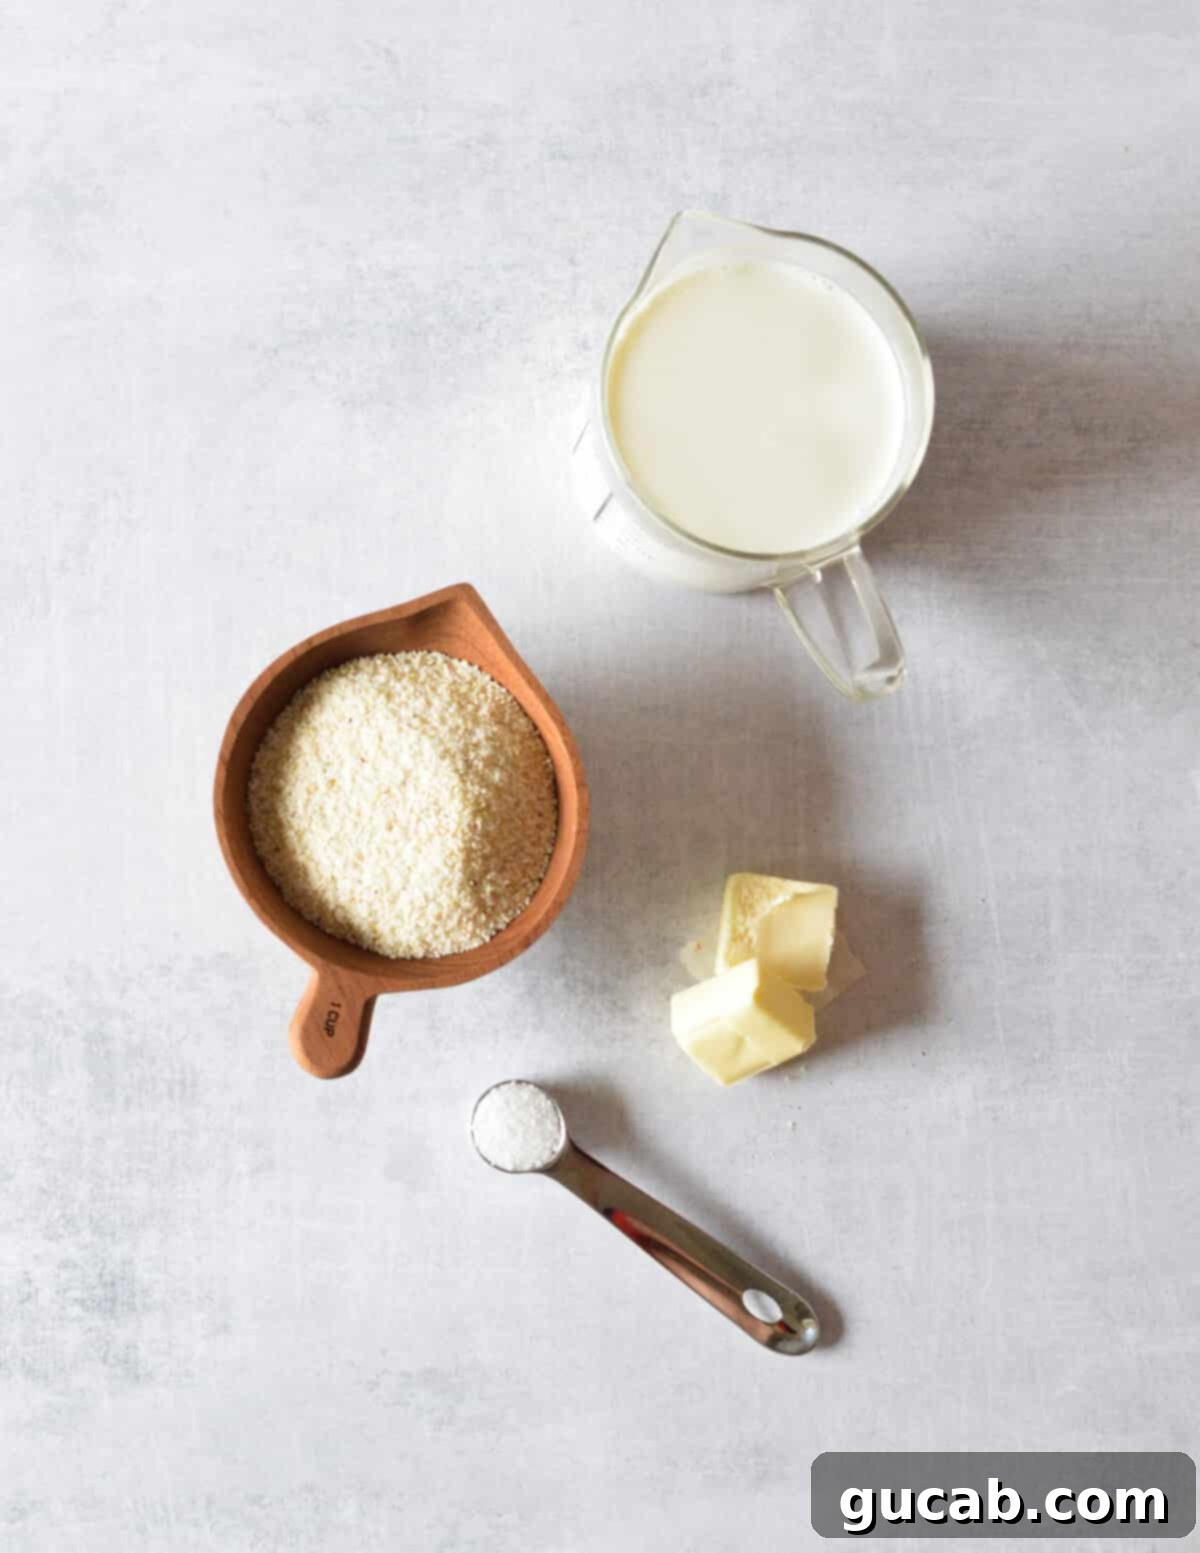
This recipe prides itself on its simplicity, relying on just a few high-quality ingredients to deliver maximum flavor and texture. Each component plays a vital role:
- Stoneground Grits: As discussed, these are absolutely essential. They are coarsely ground and minimally processed, which means they require a longer cooking time and absorb liquid slowly, leading to a much richer, creamier, and more authentic result than instant or quick-cooking varieties. Look for yellow or white stoneground grits, often available in specialty stores or online.
- Unsalted Butter: Butter is more than just a flavor enhancer here; it’s a key player in achieving that signature creamy texture and adding a decadent richness. Using unsalted butter allows you complete control over the final saltiness of your dish. Feel free to use a high-quality butter for the best taste.
- Whole Milk: The choice of liquid is crucial for creaminess, and whole milk is the star. As the grits slowly absorb the milk, they become incredibly rich and smooth. While you could technically use water or other milks, whole milk provides unparalleled body and a silken mouthfeel that elevates these grits to another level. For an even richer experience, some prefer to use a blend of milk and heavy cream, but whole milk alone does an excellent job.
- Kosher Salt: Salt is vital for seasoning and bringing out the natural sweetness of the corn. I highly recommend using kosher salt for its pure salty flavor and larger, more consistent granules, which are easier to measure and distribute evenly compared to fine table salt. It provides a clean taste without the metallic notes sometimes found in iodized table salt.
Mastering the Art of Making Creamy Stoneground Grits
Making stoneground grits is surprisingly straightforward, but it does demand a little tender loving care (TLC) and patience. The key to their luscious texture lies in cooking them low and slow, typically for at least 30 minutes, combined with consistent, periodic stirring. This process ensures they release their starches gradually and absorb the milk fully, preventing lumps and creating a smooth, velvety consistency.
- Combine Ingredients: In a medium-sized, heavy-bottomed saucepan (which helps prevent scorching), combine the stoneground grits, 2 cups of the whole milk, the unsalted butter, and a generous pinch of kosher salt. Starting with cold milk can also help prevent lumps.
- Bring to a Gentle Boil: Place the saucepan over medium-high heat and bring the mixture to a gentle boil, stirring occasionally with a whisk to ensure everything is well combined and the grits don’t stick to the bottom.
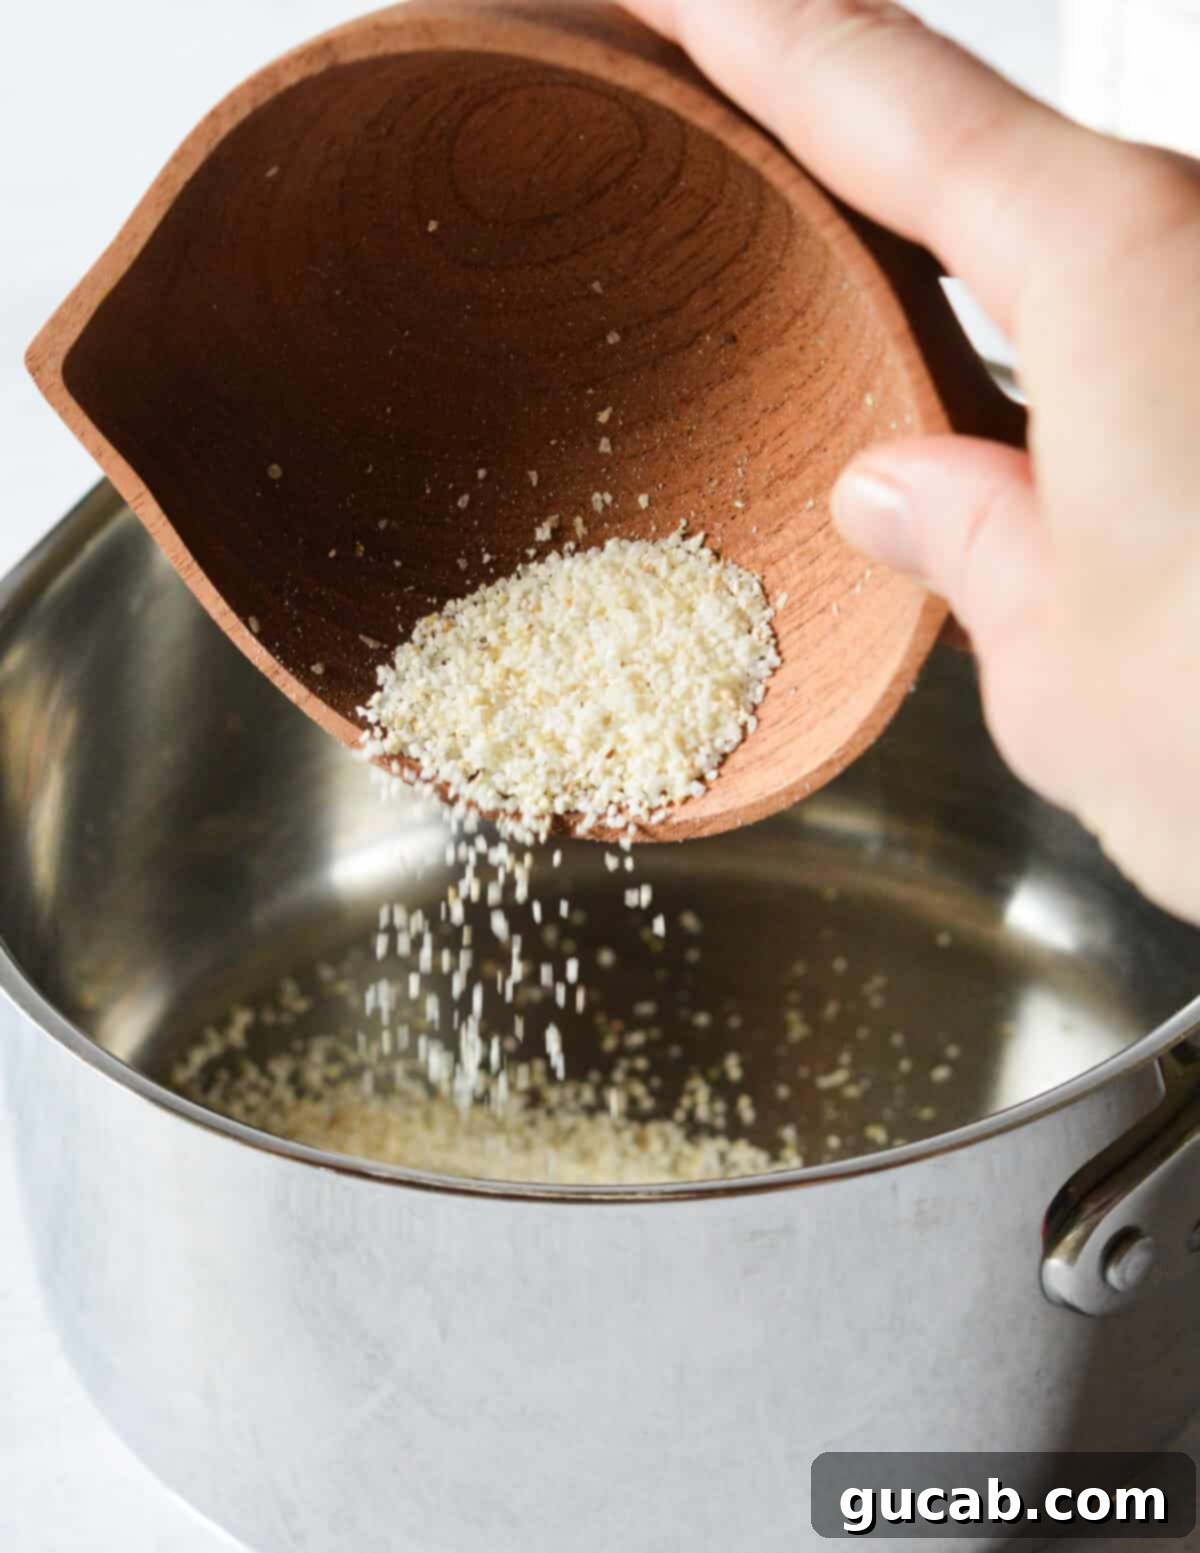
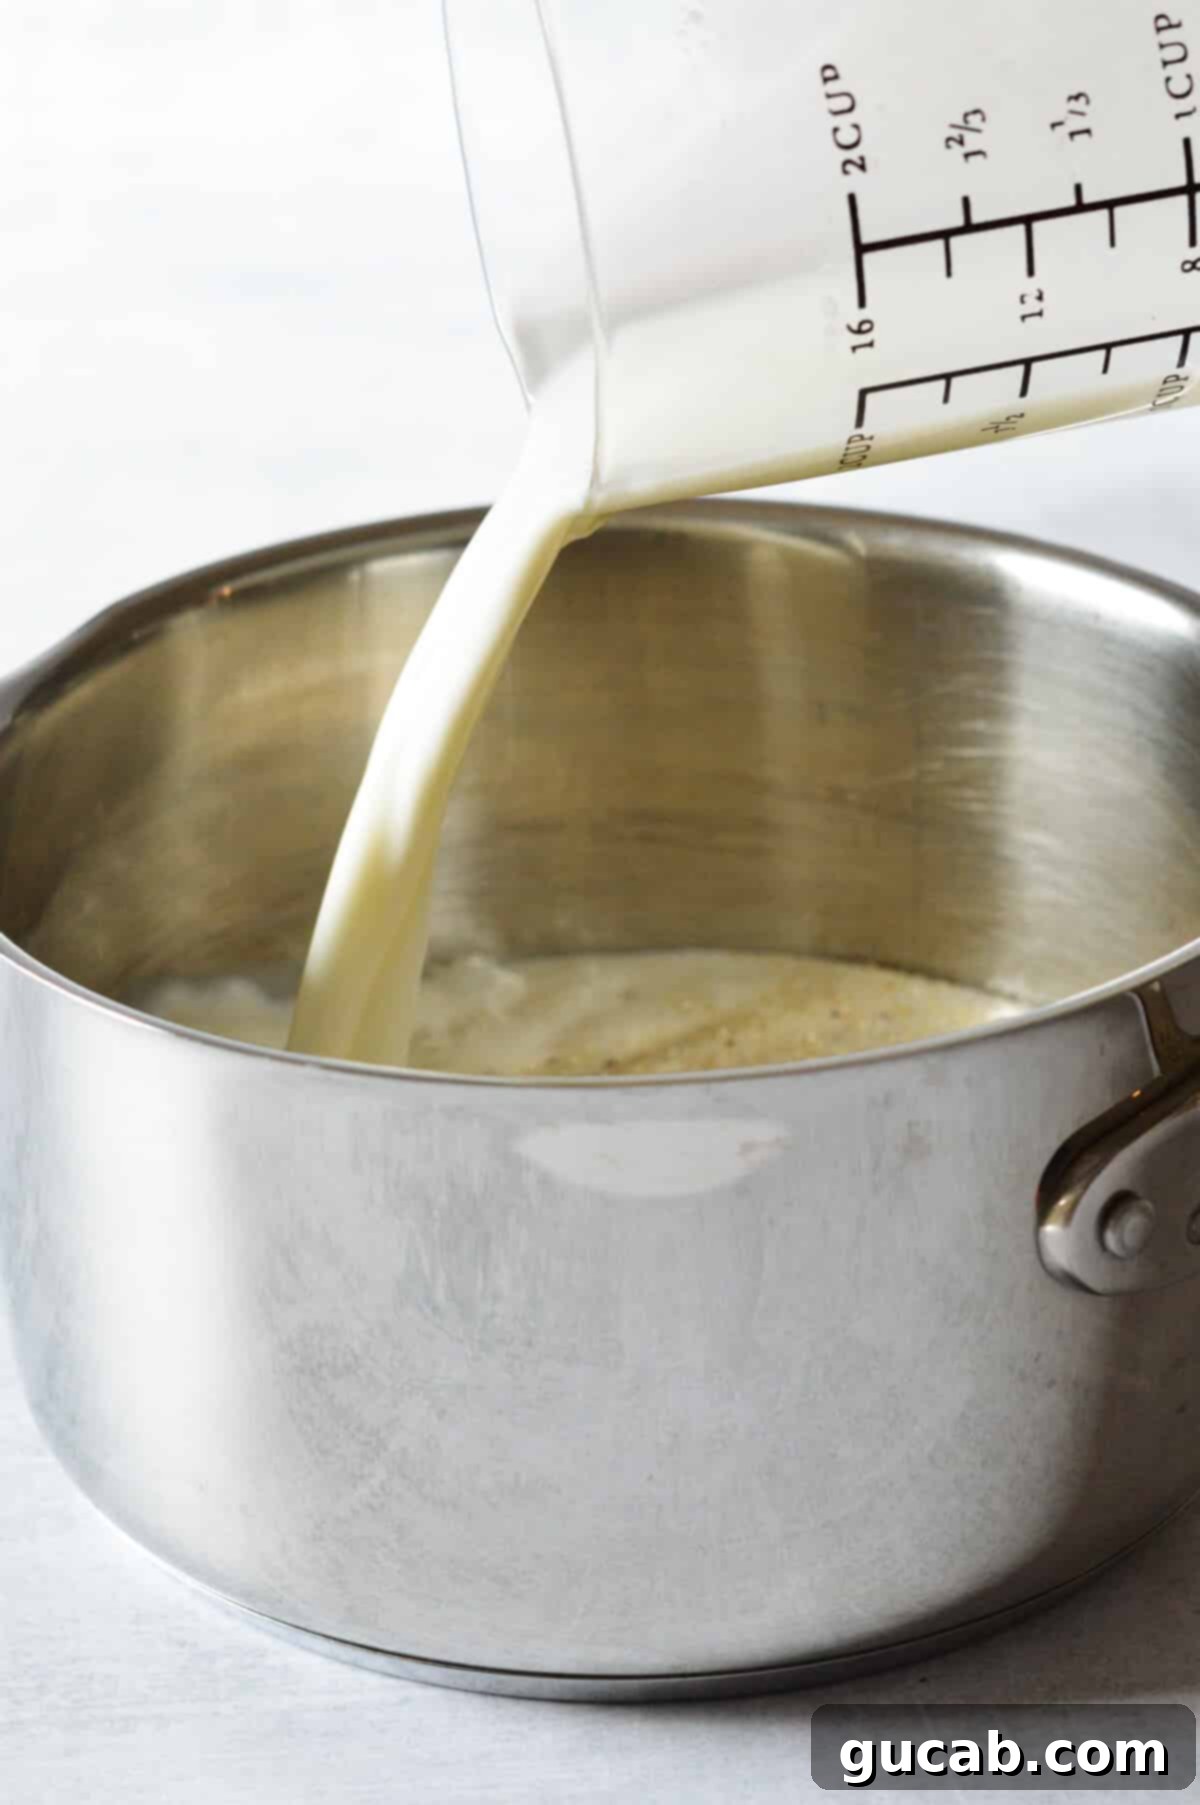
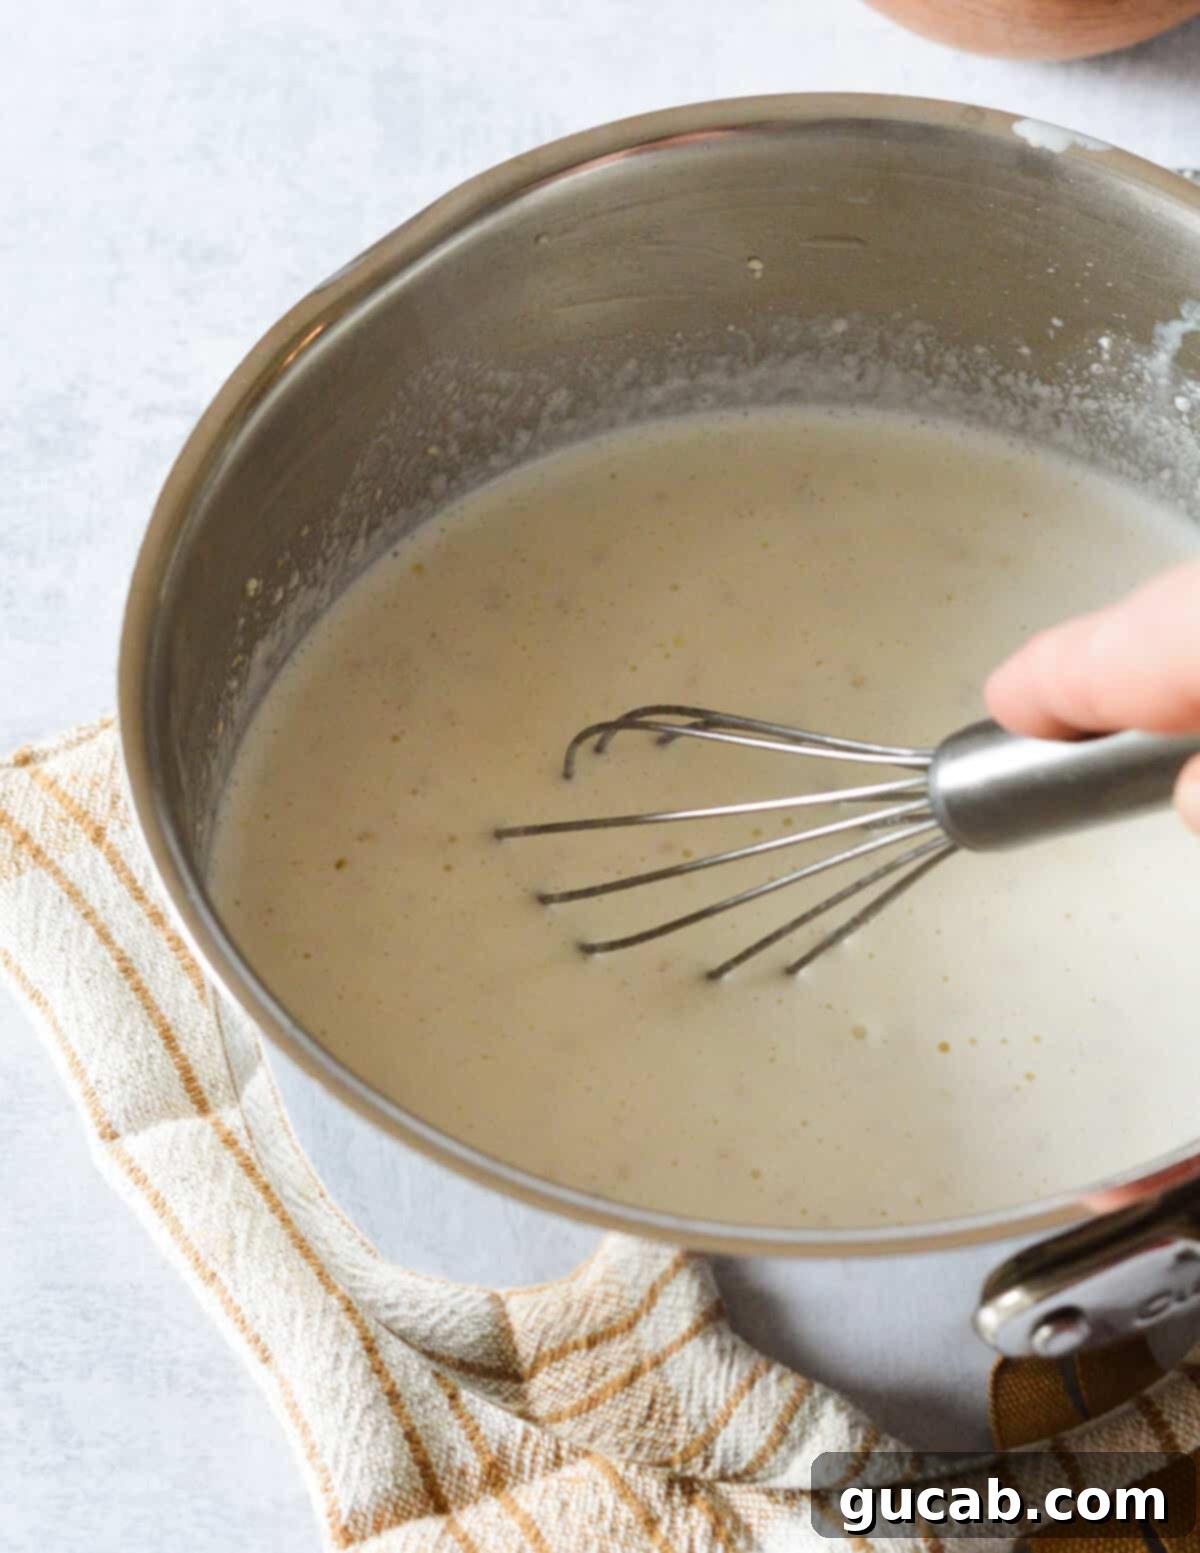
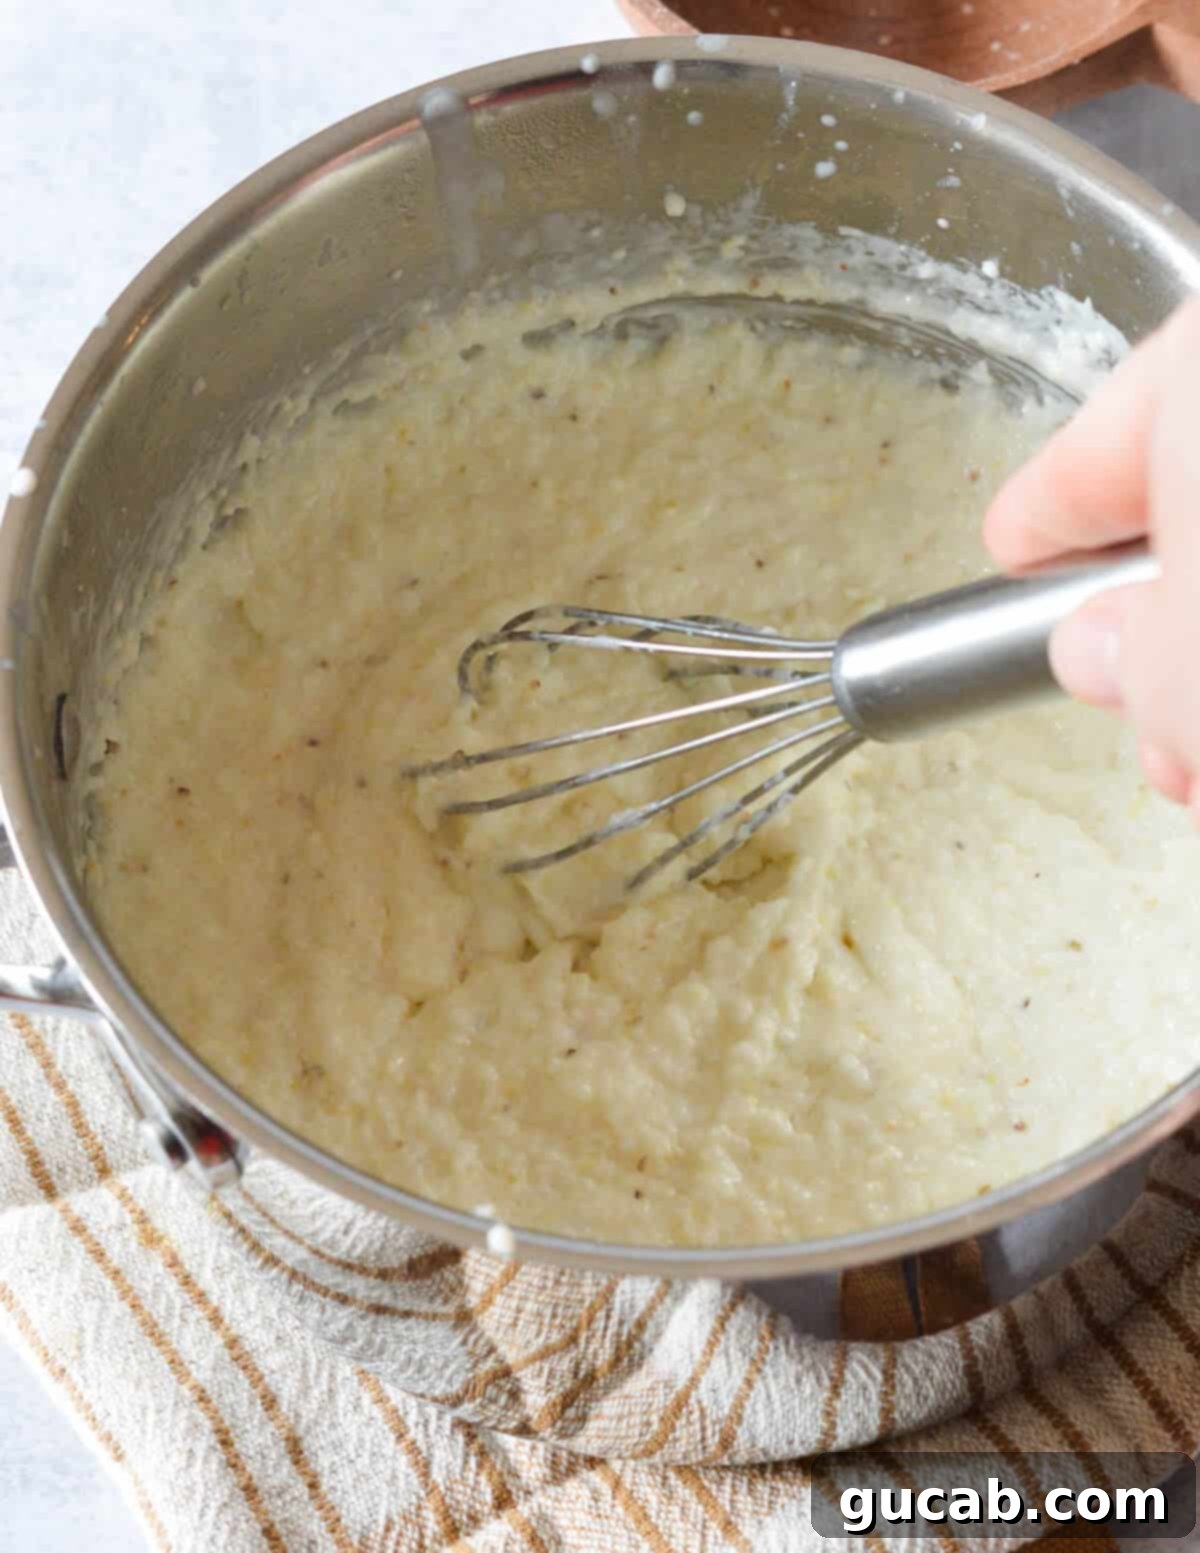
- Simmer and Stir: Once a gentle boil is reached, immediately reduce the heat to medium-low. The goal is a steady, gentle simmer, not a vigorous boil. Let the grits cook, stirring frequently (every 2-3 minutes) and vigorously, especially scraping the bottom and sides of the pan. This consistent stirring is vital as it prevents the grits from burning and sticking, but more importantly, it encourages the release of starch, which is key to their creamy consistency. Continue cooking until they thicken and achieve a texture similar to “wet sand,” or a soft porridge. This initial phase typically takes around 15-18 minutes.
- Add More Milk and Continue Cooking: Once the grits resemble wet sand, add the remaining ½ cup of milk. Continue to cook and stir for another 10 to 15 minutes. During this stage, the grits will become even thicker, creamier, and develop their characteristic velvety texture. Taste and adjust seasoning if necessary. The grits should be tender, without any gritty bite.
- Serve Warm: Remove the grits from the heat as soon as they reach your desired consistency. Remember that grits will continue to thicken significantly as they cool. Serve them immediately while they are hot and at their peak creaminess.

Expert Tips for the Best Creamy Grits
Achieving perfectly creamy grits is a culinary art that benefits from a few seasoned tips:
- Source Quality Stoneground Grits: The foundation of this recipe truly is the grits themselves. If your local grocery store doesn’t carry stoneground grits, you can easily buy them online. Brands like Palmetto Farms Grits are widely available and highly recommended for their quality and authentic flavor profile. Investing in good grits makes all the difference.
- Stirring is Your Secret Weapon: This cannot be overstated. While generous amounts of delicious fat (like heavy cream or butter) certainly contribute to flavor, they are not the sole key to creamy grits. Consistently stirring your grits throughout the cooking process is paramount. This agitation actively releases the corn’s natural starches into the liquid, transforming it into that enviable, oh-so-creamy end product. Don’t just stir occasionally; make it a regular habit during the cooking time.
- Embrace Patience – Don’t Rush the Process: Stoneground grits are a slow food, and they reward patience. Give them the time they need to properly cook, at least 30 minutes as specified in this recipe. Cooking them too quickly will result in undercooked, gritty grits. If you notice they are cooking faster than expected or becoming too thick too soon, simply turn the heat down a notch. A gentle simmer is ideal. If they dry out, add a splash more warm milk or water.
- Water to Grits Ratio: While this recipe uses milk, generally, grits require a liquid-to-grit ratio of about 4:1 to 5:1 for ideal creaminess. Our recipe uses 2.5 cups of milk for 0.5 cups of grits, maintaining this ideal ratio.
- Use a Heavy-Bottomed Pan: A heavy-bottomed saucepan distributes heat more evenly and reduces the risk of the grits scorching on the bottom.
- Seasoning: Don’t forget to taste and adjust the seasoning. Grits can absorb a fair amount of salt, and a proper seasoning will bring out their best flavor. A little freshly ground black pepper can also be a wonderful addition.
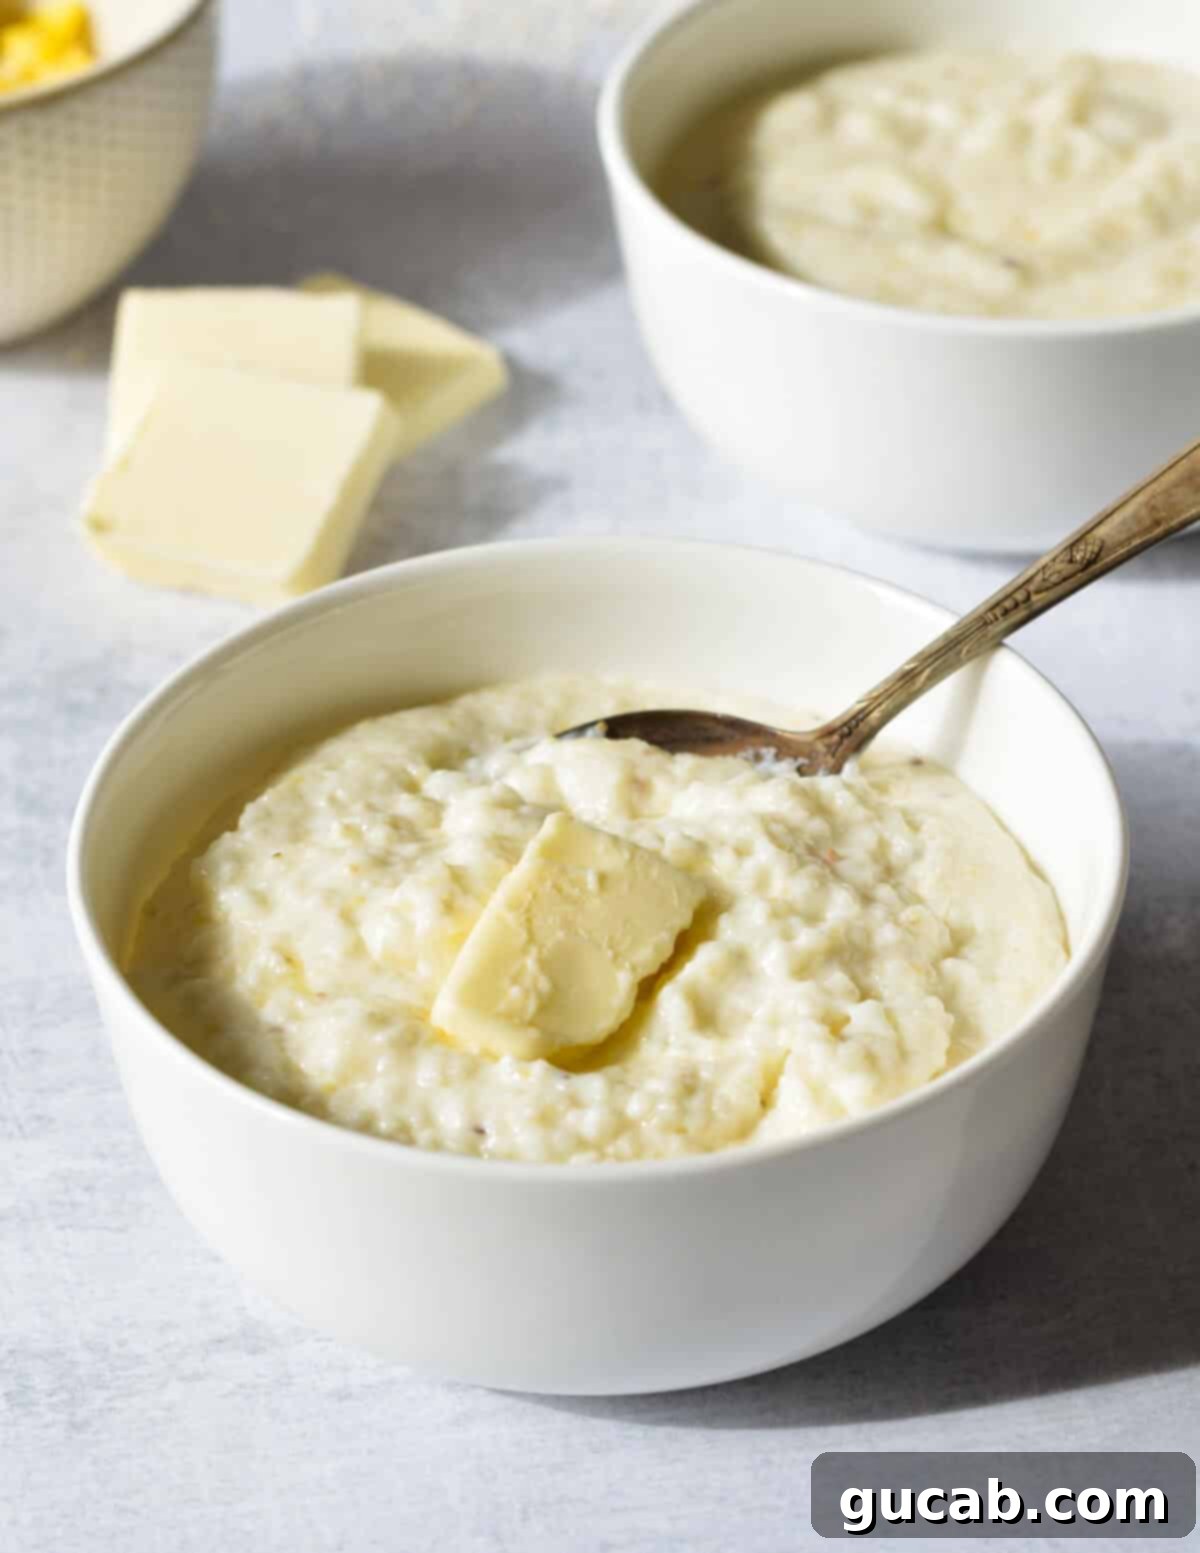
Storage and Reheating Tips for Grits
One of the many advantages of this creamy grits recipe is how wonderfully they reheat. For anyone who appreciates a meal that tastes just as good, if not better, the next day, this recipe is a true bonus. It means you can enjoy the deliciousness without the additional effort of cooking from scratch, making it perfect for meal prep or a quick weekday re-do. Yes, please!
- Storing Leftovers: Allow any leftover grits to cool completely before transferring them to an airtight container. Store them in the refrigerator for up to 4 days. As they cool, grits will thicken considerably, sometimes solidifying, but don’t worry – they’ll loosen up beautifully during reheating.
- Reheating on the Stove: This is generally the preferred method for the best texture. Transfer the cold, leftover grits to a saucepan over medium heat. Add a splash of milk (or even water or broth) – about ¼ to ½ cup per serving, depending on how thick they are. Stir continuously, breaking up any lumps, until the grits are thoroughly reheated and return to a creamy consistency. You may need to add more liquid if they become too thick.
- Reheating in the Microwave: For a quicker option, transfer the desired amount of grits to a microwave-safe bowl. Add a splash of milk (1-2 tablespoons per serving) to help loosen them. Pop them in the microwave for 30-second intervals, stirring well after each interval, until they are hot and creamy. Be careful not to overheat, which can make them gummy.
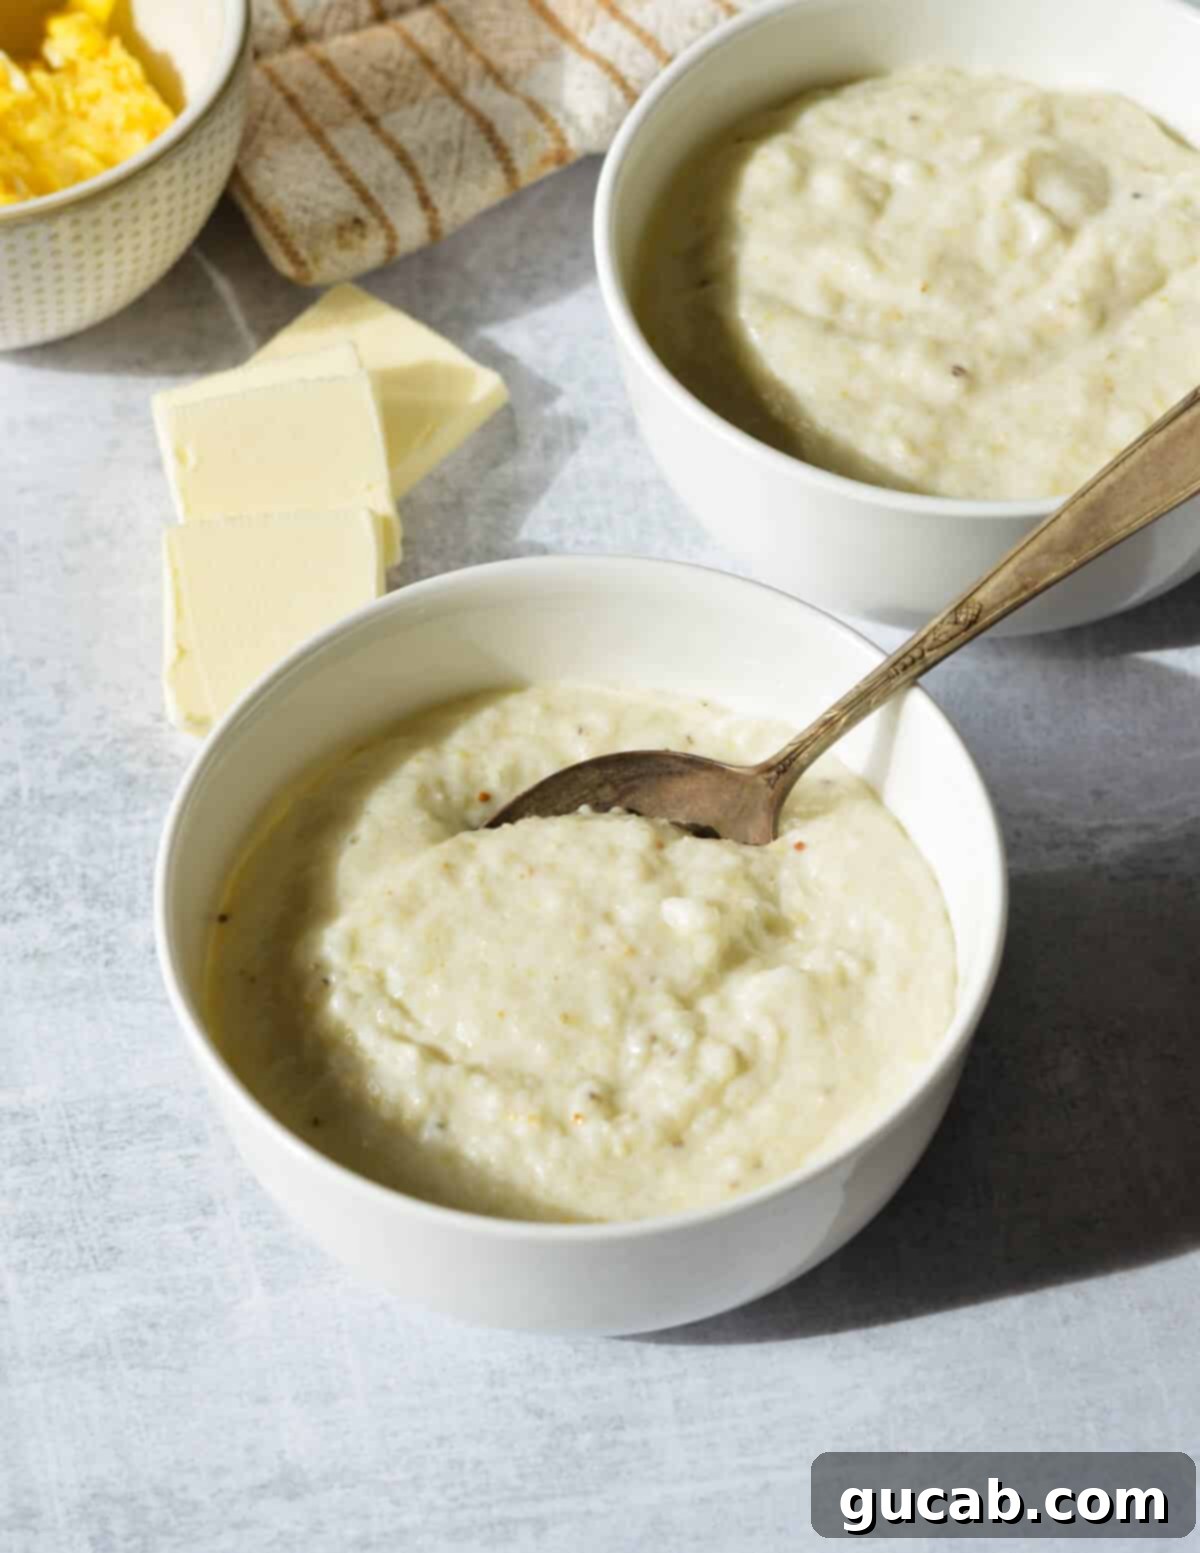
Delicious Ways to Serve Creamy Grits
While I’m a purist at heart and often enjoy these creamy grits simply as they are, their mild flavor and luxurious texture make them an incredibly versatile canvas for a wide array of toppings and pairings. Don’t be afraid to get creative and customize your bowl of grits to suit your cravings!
- Classic Breakfast Feast: Serve them alongside crispy bacon or sausage and fluffy pancakes for a truly filling and satisfying hot breakfast.
- Cheesy Grits: Stir in your favorite cheese at the end of cooking until melted and smooth. Sharp cheddar, smoked gouda, or creamy Monterey Jack are excellent choices.
- Shrimp and Grits: Transform them into the iconic Southern dish! Top your creamy grits with sautéed shrimp, often cooked with bacon, garlic, and a touch of spice. This makes for an exquisite brunch or dinner.
- Spicy Kick: For those who love a bit of heat, mix in some pepper jack cheese and a dash of your favorite hot sauce. A sprinkle of red pepper flakes can also add a delightful warmth.
- Savory Additions: Garnish with fresh chives, a fried or poached egg, crumbled bacon, sautéed mushrooms, or caramelized onions for an elevated experience.
- With Greens: Serve them as a side to collard greens, sautéed spinach, or other hearty vegetables for a Southern-inspired meal.
- As a Base: Use creamy grits as a bed for stewed meats, grilled fish, or even a robust vegetarian chili.
More Delicious Breakfast Recipes to Try:
If you loved these creamy grits, be sure to explore more of our delightful breakfast and brunch creations:
- Silver Dollar Pancakes: Bite-sized fluffy pancakes perfect for little hands or a fun breakfast spread.
- Honey Pancakes: A subtly sweet twist on a classic, with the comforting flavor of honey.
- Omelette with Avocado and Veggies: A fresh, vibrant, and healthy option to start your day.
- Thin & Crispy Pancakes: For those who prefer a delicate and slightly crisp pancake experience.

Creamy Grits Recipe
Carolyn
Pin Recipe
Equipment
-
medium saucepan
Ingredients
- ½ Cup stone ground yellow or white grits
- 2 ½ Cups whole milk
- 2 tablespoons unsalted butter
- pinch kosher salt
Instructions
-
Bring the grits, 2 cups of the whole milk, butter, and a large pinch of kosher salt to a boil, stirring occasionally so the grits do not burn.
-
Once the mixture comes to a boil, turn down the heat to medium-low and stir occasionally but vigorously for 20 to 30 seconds at a time. Continue to do this until thick like wet sand. It should take around 15 to 18 minutes or so.
-
Add ½ cup more milk, stirring occasionally but vigorously for 10 more minutes until thick and creamy.
-
Serve and enjoy. Grits will thicken even more as they cool.
Nutrition
