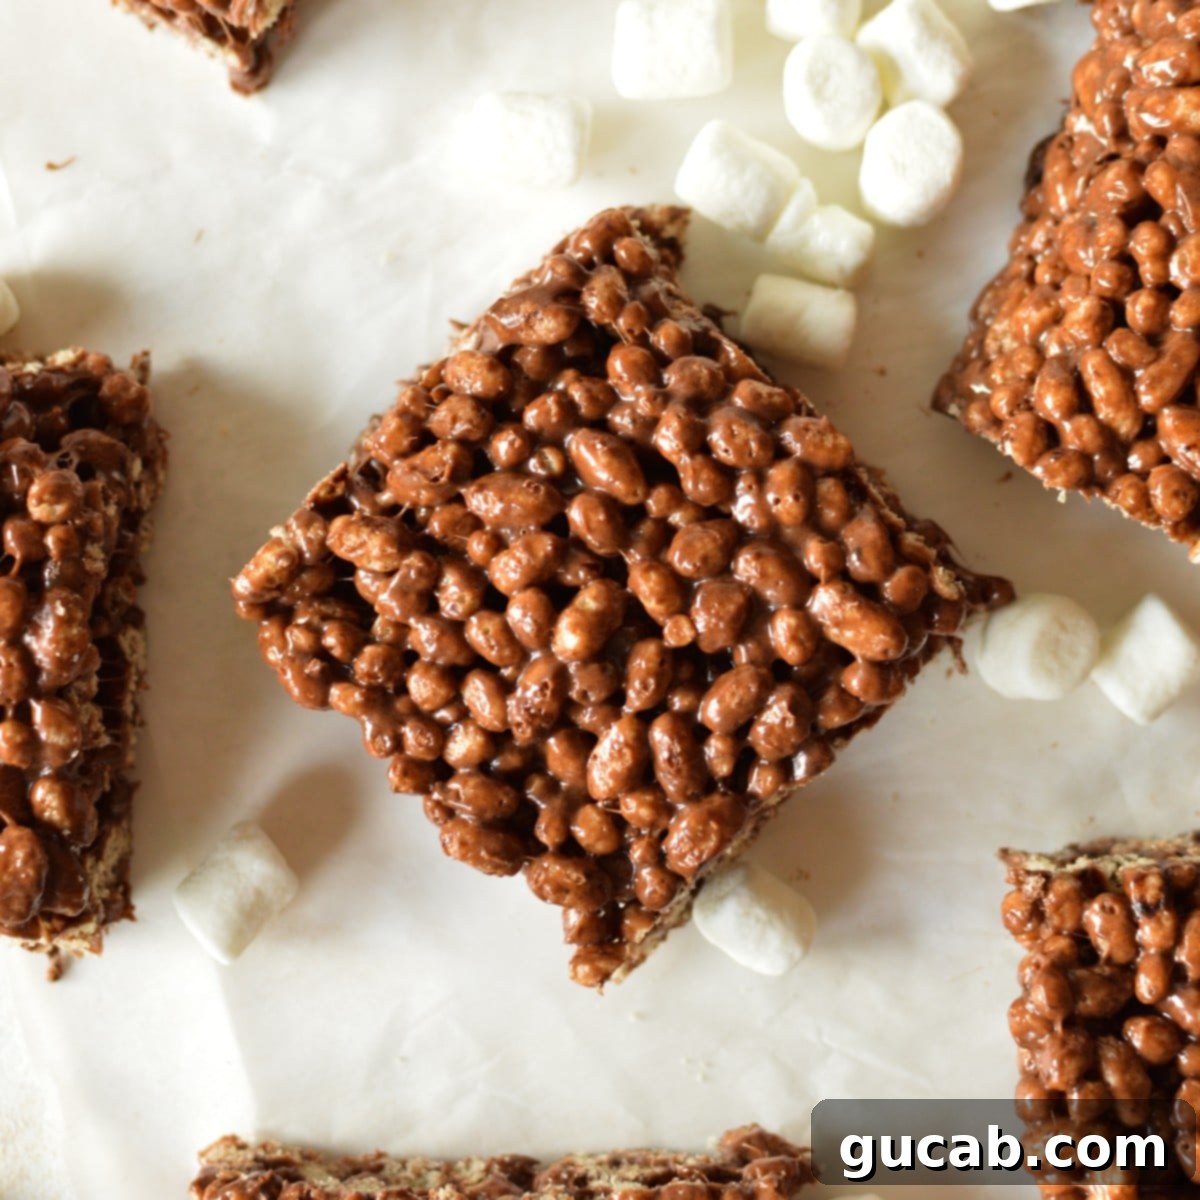
Deliciously Simple: Homemade Chocolate Protein Rice Crispy Treats for a Guilt-Free Indulgence
Craving a sweet treat but also want to keep your protein intake high? Look no further! These homemade Chocolate Protein Rice Crispy Treats are the perfect solution. They are incredibly indulgent, surprisingly easy to whip up, and packed with a rich, chocolatey flavor that will satisfy any sweet tooth. If you’re searching for a delightful dessert or a satisfying snack that also boosts your protein, these protein crispy bars are absolutely ideal.
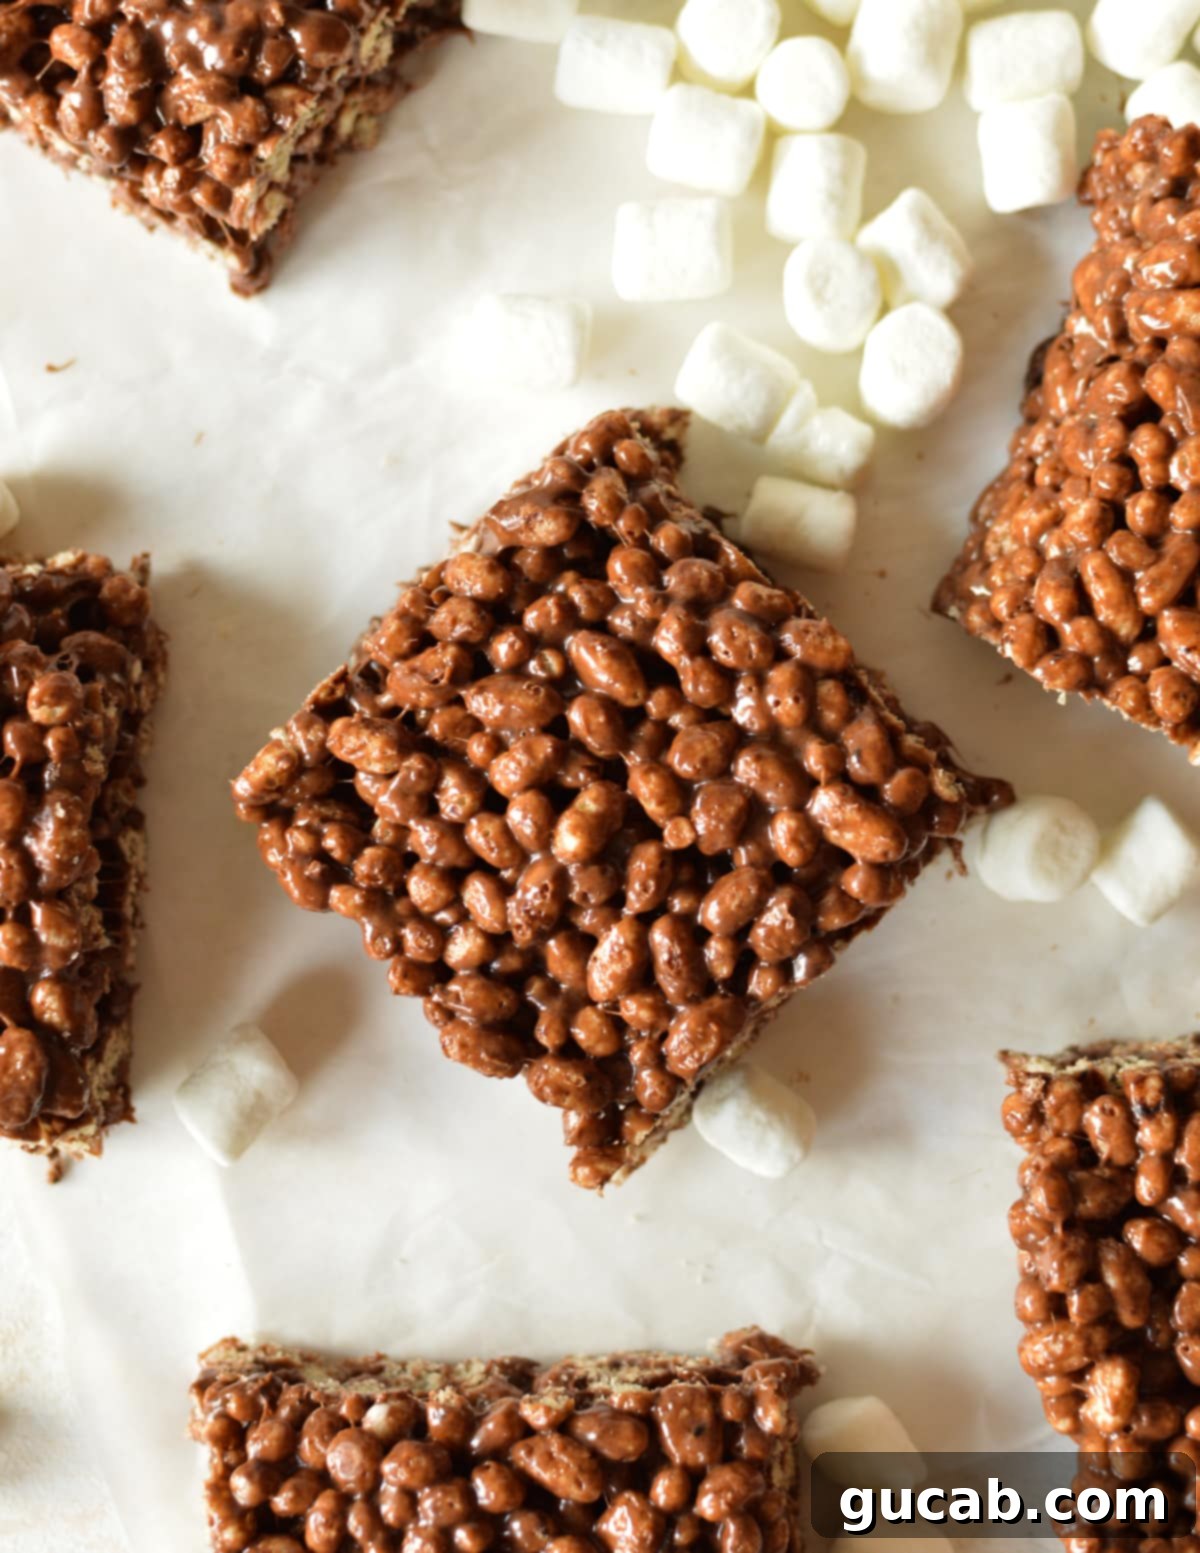
There’s something uniquely comforting about homemade rice crispy treats. Forget the store-bought, prepackaged versions; we’re talking about the truly ooey-gooey, perfectly chewy cereal bars that only a good homemade recipe can deliver. Crafting these treats in my dutch oven is not just about making a snack; it’s a wonderfully satisfying process, especially the meditative art of melting marshmallows. The transformation from solid to a smooth, sticky cloud is simply irresistible!
As a devoted marshmallow enthusiast, I’m constantly exploring new and exciting mix-ins to elevate this classic dessert. My latest obsession? Infusing them with protein! By simply adding your preferred protein powder, you can transform a classic treat into a powerhouse snack. For this particular recipe, I opted for a delicious plant-based chocolate protein powder and, for an extra layer of decadence, folded in some rich cocoa powder. The result is a deeply satisfying and surprisingly wholesome protein-packed dessert.
The beauty of this protein rice krispy treat recipe lies in its versatility. You can easily customize it to create any flavor profile you desire, making it a fantastic addition to your repertoire of healthy and delicious snacks. Whether you’re looking for a post-workout treat or a delightful dessert, these high-protein rice krispies are sure to hit the spot.
Essential Ingredients for Your Protein Rice Crispy Treats
Creating these delightful protein-infused treats requires just a few basic ingredients, most of which you likely already have in your pantry. Each component plays a crucial role in achieving that perfect balance of gooeyness, crispiness, and rich chocolate flavor, all while delivering a healthy dose of protein.
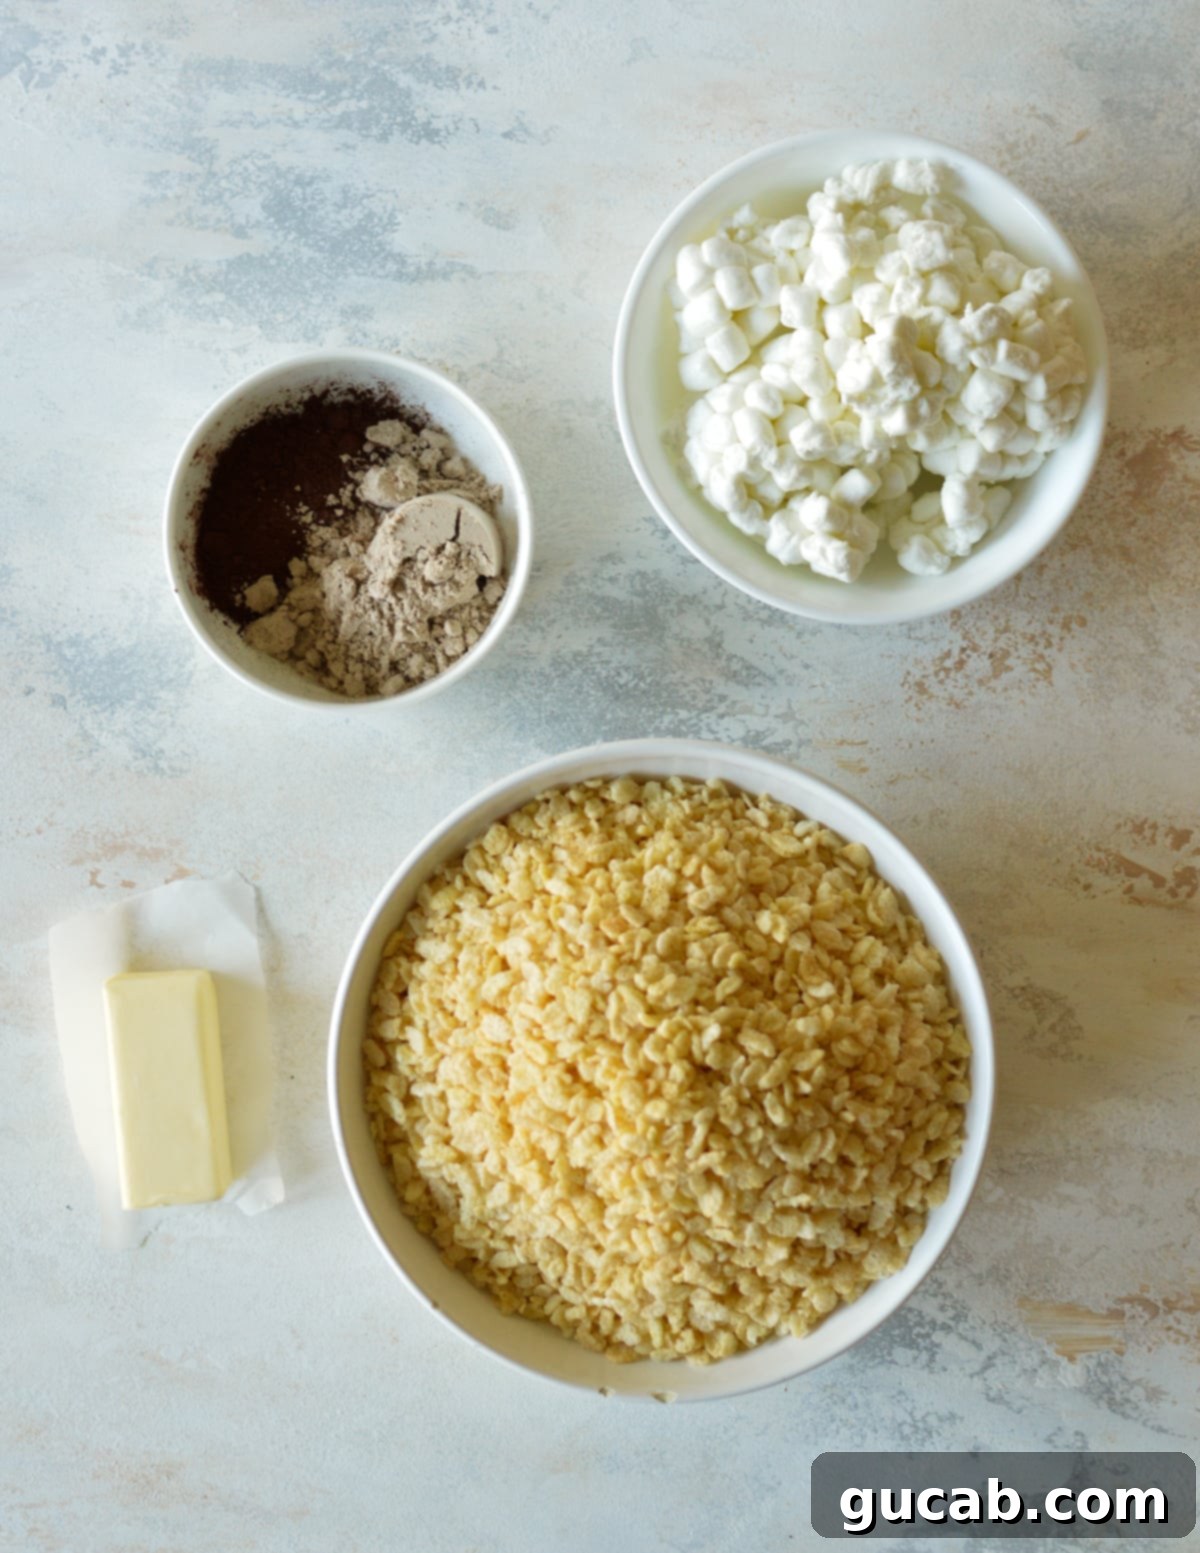
Here’s what you’ll need for these irresistible chocolate protein crispy treats:
- Unsalted Butter: The foundation of our gooey binder. Unsalted butter allows you to control the exact amount of salt in your recipe. It’s essential for melting down the marshmallows and ensuring a smooth, pliable mixture. If you only have salted butter, you can use it, but be mindful of the overall saltiness, especially if your protein powder is also flavored.
- Mini Marshmallows: The star of any crispy treat! Mini marshmallows melt more quickly and evenly than larger ones, ensuring a smooth and consistent marshmallow matrix for your cereal. They provide that classic chewy texture that makes these treats so beloved.
- Rice Crispy Cereal: The “crispy” in rice crispy treats! Fresh cereal is key here to maintain that satisfying crunch. Stale cereal will result in a less enjoyable texture. Make sure to check the label if you require a gluten-free option, as not all brands are naturally gluten-free due to malt content.
- Chocolate Protein Powder: This is where the protein punch comes in. I’ve used a plant-based chocolate protein powder for this recipe, but any chocolate protein powder you love will work – whey, casein, or a different plant-based blend. The type and brand of protein powder can significantly impact the final taste and texture, so choose one you genuinely enjoy.
- Dark Cocoa Powder: To intensify the chocolate flavor and give these treats a deeper, richer color. Unsweetened dark cocoa powder is perfect for this, as the sweetness will come from the marshmallows and optionally, your protein powder.
With these simple ingredients, you’re well on your way to creating a batch of delicious and nutritious high-protein rice crispy treats that everyone will love.
Step-by-Step: How to Make Protein Rice Crispy Treats
Making these protein rice krispies is incredibly straightforward and quick, making it an ideal recipe for when you need a speedy, satisfying snack. Follow these simple steps for perfectly gooey and crispy treats every time.
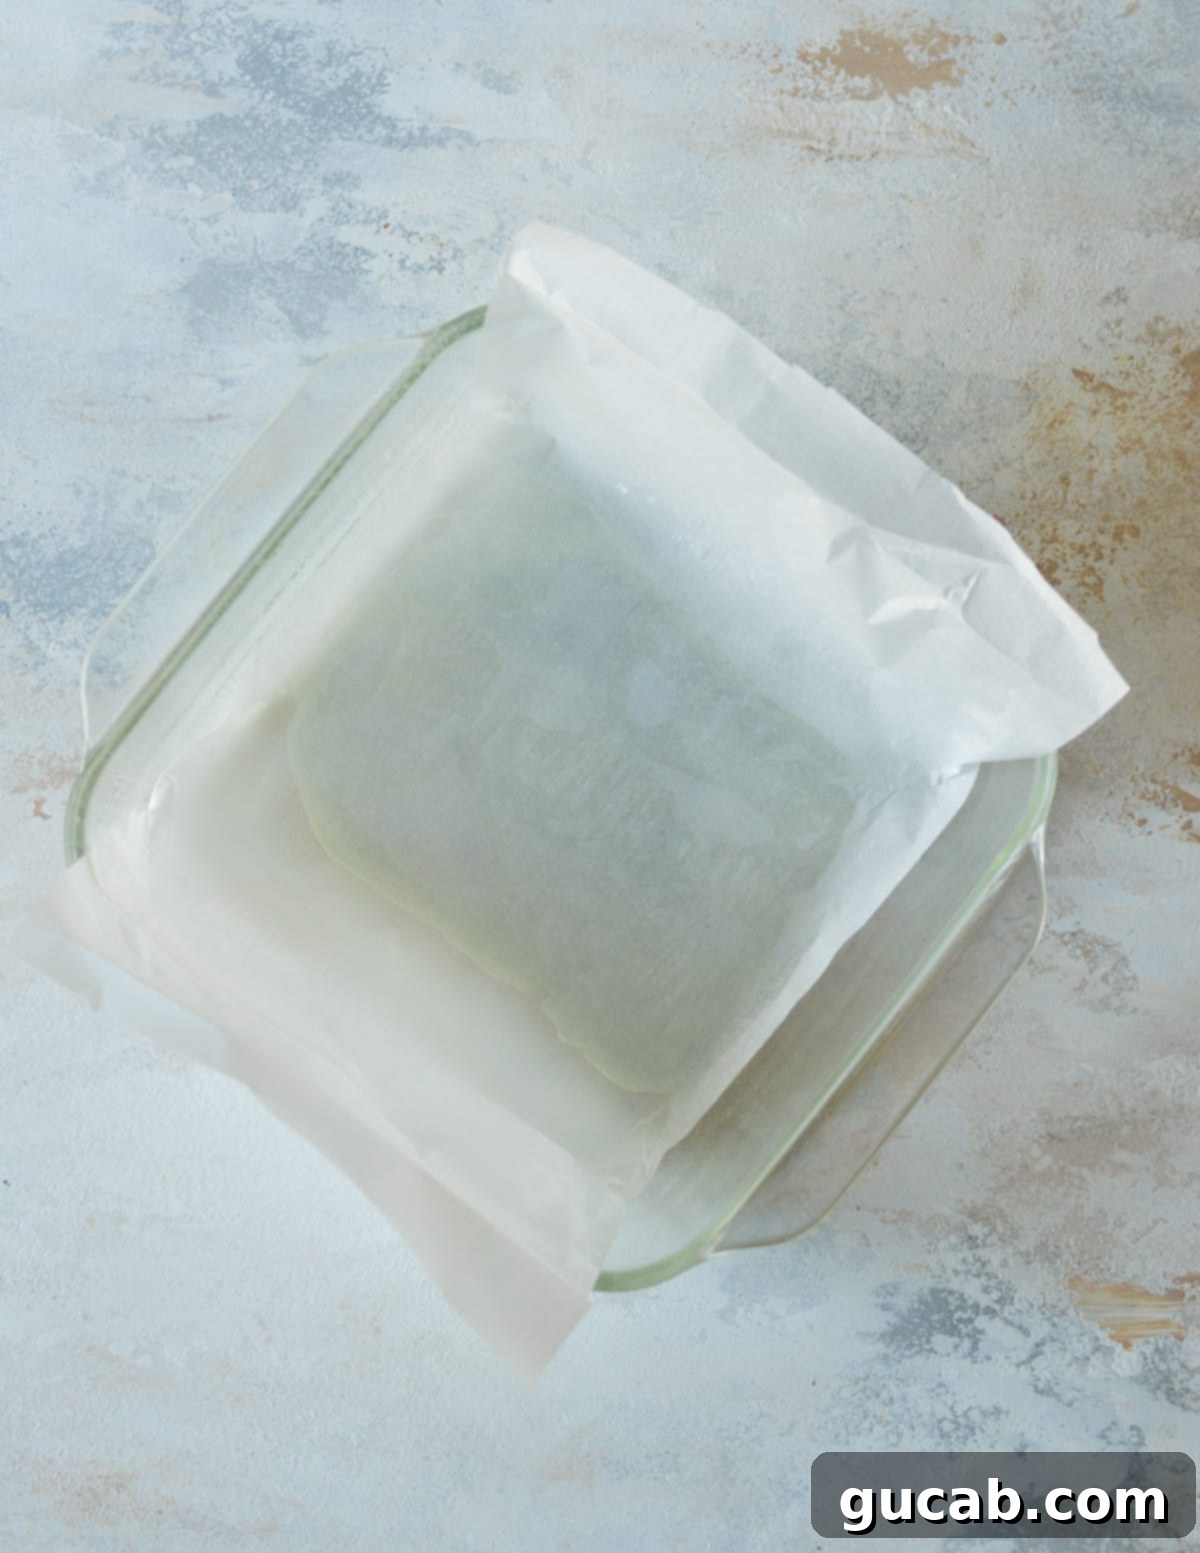
1. Prepare the Pan for Easy Removal: First, select an 8×8-inch square baking dish. Lightly spray the entire interior of the dish with a good quality nonstick cooking spray. Next, cut a piece of parchment paper that is slightly less wide than the bottom of your dish, but long enough so that the sides extend up and over the edges of the pan. This overhang will act as convenient “handles” to easily lift your finished treats out of the pan once they’ve cooled. Place the parchment paper inside the prepared dish, then spray the parchment paper itself with nonstick spray to ensure nothing sticks.
2. Melt the Butter Gently: In a generously sized pot or a Dutch oven, melt the butter over medium-low heat. Using a larger pot than you think you need is always a good idea when making crispy treats, as it provides ample room for stirring in the cereal later without spilling. Melting the butter slowly ensures it doesn’t brown or burn, which could affect the flavor of your treats.
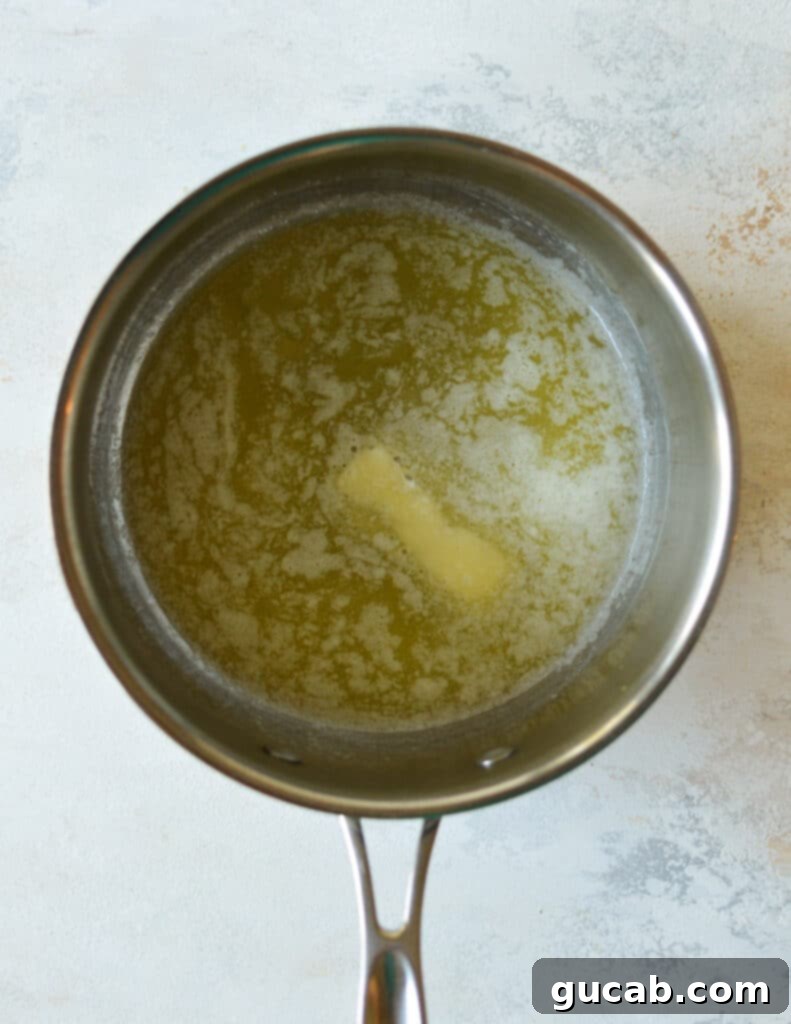
3. Incorporate the Mini Marshmallows: Once the butter has completely melted, add all of your mini marshmallows to the pot. Stir continuously with a sturdy spatula or wooden spoon. Keep stirring until the marshmallows have completely melted down and you have a smooth, glossy, and sticky mixture. This usually takes a few minutes, so be patient and keep the heat consistent.
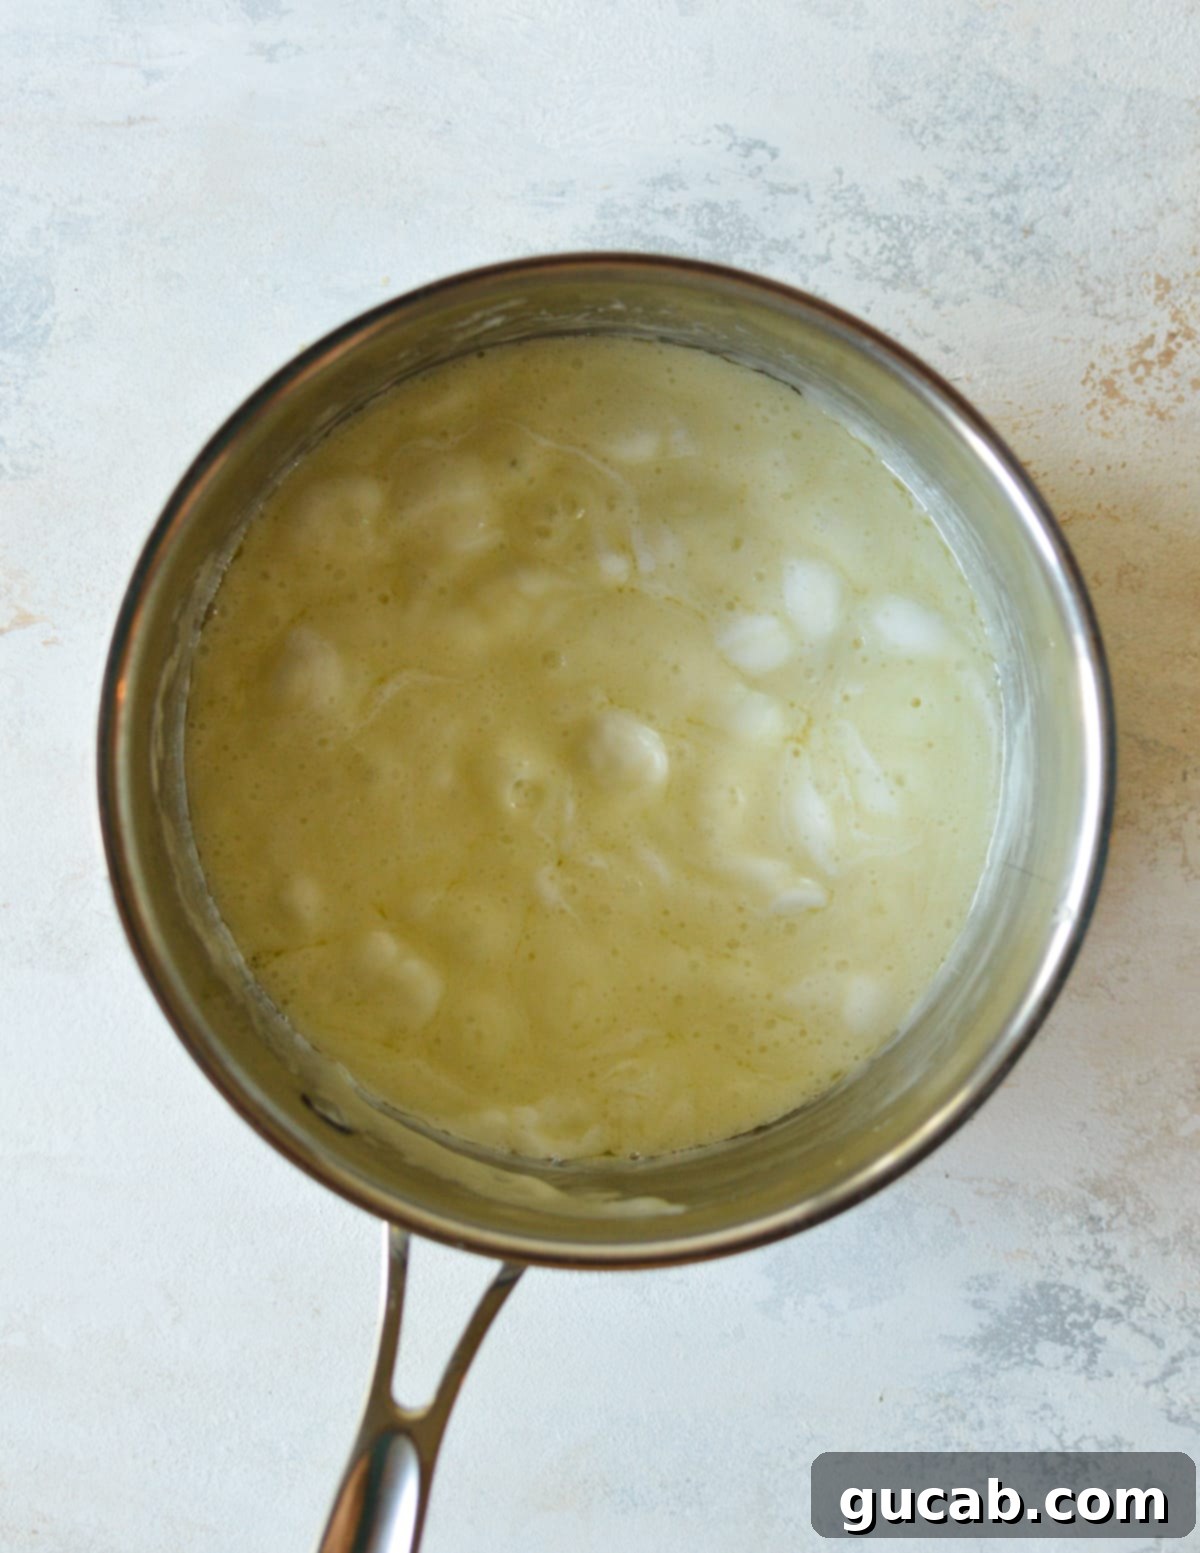
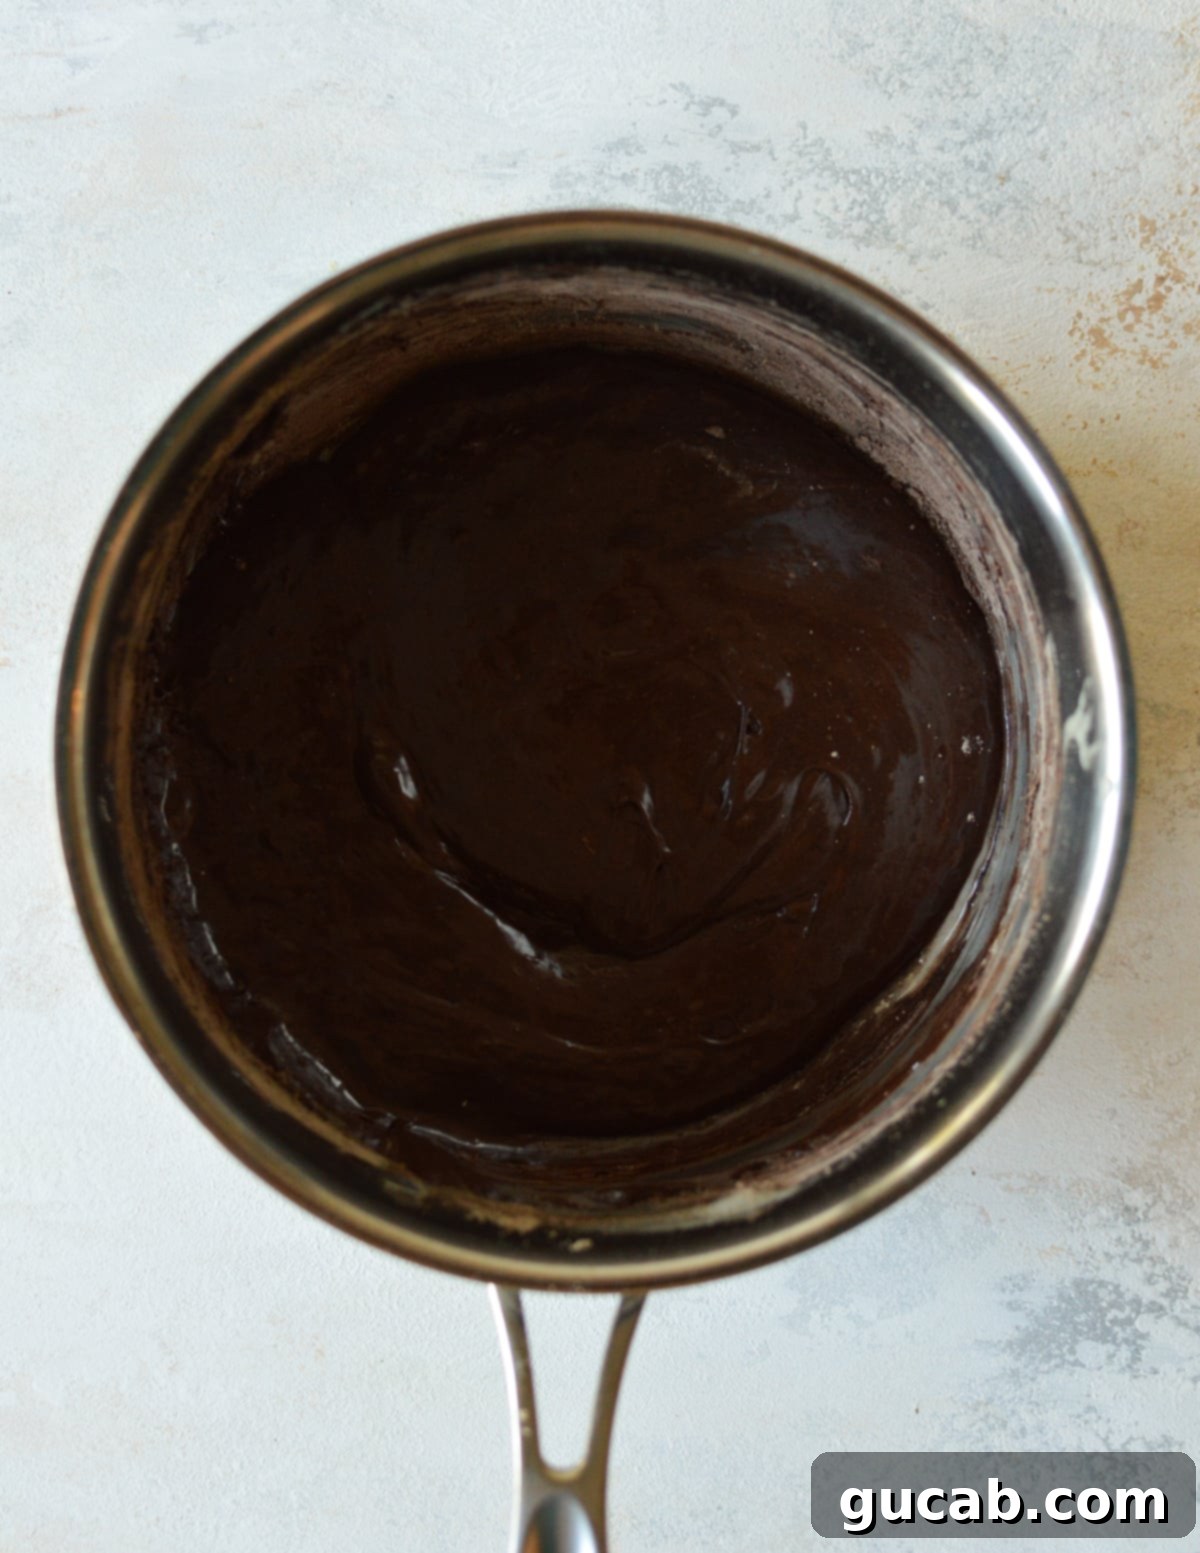
4. Mix in Protein and Cocoa Powder: Once your marshmallow mixture is smooth, swiftly add the chocolate protein powder and cocoa powder into the pot. Stir vigorously until both powders are thoroughly combined with the melted marshmallow and butter, creating a rich, uniform chocolate blend. It’s crucial to remove the pot from the heat immediately after this step. This prevents the protein powder from cooking too much and becoming gritty, ensuring a smooth finish for your protein rice crispy treats.
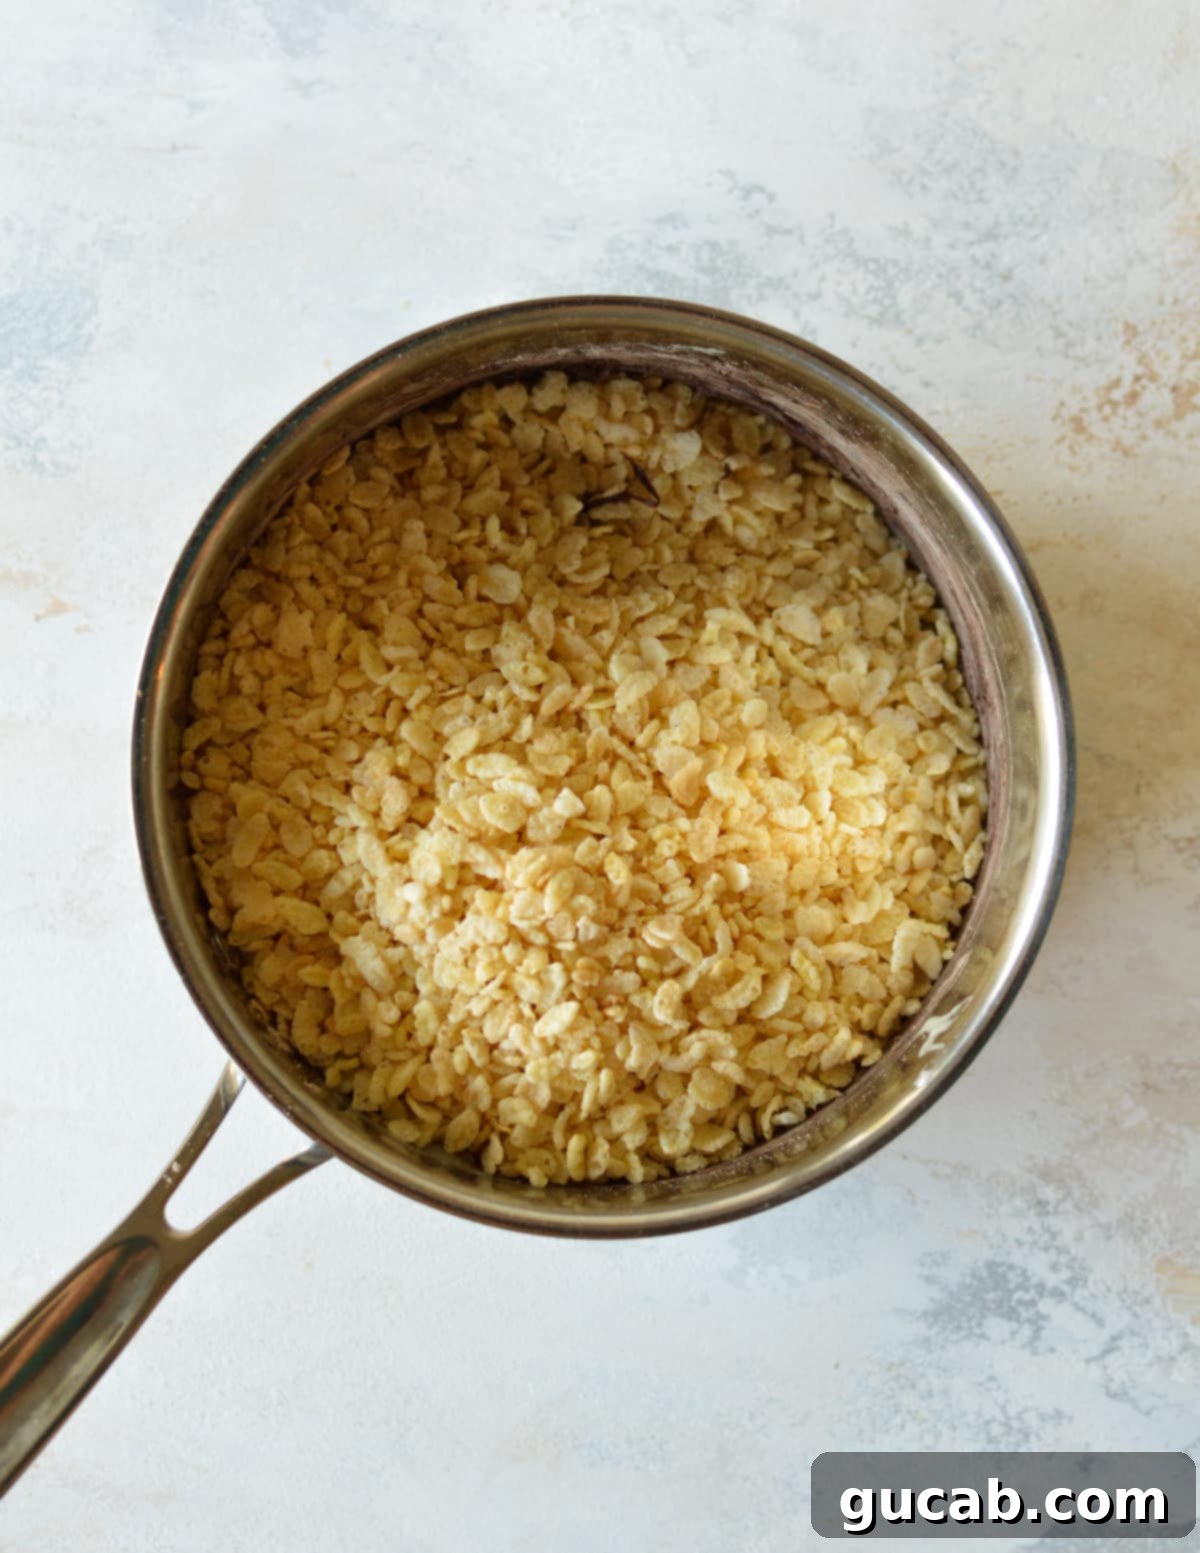
5. Add Rice Crispy Cereal: Without delay, pour all the rice crispy cereal into the pot with the hot chocolate marshmallow mixture. Working quickly, use your spatula to fold and stir the cereal until every piece is thoroughly coated. The mixture should be uniformly sticky and chocolaty. This step should be done off the heat to prevent the cereal from becoming soggy.
6. Transfer and Press into Baking Dish: Quickly transfer the entire mixture into your prepared baking dish. To prevent sticking, spray your spatula with a little nonstick cooking spray. Use the greased spatula to gently and evenly press the mixture into the baking dish. Avoid mashing or compacting it too firmly, as this can result in hard, dense treats instead of light and airy ones. Aim for an even layer across the pan.
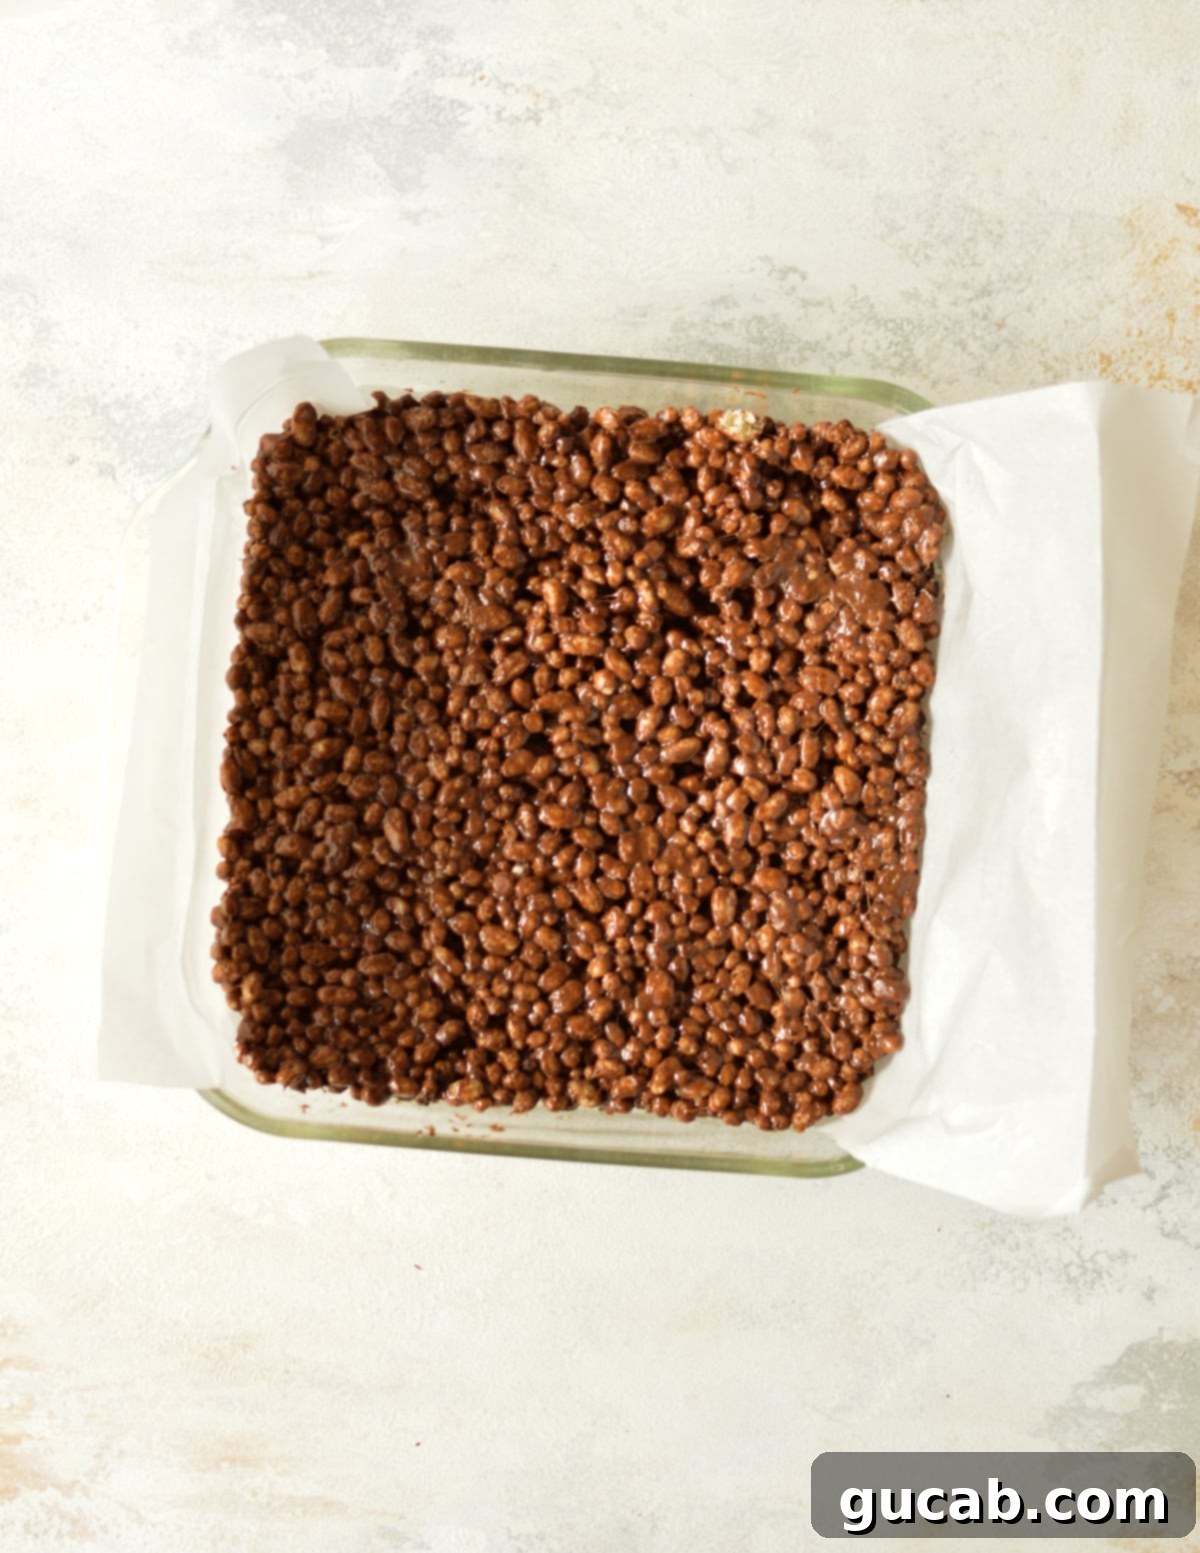
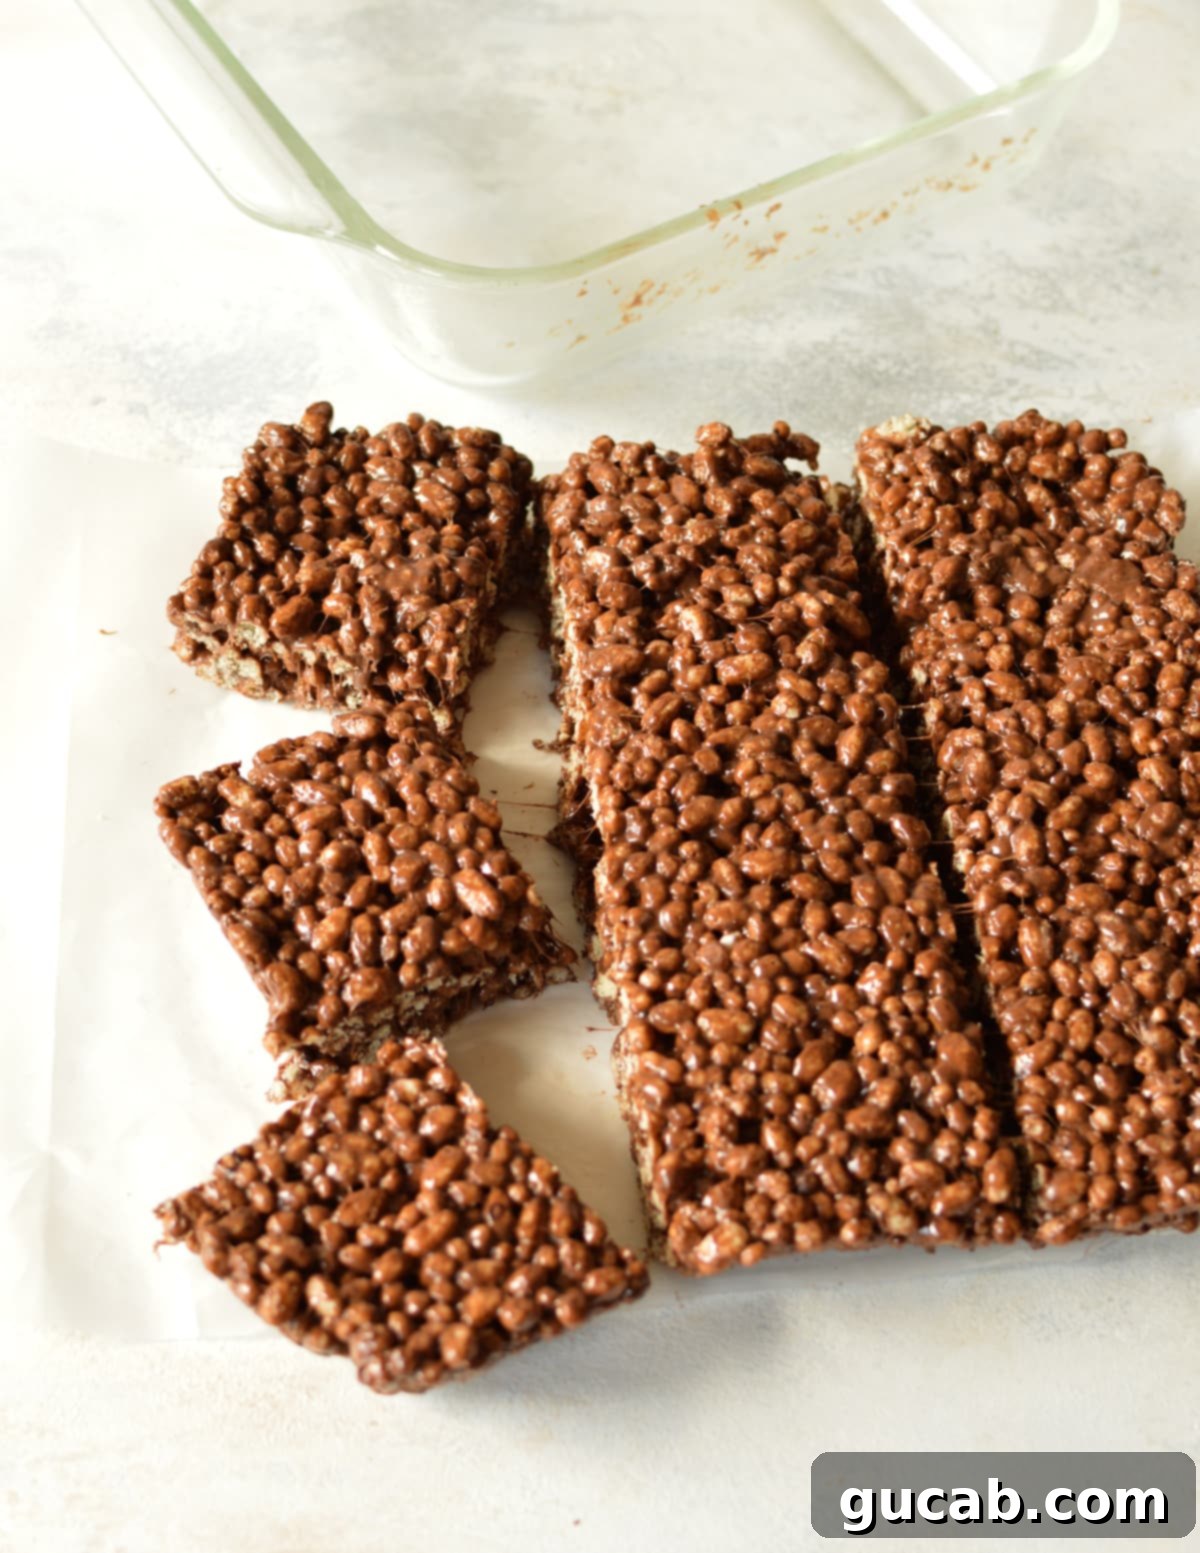
7. Cool, Remove, and Slice: Allow the protein crispy treats to cool completely at room temperature for at least a few hours. This step is crucial for them to set properly and become firm enough to slice cleanly. Once cooled, use the parchment paper handles to easily lift the entire slab of treats out of the pan. Place it on a cutting board, and with a sharp knife, slice it into nine even cereal bars. Now, they’re ready to enjoy! Store them in an airtight container at room temperature for up to 3-4 days.
Top Tips for Perfect Protein Rice Crispy Treats
While this recipe for protein rice crispy treats is incredibly simple, a few expert tips can ensure your treats turn out perfectly every single time. Pay attention to these details for the best texture and flavor.
- Always Use Fresh Ingredients: This might seem obvious, but it’s crucial for rice crispy treats. Stale marshmallows can be harder to melt and may not create the same gooey texture. More importantly, old cereal will lose its crispiness, resulting in soft, less enjoyable bars. Trust me, I’ve learned this the hard way! Fresh ingredients guarantee that delightful crunch and chewiness.
- Line Your Pan with Parchment Paper: For the easiest removal and cleanest slices, always line your 8×8-inch square pan with parchment paper, leaving an overhang on the sides. This simple trick means you won’t have to wrestle sticky treats out of the pan. Just lift by the parchment “handles,” and your slab of protein crispy bars comes out effortlessly. Remember to spray both the pan and the parchment paper with nonstick spray for extra insurance.
- Combat Stickiness with Nonstick Spray: Marshmallow mixture is notoriously sticky. If you find the gooey mixture adhering stubbornly to your hands or spatula while pressing it into the pan, simply spray your hands or the spatula with a little nonstick cooking spray. This creates a barrier that prevents sticking, allowing you to easily smooth out the treats.
- Add Cereal Immediately After Protein Powder: Timing is everything in this recipe. As soon as you’ve thoroughly stirred in the protein powder and cocoa powder, remove the pot from the heat and immediately add the rice cereal. If you let the marshmallow mixture cool even for a minute, it will begin to solidify, making it much harder to coat the cereal evenly. Work quickly to ensure every crispy piece gets covered in that delicious chocolatey binder.
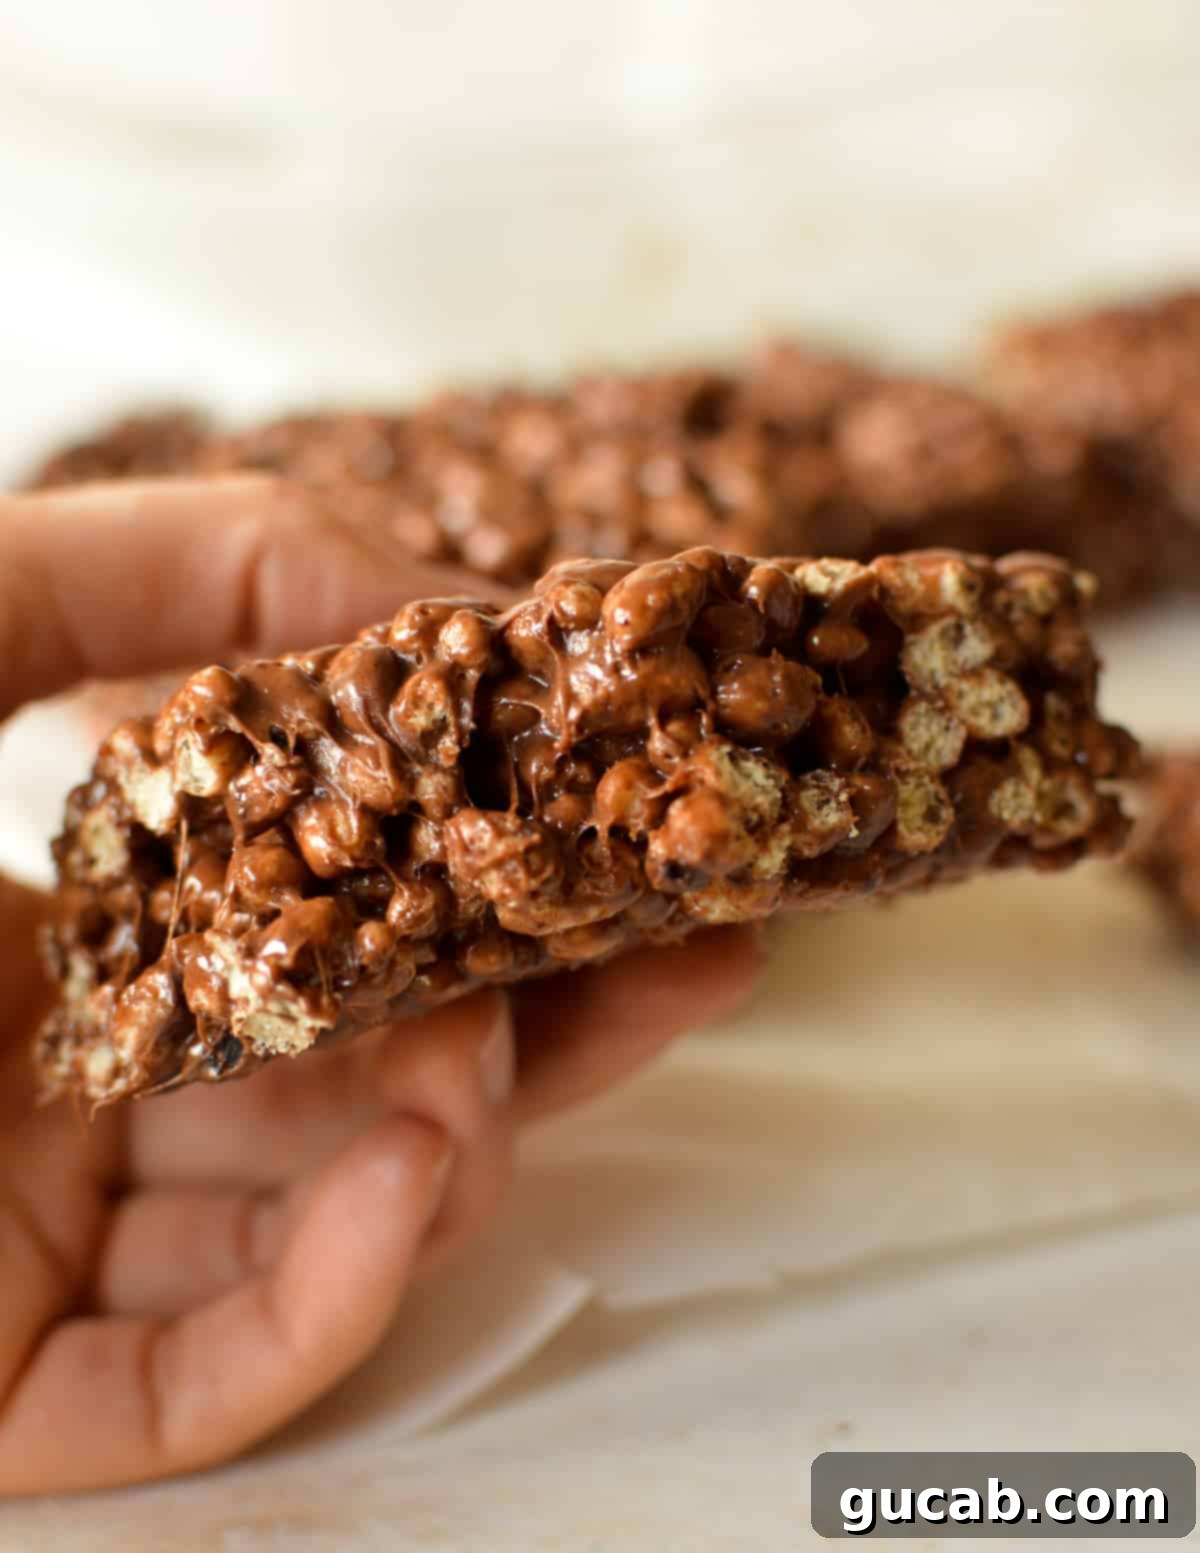
- Gently Press, Don’t Mash: When transferring the mixture to the baking dish, use a light hand to press it into an even layer. Avoid mashing or packing the cereal down too firmly. Over-compacting the mixture will result in dense, hard protein rice krispie treats. A gentle, even press is all that’s needed to set them up for that ideal balance of soft chewiness and delicate crisp.
Creative Variations for Your Protein Rice Crispy Treats
One of the most exciting aspects of making homemade protein bars like these rice crispy treats is the endless possibilities for customization. Don’t be afraid to get creative and experiment with different flavors and mix-ins to make them truly your own!
- Protein Powder Power-Up: The base recipe uses chocolate protein powder, but feel free to swap it out for any flavor you love! If you choose a non-chocolate protein (like vanilla, caramel, or peanut butter), you might want to omit the extra cocoa powder or adjust it to complement your chosen flavor. Think outside the box with options like cake batter, pumpkin spice, or even unflavored protein if you want the other ingredients to shine. Whether you use a plant-based version or whey powder, the key is to use a high-quality brand whose taste you genuinely enjoy, as the protein flavor will be prominent. The quality of protein powders can vary significantly, so stick with a trusted favorite.
- Exciting Mix-Ins: Elevate your protein crispy treats by stirring in some fun additions! After you’ve mixed in the cereal, but before pressing into the pan, consider folding in:
- Mini chocolate chips (dark, milk, or white)
- Colorful rainbow sprinkles or chocolate sprinkles for a festive look
- Chopped nuts like almonds, walnuts, or pecans for added crunch and healthy fats
- Dried fruits such as cranberries or chopped apricots for a chewy, fruity burst
- Crushed candy pieces (like M&M’s or peppermint candies)
Just wait a few seconds after mixing the cereal to add delicate mix-ins like chocolate chips or candies, allowing the mixture to cool slightly so they don’t completely melt.
- Cereal Swaps for Unique Textures: While classic rice cereal is fantastic, don’t limit yourself! Many other crispy cereals can be used as a delicious base for these high-protein rice krispies. Experiment with:
- Honey Nut Cheerios for a touch of sweetness and a different texture
- Golden Grahams for a graham cracker-like flavor and crunch
- Cocoa Puffs for an extra chocolate boost (and you might even skip the cocoa powder then!)
- Corn Flakes for a lighter, flakier crisp
Each brand and type of cereal will yield a slightly different texture and flavor, so choose your favorite or try something new!
With these variations, you can constantly reinvent your protein rice crispy treats, ensuring they never get boring and always hit the spot!
Frequently Asked Questions About Protein Rice Crispy Treats
Unfortunately, traditional Kellogg’s Rice Krispies cereal is not considered gluten-free. This is because they contain malt flavoring, which is derived from barley and therefore contains gluten. If you have a gluten sensitivity or celiac disease, it’s essential to look for specifically labeled gluten-free rice cereal brands to ensure your protein rice crispy treats are safe for consumption.
Absolutely, making this recipe for high-protein rice krispies gluten-free is very simple! The key is to select gluten-free certified ingredients for all components. Specifically, look for rice cereal, marshmallows, and protein powder that are clearly labeled “gluten-free.” Most major grocery stores now carry these items in their health food or baking aisles, but specialty health food stores like Whole Foods are also excellent resources if you’re having trouble finding them.
To maintain their freshness, chewiness, and crispiness, store your protein rice crispy treats in an airtight container at room temperature. They will typically stay fresh and delicious for 3-4 days. While you can refrigerate them, they might become a bit firmer, so allow them to come to room temperature for the best texture.
More Delicious Sweet Recipes!
- Protein Powder Overnight Oats
- 10 Best Gluten-Free Protein Bars
- Chocolate Chip Rice Krispie Treats
- Peanut Butter Milkshake
Chocolate Protein Rice Crispy Treats
By Carolyn
Pin Recipe
Equipment
-
8-inch by 8-inch square pan
-
Parchment paper
-
Large pot or Dutch oven
-
Spatula
-
Measuring cups & spoons
Ingredients
- 6 tablespoons unsalted butter
- 5 cups mini marshmallows
- 4 ½ cups rice crispy cereal (Ensure it’s gluten-free if needed for gluten-free treats)
- ½ cup chocolate protein powder
- 2 tablespoons dark cocoa powder
Instructions
-
Spray an 8×8-inch pan generously with nonstick spray. Cut a long strip of parchment paper slightly narrower than the pan, placing it in the bottom with excess hanging over the sides. Spray the parchment paper with nonstick spray as well.
-
In a large pot or Dutch oven, melt the butter over medium-low heat until completely liquefied.
-
Add the mini marshmallows to the melted butter. Stir continuously until the marshmallows are completely melted and the mixture is smooth and gooey. This may take a few minutes.
-
Stir in the chocolate protein powder and cocoa powder until well incorporated into the marshmallow mixture. Immediately remove the pot from the heat.
-
Immediately add the rice crispy cereal to the pot. Using a spatula, stir quickly and thoroughly until all the cereal is evenly coated with the chocolate marshmallow mixture.
-
Pour the mixture into the prepared pan. Spray your spatula with nonstick spray and use it to gently press the mixture down into an even layer in the pan. Avoid compacting too firmly.
-
Allow the marshmallow treats to cool completely at room temperature for a few hours to set. Once firm, use the parchment handles to lift them out, slice into nine bars with a sharp knife, and enjoy!
Nutrition
