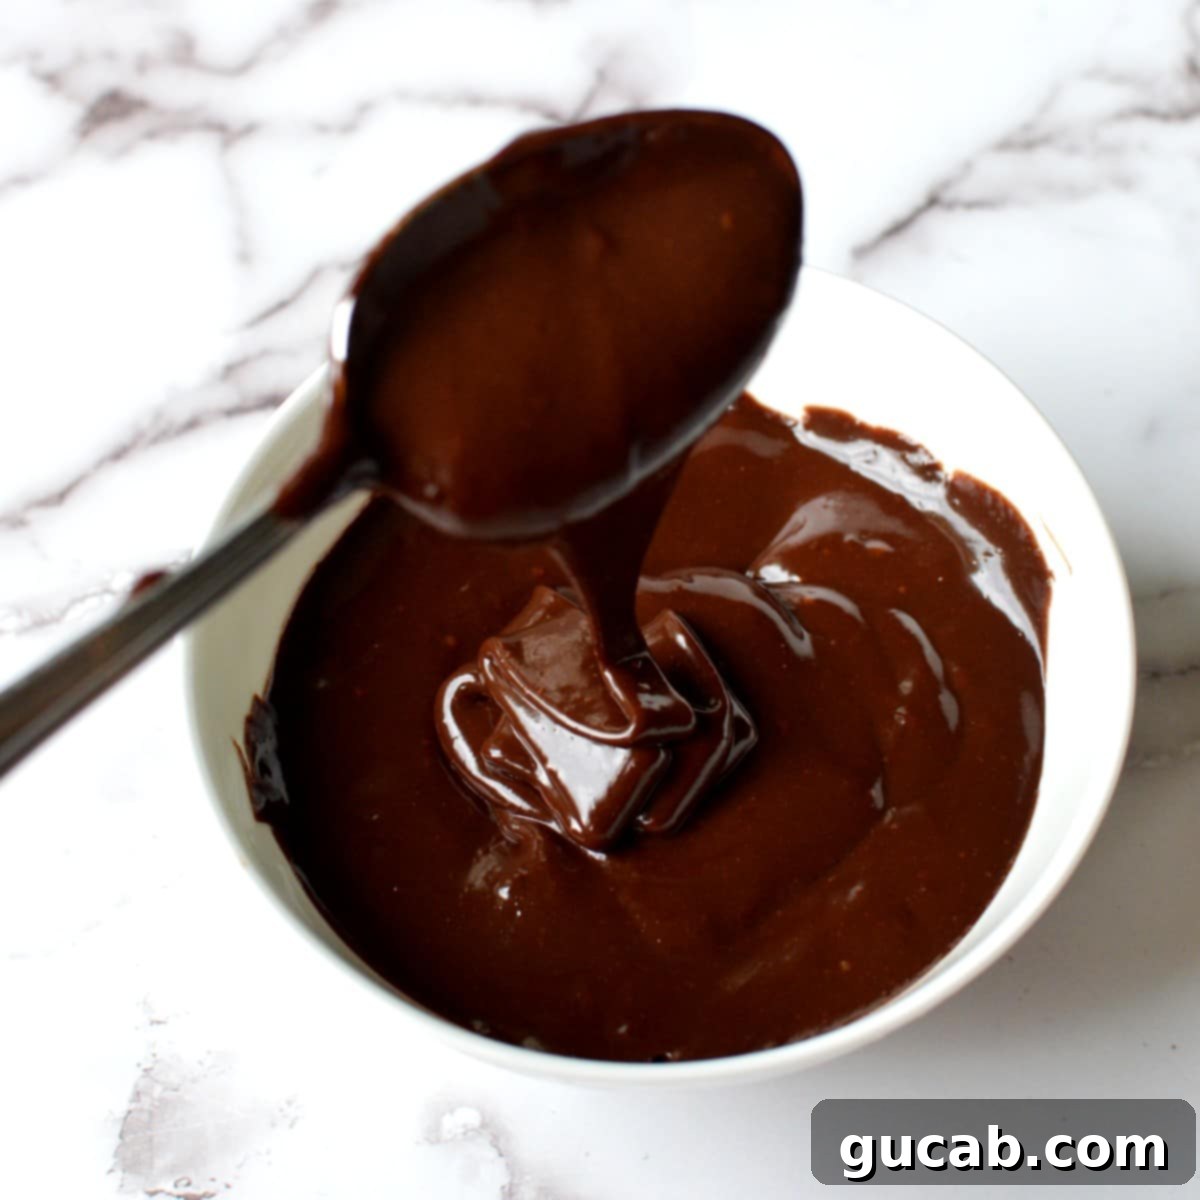
Easy & Rich Chocolate Ganache Without Cream: A Milk-Based Recipe Guide
Unlock the secret to a decadent chocolate ganache using everyday milk instead of heavy cream! This guide reveals how to achieve that silky, rich texture you love, whether you prefer the stovetop or a quick microwave method. Even better, you can whip up small, indulgent batches whenever a chocolate craving strikes – perfect for a spontaneous spoonful (trust me, I do it all the time!).
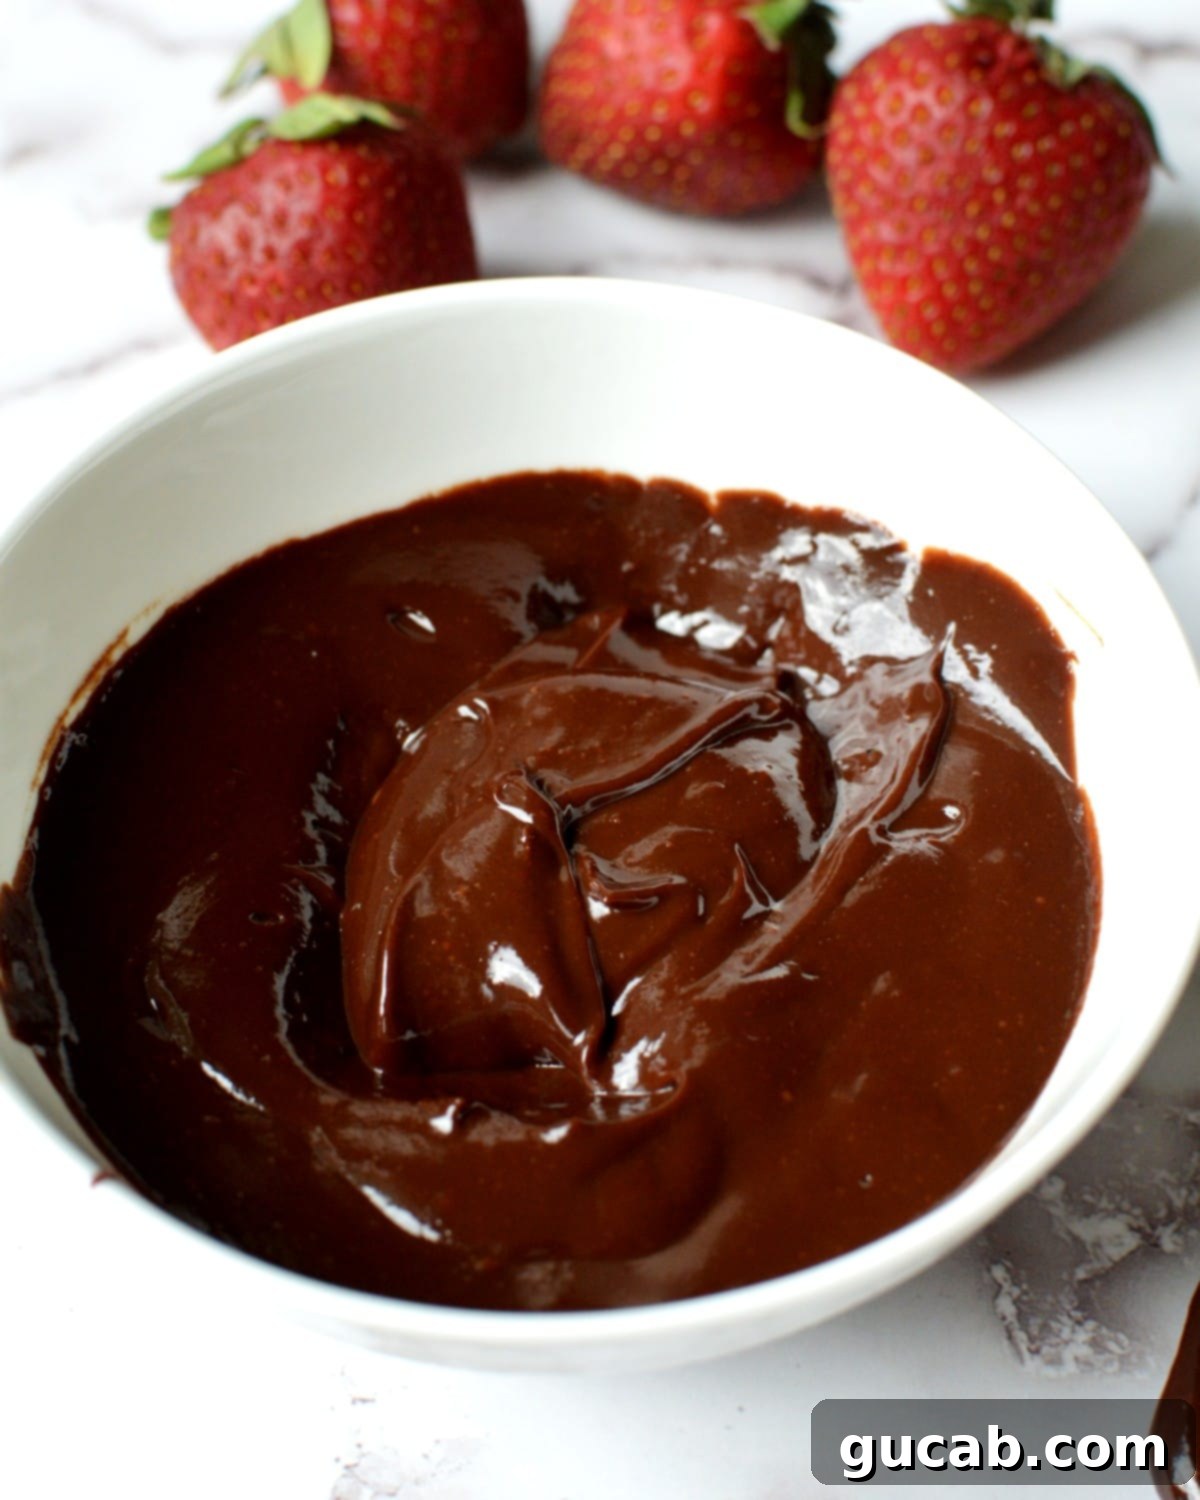
My love affair with chocolate ganache spans over a decade, stemming from my days as a pastry chef and, more profoundly, my unwavering obsession with all things chocolate. This versatile confection has always been a staple in my kitchen, but I’ve perfected a method that makes it accessible to everyone, even when heavy cream isn’t on hand.
What Exactly is Chocolate Ganache?
Traditionally, chocolate ganache is a luxurious emulsion made from hot cream, high-quality chocolate, and sometimes a touch of butter. The heat from the cream gently melts the chocolate, transforming it into a satiny-smooth, thick glaze. This incredible mixture boasts a rich, profound chocolate flavor that enhances virtually any dessert.
Its versatility is truly remarkable. Ganache can be poured warm as a glossy glaze over cakes and pastries, cooled and rolled into exquisite truffles, whipped into a light and airy frosting, or piped as an indulgent filling for cupcakes and tarts. It’s a divine creation that elevates ordinary desserts to extraordinary heights.
Why Make Chocolate Ganache Without Cream?
You might wonder why you’d deviate from the classic recipe. There are several compelling reasons to embrace a milk-based ganache:
- Accessibility: Heavy cream isn’t always a pantry staple, but most homes have milk. This recipe ensures you can satisfy your ganache craving anytime.
- Lighter Option: While still rich and flavorful, using milk can result in a slightly lighter ganache, which some prefer.
- Dietary Considerations: For those avoiding heavy dairy or looking for a lower-fat alternative (though butter is added back for richness, it still offers flexibility with milk choices). This recipe works beautifully with whole milk, but with minor adjustments, it can even accommodate plant-based milks.
- Budget-Friendly: Milk is often a more economical choice than heavy cream, making this a smart option for delicious homemade treats.
The Science Behind Milk-Based Ganache: Cream vs. Milk
Typically, ganache relies on a 1:1 ratio of hot cream to chocolate. The high-fat content of heavy cream (around 36% or more) is key to its stability and luxurious texture. When you pour hot cream over chocolate, the fat emulsifies with the melted chocolate solids, creating that characteristic smooth, stable, and glossy consistency.
When making chocolate ganache without cream, using milk introduces a slight difference. Milk has a much lower fat content (whole milk is about 3.5% fat), which means you need less liquid relative to the chocolate, or your ganache will be too thin and may not set properly. To compensate for the loss of fat and achieve a rich, stable, and glossy finish akin to traditional ganache, butter is added. The butter provides the necessary fat, helping to create a stable emulsion and contributing to the desired mouthfeel and sheen.
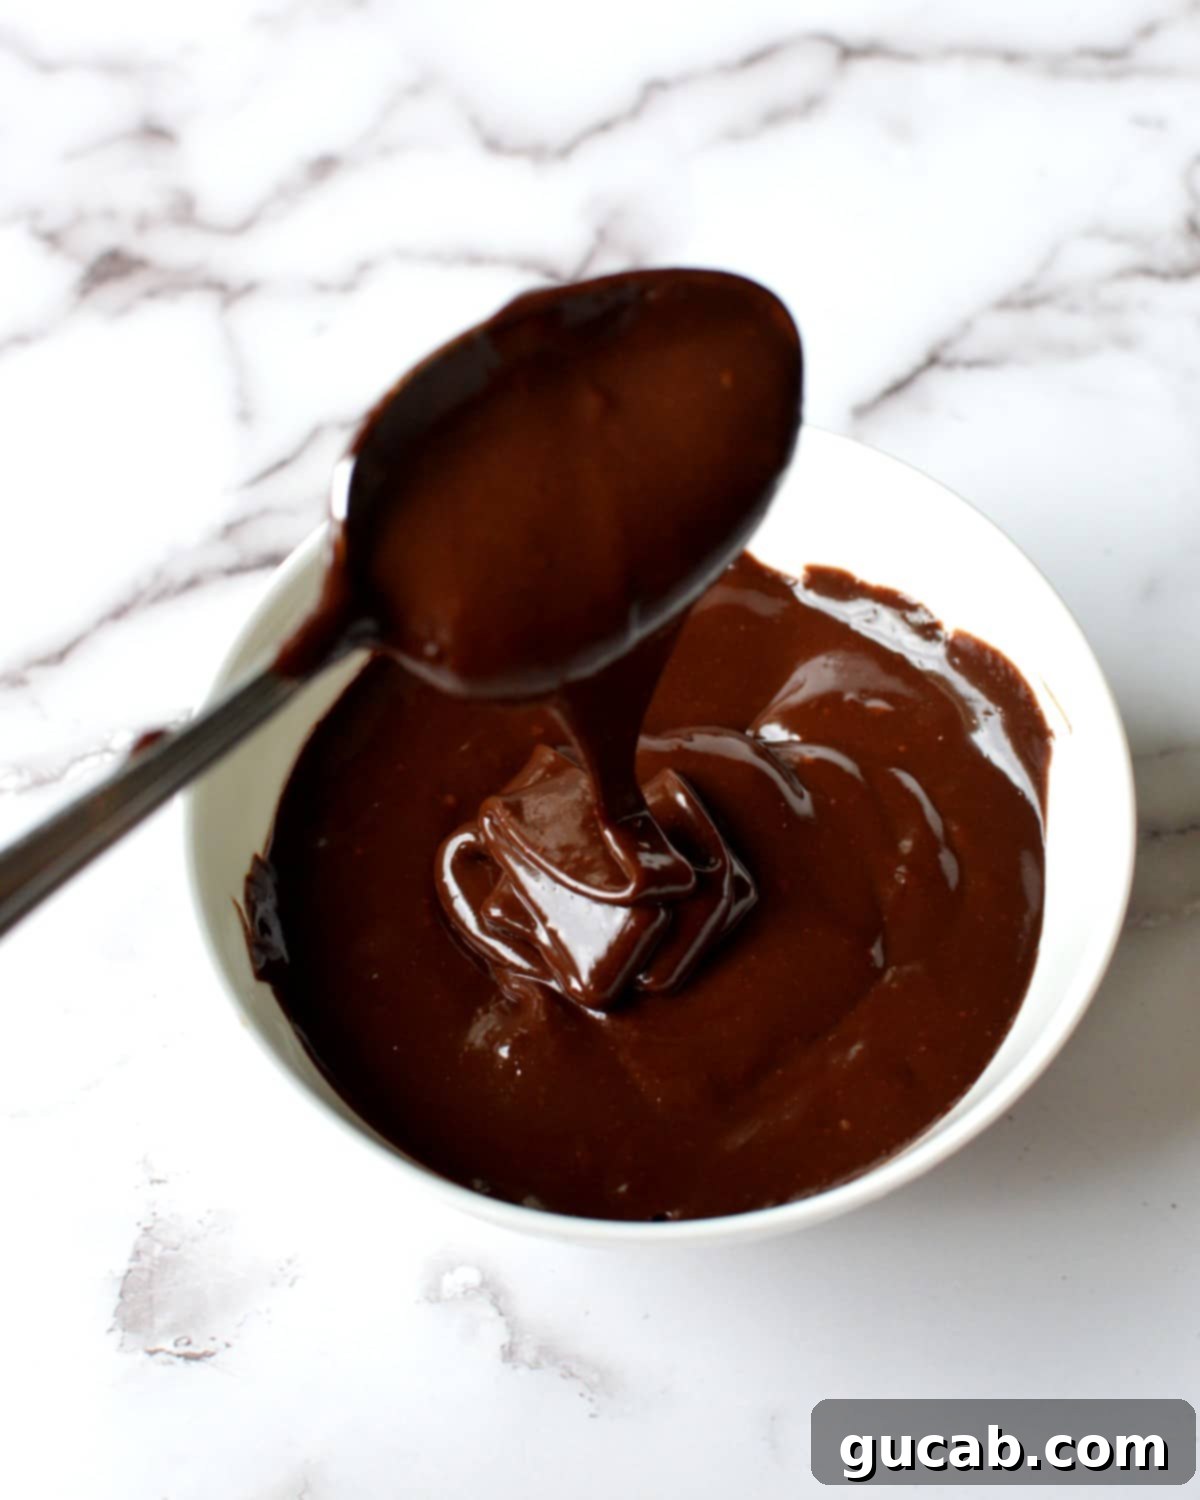
Disclosure: This post contains affiliate links. In other words, if you click a link and purchase something I will receive a commission at no cost to you. I only recommend products I use and enjoy myself.
How to Make Chocolate Ganache with Milk on the Stovetop
Creating this luscious milk-based chocolate ganache on the stovetop is straightforward and rewarding. Follow these steps for perfect results:
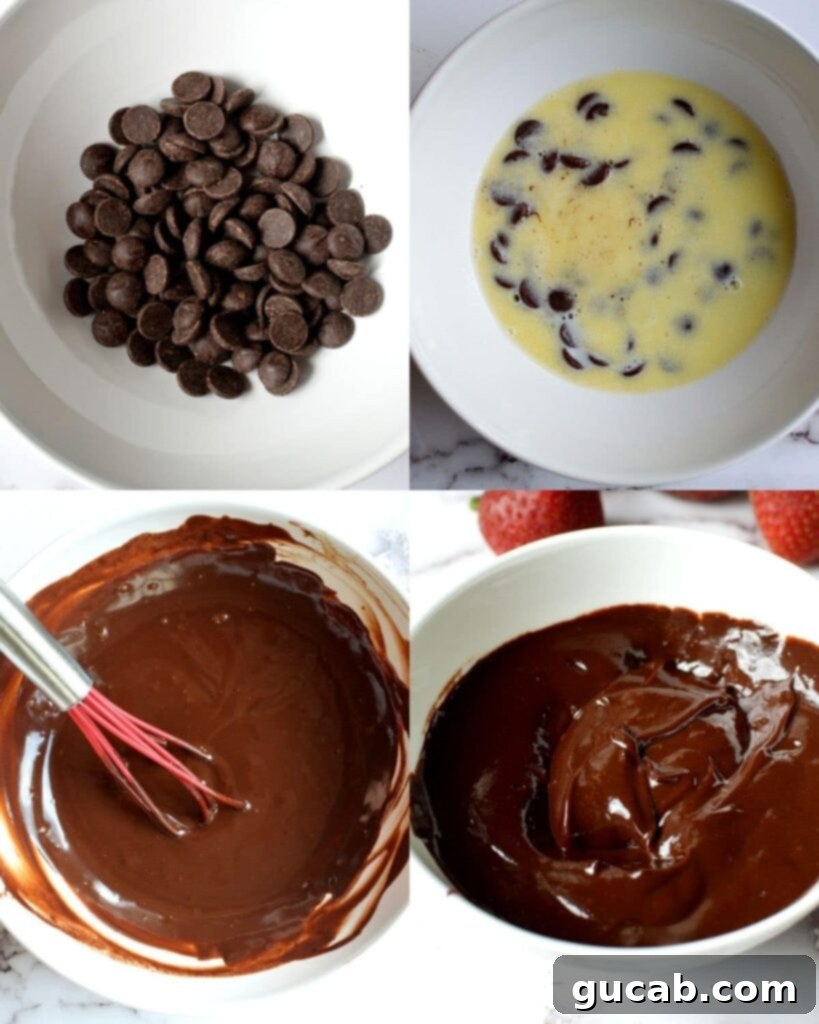
- Prepare your chocolate: Start by placing your finely chopped dark chocolate or chocolate chips in a medium-sized, heat-proof bowl. Having a whisk or spatula ready beside it is crucial for the next step.
- Heat the liquid base: In a small saucepan, combine the unsalted butter and whole milk. Heat this mixture over medium heat, stirring occasionally, until the butter is fully melted. Once melted, increase the heat to medium-high.
- Bring to a gentle boil: Keep a close eye on the milk mixture. As soon as it begins to bubble gently around the edges or reaches a soft boil, immediately remove it from the heat. Avoid letting it boil vigorously for too long, as this can scorch the milk.
- Combine and emulsify: Without delay, pour the hot milk and butter mixture directly over the prepared chocolate in the bowl. Resist the urge to stir immediately. Let it sit undisturbed for at least 1 minute. This crucial resting period allows the heat from the milk to thoroughly melt the chocolate.
- Whisk to perfection: After 1 minute, gently begin to whisk the mixture from the center outwards. Continue whisking until the chocolate is completely melted and the ganache is smooth, glossy, and beautifully silky.
- Enjoy or cool: Your ganache is now ready! You can enjoy it immediately as a warm sauce or glaze. For a thicker, spreadable consistency, let it sit at room temperature for about 3 hours to cool and set.
How to Make Chocolate Ganache in the Microwave
The microwave offers an even quicker route to delicious chocolate ganache without cream. Here are two convenient ways to do it:
Method 1: Following the Stovetop Recipe
If you prefer the precise measurements of the stovetop recipe but want to use the microwave, simply adapt the heating step:
- Combine the milk and butter in a microwave-safe bowl.
- Microwave in 20-30 second intervals, stirring in between, until the butter is fully melted and the milk is hot and steaming (it doesn’t need to boil vigorously, just be very hot).
- Once hot, pour the mixture over your chopped chocolate (which you’ve placed in a separate medium-sized bowl) and follow the remaining steps of the stovetop recipe: let it sit for 1 minute, then whisk until smooth and silky.
Method 2: The “Wing It” Approach for Small Batches
This is my go-to method for instant gratification when I just need a small, single-serving portion of ganache to eat by the spoonful. It’s incredibly fast and requires minimal cleanup:
- Grab a small, microwave-safe cup or ramekin.
- Place a small handful of dark chocolate chips or finely chopped chocolate into the cup.
- Add just a splash of milk – it’s crucial to start with too little rather than too much. The milk should NOT fully cover the chocolate. You can always add a tiny bit more later if needed.
- Microwave on high for about 15-20 seconds. Stay right by the microwave and watch it carefully! You want the milk to just start to foam or show signs of bubbling. Overheating can burn the chocolate.
- Immediately remove from the microwave and stir vigorously with a small spoon until the chocolate is completely melted and the mixture is smooth. If there are still a few unmelted bits, microwave for another 5 seconds and stir again.
- Enjoy your instant ganache with cocoa nibs, mini marshmallows, or use it as a quick dip for cookies or fruit. This method takes a little practice to get the milk-to-chocolate ratio perfect for your microwave, but it quickly becomes second nature.
Pro Tips, Substitutions & Troubleshooting for Perfect Ganache
- Patience is Key: Let the Hot Milk Sit! After pouring the hot milk mixture over the chocolate, resist the urge to stir immediately. Letting it sit undisturbed for at least one minute is crucial. This allows the residual heat to thoroughly melt the chocolate, ensuring a smooth, lump-free ganache. Rushing this step can result in unmelted chocolate pieces and a grainy texture.
- A Gentle Boil is Fine: Don’t be afraid if your milk comes to a boil. While some recipes warn against it, I’ve found that a brief, gentle boil (where bubbles just begin to form around the edges) is perfectly acceptable and ensures the milk is hot enough to melt the chocolate effectively. The key is to remove it from the heat *immediately* once it starts bubbling to prevent scorching.
- Butter’s Role is Important (But Optional for Quick Bites): When making ganache with milk, butter is added to compensate for milk’s lower fat content compared to cream. It provides richness, body, and that beautiful glossy sheen. However, if you’re “winging it” for a small, spontaneous treat late at night, you can absolutely skip the butter. It will still be delicious, just slightly less rich and perhaps a touch thinner.
- Chocolate Quality Matters Immensely: The flavor of your ganache is directly proportional to the quality of your chocolate. I highly recommend using good quality dark chocolate chips or finely chopped bar chocolate (like Ghirardelli or a higher-end baking chocolate). Avoid standard chocolate chips like Nestle Toll House; while delicious in cookies, their composition (designed to hold shape) doesn’t melt as smoothly for ganache and won’t yield the same luxurious result.
- Milk Type Matters: This recipe works best with whole milk due to its higher fat content. If using 2% or skim milk, you might need to add a tiny bit more butter (about ½ teaspoon extra) to achieve the desired richness and consistency. For a dairy-free alternative, full-fat canned coconut milk (the thick cream part) or a good quality oat milk can work, but you may need to experiment with ratios and add a bit more dairy-free butter.
- Fixing a Broken Ganache (Separated/Grainy): If your ganache looks oily or separated, it likely means the emulsion has broken. Don’t panic! Add 1-2 teaspoons of very hot (almost boiling) milk or water to the mixture and whisk vigorously. This often helps to bring the emulsion back together. If it’s too thin, let it cool and firm up more. If it’s too thick, gently warm it over a double boiler or in short microwave bursts, adding a teaspoon of warm milk until it reaches the desired consistency.
- Storage and Reheating: Store leftover ganache in an airtight container in the refrigerator for up to one week. To reheat, gently warm it in the microwave in short bursts (15-20 seconds), stirring well between each, or over a double boiler until smooth and pourable.
- Flavor Variations: Elevate your ganache with a few drops of vanilla extract, a pinch of sea salt, a dash of cinnamon, a hint of chili powder for a spicy kick, or a tablespoon of your favorite liqueur (like Kahlua, Grand Marnier, or rum) added at the whisking stage.
Other Decadent Chocolate Recipes You Might Like
- The Best Chocolate Mousse Recipe
- Peanut Butter Avocado Chocolate Smoothie
- Chocolate Banana Popsicles
- Gluten Free Pumpkin Chocolate Bread
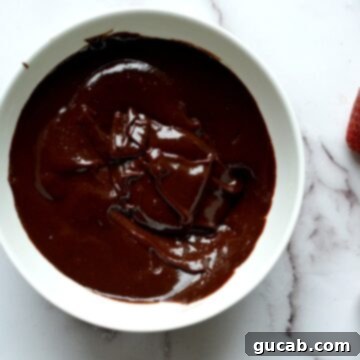
Chocolate Ganache without Cream
Carolyn
Pin Recipe
Equipment
-
Small sauce pan
Ingredients
- 4 oz Dark chocolate chips or finely chopped chocolate (About ¾ cup)
- 3 tbsp Whole milk
- 2 tbsp Unsalted butter
Instructions
-
Place the chocolate in a medium sized bowl then set aside.
-
In a small sauce pan heat the milk and butter on medium heat until the butter melts. Turn the heat to medium high and once the milk starts to boil immediately take it off the heat and pour it over the chocolate.
-
Let the mixture sit for at least 1 minute undisturbed. Gently stir with a whisk or spatula until smooth and silky.
Video
Notes
Whether you’re a seasoned baker or a chocolate enthusiast looking for a quick fix, this easy recipe for chocolate ganache without cream is a game-changer. It’s proof that you don’t need fancy ingredients to create something truly delicious and versatile. Give it a try, experiment with your favorite chocolate, and prepare to fall in love with this accessible and utterly indulgent treat. Happy baking (and eating)!
