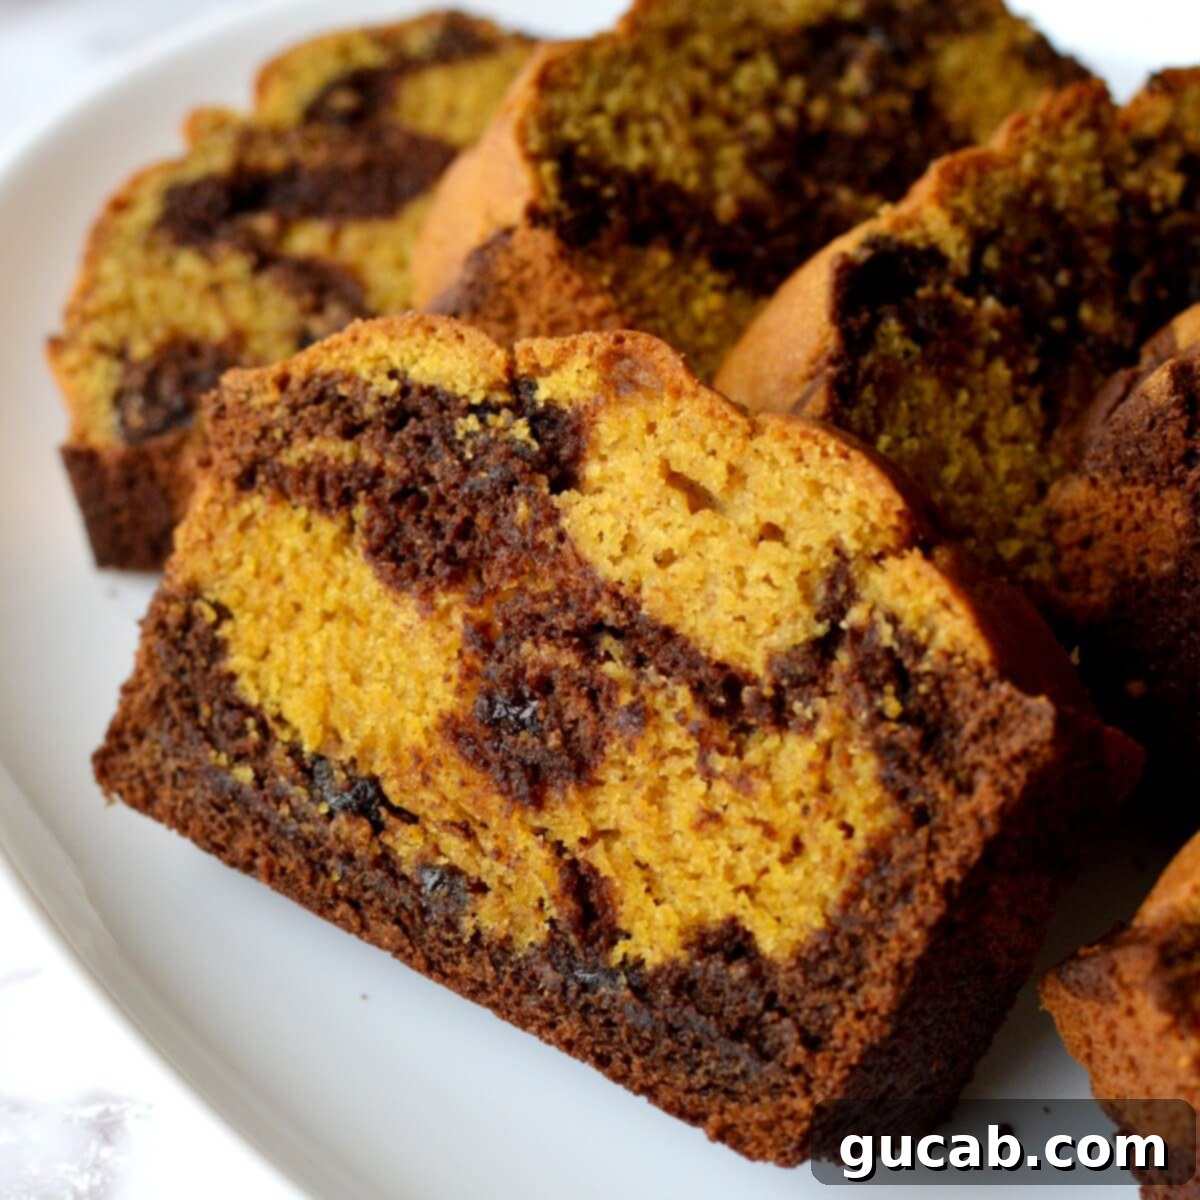
Irresistible Gluten-Free Pumpkin Bread with Decadent Chocolate Marble Swirl
Indulge in the ultimate autumn (or anytime!) treat with this exquisite gluten-free pumpkin bread, beautifully swirled with rich chocolate. This recipe delivers a perfectly moist, incredibly flavorful, and surprisingly easy-to-make loaf that pumpkin and chocolate lovers will adore.
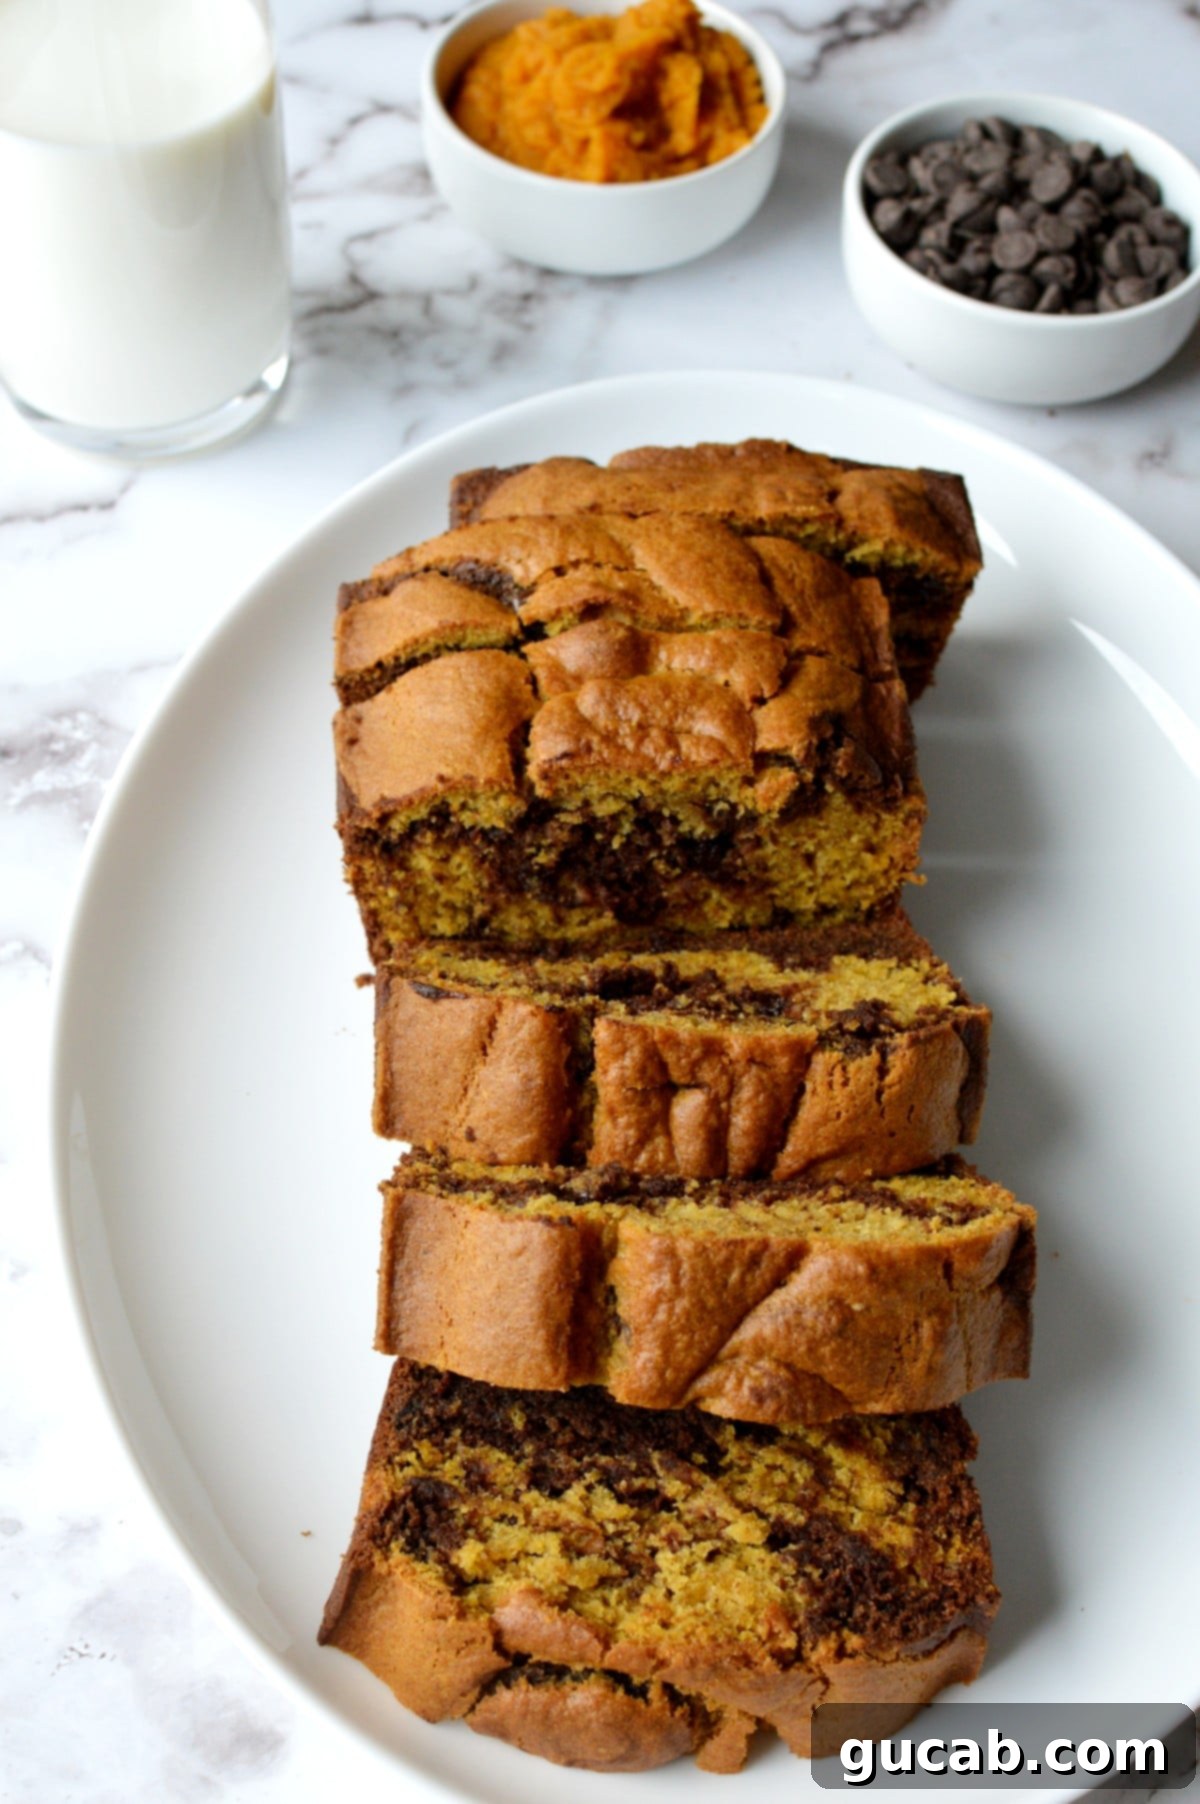
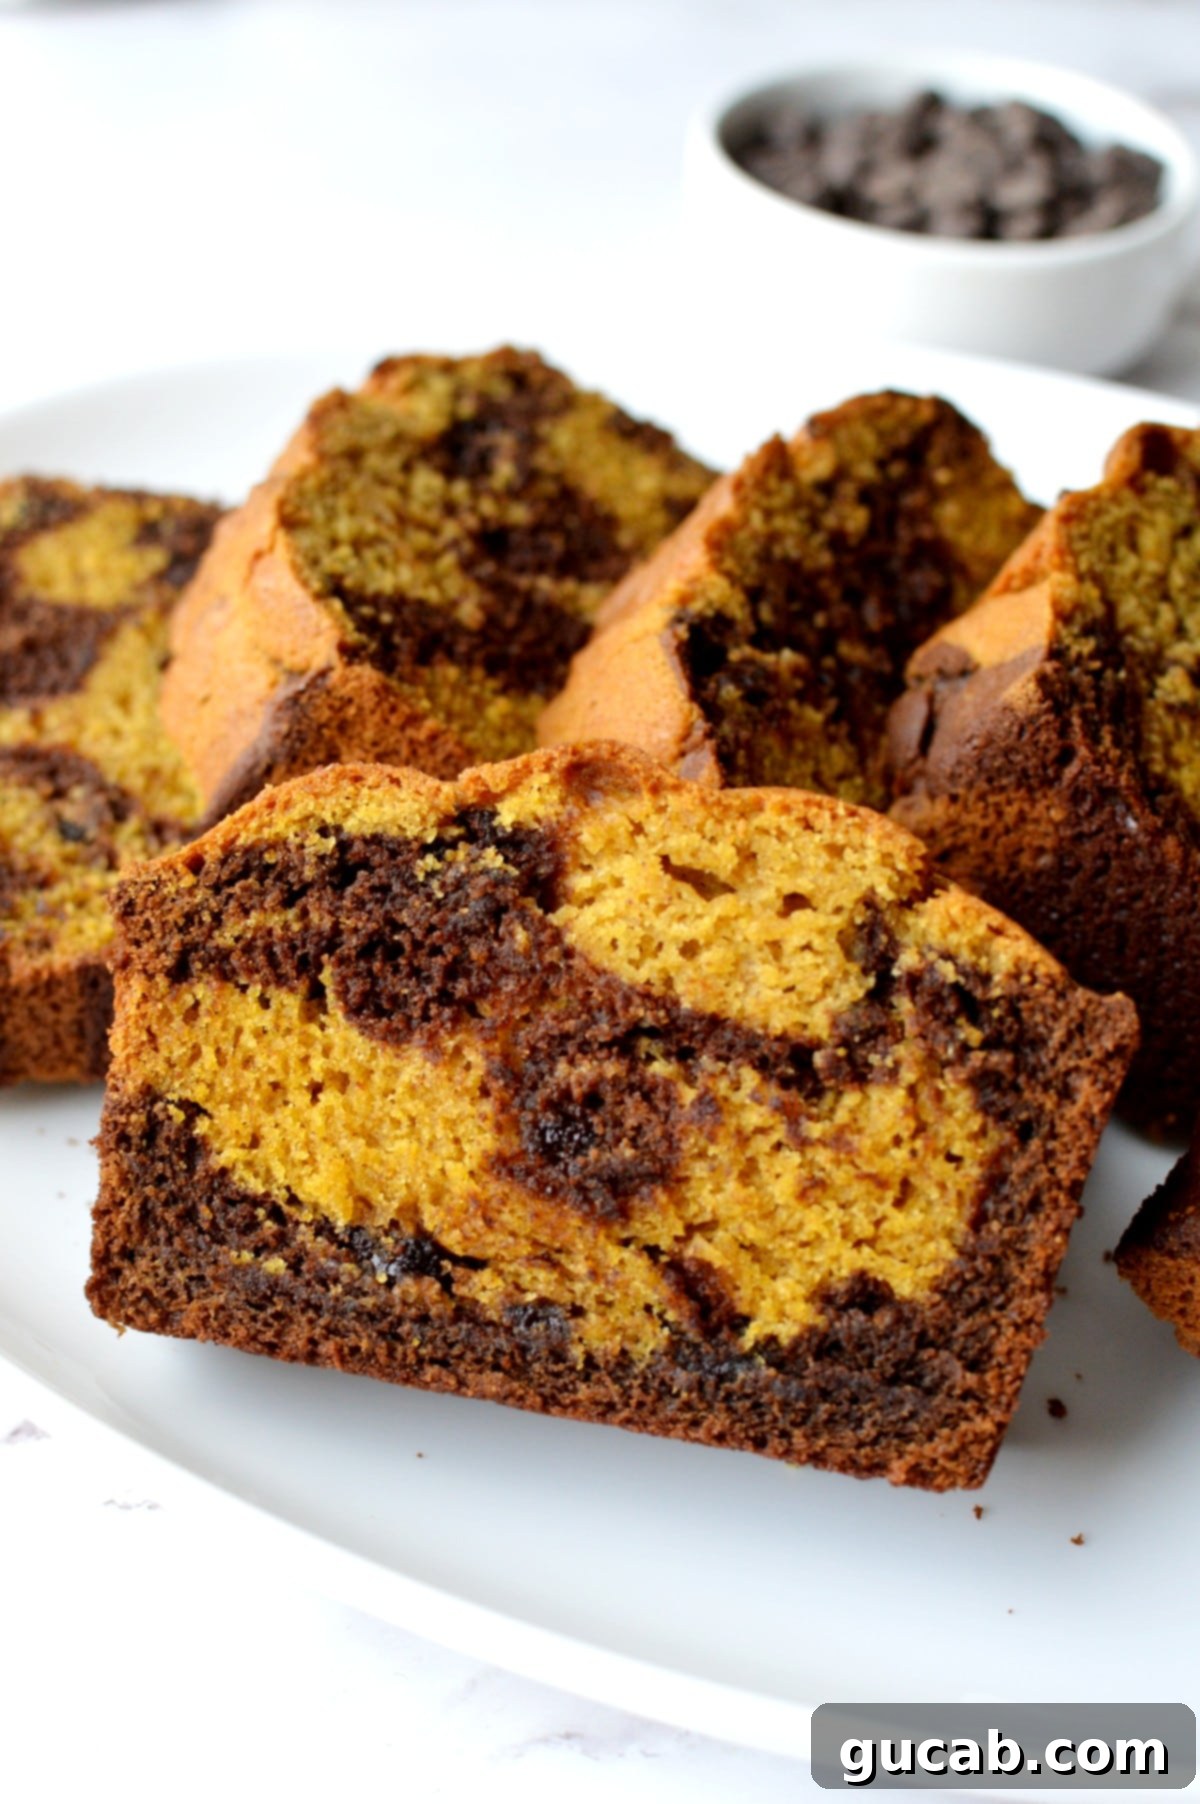
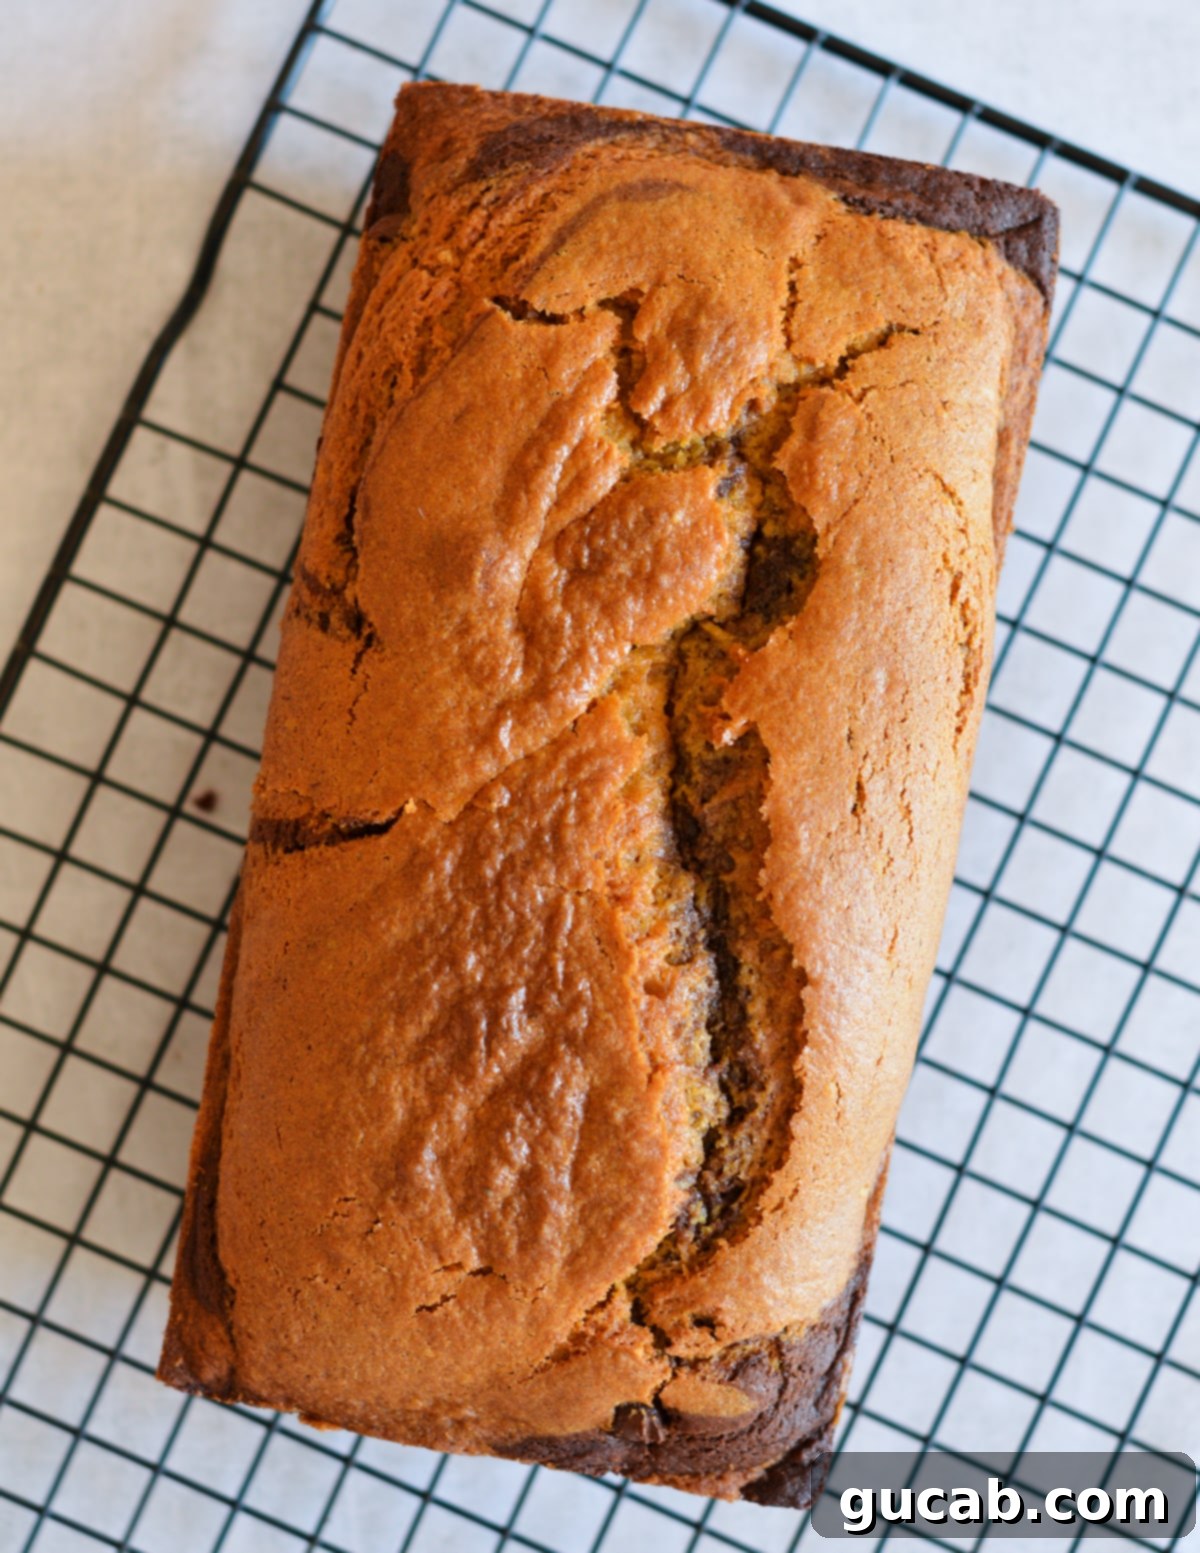
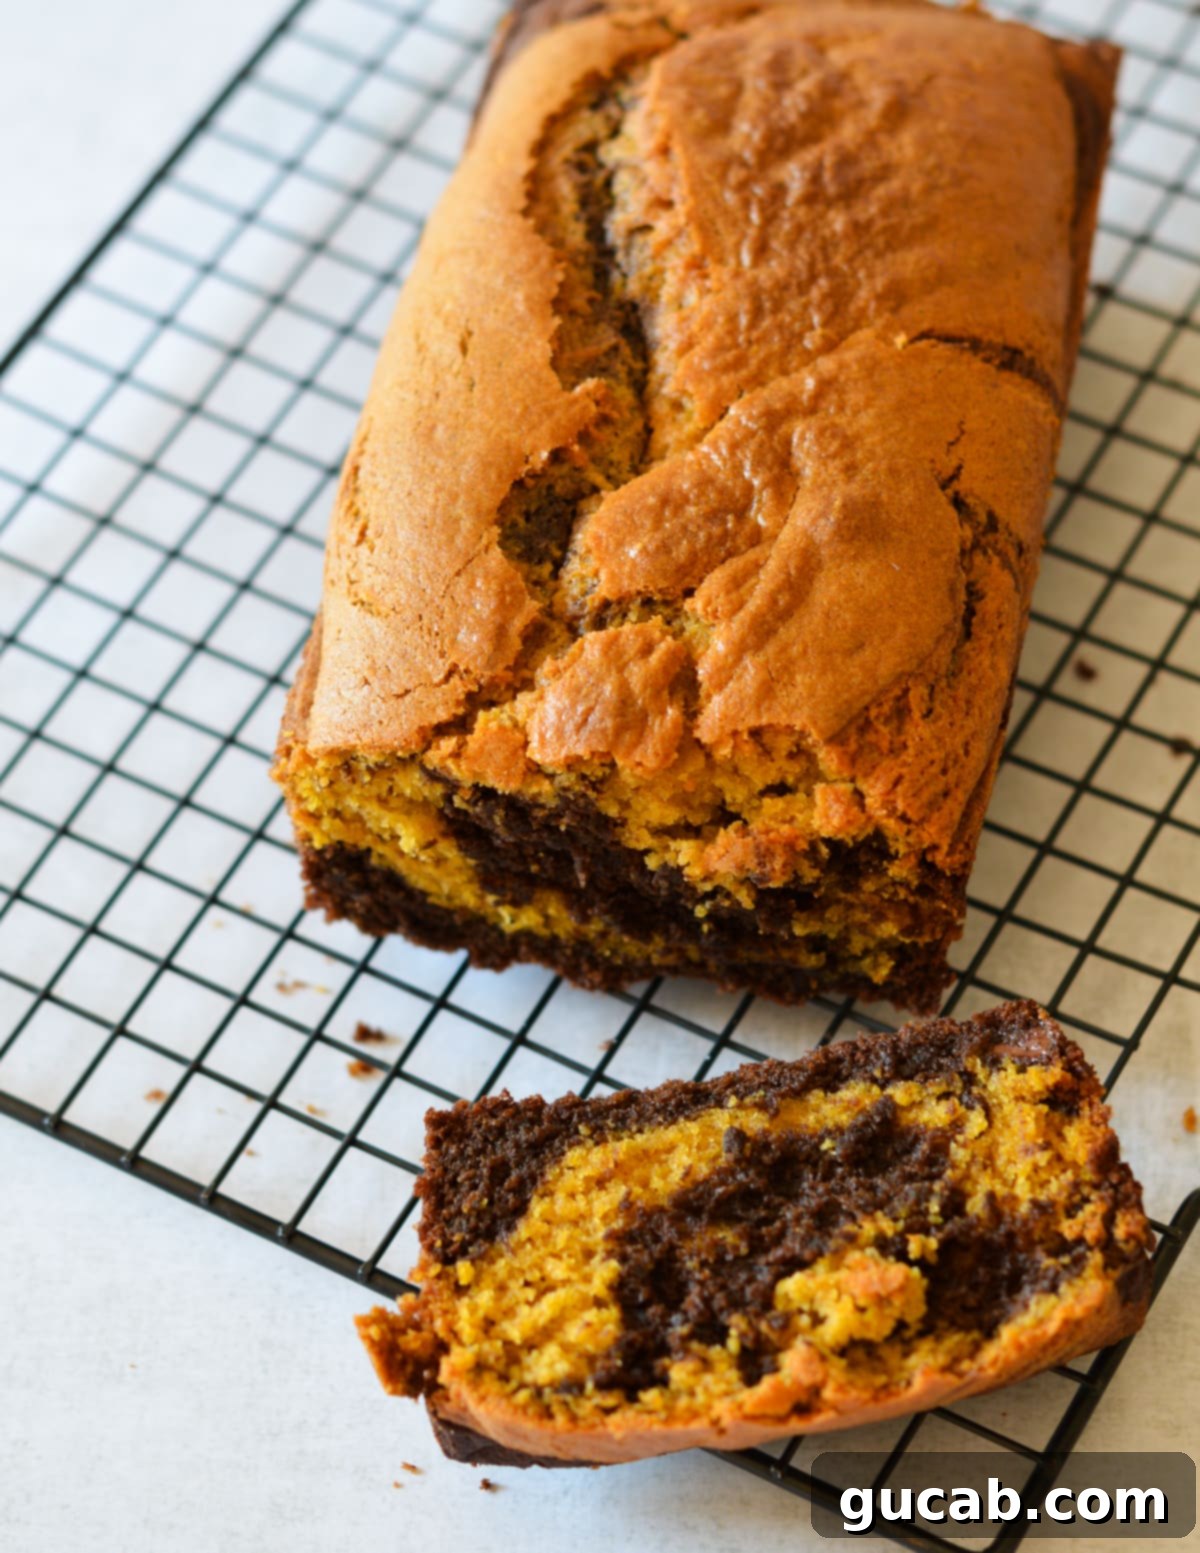
There’s nothing quite like the comforting aroma of freshly baked goods filling your home, and this gluten-free pumpkin bread with a chocolate marble swirl takes that experience to a whole new level. It bakes up so beautifully, transforming simple ingredients into a golden-brown masterpiece with a perfectly cracked top and an unbelievably tender texture. The visual appeal, with its mesmerizing chocolate ribbons winding through the warm pumpkin hues, is just as delightful as its taste.
Imagine pulling a warm, aromatic gluten-free pumpkin loaf from the oven. The scent of cinnamon, nutmeg, and cloves, combined with sweet pumpkin and rich chocolate, instantly evokes feelings of coziness and fall, no matter the season. Even if it’s early March and pumpkin-flavored treats have long vanished from coffee shop menus, a leftover can of pumpkin puree in the pantry becomes an invitation to create something truly special. This recipe offers a delightful way to say goodbye to winter chill and welcome the promise of spring with a taste of pure autumnal bliss, all while catering to gluten-free dietary needs without sacrificing an ounce of flavor or texture.
This isn’t just another gluten-free recipe; it’s a celebration of flavor and an affirmation that gluten-free baking can be just as, if not more, delicious than its traditional counterparts. Every bite of this moist pumpkin bread delivers a harmonious blend of earthy pumpkin spice and luscious dark chocolate, creating a symphony of flavors that will leave you reaching for another slice.
Disclosure: This post contains affiliate links. In other words, if you click a link and purchase something I will receive a commission at no cost to you. I only recommend products I use and enjoy myself.
Key Ingredients for the Best Gluten-Free Pumpkin Bread
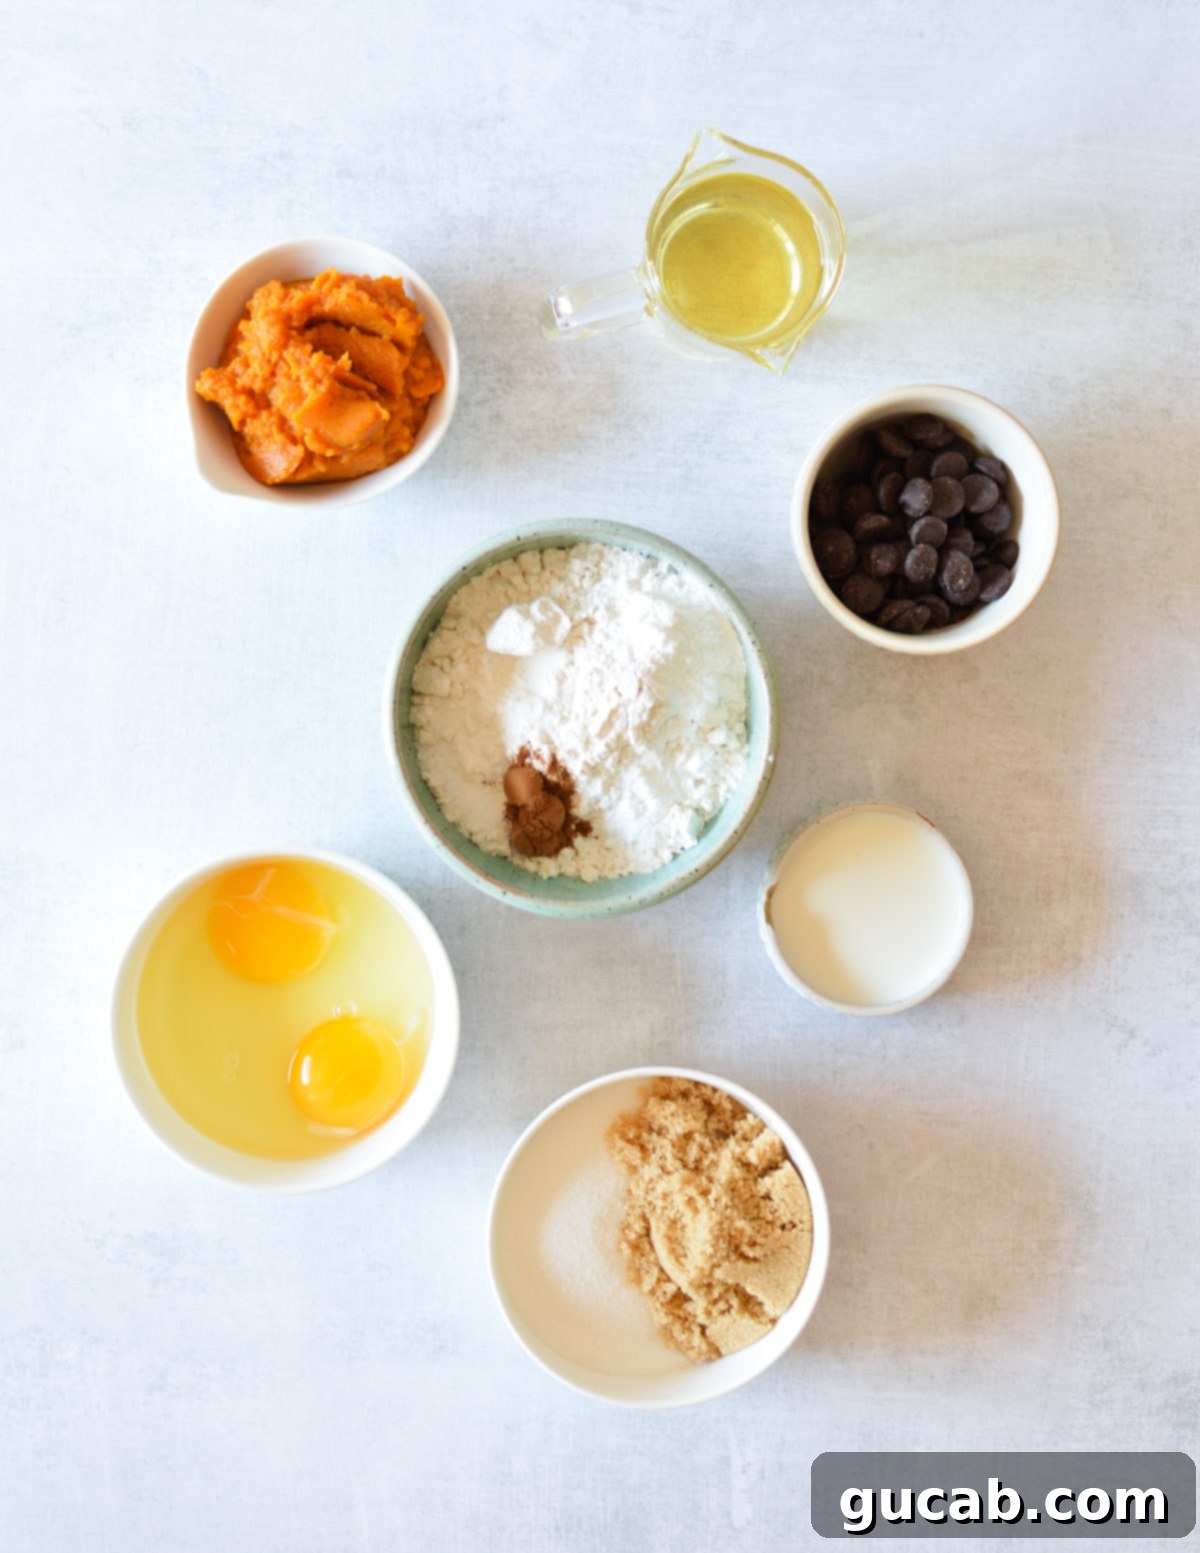
Crafting the perfect gluten-free pumpkin bread requires a thoughtful selection of ingredients. Each component plays a vital role in achieving that moist, flavorful, and beautifully marbled loaf you crave.
Vegetable oil – While butter is a beloved staple in many baked goods, vegetable oil is truly the secret to unlocking the unparalleled moistness in pumpkin bread. Its neutral flavor allows the pumpkin and spices to shine, while its liquid form integrates seamlessly into the batter, ensuring an incredibly tender crumb. Opt for a high-quality, neutral-tasting oil like canola, grapeseed, or a light olive oil.
Canned pumpkin – For this recipe, 100% pure canned pumpkin puree is essential. I personally recommend Libby’s brand for its consistent quality and texture. It’s crucial to differentiate this from pumpkin pie filling, which comes pre-spiced and sweetened. Using pie filling would throw off the flavor balance and sweetness of this specific recipe, so always double-check the label to ensure you’re using pure pumpkin puree.
Gluten-free all-purpose flour – This is undoubtedly a cornerstone ingredient for any successful gluten-free bake. For this particular gluten-free pumpkin bread recipe, I specifically developed and tested it using Bob’s Red Mill’s 1-to-1 Gluten Free Baking Flour. This blend is formulated to directly substitute traditional wheat flour in many recipes, making it incredibly convenient. It’s important to understand that not all gluten-free flour blends are created equal. Different brands use varying combinations and ratios of alternative flours (like rice flour, sorghum flour, oat flour) and starches (like tapioca starch, potato starch, cornstarch), which significantly impact how they behave in baking. If you choose to use a different brand, ensure it contains xanthan gum for structure, and be prepared for potential slight variations in texture or baking time.
Dark chocolate chips – For that show-stopping, decadent chocolate swirl, dark chocolate chips are the way to go. Their rich, slightly bitter notes perfectly complement the sweet and earthy pumpkin flavors. While any good quality dark chocolate chip will work, I am particularly fond of Ghirardelli chocolate chips for their superior melt and luxurious taste. They create a beautifully smooth chocolate mixture that swirls effortlessly through the pumpkin batter, resulting in an irresistible visual and taste experience.
How to Make Gluten-Free Pumpkin Bread with a Chocolate Marble Swirl
Don’t be intimidated by the elegant appearance of this chocolate marble pumpkin bread; it’s surprisingly simple to prepare! You won’t even need a stand mixer or a hand mixer – just a few basic kitchen tools like a mixing bowl, a spatula, and measuring cups. The process is straightforward and yields impressive results every time. Let’s get started:
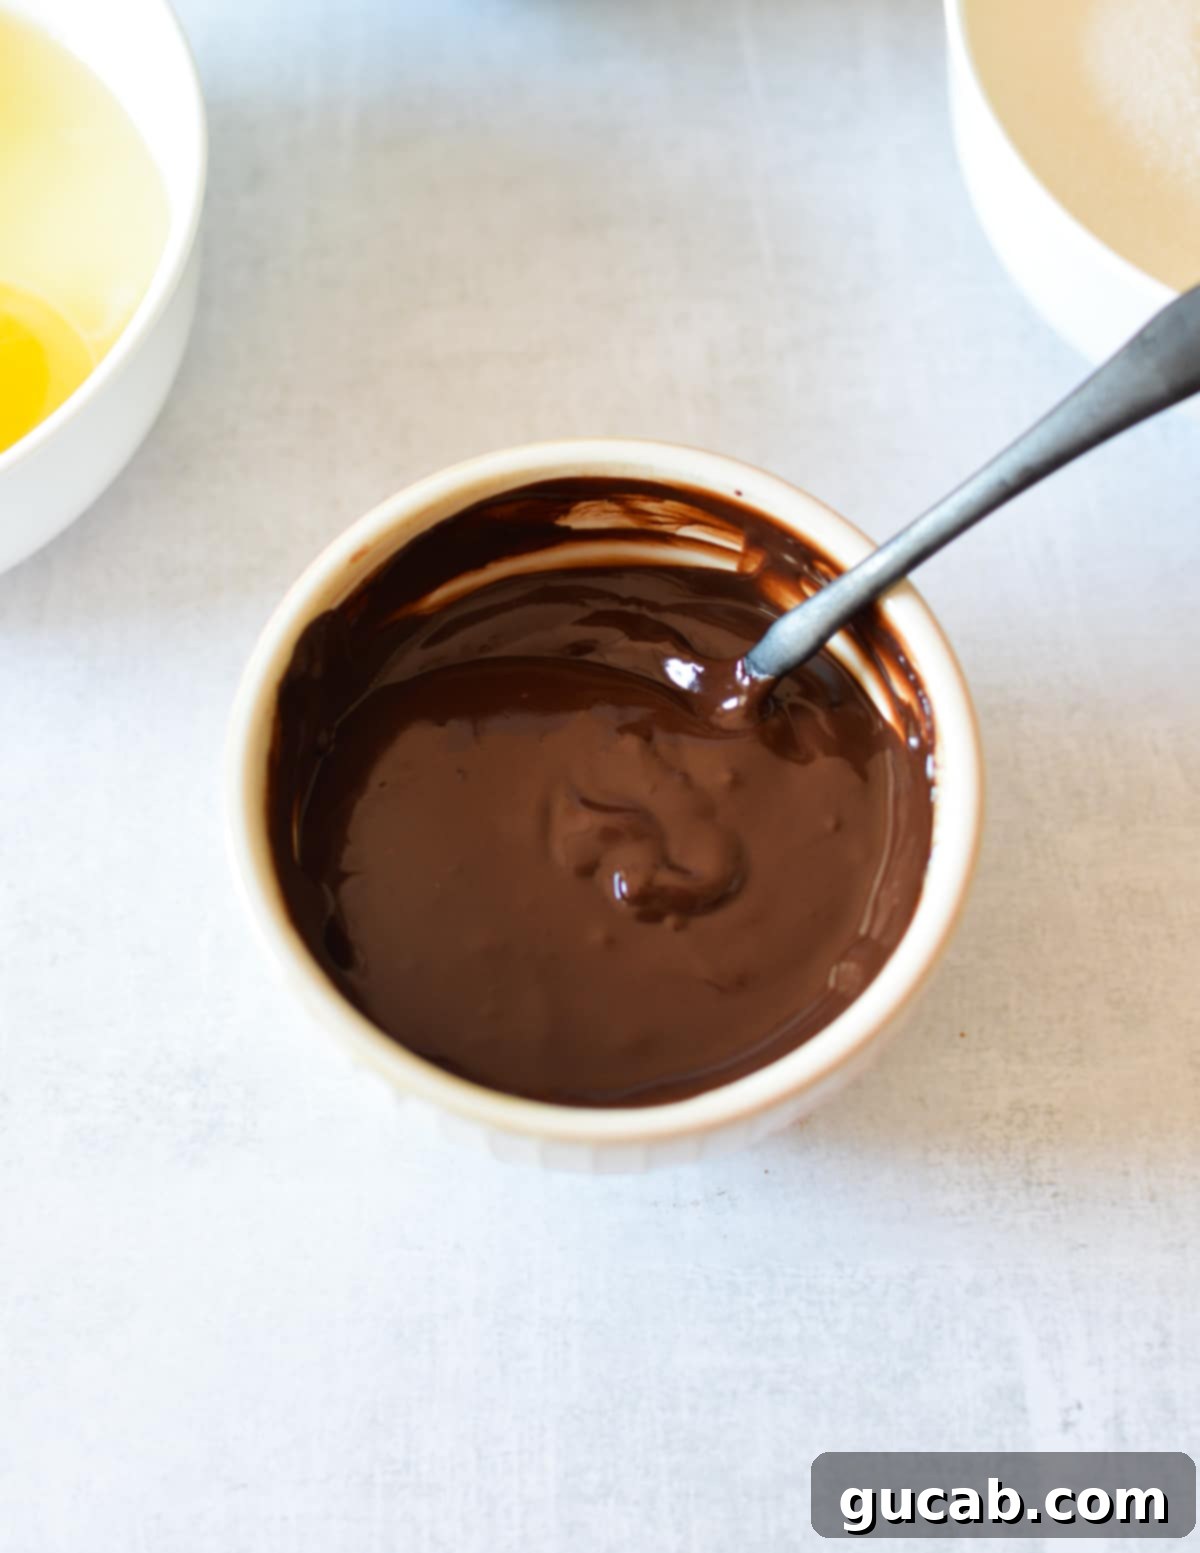
- First, prepare your melted chocolate. In a small, heat-proof bowl, combine the milk and your chosen dark chocolate chips. Place the bowl in the microwave and heat it in short bursts, typically 30-40 seconds, until the milk just begins to rise and bubble at the edges. Immediately remove it from the microwave and stir the mixture continuously with a spoon or small whisk until it becomes completely smooth and glossy. Set this luxurious melted chocolate aside to cool slightly while you prepare the pumpkin batter.
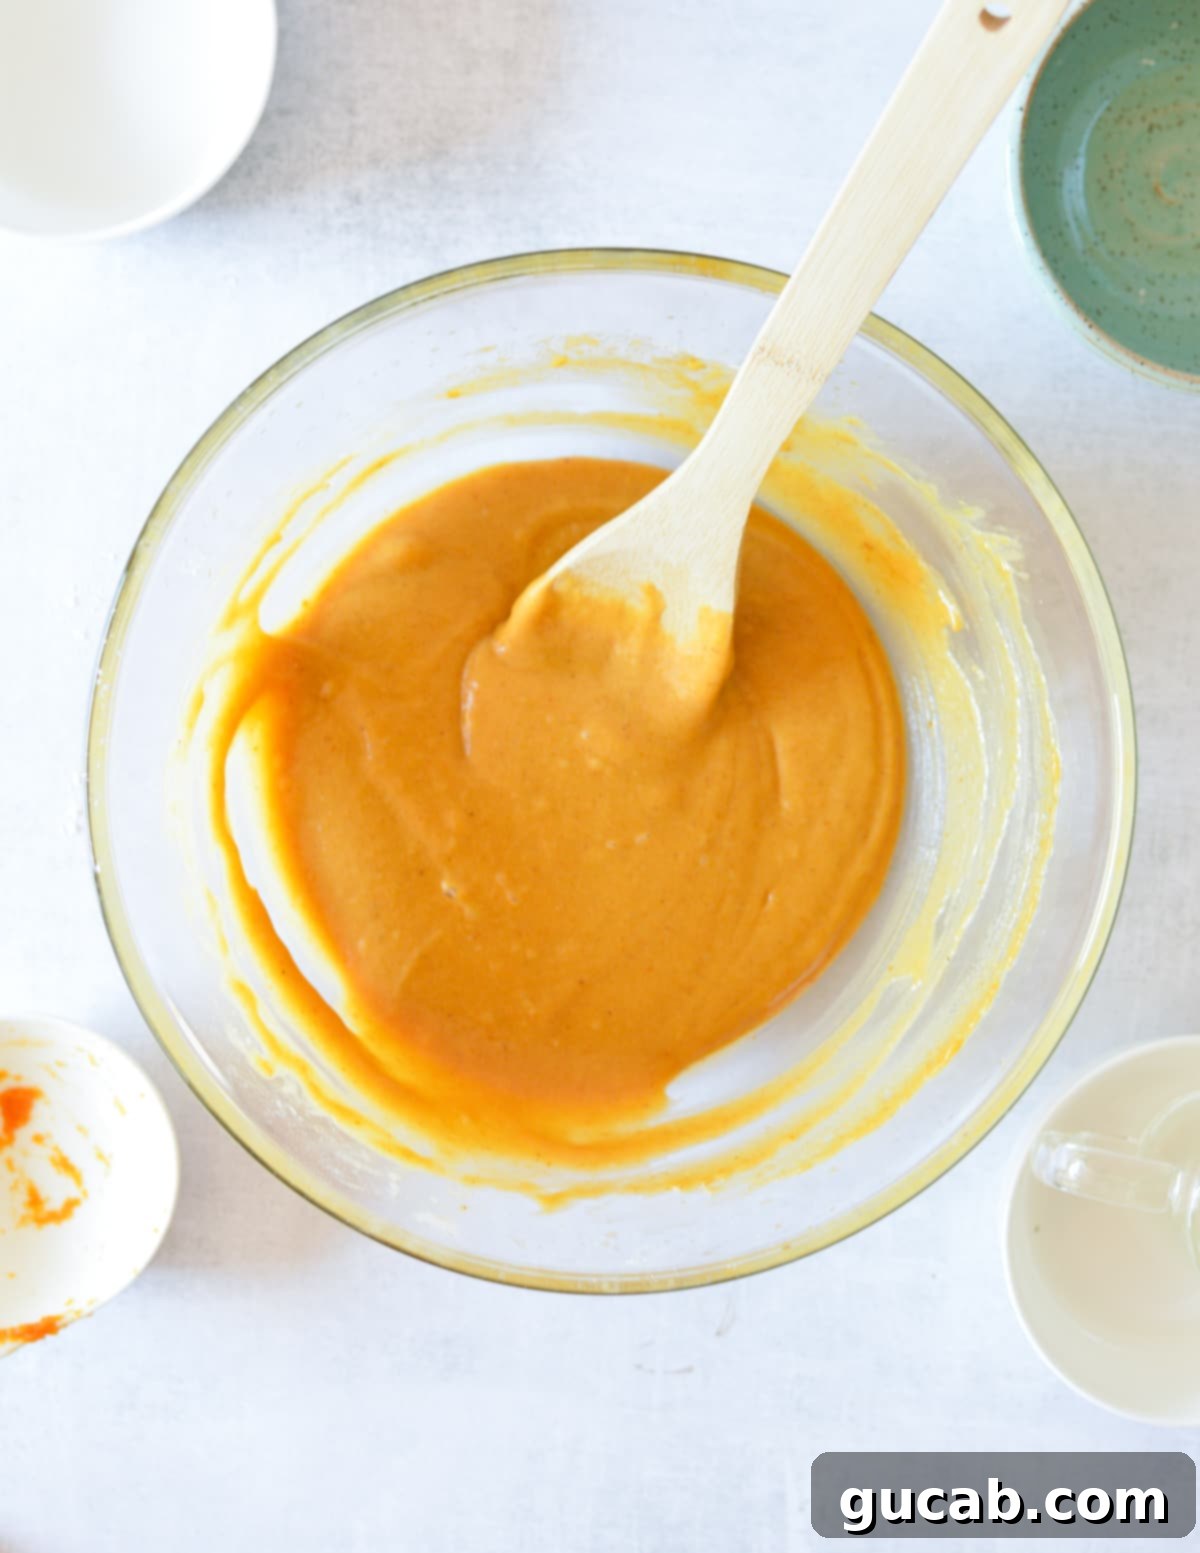
- In a large mixing bowl, the foundation of your pumpkin bread begins. Combine the granulated sugar, light brown sugar, vegetable oil, and 100% pure pumpkin puree. Whisk these wet ingredients together thoroughly until the mixture is smooth, well-integrated, and has a consistent color. This ensures an even distribution of flavors and moisture throughout the loaf.
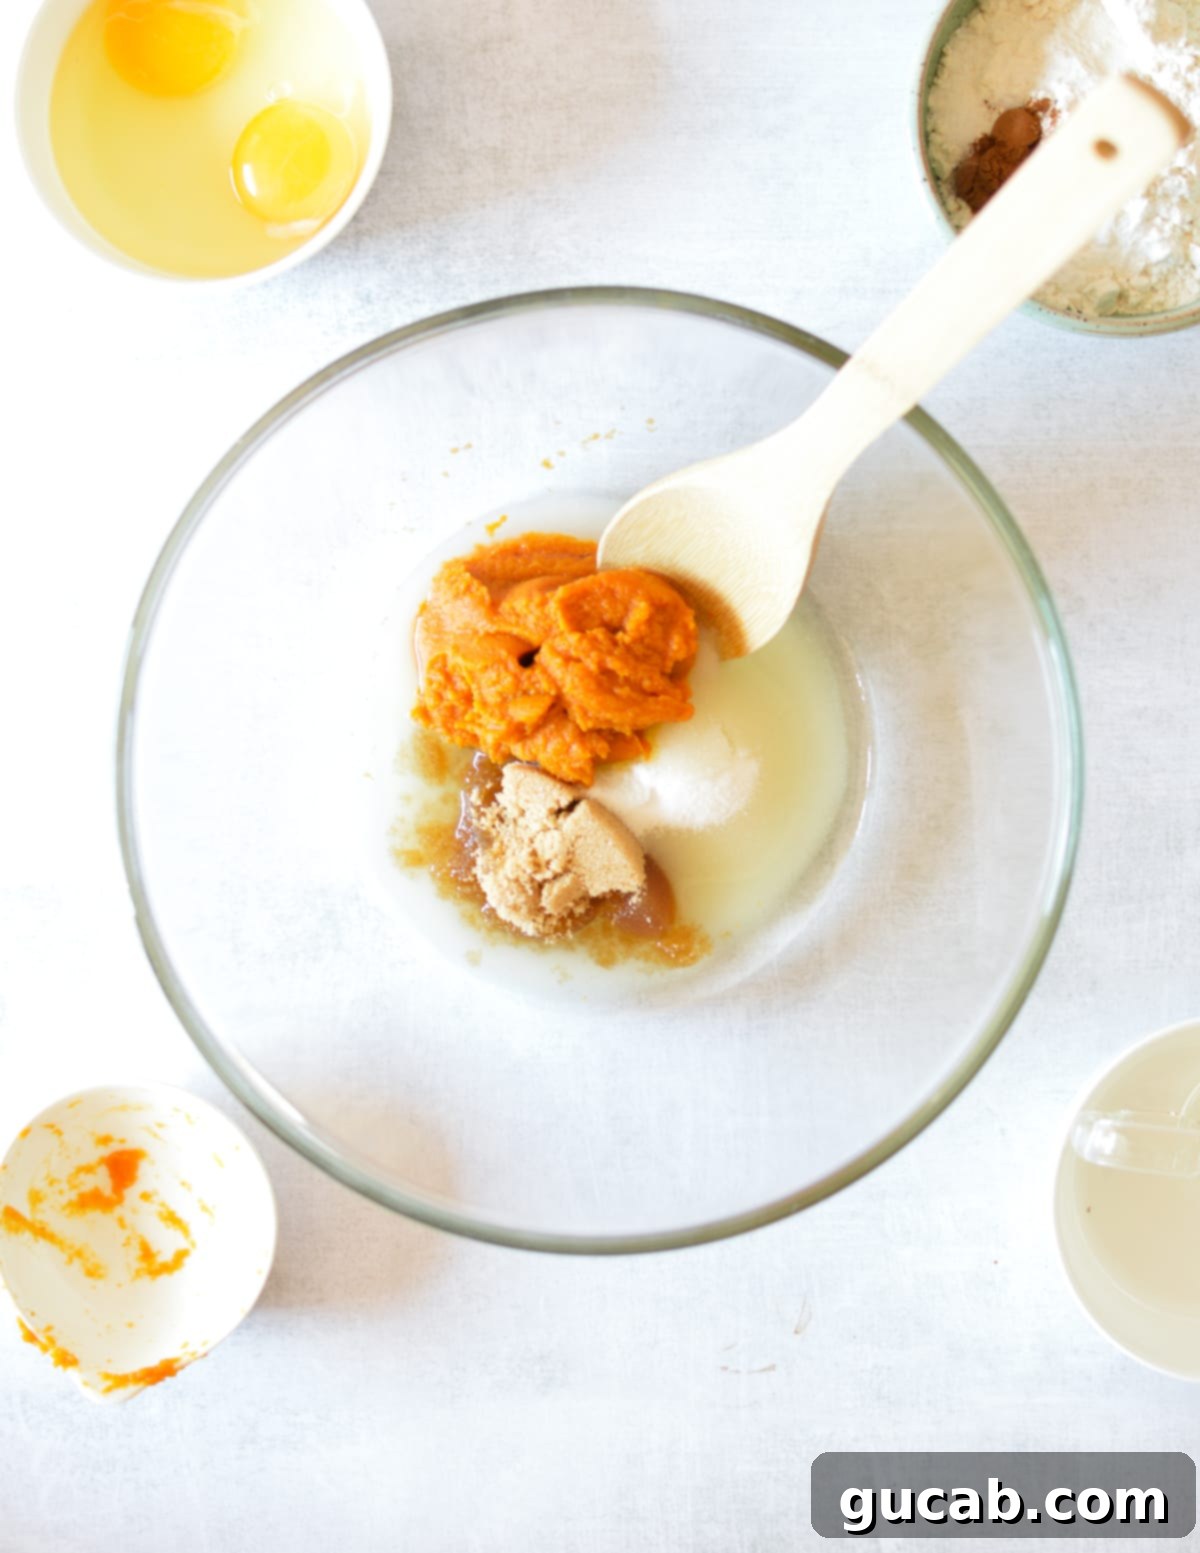
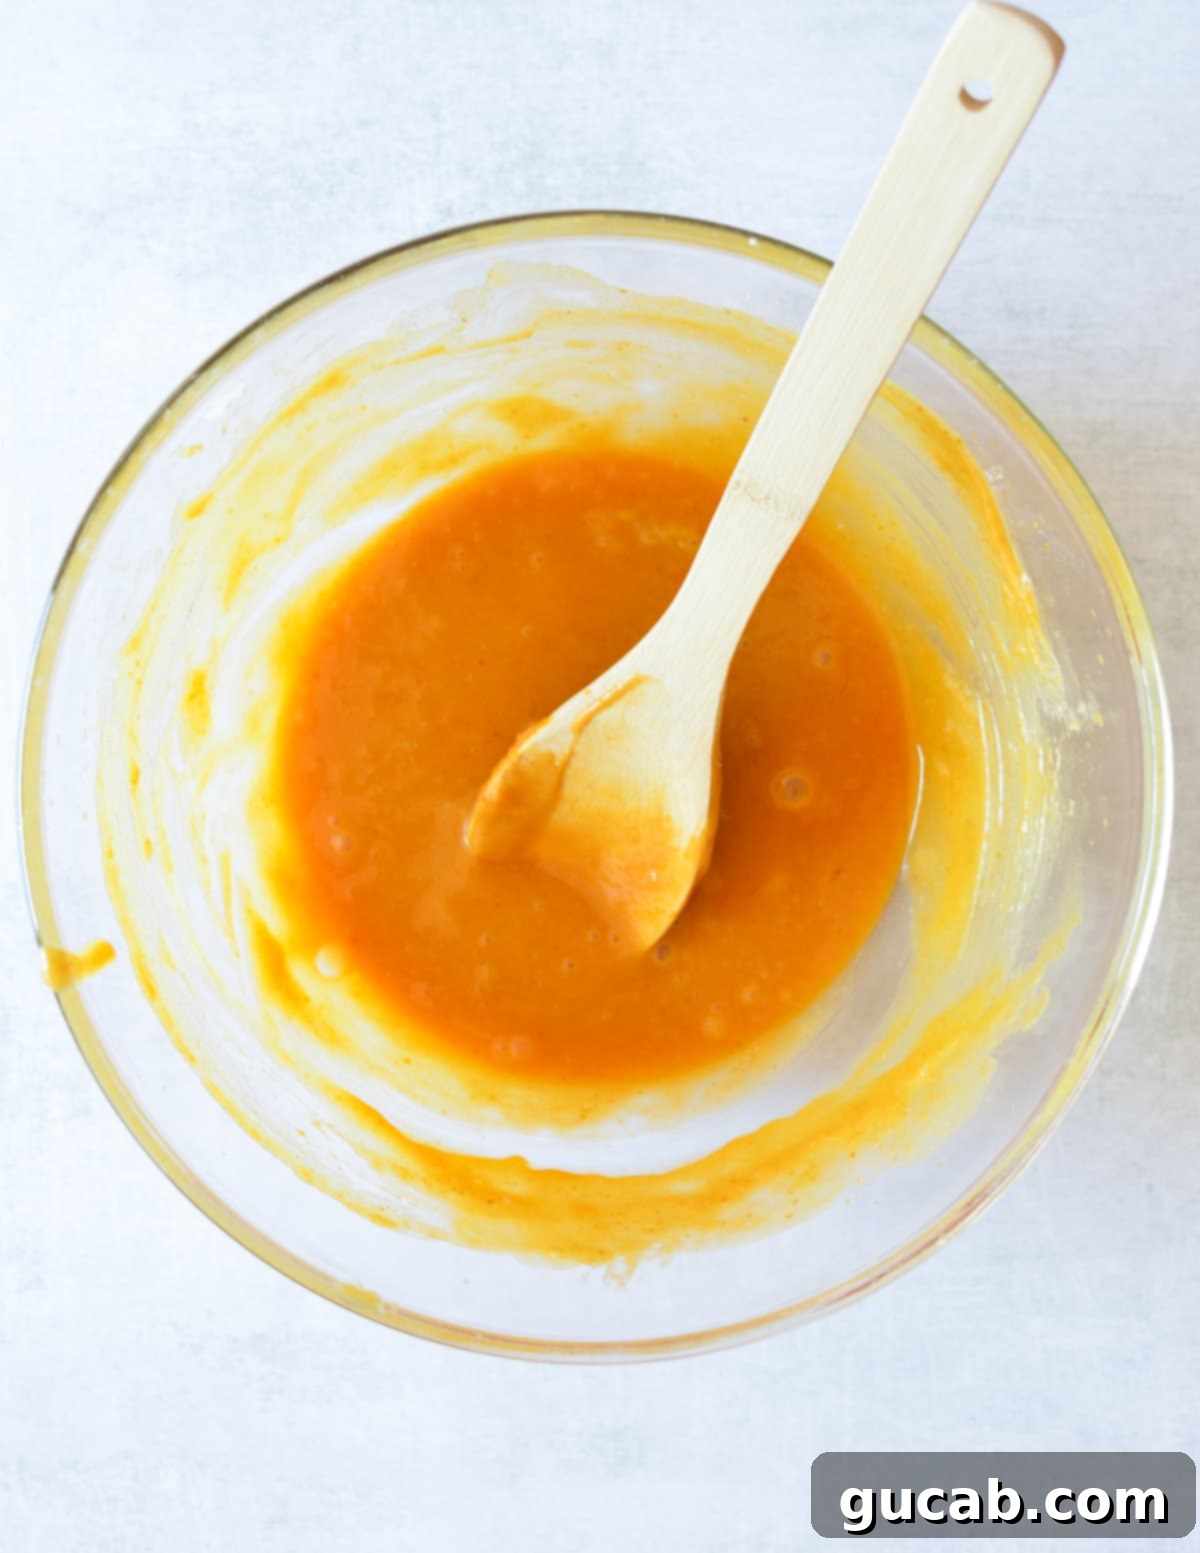
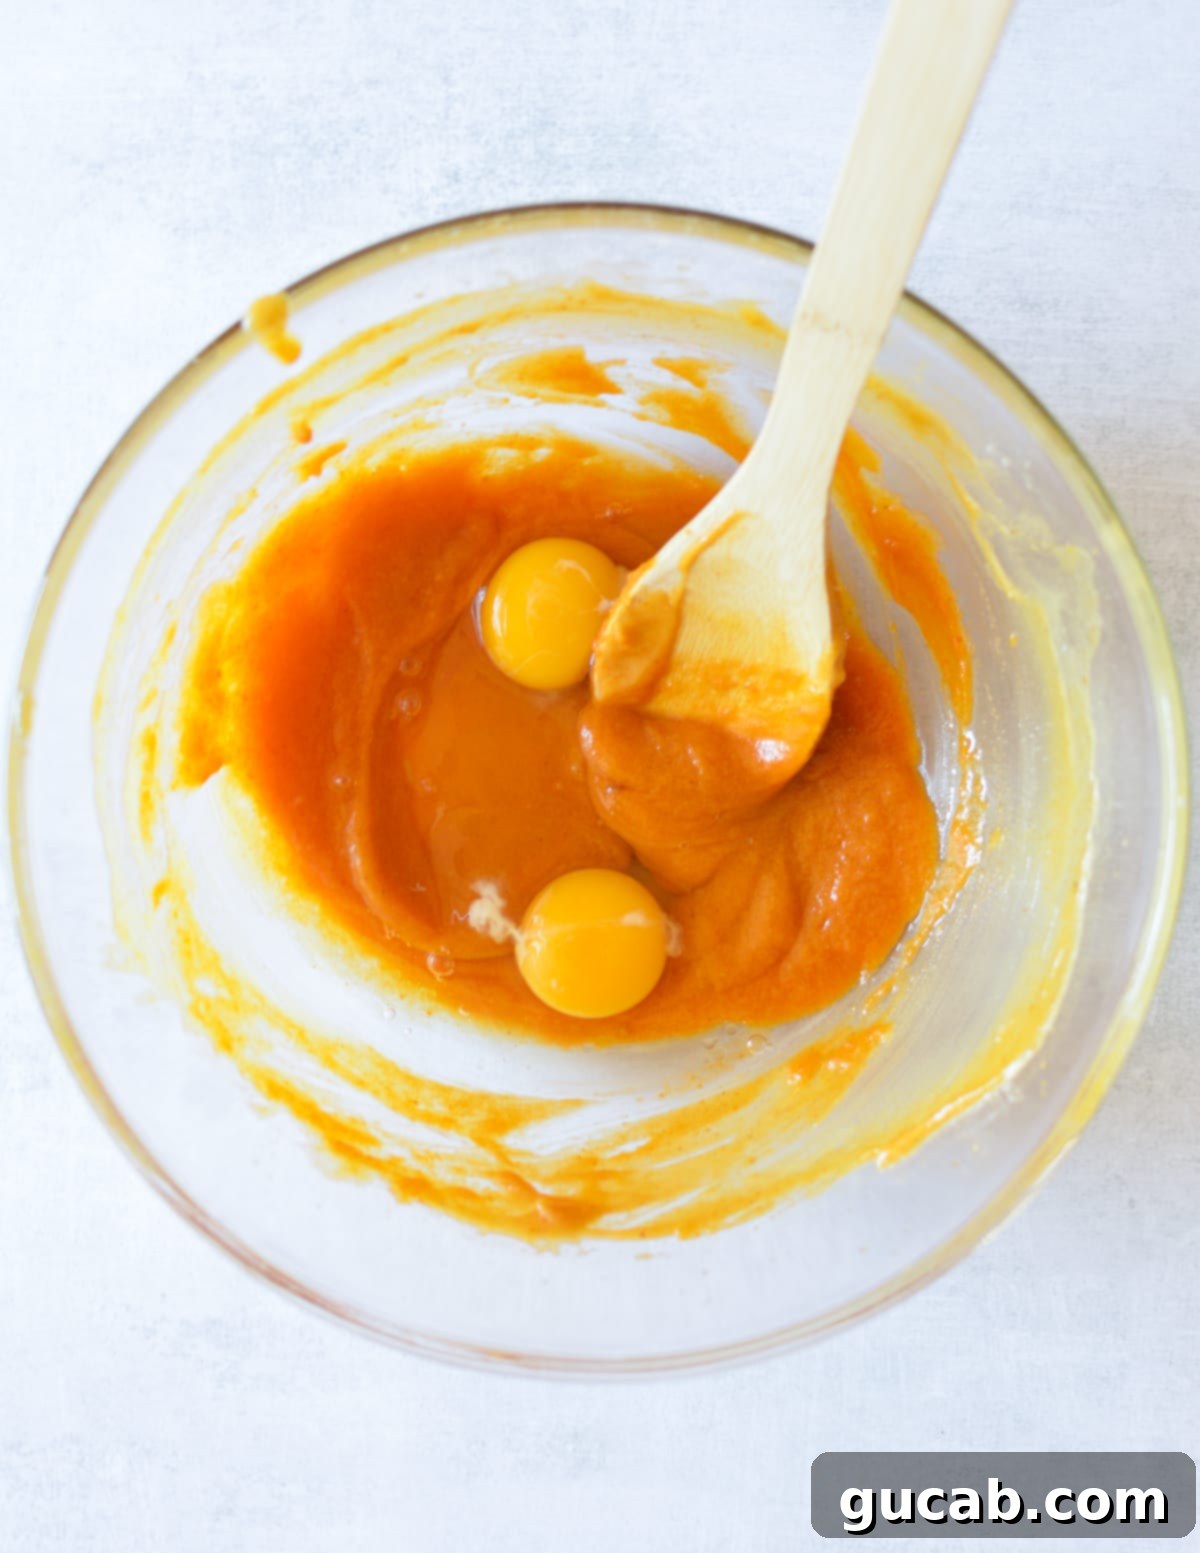
- Next, add both large eggs to the pumpkin mixture. Whisk vigorously until the eggs are fully incorporated and the batter is smooth and slightly airy. Eggs provide crucial structure and richness to the gluten-free bread.
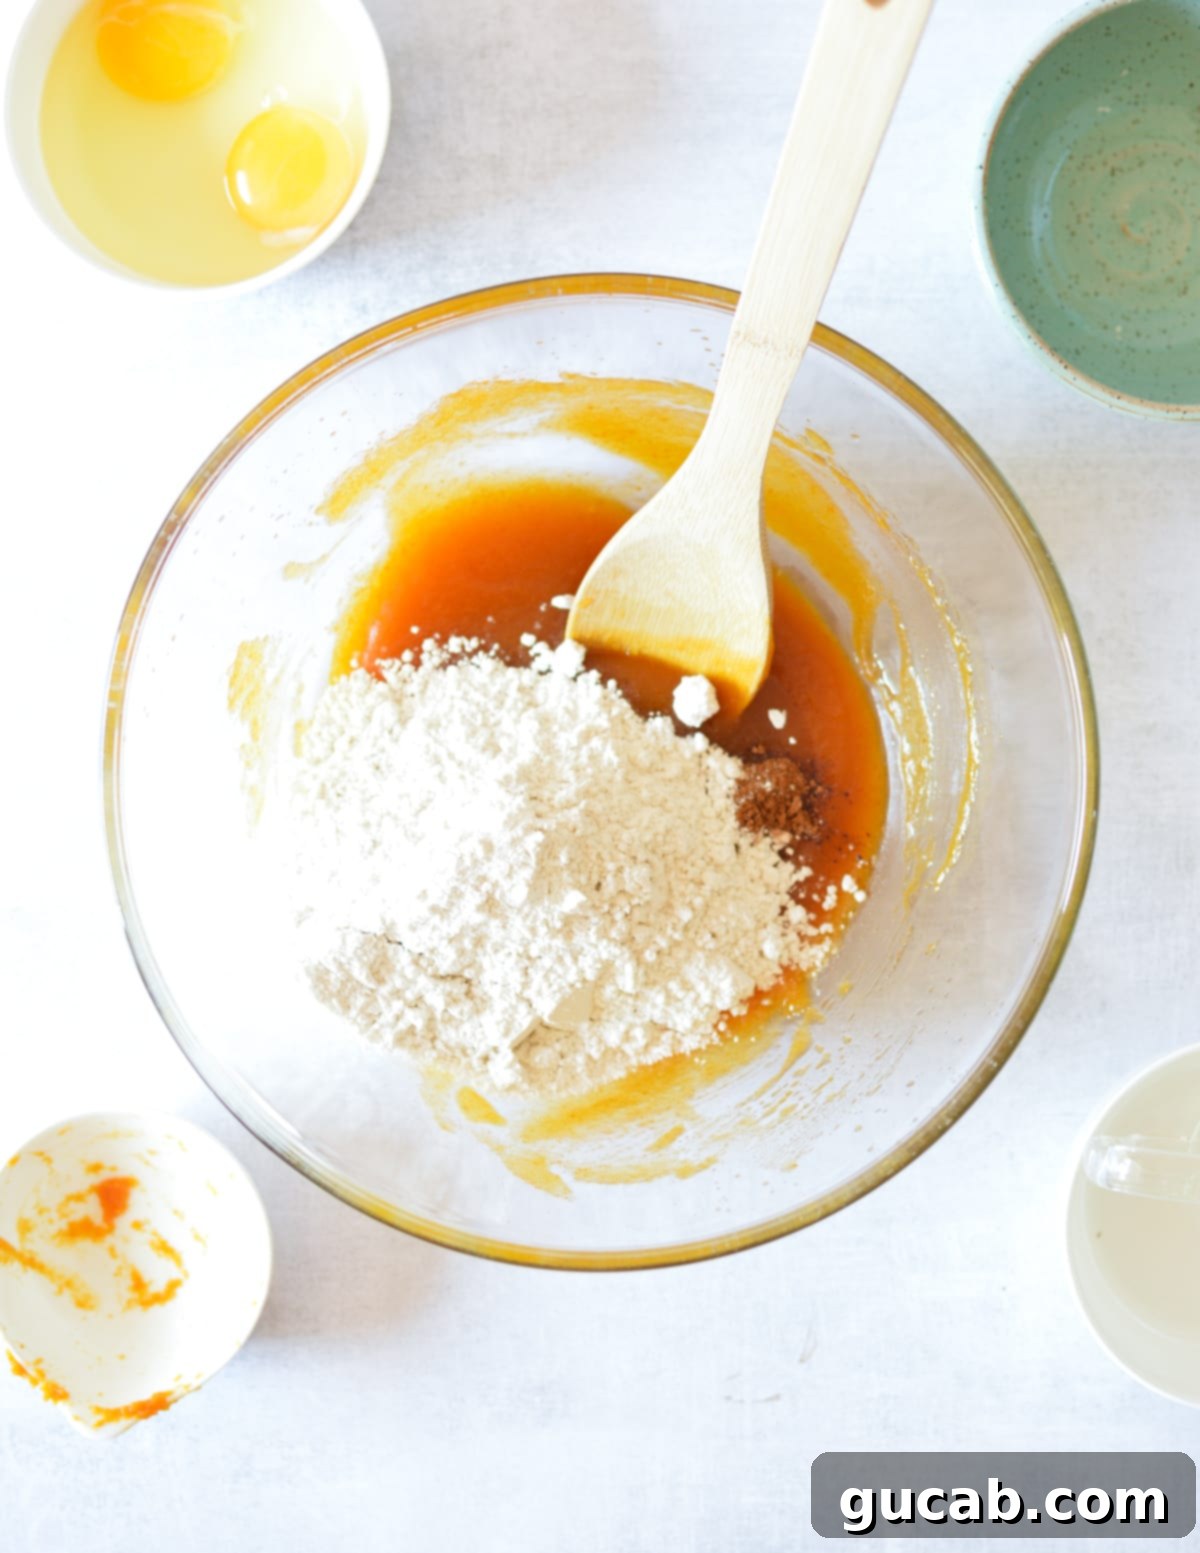
- Now, it’s time for the dry ingredients. Add your gluten-free all-purpose flour, baking powder, baking soda, pumpkin pie spice, and kosher salt directly to the wet pumpkin mixture. Using a spatula or wooden spoon, stir gently but thoroughly until a smooth, uniform batter forms. Be careful not to overmix, as this can sometimes lead to a tougher texture in gluten-free baking, though it’s less critical than with wheat flour.
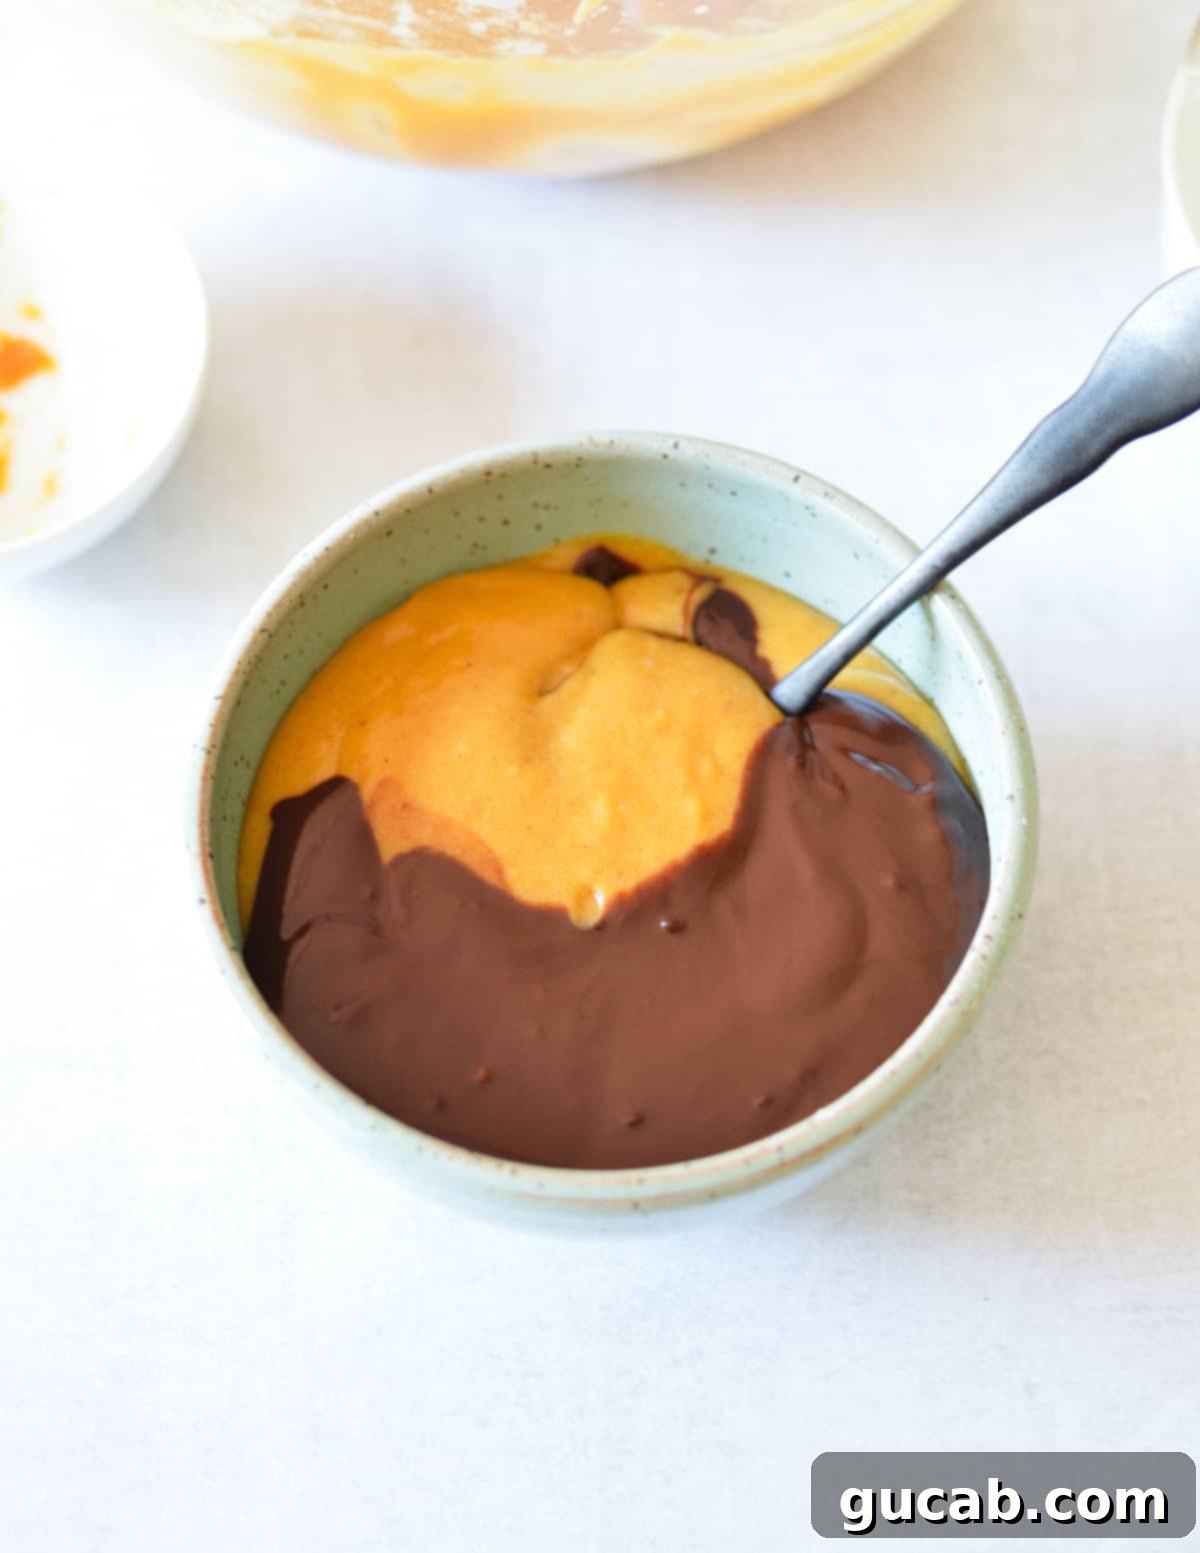
- To create the chocolate portion of your marble swirl, measure precisely 1 cup of the prepared pumpkin batter into a separate small bowl. Then, stir in the previously melted chocolate until it’s completely combined and the batter takes on a rich, dark brown color. You now have two distinct batters ready for swirling!
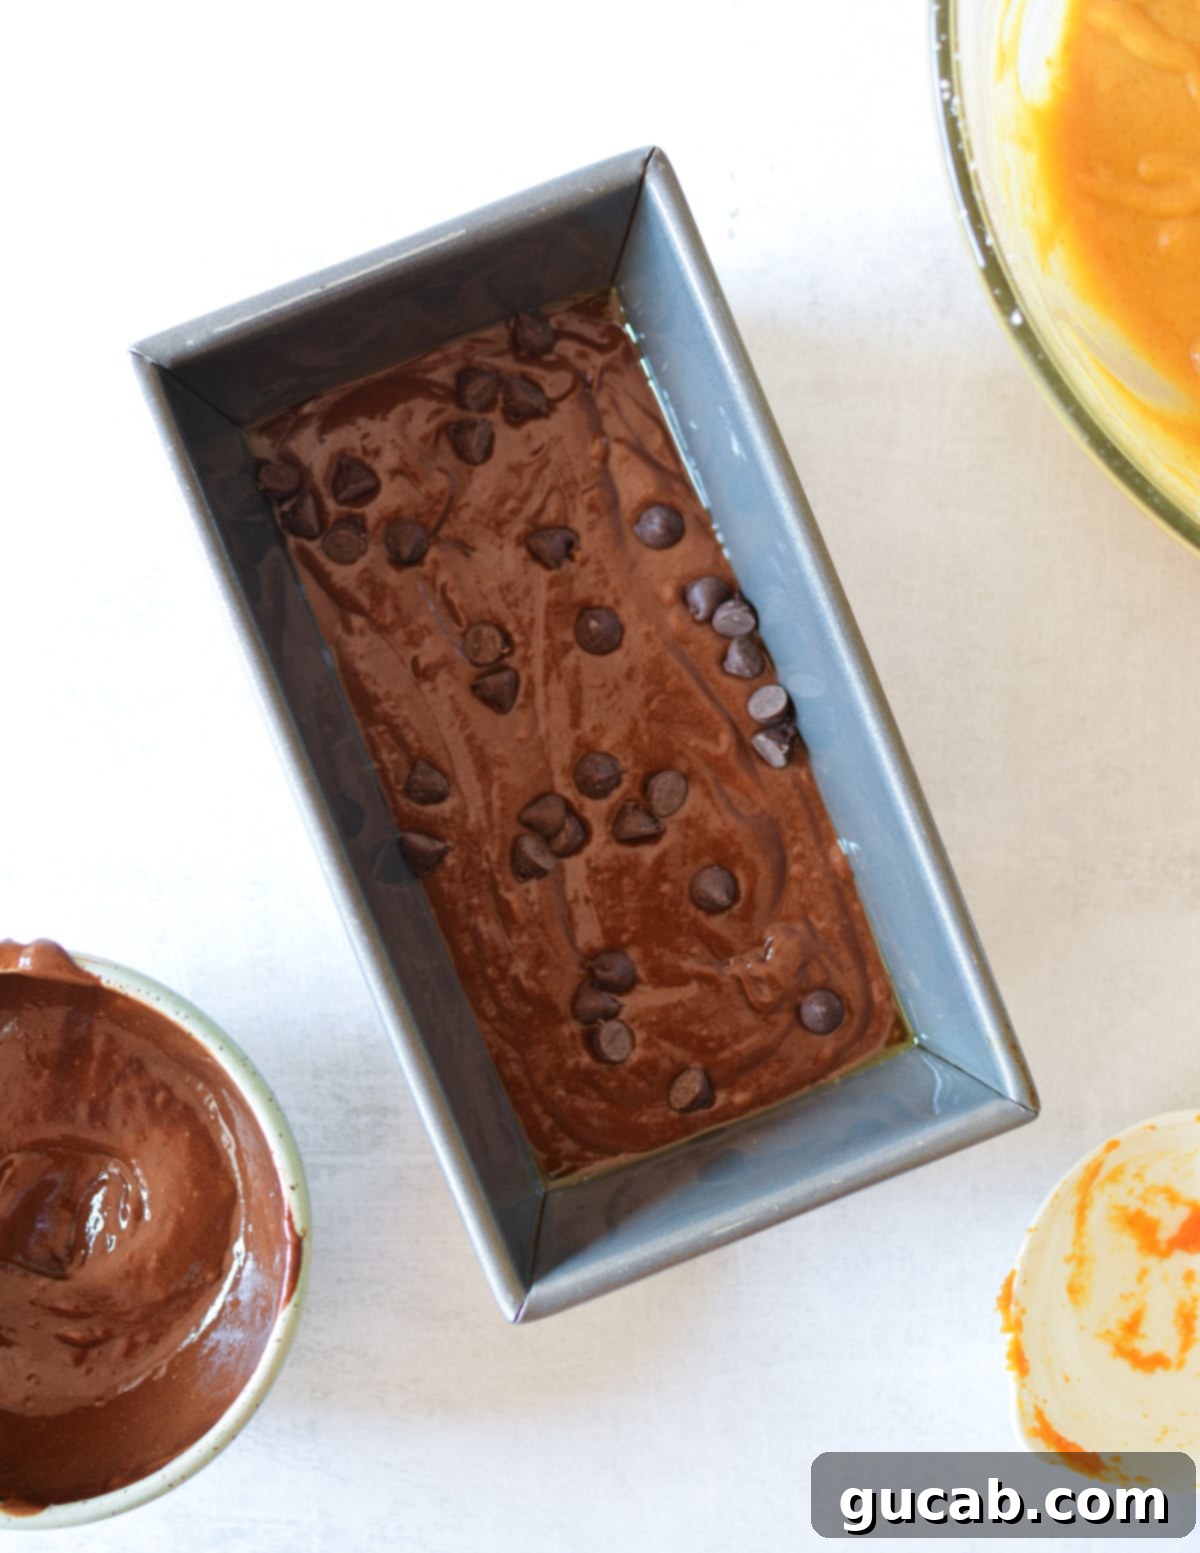
- Now for the art of the swirl! Prepare a 9×5 inch loaf pan by thoroughly greasing it with nonstick spray. Add approximately half of the chocolate batter mixture to the bottom of the prepared loaf pan and spread it gently and evenly. For an extra touch of indulgence, sprinkle a handful of additional chocolate chips over this layer. Next, add half of the pumpkin mixture directly on top of the chocolate layer, carefully spreading it out as evenly as possible. Repeat this layering process once more with the remaining chocolate batter (and more chocolate chips!), followed by the remaining pumpkin batter.
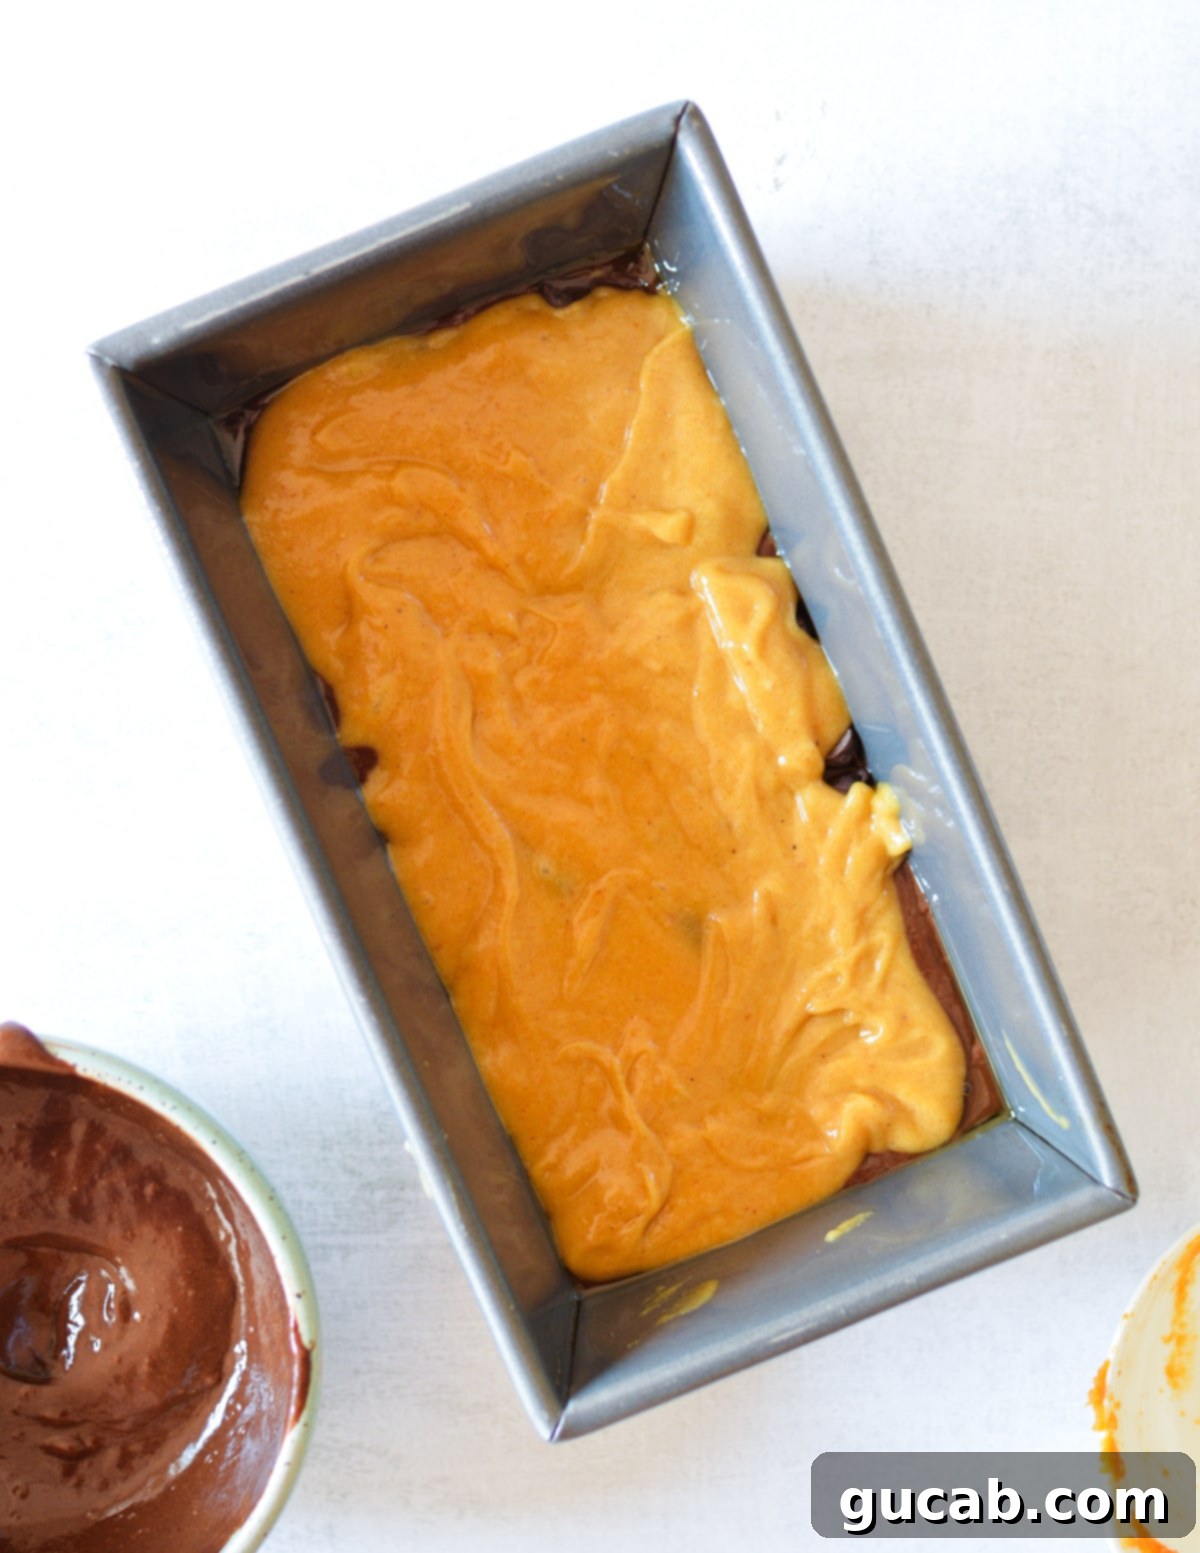
- To achieve that beautiful marble effect, use a butter knife, skewer, or even a chopstick. Gently insert it into the layered batter and make two large figure-eight patterns, or simply swirl it a few times in different directions. Be careful not to overmix, as you want distinct swirls, not a fully blended batter. This gentle swirling technique will create those stunning chocolate ribbons throughout your gluten-free pumpkin bread.
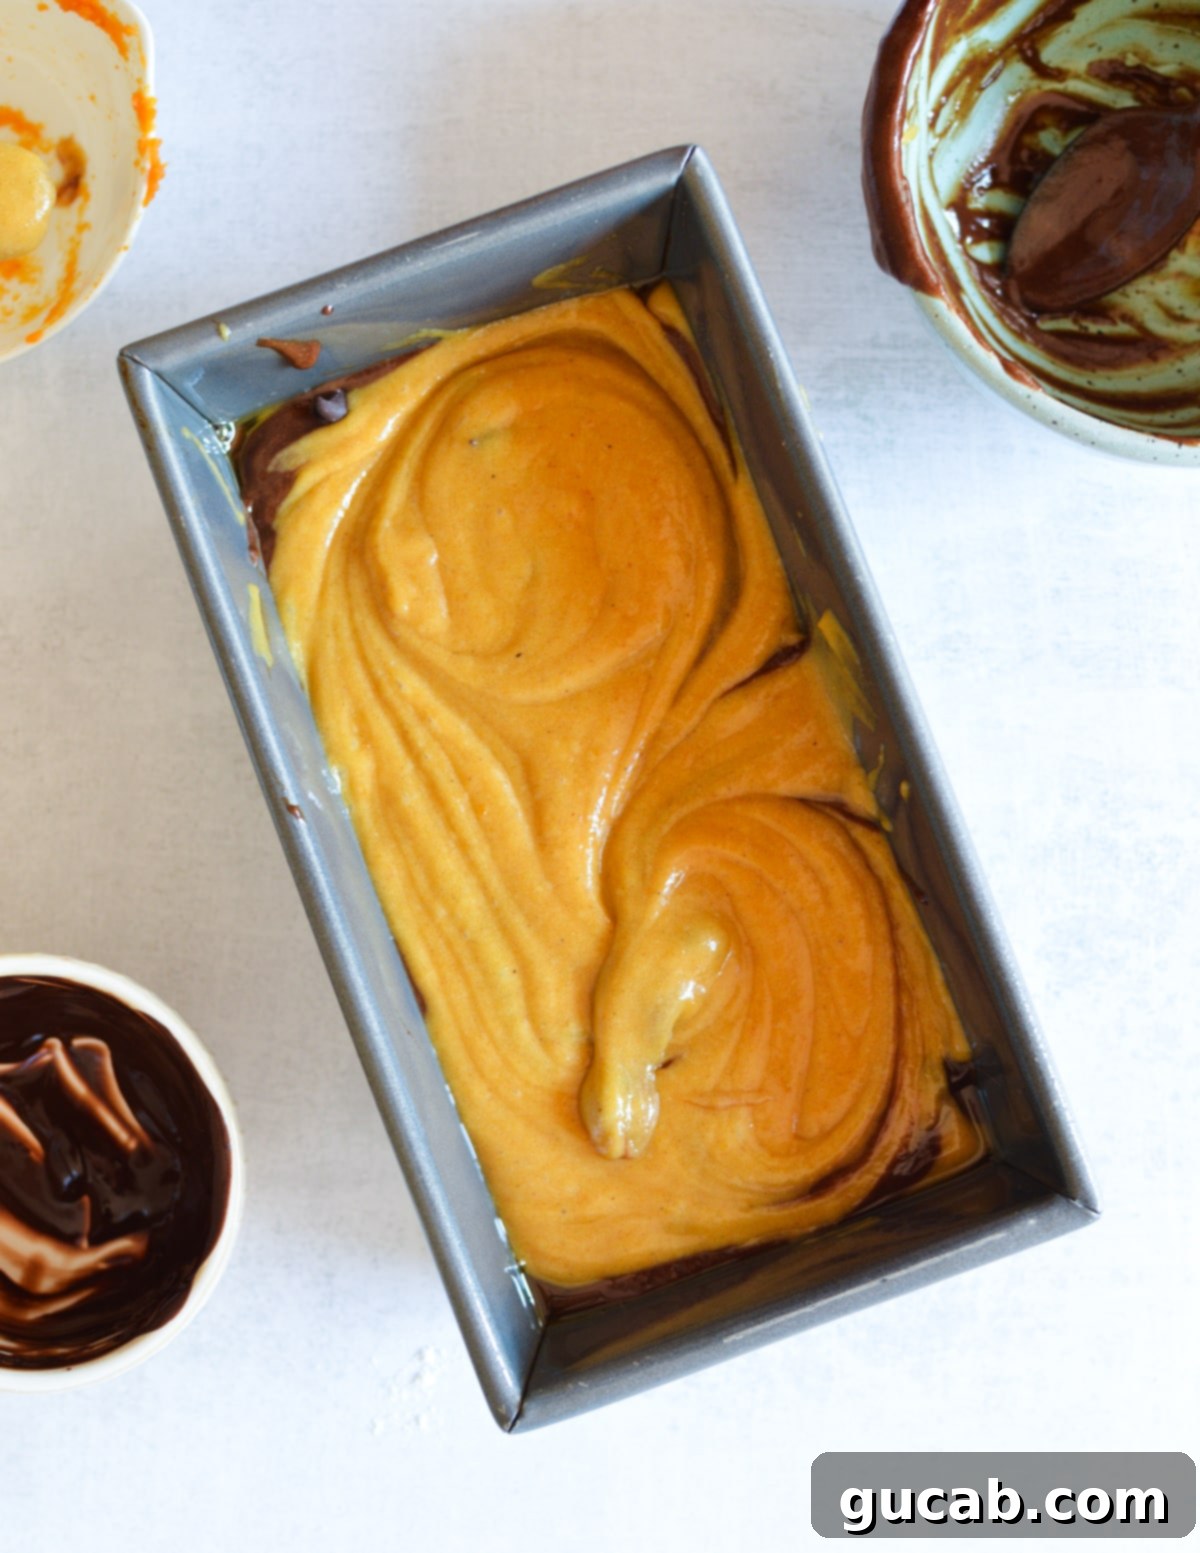
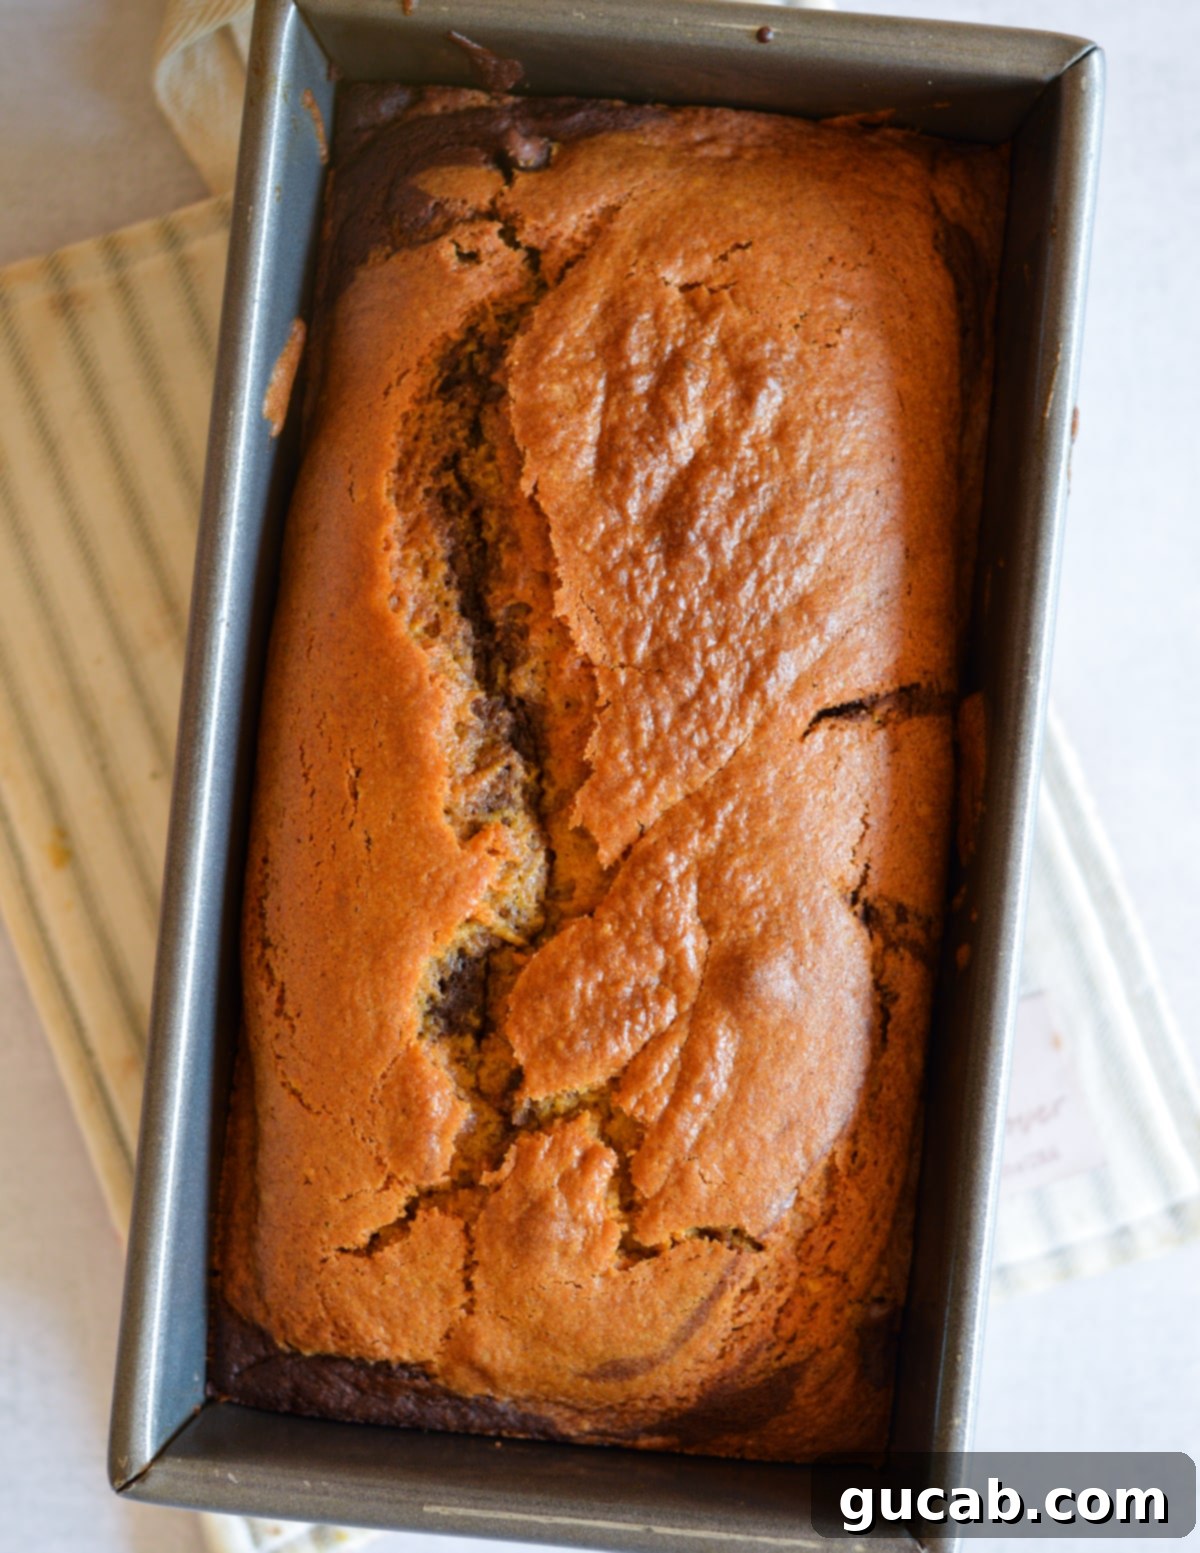
- Finally, it’s time to bake your masterpiece. Bake the loaf in a preheated oven at 350 degrees Fahrenheit (175°C) for approximately 45 minutes, or until the top is beautifully golden brown and a wooden toothpick inserted into the center of the pumpkin sections comes out clean. If the toothpick has melted chocolate on it, that’s perfectly fine – just make sure there’s no wet pumpkin batter.
Helpful Tips for Perfect Gluten-Free Pumpkin Bread
Achieving a perfectly moist and flavorful gluten-free pumpkin bread with a stunning chocolate swirl is easier with these expert tips:
- Don’t microwave the chocolate too long. When melting chocolate chips with milk, less is more. Microwave in short bursts (30-40 seconds initially) and stir thoroughly between each. Chocolate can easily scorch if overheated, resulting in a grainy texture and a bitter taste, which would be a true waste of delicious chocolate. Remove it as soon as it’s mostly melted, and residual heat will do the rest as you stir.
- Add extra chocolate chips to the chocolate layers. This small but significant step not only enhances the chocolate flavor in the designated layers but also creates a more visually striking marble effect. The distinct pockets of chocolate chips provide delightful bursts of melted goodness and make the chocolate swirl even more pronounced and appealing.
- Bake until a toothpick comes out clean. This is the classic test for doneness in quick breads. Insert a wooden toothpick into the center of the loaf, specifically into a pumpkin-colored section. If it comes out clean (without any wet batter), your bread is ready. If there’s melted chocolate on the toothpick, that’s fine, as chocolate chips won’t dry out. If you’re unsure, another indicator is gently pressing on the top of the loaf; if it springs back, it’s likely done. If it feels squishy or leaves an indentation, it needs a few more minutes. Overbaking can lead to a dry loaf, especially with gluten-free flours.
- Use an offset spatula to spread each layer. When layering the pumpkin and chocolate batters, a small offset spatula is your best friend. Its angled blade makes it significantly easier to gently and evenly spread each layer without disturbing the one beneath it, leading to a cleaner, more defined marble swirl compared to a larger, clunkier regular spatula.
- Let the bread cool completely. While it’s tempting to slice into a warm loaf, allowing the pumpkin bread to cool completely on a wire rack is crucial. This not only allows the internal structure to set properly but also enhances the flavors and prevents the bread from crumbling when sliced.
Storage & Freezing Gluten-Free Pumpkin Bread
One of the many wonderful qualities of this gluten-free pumpkin bread is its excellent freezer-friendliness, making it perfect for meal prepping or stashing away for future cravings. You have the flexibility to freeze it either whole or in individual slices, depending on your preferred serving method.
- Whole Loaf – Once your gluten-free pumpkin bread has completely cooled to room temperature (this is crucial to prevent condensation and ice crystals), wrap the entire loaf tightly in a layer of plastic wrap. Then, for an extra layer of protection against freezer burn, place the plastic-wrapped loaf into a freezer-safe bag or an airtight container. It can be frozen for up to 3 months. To thaw, simply remove it from the freezer and let it sit on your counter at room temperature for several hours, or transfer it to the refrigerator overnight.
- Sliced Portions – For ultimate convenience, I highly recommend slicing the pumpkin loaf into individual servings before freezing. This allows you to pull out just one or two slices whenever a craving strikes, without having to thaw the entire loaf. Arrange the slices in a single layer in a freezer bag or an airtight container, ensuring they don’t overlap too much to prevent them from sticking together or getting smooshed. You can also place small pieces of parchment paper between slices for easier separation. To enjoy, thaw individual slices in the microwave in 10-second increments until they are slightly warm and perfectly soft. Alternatively, you can let them thaw at room temperature for about 30 minutes.
What Pan Should I Use for Gluten-Free Pumpkin Bread?
The type and size of your loaf pan can influence the baking time and the final appearance of your gluten-free pumpkin bread. For this recipe, I used a standard 9 by 5-inch metal loaf pan, which consistently yields excellent results. Metal pans generally conduct heat efficiently, contributing to even baking and a beautiful golden crust.
While a 9 by 5-inch metal pan is ideal, you can certainly use other sizes or materials like glass or ceramic loaf pans. However, be aware that you may need to adjust the baking time accordingly. Glass and ceramic pans tend to heat up more slowly and retain heat longer than metal, which can result in a longer baking time and a slightly different crust development. If using a glass pan, you might consider reducing the oven temperature by 25°F (about 15°C) and increasing the baking time slightly.
A smaller loaf pan, such as an 8 by 4-inch pan, will produce a taller loaf with a denser crumb. This will almost certainly require an extended baking time to ensure the center is fully cooked through. Regardless of the pan you choose, always rely on the toothpick test for doneness, inserting it into the center of the pumpkin portion of the bread. It’s crucial not to overbake, as gluten-free breads can dry out quickly, losing their desirable moist texture.
Understanding Gluten-Free Flour Blends
The success of any gluten-free baked good, especially a moist loaf like this pumpkin bread, hinges significantly on the quality and composition of your gluten-free all-purpose flour blend. As mentioned, I wholeheartedly recommend using Bob’s Red Mill’s 1-to-1 Gluten Free Baking Flour for this recipe. It consistently provides an excellent taste and a wonderfully tender texture, and it’s widely accessible in most grocery stores. Most importantly, it’s the flour I developed this specific recipe with, ensuring predictable and delicious results.
It’s vital to understand that “gluten-free all-purpose flour” isn’t a single, uniform ingredient. Instead, it’s a carefully crafted blend of various alternative flours and starches, such as rice flour (white and brown), sorghum flour, tapioca starch, potato starch, and cornstarch. Each brand creates its unique proprietary blend with different ratios of these components. This means that a cup of one brand’s gluten-free flour might behave very differently from a cup of another brand’s. Some blends are exceptionally good, designed to mimic the properties of wheat flour, while others can be quite challenging to work with, leading to gritty, dry, or crumbly results.
A key ingredient often found in effective gluten-free flour blends is xanthan gum. This powerful gum acts as a binder and thickener, essentially replacing the elasticity and structure that gluten would provide in traditional baking. If you decide to experiment with a different brand of gluten-free all-purpose flour, always check the ingredient list to ensure it contains xanthan gum. If your chosen blend does not include it, you will likely need to add a small amount (typically ¼ to ½ teaspoon per cup of flour) to your dry ingredients to achieve the desired structure and prevent your loaf from becoming too crumbly.
Delicious Variations for Your Pumpkin Bread
While this gluten-free pumpkin bread with chocolate marble swirl is perfect as is, it’s also a fantastic base for customization. Feel free to get creative with these delicious variations:
- Dairy-Free Version – Easily transform this recipe into a dairy-free delight by making two simple substitutions. Use your favorite dairy-free dark chocolate chips (many brands are naturally dairy-free, but check the label) and swap regular milk for unsweetened almond milk or any other plant-based milk. The result will be just as rich, moist, and utterly amazing, catering to a wider range of dietary needs.
- Nutty Mix-ins – For an added layer of texture and flavor, consider folding in some chopped nuts into the pumpkin batter (or even sprinkling them over the top layers with the chocolate chips). Toasted pecans or walnuts would provide a delightful crunch and a warm, earthy complement to the pumpkin and chocolate. You could also try chopped almonds or even macadamia nuts for a different profile.
- Extra Spices – If you’re a fan of bold fall flavors, feel free to boost the spice profile. A pinch of ground ginger, a dash of allspice, or even a tiny amount of black pepper can add an unexpected depth and warmth to the pumpkin bread.
- Cream Cheese Glaze – For an extra decadent touch, once the bread is completely cooled, whisk together powdered sugar, a touch of cream cheese (or dairy-free cream cheese), a splash of milk (or plant-based milk), and a hint of vanilla extract to create a luscious glaze to drizzle over the top.
More Gluten-Free Recipes to Love
If you enjoyed this delightful gluten-free pumpkin bread, you’ll be thrilled to discover more delicious and easy-to-make gluten-free recipes:
- Gluten Free Pumpkin Muffins
- Gluten Free Chocolate Chip Muffins
- Gluten Free Banana Bread
- Gluten Free Zucchini Bread
- Gluten Free Gingerbread Cake with an Orange Glaze
For even more mouthwatering gluten-free inspiration and baking ideas, make sure to check me out on Pinterest and Instagram! Happy baking!
Gluten-Free Pumpkin Bread (Chocolate Marble)
Carolyn
Pin Recipe
Equipment
-
9×5 inch Loaf pan
Ingredients
- ½ cup Granulated Sugar
- ¼ cup Brown sugar
- ½ cup Vegetable oil
- ½ cup Pure pumpkin puree
- 2 Large eggs
- 1 cup + 2 tbsp Bob’s Red Mill 1:1 Gluten Free All Purpose Baking Flour
- 1 ½ tsp Baking powder
- ½ tsp Baking soda
- ¾ tsp Pumpkin pie spice
- ½ tsp Kosher salt
- ⅓ cup + 1 tbsp Dark chocolate chips, plus extra for sprinkling
- 3 tbsp Milk (dairy or dairy-free)
Instructions
-
Preheat your oven to 350 degrees Fahrenheit (175°C). Prepare a 9×5 inch loaf pan by thoroughly spraying it with nonstick cooking spray.
-
In a small, microwave-safe bowl, combine the specified dark chocolate chips and milk. Microwave for about 40 seconds, or until the milk begins to gently bubble and rise. Remove from microwave and stir continuously until the chocolate is completely melted and the mixture is smooth and glossy. Set aside.
-
In a medium-sized mixing bowl, whisk together the granulated sugar, brown sugar, vegetable oil, and pure pumpkin puree until smooth and well combined. Add both large eggs and continue to whisk until the mixture is uniform and slightly airy.
-
To the pumpkin mixture, add the gluten-free all-purpose flour, baking powder, baking soda, pumpkin pie spice, and kosher salt. Using a spatula or wooden spoon, stir gently until all dry ingredients are fully incorporated and a smooth, consistent batter forms. Avoid overmixing.
-
Measure out 1 cup of the prepared pumpkin batter into a separate small bowl. Pour the melted chocolate mixture into this bowl and stir until it’s fully blended with the pumpkin batter, creating a rich chocolate-pumpkin batter.
-
Begin layering the batters into your greased loaf pan. Add approximately half of the chocolate batter to the bottom of the pan and gently spread it evenly. Sprinkle with a few extra chocolate chips. Then, add half of the pumpkin batter on top, spreading it carefully. Repeat this process with the remaining chocolate batter (and more chocolate chips) and then the remaining pumpkin batter until all the batter is in the pan. To create the marble swirl, insert a butter knife into the batter and gently make two large figure-eight patterns, or swirl a few times without overmixing.
-
Bake in the preheated oven for about 45 minutes, or until the loaf is beautifully risen and golden brown. To check for doneness, insert a wooden toothpick into the center of a pumpkin-colored section; it should come out clean (if there’s melted chocolate, that’s fine, just ensure no wet pumpkin batter). If it’s not fully baked, add 5 more minutes and check again.
