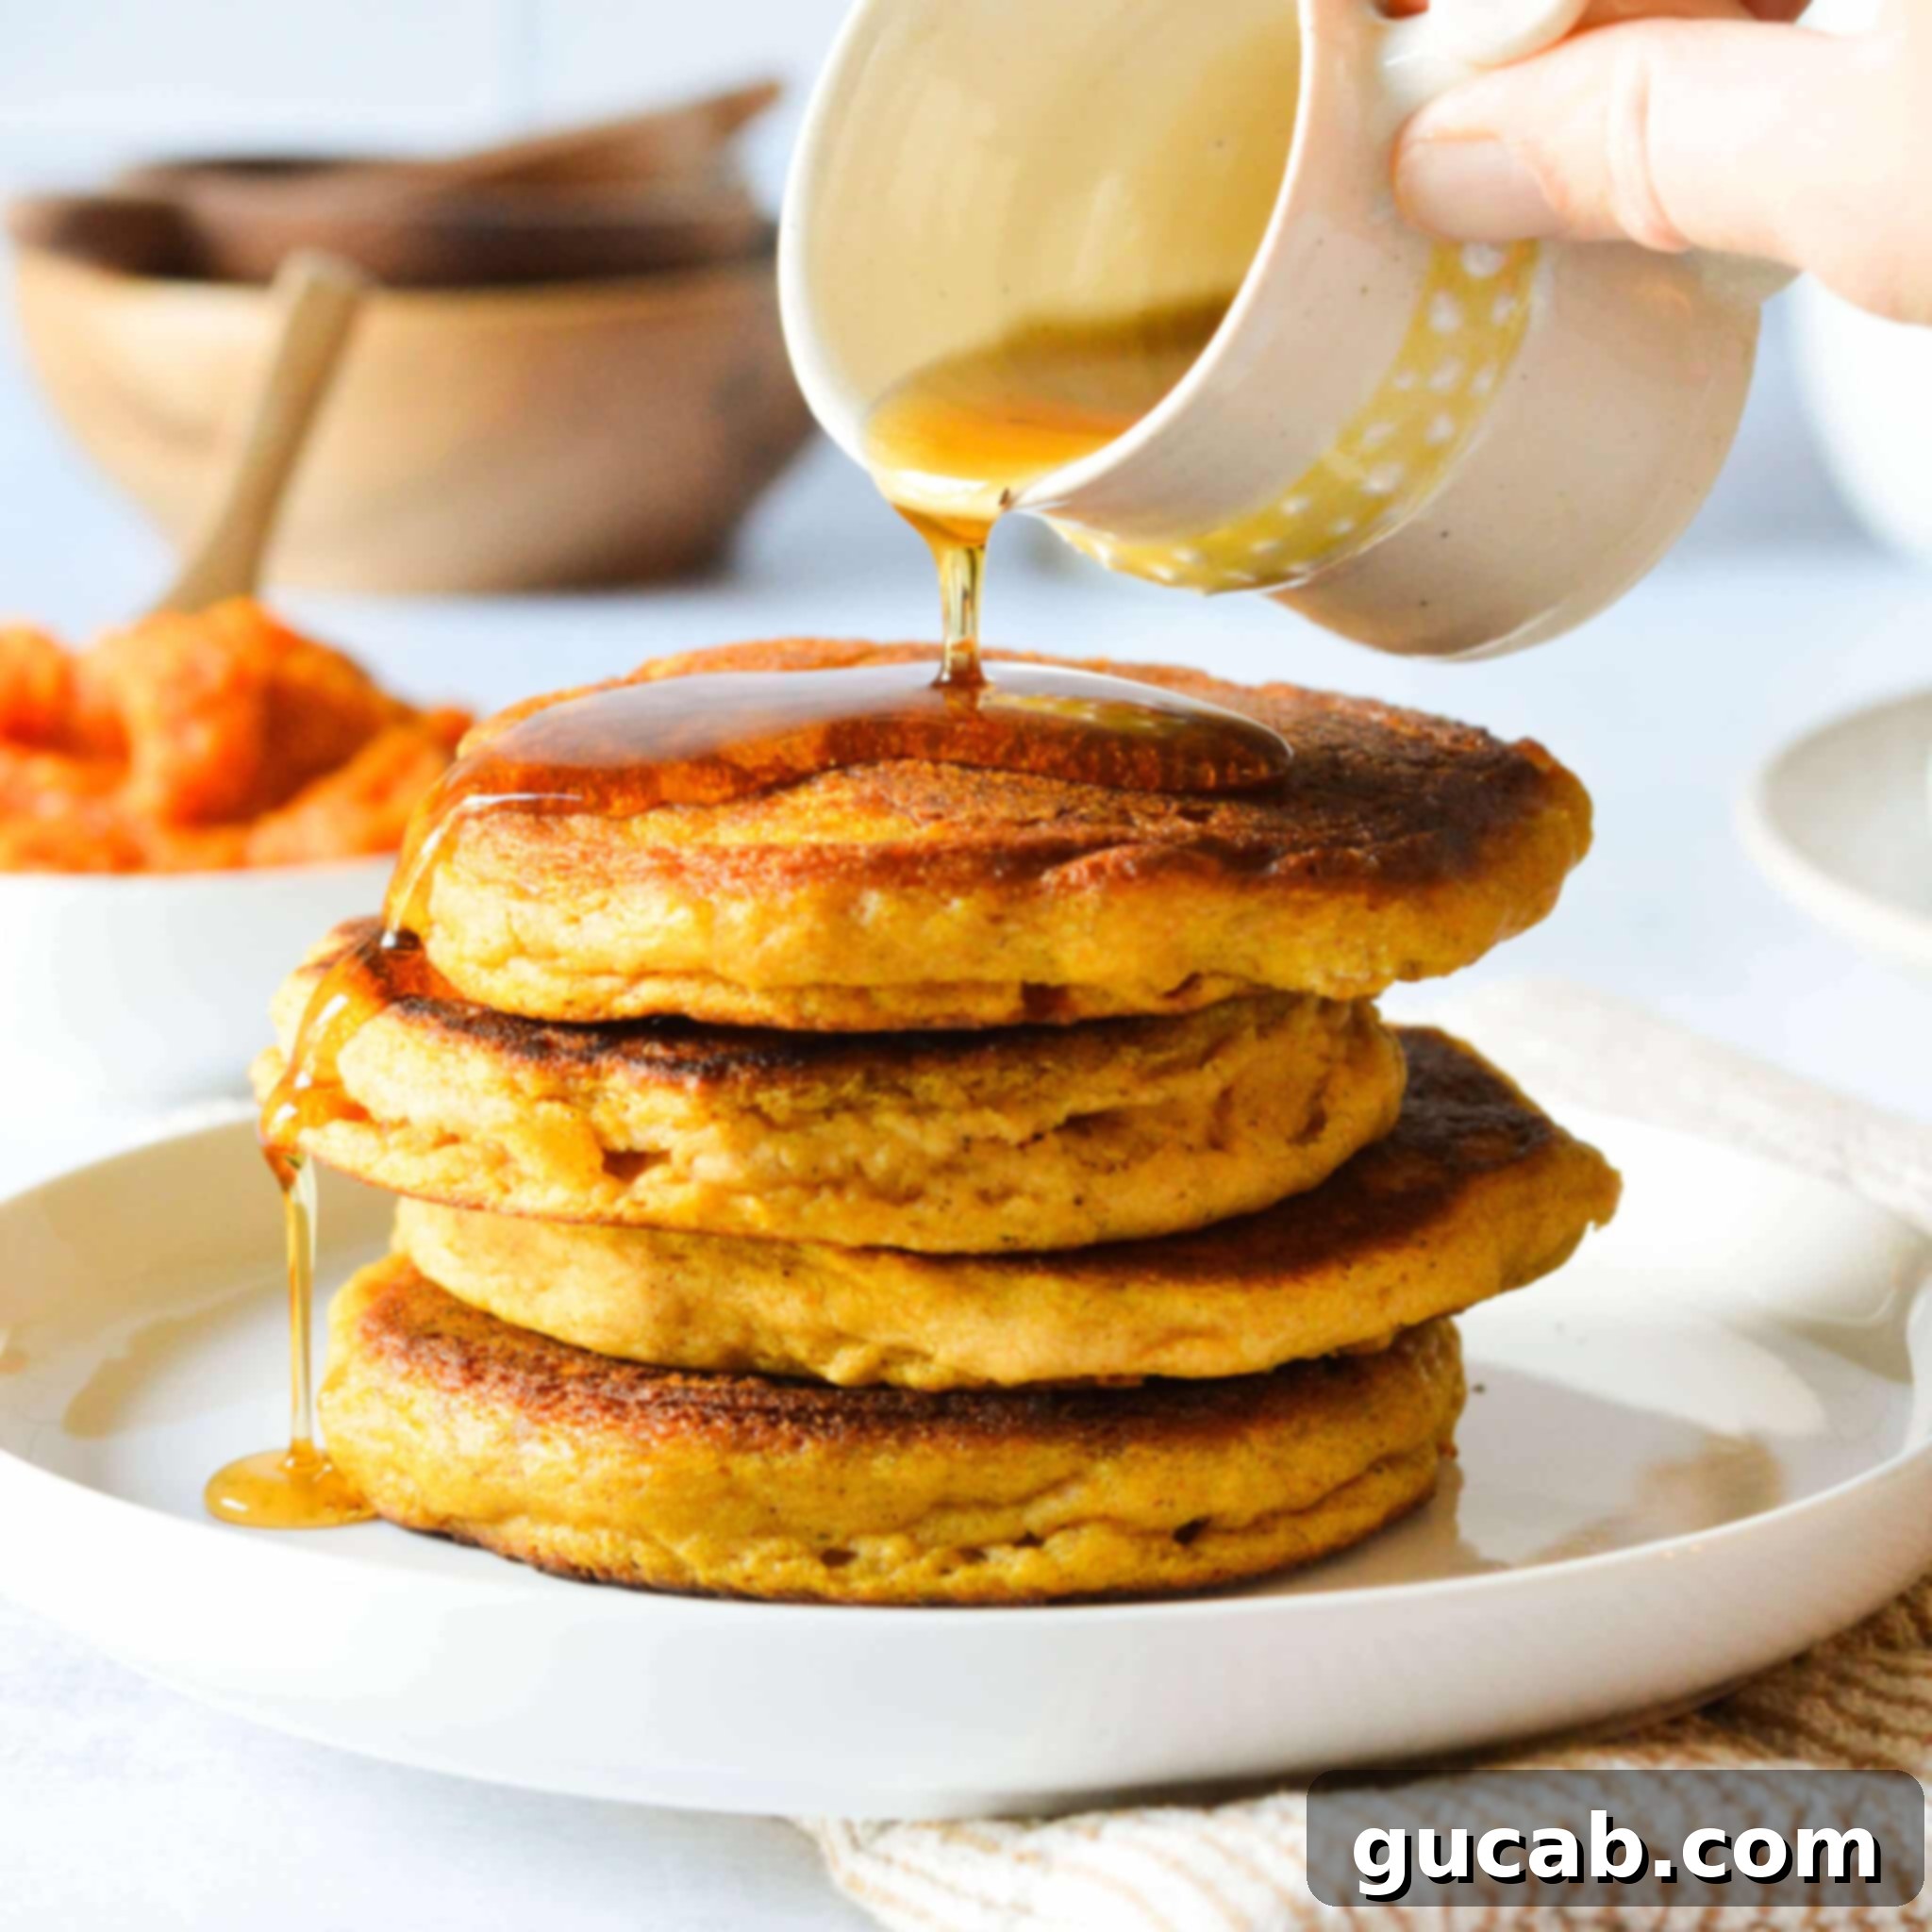
Fluffy Gluten-Free Pumpkin Pancakes: Your Ultimate Guide to a Perfect Fall Breakfast
There’s nothing quite like waking up to the aroma of freshly made pancakes, especially when they’re bursting with the cozy flavors of autumn. These fluffy gluten-free pumpkin pancakes are a true breakfast revelation, offering a light, airy texture and a perfectly balanced spice profile that will transport you straight to a crisp fall morning. Infused with rich pumpkin puree and aromatic pumpkin pie spice, they deliver that familiar, comforting taste that we all crave as the leaves begin to change.
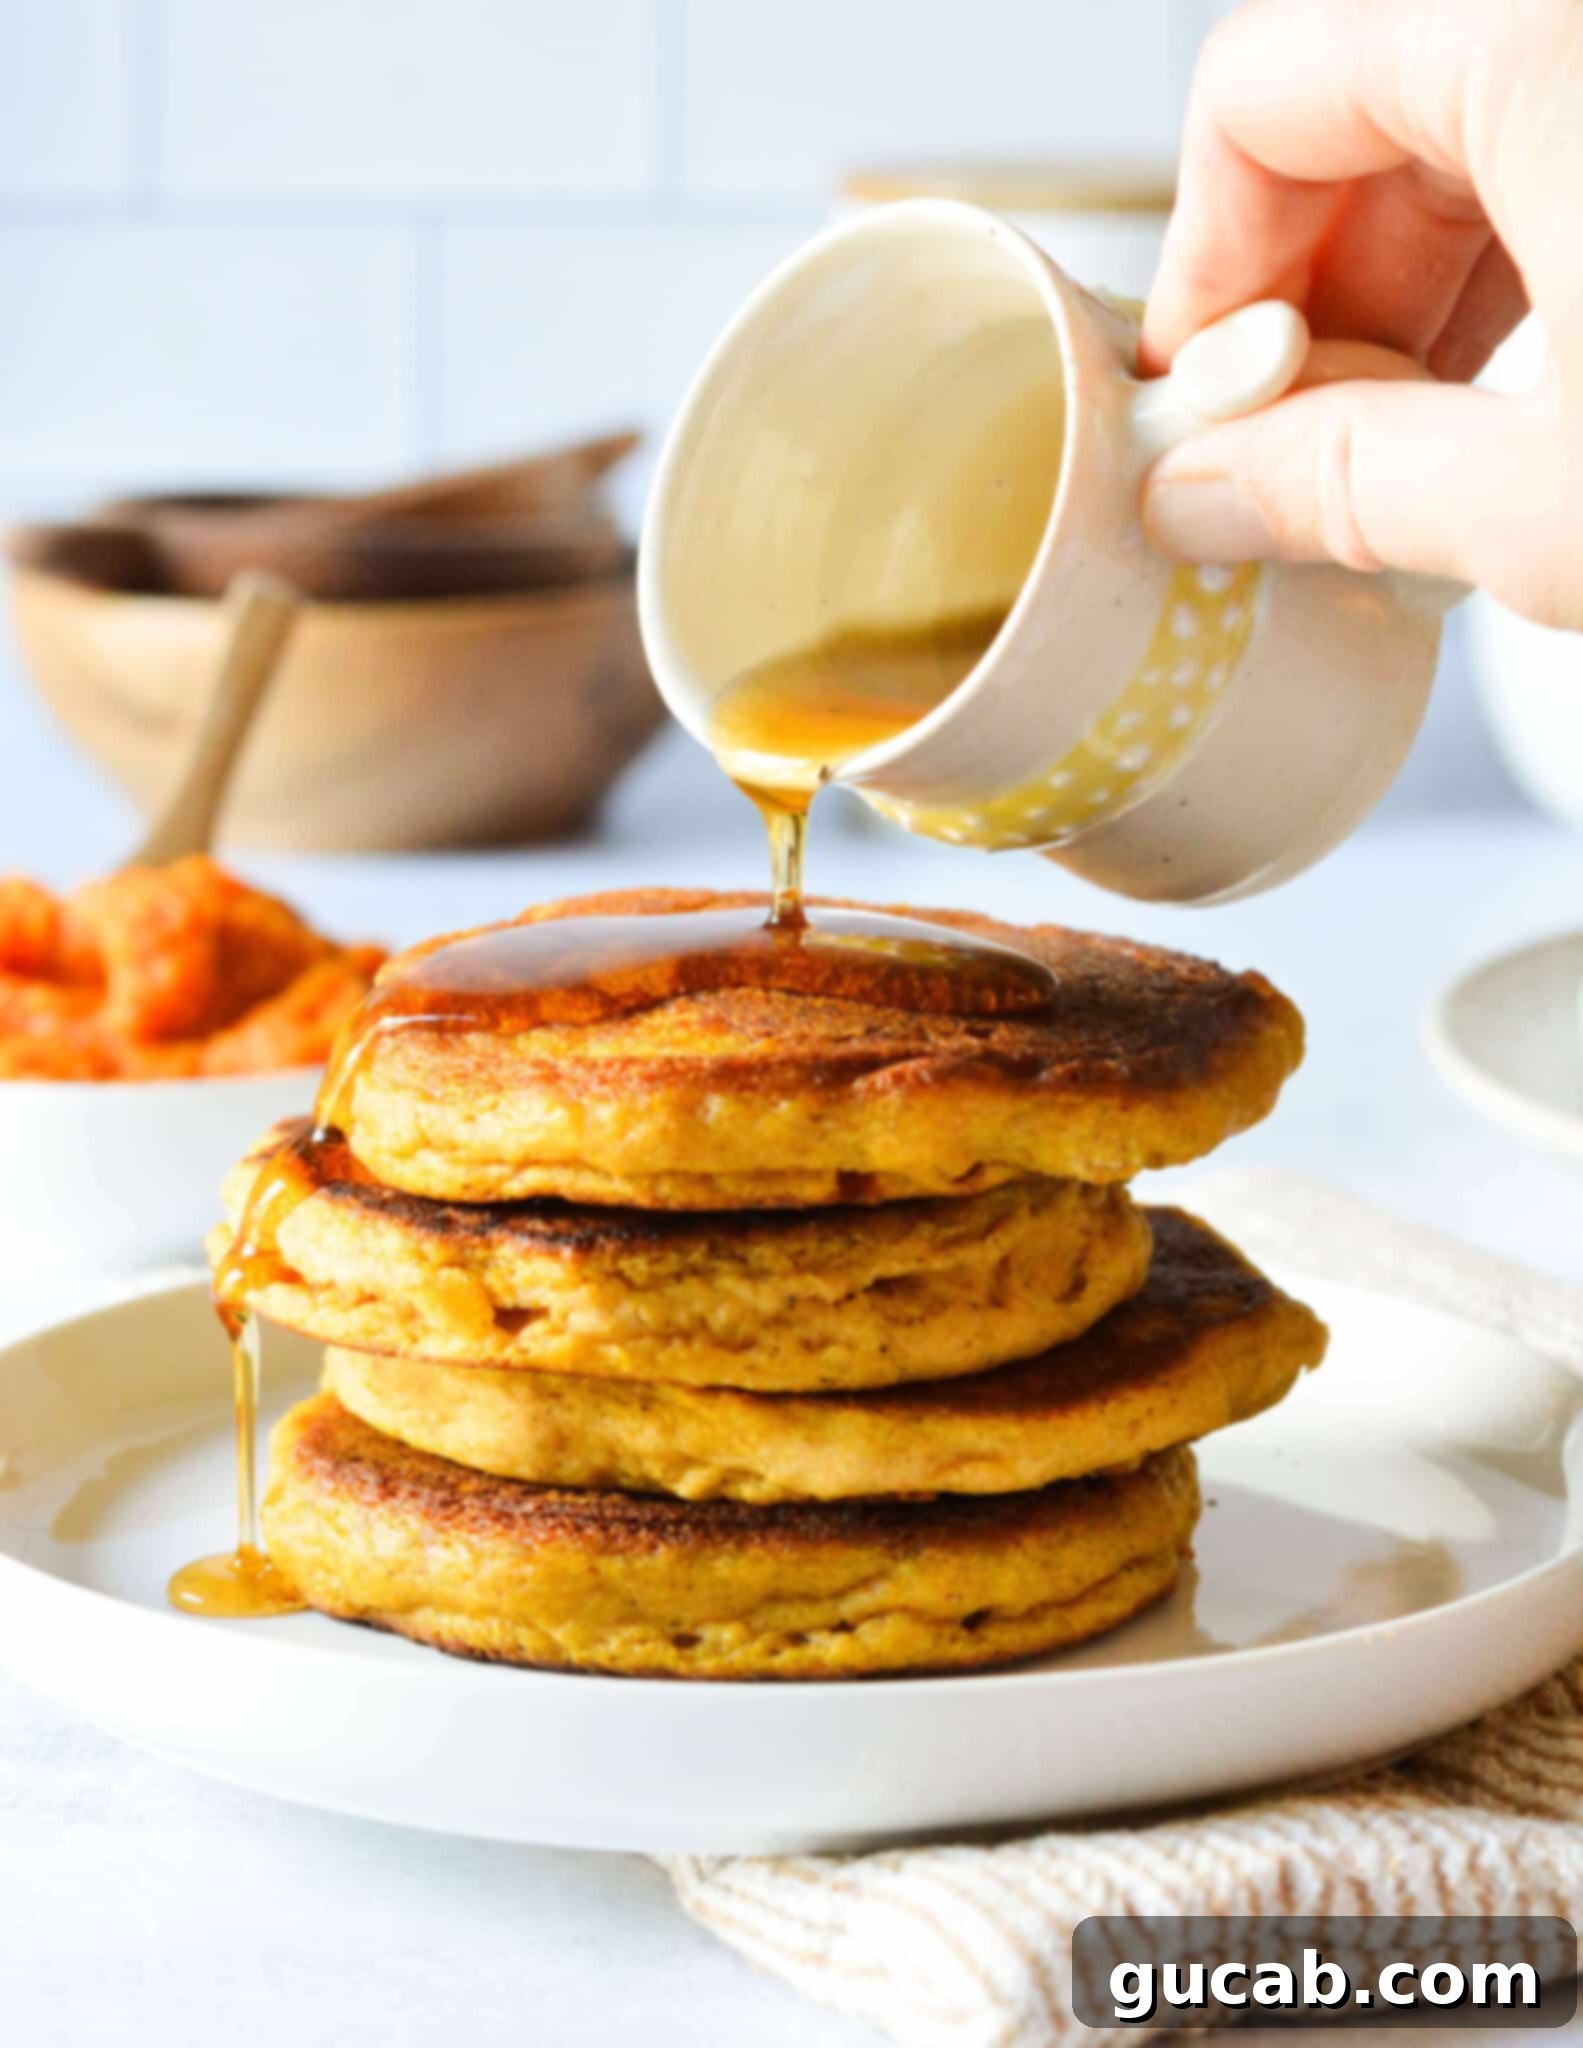
For me, pancakes aren’t just a meal; they’re a daily ritual, a source of morning joy. I confess, I’m absolutely a carbs-for-breakfast enthusiast, often drifting off to sleep with visions of golden stacks dancing in my head. Whether fresh off the griddle or reheated for a quick weekday treat, homemade pancakes are a staple in my kitchen, and I’m always eager to explore new variations that can elevate this beloved dish. In fact, I often find myself reheating a batch of homemade pancakes, knowing that a delicious and satisfying breakfast is only moments away.
My personal perfect pancake stack is adorned with a generous dollop of creamy peanut butter, a cascade of pure maple syrup, and always accompanied by a refreshing iced coffee. This combination is pure bliss, and these gluten-free pumpkin pancakes are no exception – they are the ideal canvas for all your favorite toppings, ready to become your new go-to fall breakfast tradition.
Discovering the Best Gluten-Free Pumpkin Pancake Recipe
My profound love for pancakes naturally fuels a constant desire to experiment and perfect various recipes. While many gluten-free pancake recipes can fall short on texture or flavor, these particular gluten-free pumpkin pancakes are nothing short of perfection. Achieving this ideal was a journey, involving countless attempts and refinements.
Indeed, it took a dedicated effort of four distinct batches to finally craft a recipe that met my incredibly high standards. My vision for the ultimate pumpkin pancake included several non-negotiable elements: they needed to be incredibly fluffy, possessing a substantial thickness without being overly dense, and, most importantly, infused with an undeniably delightful and authentic pumpkin flavor complemented by just the right amount of warm spice. Every ingredient and every measurement in this recipe has been carefully considered to deliver on these promises, ensuring a truly exceptional breakfast experience. This detailed development process guarantees that you’ll achieve light, perfectly spiced pancakes every single time, making them a true standout among gluten-free breakfast options.
This recipe isn’t just for those with gluten sensitivities; it’s for anyone who appreciates a truly great pancake that happens to be gluten-free. The texture is so tender and the flavor so inviting that even those who regularly consume gluten will be surprised and delighted by these fall-favorite flapjacks, proving that gluten-free can be just as, if not more, delicious.
Disclosure: This post contains affiliate links. This means that if you click on a product link and make a purchase, I may receive a small commission at no additional cost to you. I only recommend products and ingredients that I personally use, trust, and genuinely enjoy in my own kitchen. Your support helps me continue to share delicious gluten-free recipes!
Canned Pumpkin vs. Pumpkin Pie Filling: What’s the Difference?
When diving into the world of pumpkin-infused baking, it’s crucial to understand the distinction between two seemingly similar products: canned pumpkin and pumpkin pie filling. For this particular recipe, and indeed for most of my savory and sweet pumpkin creations, the call is for pure canned pumpkin, often labeled simply as “pumpkin puree.”
Canned pumpkin, or pumpkin puree, is precisely what its name suggests: pure, cooked, and pureed pumpkin with absolutely no added sugar, spices, or other ingredients. This unadulterated form of pumpkin is the ideal choice for bakers and cooks because it grants you complete control over the flavor profile of your dish. You get to decide exactly how much sweetness, warmth, and spice goes into your pancakes, allowing you to tailor the taste to your personal preferences and ensuring a balanced, delicious outcome every time. It provides the natural pumpkin flavor and moist texture without any preconceived seasoning, which is essential for achieving the perfect harmony of flavors in these gluten-free pumpkin pancakes.
On the other hand, pumpkin pie filling is an entirely different product. While it does contain pumpkin puree, it’s already pre-mixed with a blend of pumpkin pie spices (like cinnamon, nutmeg, ginger, and cloves) and, significantly, a good amount of sugar. While convenient for making a quick pumpkin pie, using this in a recipe like our pancakes can throw off the carefully balanced ratios of sugar and spice. The result might be overly sweet, or the spices could be too intense or not to your liking, potentially overwhelming the delicate flavors we’re aiming for in these fluffy pancakes. Therefore, to achieve the perfect balance of sweetness and spice in your gluten-free pumpkin pancakes, always opt for 100% pure canned pumpkin puree and double-check the ingredient list on the can to confirm there are no hidden additives. This small detail makes a huge difference in the final taste and texture.
Essential Ingredients for Perfect Gluten-Free Pumpkin Pancakes
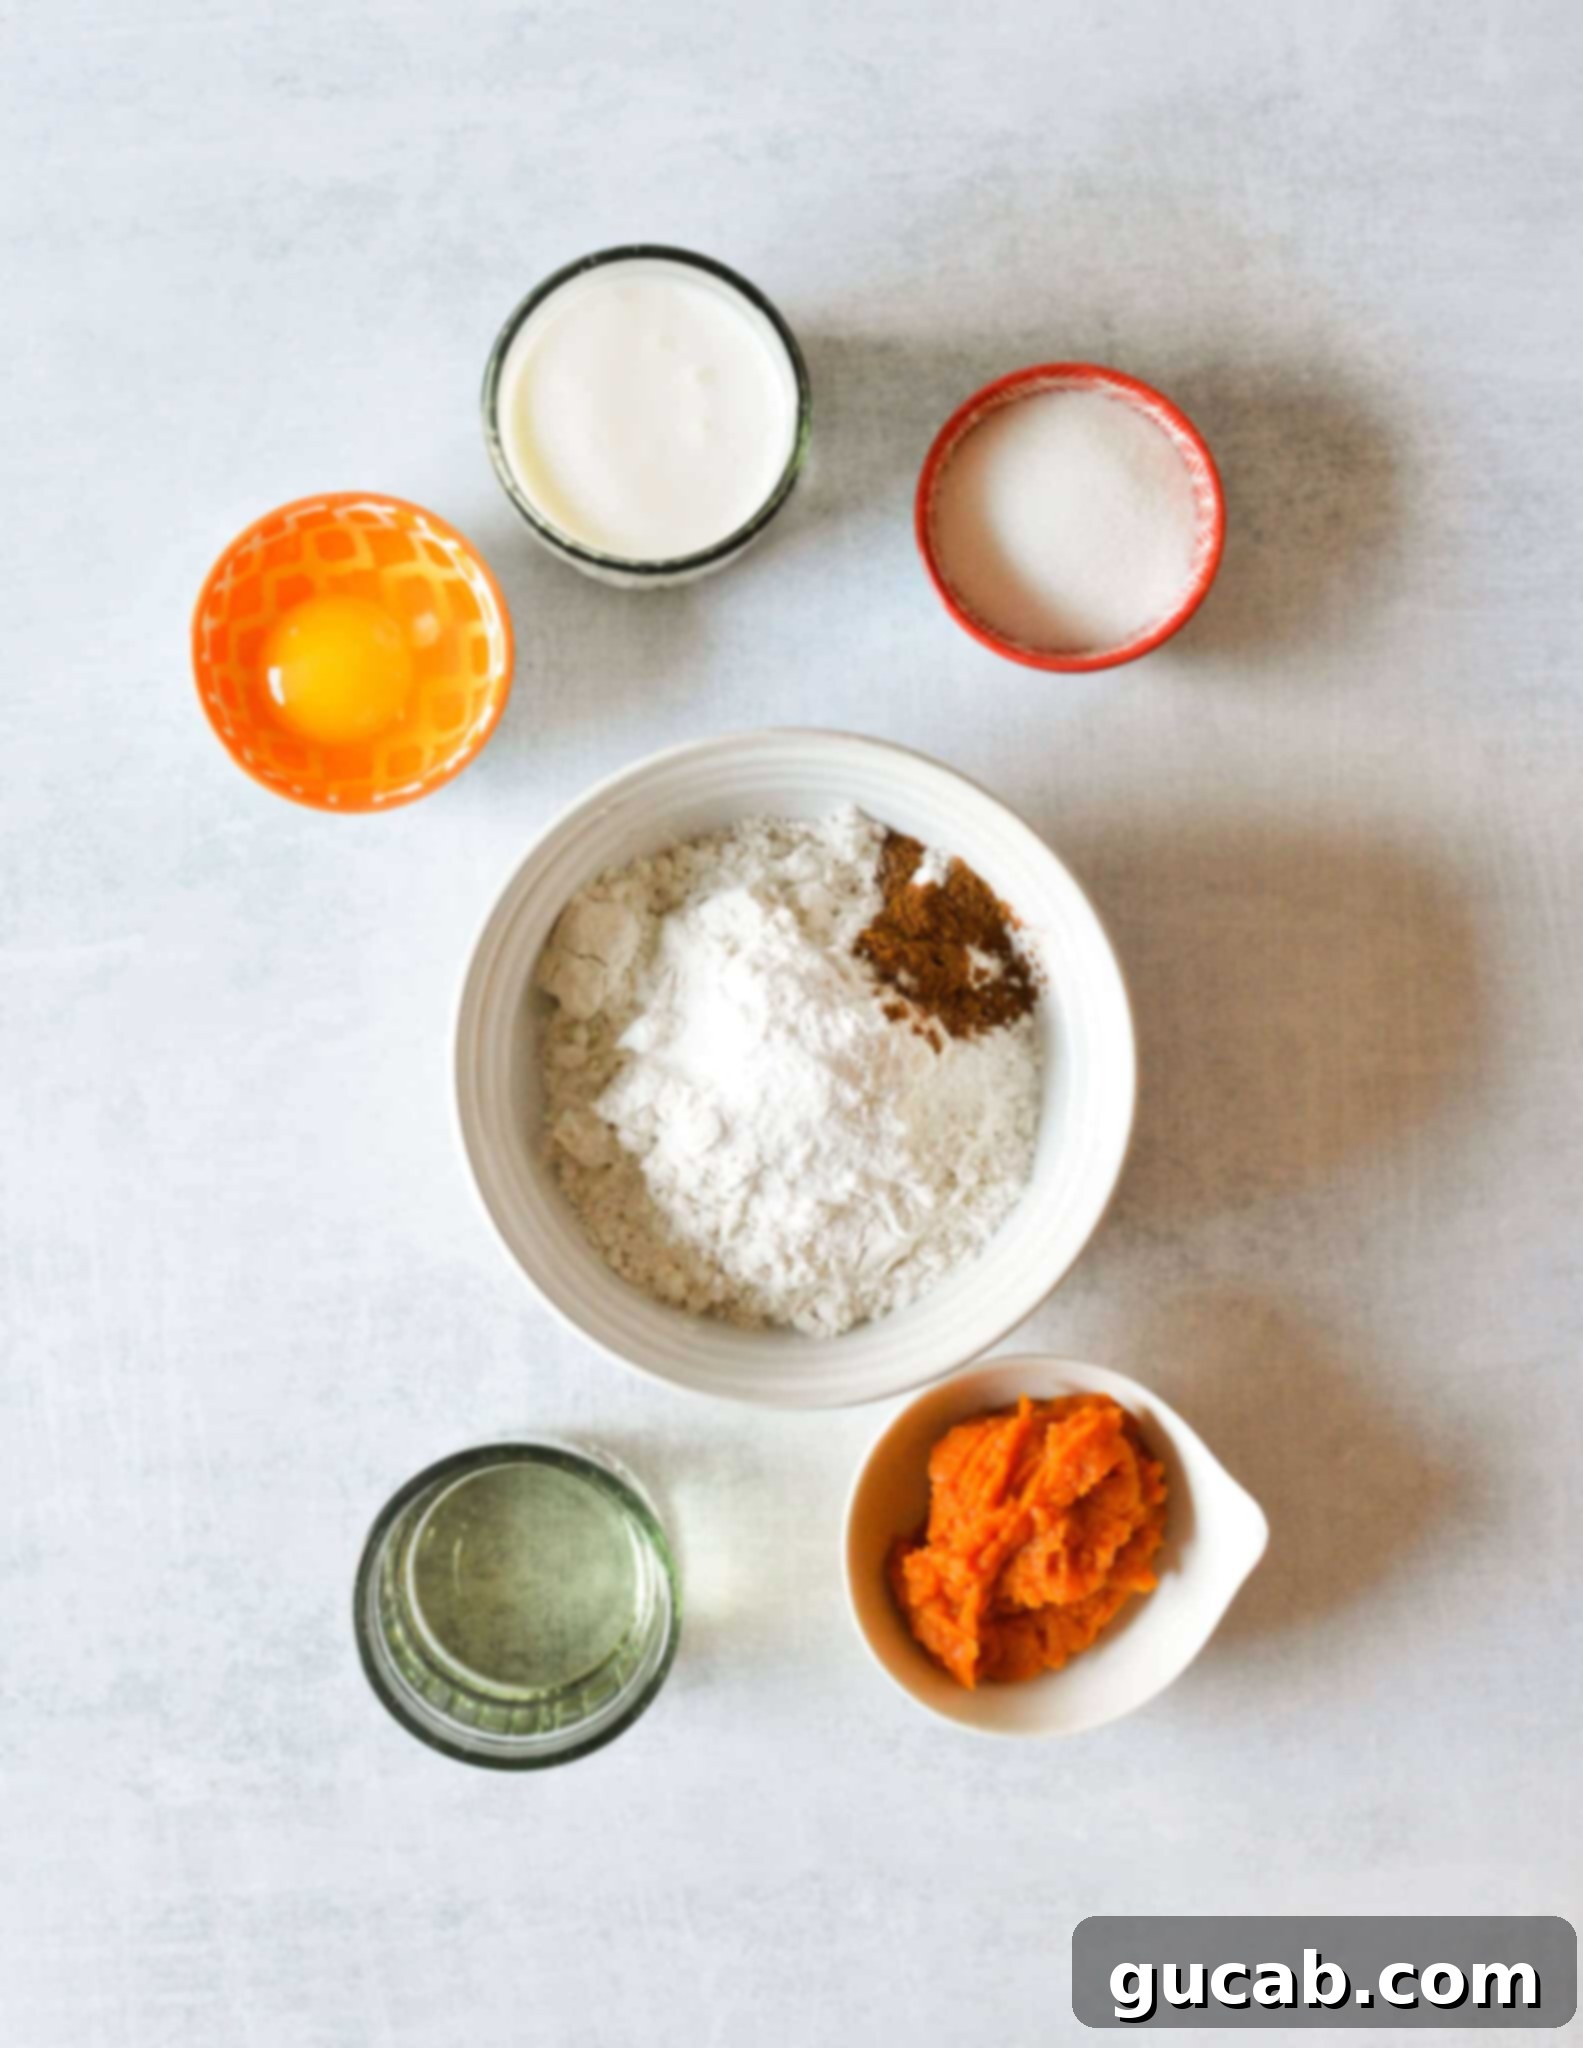
Crafting truly exceptional pancakes requires a careful selection of ingredients. Each component plays a vital role in achieving that coveted light, fluffy texture and rich, comforting flavor. Here’s a detailed look at the key players in this gluten-free pumpkin pancake recipe:
- Gluten-Free All-Purpose Flour: This is arguably the most critical ingredient for any gluten-free baked good. My absolute go-to is Bob’s Red Mill 1:1 Gluten Free Baking Flour, easily identifiable by its blue bag. I highly recommend it because its blend of gluten-free flours and starches, combined with added xanthan gum, delivers a taste and texture remarkably similar to traditional wheat flour. Even my friends who regularly eat gluten are consistently impressed by the results. If you opt for a different brand, it is absolutely essential to ensure it contains xanthan gum. Xanthan gum acts as a binder and elasticity enhancer, mimicking the role of gluten and preventing your pancakes from becoming crumbly or dense. If your chosen blend doesn’t include it, you might need to add about ½ teaspoon per cup of flour to achieve similar results. Consistency is key with gluten-free baking, and a reliable flour blend is your best friend when making delicious gluten-free pumpkin pancakes.
- Pumpkin Pie Spice: This blend is the heart of the fall flavor in these pancakes. It typically comprises warm, aromatic spices like cinnamon, ground ginger, nutmeg, and allspice. Sometimes, a touch of ground cloves can also be included for an extra layer of depth. If you don’t have a pre-made pumpkin pie spice blend on hand, or simply prefer to customize your flavors, it’s incredibly easy to make your own at home! A simple mix of these individual spices will do the trick. You can find many recipes online, such as this helpful guide for homemade pumpkin pie spice. Don’t be shy about adjusting the quantities to match your personal preference for spice intensity, ensuring your gluten-free pumpkin pancakes have that perfect autumnal kick.
- Buttermilk: Far more than just a liquid, buttermilk is a secret weapon in achieving truly light and fluffy pancakes. Its acidity reacts with the baking soda in the recipe, creating carbon dioxide bubbles that expand during cooking, resulting in that desirable airy texture. Beyond leavening, buttermilk also tenderizes the pancakes, giving them a lovely, soft crumb. If you don’t have buttermilk, a simple homemade substitute works wonderfully: add 1 tablespoon of lemon juice or white vinegar to a liquid measuring cup, then fill the rest of the cup with regular milk (dairy or non-dairy) until it reaches the 1-cup mark. Let it sit for 5-10 minutes until it slightly curdles, then use as directed for your gluten-free pumpkin pancakes.
- Vegetable Oil: The inclusion of vegetable oil provides essential moisture and richness to the pancakes without making them greasy or heavy. It helps to create a tender crumb and contributes to a beautifully golden-brown exterior. Any neutral-flavored oil, such as canola oil, grapeseed oil, or even a light olive oil (not extra virgin), can be used as a substitute. The key is to use the specified amount; too little might result in dry pancakes, while too much can make them overly dense or oily. This careful balance ensures your gluten-free pumpkin pancakes are perfectly moist.
- Pumpkin Puree: Again, it’s vital to choose 100% pure pumpkin puree for this recipe, not pumpkin pie filling. Always double-check the label on the can to ensure it explicitly states “100% Pure Pumpkin” and lists only pumpkin as the ingredient. This ensures you’re getting the natural sweetness, earthy flavor, and consistent moisture content needed to give these pancakes their characteristic pumpkin essence and beautiful fall color, allowing you to control all other flavor additions precisely. This pure ingredient is what gives your gluten-free pumpkin pancakes their authentic taste.
Step-by-Step Guide: How to Make Irresistible Gluten-Free Pumpkin Pancakes
You’ll be delighted to know that despite their gourmet taste, these gluten-free pumpkin pancakes are remarkably simple to prepare. Even if you’re new to gluten-free baking, this straightforward recipe will guide you to a stack of perfectly fluffy pancakes in no time. Let’s walk through the process:
- Prepare Your Skillet: Begin by placing a 10-inch nonstick skillet over medium to medium-low heat. The key here is consistent, moderate heat; too high, and your pancakes will burn on the outside before cooking through, while too low will prevent them from browning properly. Add just a small amount of vegetable oil—enough to lightly coat the entire surface of the pan. A neat trick is to use a paper towel to evenly spread the oil around the pan. This ensures even cooking and prevents excess oil from making your pancakes greasy. Allow the skillet to heat thoroughly while you prepare the batter.
- Combine Dry Ingredients: In a large mixing bowl, combine all your dry ingredients: the gluten-free all-purpose flour, baking powder, baking soda, sugar, pumpkin pie spice, and a pinch of kosher salt. Use a whisk to stir them together thoroughly. This step is more important than it might seem; whisking ensures that the leavening agents (baking powder and soda) and spices are evenly distributed throughout the flour, which is crucial for uniform rise and flavor in every bite of your gluten-free pumpkin pancakes.
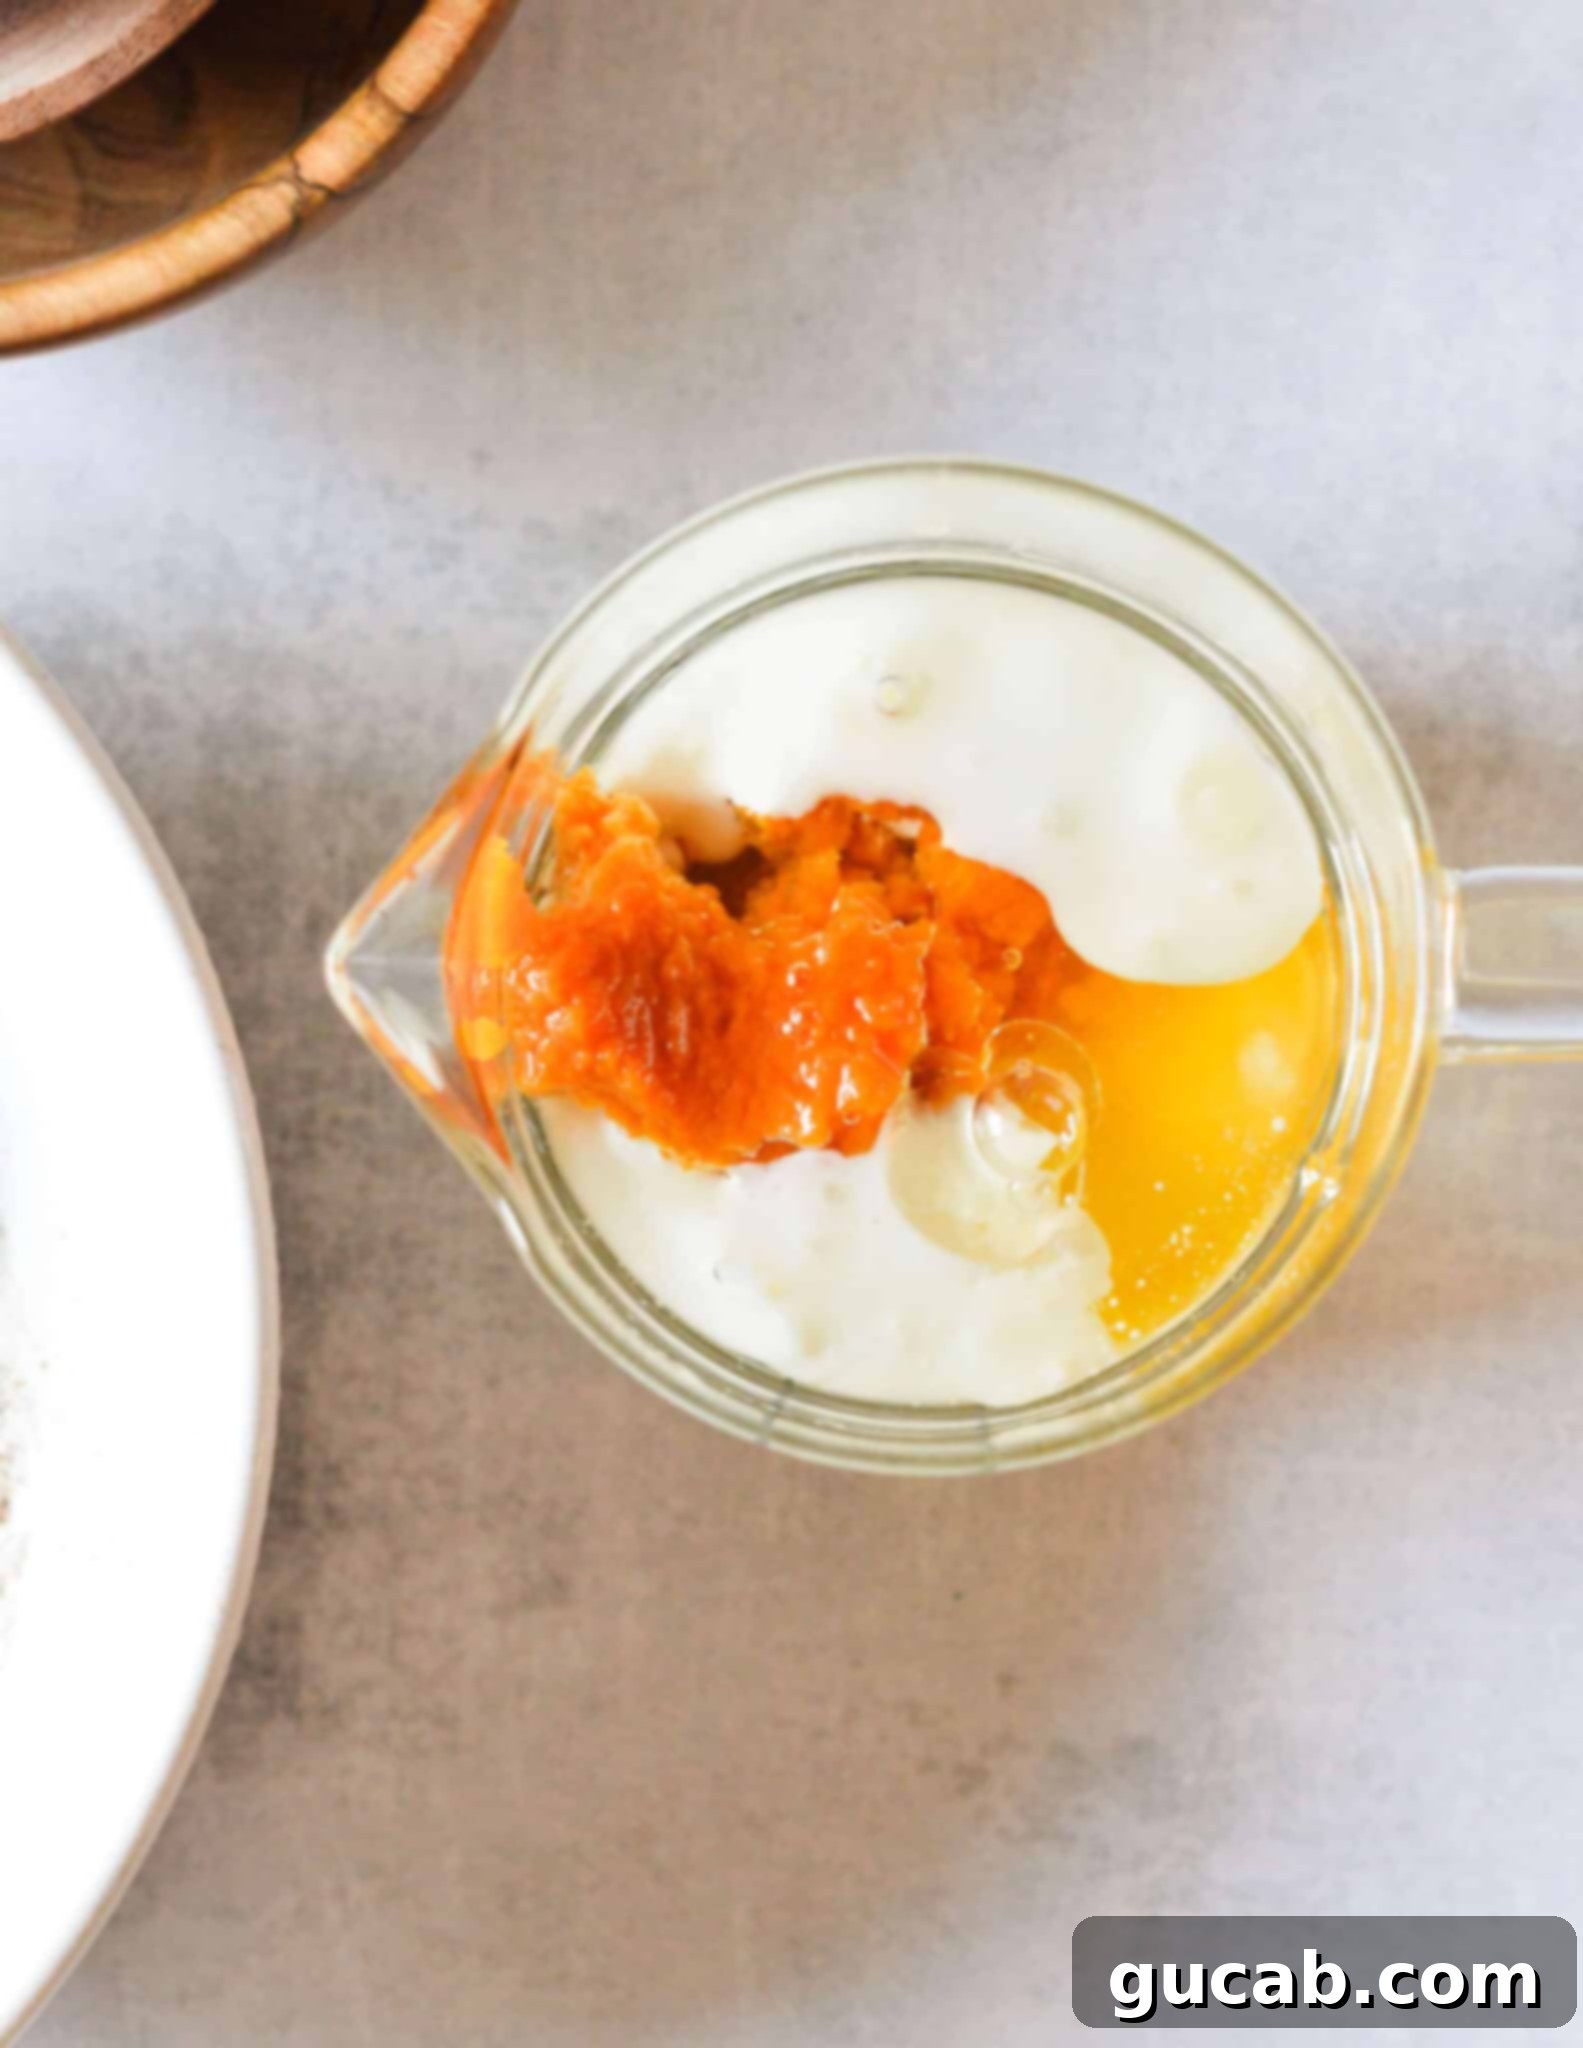
- Mix Wet Ingredients: In a separate liquid measuring cup or a medium bowl, measure out your wet ingredients: buttermilk, vegetable oil, and pumpkin puree. Crack in the egg. Whisk these ingredients together vigorously until they are well combined and smooth. This pre-mixing helps to ensure that everything is evenly incorporated into the batter, preventing overmixing once the wet and dry ingredients come together.
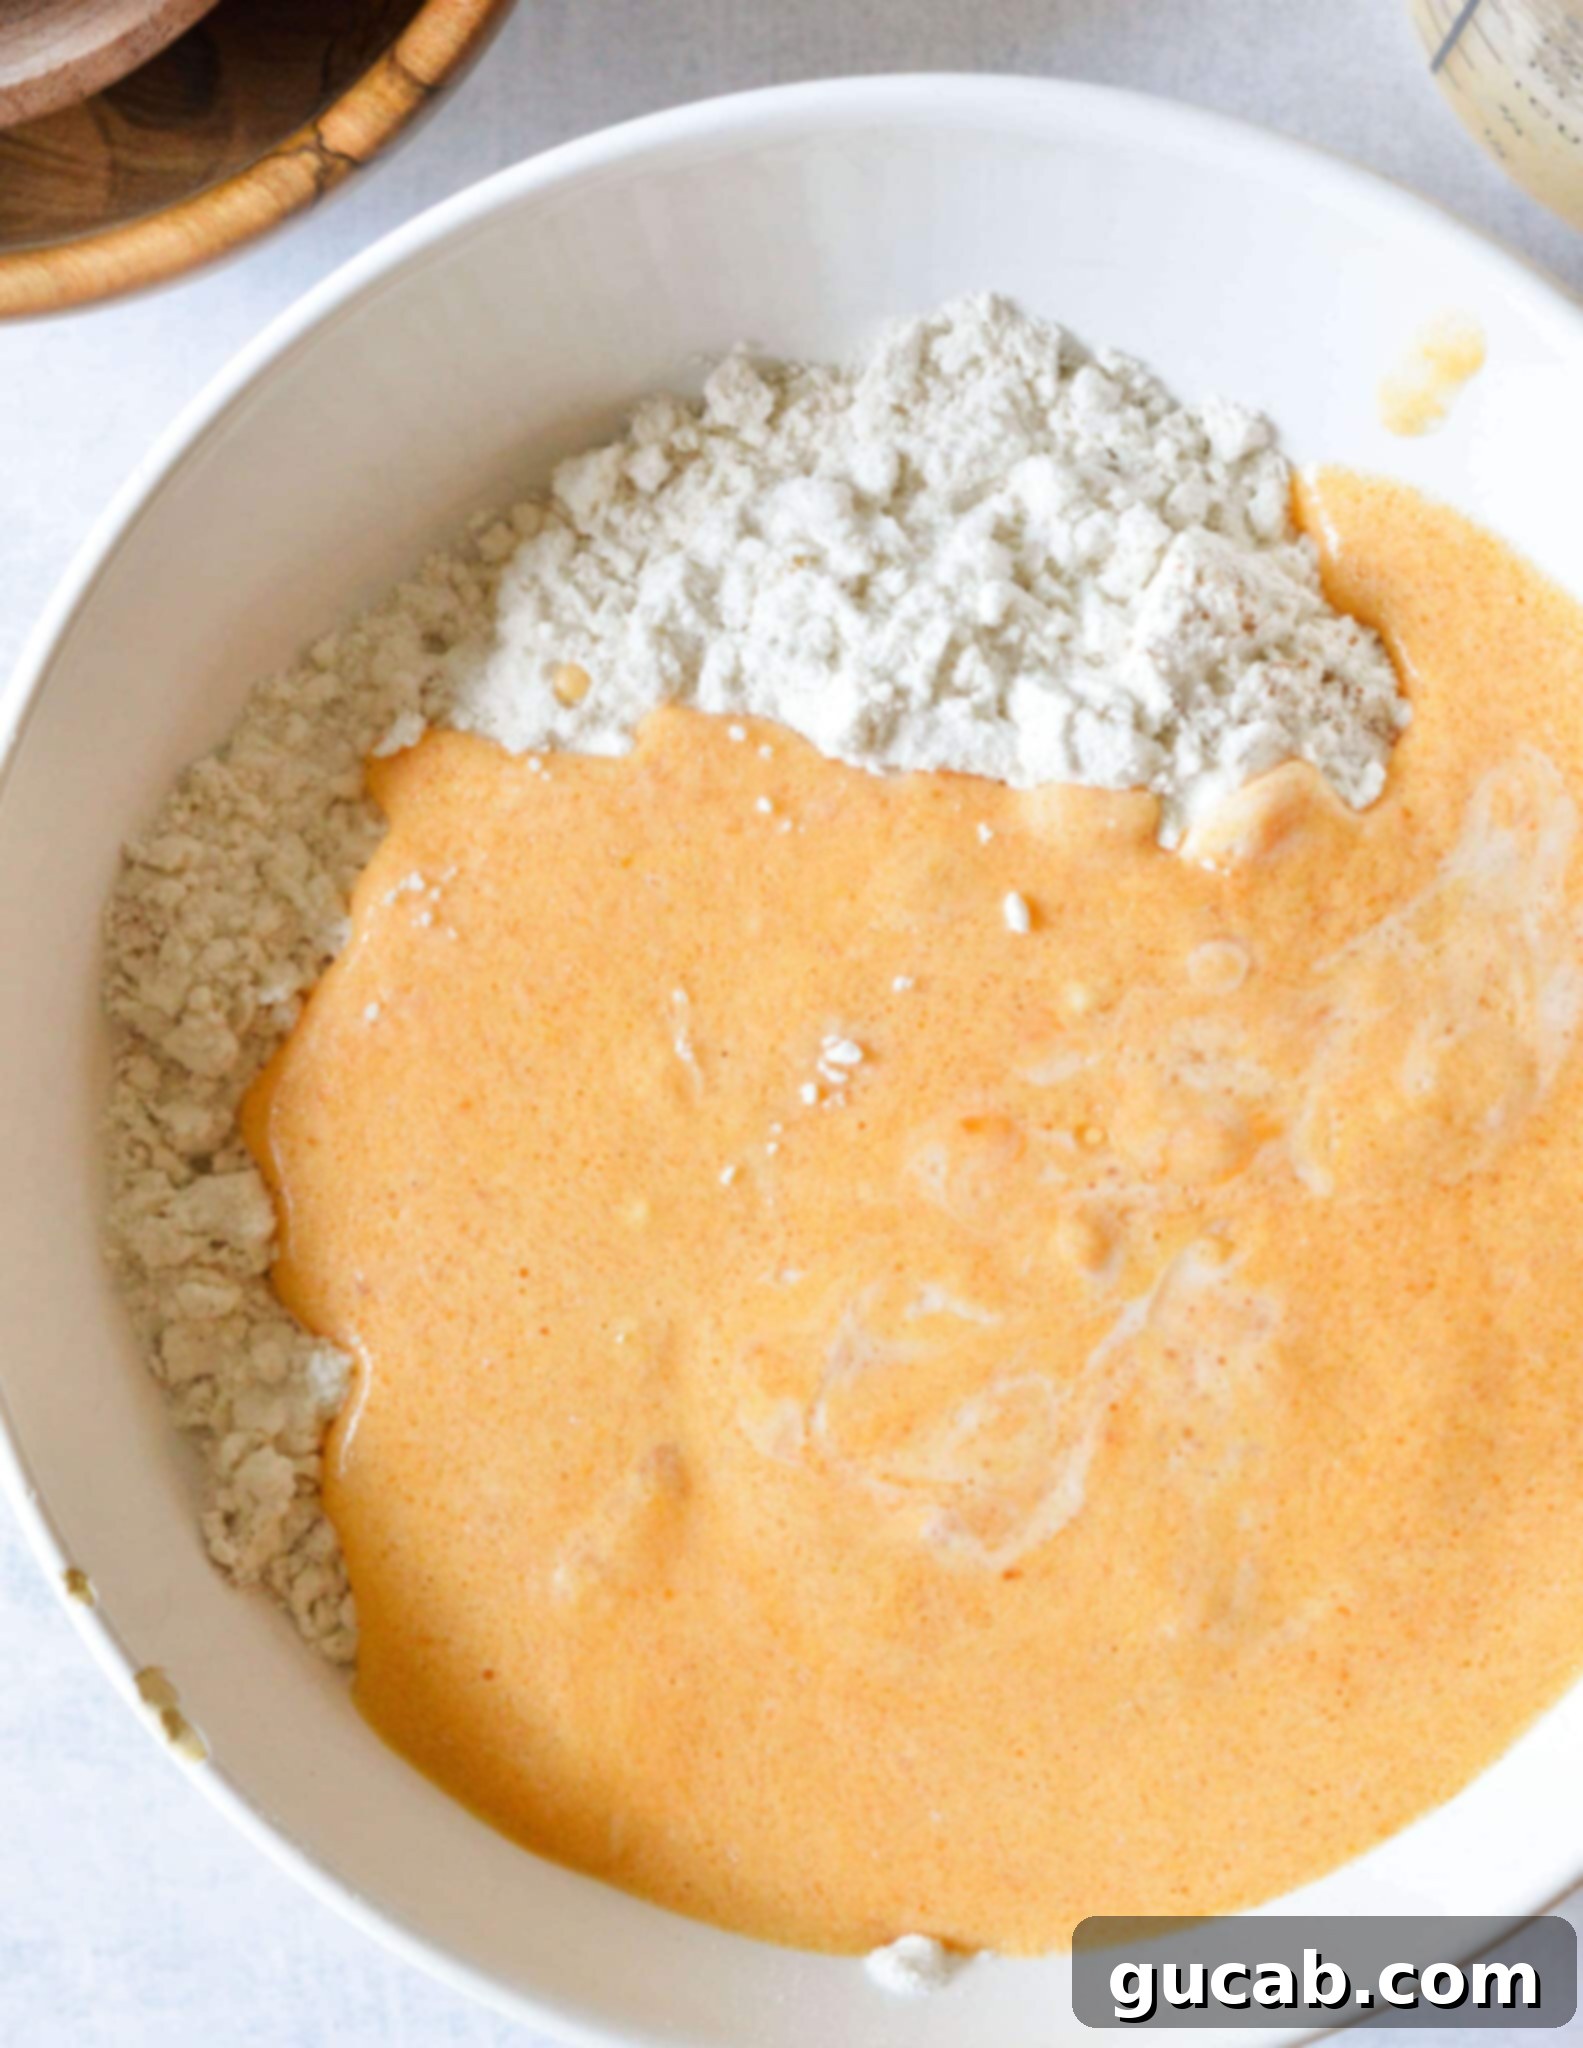
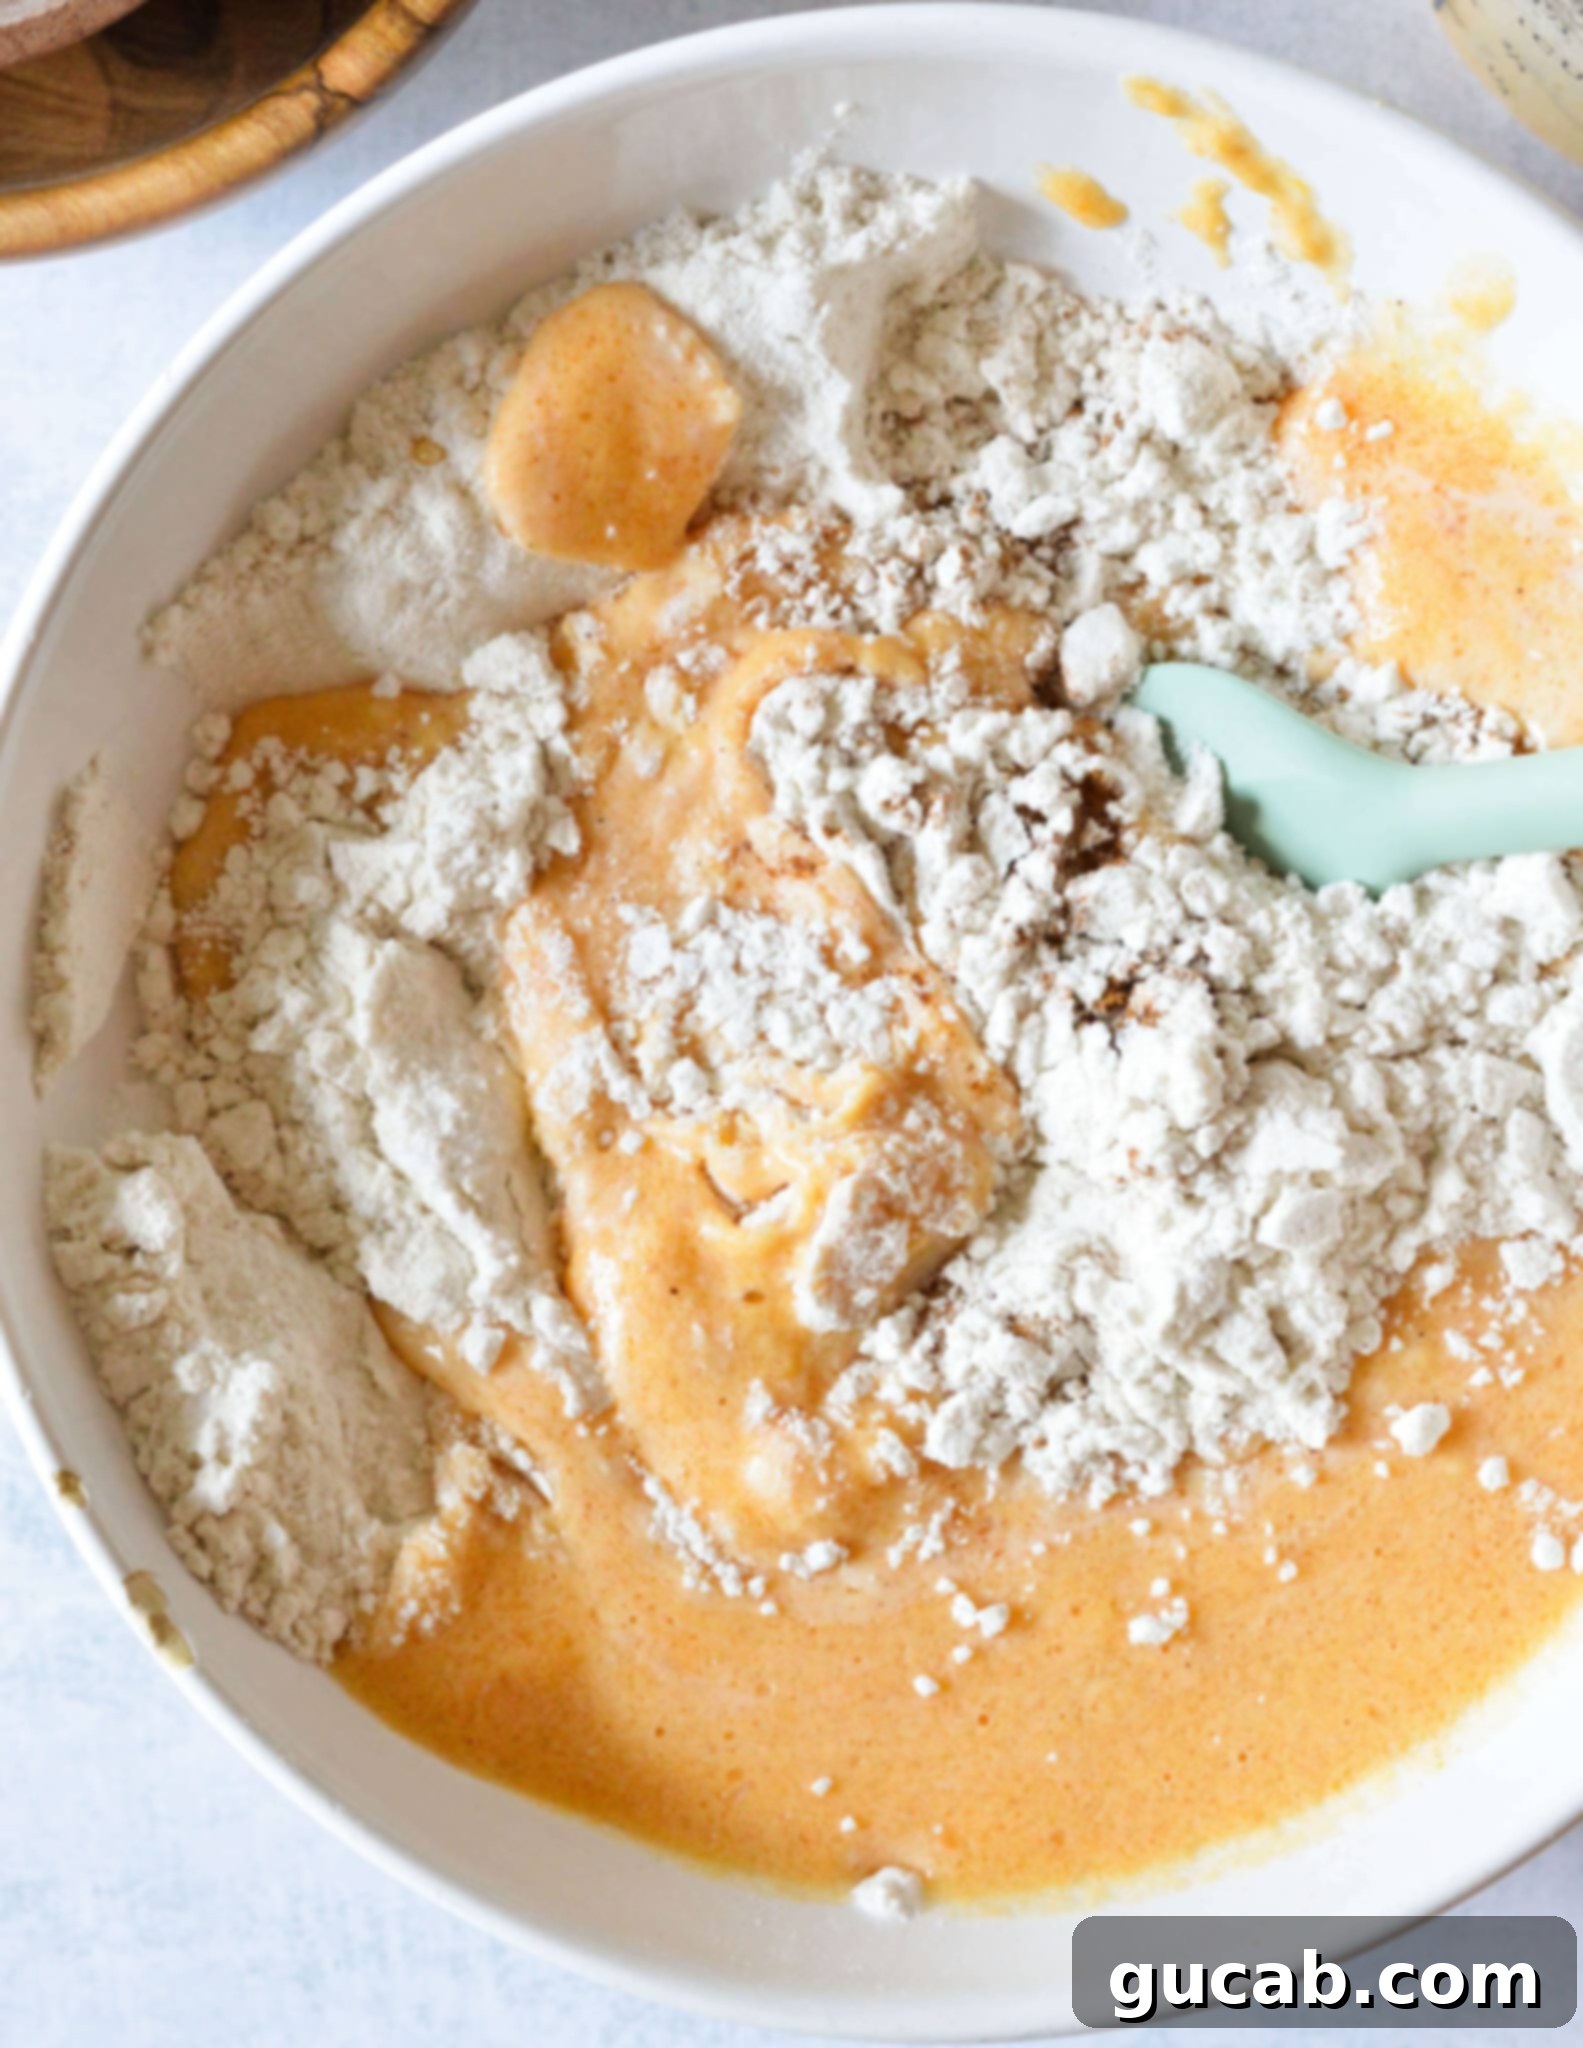
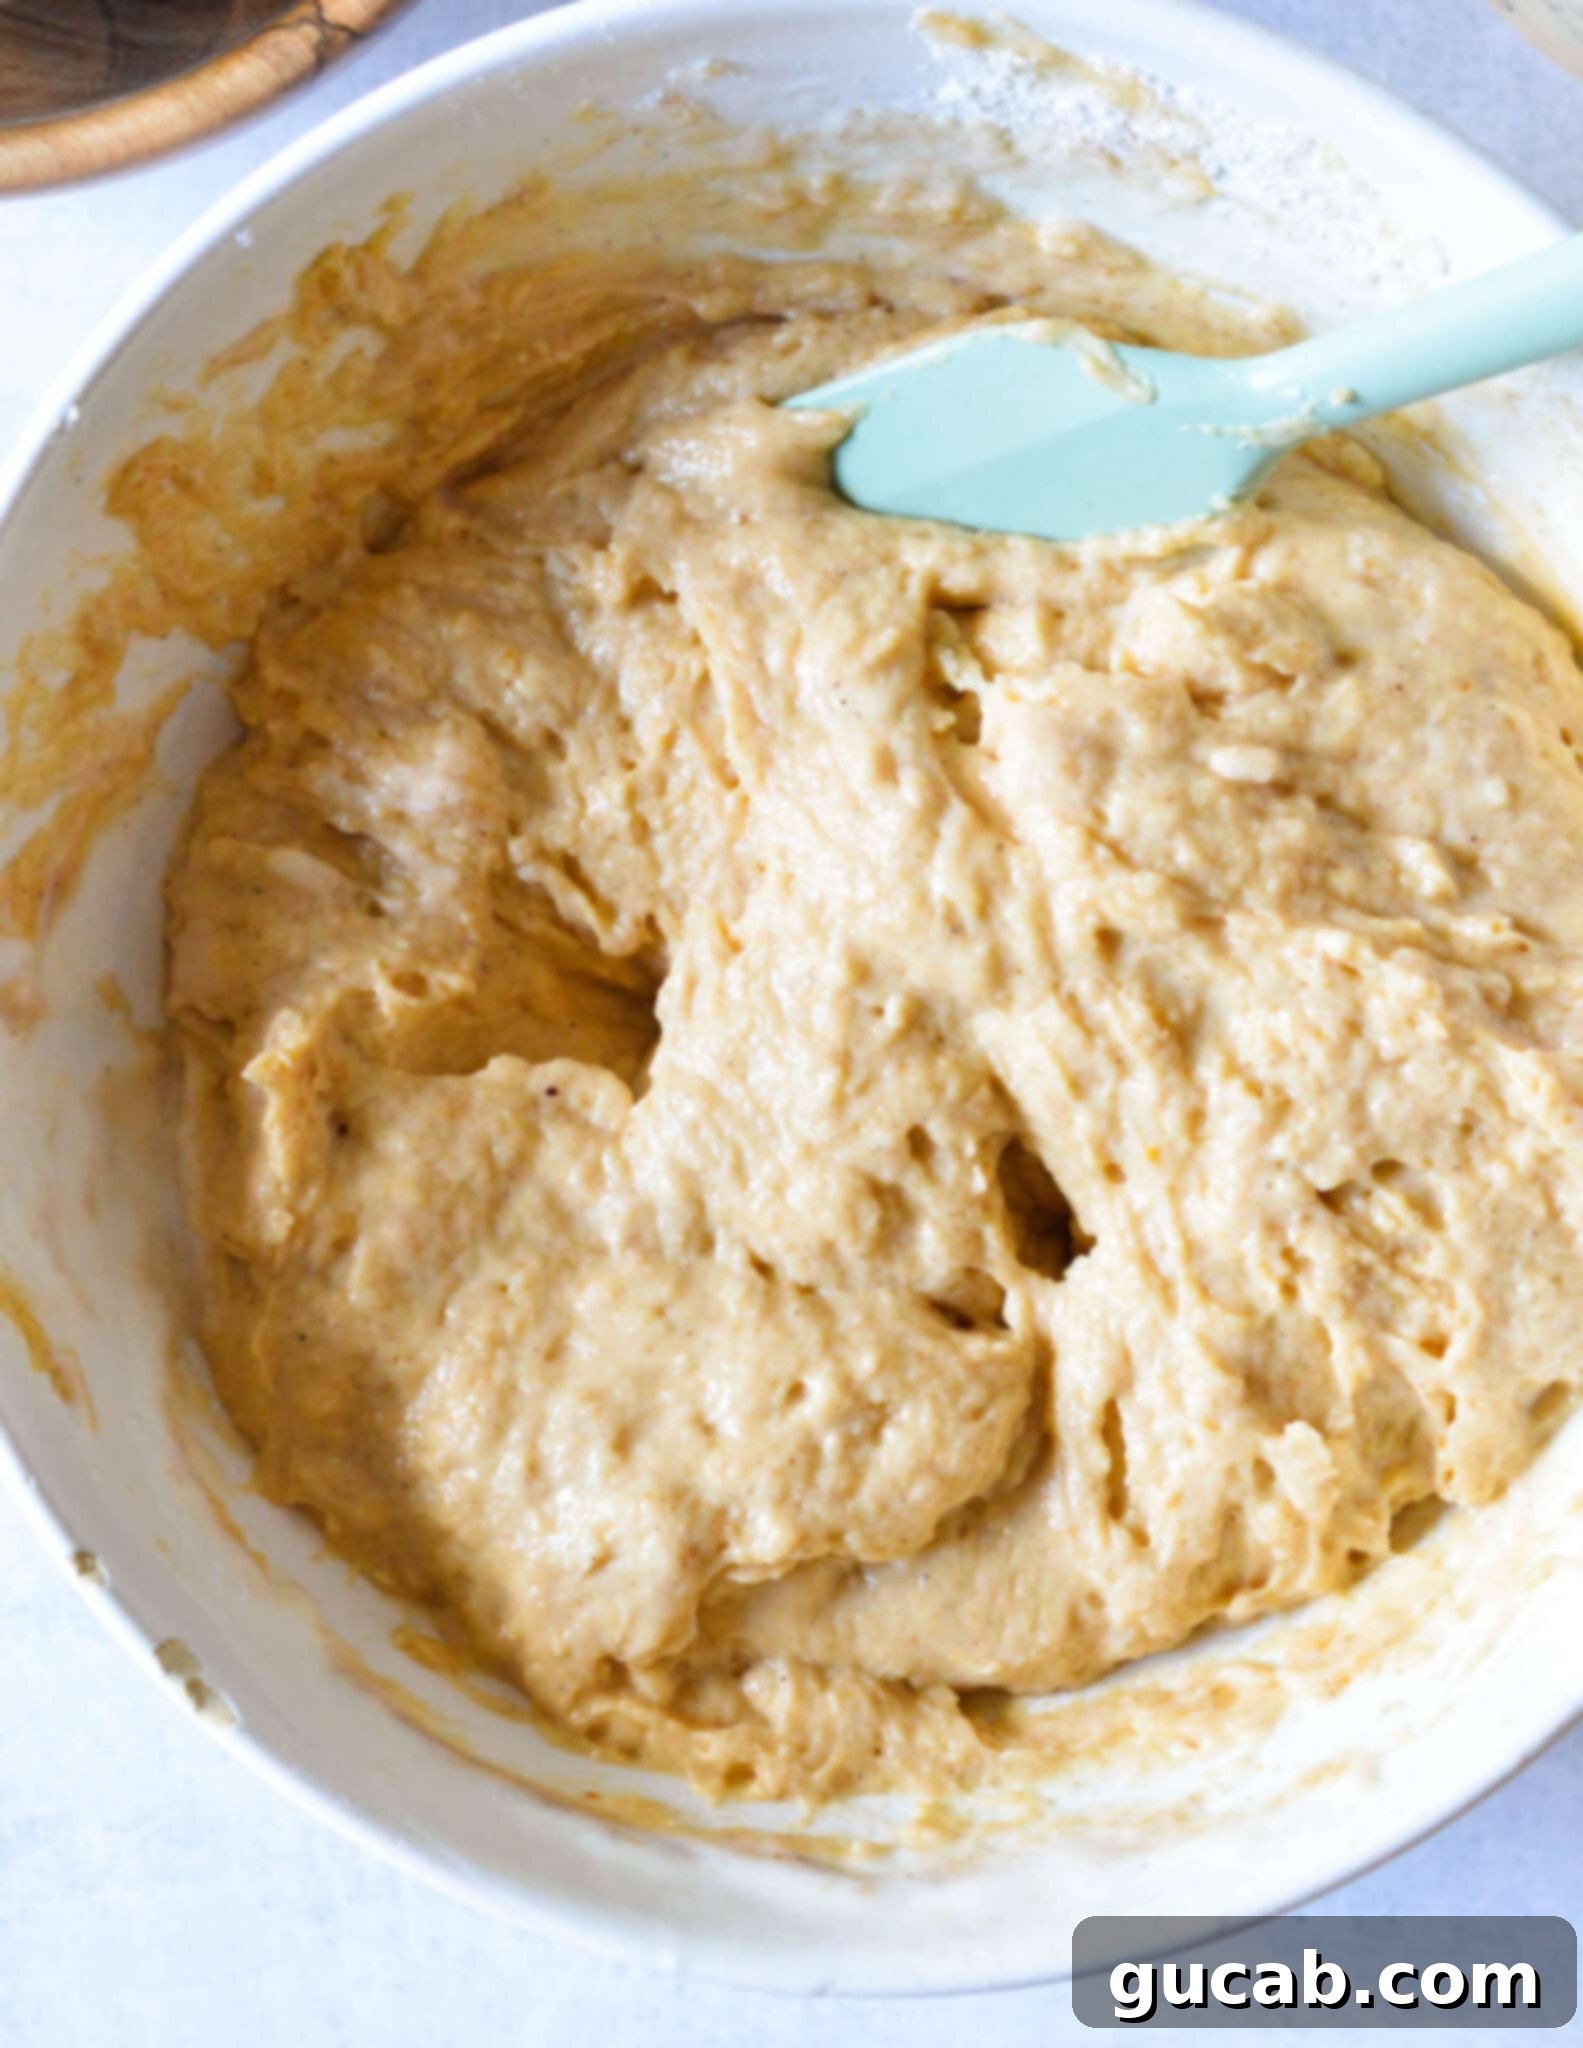
- Combine Wet and Dry Ingredients: Gently pour the whisked liquid ingredients into the bowl with the dry ingredients. Using your whisk, stir them together just until they are combined. It’s crucial not to overmix the batter. A few small lumps are perfectly fine and actually desirable; overmixing can develop the starches in the gluten-free flour, potentially leading to tougher pancakes. The batter should be thick but pourable. If it seems too thick, you can add a tiny splash more buttermilk or milk until it reaches your desired consistency for the perfect gluten-free pumpkin pancakes.
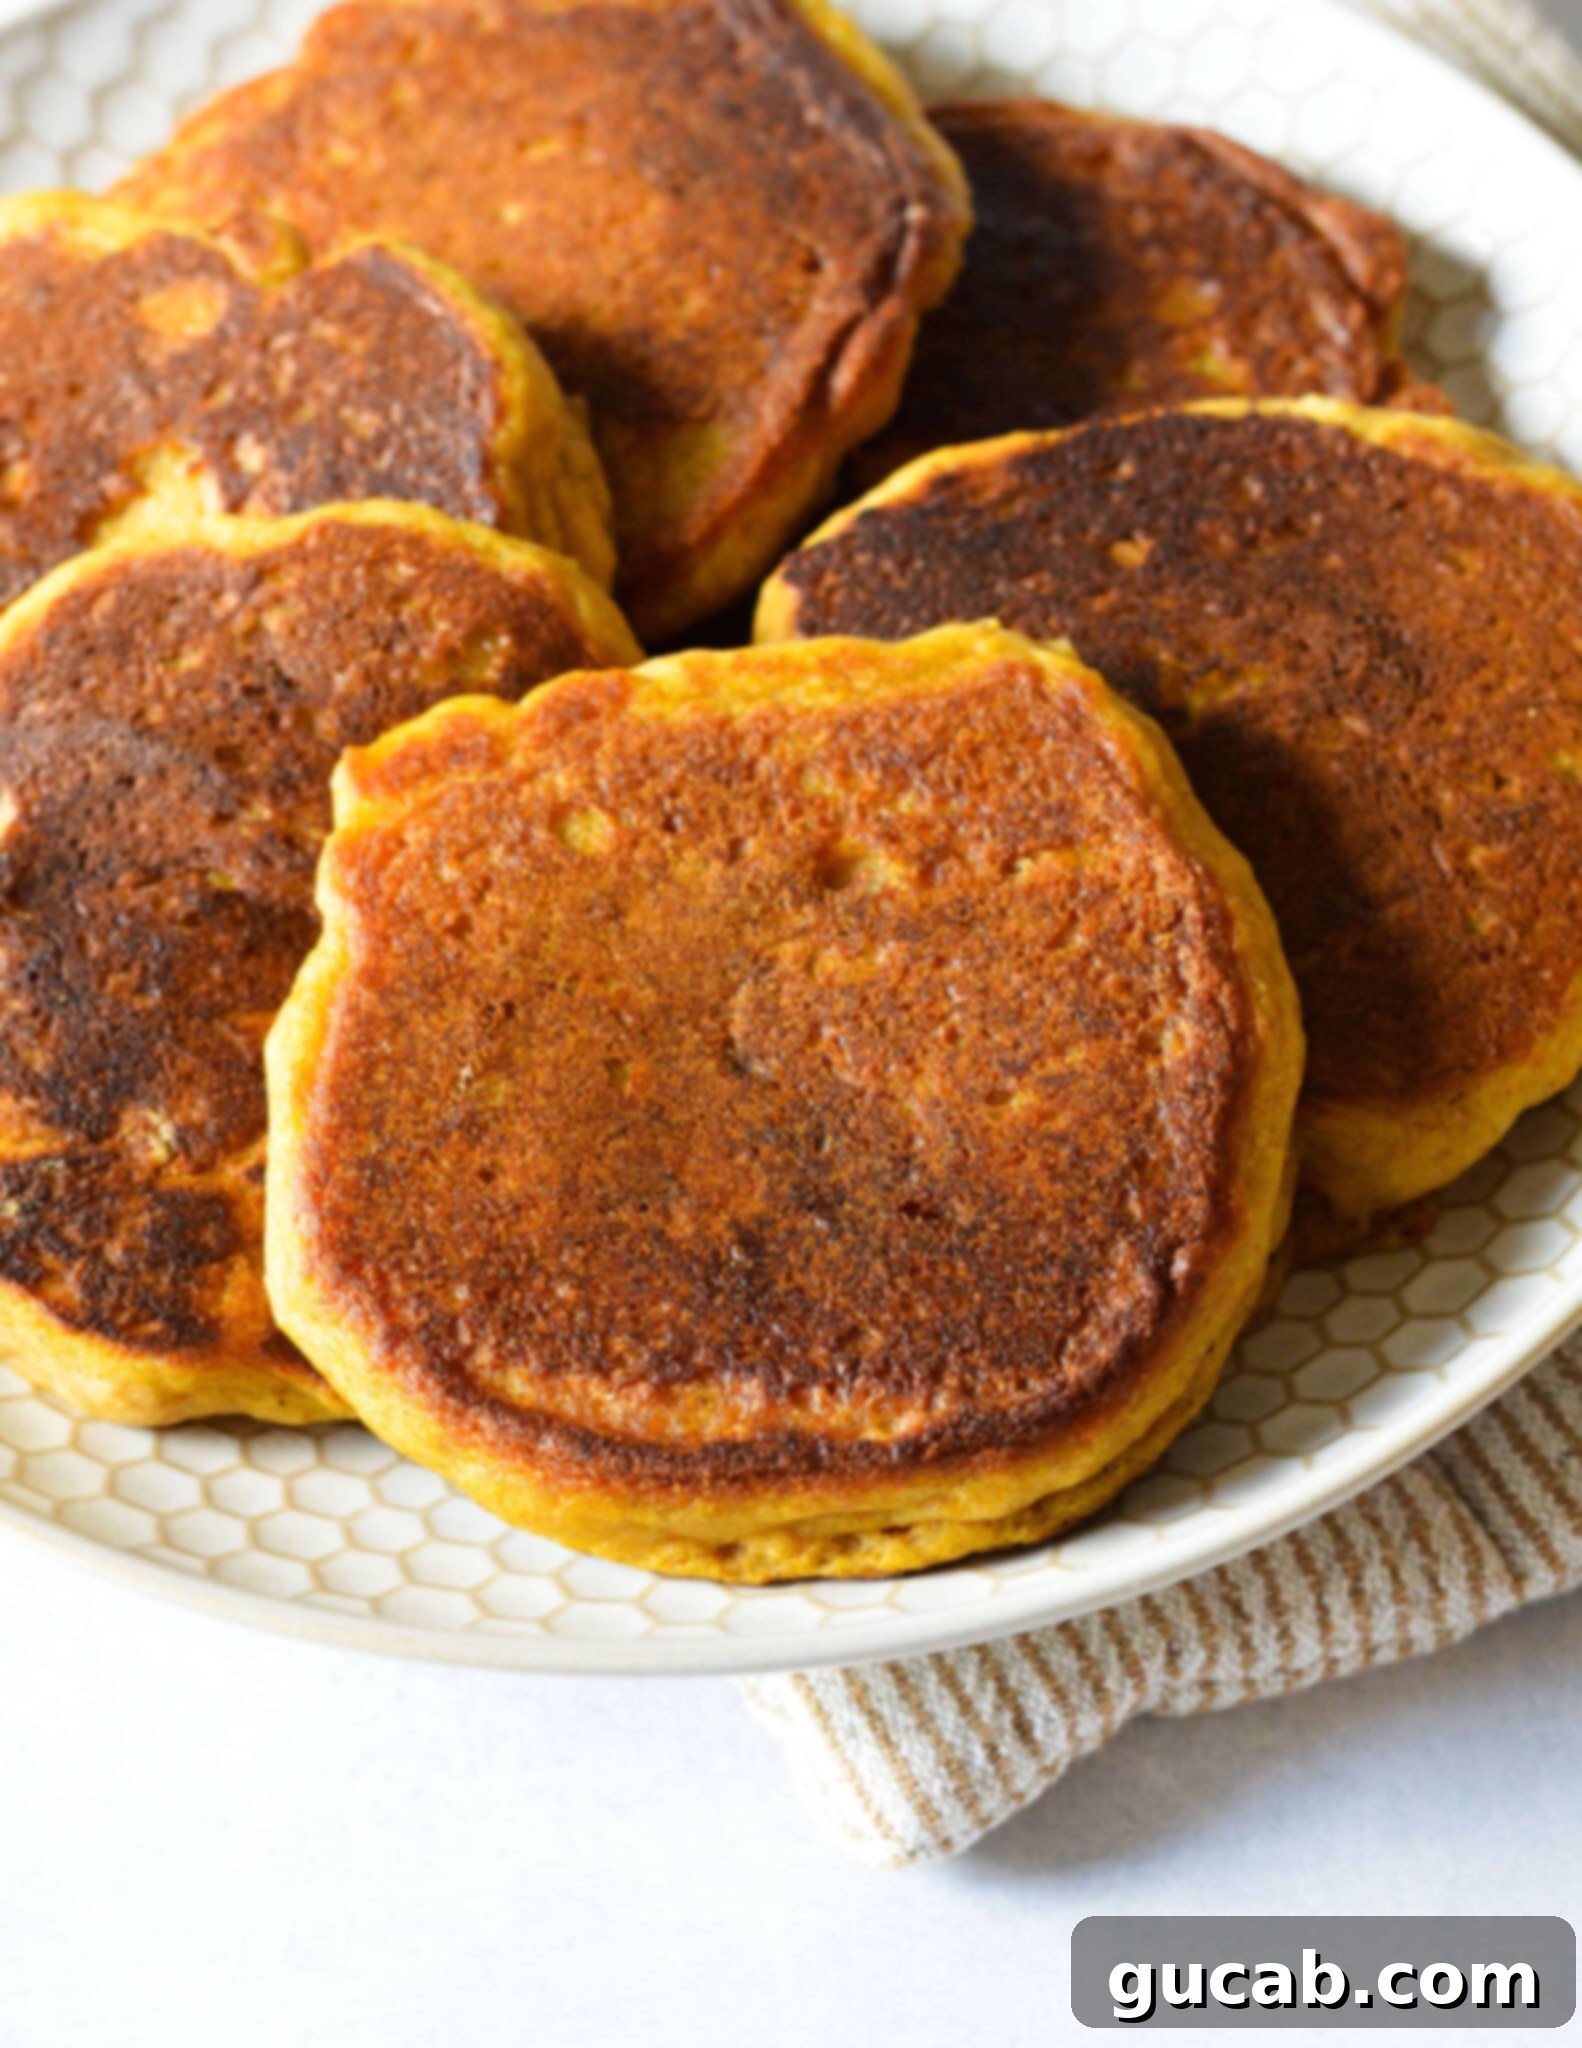
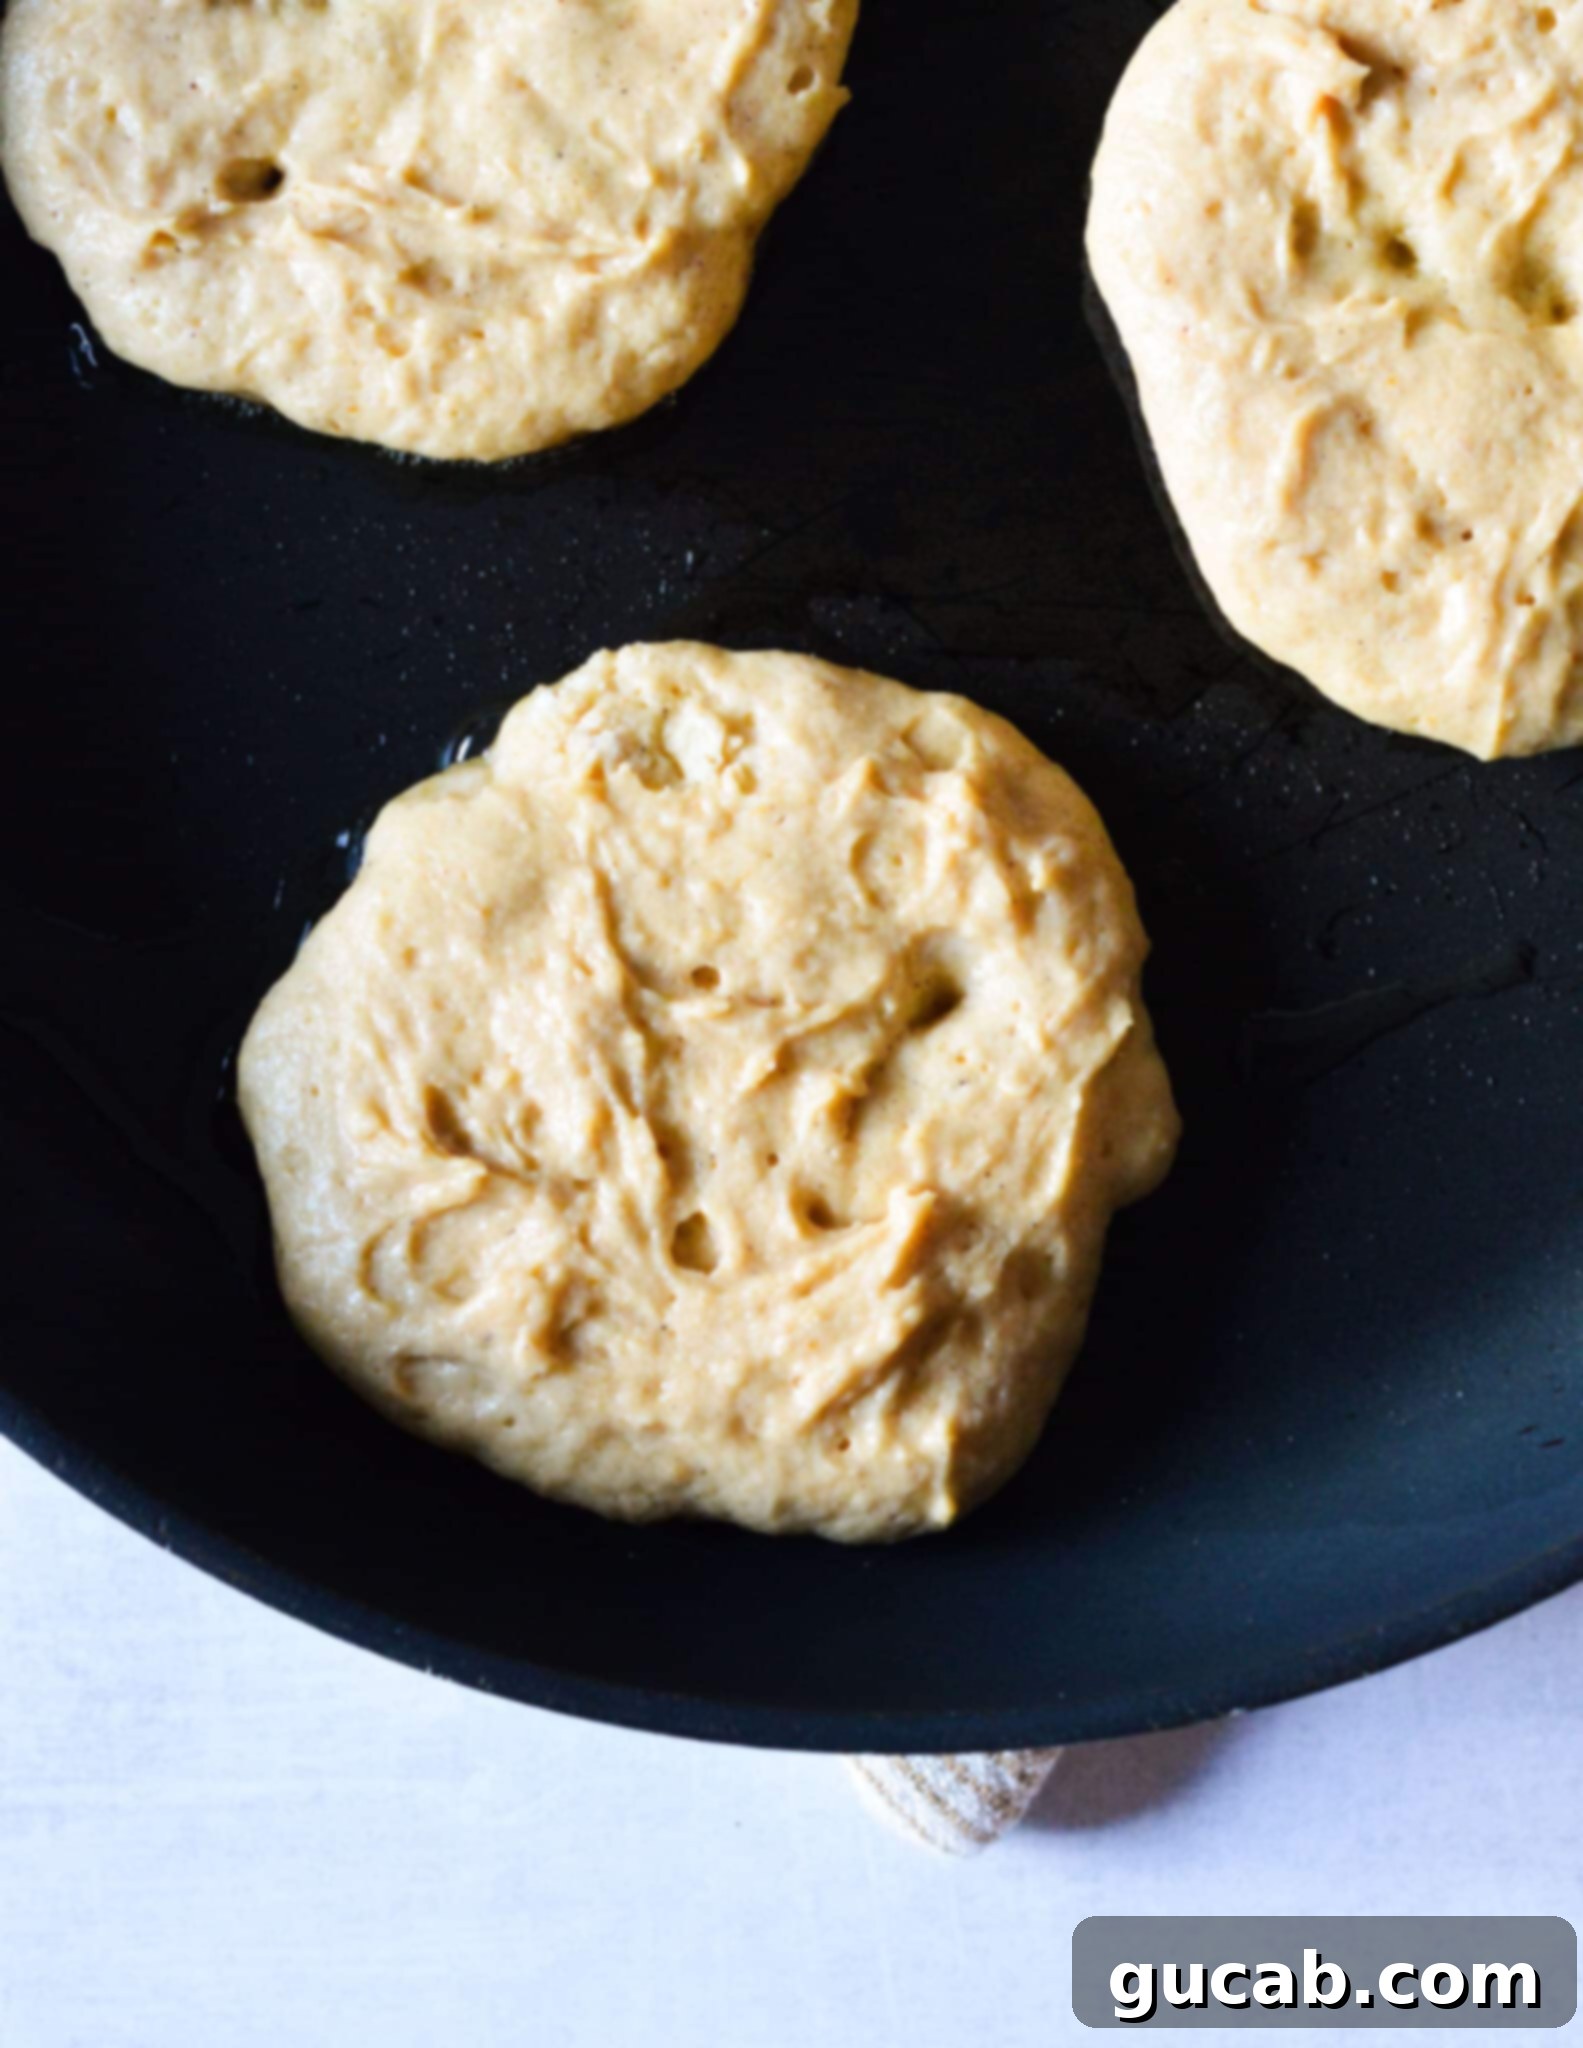
- Cook the Pancakes: Ensure your skillet has reached the ideal cooking temperature. You can test this by sprinkling a few drops of water onto the pan; if they sizzle and evaporate immediately, it’s ready. Using a portion scoop or a ladle, spoon about ¼ cup of batter for each pancake into the hot pan. I usually cook three pancakes at a time, depending on the size of my skillet. Since this batter is slightly thicker, you might need to gently spread them out a bit with the back of your scoop to achieve your desired thickness and shape.
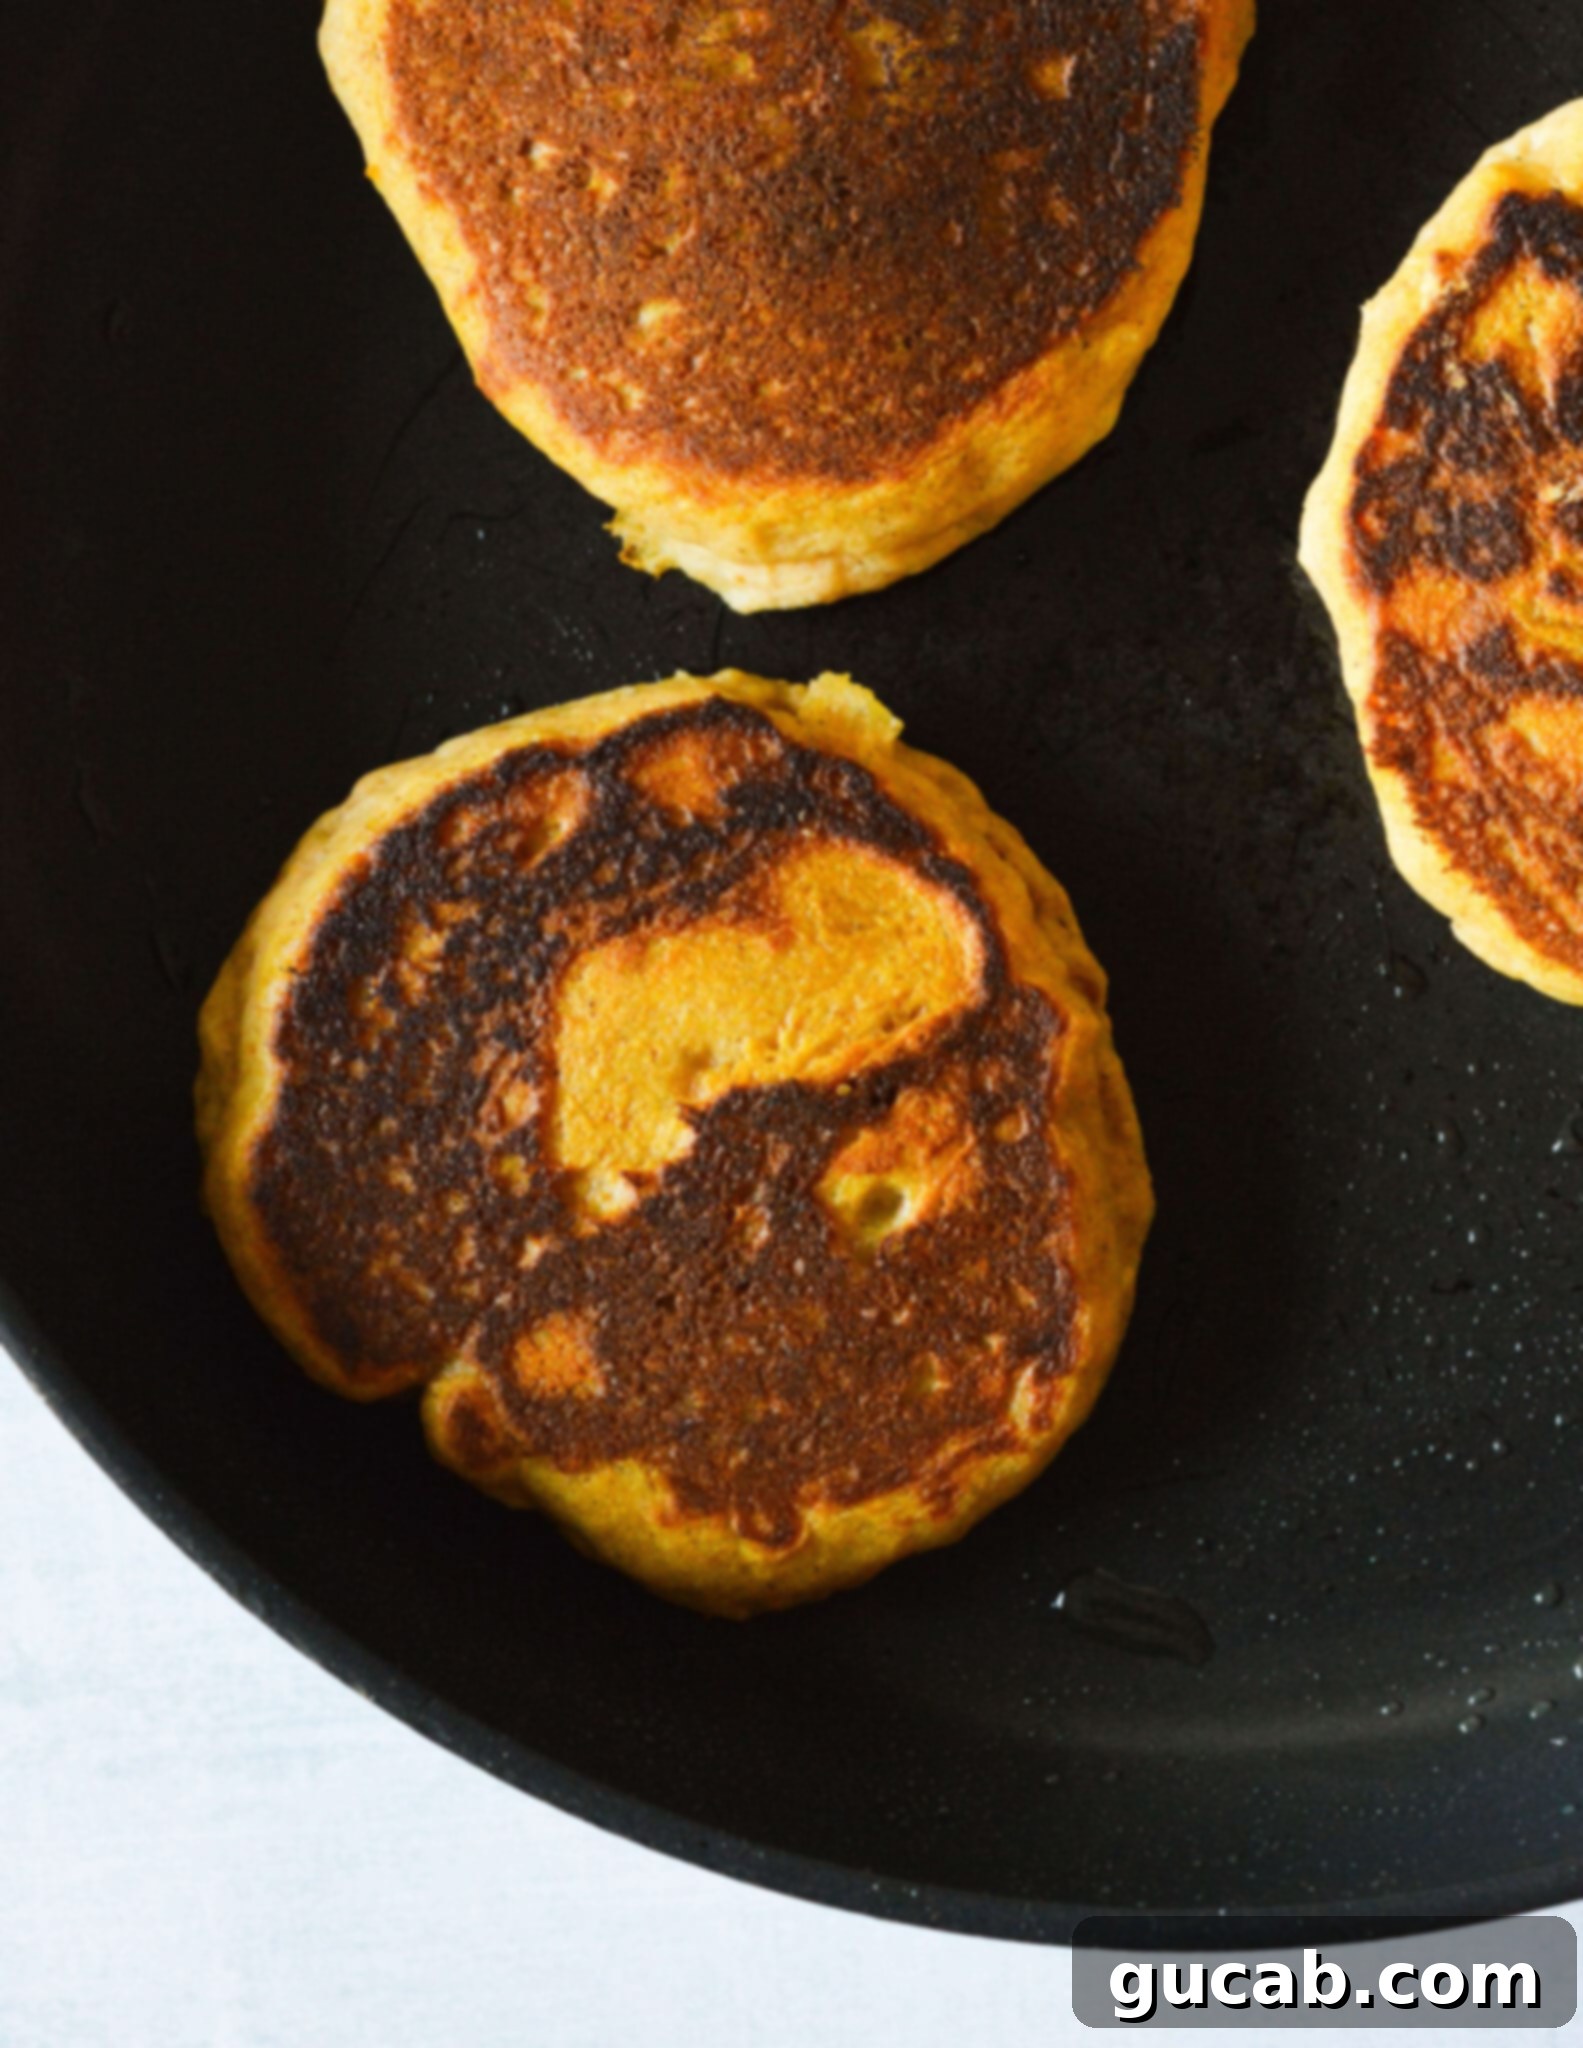
- Flip and Finish: Cook the pancakes for approximately 3 to 4 minutes on the first side, or until you see small bubbles forming on the surface and the edges appear set and slightly dry. The bottom should be a beautiful golden brown. Carefully slide a turner spatula underneath each pancake and confidently flip it over. Cook for an additional 3 minutes on the second side, or until it’s also golden brown and cooked through in the center. If you notice the pancakes browning too quickly, slightly reduce the heat to prevent burning and ensure even cooking.
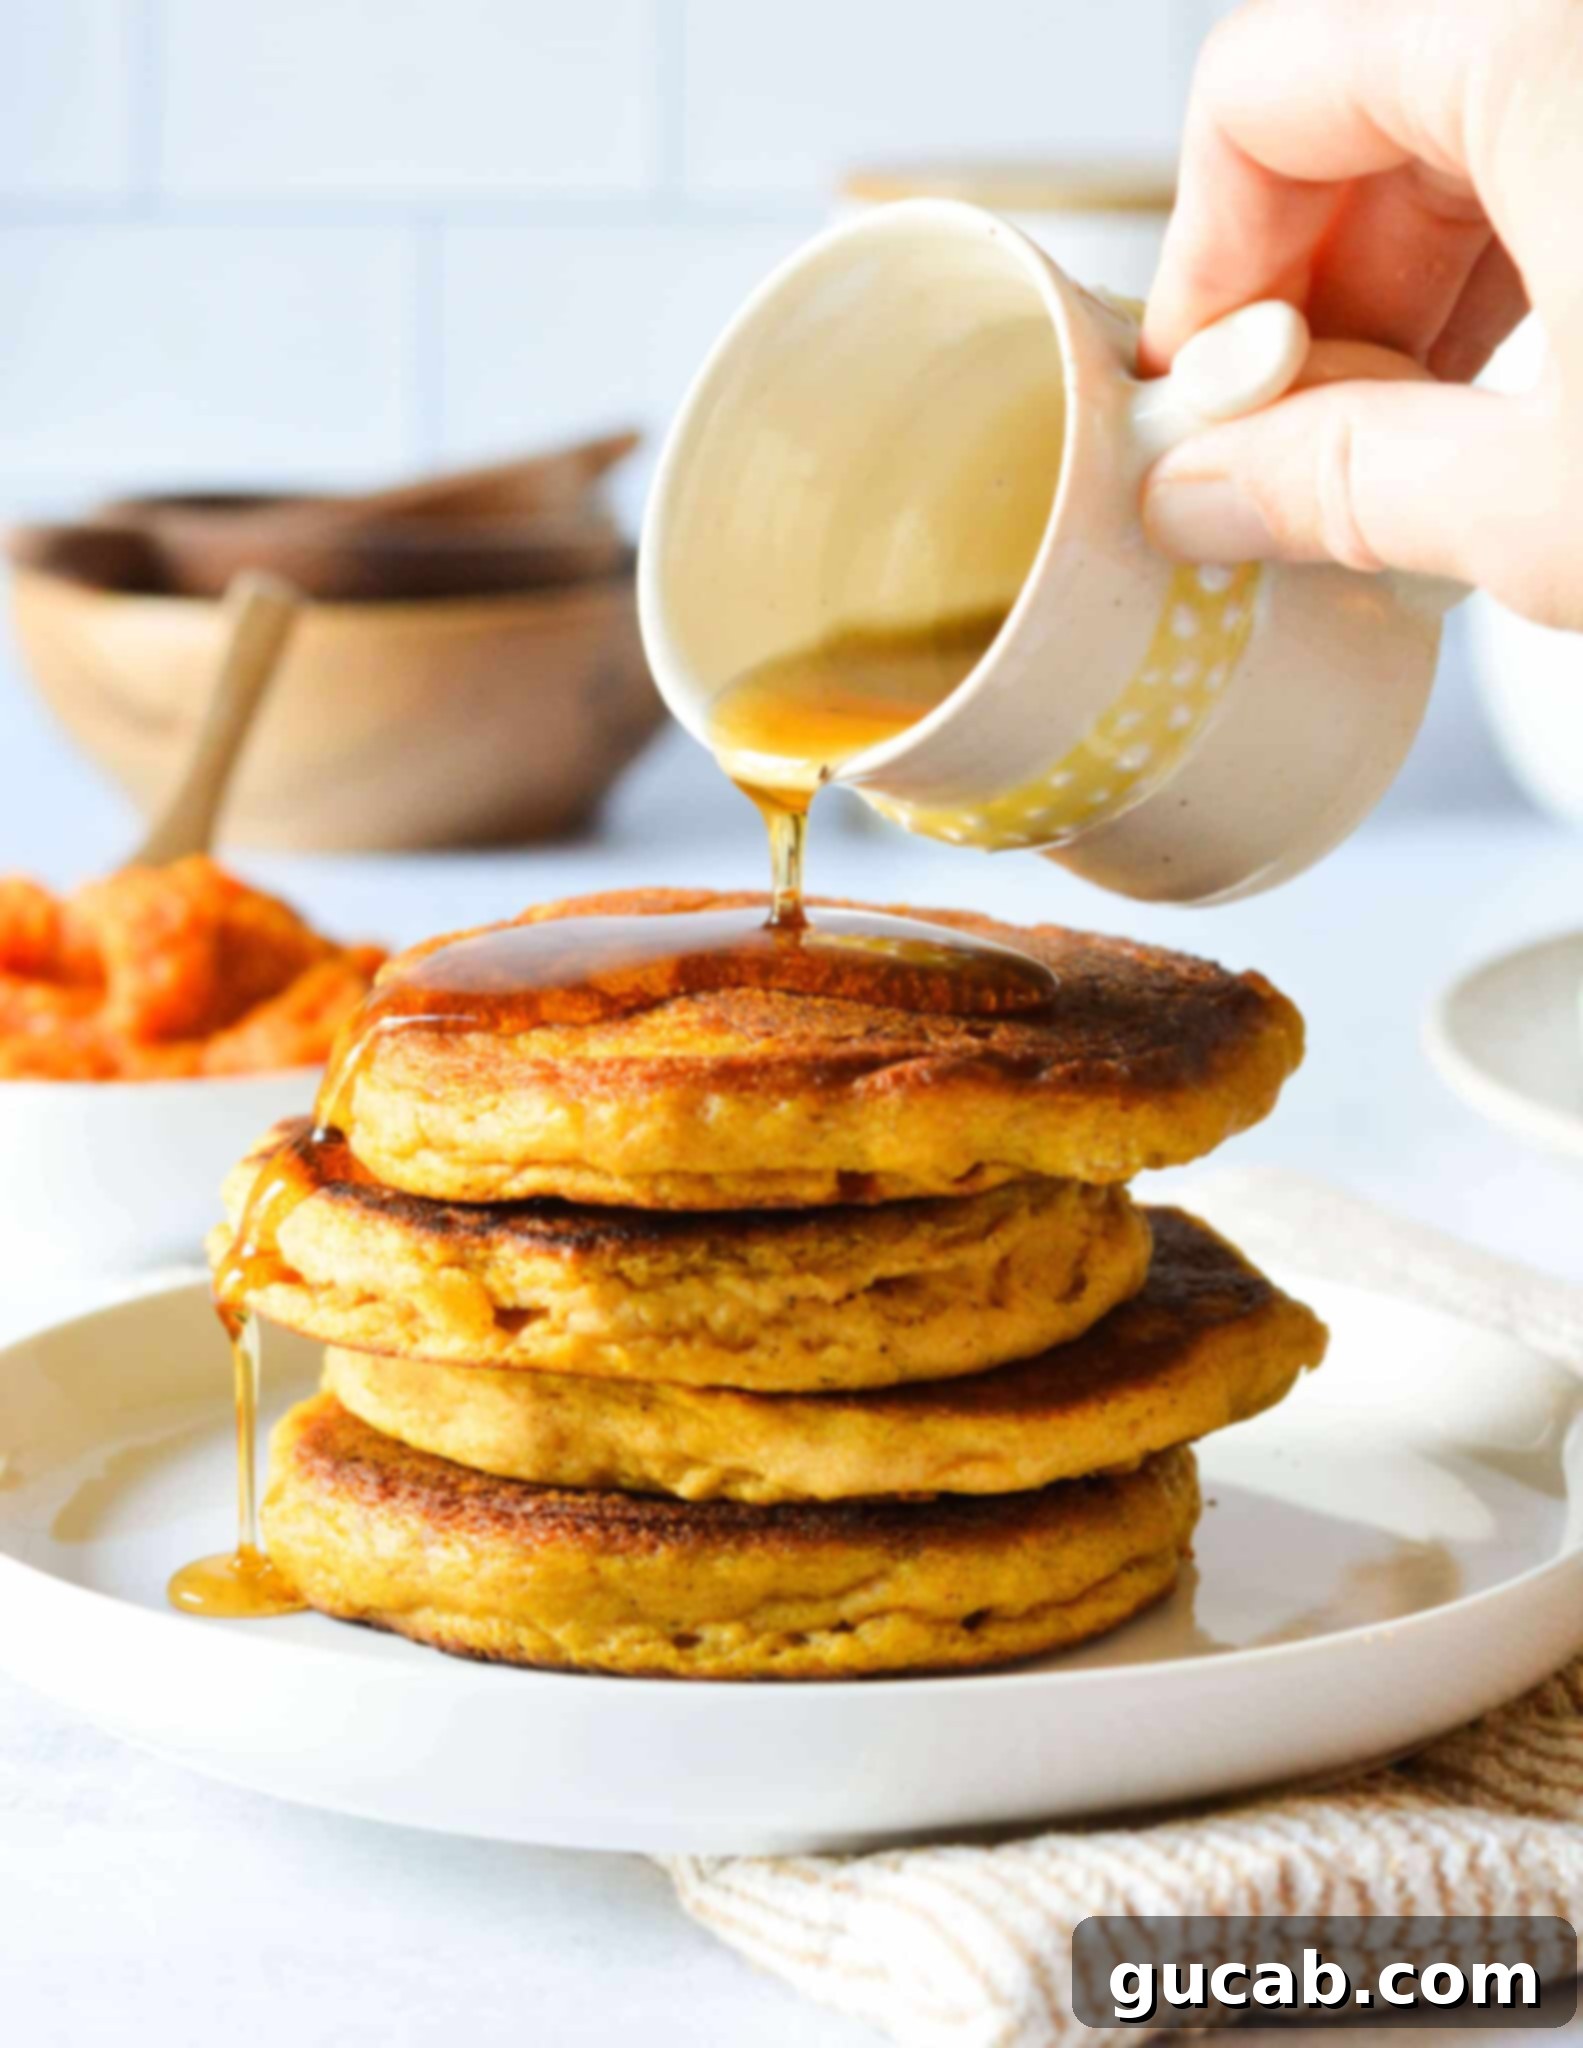
- Serve and Enjoy: Remove the perfectly cooked pancakes from the pan and place them on a plate. Repeat the cooking process with the remaining batter, adding a tiny bit more oil to the pan if needed. Serve your warm, fluffy gluten-free pumpkin pancakes immediately with your favorite toppings, like a generous drizzle of maple syrup, a dollop of whipped cream, or some toasted pecans. These are truly best enjoyed fresh off the griddle, making for an unforgettable fall breakfast experience!
Expert Tips for the Best Gluten-Free Pumpkin Pancakes
Even with a perfect recipe, a few insider tips can make all the difference, transforming your pancake experience from good to absolutely fantastic. Here are some of my top recommendations for cooking these delightful gluten-free pumpkin pancakes:
- Master Your Heat Management: This is perhaps the most crucial tip for perfect pancakes. The ideal cooking temperature for your nonstick skillet should be consistently set at medium to medium-low. If the pan is too hot, the exterior of your pancakes will brown (or even burn) quickly, while the interior remains raw and doughy. Conversely, if the heat is too low, the pancakes will take too long to cook, resulting in a dense, chewy texture. If you notice your pancakes browning too rapidly or burning on the bottom, immediately reduce the heat. Patience is key here; a slower cook time at a moderate temperature ensures a beautifully golden exterior and a fully cooked, fluffy interior.
- Gently Spread the Batter: Due to the luscious pumpkin puree and thick buttermilk, this gluten-free pancake batter will be on the thicker side. While this contributes to their satisfyingly fluffy texture, it also means they won’t spread as much on their own as thinner batters might. After scooping the batter into the pan, take a moment to gently use the back of your scoop or ladle to spread each pancake out slightly. This helps you achieve your desired thickness and ensures a more uniform shape for easier flipping and even cooking, yielding consistently perfect gluten-free pumpkin pancakes.
- Use Oil Sparingly for the Pan: While the vegetable oil in the batter adds moisture, you only need a minimal amount to grease your pan. The goal is to prevent sticking, not to deep-fry the pancakes. Too much oil will result in greasy, heavy pancakes rather than light and airy ones. My preferred method is to add a small amount of neutral oil (like vegetable or canola) to a slightly warm pan, then use a paper towel to wipe it evenly across the entire cooking surface. This creates a thin, uniform layer that promotes even browning without excess greasiness. Reapply a tiny bit of oil between batches as needed.
- Customize Your Spice Level: One of the joys of homemade baking is being able to tailor flavors to your personal palate. Feel free to taste a tiny bit of the raw batter (before adding egg for safety, or just a small amount of the dry mix with a splash of water for flavor assessment) to gauge the pumpkin spice intensity. If you find you prefer a stronger, more pronounced spice flavor, don’t hesitate to add a little extra pumpkin pie spice, perhaps an additional ¼ to ½ teaspoon, until it’s just how you like it. Remember, you can always add more, but you can’t take it away!
- Allow the Batter to Rest (Optional but Recommended): For optimal texture in gluten-free pancakes, allowing the batter to rest for 5-10 minutes after mixing can be beneficial. This resting period gives the gluten-free flours time to fully hydrate, which can lead to a more tender and cohesive pancake. It also allows the baking soda and buttermilk to start their leavening reaction, contributing to extra fluffiness and making your gluten-free pumpkin pancakes even better.
- Keep Pancakes Warm: If you’re cooking for a crowd or making a larger batch, you might want to keep the cooked pancakes warm while you finish the rest. Preheat your oven to its lowest setting (around 170-200°F or 75-95°C). Place a wire rack on a baking sheet, and transfer the cooked pancakes to the rack in a single layer. This prevents them from getting soggy and keeps them perfectly warm until everyone is ready to eat.
- Creative Toppings Beyond Maple Syrup: While classic maple syrup is always a winner, don’t limit yourself! These gluten-free pumpkin pancakes are wonderful with a variety of toppings. Consider a dollop of whipped cream, a dusting of powdered sugar, a sprinkle of toasted pecans or walnuts, a drizzle of caramel sauce, a spoonful of apple butter, or even fresh fruit like sliced bananas or berries. A compound butter, like the whipped cinnamon maple butter mentioned in the related recipes, would also be divine!
Freezing and Storage Tips for Gluten-Free Pumpkin Pancakes
One of the fantastic benefits of making a batch of these gluten-free pumpkin pancakes is their excellent freezer-friendliness. Preparing a larger quantity means you can enjoy a quick, delicious, and warm breakfast on even the busiest mornings, making them perfect for meal prep. Properly stored, they maintain their wonderful flavor and fluffy texture, ensuring you always have a comforting option at hand.
How to Freeze Pancakes for Future Enjoyment:
Freezing pancakes is incredibly simple and highly recommended. To ensure the best results and prevent them from sticking together or developing freezer burn:
- Cool Completely: The most important step is to allow your cooked pancakes to cool down to room temperature entirely. Stacking and freezing warm pancakes will cause condensation, leading to ice crystals and potentially soggy pancakes upon reheating. This ensures your gluten-free pumpkin pancakes retain their perfect texture.
- Pre-Freeze (Optional but Recommended): For best results, once cooled, place the pancakes in a single layer on a baking sheet. Pop the baking sheet into the freezer for about 15-30 minutes, or until the pancakes are firm. This step prevents them from sticking together once they are bagged, making it easier to grab individual servings later.
- Package for Freezing: Once the pancakes are firm (or fully cooled if skipping the pre-freeze step), stack them with small squares of parchment paper or wax paper in between each pancake. This prevents them from sticking together and makes it easy to grab just one or two at a time without thawing the entire stack.
- Store in an Airtight Container: Transfer the stacked pancakes into a heavy-duty, zip-top freezer bag or an airtight freezer-safe container. Press out as much air as possible before sealing the bag to minimize freezer burn and keep your gluten-free pumpkin pancakes fresh.
- Label and Date: Don’t forget to label your bag with the date. These gluten-free pumpkin pancakes can be stored in the freezer for up to 1 month for optimal freshness and texture, though they are often still good for up to 2-3 months.
Reheating Frozen Pancakes:
Reheating your frozen pancakes is just as easy as freezing them, offering a convenient breakfast solution in minutes:
- Microwave Method: For a quick reheat, simply place one or two frozen pancakes on a microwave-safe plate. Heat on high for 30-60 seconds, or until warm and soft. Be careful not to overheat them, as this can make them rubbery and cause them to lose their lovely fluffy texture.
- Toaster or Toaster Oven Method: For a slightly crisper exterior, pop a frozen pancake directly into a toaster on a medium setting, or in a toaster oven for 2-4 minutes, or until heated through and lightly crispy. This method is great for restoring a bit of that fresh-from-the-griddle feel to your gluten-free pumpkin pancakes.
- Oven Method (for multiple pancakes): If you’re reheating several pancakes, preheat your oven to 350°F (175°C). Place the frozen pancakes in a single layer on a baking sheet and heat for 5-10 minutes, or until warmed through. This is perfect when serving a small group and ensures even heating.
With these storage and reheating tips, you’ll always have a delightful, gluten-free pumpkin breakfast ready to go, whenever the craving strikes, making meal planning for busy mornings effortless!
Understanding Gluten-Free Flour Blends: A Crucial Component
Navigating the world of gluten-free baking, especially for those new to it, often starts with understanding gluten-free flour. It’s important to remember that “gluten-free all-purpose flour” isn’t a single ingredient but rather a carefully formulated blend of various flours and starches. Unlike traditional wheat flour, which contains gluten (a protein that provides structure and elasticity), gluten-free blends are designed to mimic these properties using a combination of different gluten-free grains and binders.
Each brand on the market has its own unique blend, which might include rice flour (white or brown), tapioca starch, potato starch, sorghum flour, millet flour, cornstarch, and more. These different ratios and types of flours contribute distinct textures, flavors, and absorbency rates to a recipe. This is why consistency can sometimes be a challenge in gluten-free baking – a recipe that works perfectly with one brand might yield different results with another, impacting the final outcome of your gluten-free pumpkin pancakes.
A key ingredient often found in effective gluten-free all-purpose blends is **xanthan gum**. This natural gum acts as a binder, providing the elasticity and structure that gluten typically offers. It prevents gluten-free baked goods from becoming crumbly, dense, or dry. While some blends come with xanthan gum already included (often labeled as “1:1” or “cup-for-cup”), others do not. If your chosen brand lacks xanthan gum, you’ll typically need to add a small amount (usually around ½ teaspoon per cup of flour for pancakes) to your dry ingredients to achieve the desired texture and prevent your pancakes from falling apart. This addition is vital for achieving fluffy gluten-free pumpkin pancakes.
For this specific gluten-free pumpkin pancake recipe, I wholeheartedly recommend **Bob’s Red Mill 1:1 Gluten Free Baking Flour**. This blend has been tested extensively and consistently delivers the light, fluffy texture and delicious flavor described in this guide. Its reliable performance makes it my top choice for mimicking traditional flour. Because different brands react so distinctively in recipes due to their varied compositions, sticking to a recommended brand can significantly increase your chances of success, especially when you’re aiming for that perfect pancake texture.
However, experimentation is also part of the baking adventure! If you do decide to try a different gluten-free all-purpose flour blend and achieve fantastic results, please don’t hesitate to share your experience in the comments below. Your feedback helps other bakers in the community discover new successful alternatives and broadens our collective knowledge on gluten-free baking. We’re always eager to learn what works best for your delicious gluten-free pumpkin pancakes!
Other Gluten Free Breakfast Recipes You Might Like
- Cassava Flour Pancakes [Paleo & Gluten Free] – A fantastic option for those seeking a grain-free and paleo-friendly pancake.
- Almond Flour Pancakes [The Best] – Rich in protein and wonderfully tender, a great low-carb alternative.
- Whipped Cinnamon Maple Butter – The perfect creamy, spiced topping to elevate any pancake or waffle.
- Joanna Gaines Best Buttermilk Pancake Recipe (These taste amazing gluten-free!!) – A classic recipe, easily adapted for gluten-free deliciousness.
- Gluten Free Chocolate Pancakes – Indulgent and delightful, perfect for a special breakfast treat.
Gluten Free Pumpkin Pancakes
Carolyn
Pin Recipe
Equipment
-
Large Bowl
-
Nonstick skillet
-
Turner spatula
-
Liquid Measuring cup
-
Measuring cups and spoons
Ingredients
- 1 cup Bob’s Red Mill 1:1 Gluten Free All Purpose Flour
- 1 teaspoon Baking powder
- 1 teaspoon Baking soda
- 3 tablespoons Sugar
- pinch Kosher salt
- ¾ teaspoon Pumpkin pie spice
- 1 cup Buttermilk
- ⅓ cup Vegetable oil plus more for the pan
- ⅓ cup Pumpkin puree
- 1 egg
Instructions
-
Place a 10 inch nonstick skillet on medium heat. Add a small amount of vegetable oil – just enough to coat the pan. You can use a paper towel to wipe it around the pan.
-
In a large bowl combine the gluten free all purpose flour, baking powder, baking soda, sugar, pumpkin pie spice, and salt. Stir to combine.
-
In a liquid measuring cup, combine the buttermilk, vegetable oil, and pumpkin. Add the egg and whisk until combined.
-
Pour the liquid ingredients into the dry ingredients and whisk together.
-
Make sure the skillet is up to temperature. Using a portion scoop, scoop 3 pancakes into the pan, spreading them out a bit with the back of the scoop. Cook for about 4 minutes and then flip with a spatula.
-
If the pancakes are browning too quickly, turn down the heat a little.
-
Cook for another 3 to 4 minutes and remove from the pan. Repeat with the remaining batter. Enjoy with maple syrup!
Nutrition
