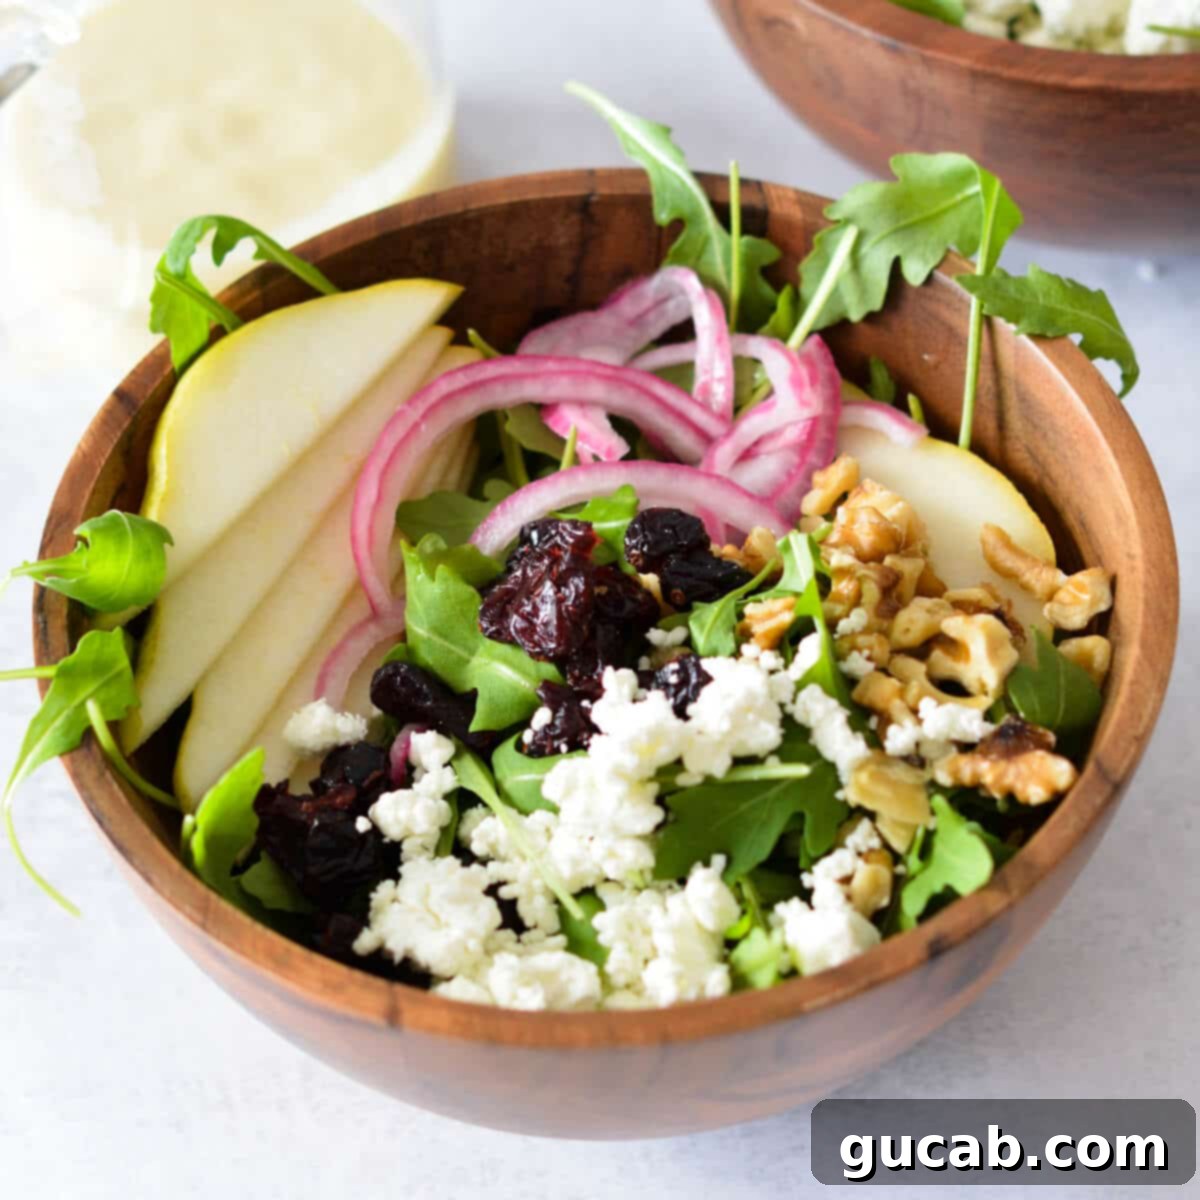
Fresh & Flavorful Arugula Pear Salad with Goat Cheese and Homemade Pear Vinaigrette
Prepare to elevate your salad game with this incredible Arugula Pear Salad. It’s a vibrant, light, and incredibly fresh dish that perfectly balances peppery arugula with sweet pear, tangy goat cheese, and crunchy walnuts. Enhanced by a bright homemade pear vinaigrette and a touch of zesty quick-pickled red onion, this salad isn’t just a side dish—it’s a flavor sensation. It’s remarkably simple to prepare, yet sophisticated enough to impress at any gathering, making it a versatile addition to your culinary repertoire.
Why This Arugula Pear Salad Will Be Your New Favorite
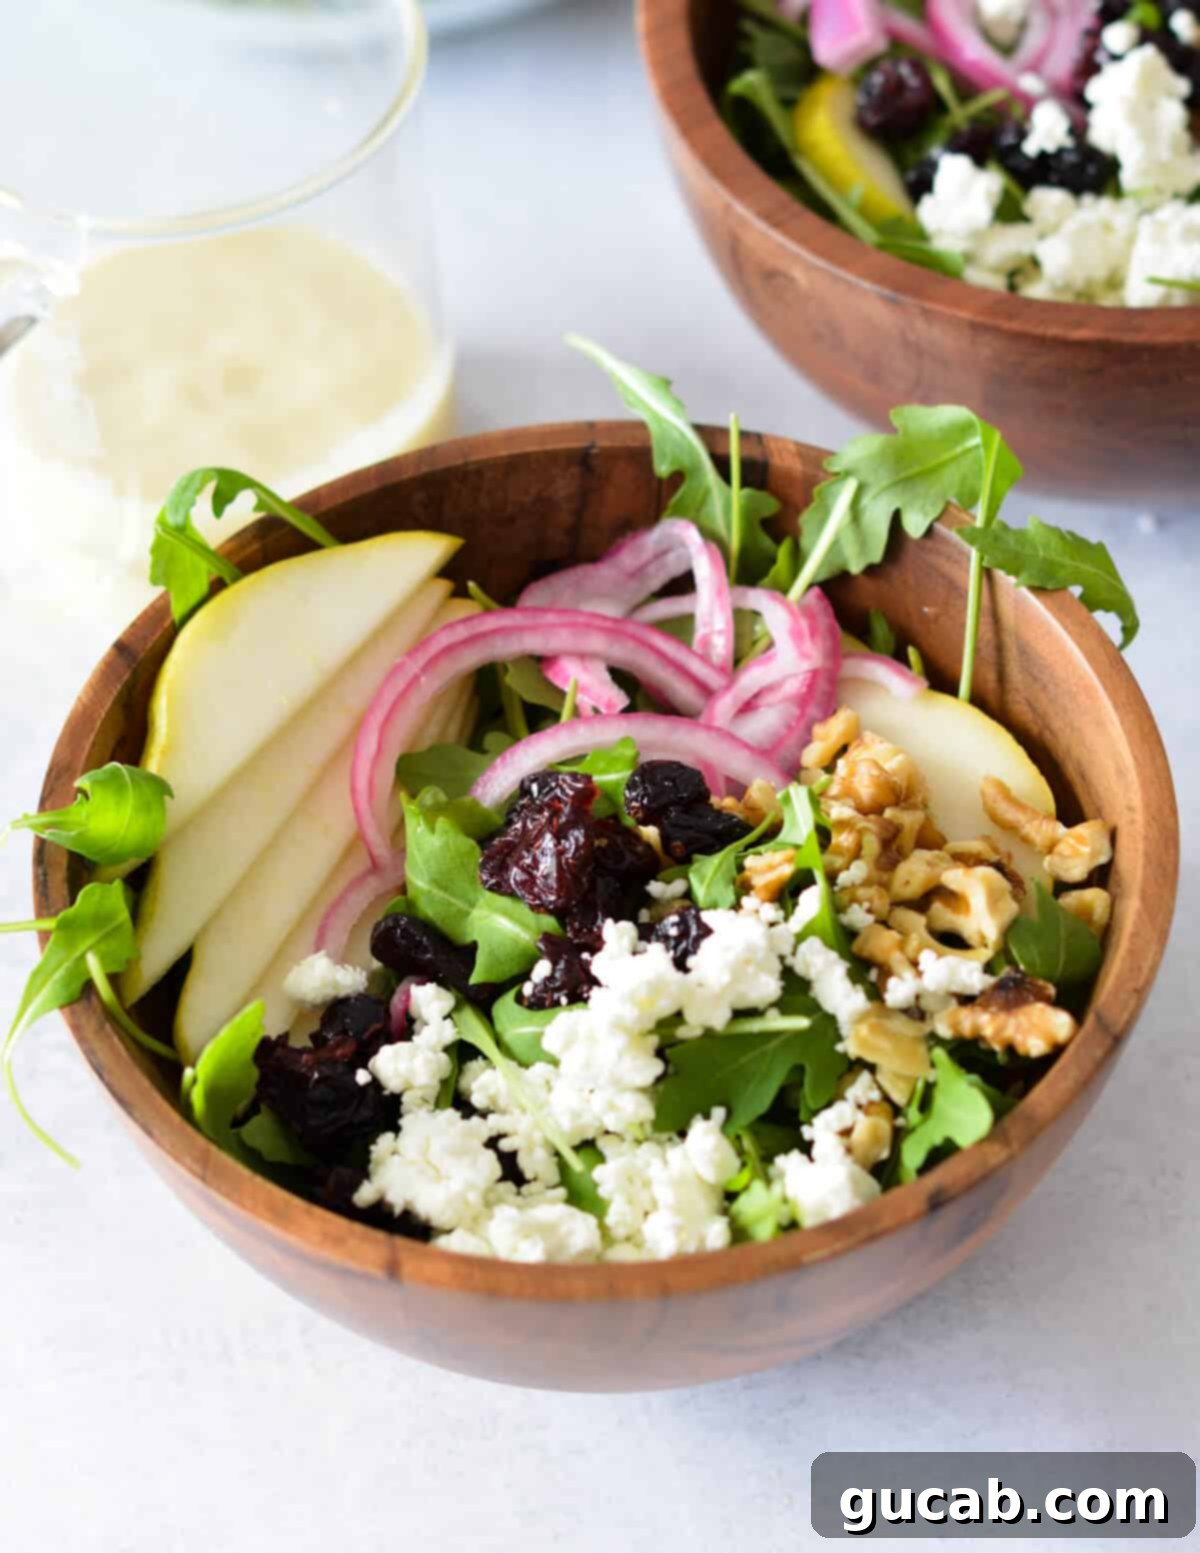
Forget bland salads! Life’s too short for boring greens. This arugula goat cheese salad is a symphony of textures and tastes, hitting all the right notes: crunch, tang, and delightful sweetness. The robust flavor of peppery arugula is perfectly mellowed and complemented by the juicy sweetness of ripe pear, the creamy tang of goat cheese, and the satisfying bite of walnuts. What truly sets this salad apart is the zippy, homemade pear vinaigrette and the optional (but highly recommended) quick-pickled red onions, which add an extra layer of bright flavor and delightful crunch. It’s an easy-to-make dish that feels gourmet, proving that amazing salads don’t have to be complicated.
Whether you’re looking for a refreshing starter, a light lunch, or a perfect accompaniment to your main course, this salad delivers. Its seasonal ingredients shine, making it particularly popular during fall and winter months, but truly enjoyable year-round. Plus, it’s easily customizable to suit your preferences and what you have on hand.
(For another peppery greens delight, check out my Parmesan Arugula Salad!)
Essential Ingredients for a Perfect Pear & Goat Cheese Salad
Crafting this incredible salad starts with selecting the freshest, highest-quality ingredients. Each component plays a crucial role in creating the harmonious balance of flavors and textures that makes this dish so irresistible. Here’s a closer look at the key players:
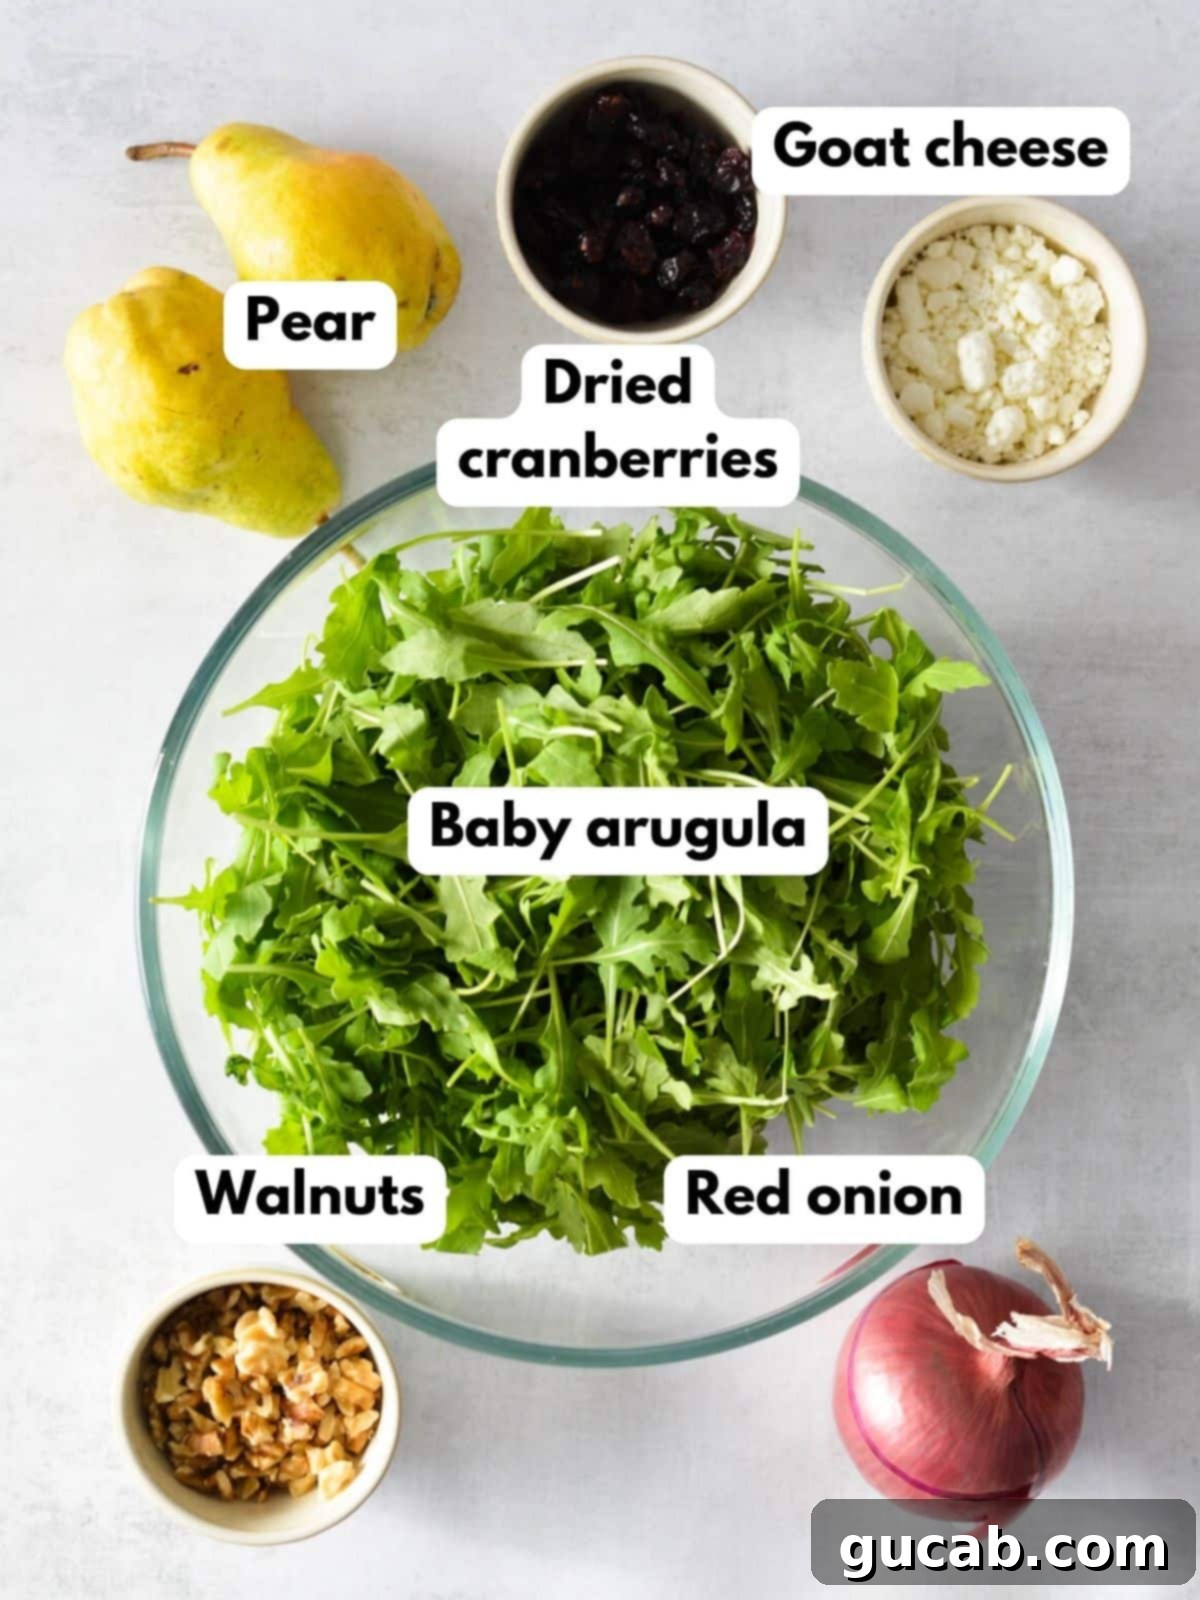
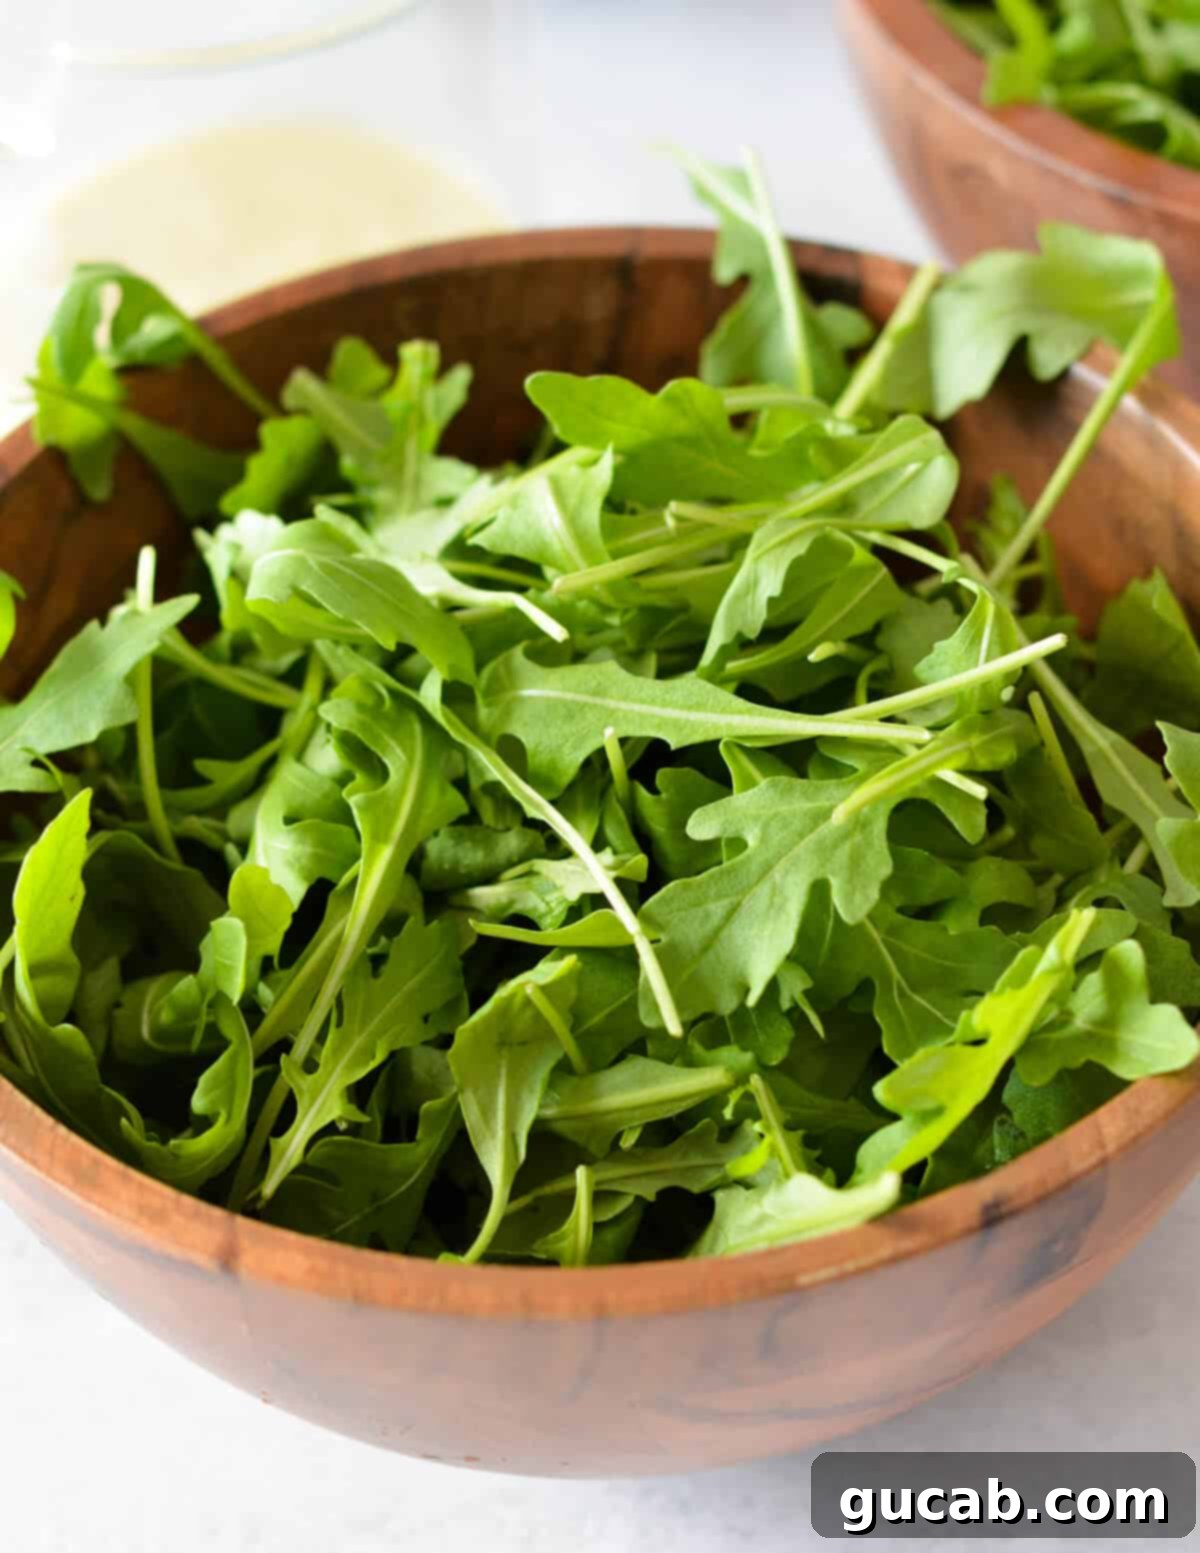
- Baby Arugula: The star of our green base, baby arugula brings a delightful peppery, slightly bitter kick. While its flavor can be overpowering on its own, it’s absolutely “fire” when paired with a sweet and tangy vinaigrette. Look for bright green, crisp leaves without any wilting or yellowing. Arugula is also packed with vitamins K and A, making it a healthy choice for your salad.
- Ripe Pear: Pears add a natural sweetness and juicy texture that beautifully contrasts with the arugula. Opt for a pear that’s ripe but still firm to the touch; varieties like Bosc, Anjou, or Bartlett work wonderfully. Avoid overly soft pears, as they can become mushy in a salad. A firm pear will hold its shape and provide a pleasant bite.
- Red Onion: While you *can* use raw red onion for a sharper bite, I wholeheartedly recommend quick-pickling them. This simple 5-minute step transforms their intense flavor into a vibrant, zippy, and slightly sweet crunch that elevates the entire salad. Plus, the beautiful pink hue they develop adds visual appeal.
- Creamy Goat Cheese Crumbles: Goat cheese (chevre) offers a delightful creamy texture and a distinctive tangy, earthy flavor that complements both the sweetness of the pear and the pepperiness of the arugula. Its soft, crumbly nature makes it easy to distribute throughout the salad, ensuring a burst of flavor in every bite.
- Dried Cranberries: These jewel-toned berries provide a chewy texture and a concentrated burst of sweet-tart flavor. They add a lovely color contrast and a pleasant chewiness that rounds out the salad’s profile.
- Chopped Walnuts: For that essential satisfying crunch, walnuts are an excellent choice. Their rich, slightly earthy flavor pairs wonderfully with the other ingredients. You can lightly toast them for an enhanced nutty aroma.
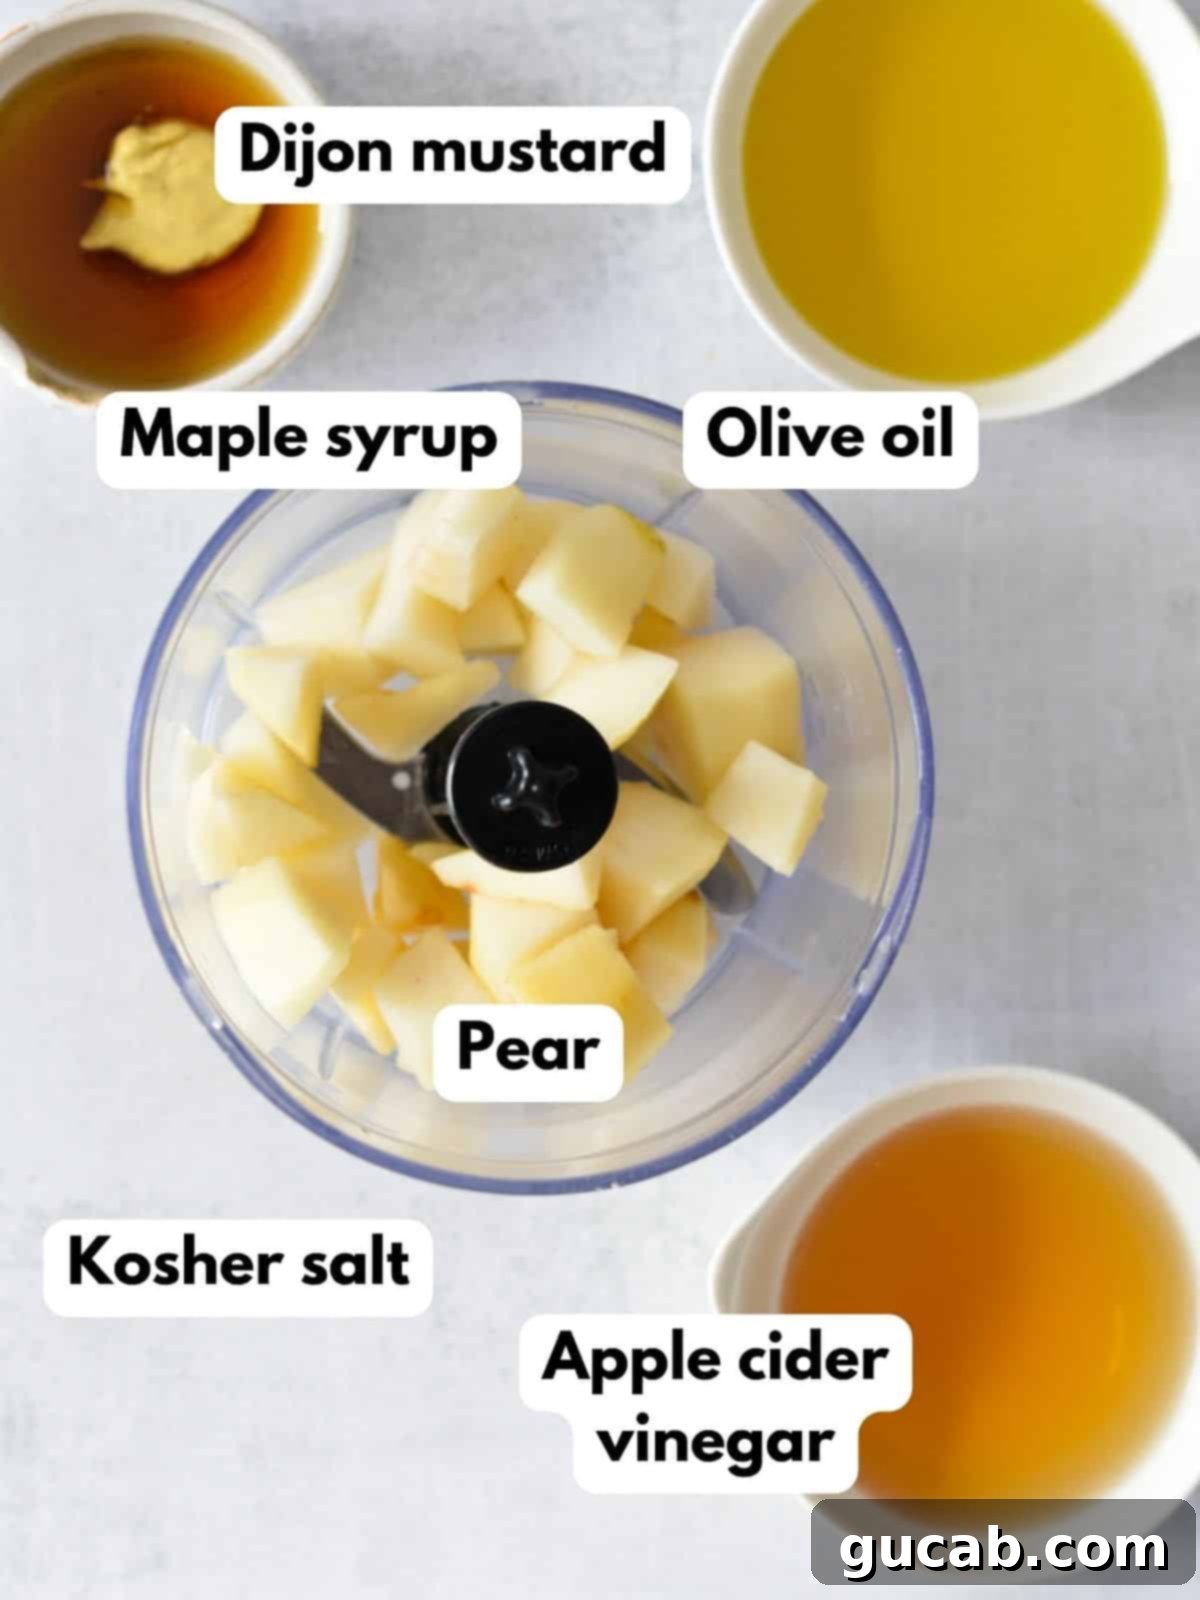
- Maple Syrup (for vinaigrette): This natural sweetener adds depth and a subtle caramel note to the vinaigrette. Feel free to substitute with honey or light agave nectar if preferred.
- Good Quality Olive Oil (for vinaigrette): A cornerstone of any great vinaigrette, olive oil binds the flavors together. Use extra virgin olive oil for its fruity notes and health benefits.
- Apple Cider Vinegar (for vinaigrette): Providing the necessary tang and acidity, apple cider vinegar brightens the dressing. If you don’t have it, white wine vinegar, champagne vinegar, or even fresh lemon juice can be excellent alternatives.
Customizing Your Arugula Salad: Simple Swaps & Variations
One of the best things about this arugula pear salad is its flexibility. Don’t be afraid to get creative and tailor it to your taste preferences or whatever ingredients you have on hand. Here are a few simple swaps and additions you can make:
- Greens Galore: If arugula’s bold flavor isn’t your favorite, or if you simply want to try something different, consider a milder mix. Baby spinach, tender baby kale, butter lettuce, or a combination of mixed greens would all work beautifully as the base for this salad. Each offers a slightly different texture and flavor profile.
- Topping Transformations: While walnuts are fantastic, almost any nut or seed can be a great substitute. Try crunchy pecans, savory pistachios, delicate sliced almonds, or even sunflower seeds for a different twist. For extra flair, a light toast in a dry pan can bring out their natural flavors. You could also add toasted pumpkin seeds for a fall-inspired touch.
- Cheese Choices: Not a fan of goat cheese? No problem! Crumbled feta cheese offers a saltier, tangier alternative, while creamy gorgonzola (or another mild blue cheese) provides a more pungent, yet equally delicious, option. Fresh mozzarella balls or shaved Parmesan could also introduce a different textural element.
- Power Up with Protein: To transform this delightful side salad into a satisfying main meal, simply add your favorite protein. Sliced grilled chicken, pan-seared steak, flaky salmon, roasted shrimp, or even marinated and baked tofu are all excellent additions that will make it a complete, hearty dish. Cooked chickpeas or lentils can also add a plant-based protein boost.
- Dressing Decisions: While our homemade pear vinaigrette is outstanding, we totally understand when life calls for simplicity! If you’re short on time or prefer a ready-made option, a store-bought dressing can be a perfect swap. For this particular salad, Panera’s balsamic vinaigrette or their Fuji apple dressing are highly recommended and complement the flavors wonderfully. Any light, fruity, or balsamic-based dressing would likely be a good fit.
- Seasonal Fruit Additions: Beyond pears, consider adding other seasonal fruits. Thinly sliced apples (like Honeycrisp or Fuji), segments of orange, or even fresh berries in the summer can add different layers of sweetness and acidity.
The Magic of Quick-Pickled Red Onions
Don’t skip this step! While this salad is delicious with plain red onions, quick-pickling them is a game-changer. It takes minimal hands-on time (literally 5 minutes!), and the transformation is remarkable. The pickling process softens the onion’s sharp bite, infusing it with a zesty, slightly sweet, and tangy flavor that adds an incredible dimension to the salad. Plus, the vibrant pink color they develop is simply gorgeous. What’s even better is that any leftovers last for up to two weeks in the fridge, making them a fantastic staple for jazzing up other dishes like sandwiches, burgers, tacos, and rice bowls. It’s an easy win for adding big flavor!
Here’s how easy it is to make your own batch of flavorful quick-pickled red onions:
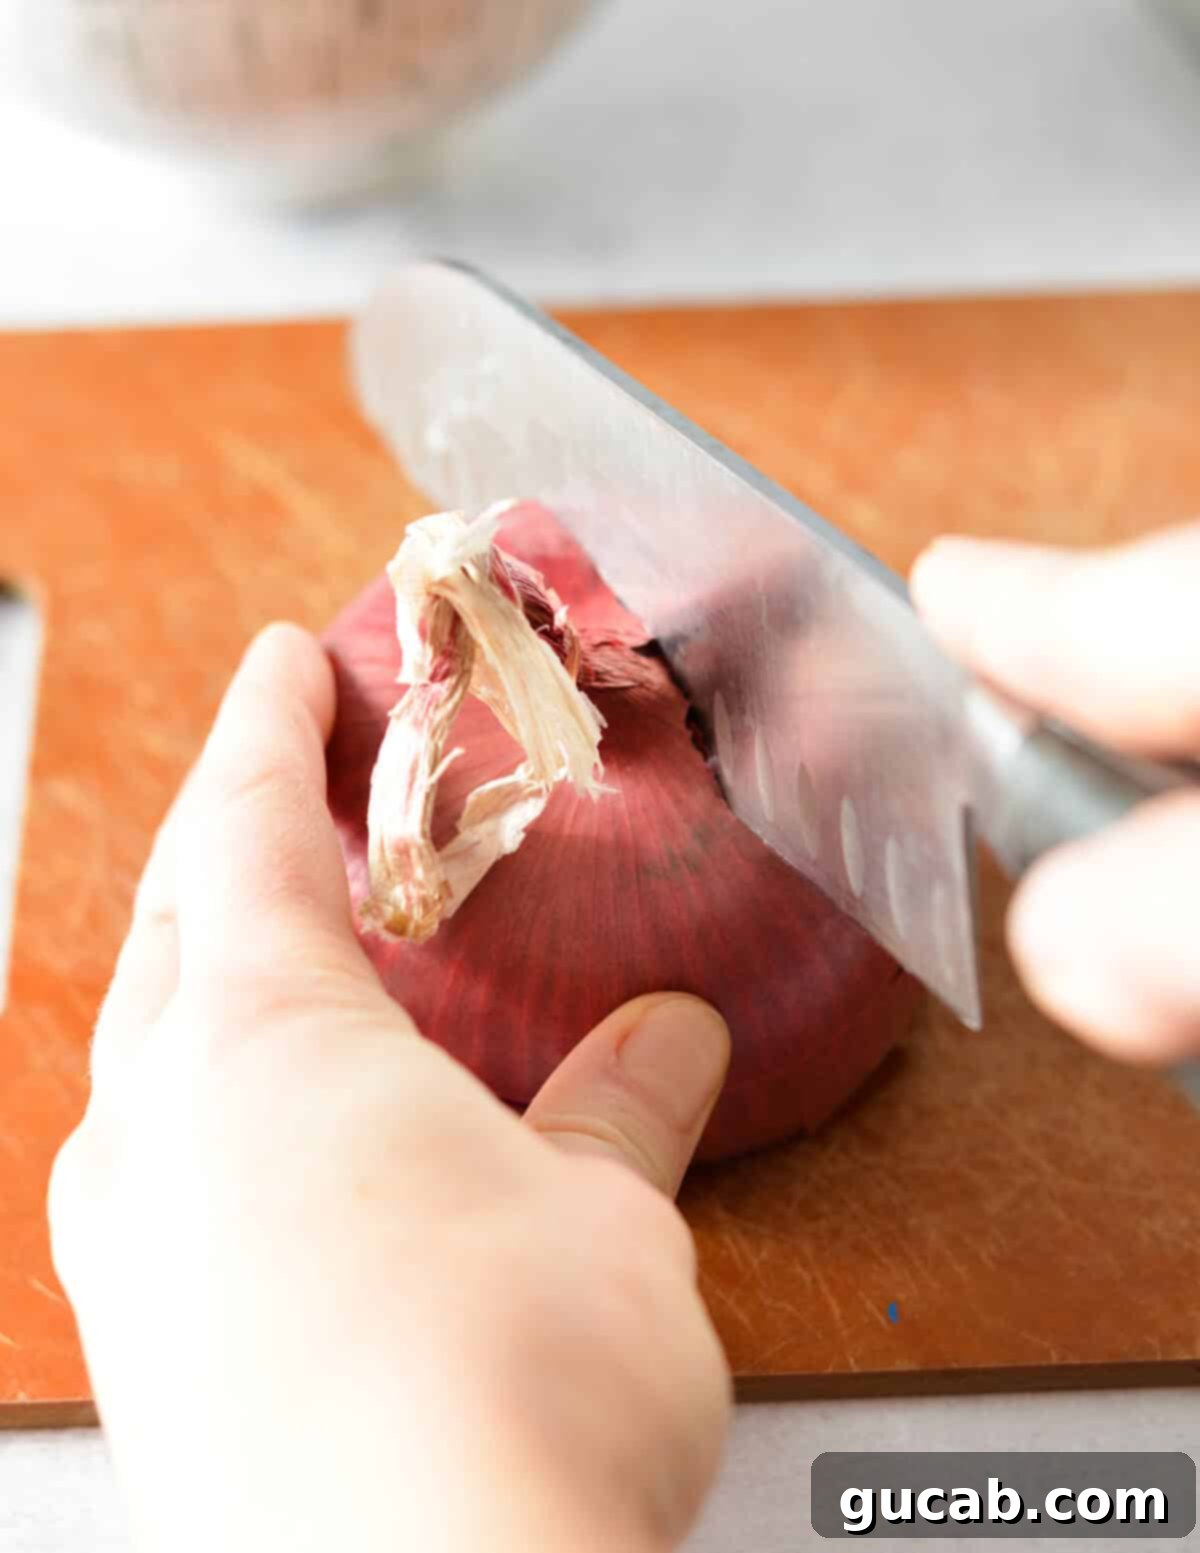
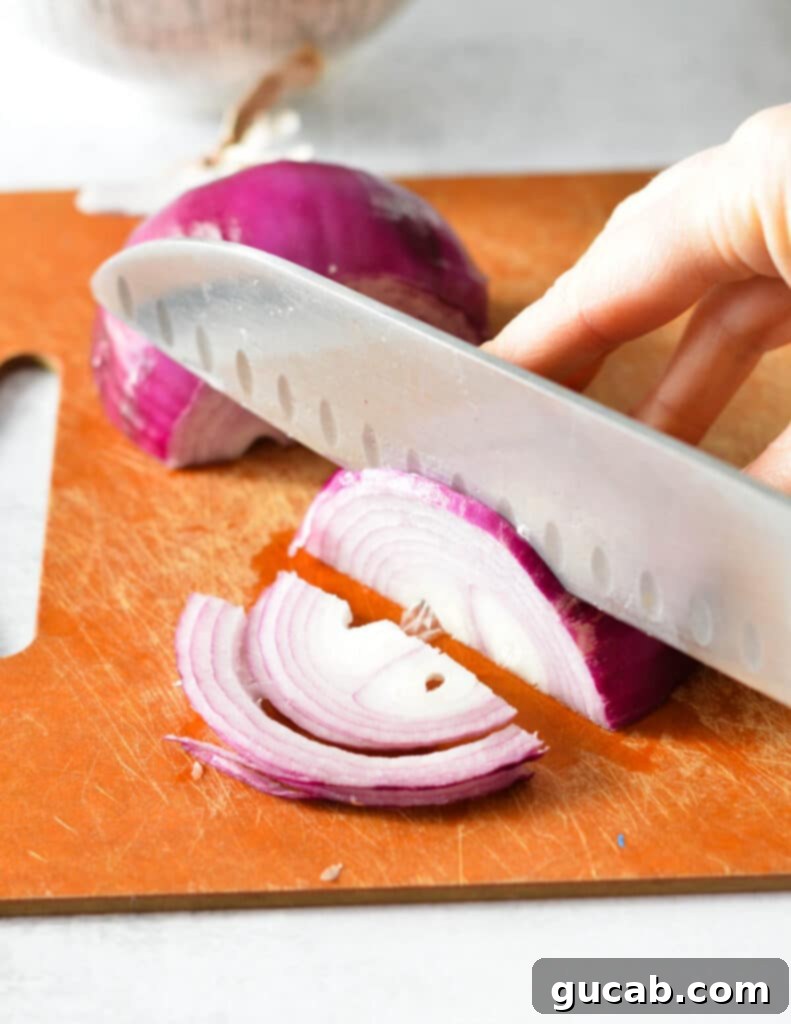
- Prepare the Onions: Begin by peeling and thinly slicing your red onion. Aim for consistent, thin slices so they pickle evenly.
- Container Prep: Transfer the sliced onions into a heat-proof bowl or a clean glass jar.
- Brine Creation: In a small saucepan, combine water, your chosen vinegar (white vinegar is classic for pickling), salt, and sugar.
- Heat and Dissolve: Gently heat the mixture over medium heat, stirring occasionally, until both the salt and sugar have completely dissolved. You don’t need to bring it to a rolling boil, just hot enough for dissolution.
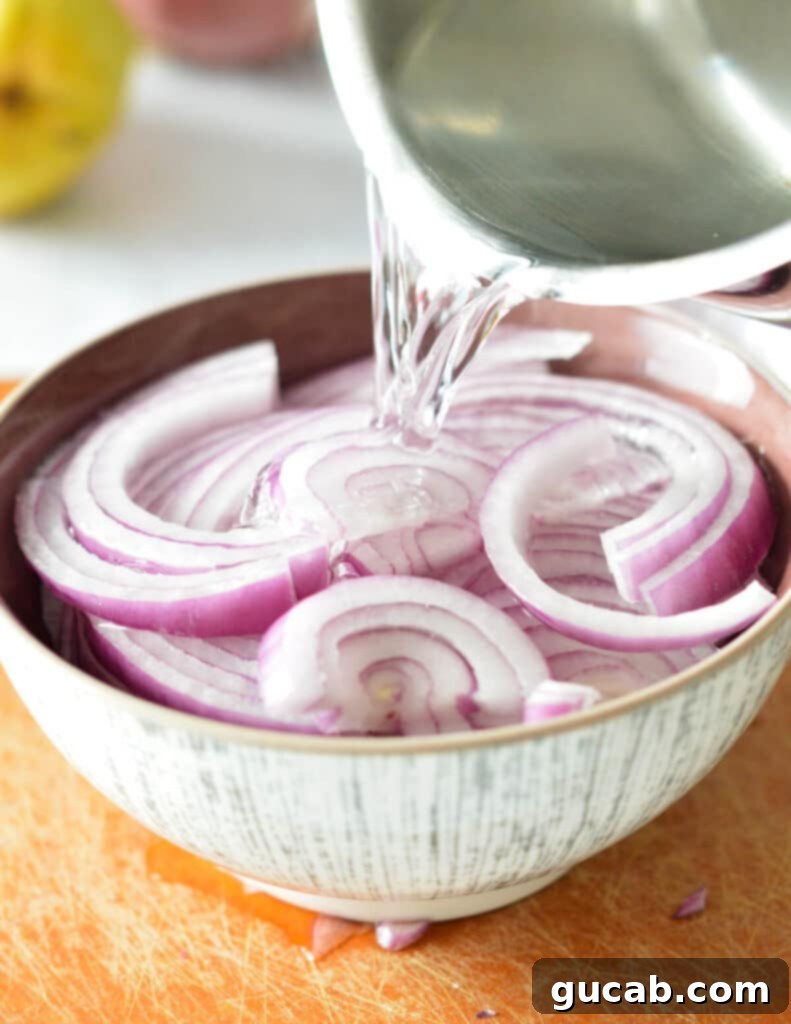
- Pour and Steep: Immediately pour the hot brine over the sliced onions. Ensure all the onion slices are submerged in the liquid. Let them sit at room temperature.
Allow the onions to cool completely in the liquid. Once cooled, transfer the onions and the pickling liquid to an airtight jar. Store them in the refrigerator for up to two weeks, enjoying their vibrant flavor and crunch whenever you need a boost!
How to Craft Your Arugula Pear Salad: A Step-by-Step Guide
Assembling this delightful salad is quick and easy, especially if you’ve prepared the pickled onions and vinaigrette ahead of time. Here’s how to bring all those incredible flavors and textures together:
1. Prepare the Pear Vinaigrette
First things first, let’s talk dressing! There’s absolutely no shame in using a high-quality store-bought vinaigrette if you’re short on time. If you opt for convenience, simply skip to step 2. However, for a truly unparalleled flavor experience, I highly recommend whipping up this homemade pear vinaigrette. It’s fresh, zesty, and perfectly complements the salad’s ingredients.
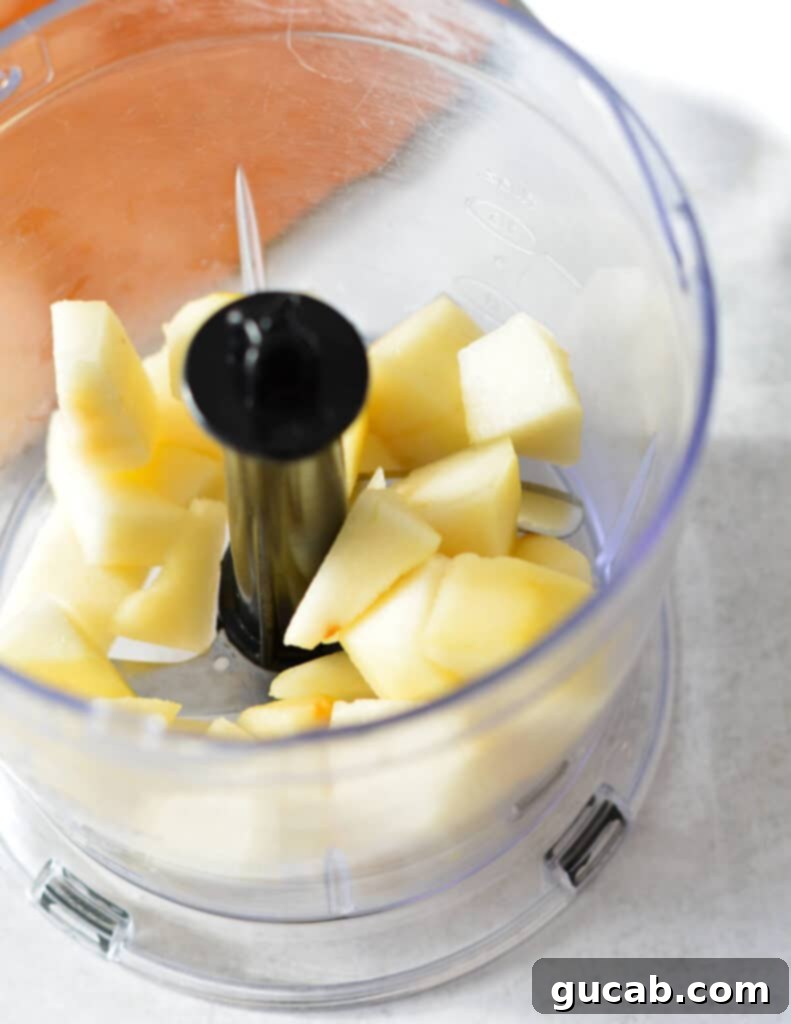
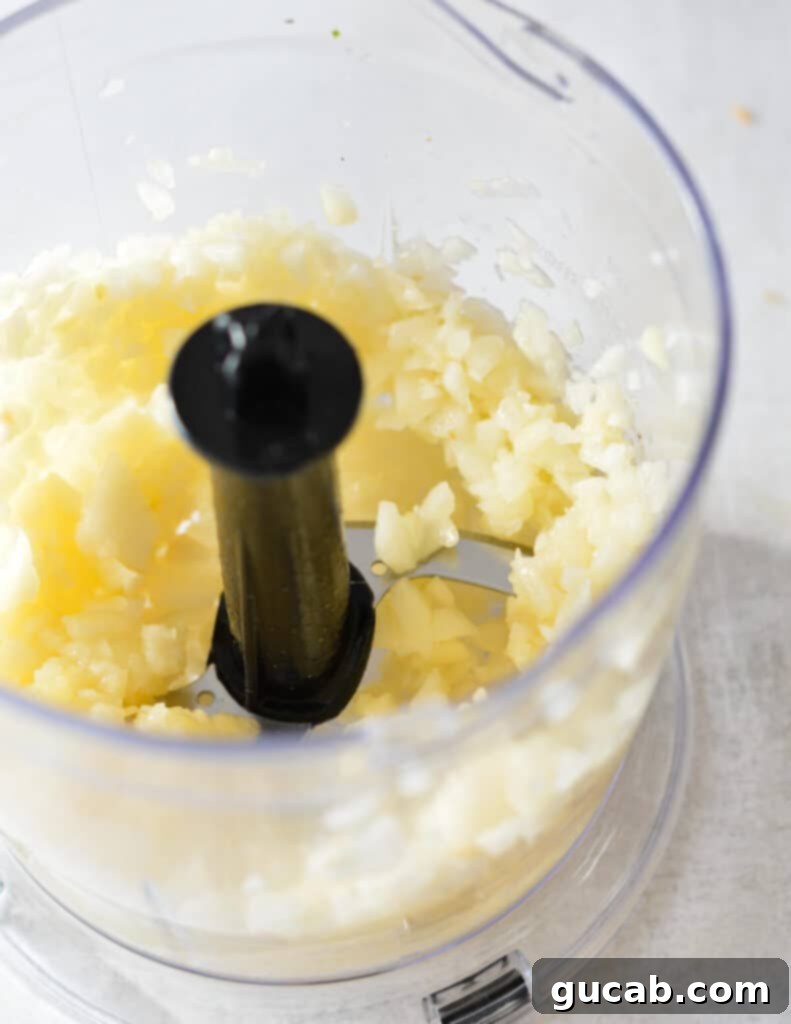
- Start with Pear: In a mini food processor (or a regular food processor for larger batches), add the chopped pear. Pulse it until it breaks down into tiny, fine pieces.
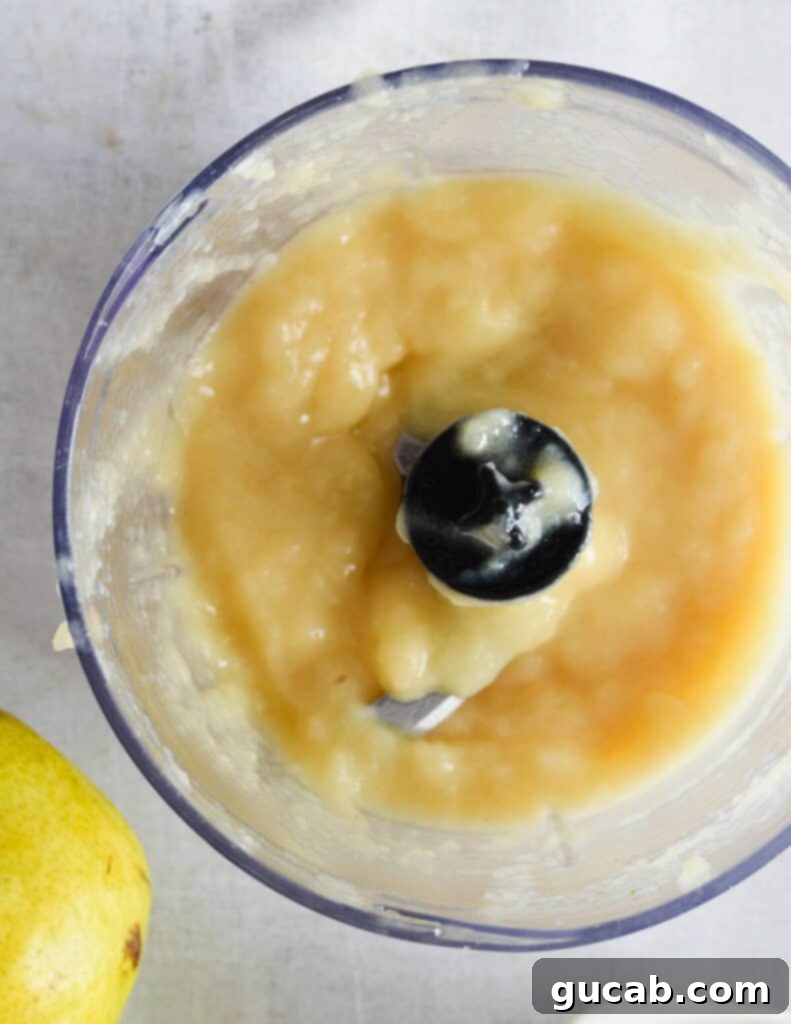
- Initial Blend: Add the maple syrup and two tablespoons of apple cider vinegar to the pear. Pulse again until the mixture becomes smooth and resembles a light pear sauce. This creates a sweet and tangy base.
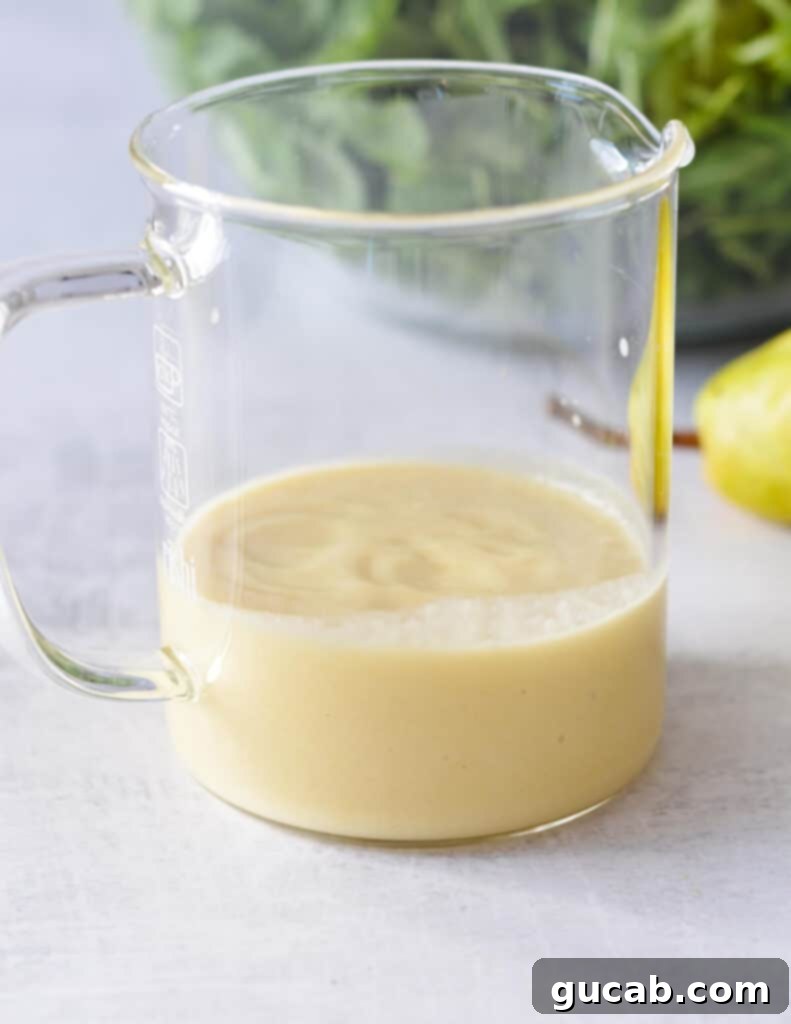
- Final Touches: Incorporate the remaining ingredients (olive oil, Dijon mustard, and a pinch of salt). Blend until the vinaigrette is completely smooth and creamy.
- Taste and Adjust: Always taste your vinaigrette! This is your chance to adjust the sweetness or tanginess to your liking. Add a little more maple syrup for a sweeter dressing, or a splash more vinegar for extra zip. Once perfected, set it aside until you’re ready to dress the salad.
2. Assemble Your Arugula Pear Salad
Now for the exciting part – bringing it all together! You have two fantastic ways to assemble your arugula pear salad, depending on whether you’re serving it family-style or individually:
Tossed Salad (Family Style):
- Combine Ingredients: In a large mixing bowl, gently add the fresh baby arugula, thinly sliced pear, crunchy walnuts, creamy goat cheese crumbles, and sweet dried cranberries. Don’t forget a generous sprinkle of your vibrant quick-pickled red onions!
- Dress & Toss: Drizzle a conservative amount of your pear vinaigrette over the salad. Remember, you can always add more dressing, but you can’t take it away! Using large salad tongs, gently toss all the ingredients until everything is lightly coated and evenly distributed.
- Serve Immediately: Transfer the beautifully tossed salad to a large serving bowl and present it with pride.
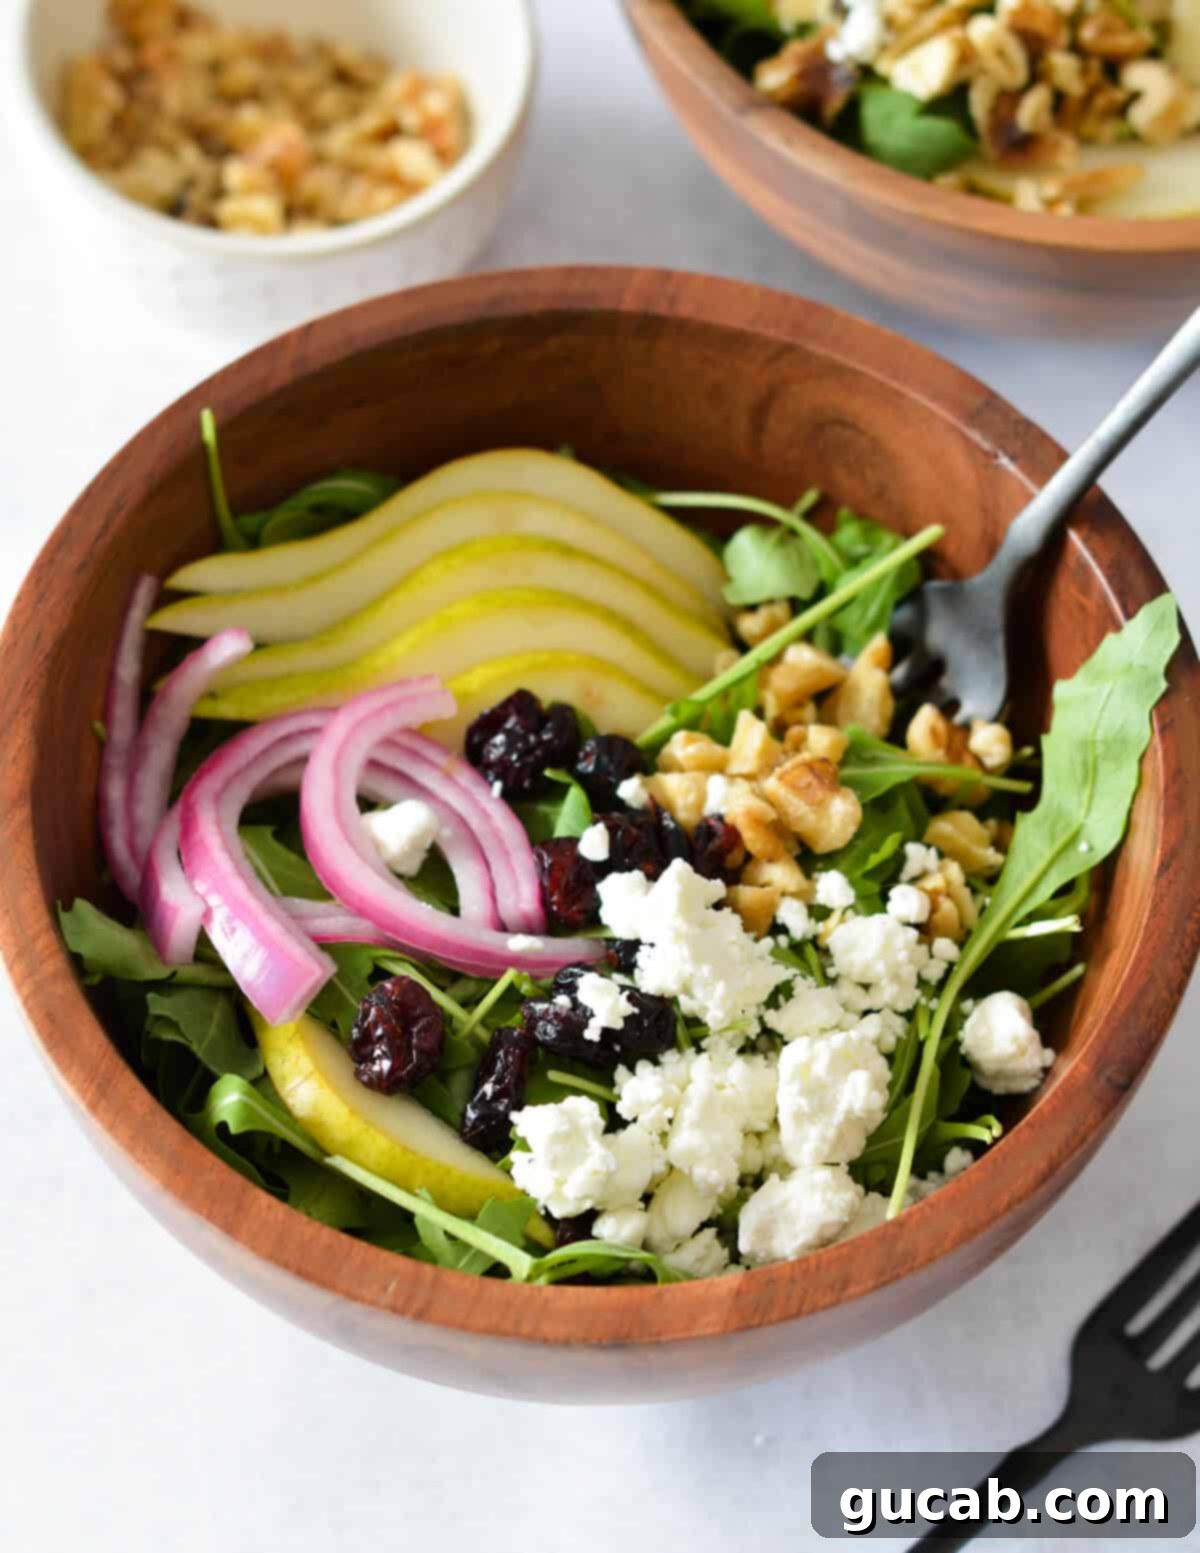
Individual Bowls (Perfect for Guests):
- Divide the Greens: Evenly distribute the baby arugula among four medium-sized serving bowls.
- Artful Topping: Elegantly arrange the dried cranberries, walnuts, sliced pear, goat cheese crumbles, and pickled red onions on top of the arugula in each bowl. This presentation style is not only beautiful but also allows each diner to appreciate the individual components.
- Personalized Dressing: Serve the pear vinaigrette on the side, allowing each person to dress their own salad to their preferred taste. This ensures the greens stay crisp until the very last moment.
Make-Ahead & Storage Tips for Ultimate Freshness
While this salad is best enjoyed fresh, some components can be prepared in advance to make assembly a breeze on a busy day. Proper storage also ensures you get the most out of your delicious creation:
- Pickled Onions: These wonderful additions are incredibly convenient for make-ahead prep. Quick-pickled red onions can be made up to two weeks in advance and stored in an airtight jar in the refrigerator. They taste fantastic throughout this period, but for optimal crunch, I recommend making them no more than a week before serving.
- Pear Vinaigrette: Your homemade pear vinaigrette can also be prepared ahead of time. Store it in a sealed container or jar in the refrigerator for up to 2 days. Before using, simply let it sit at room temperature for about 30 minutes to allow the olive oil to loosen up, then give it a vigorous shake or stir to re-emulsify.
- Dry Ingredients: The walnuts and dried cranberries can be pre-chopped and stored in separate airtight containers at room temperature. The goat cheese can also be crumbled and kept in the fridge.
Important Storage Note for Dressed Salads:
Once your arugula pear salad has been dressed with vinaigrette, it’s generally not recommended for long-term storage. The acid in the dressing will cause the delicate arugula leaves to wilt quickly, making the salad less appealing and fresh. For this reason, always dress the salad just before serving. If you anticipate having leftovers, store the undressed greens and toppings separately, and keep the vinaigrette on the side.
Serving Suggestions for Your Arugula Pear Salad
This versatile arugula pear salad pairs beautifully with a wide range of main dishes. Its fresh, bright flavors provide a perfect contrast to richer meals or a light complement to simpler fare:
- Roasted Meats: Excellent alongside roasted chicken, pork tenderloin, or a juicy steak.
- Fish and Seafood: A wonderful accompaniment to pan-seared salmon, grilled cod, or baked shrimp.
- Pasta Dishes: Lightens up creamy pasta dishes or complements vegetable-based pastas.
- Sandwiches and Wraps: Makes a fantastic, refreshing side for almost any sandwich or wrap.
- Vegetarian Meals: Perfect with a hearty lentil soup, a quinoa-stuffed bell pepper, or a veggie burger.
Explore More Delicious Salad Recipes:
- Summer Peach & Quinoa Salad
- Hearty Fall Kale Salad
- Spinach Arugula Salad with Lemon Vinaigrette & Pears
- Green Goddess Shrimp & Avocado Salad
- 35+ Creative Crunchy Salad Toppings Ideas
- Sweet Potato Kale Salad with Basil Honey Vinaigrette
Arugula Pear Salad with Goat Cheese and Pear Vinaigrette
By Carolyn
Pin Recipe
Equipment
-
Small saucepan
-
Cutting board
-
Chef’s knife
-
Mini food processor or blender
-
Large mixing bowl
Ingredients
For the quick-pickled red onions:
- 1 medium red onion peeled and thinly sliced
- ½ cup water
- ¾ cup white vinegar
- 1½ teaspoons kosher salt
- 1 tablespoon granulated sugar
For the homemade pear vinaigrette:
- 1 ripe pear peeled, cored, & diced (about ¾ cup)
- 1 teaspoon Dijon mustard
- 1 tablespoon maple syrup (or honey/agave)
- 3 tablespoons apple cider vinegar
- 3 tablespoons extra virgin olive oil
- ⅛ teaspoon kosher salt
- (Freshly ground black pepper to taste, optional)
For the arugula pear salad:
- 5 ounces fresh baby arugula
- 1 ripe pear cored and thinly sliced
- ½ cup goat cheese crumbles
- ½ cup dried cranberries
- ½ cup chopped walnuts (lightly toasted for best flavor)
- A portion of the Quick-Pickled Red Onions (to taste)
Instructions
Quick pickle the red onions:
-
Place the thinly sliced red onion in a medium heat-proof bowl or jar. In a small saucepan, combine the water, white vinegar, granulated sugar, and kosher salt. Heat over medium heat, stirring until the sugar and salt completely dissolve. Do not boil.
-
Immediately pour the hot liquid over the red onion slices, ensuring they are fully submerged. Let sit at room temperature for at least 20 minutes to pickle while you prepare the rest of the salad components.
-
Once the pickled red onion mixture has cooled completely, cover or seal the container with a lid and store in the refrigerator for up to two weeks.
Make the pear vinaigrette:
-
In a small food processor or blender, add the peeled, cored, and diced pear. Pulse until it’s broken down into very tiny pieces.
-
Add the maple syrup and two tablespoons of apple cider vinegar to the food processor. Pulse again until the mixture is smooth and has the consistency of a thin pear sauce.
-
Add the remaining ingredients (Dijon mustard, olive oil, and kosher salt) to the food processor. Blend until the vinaigrette is completely emulsified and creamy. Taste and adjust seasoning if needed (e.g., more maple syrup for sweetness, more vinegar for tang).
Assemble the arugula pear salads:
-
In a large mixing bowl, combine the fresh baby arugula, goat cheese crumbles, thinly sliced pear, dried cranberries, and chopped walnuts. Add a desired amount of the quick-pickled red onions to taste.
-
Pour a small amount of the pear vinaigrette over the salad ingredients. It’s always best to start with less and add more if needed, as you can’t remove dressing once it’s added.
-
Using salad spoons or tongs, gently toss the salad until all ingredients are evenly coated with the dressing.
-
Divide the tossed salad into four individual serving bowls and serve immediately to enjoy its peak freshness and vibrant flavors.
Notes
Make Ahead: For easier assembly, you can prepare the homemade pear vinaigrette up to 2 days in advance and the quick-pickled red onions up to 1 week ahead. Always store these components separately in the refrigerator. Remember, for the freshest and crispiest salad, do not assemble or dress the salad until just before you are ready to serve it.
Nutrition
