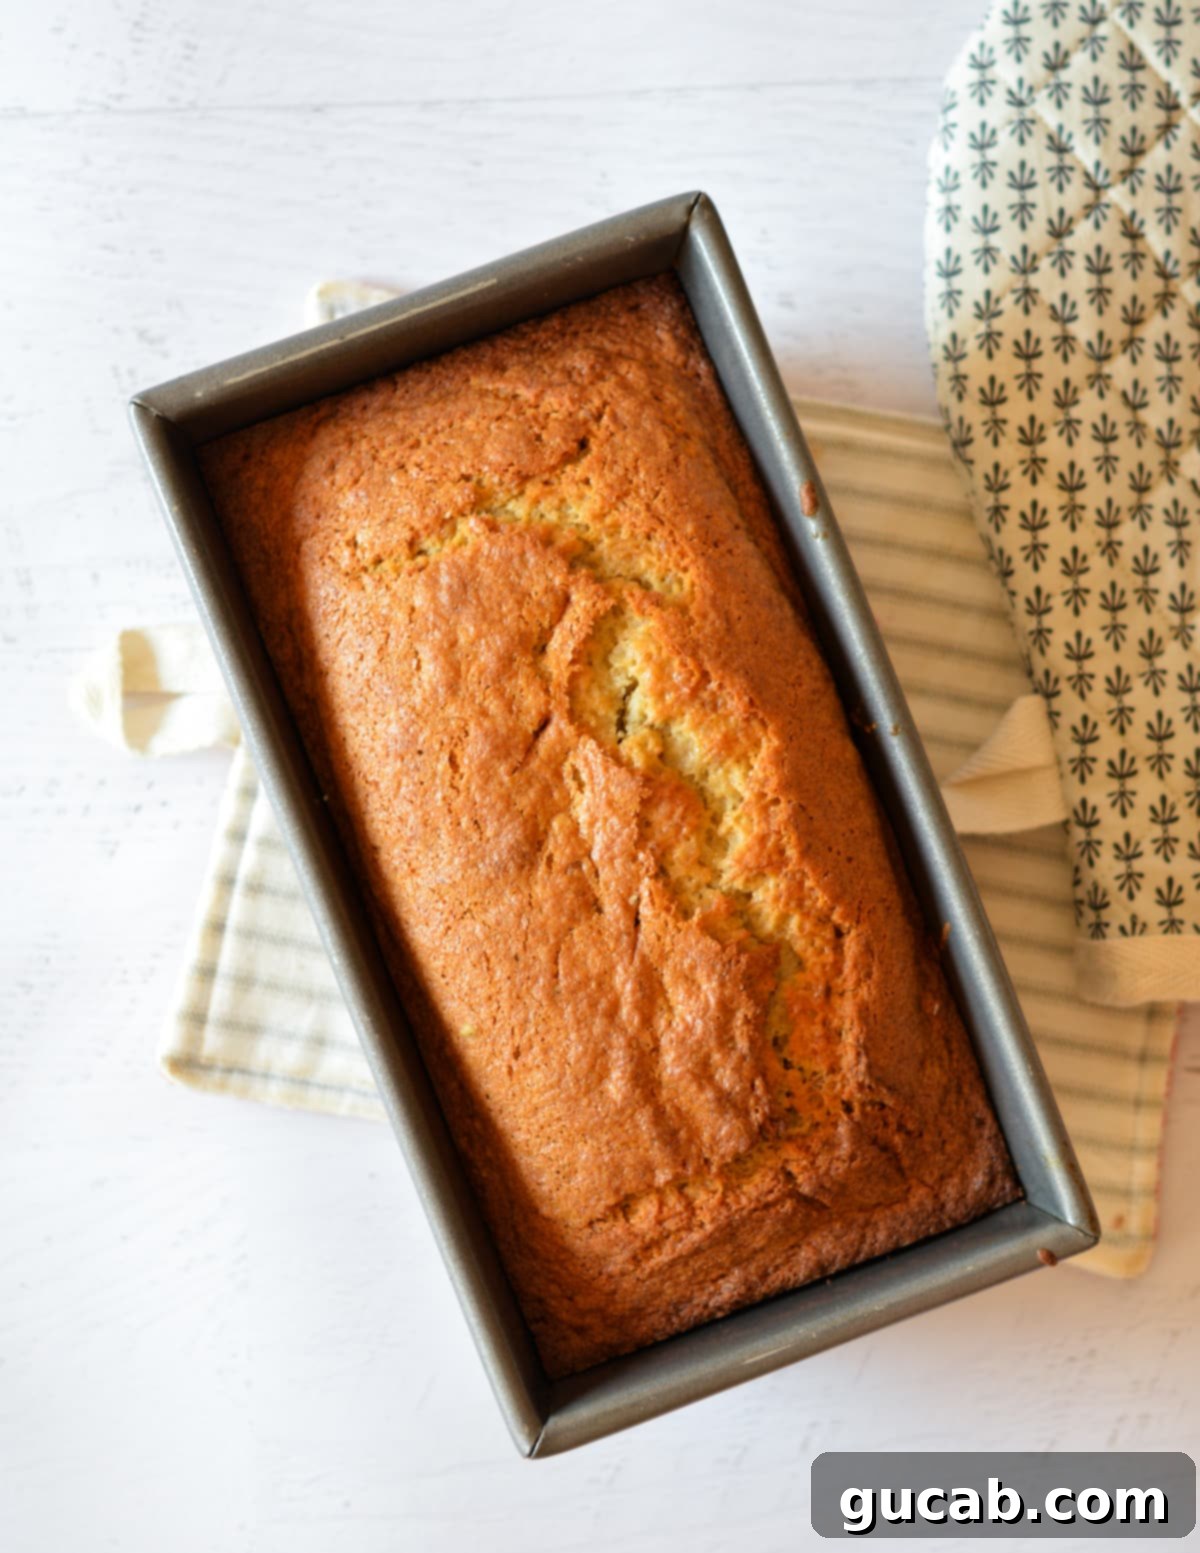
Never Waste a Banana Again: The Ultimate Guide to Perfect Moist Frozen Banana Bread
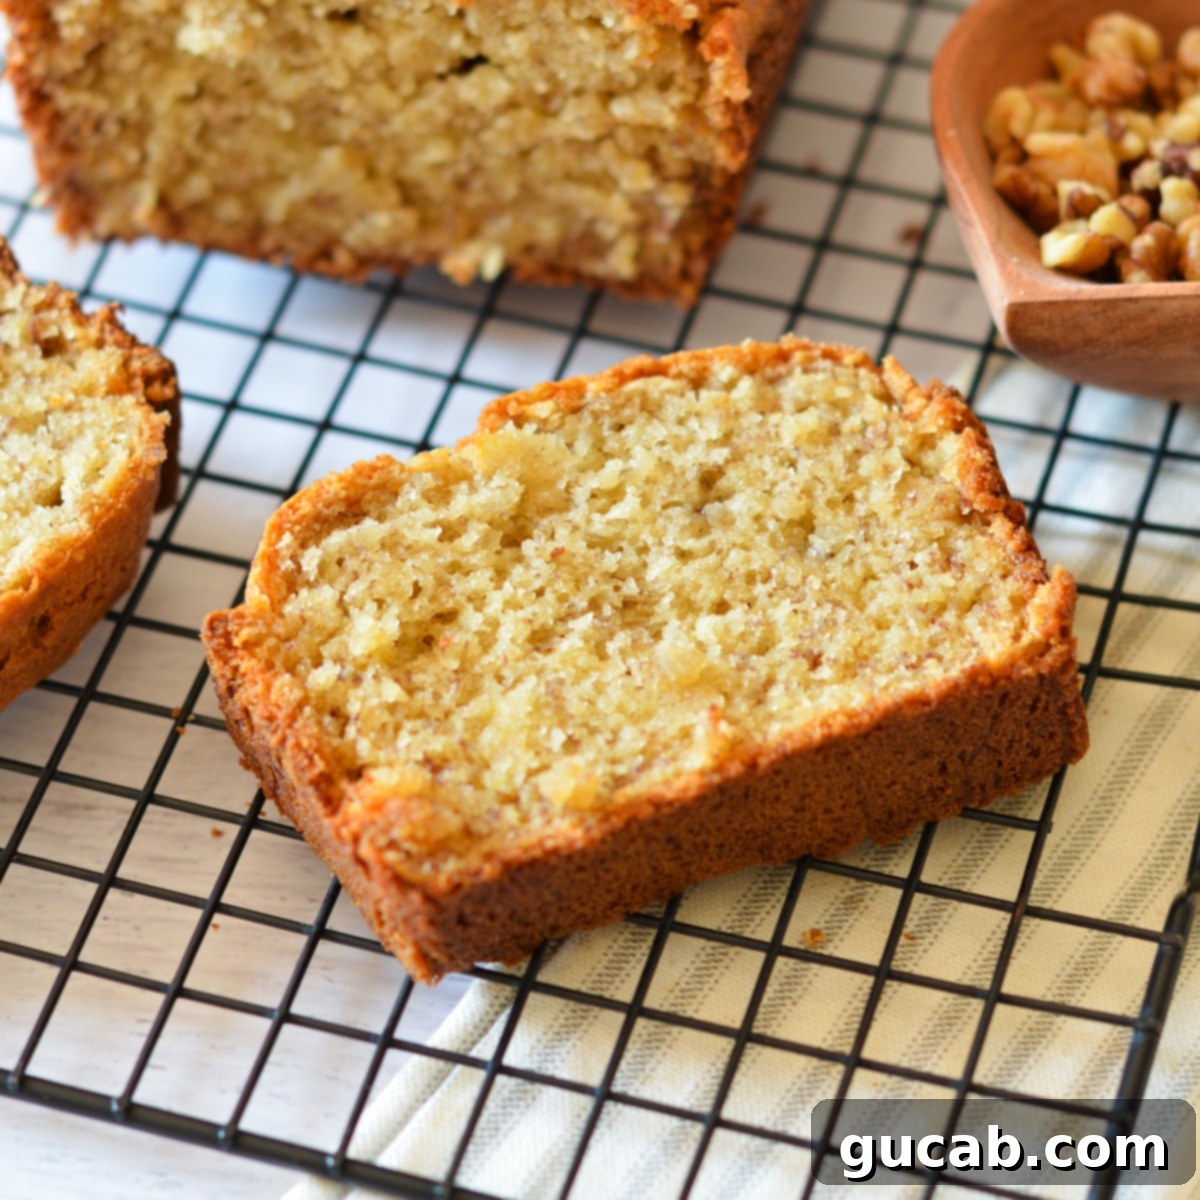
There’s nothing quite like a warm slice of homemade banana bread. It’s a nostalgic treat that brings comfort with every bite. But what do you do when your bananas turn spotty and soft faster than you can eat them? Don’t toss them! This incredible recipe for banana bread with frozen bananas is not only delightfully easy to make but also yields a dangerously good, perfectly sweet, and incredibly moist loaf with just the right amount of intense banana flavor. It’s the ultimate solution for those forgotten, overripe bananas sitting in your freezer, waiting for their moment to shine.
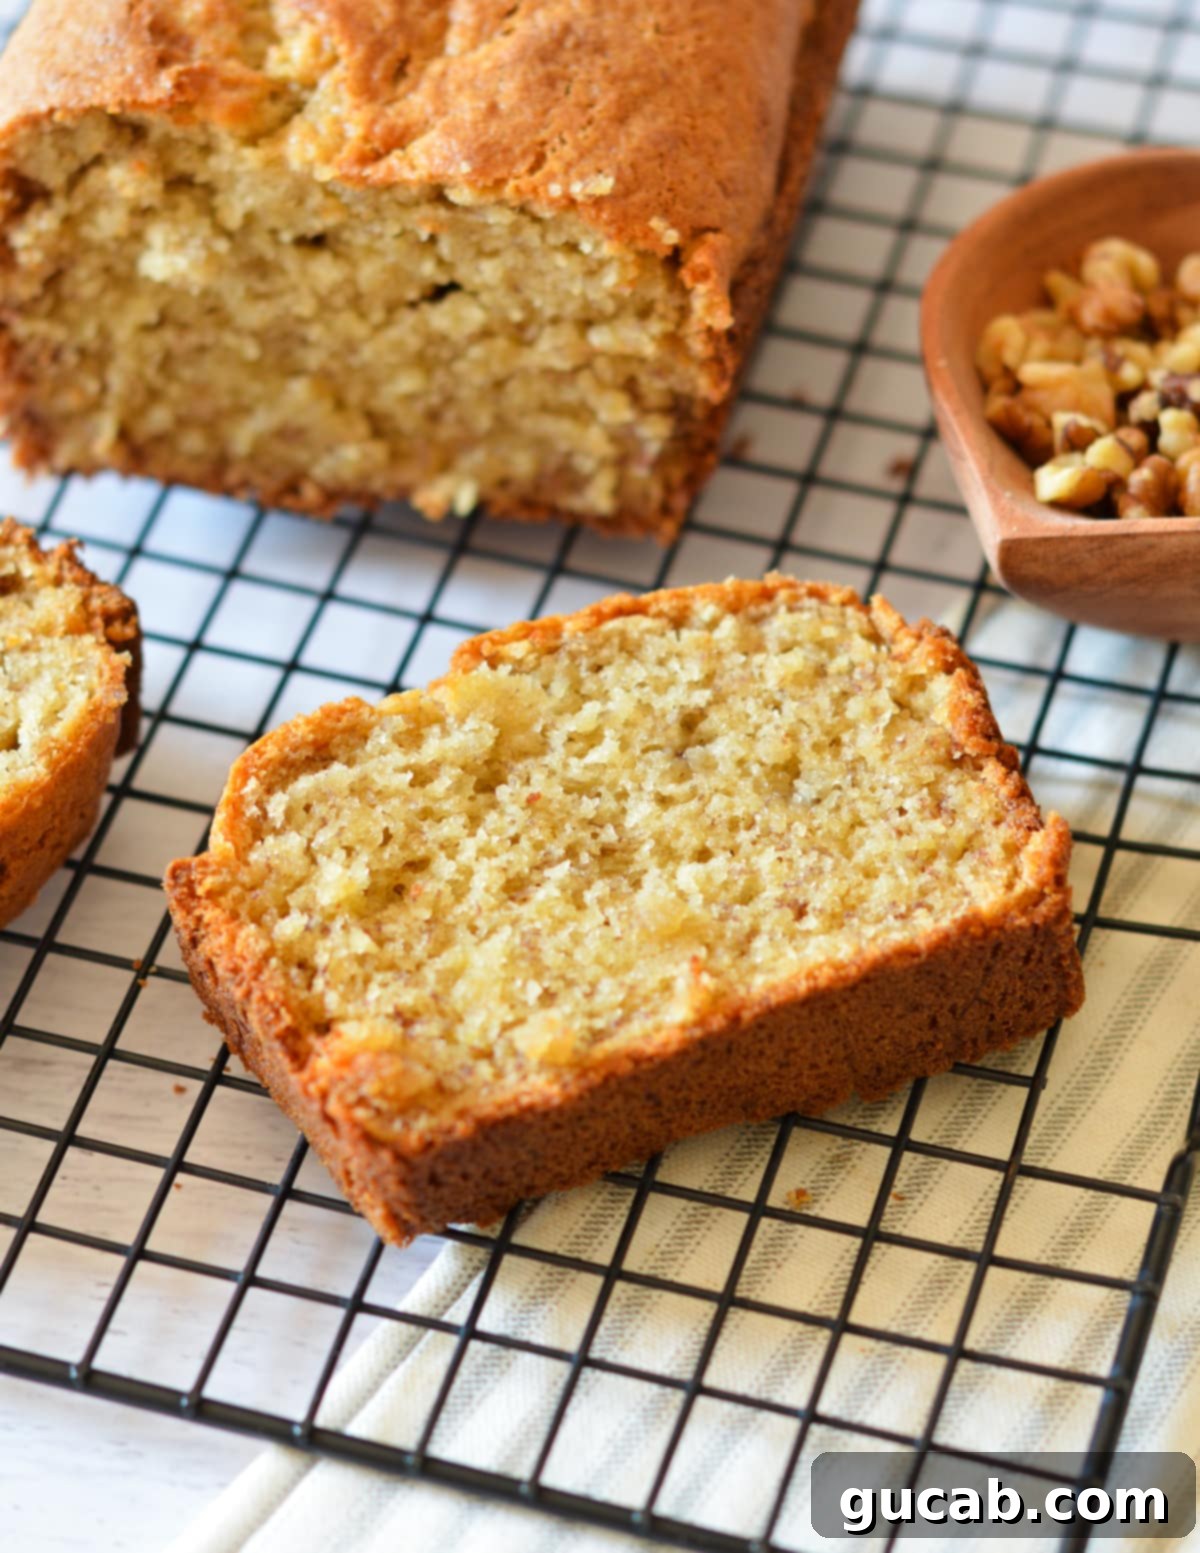
Why This Frozen Banana Bread Will Become Your Go-To Recipe
Have you ever bought a bunch of bananas with the best intentions, only to find them turning brown and soft on your counter much too quickly? It’s a common kitchen dilemma. But instead of regretting your purchase or tossing them out, savvy bakers know that overripe bananas are a golden opportunity! This recipe specifically leverages the power of frozen bananas to create a loaf that’s not just good, but exceptional. Here’s why you’ll absolutely adore it:
- Food Waste Hero: Say goodbye to throwing away overripe bananas. Freezing them extends their life indefinitely, making them ready whenever a banana bread craving strikes. This recipe transforms potential waste into a delicious reward.
- Intensified Banana Flavor: Freezing and then thawing bananas can actually concentrate their natural sweetness and flavor. This means a more pronounced and authentic banana taste in your bread, making it incredibly satisfying.
- Unbeatable Moisture: Frozen bananas, once thawed, release more liquid than fresh ones. This extra moisture is a secret weapon, contributing to an unbelievably tender and moist crumb that stays fresh longer. Nobody likes dry banana bread, and this recipe guarantees a consistently moist result.
- Effortless Preparation: This recipe is designed for simplicity. You don’t need fancy equipment or advanced baking skills. Just a few bowls and a spoon are enough to whip up this delightful treat.
- Perfectly Balanced Sweetness: The combination of white and brown sugar, paired with the natural sweetness of overripe bananas, creates a harmonious flavor profile that’s neither too sweet nor bland. It’s just right.
In our household, we go through a lot of bananas – for quick snacks, healthy breakfasts, and creamy smoothies. Despite our best efforts, a few always end up with those tell-tale brown spots. This recipe ensures those “forgotten” bananas never go to waste, becoming the star of a comforting, home-baked masterpiece.
Essential Ingredients for Your Moist Banana Bread
Creating an outstanding banana bread relies on a few key ingredients working in harmony. Each component plays a vital role in achieving that perfect balance of flavor, sweetness, and irresistible moisture. Here’s a closer look at what you’ll need and why it matters:
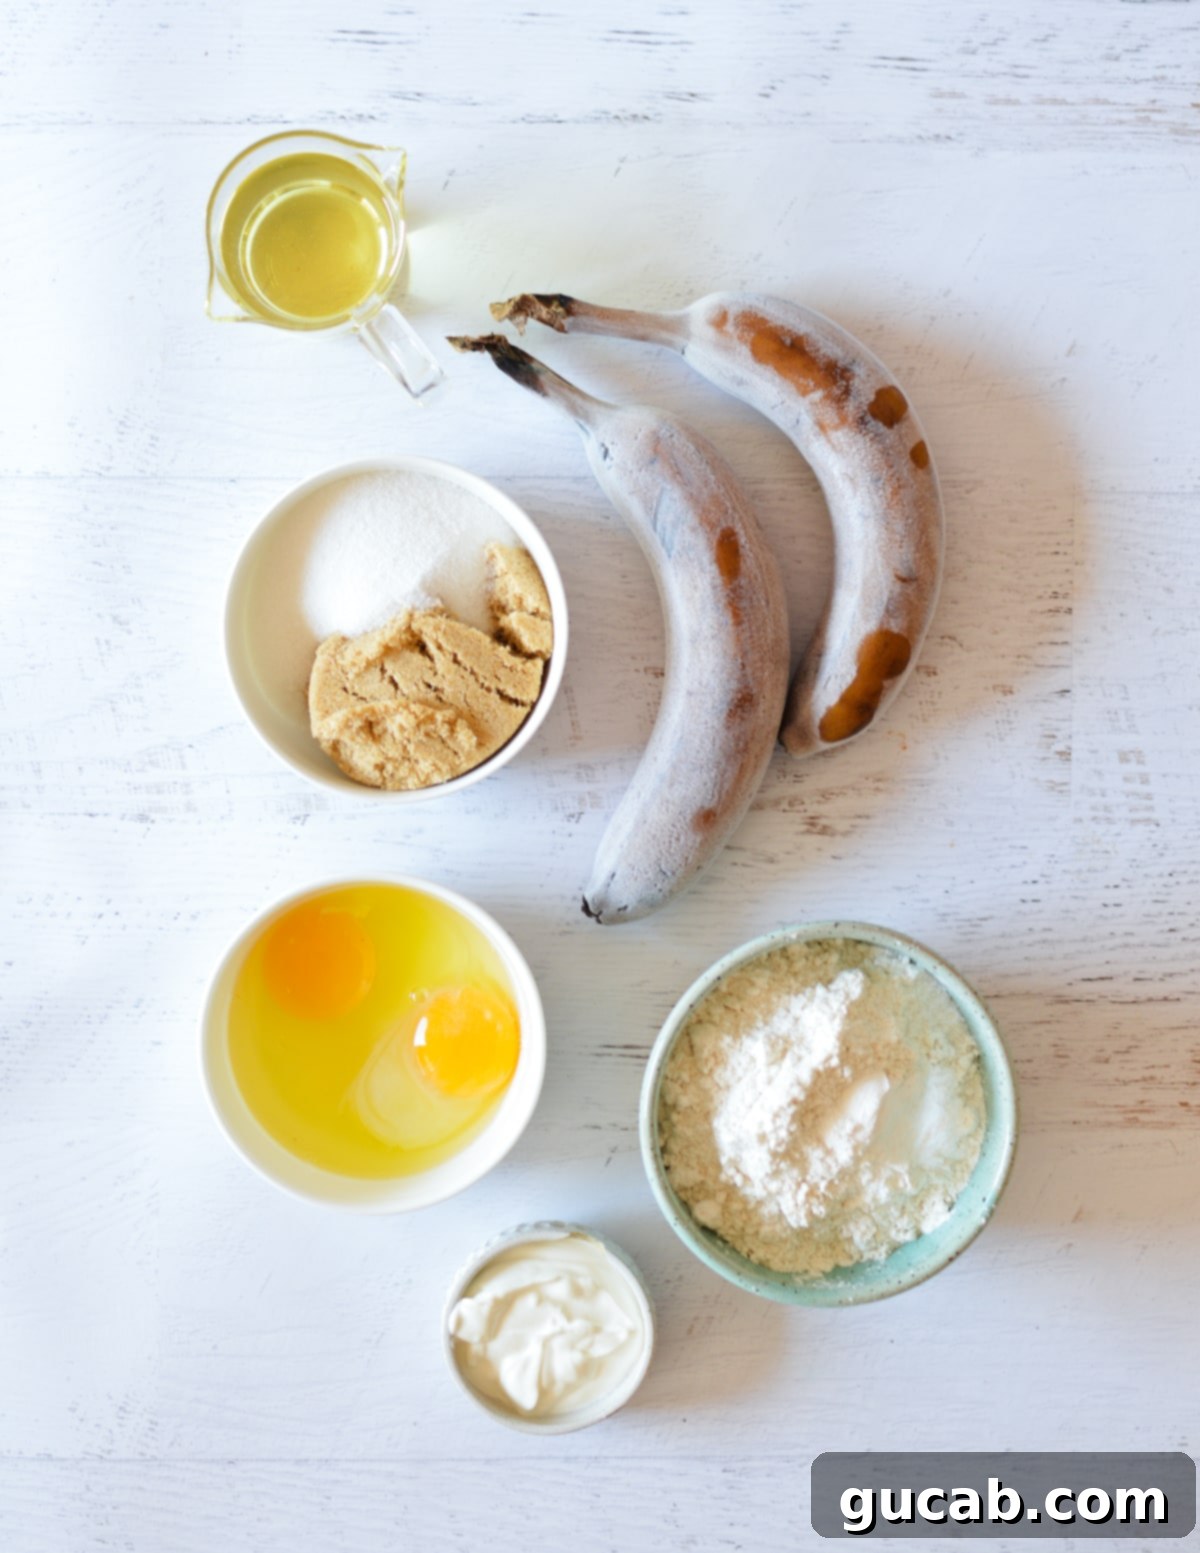
- Frozen Bananas: The star of our show! You’ll need about 1 cup of mashed banana, which typically comes from two large frozen bananas. The key here is *overripe* bananas—those with plenty of brown spots, but not entirely black. Bananas that are too far gone (completely black or mushy before freezing) can sometimes develop a fermented taste, which isn’t ideal for baking. Freezing them at the right stage locks in their peak sweetness and flavor. The peel will turn brown in the freezer, but that’s perfectly normal and doesn’t affect the fruit inside.
- Granulated Sugar and Brown Sugar: We use a powerful duo! Granulated sugar provides crispness and classic sweetness, while brown sugar adds depth with its molasses content and helps keep the bread incredibly moist. This combination ensures a rich, well-rounded sweetness and a tender crumb.
- Vegetable Oil: For ultimate moisture, vegetable oil is our preferred fat in this recipe. Unlike butter, which can make quick breads denser and potentially drier as it cools, oil ensures a consistently moist and tender texture that lasts for days. It also contributes to a lighter crumb structure.
- Large Eggs: Eggs are essential for structure, binding, and providing a beautiful rise. They also contribute to the richness and overall texture of the banana bread. Always use large eggs in baking recipes unless a different size is specifically stated, as egg size significantly impacts the wet-to-dry ingredient ratio. You’ll need two for this recipe.
- All-Purpose Flour: The backbone of our bread! It provides the necessary structure. For accurate measurements, always use the “spoon and level” method: spoon the flour into your measuring cup until overflowing, then level it off with the flat edge of a butter knife. This prevents over-packing the flour, which can lead to a dry, dense loaf.
- Baking Powder and Baking Soda: These are our leavening agents, responsible for the bread’s rise and light texture. Baking soda reacts with the acidic components (like sour cream and the bananas themselves) to create carbon dioxide, while baking powder provides an extra lift.
- Kosher Salt: A small but mighty ingredient, salt enhances all the other flavors, balancing the sweetness and making the banana taste pop. Don’t skip it!
- Vanilla Extract: Pure vanilla extract adds a layer of warm, aromatic flavor that complements the bananas beautifully. It’s a non-negotiable for a truly delicious banana bread.
- Sour Cream: This is a secret weapon for an incredibly moist yet fluffy texture! Sour cream adds richness, a subtle tang, and most importantly, an amazing amount of moisture without making the bread heavy. It reacts with the baking soda to further aid in leavening, resulting in a perfectly tender crumb. If you don’t have sour cream, plain Greek yogurt can be a good substitute.
How to Properly Thaw Frozen Bananas for Baking
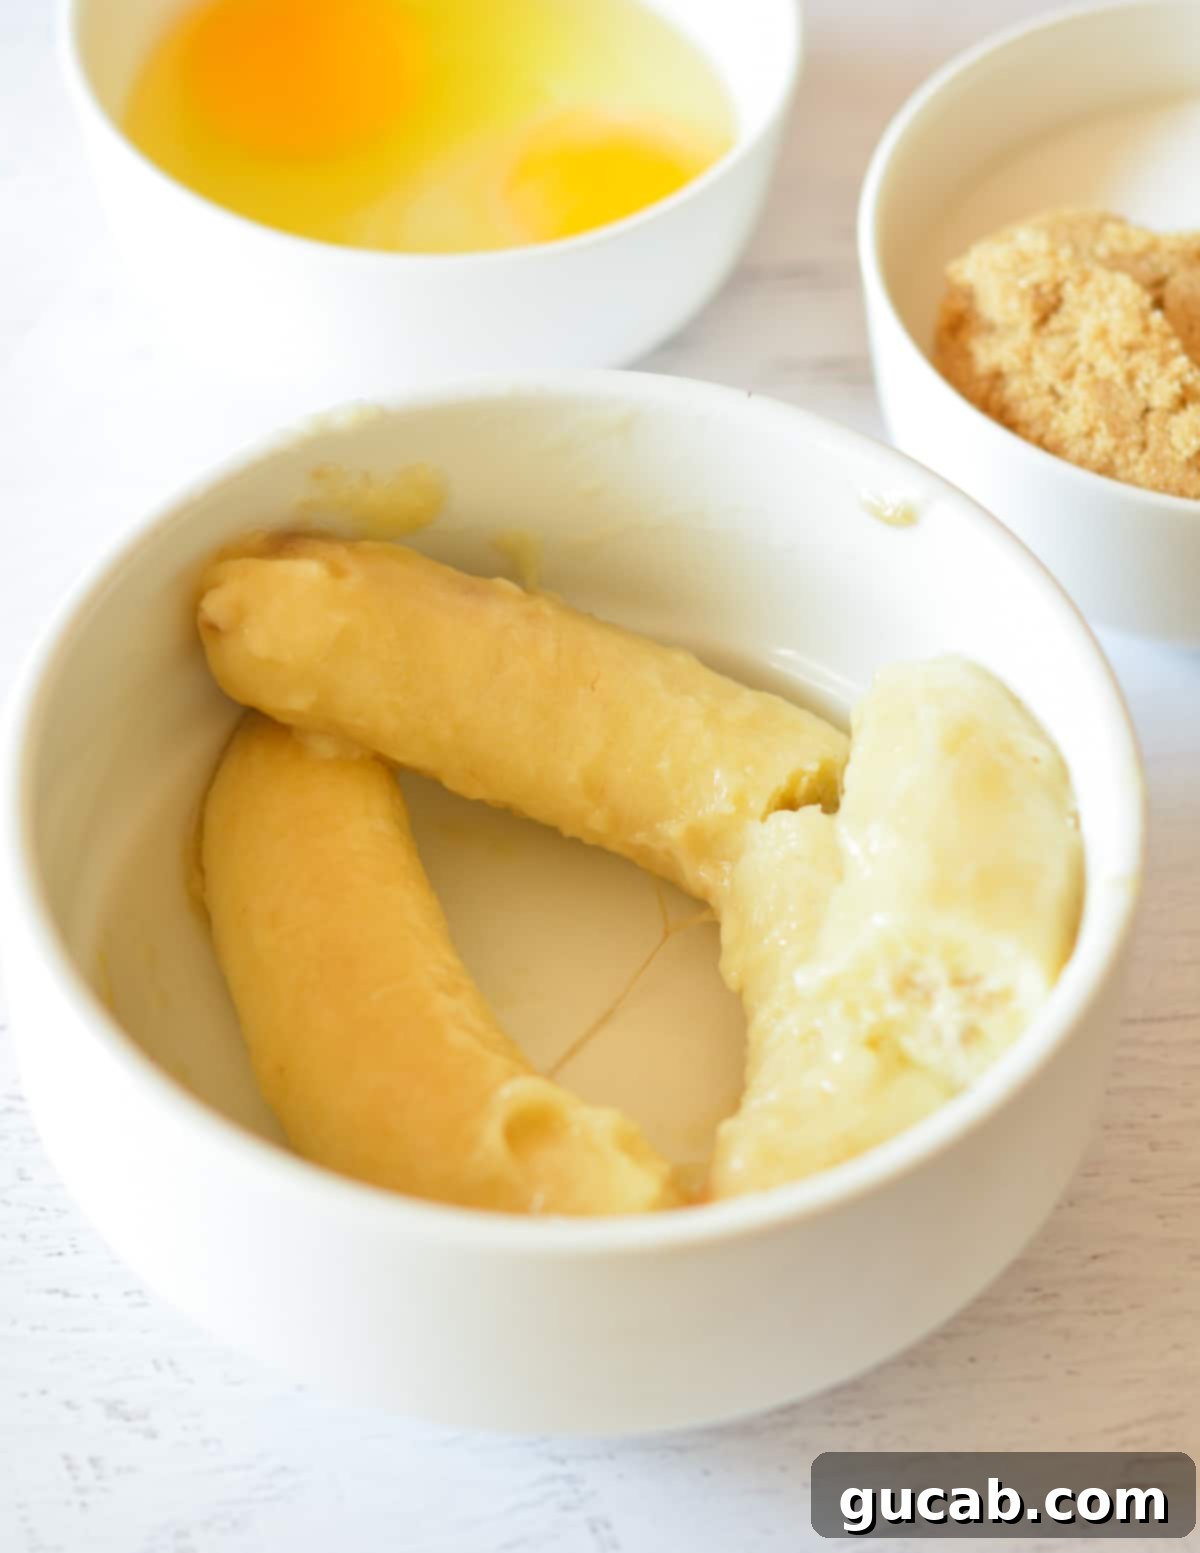
Using frozen bananas is a game-changer for banana bread, but knowing how to thaw them correctly is key to a successful bake. While some people prefer to freeze bananas with the peel on, I find it much easier to peel them before freezing. It saves time and mess when you’re ready to bake!
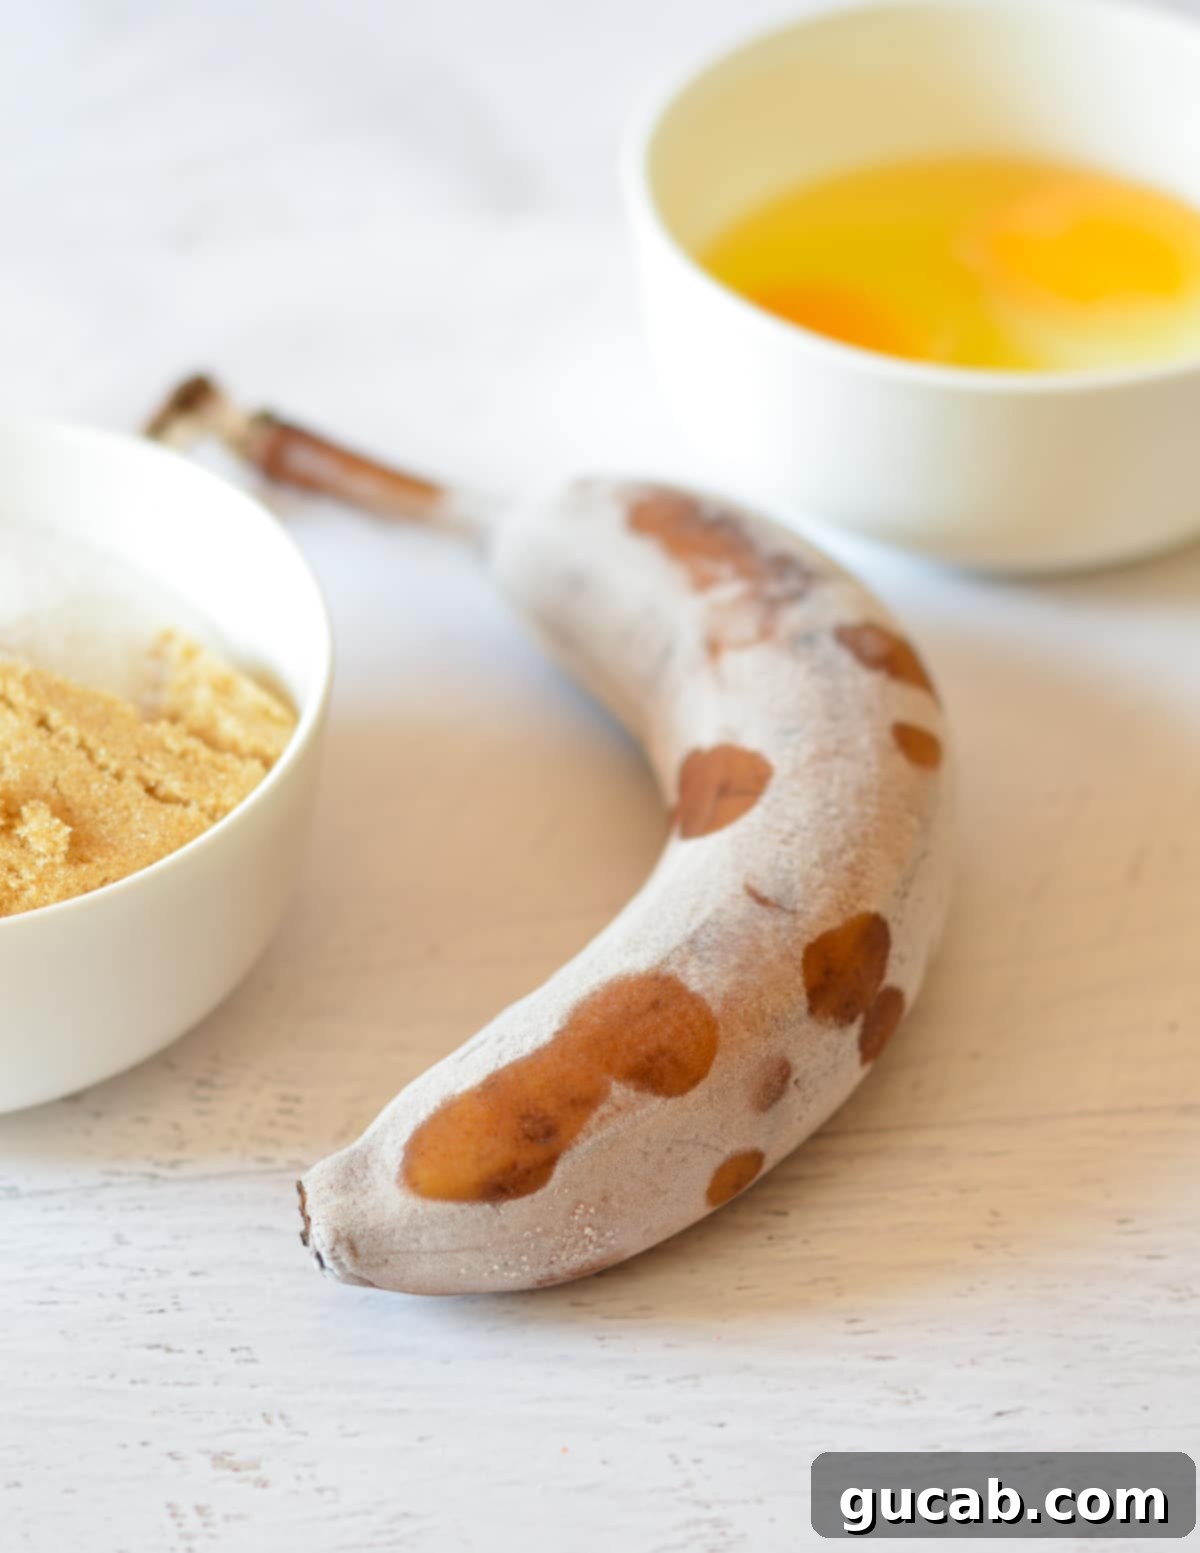
Regardless of whether they’re peeled or unpeeled, frozen bananas are surprisingly easy to thaw. You have several convenient options:
- Overnight in the Refrigerator: This is the most hands-off method. Simply place the frozen bananas (peeled or unpeeled) in a bowl, freezer-safe bag, or container to catch any liquid. Leave them in the fridge overnight, and they’ll be perfectly thawed and ready to mash by morning.
- Countertop Thaw: If you’re less pressed for time, you can thaw bananas on the counter for a few hours. Again, place them in a bowl to collect any released liquid. This method works well if you remember to take them out a few hours before you plan to bake.
- Quick Microwave Thaw: For instant gratification, the microwave is your best friend. Place the frozen bananas in a microwave-safe bowl and microwave in 30-second increments, mashing between each interval, until they are soft and easily mashed. Be careful not to “cook” them; you just want them thawed.
- Warm Water Peel Removal (for unpeeled bananas): If you froze your bananas with their peels on, don’t worry! Run the frozen banana under warm to slightly hot water for a minute or two. The peel will soften and become much easier to rub or peel off. Once peeled, you can then proceed with one of the thawing methods above, or simply mash them right away if they’re soft enough.
Pro Tip: Thawed bananas will release a fair amount of dark liquid. This is normal! While some recipes might instruct you to drain it, for this banana bread, we want to incorporate that liquid into the batter. It’s packed with flavor and contributes significantly to the bread’s incredible moisture. Just mash the bananas along with any liquid they’ve released.
Step-by-Step Guide: How to Make Irresistible Banana Bread with Frozen Bananas
Making this moist banana bread is a straightforward process, perfect for bakers of all skill levels. Follow these simple steps for a truly delicious result that will have everyone asking for more.
Before you begin, ensure your oven is preheated to 350 degrees Fahrenheit (175°C) and generously grease a 9 by 5 inch loaf pan with nonstick cooking spray. You can also line it with parchment paper for easier removal.
-
Thaw and Prepare Frozen Bananas: If your bananas were frozen with peels, start by running them under warm water to easily remove the skins. Then, place the peeled frozen bananas in a microwave-safe bowl. Microwave them in 30-second increments until they are soft and completely thawed. This usually takes 1-2 minutes depending on the banana size. Don’t worry about the dark liquid—that’s precious moisture and flavor!

-
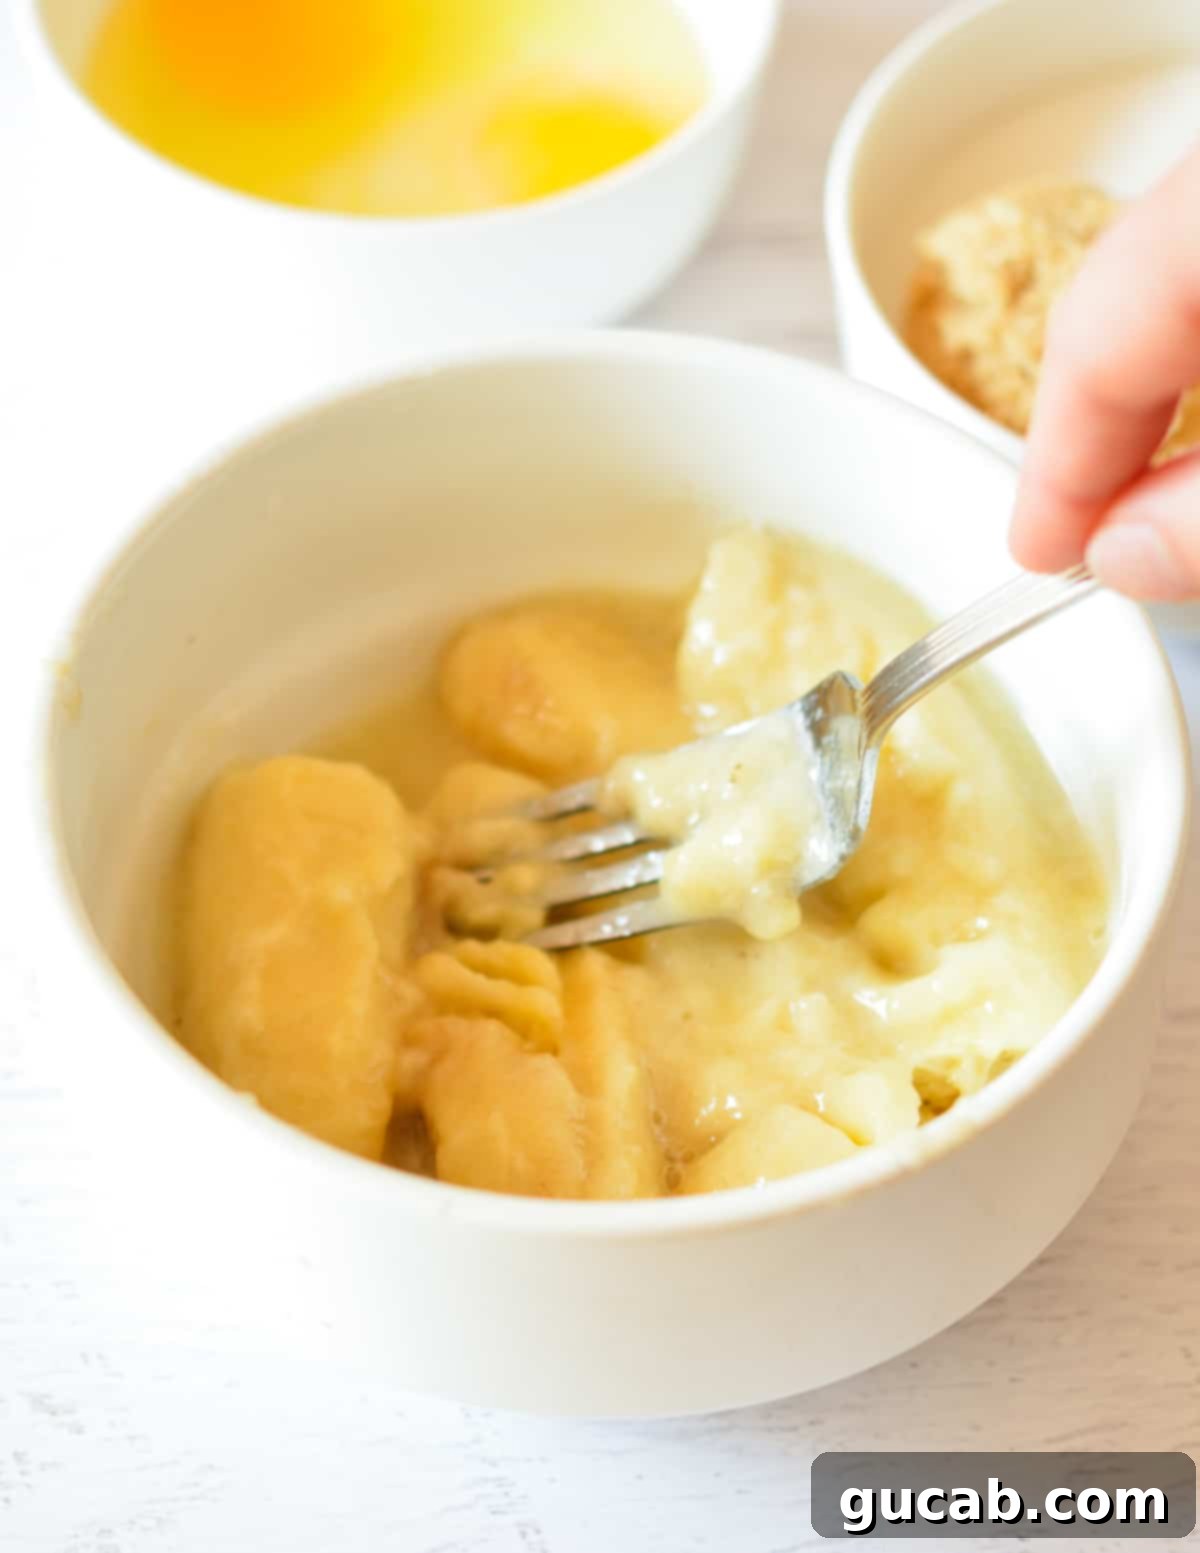
Mash the Bananas: Using a large fork or a potato masher, thoroughly mash the thawed bananas in the bowl. You’re aiming for a mostly smooth consistency, but a few small lumps are perfectly fine and add character to the bread. Avoid leaving large, unmashed chunks.

-
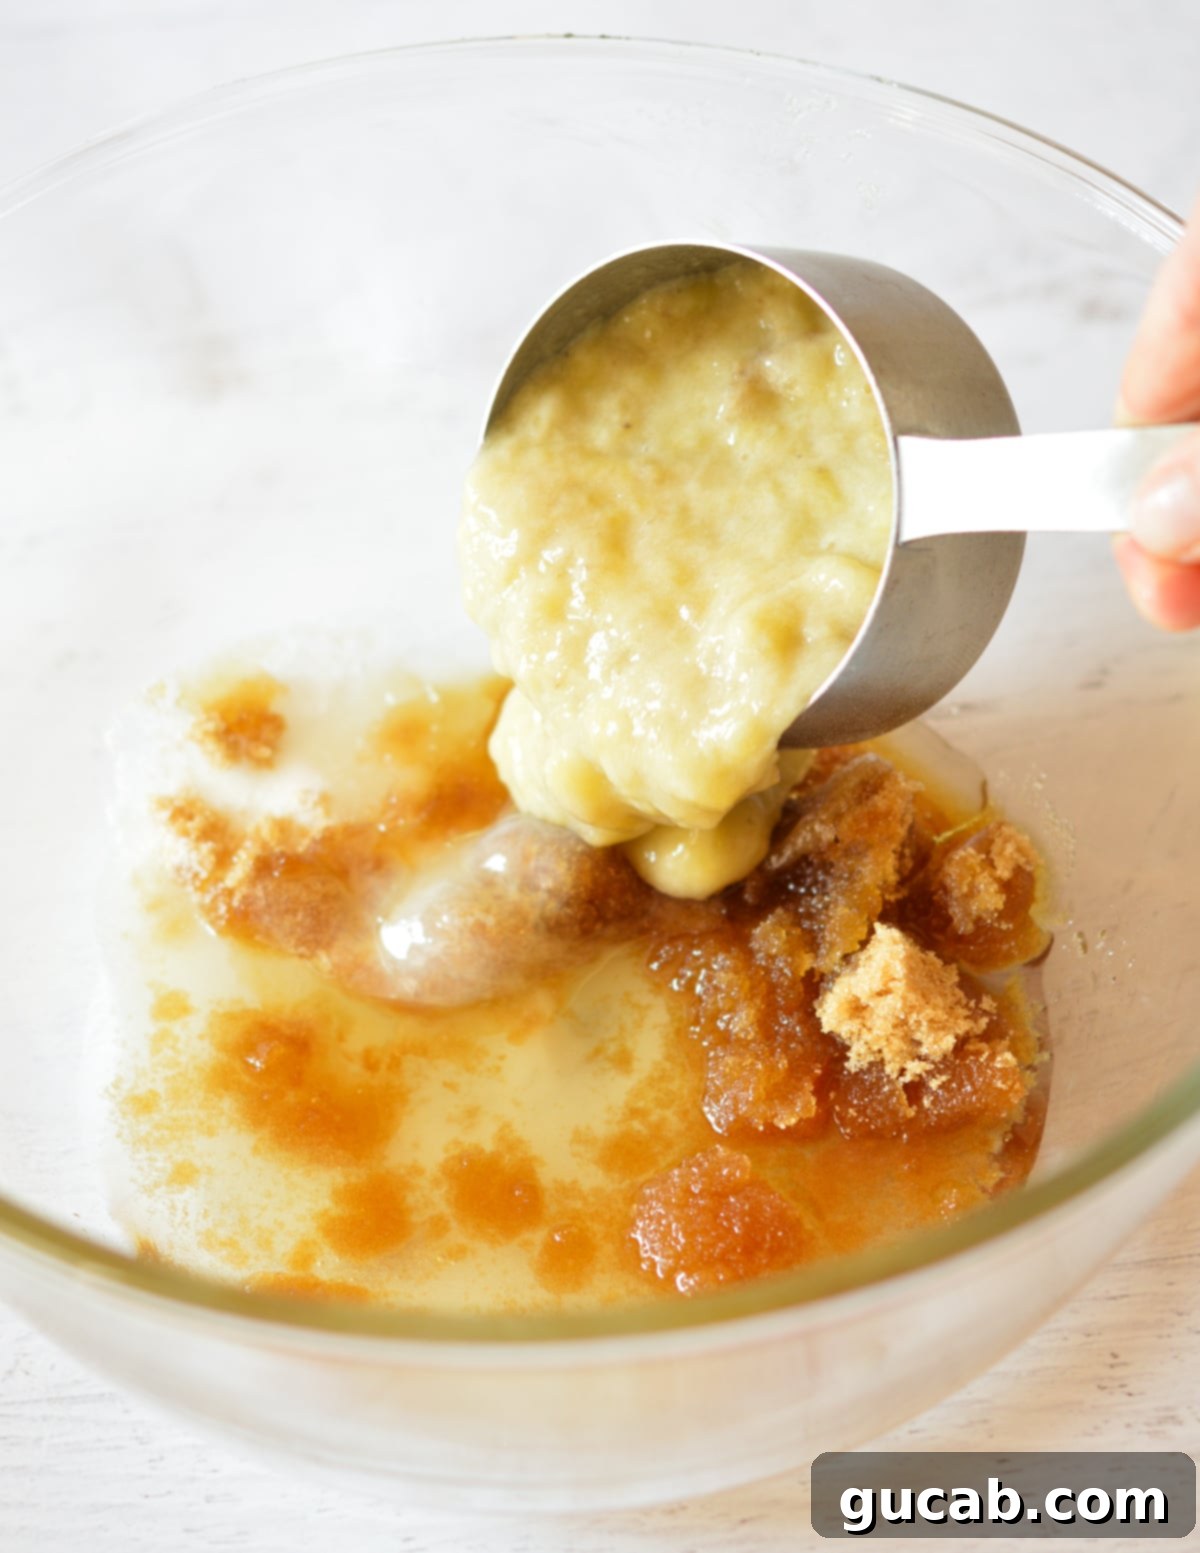
Combine Wet Ingredients (minus eggs): In a large mixing bowl, add the mashed bananas, both granulated sugar and brown sugar, vegetable oil, and vanilla extract. Stir these ingredients together thoroughly with a spoon or whisk until well combined and the sugars are mostly dissolved. No electric mixer is needed for this recipe, keeping cleanup simple!

-
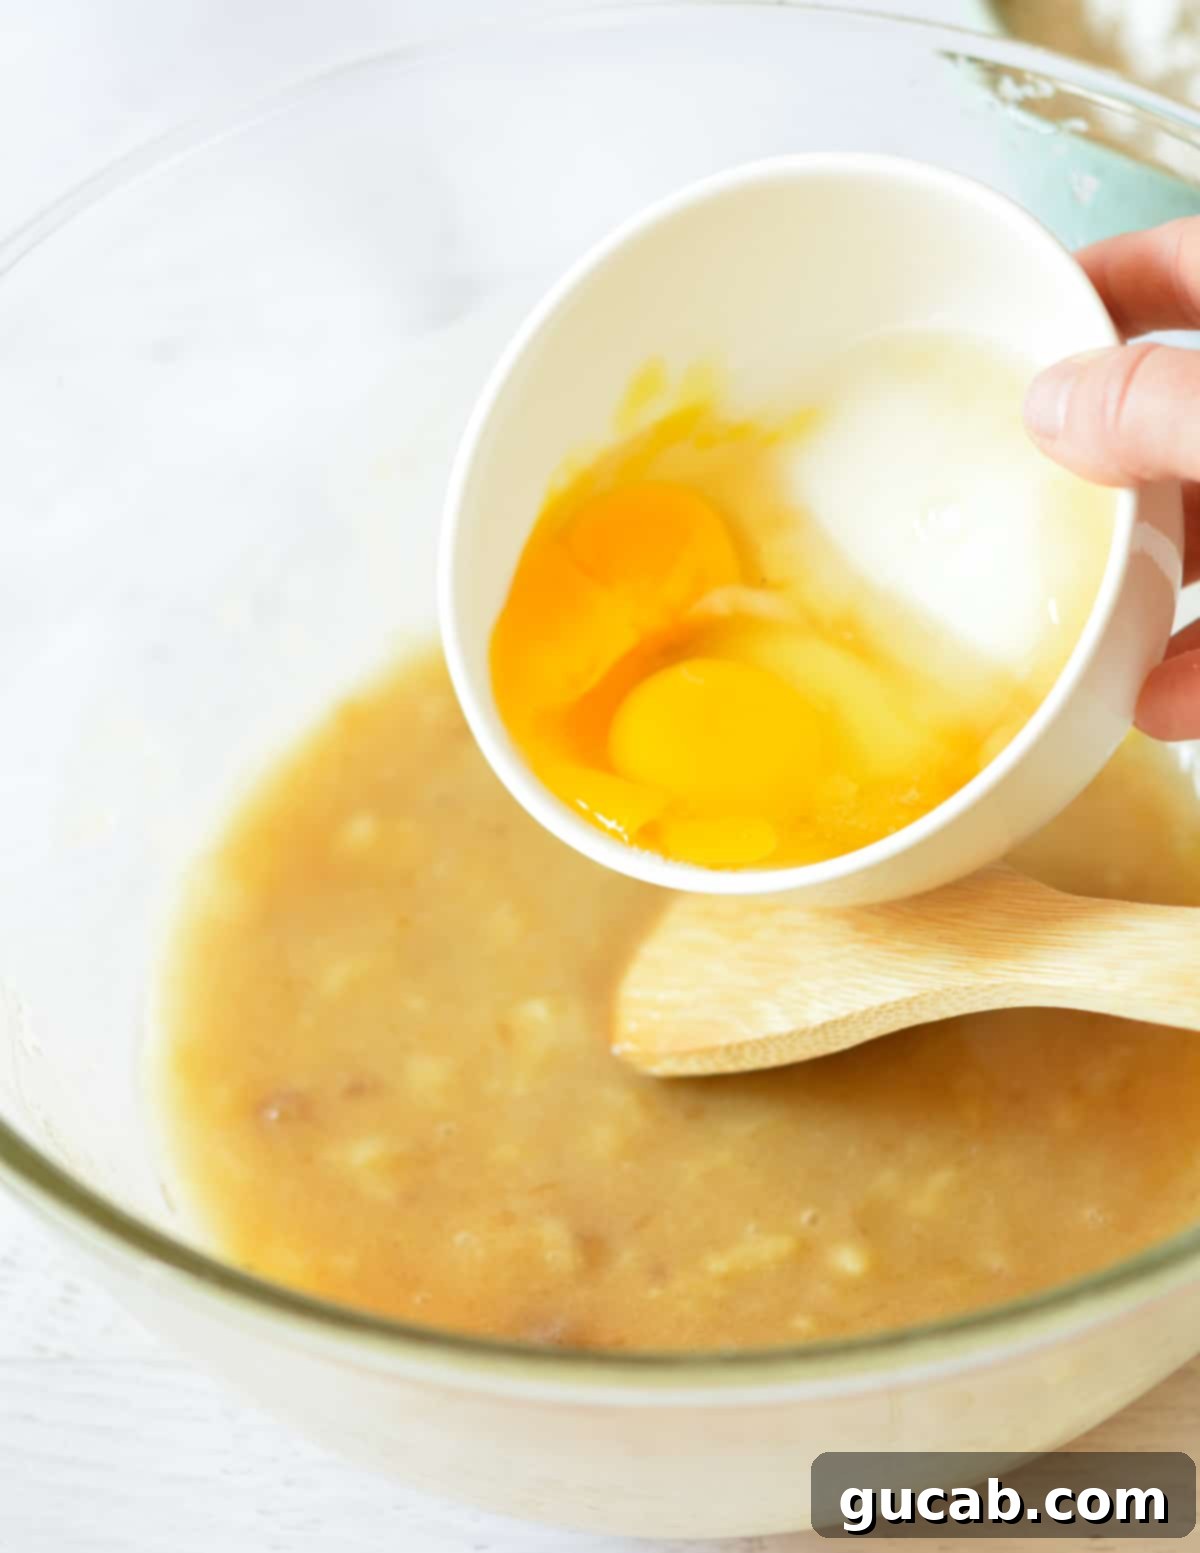
Incorporate the Eggs: Crack both large eggs into the wet mixture. Stir them gently but thoroughly until they are fully incorporated into the batter. This step adds structure and enriches the bread’s flavor and texture.

-
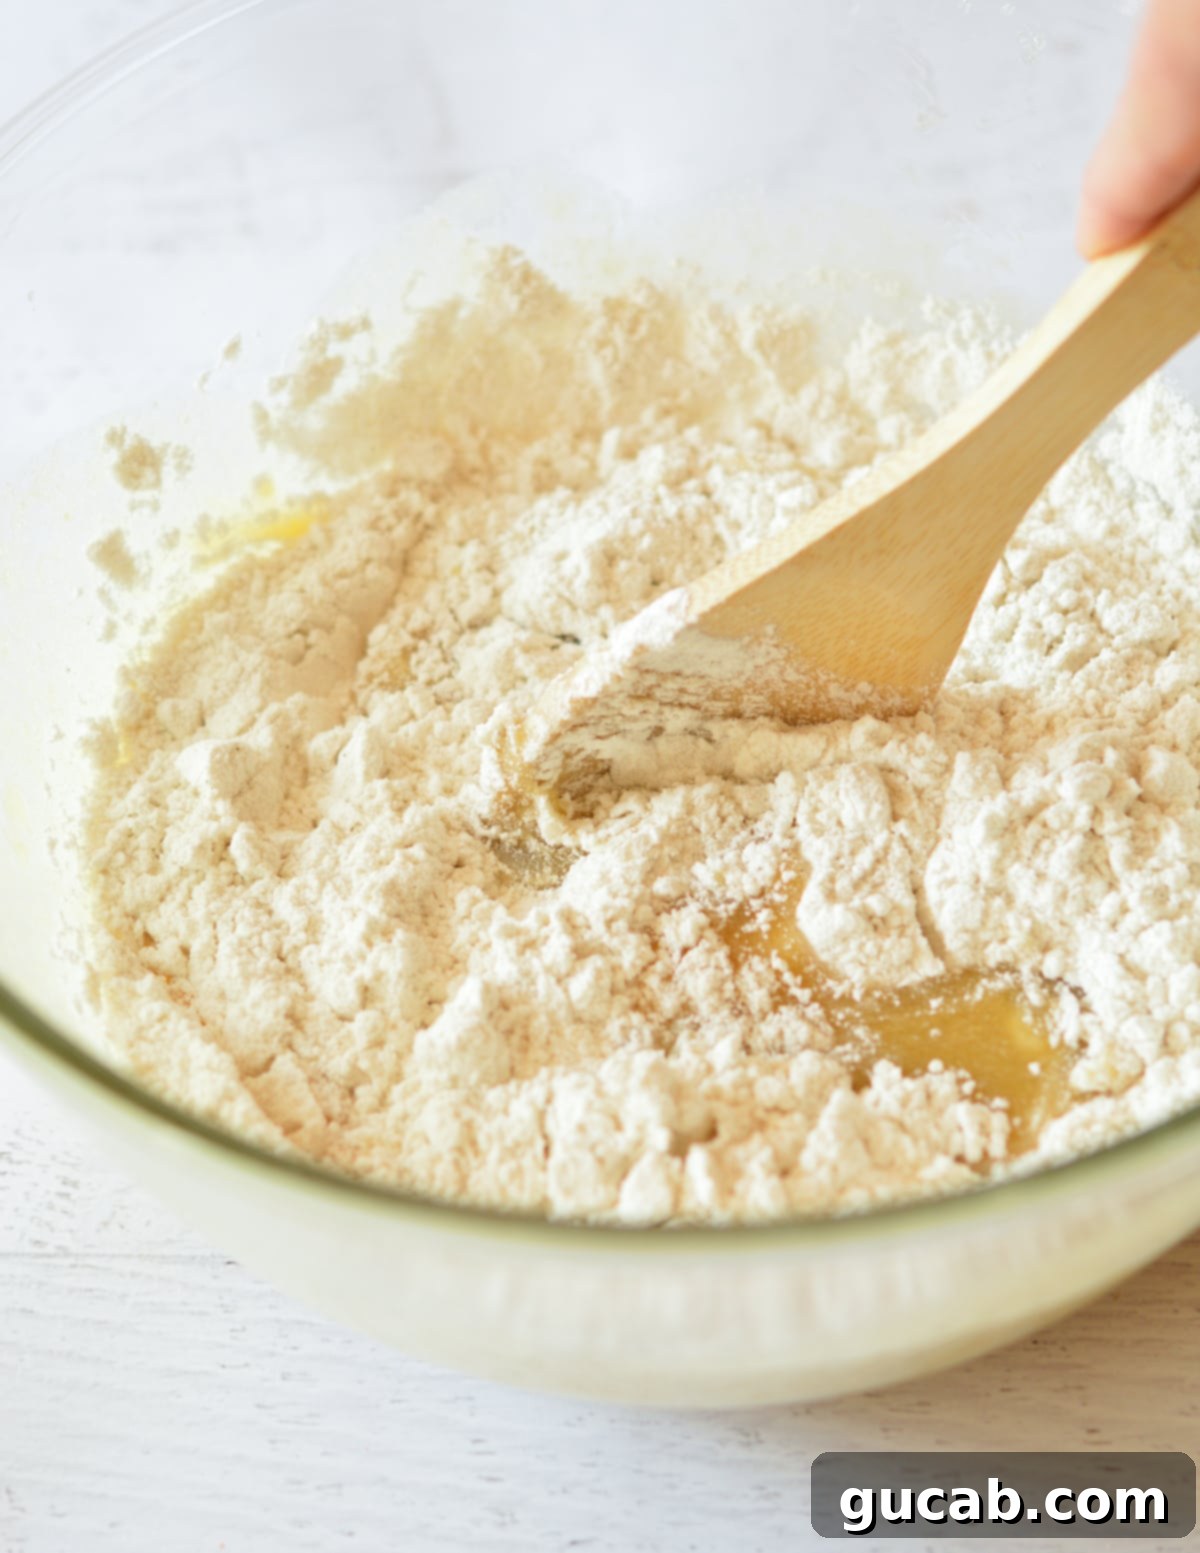
Add Dry Ingredients: To the wet mixture, add the all-purpose flour (remember to spoon and level!), baking powder, baking soda, and kosher salt. Stir gently until a thick batter begins to form. Be careful not to overmix; overmixing can develop the gluten in the flour too much, leading to a tough, dense, and dry bread. Stir just until no streaks of dry flour remain.

-
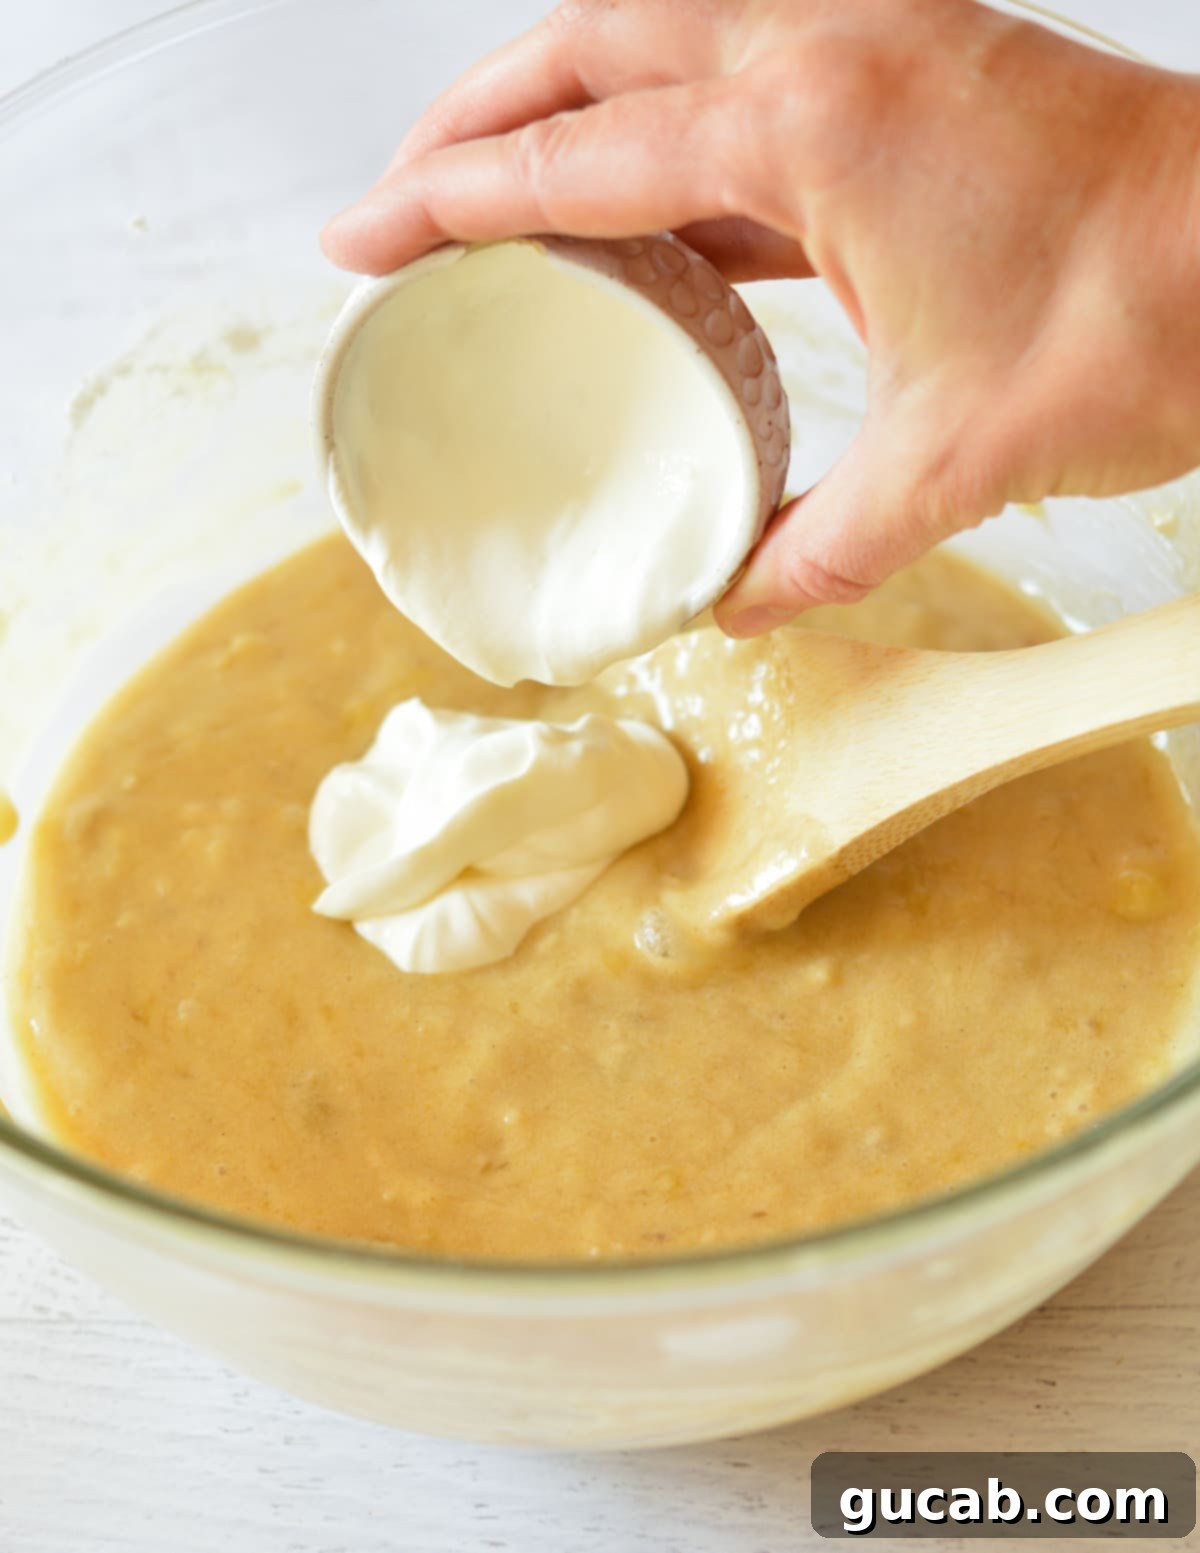
Fold in the Sour Cream: Now for the magic touch! Add the sour cream to the batter. Gently fold it in until just combined. The sour cream is crucial for that extra burst of moisture and tender crumb. Once mixed, the batter should be thick but easily pourable.

-
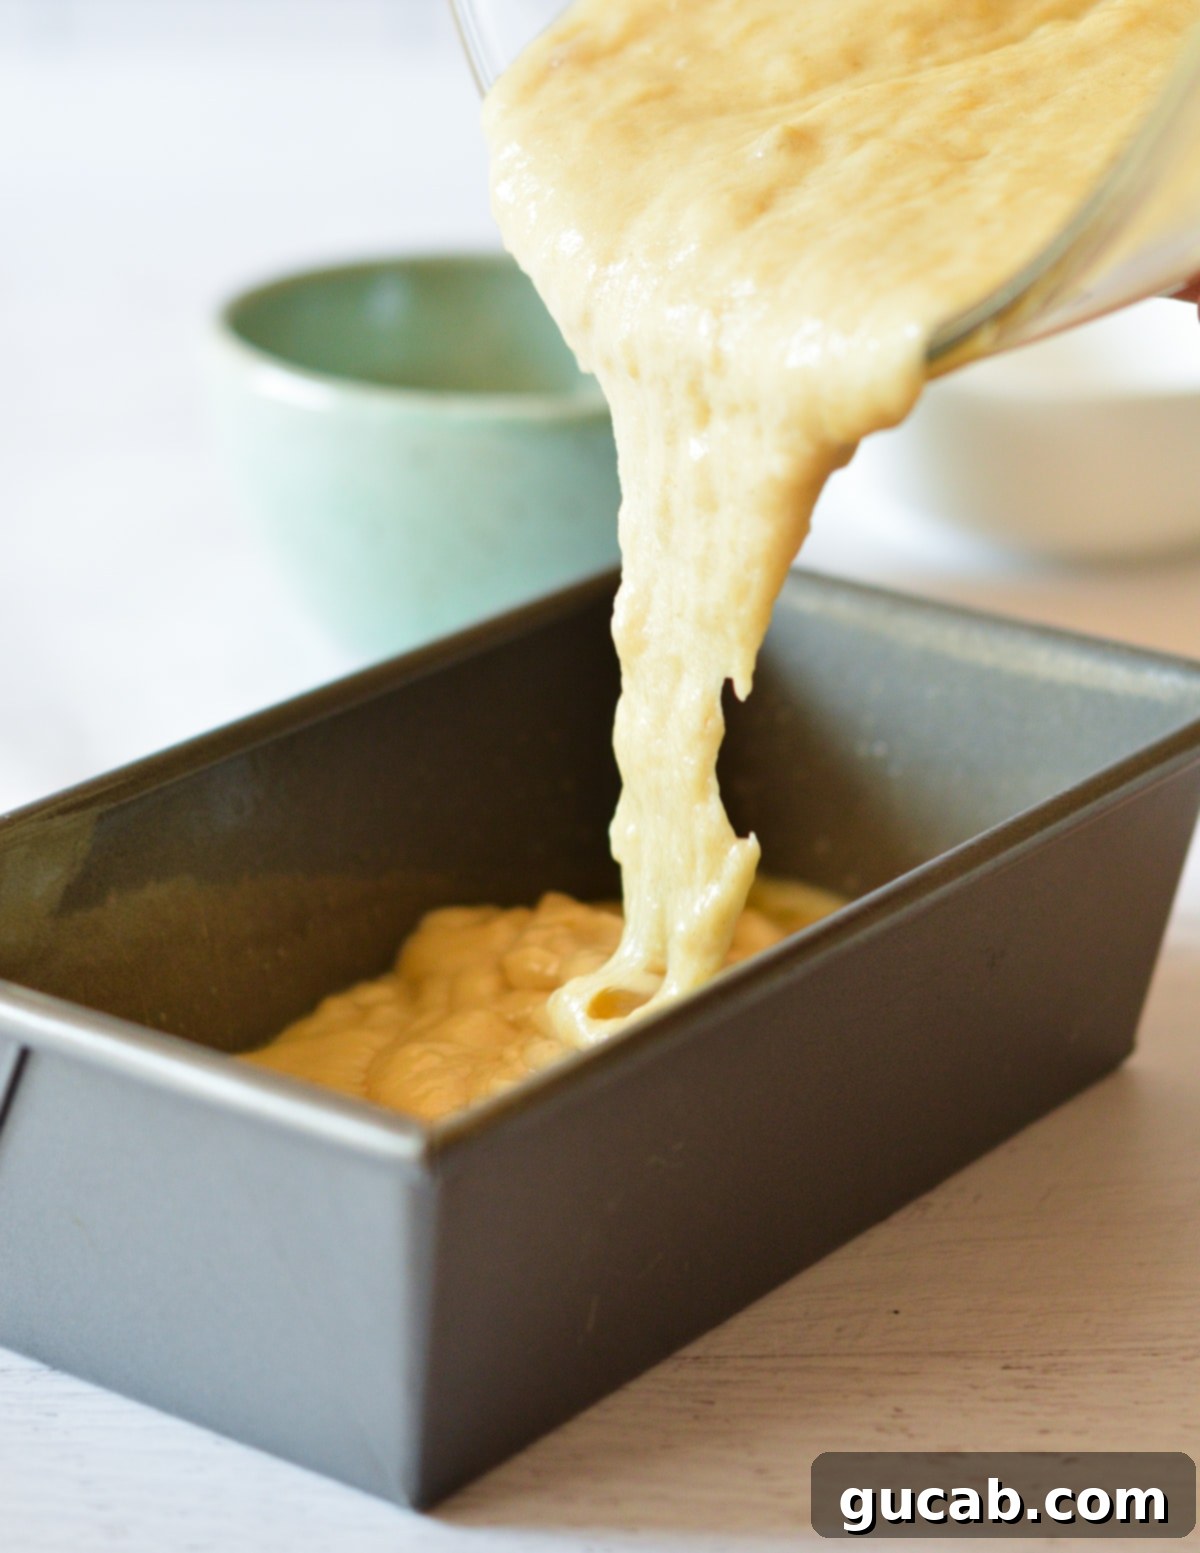
Pour and Bake: Pour the luscious batter evenly into your prepared 9×5 inch loaf pan. Spread it out gently to ensure even baking. Place the pan in the preheated oven and bake for approximately 55 minutes. Baking times can vary, so start checking for doneness around the 50-minute mark. Insert a toothpick into the center of the loaf; it should come out clean or with a few moist crumbs attached, but no wet batter.

-
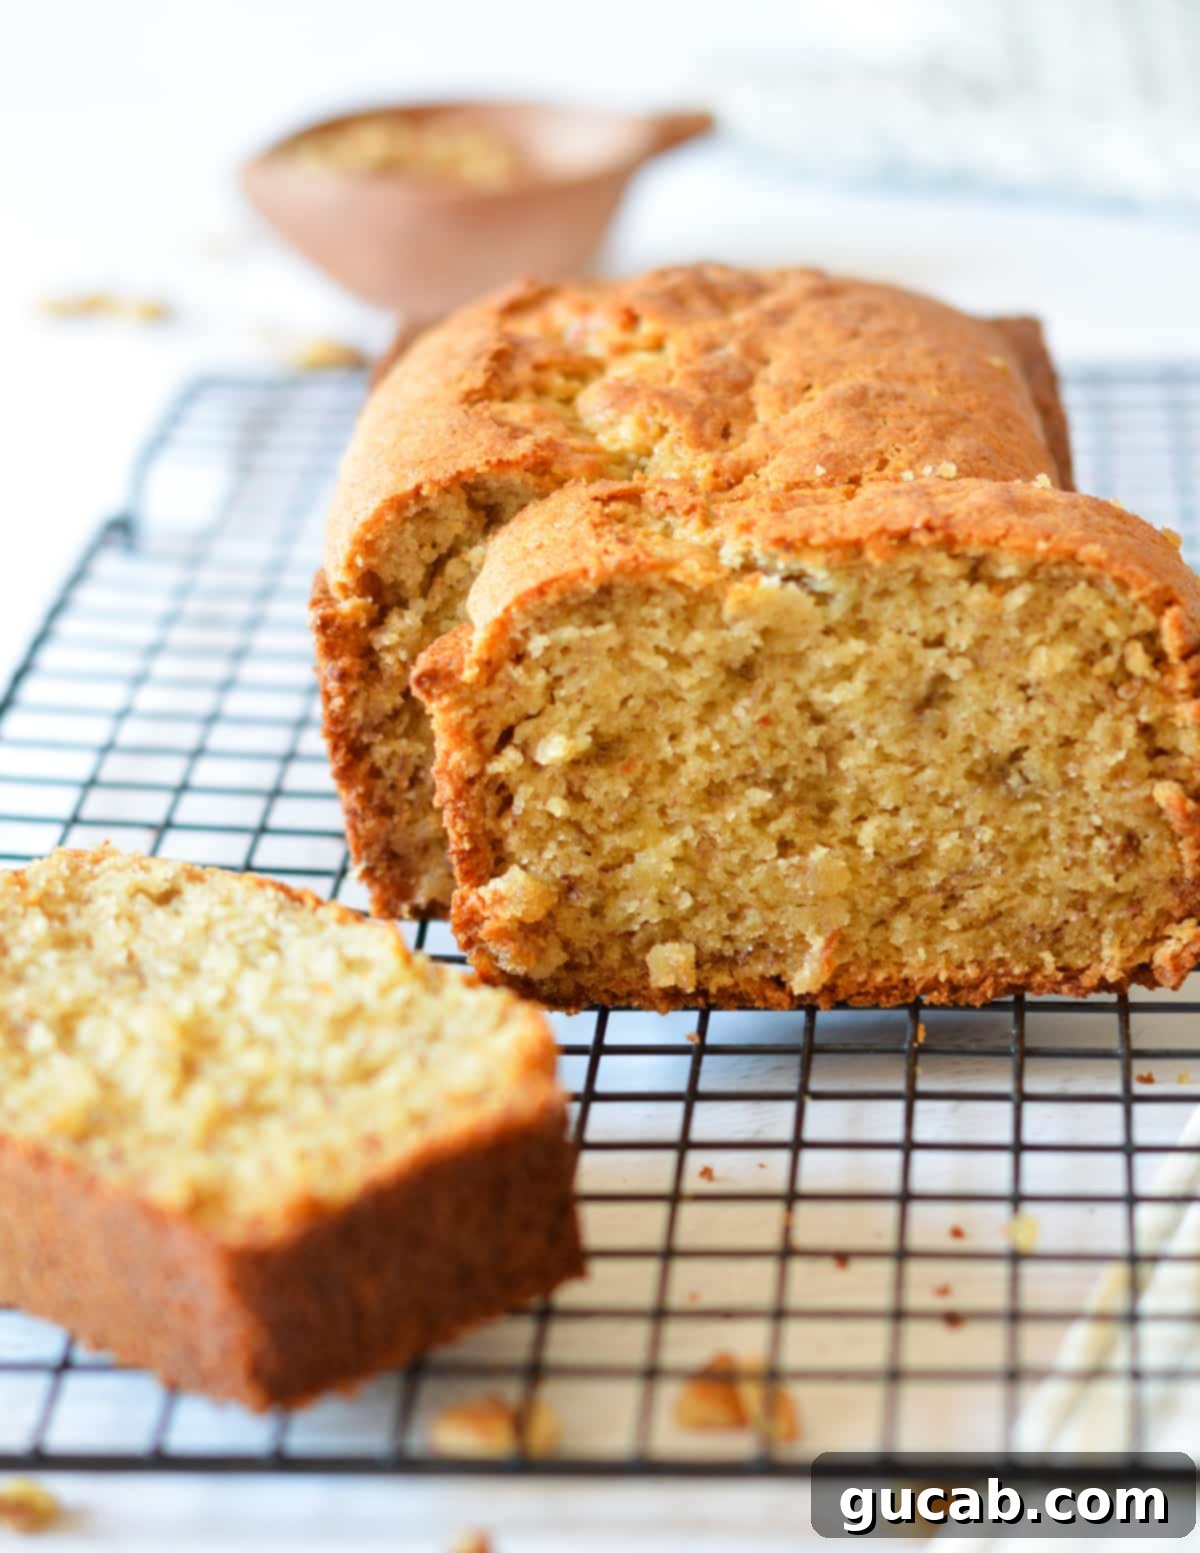
Cool Before Serving: Once baked, remove the banana bread from the oven. Let it cool in the pan for about 10-15 minutes before carefully transferring it to a wire rack to cool completely. Cooling is crucial for the bread’s structure and moisture retention. Slicing it too soon can result in a gummy texture.

Expert Tips for the Best Frozen Banana Bread Every Time
Achieving that perfect, consistently moist and flavorful banana bread is easier with a few tried-and-true tips. These pointers will help you avoid common pitfalls and ensure your loaf is always a success:
- Don’t Overmix the Batter: This is perhaps the most crucial rule for any quick bread. Once you add the dry ingredients to the wet, mix only until just combined. A few lumps of flour are okay! Overmixing develops the gluten in the flour, resulting in a tough, dense, and dry bread rather than a tender, moist one.
- Understanding the Toothpick Test: To truly know if your banana bread is baked through, the toothpick test is invaluable. Insert a wooden toothpick into the very center of the loaf. If it comes out clean or with only a few moist crumbs attached, it’s done. If there’s wet batter, continue baking in 5-minute increments.
- Physical Doneness Check: Before even reaching for a toothpick, gently touch the top of the bread. If it feels very squishy and soft, it likely needs at least another 8 to 10 minutes. A firm but slightly springy top usually indicates it’s close to being done, making it the perfect time for the toothpick test.
- Know Your Oven: Oven temperatures can vary significantly. What one oven registers as 350°F, another might heat to 325°F or 375°F. Always set your timer for the lower end of the suggested baking time (e.g., 50 minutes for this recipe) and check frequently thereafter, adding more time in 5-minute intervals as needed. An oven thermometer can be a great investment for accuracy!
- Room Temperature Ingredients: While not strictly necessary for banana bread like it is for some cakes, using room temperature eggs and sour cream can help them incorporate more smoothly into the batter, leading to a more uniform texture. If you forget, it’s not a deal-breaker, but it’s a good practice.
- Cool Completely Before Storing: This tip is worth repeating! Hot bread creates condensation inside a container or wrapper, making your beautiful crust soggy and potentially encouraging mold. Patience is key for fresh, firm slices.
Delicious Variations to Customize Your Banana Bread
One of the best things about banana bread is how versatile it is! This base recipe is fantastic on its own, but it also serves as a perfect canvas for your favorite add-ins. Get creative and try one of these delightful variations to make it uniquely yours:
- Crunchy Walnuts: For a classic addition, stir in 1 cup of chopped walnuts with the dry ingredients. They add a wonderful texture and nutty flavor that pairs beautifully with banana.
- Sweet Chocolate Chips: Make it extra indulgent by adding ¾ cup of chocolate chips (semi-sweet, milk, or dark – your preference!) to the batter. Chocolate and banana are a match made in heaven!
- Warm Spices: Enhance the warmth by adding 1 teaspoon of ground cinnamon and ¼ teaspoon of nutmeg to the dry ingredients. These spices elevate the banana flavor beautifully.
- Toasted Pecans: Similar to walnuts, chopped pecans offer a different nutty profile and satisfying crunch. Toast them lightly before adding for an even deeper flavor.
- Dried Fruits: For a chewy surprise, consider adding ½ cup of raisins, dried cranberries, or chopped dates.
- Coconut Flakes: Add ½ cup of shredded or flaked coconut for a tropical twist and added texture.
- Cream Cheese Swirl: For an extra decadent loaf, prepare a simple cream cheese mixture (softened cream cheese, a little sugar, and an egg yolk) and swirl it into the batter just before baking.
- Lightly Sweetened: If you prefer a less sweet bread, feel free to reduce the total sugar amount to ⅓ cup (you can use all brown sugar or a mix). The natural sweetness of overripe bananas will still shine through.
- Fresh Bananas: Don’t have frozen? No problem! This recipe works perfectly with fresh, very ripe, spotty bananas. Just mash them and measure out 1 cup as specified.
- Gluten-Free Option: To make this recipe gluten-free, simply swap the all-purpose flour with a high-quality 1-to-1 gluten-free baking flour blend, such as Bob’s Red Mill’s 1 to 1 Gluten Free Baking Flour. Ensure your blend contains xanthan gum for best results.
Feel free to mix and match! A combination of chocolate chips and walnuts is always a crowd-pleaser.
Proper Storage for Lasting Freshness and Flavor
Once you’ve baked your perfect loaf of banana bread, proper storage is essential to keep it moist and delicious for as long as possible. Luckily, banana bread is quite forgiving and stores beautifully.
- Cool Completely First: This is arguably the most important step for storage. Do not store warm banana bread! Warm bread will create condensation inside any sealed container or plastic wrap, leading to a soggy exterior and potentially mold growth. Let the loaf cool completely on a wire rack for several hours, or even overnight, before proceeding.
- Countertop Storage: Once fully cooled, wrap the entire loaf tightly in plastic wrap, or place it in an airtight container. It will stay wonderfully fresh and moist on your counter for 3 to 4 days. If you’ve sliced it, you can place a piece of parchment paper between slices to prevent sticking.
- Refrigeration: While not strictly necessary, if you live in a very warm or humid climate, or if you prefer to extend its shelf life by a few extra days, you can store wrapped banana bread in the refrigerator for up to a week. Just be aware that refrigeration can sometimes slightly alter the texture, making it a little denser.
- Freezer-Friendly: Banana bread is an excellent candidate for freezing, allowing you to enjoy homemade goodness whenever you crave it!
- To Freeze Whole: Wrap the cooled loaf tightly in plastic wrap, then an additional layer of aluminum foil. Place it in a freezer-safe bag.
- To Freeze in Slices: This is my preferred method for easy grab-and-go portions. Cut the cooled loaf into thick slices. Arrange them in a single layer on a baking sheet and freeze for about an hour until firm. Then, transfer the frozen slices to a freezer-safe bag or airtight container, placing parchment paper between slices to prevent sticking.
Frozen banana bread will keep well for up to 3 months. Thaw individual slices on the counter for about 30 minutes, or gently warm them in the microwave for a quick treat.

Beyond Bread: Creative Ways to Use Frozen Bananas
Frozen bananas are truly a kitchen MVP! While they’re perfect for transforming into this delicious banana bread, their utility extends far beyond. Don’t limit yourself – here are a few other fantastic ways to put those frozen beauties to good use and minimize food waste:
- Smoothies: This is perhaps the most popular use! Frozen bananas add incredible creaminess and natural sweetness to any smoothie without needing extra ice. They’re especially great for thickening smoothies that don’t already call for frozen fruit, like coffee, peanut butter, or chocolate-based concoctions. Just blend them with your favorite liquids and other fruits.
- Thick & Creamy Smoothie Bowls: Elevate your breakfast with a decadent smoothie bowl. By using more frozen bananas and less liquid, you can achieve an ultra-thick, spoonable consistency perfect for loading with granola, fresh fruit, nuts, and seeds.
- “Nice” Cream (Vegan Ice Cream): A healthy and delicious alternative to traditional ice cream! Simply blend frozen banana chunks in a food processor or high-speed blender with a splash of almond milk (or any milk of choice) until it reaches the consistency of soft-serve ice cream. You can add cocoa powder for chocolate “nice” cream, berries for a fruity version, or peanut butter for extra richness.
- Muffins, Cakes, and Pancakes: Just like with banana bread, thawed and mashed frozen bananas can be seamlessly incorporated into other baked goods. Use them to make moist banana muffins, flavorful banana cake, or fluffy banana pancakes. Remember to thaw and mash them first to get the correct consistency and moisture level.
- Energy Bites or Bars: Combine mashed frozen bananas with oats, nut butter, chia seeds, and perhaps some chocolate chips or dried fruit. Roll them into balls or press into bars for a quick, no-bake snack.
- Oatmeal Topping: Add sliced frozen bananas to your morning oatmeal. As the oatmeal cooks, the bananas will thaw and soften, releasing their sweetness and creating a delicious, warm topping.
More Quick Bread Recipes You’ll Love
If you’ve enjoyed the ease and deliciousness of this frozen banana bread, you’ll definitely want to explore these other quick bread recipes. They’re perfect for any time you need a comforting, simple bake:
- Moist Banana Bread with Icing: For an extra special treat, this classic banana bread gets a delightful sweet glaze.
- Gluten Free Banana Bread: A fantastic option for those with dietary restrictions, without compromising on flavor or texture.
- Zucchini Bread: A surprisingly moist and flavorful bread that’s a great way to use up garden zucchini.
- Gluten Free Zucchini Bread: Enjoy the wholesome goodness of zucchini bread in a gluten-free format.
- Honey Banana Bread: Sweetened with honey for a unique, aromatic flavor profile.
This frozen banana bread recipe truly is a game-changer. It’s a testament to how simple ingredients, combined with smart kitchen practices, can create something truly special. Enjoy baking this incredibly moist, flavorful, and easy banana bread – a perfect treat for breakfast, a snack, or dessert!
Banana Bread with Frozen Bananas
Carolyn
Pin Recipe
Equipment
-
9 x 5 inch loaf pan
-
Large Mixing Bowl
-
Fork or Potato Masher
-
Measuring Cups and Spoons
Ingredients
- 2 frozen bananas, thawed and mashed (about 1 cup of mashed banana)
- ½ cup brown sugar (packed)
- ½ cup granulated sugar
- 1 teaspoon pure vanilla extract
- ½ cup vegetable oil (or other neutral oil)
- 2 large eggs (room temperature for best results)
- 1½ cups all-purpose flour (spooned and leveled)
- 1½ teaspoons baking powder
- ½ teaspoon baking soda
- ¼ teaspoon kosher salt
- ¼ cup sour cream (full-fat, room temperature)
Instructions
-
Preheat oven to 350°F (175°C). Grease a 9 by 5 inch loaf pan with nonstick cooking spray or line with parchment paper.
-
Thaw frozen bananas: If frozen with peels, run under warm water to remove. Place peeled frozen bananas in a microwave-safe bowl and microwave in 30-second increments until soft and thawed (1-2 minutes). Mash thoroughly with a fork, incorporating any liquid. You should have about 1 cup of mashed banana.
-
In a large mixing bowl, combine the mashed banana, brown sugar, granulated sugar, vegetable oil, and vanilla extract. Stir well until the sugars are mostly dissolved and the mixture is smooth.
-
Add the two large eggs and stir until fully incorporated into the banana mixture.
-
Add the all-purpose flour (spooned and leveled), baking powder, baking soda, and kosher salt to the wet ingredients. Mix gently with a spoon or spatula until a thick batter forms and no dry streaks of flour remain. Be careful not to overmix.
-
Stir in the sour cream until just combined. The batter should be thick but pourable.
-
Pour the batter into the prepared loaf pan, spreading it evenly.
-
Bake for 55-65 minutes, or until a wooden toothpick inserted into the center of the loaf comes out clean or with a few moist crumbs attached (no wet batter). Start checking at 50 minutes, then every 5 minutes thereafter.
-
Remove from oven and let cool in the pan for 10-15 minutes before transferring to a wire rack to cool completely before slicing and serving.
Nutrition
