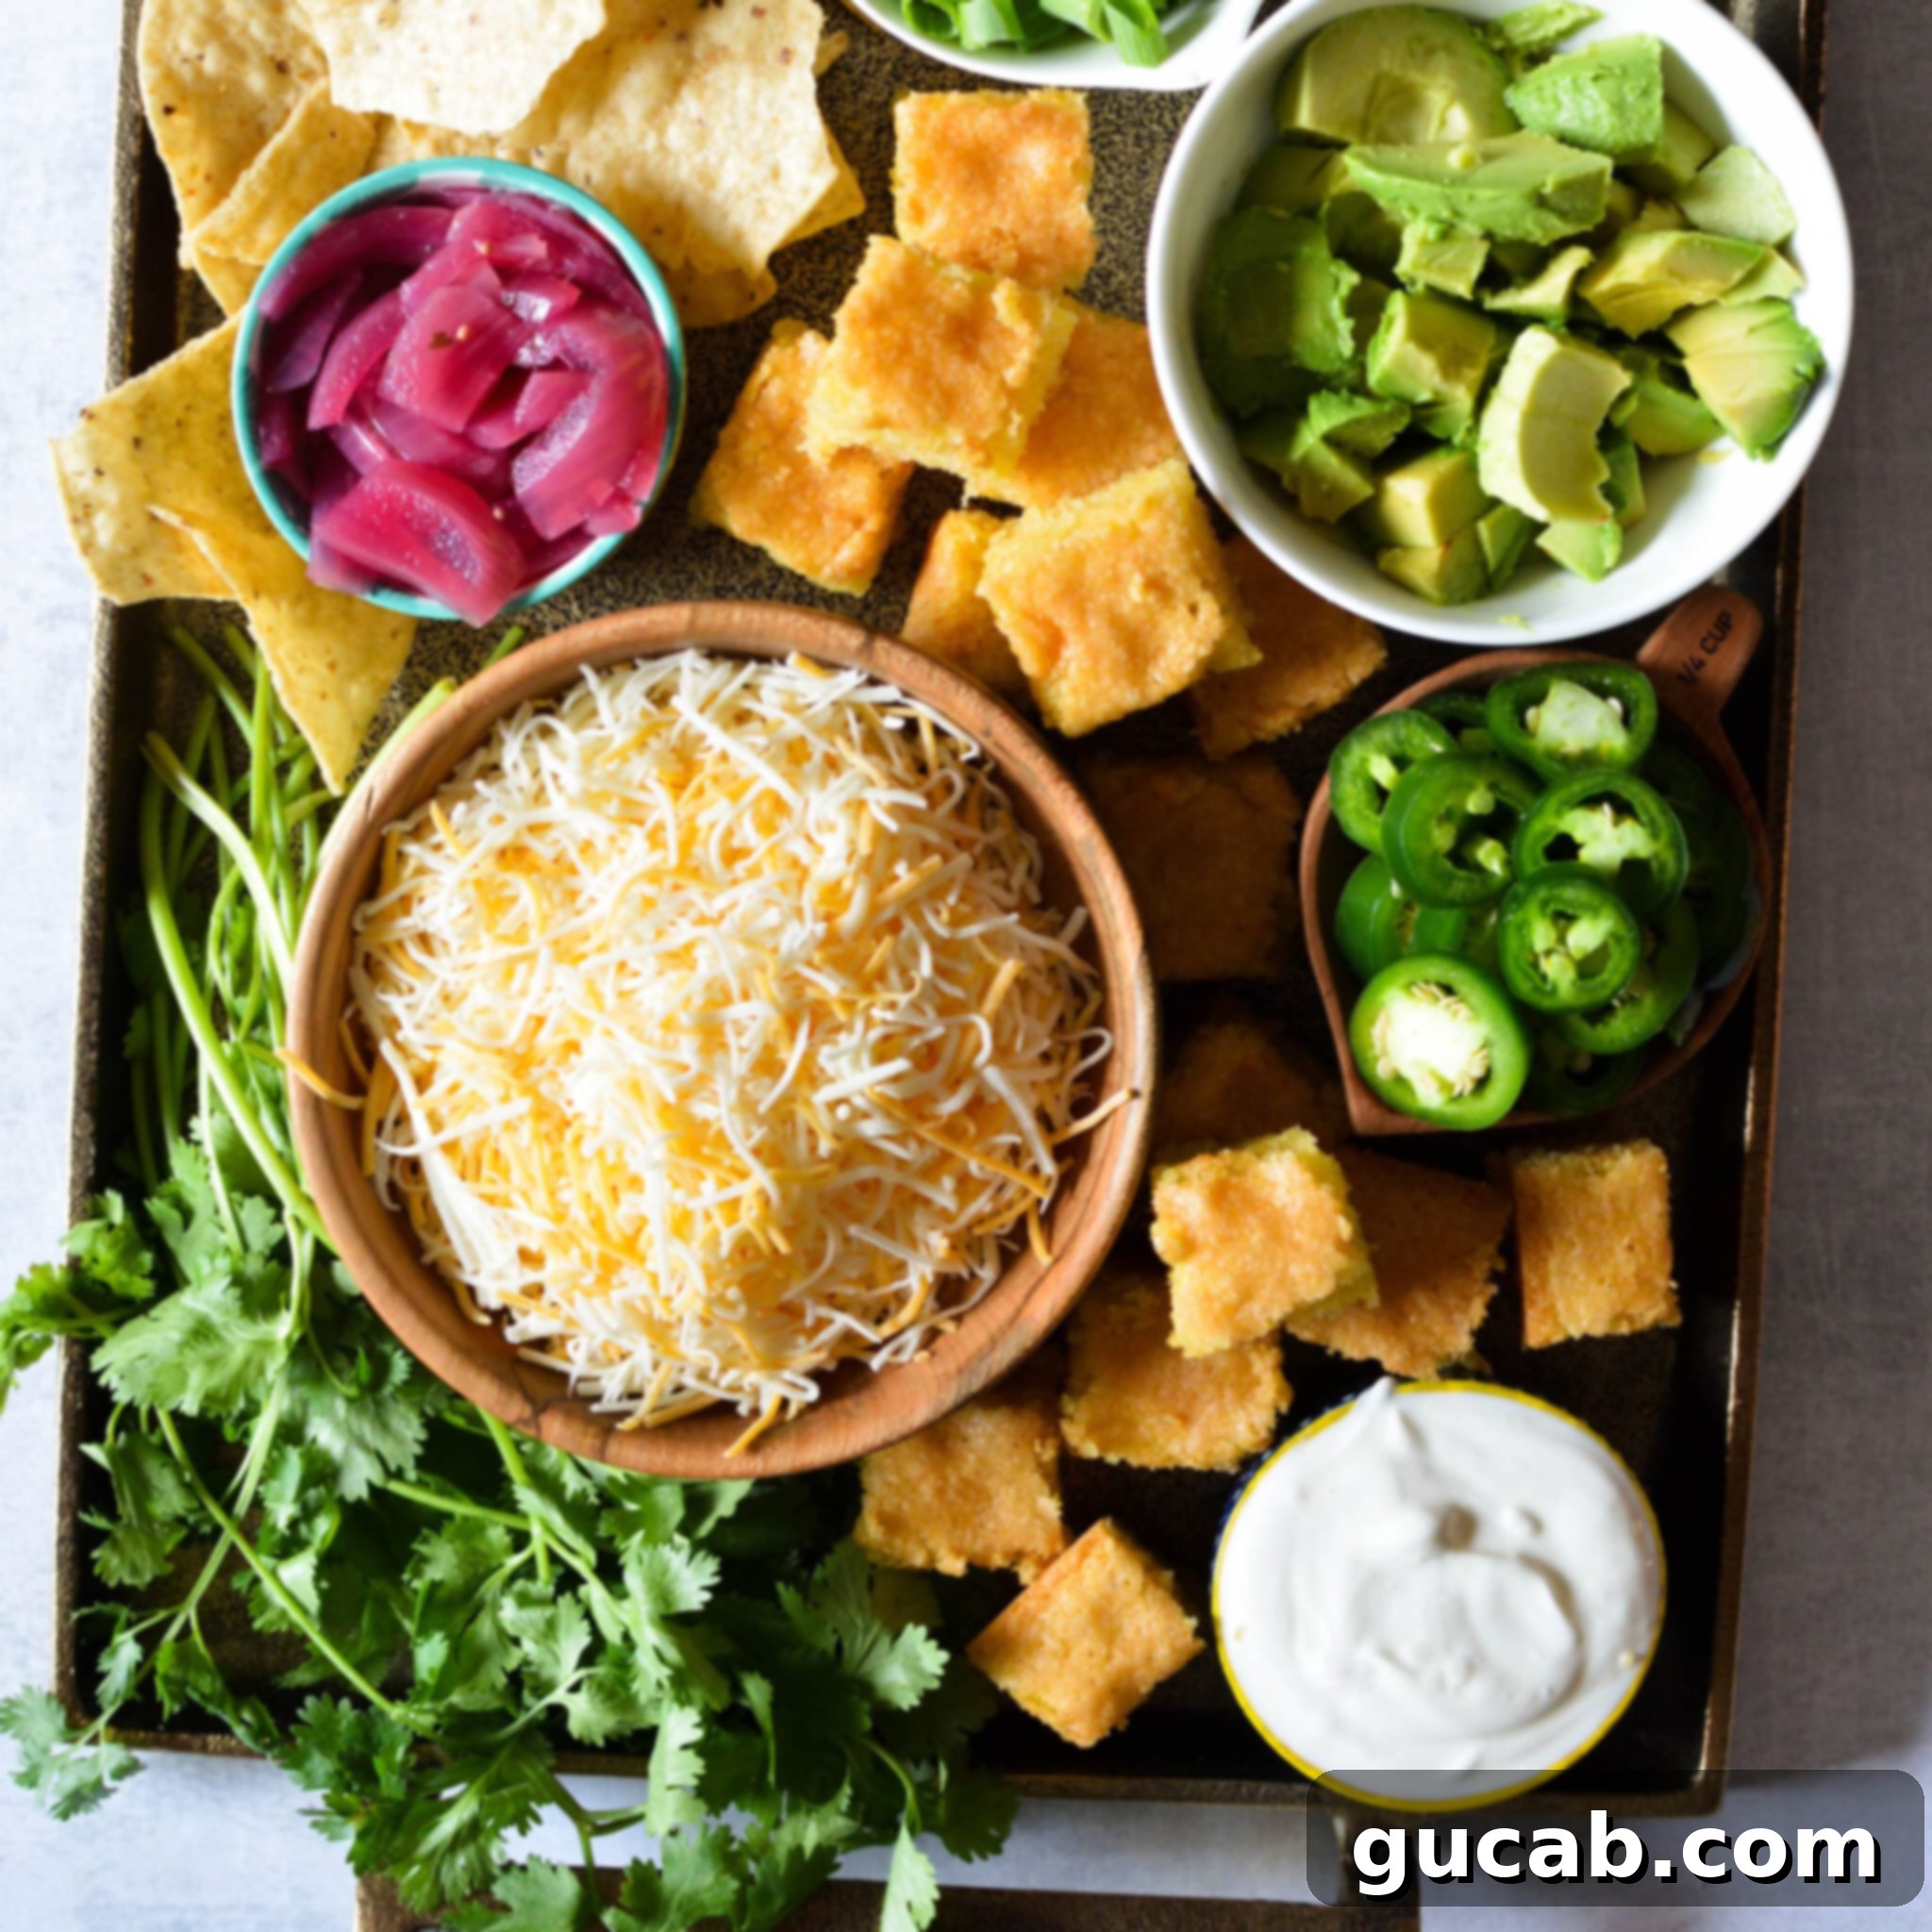
The Ultimate Chili Bar Experience: Recipes, Toppings, and Easy Hosting Tips for Any Gathering
Hosting a gathering, big or small, should be fun and stress-free. The ultimate chili bar offers a delicious, customizable, and incredibly easy solution that delights every guest! With endless possibilities for chili types, an exciting array of toppings, and flexible presentation styles, you can create a memorable meal that perfectly fits any occasion, from casual game nights to festive family celebrations. Whether you prefer a simple setup or an elaborate spread, a chili bar is a fantastic way to serve a satisfying, warming meal with minimal fuss and maximum flavor.
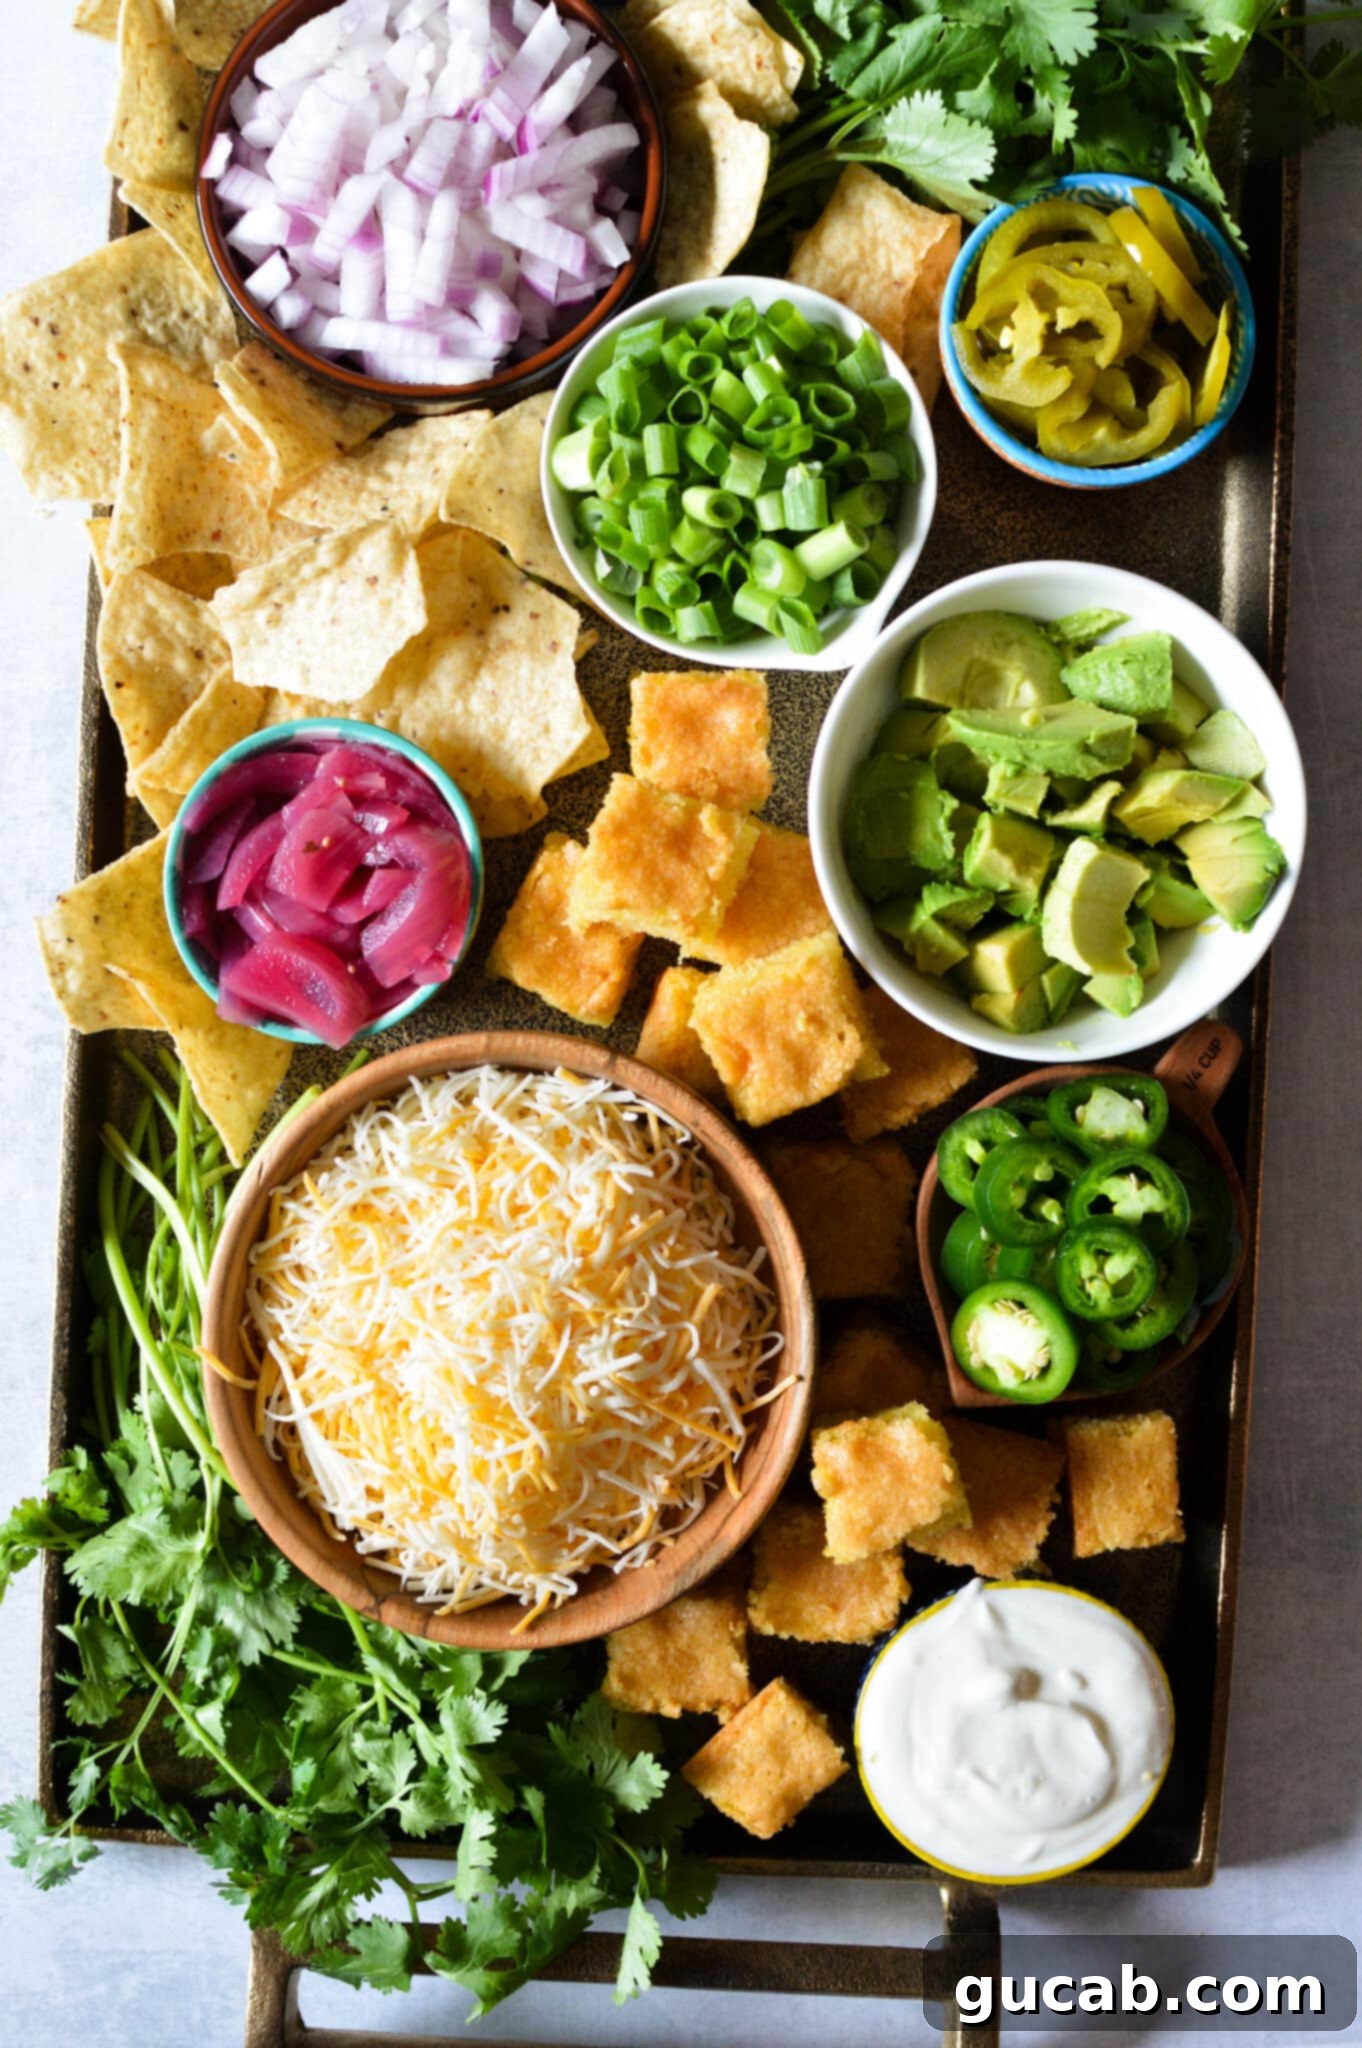
Crafting Your Perfect Chili Bar: A Step-by-Step Guide
Creating a chili bar is not just about serving food; it’s about providing an interactive culinary experience that guests absolutely love. It’s an ideal choice for parties, large family gatherings, or even a cozy weeknight dinner because much of the preparation can be done in advance. This approach significantly reduces last-minute stress, allowing you to enjoy your own event. To set up an unforgettable chili bar, focus on three main components:
- The Chili Itself: This is the heart of your bar! You have complete freedom here. You can opt for a rich, hearty beef chili, a lighter turkey version, a vibrant vegetarian option, or even a creamy white chicken chili. Don’t feel pressured to make it all from scratch; store-bought or restaurant take-out chili can be excellent time-savers.
- Abundant Toppings: This is where the fun truly begins! A diverse selection of toppings transforms a simple bowl of chili into a personalized masterpiece. While you don’t need every topping imaginable, offering a good variety ensures there’s something to please every palate and preference. Think contrasting textures and flavors—creamy, crunchy, spicy, fresh.
- Thoughtful Presentation: The way you arrange your chili bar can elevate the entire experience. Whether you choose a laid-back, rustic vibe or a more curated, charcuterie-board-style display, ensure you have appropriate serving vessels. Small bowls, ramekins, and decorative platters for toppings, alongside sturdy bowls and spoons for serving the chili, are essential.
Choosing Your Signature Chili: Homemade or Convenient Options
While a bubbling pot of homemade beef chili simmering on the stove is wonderfully comforting, it’s certainly not your only path to chili bar success. The beauty of a chili bar lies in its flexibility, allowing you to choose the chili that best suits your time and taste preferences. Here are several excellent options:
- Store-bought Chili: For ultimate convenience, don’t overlook your local grocery store. Many delis, like Whole Foods and Publix, offer freshly prepared chili in their grab-and-go sections. Check your local market for similar options – it’s a fantastic way to get a delicious base without any cooking.
- Restaurant Take-out Chili: Restaurants are another great resource for pre-made chili. For instance, Panera Bread often sells “Soup for a Group” and typically features a tasty turkey chili during the cooler months. Explore local diners or specialty food shops that might offer large quantities of their signature chili.
- Crockpot Chili (Slow Cooker Method): A slow cooker is a host’s best friend! Prepare your chili ingredients, set the crockpot to cook, and let it do all the work throughout the day. Not only does it yield incredibly tender and flavorful chili, but it also keeps it perfectly warm for hours, ideal for serving a crowd. This method frees up your stovetop and oven for other preparations.
- Homemade Chili: For those who love to cook, homemade chili offers unparalleled depth of flavor and customization.
- Beef Chili: A classic beef chili is a crowd-pleaser. You can stick to a traditional recipe or spice things up with minced chipotle peppers for a smoky heat, or even try a Texas-style chili without beans for a purist’s delight. Experiment with different cuts of beef for varying textures and richness.
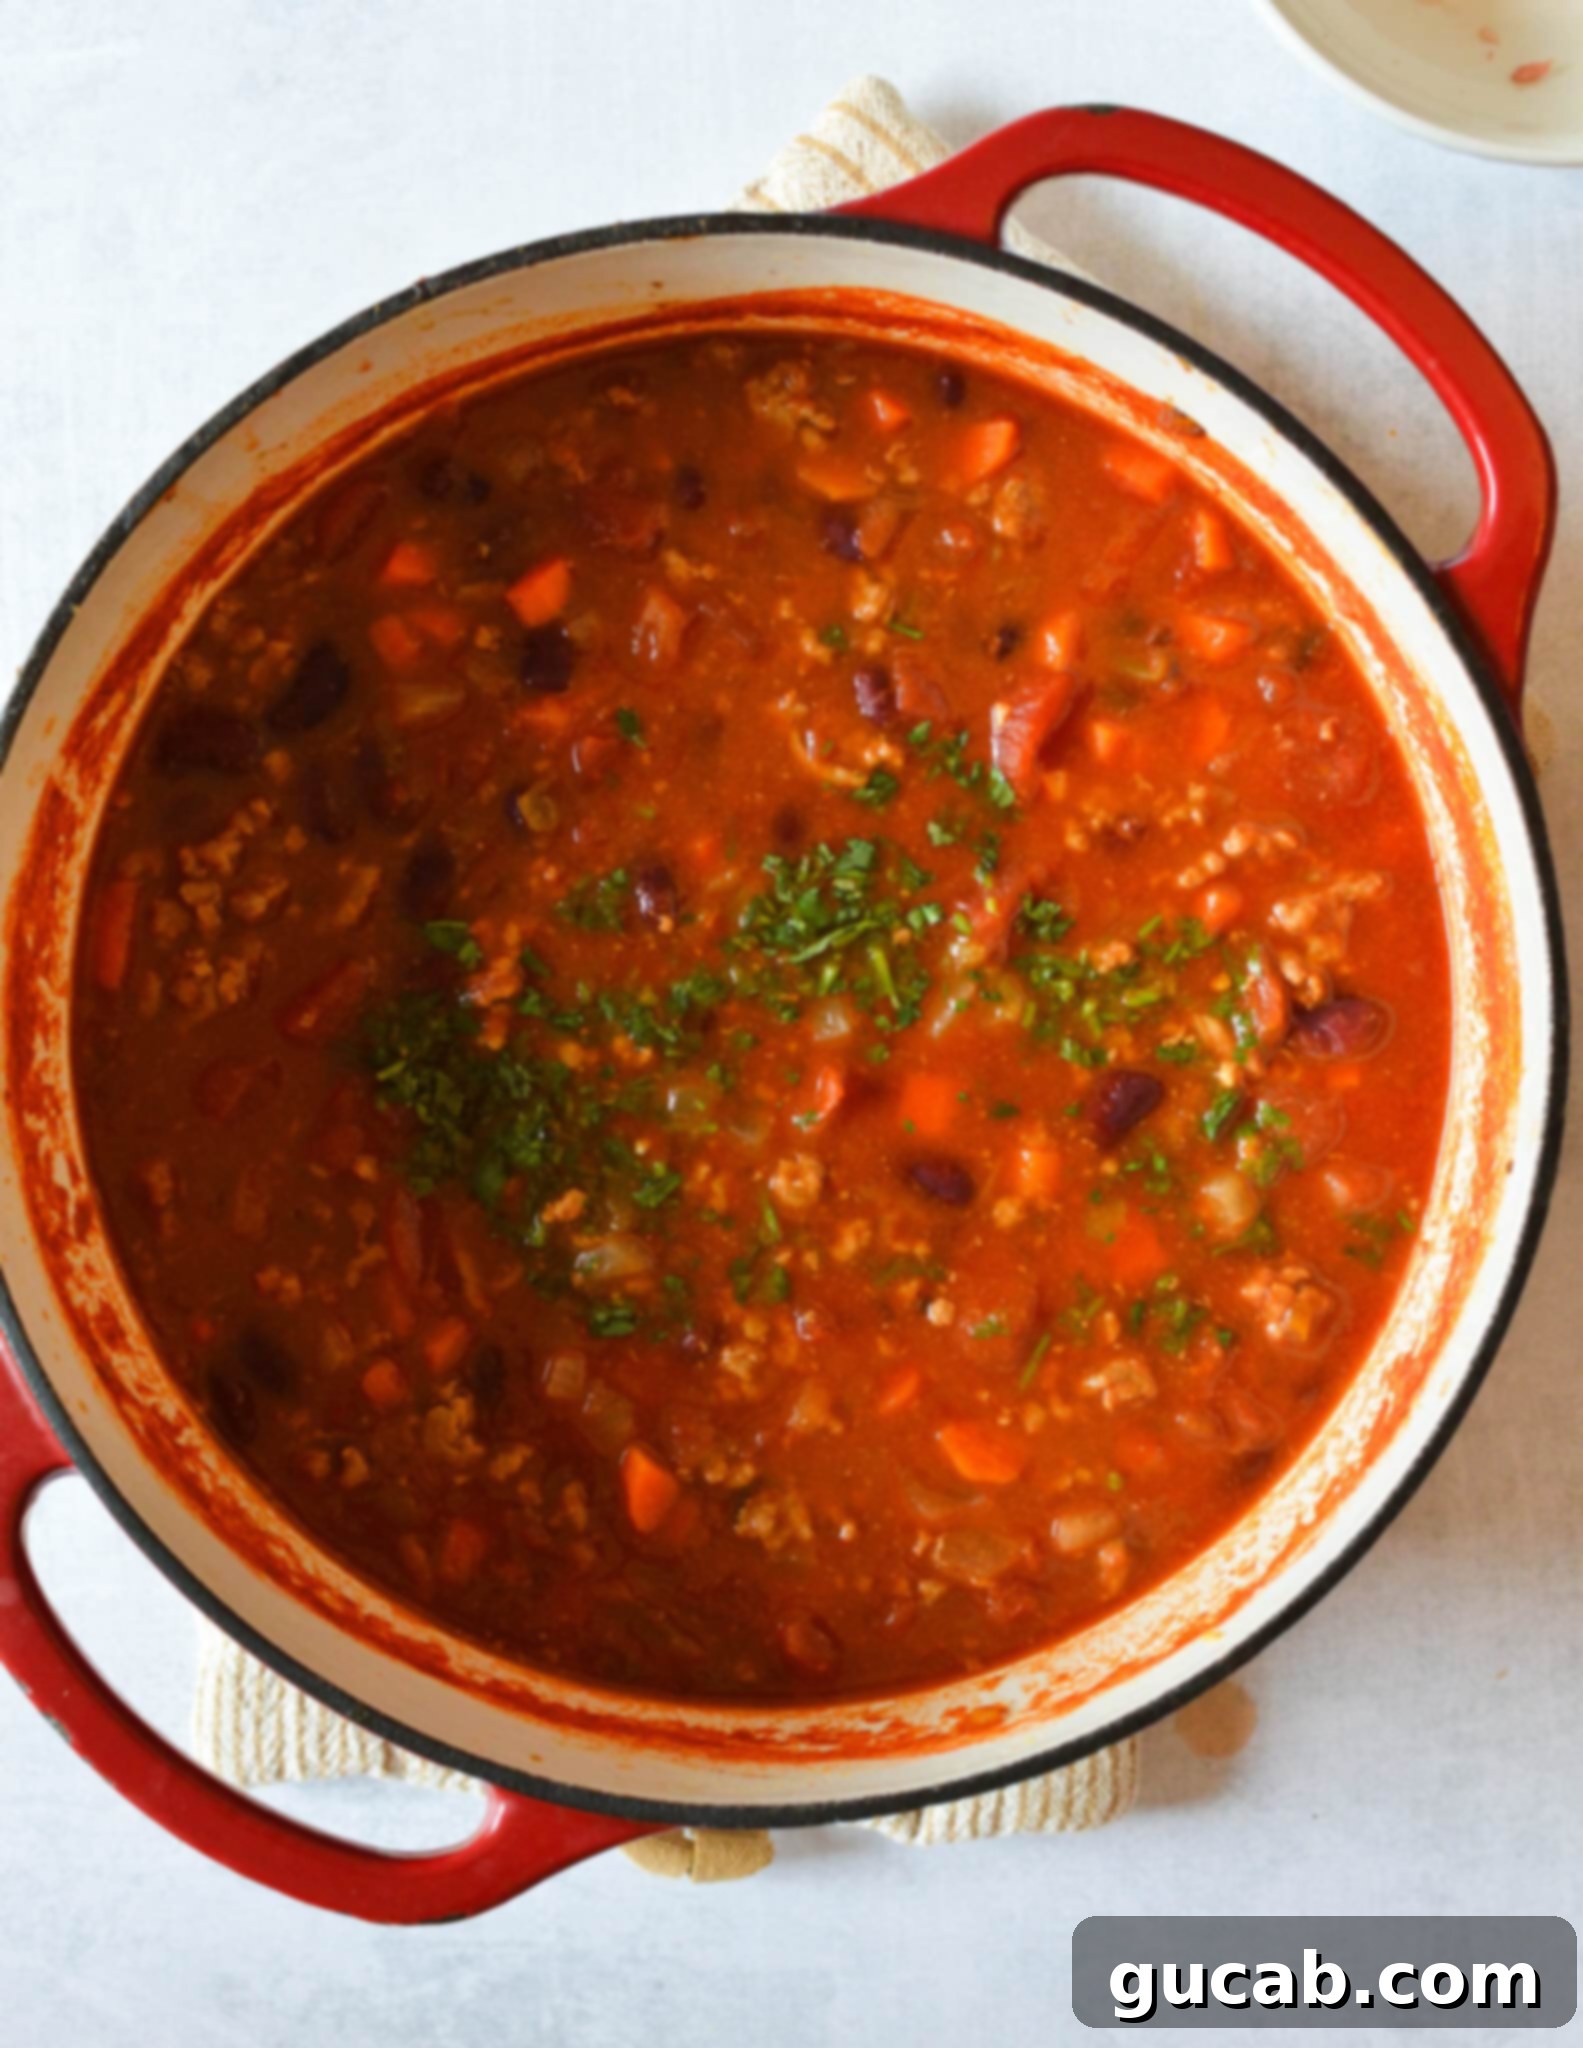
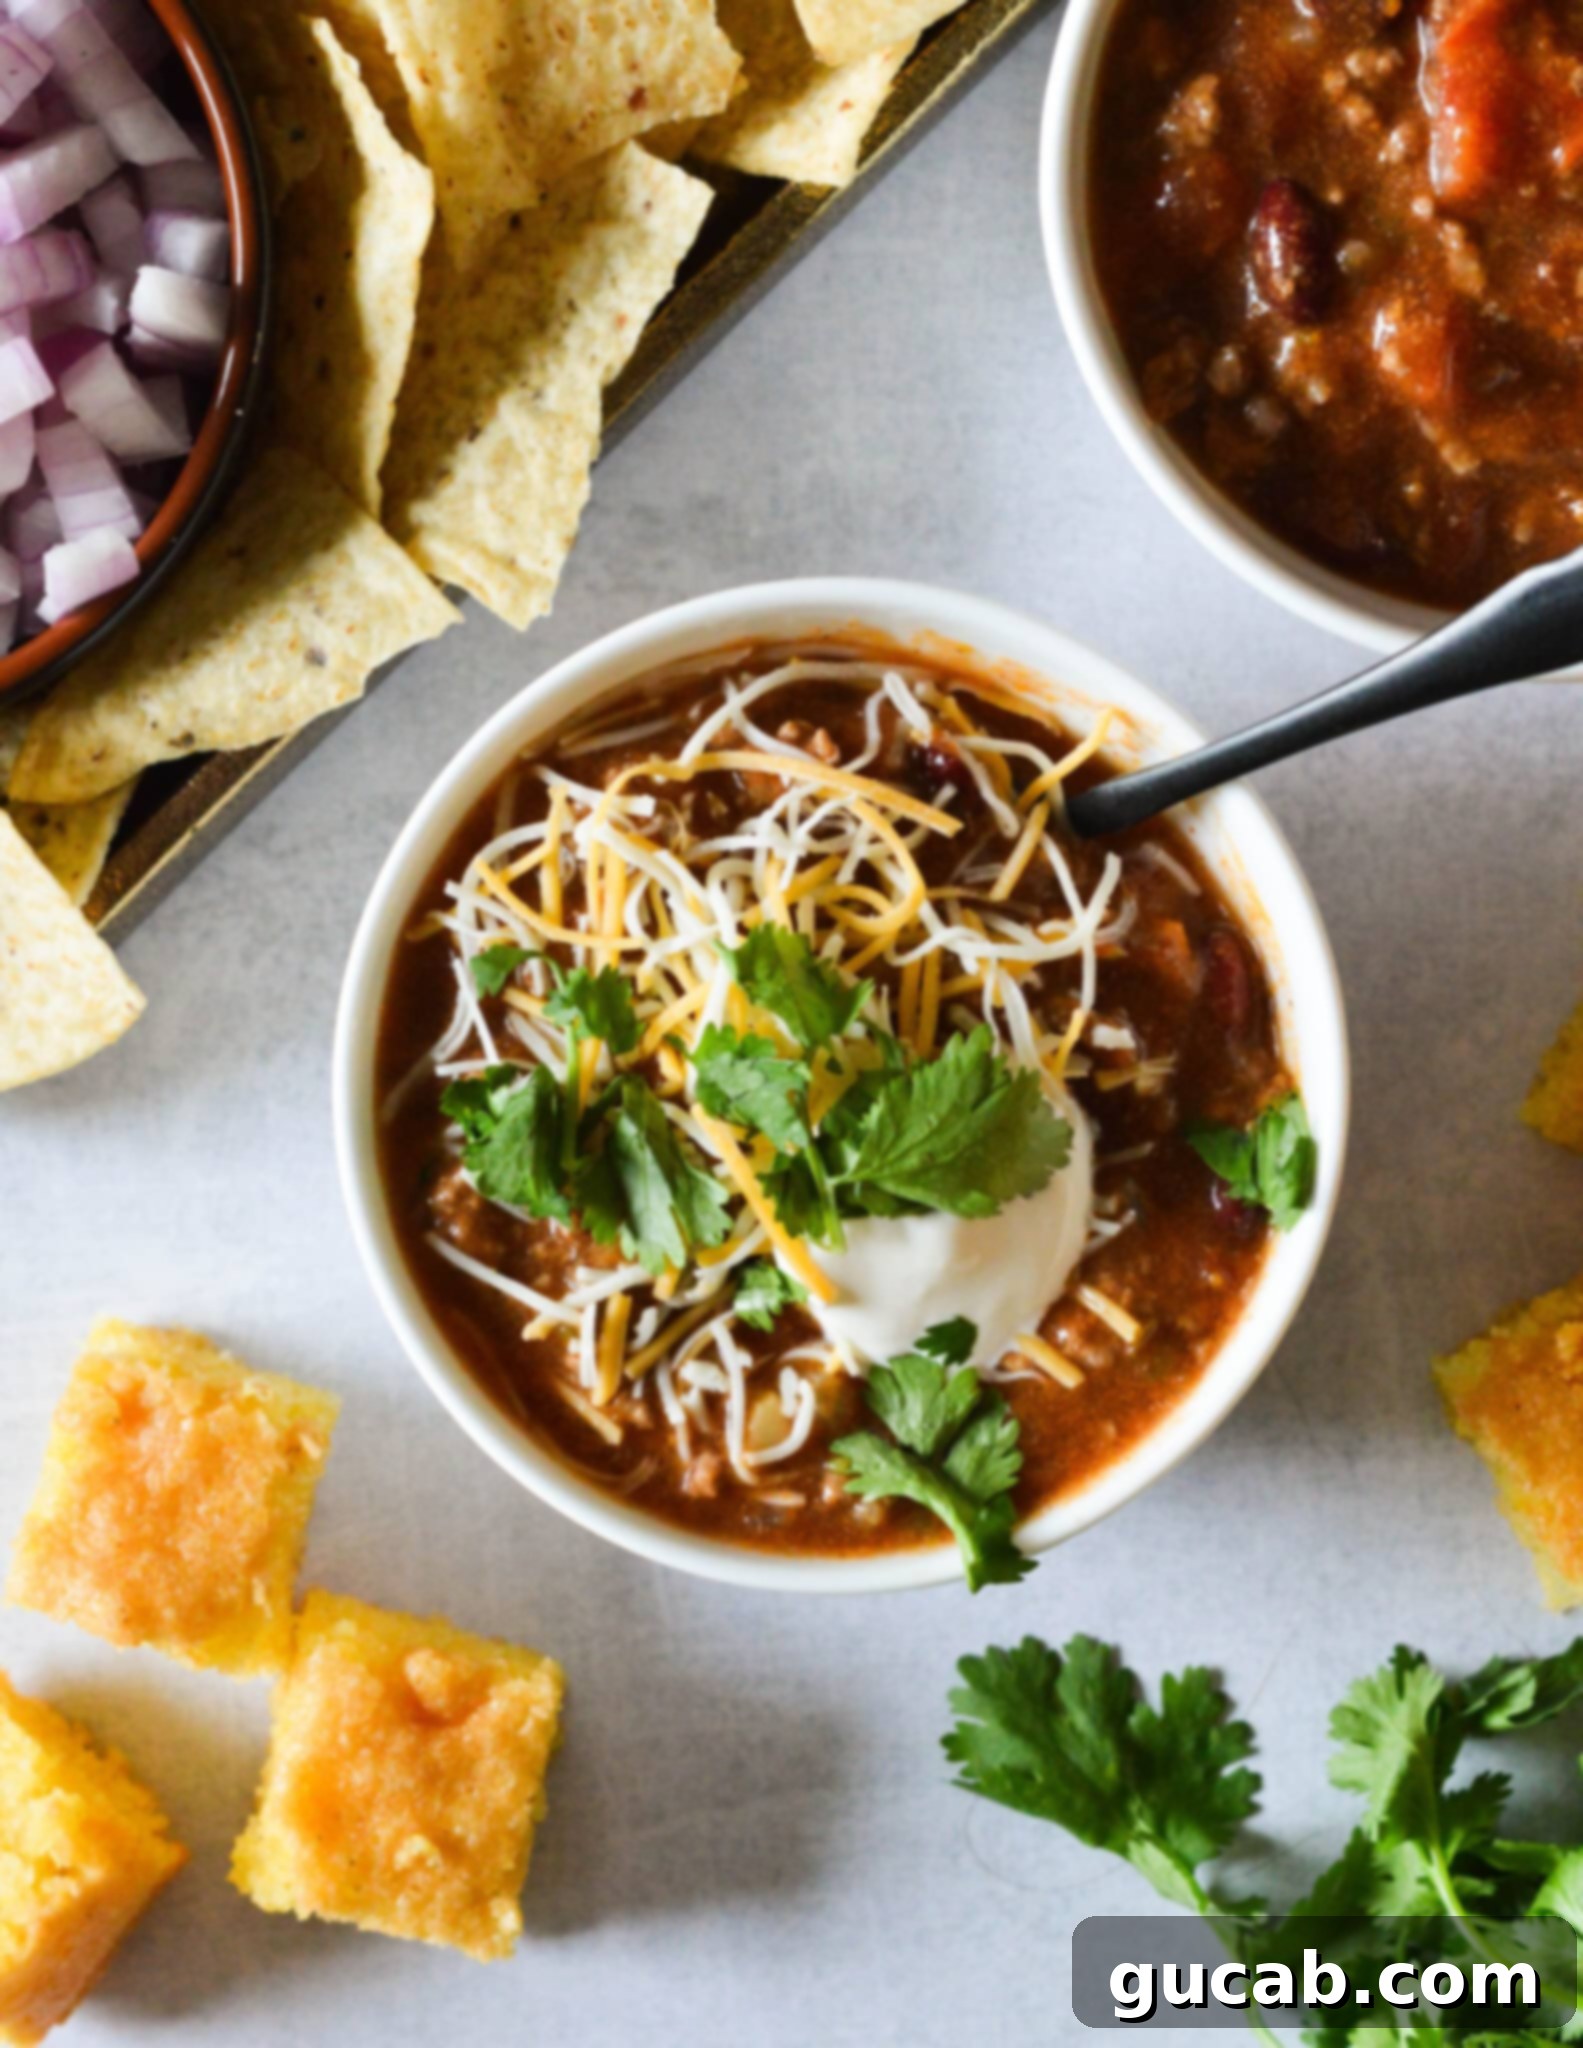
- Turkey Chili: Our featured turkey chili recipe is a go-to for its rich flavor and subtle warmth, plus it’s incredibly simple to prepare. It’s a fantastic, lighter alternative that doesn’t compromise on taste and is perfect as the base for all your favorite toppings.
- Vegetarian/Vegan Chili: Make plant-based ingredients the star! Incorporate a variety of beans (kidney, black, pinto), along with hearty vegetables like diced carrots, bell peppers, zucchini, and even sweet potatoes for natural sweetness and texture. A medley of spices like cumin, chili powder, smoked paprika, and oregano will build a robust flavor profile.
- White Chicken Chili: This creamy, comforting option uses white beans, chicken, and often a dairy base like cream cheese or sour cream, along with milder green chiles and spices, offering a delightful contrast to traditional red chili.
When planning your chili bar, always consider the number of guests you’ll be serving. Check the serving size on any recipe you use, and don’t hesitate to double or triple it as needed. As a general rule, plan for about 1.5 to 2 cups of chili per adult if it’s the main course, and slightly less if it’s part of a larger buffet. It’s always better to have a little extra than to run out!
Essential Chili Topping Ideas to Elevate Your Bar
The toppings are what transform a simple bowl of chili into an extraordinary, personalized meal. Offering a diverse range of textures, flavors, and temperatures ensures every guest can build their perfect bowl. Here are some indispensable chili topping ideas, along with tips for selection and preparation:
- Cheese: A must-have! Offer a selection like shredded cheddar for classic flavor, Mexican blend for a festive touch, Colby Jack for mild creaminess, or Pepper Jack for a hint of spice. Freshly grated cheese melts beautifully.
- Diced Onions: Provide both sweet yellow onions, finely diced for a milder bite, and red onions, which offer a sharper, more pungent flavor.
- Sliced Green Onions (Scallions): These add a delicate onion flavor and a vibrant green garnish, perfect for a fresh finish.
- Pickled Jalapeños: For a tangy kick and a bit of heat that’s less intense than fresh jalapeños. Their vinegary bite cuts through the richness of the chili.
- Pickled Red Onions: These offer a beautiful color and a fantastic sweet-tart crunch. You can easily buy them pre-made, or whip up a batch yourself – homemade pickled onions are surprisingly simple and taste so much better!
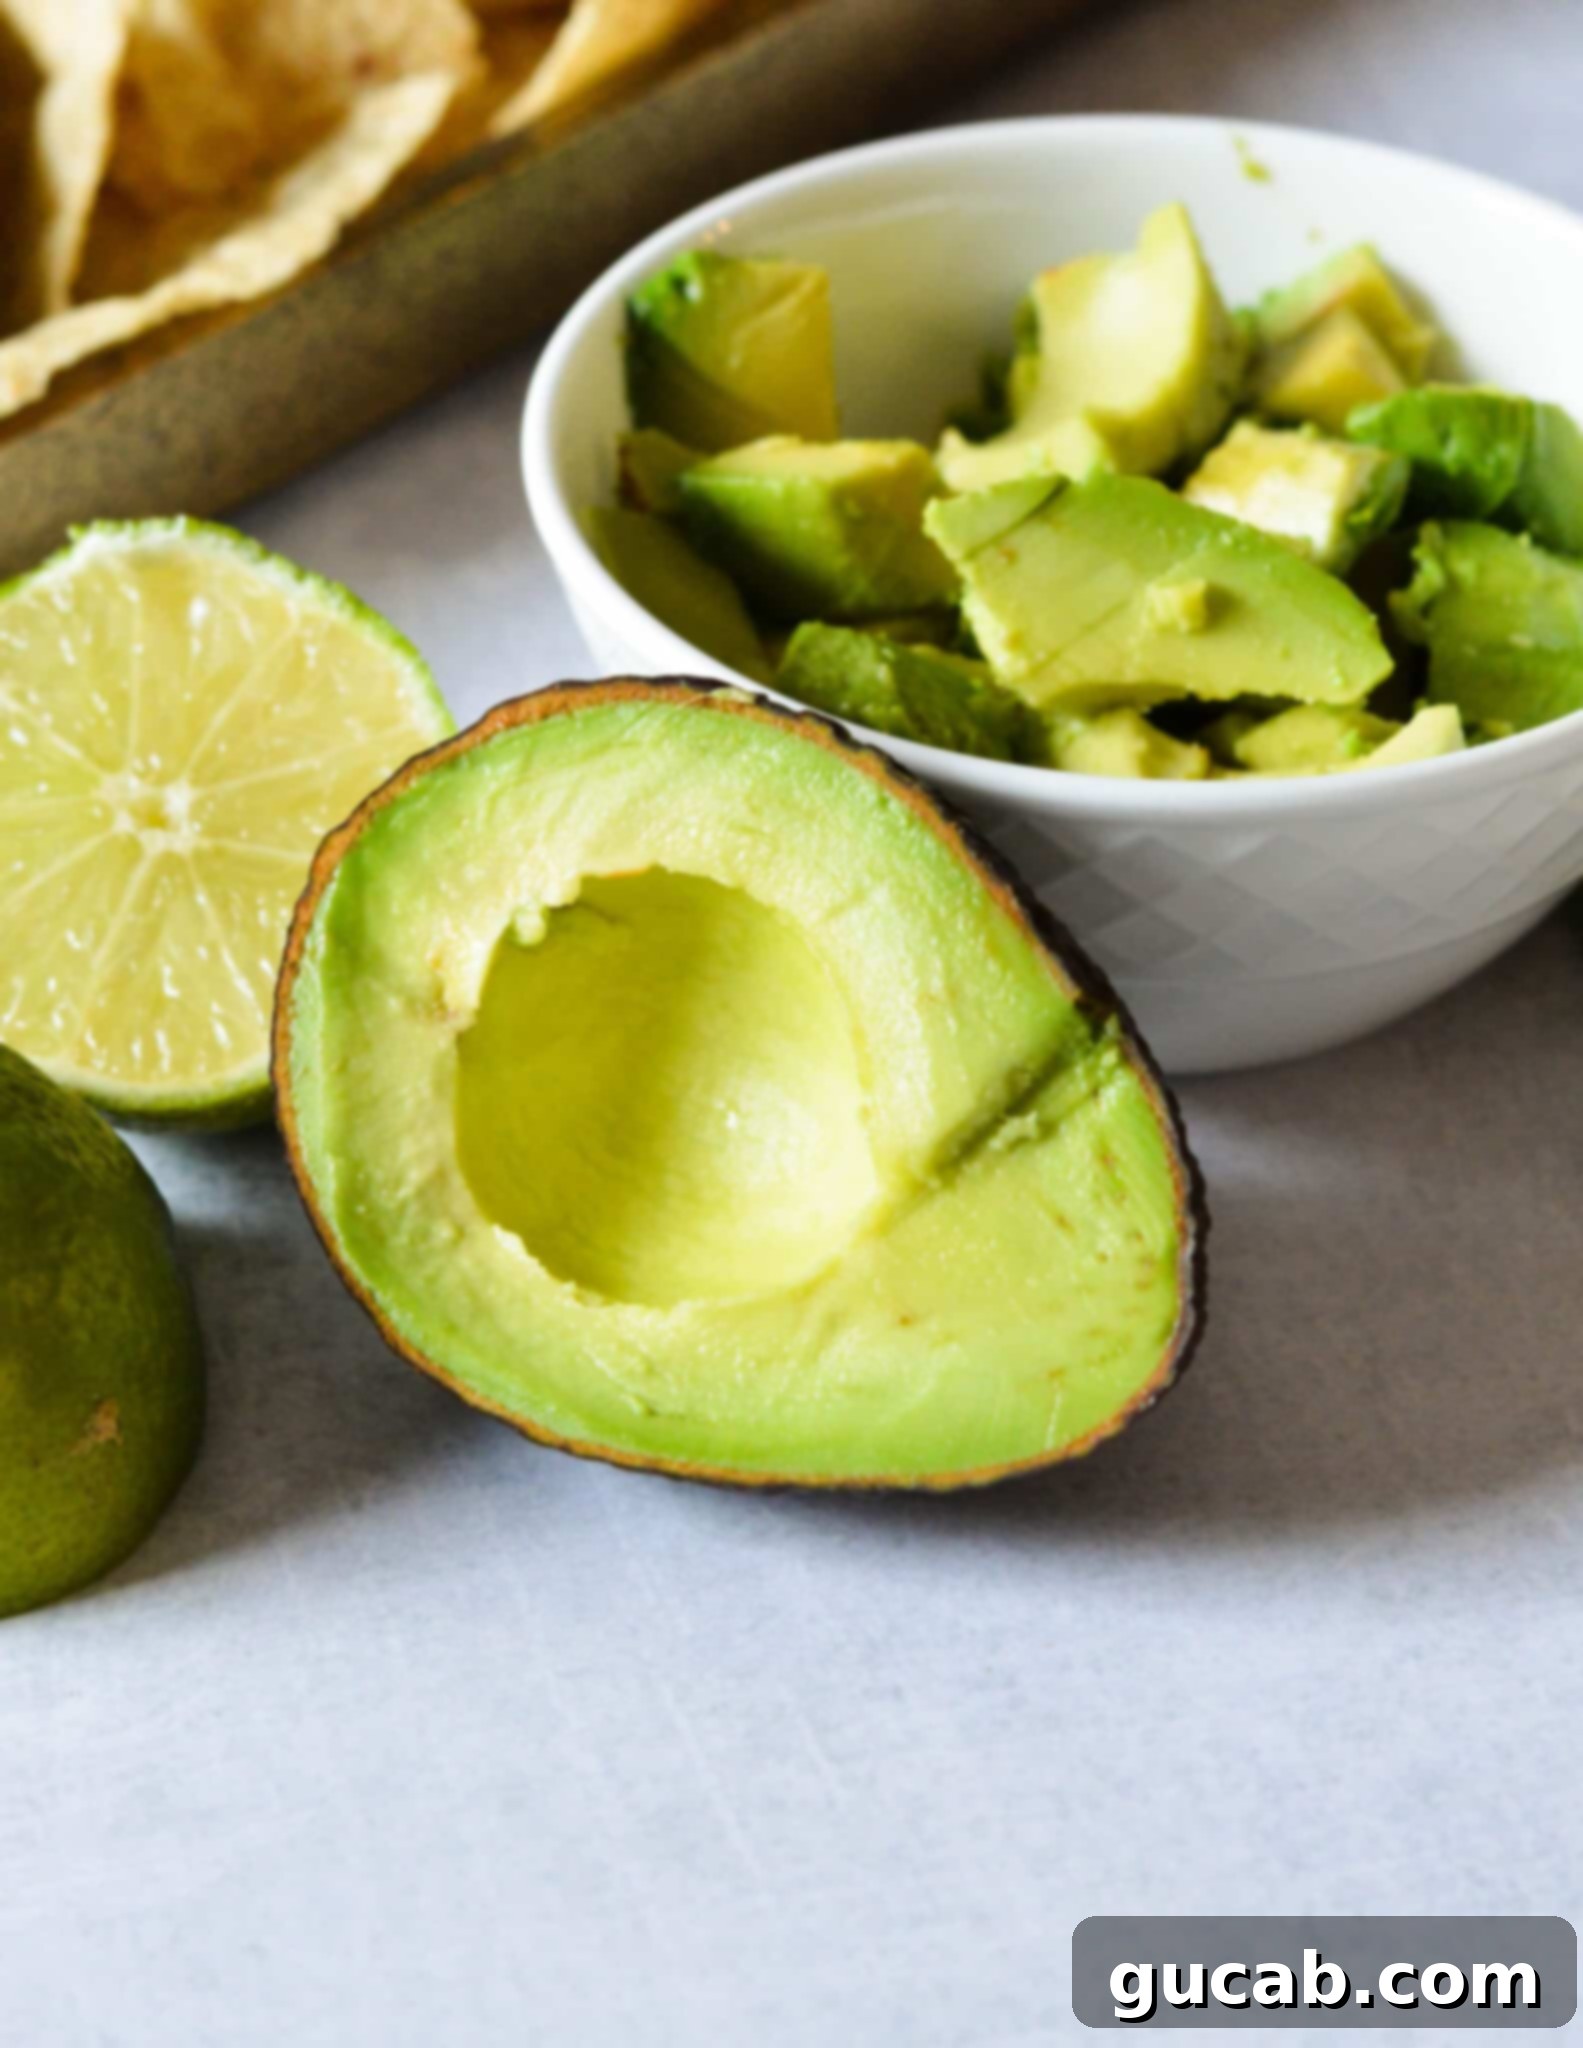
- Avocado: A creamy, rich addition that balances spice. Look for avocados that are firm but yield slightly when gently squeezed, avoiding overly soft or mushy ones. Serve them diced or as a simple guacamole.
- Sour Cream or Greek Yogurt: Essential for adding a cool, tangy creaminess that contrasts beautifully with spicy chili. Full-fat sour cream is traditional, but plain Greek yogurt is a healthier alternative with a similar texture and tang.
- Raw Jalapeños: Thinly sliced raw jalapeños are perfect for heat seekers who enjoy a sharp, fiery kick.
- Crunchy Elements (Tortilla Chips, Fritos, Saltine Crackers): Provide a variety of textures. Classic tortilla chips or Fritos add a savory crunch. For a unique twist, try Late July’s Jalapeño Lime chips for an extra burst of flavor. Saltine crackers offer a comforting, traditional pairing.
- Cornbread: A classic chili accompaniment. You can buy it pre-made, use a convenient cornbread mix, or bake a homemade batch. Cut the cornbread into small squares or bite-sized pieces so guests can easily add a modest portion to their bowl or enjoy it on the side.
- Hot Sauce: Offer a range of hot sauces, from mild to fiery, allowing guests to customize their heat level. Include common options like Tabasco, Frank’s RedHot, and a smoky chipotle sauce.
- Corn: Add sweetness and a pop of color. Options include drained canned corn, caramelized corn for a deeper flavor, or a fresh corn salsa.
- Fresh Cilantro: Chopped fresh cilantro adds a bright, herbaceous note and a beautiful green garnish.
- Lime Wedges: A squeeze of fresh lime juice at the end brightens all the flavors and adds a zesty finish.
- Crispy Bacon Bits: For a savory, smoky, and textural crunch that pairs wonderfully with rich chili.
- Sliced Black Olives: A classic, briny addition that many chili lovers enjoy.
- Fresh Diced Tomatoes: For a burst of juicy, fresh flavor.
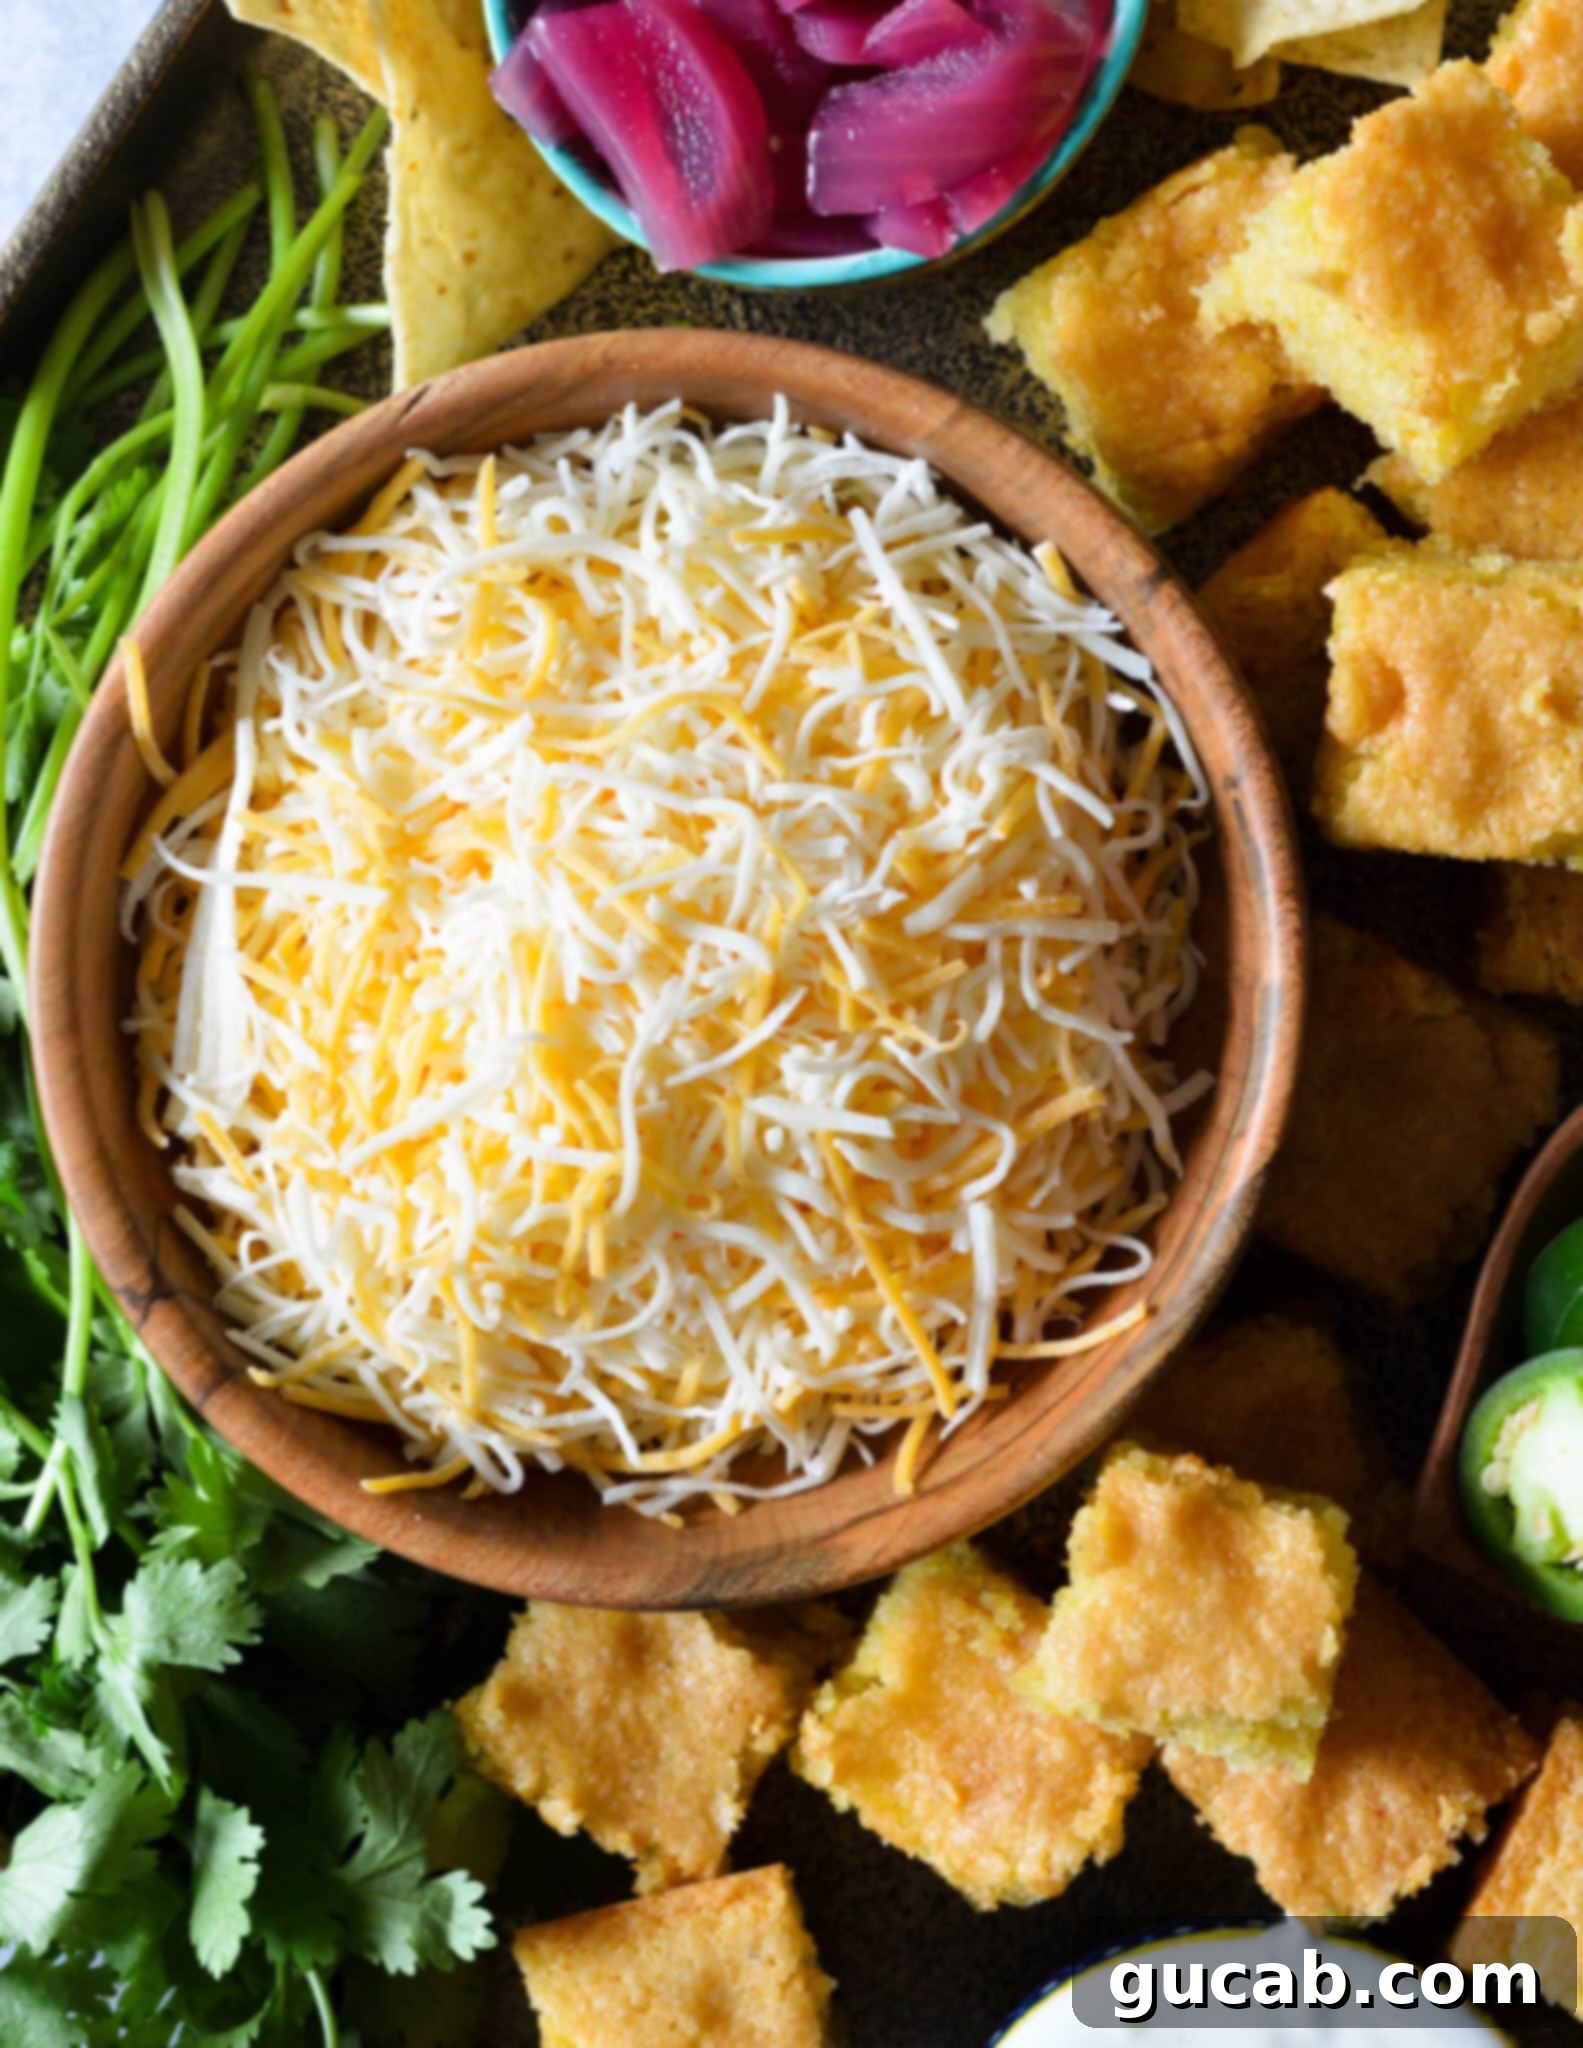
Setting Up Your Irresistible Chili Bar: Presentation Matters
Once your delicious chili is cooked and all your vibrant toppings are prepped, it’s time for the truly enjoyable part: arranging your chili bar! The presentation can be as relaxed or as elegant as you envision, allowing for incredible versatility in your hosting style.
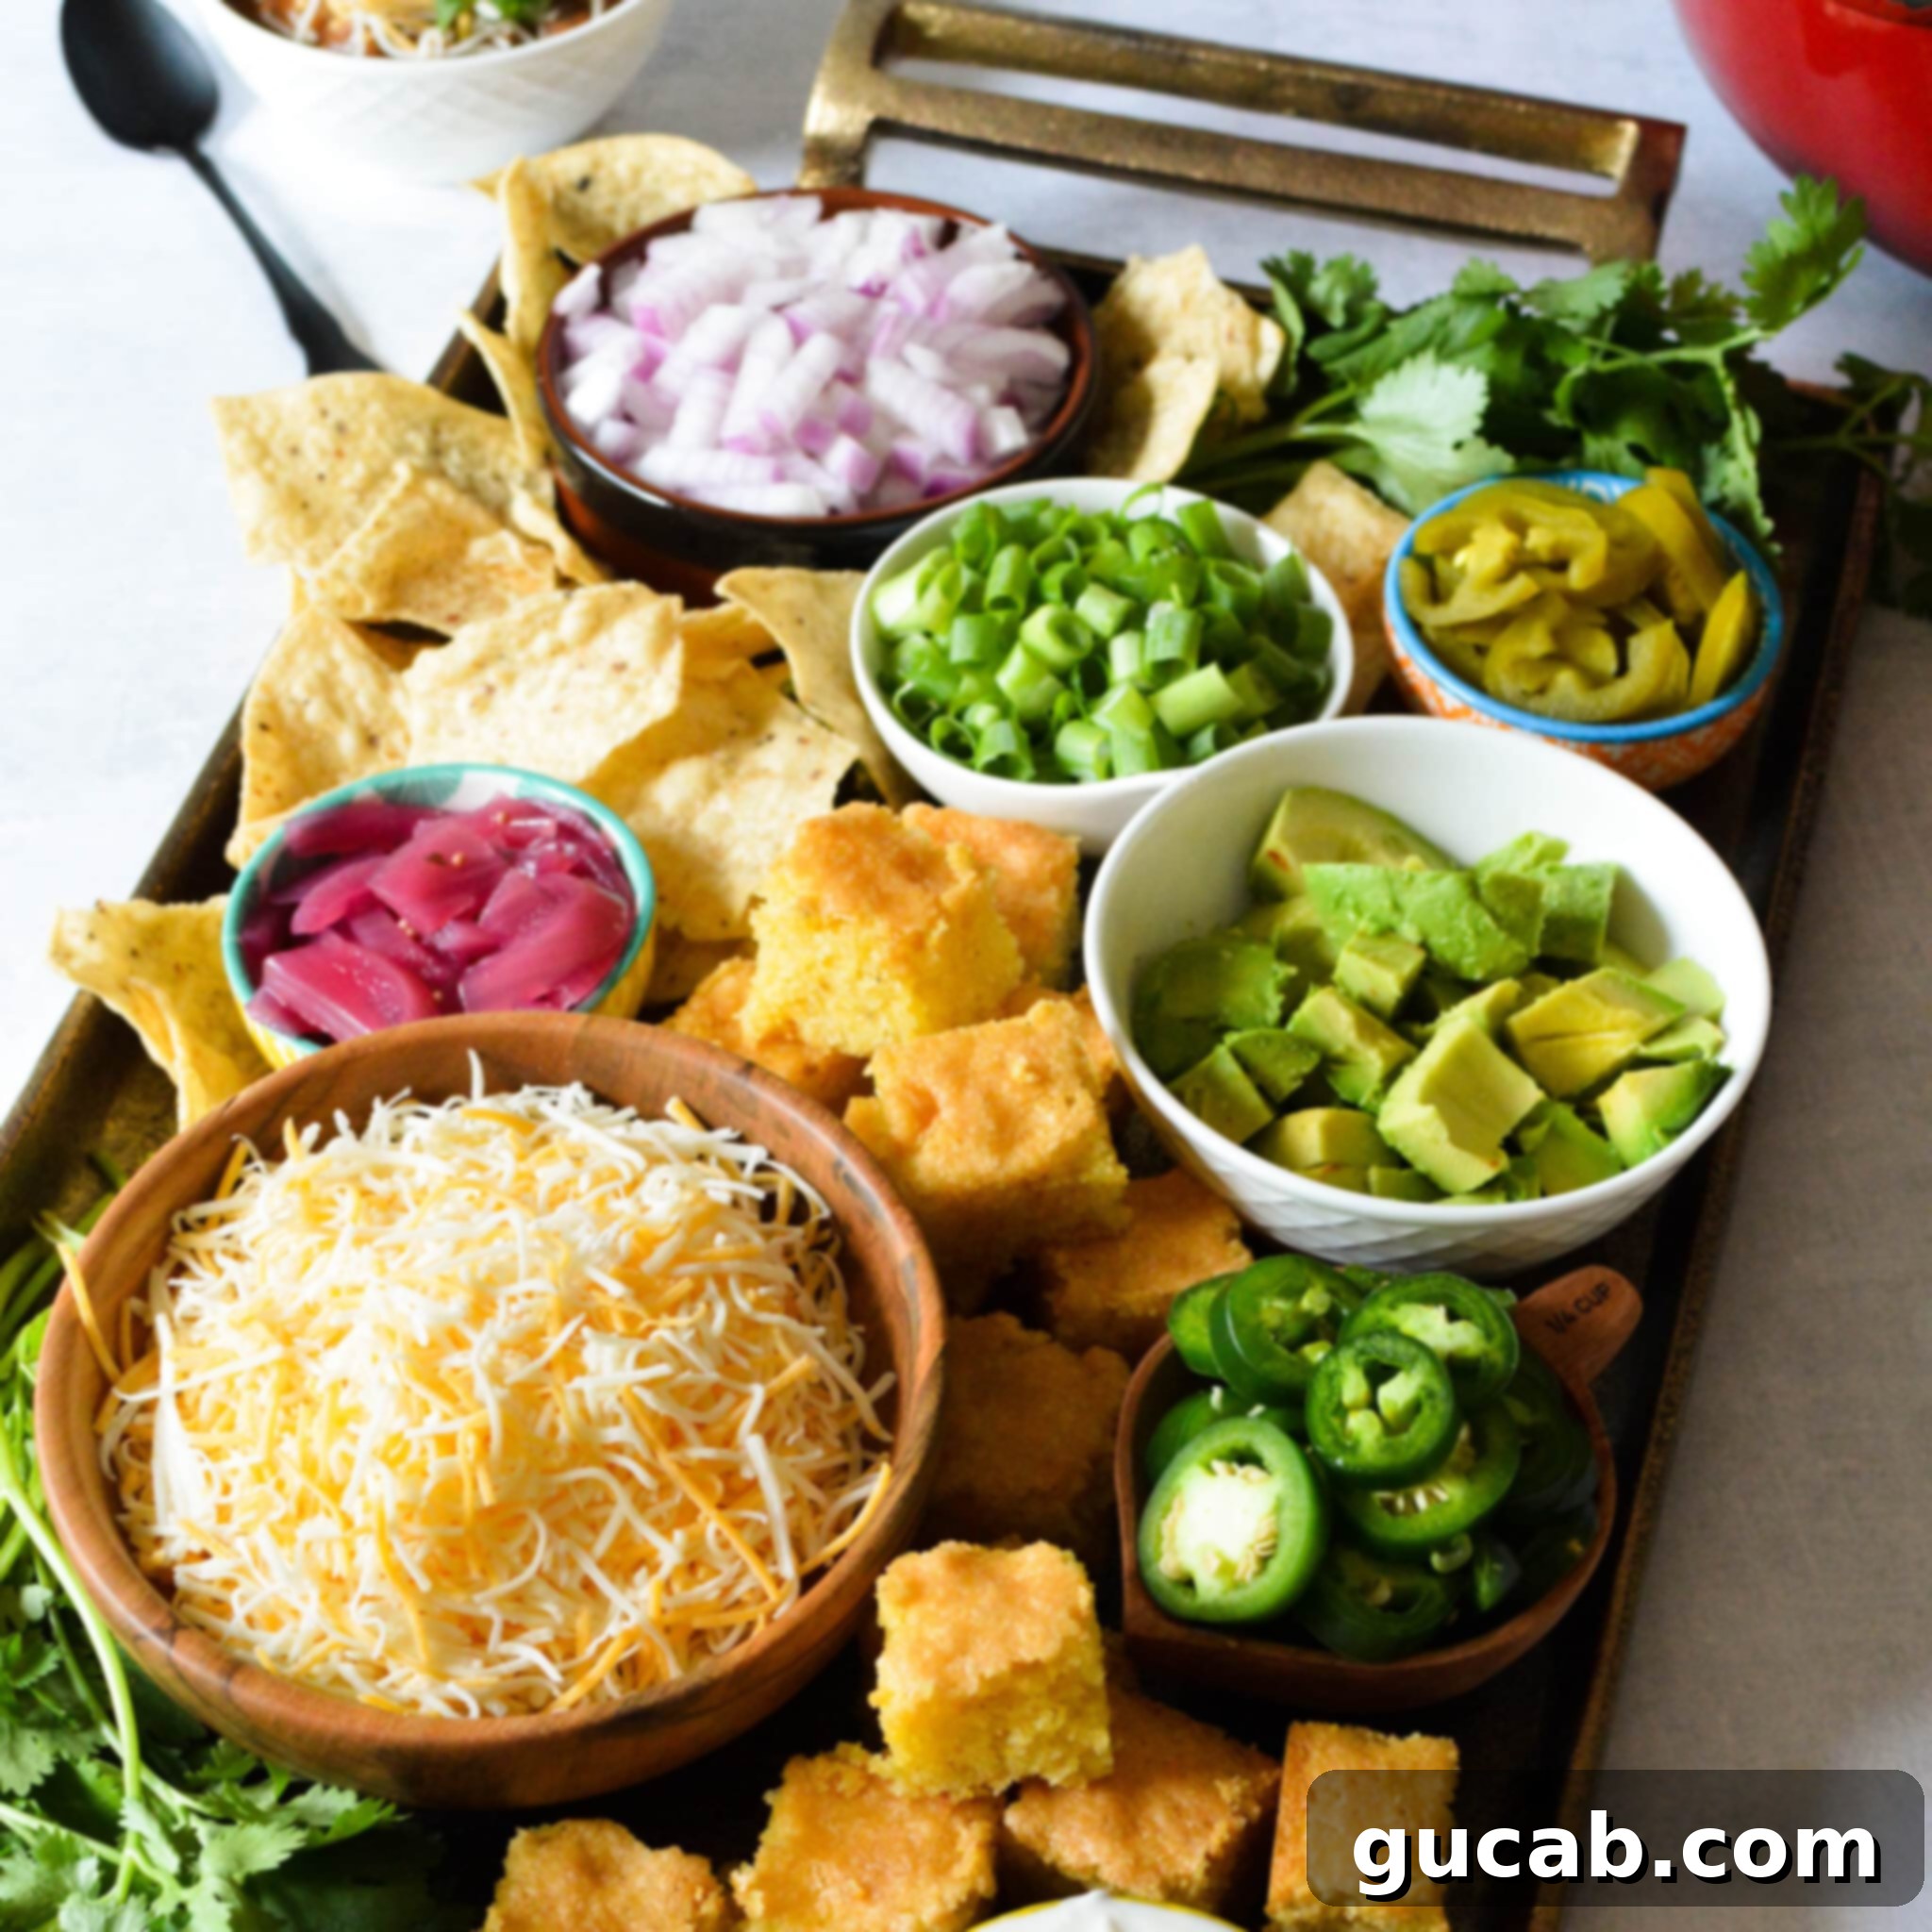
You can opt for a casual arrangement, simply placing bowls of toppings alongside the main chili pot. Alternatively, you can create a more visually stunning display akin to a charcuterie board, where aesthetics are part of the experience. Here’s what you’ll need to set the scene:
- Small Bowls or Ramekins for Toppings: These are crucial for organizing your toppings and keeping them separate and fresh. Don’t shy away from getting creative with your choices – use small ceramic bowls, glass ramekins, or even unique items like wooden measuring cups for a rustic touch. Varying heights and textures of your bowls can add visual interest to your spread.
- Cutting Boards or Serving Platters: A large wooden cutting board or an elegant serving platter provides an excellent base for arranging your topping bowls. If using a material that isn’t food-safe, simply line it with unbleached parchment paper before placing any direct food items. This creates a cohesive and attractive display, making your chili bar feel special.
- Serving Bowls and Spoons: For the chili itself, choose serving bowls that are large enough for a satisfying portion but not so enormous that guests overfill and can’t enjoy a second helping. People can always return for more! Consider the ambiance you want to create; durable ceramic bowls and metal spoons offer a more refined feel, while paper bowls and plastic silverware can keep things effortlessly casual for larger, less formal gatherings or outdoor events. Ensure you have sturdy ladles for easy chili serving.
- Keeping Chili Warm: If you’re serving multiple types of chili, or want to keep one large batch hot, consider using a slow cooker, a chafing dish, or even an electric warming tray. This ensures the chili remains at a safe and appetizing temperature throughout your event.
- Flow and Accessibility: Arrange your chili bar logically. Typically, the main chili pot(s) should be at the beginning of the line, followed by the main toppings (cheese, sour cream, avocado), and then the crunchier elements and fresh herbs at the end. This creates a natural flow for your guests as they build their perfect bowl.
Maximizing Your Chili: How to Freeze and Reheat for Future Enjoyment
One of the many benefits of making a big batch of chili is that it freezes beautifully, allowing you to enjoy leftovers for future meals without extra effort. Freezing chili is a fantastic way to meal prep or save extra portions from your chili bar. Follow these simple steps for optimal freezing and reheating:
- Allow the Chili to Cool Completely: This is a critical step! Never transfer piping hot chili directly to the freezer, as it can raise the freezer’s temperature, potentially thawing other items, and can lead to uneven freezing and poor quality. Once off the heat, let your chili cool down to room temperature before proceeding. This also prevents bacterial growth.
- Transfer to Freezer-Safe Bags or Containers: Choose your storage method wisely. Heavy-duty freezer bags are excellent because they allow you to lay the chili flat, saving space in your freezer, and they make cleanup a breeze. Alternatively, rigid freezer-safe containers (glass or plastic) are great for stacking. Ensure whatever you use is specifically designed for freezing, as some plastics can crack or become brittle in very low temperatures.
- Remove Excess Air: When using freezer bags, press out as much air as possible before sealing to prevent freezer burn. For containers, leave about an inch of headspace to allow for expansion during freezing.
- Label with Date: Don’t skip this important step! Clearly label each bag or container with the type of chili and the date it was frozen. This ensures you always know how old your chili is and helps you rotate your freezer stock effectively.
- Freeze for Up to 3 Months: Properly stored chili can maintain its quality in the freezer for up to three months. Beyond this period, while it may still be safe to eat, you risk a decline in flavor and texture due to freezer burn.
- Thaw and Reheat: When you’re ready to enjoy your frozen chili, the safest and best method is to thaw it in the refrigerator overnight. Once thawed, you can easily reheat it in a pot on the stovetop over medium heat, stirring occasionally until heated through. Alternatively, for smaller portions, you can reheat it in the microwave. If reheating from frozen, it’s best to do so slowly on the stovetop over low heat, breaking it up as it thaws.
How to Make This Flavorful Turkey Chili: A Simple Recipe
This turkey chili recipe is incredibly straightforward yet bursting with rich, savory flavor. It’s the perfect foundation for a chili bar, allowing all your favorite toppings to shine. Here’s a detailed breakdown of the simple steps:
- Sauté Aromatics and Veggies: Begin by heating olive oil in a large Dutch oven or heavy-bottomed pot over medium-high heat. Add your diced sweet onion and carrots, sautéing them for about 4 minutes until they soften and become fragrant. This step builds the aromatic base of your chili.
- Infuse with Spices and Freshness: Next, add the juice from half a lime, kosher salt, ground cumin, ancho chili powder, minced garlic, and canned green chiles to the pot. Stir well and continue to cook for just another minute, allowing the spices to bloom and release their full aroma. The lime adds a bright, zesty counterpoint to the rich spices.
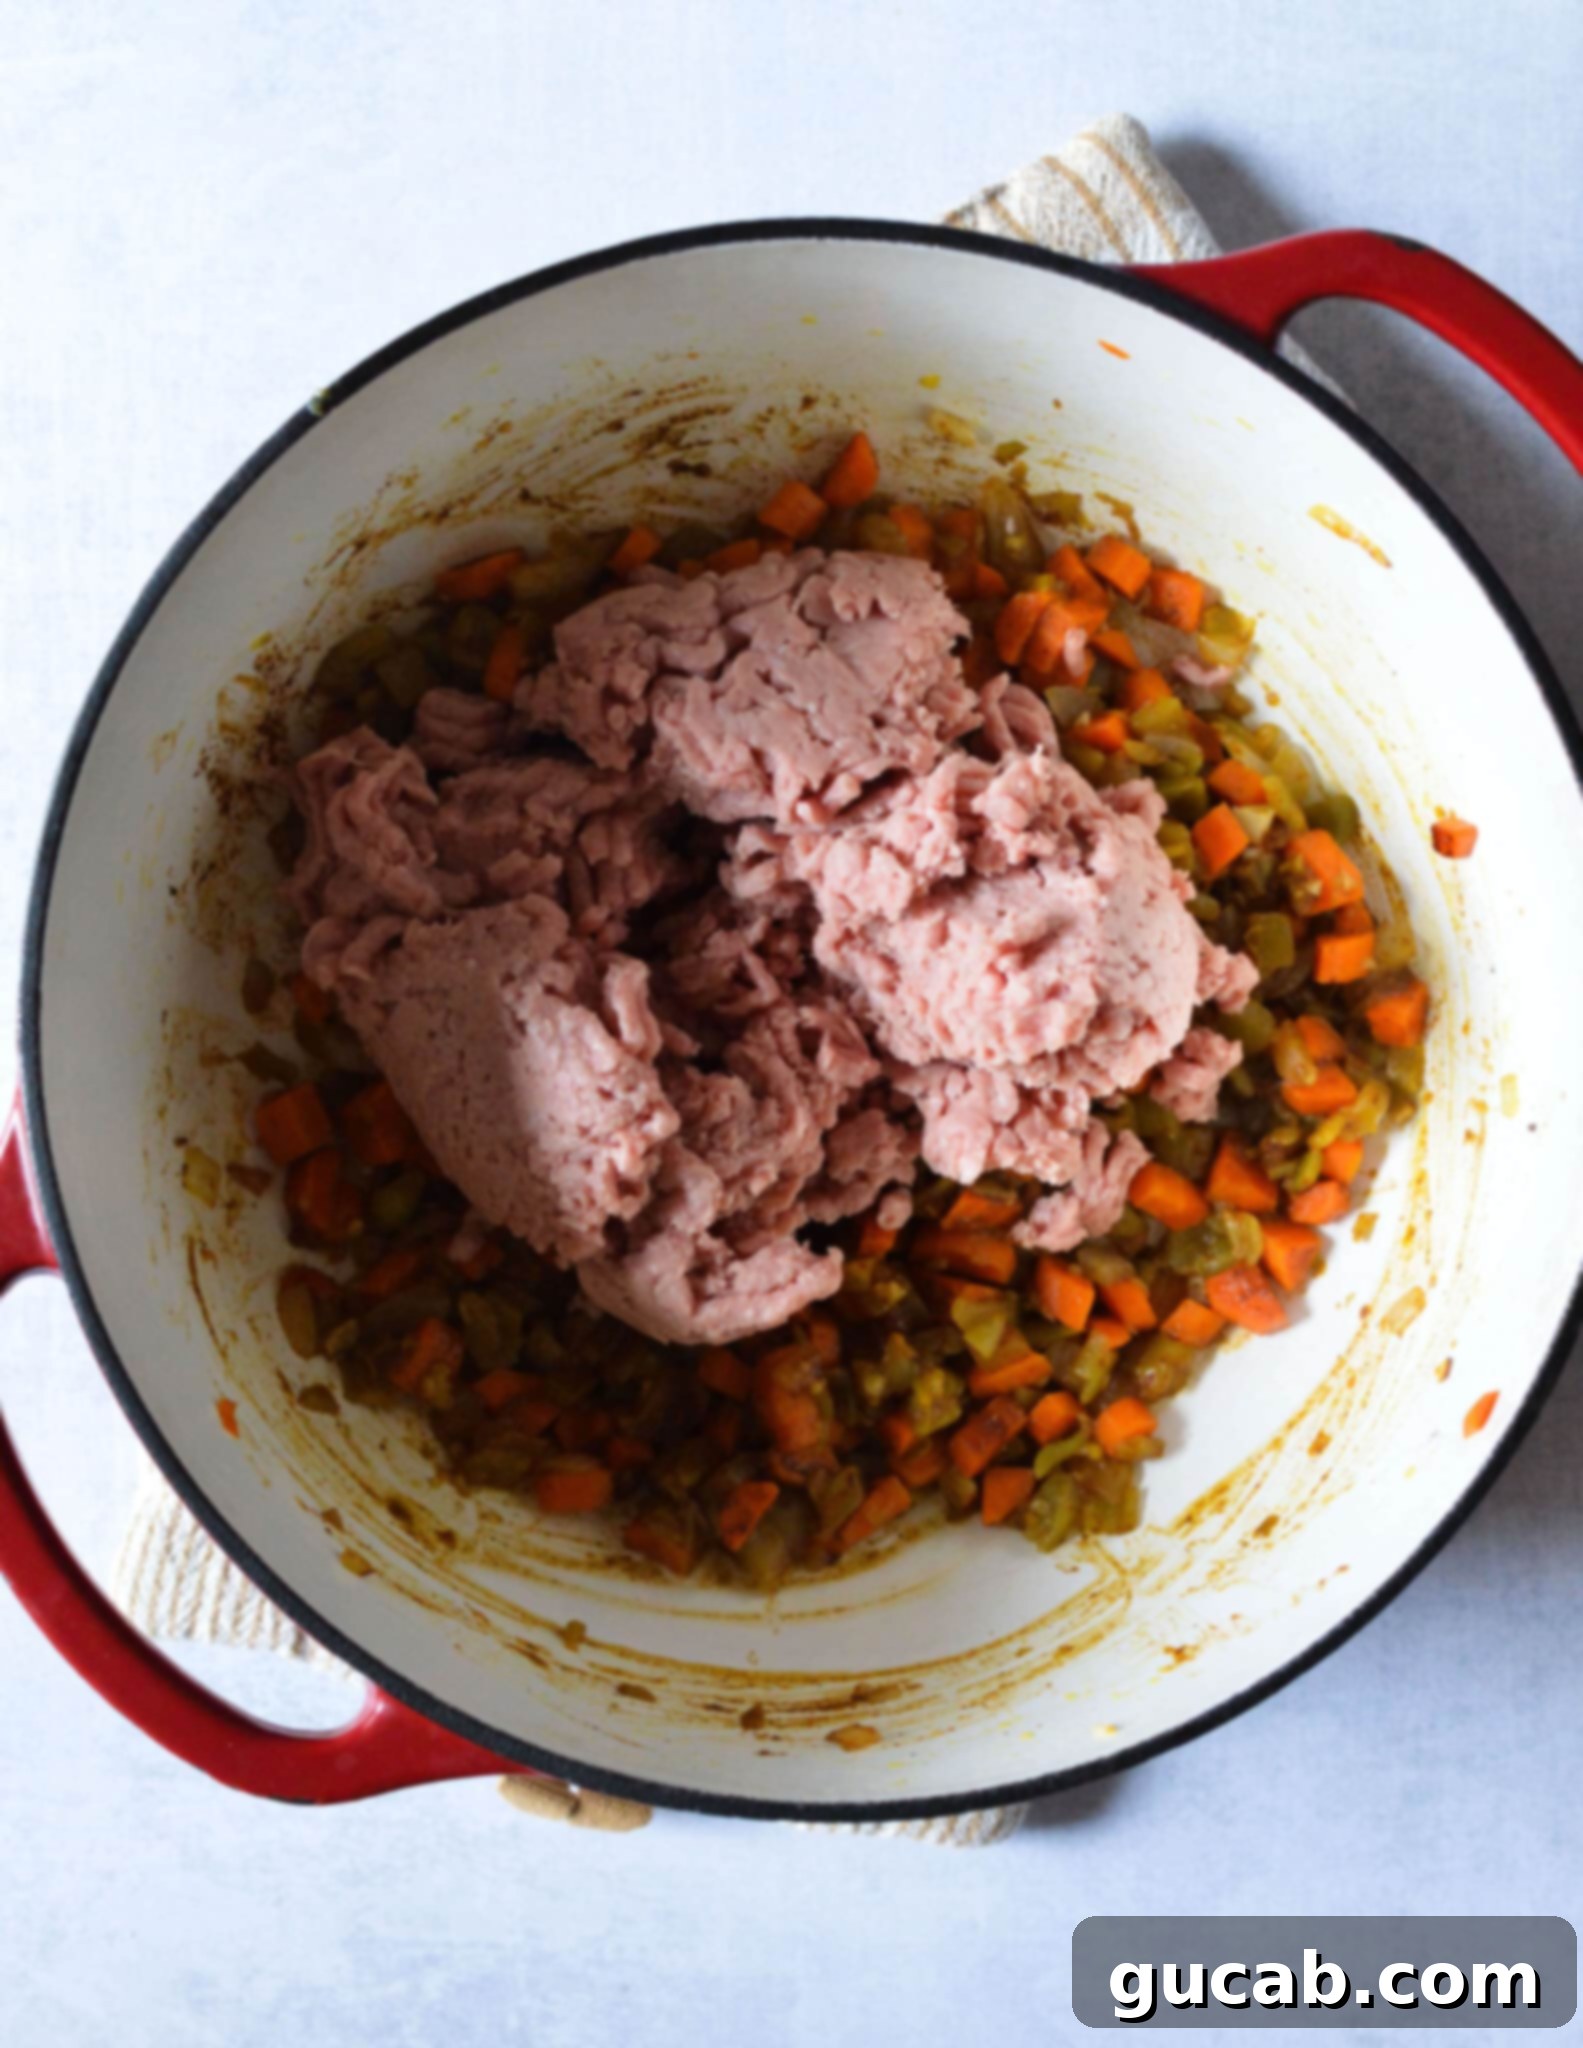
- Brown the Turkey: Introduce the ground turkey to the pot. Break it apart with a spoon and cook, stirring occasionally, until it’s fully browned and cooked through. Drain any excess fat if necessary.
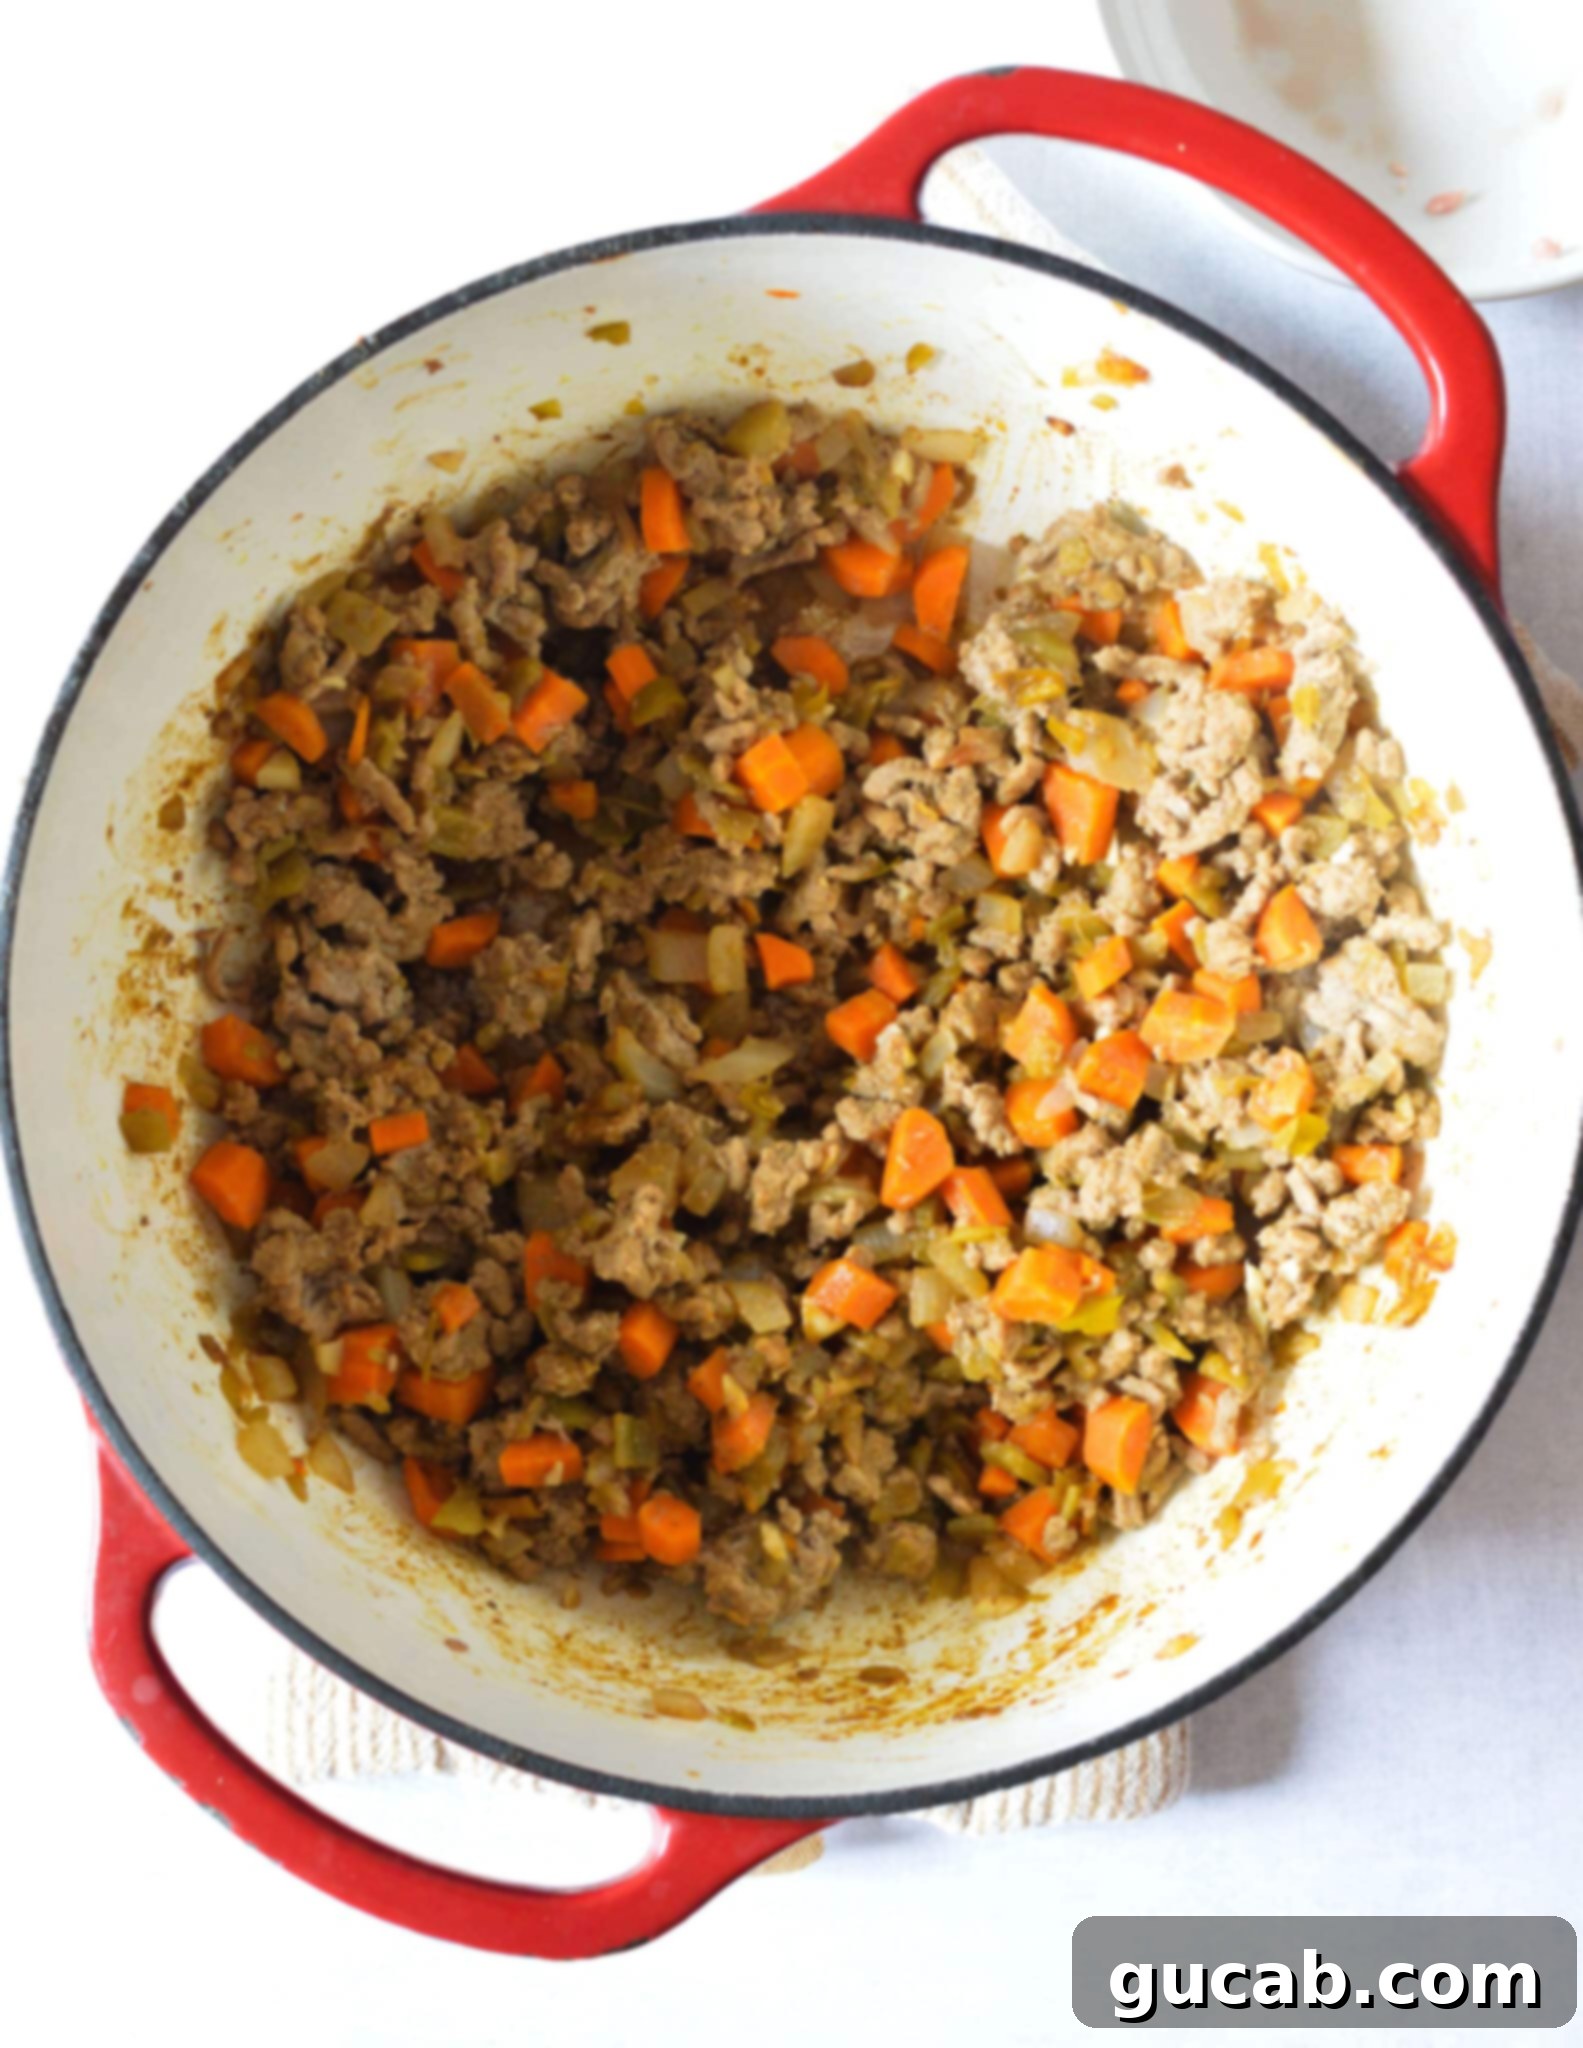
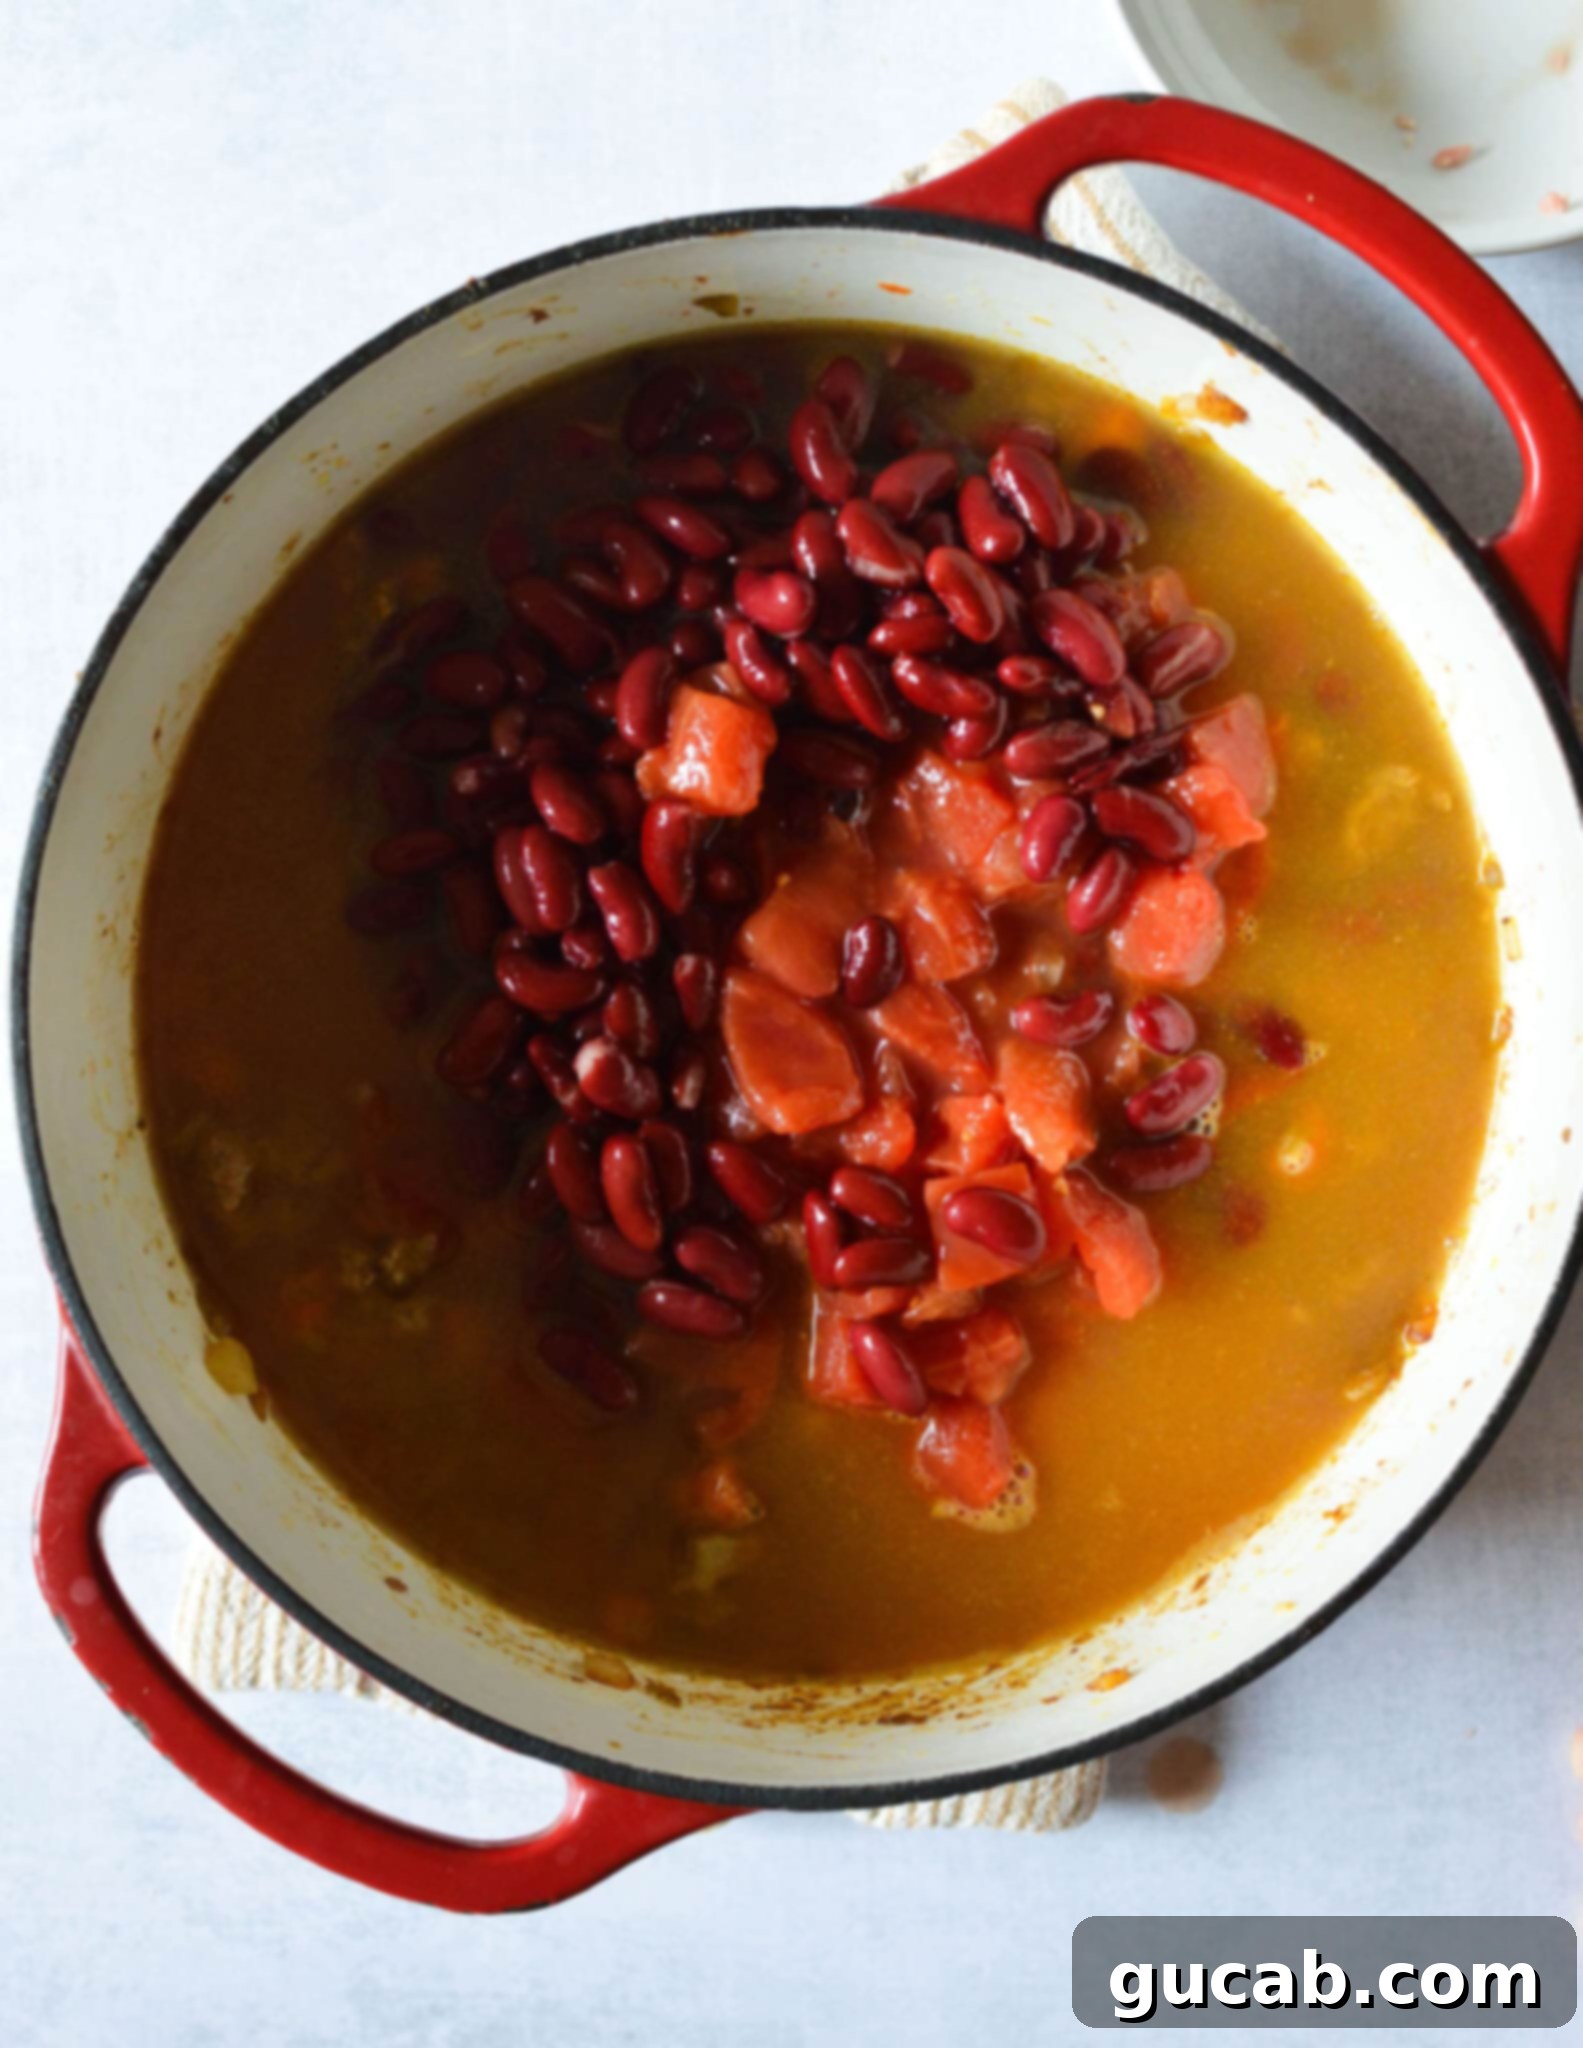
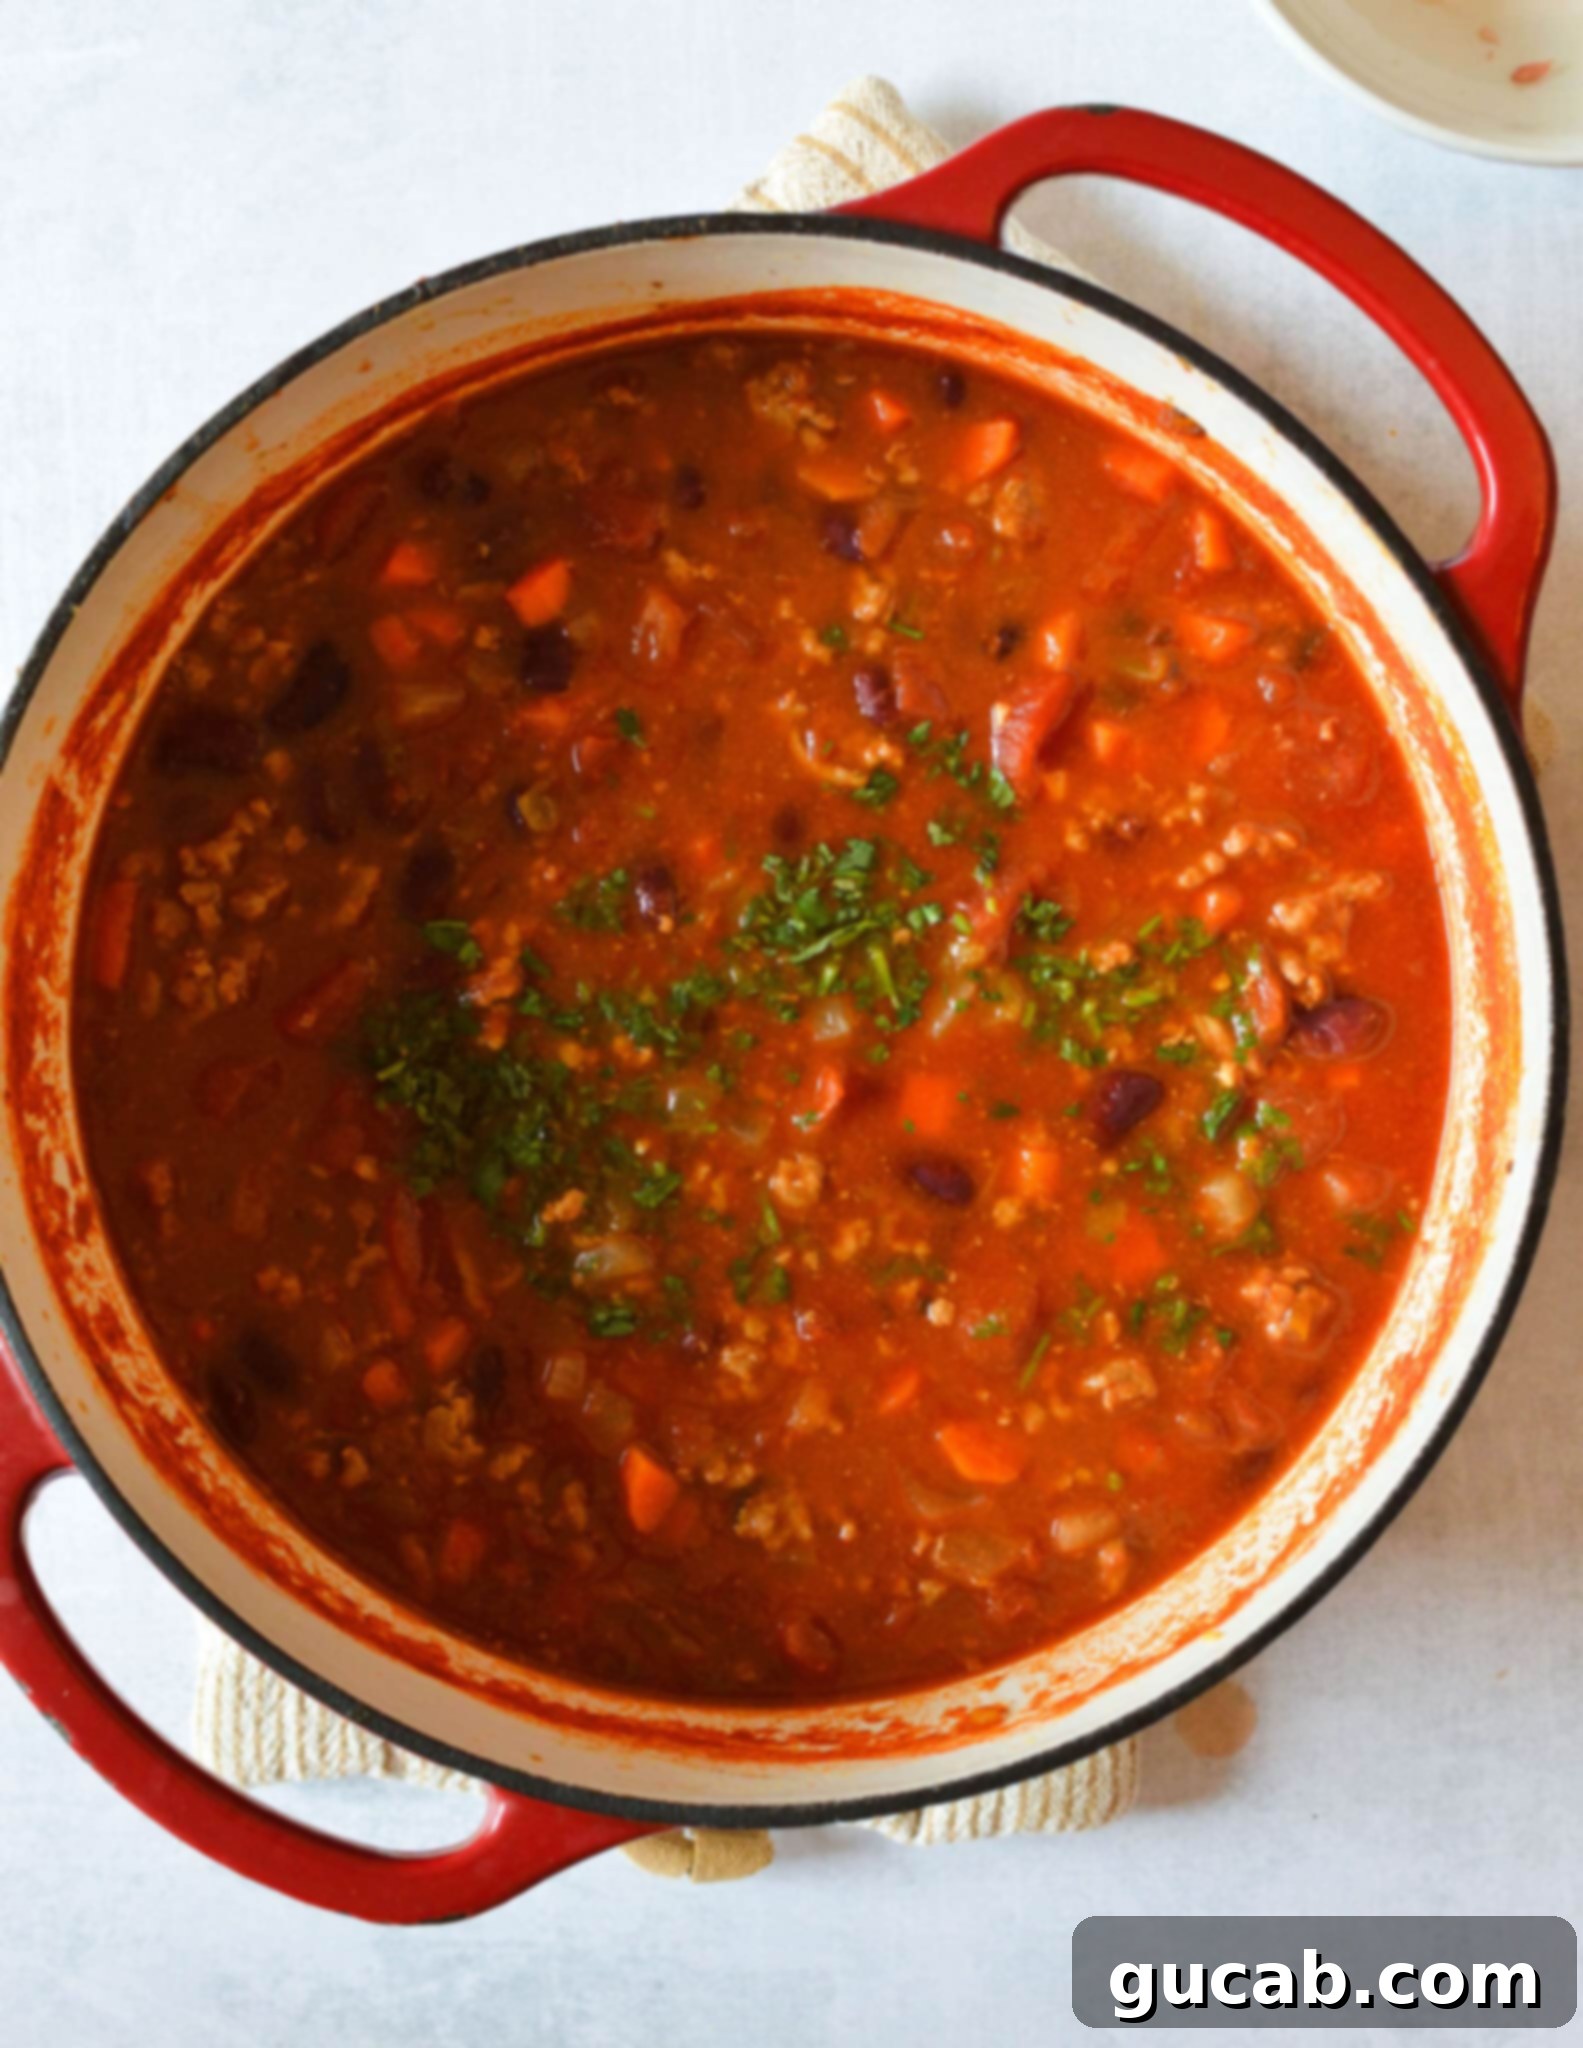
- Add Liquids and Simmer for Flavor Development: Stir in the minced chipotle in adobo, brown sugar, drained kidney beans, canned diced tomatoes, and chicken stock. Bring the mixture to a gentle boil, then reduce the heat to low and let it simmer for at least 10 minutes. Simmering is crucial as it allows all the ingredients to meld together, deepening the chili’s complex flavors. Don’t rush this step!
- Thicken to Perfection: After the initial simmer, stir in the tomato paste. Continue to simmer for an additional 20 minutes. The tomato paste will help to thicken the chili and further concentrate its savory goodness. This second simmering period is key to achieving that perfect chili consistency and marrying all the delicious ingredients.
- Finish with Freshness and Serve: Just before serving, stir in the freshly chopped cilantro. Its bright, herbaceous flavor provides a wonderful contrast and freshness to the rich chili. Then, simply ladle it into bowls and let your guests go wild with their favorite toppings!
More Delicious Chili Recipes & Perfect Sides:
Looking for more chili inspiration or complementary dishes to round out your meal? Here are some fantastic recipes that pair perfectly with a chili bar:
- Panera Turkey Chili Recipe: Recreate your favorite cafe-style chili at home.
- Quick Garlic Bread with Sliced Bread: A super easy and flavorful side that’s always a hit.
- Best Cornbread without Eggs: A wonderfully moist and tender cornbread recipe for those with dietary restrictions or simply looking for an alternative.
- Almond Flour Cornbread [With Cornmeal]: A gluten-friendly cornbread option that’s just as delicious.

Easy Turkey Chili
Carolyn
Pin Recipe
Equipment
-
Dutch oven or large pot
Ingredients
- 1 tablespoon olive oil
- 1 sweet onion small diced
- 3 carrots peeled and small diced
- 1 teaspoon kosher salt
- ½ lime
- 1½ teaspoons ground cumin
- 1 teaspoon ancho Chile powder
- 2 garlic cloves minced
- 4 ounces canned green chiles
- 1 pound ground turkey
- 1 chipotle in adobo minced
- 28 ounce can of diced tomatoes
- 15 ounce can of kidney beans drained
- 22 ounces chicken stock
- 1½ tablespoons brown sugar
- 4 ounces tomato paste
- 1 tablespoon minced cilantro
Instructions
-
Heat olive oil in a Dutch oven or large pot on medium high heat. Sauté onion and carrots for around 4 minutes.
-
Add juice of half of a lime, salt, cumin, ancho chile powder, garlic, and green chilies to the pot. Continue to cook for 1 more minute, Add the ground turkey, stirring occasionally until fully cooked.
-
Add the minced chipotle, brown sugar, kidney beans, diced tomatoes, and chicken stock. Stir and let simmer 10 minutes. Stir in tomato paste and let simmer for 20 more minutes. Stir in chopped cilantro.
-
Serve with your favorite toppings!
Nutrition
