The Ultimate Easy Chocolate Mousse Recipe: Decadent, Fluffy, and Simple to Make
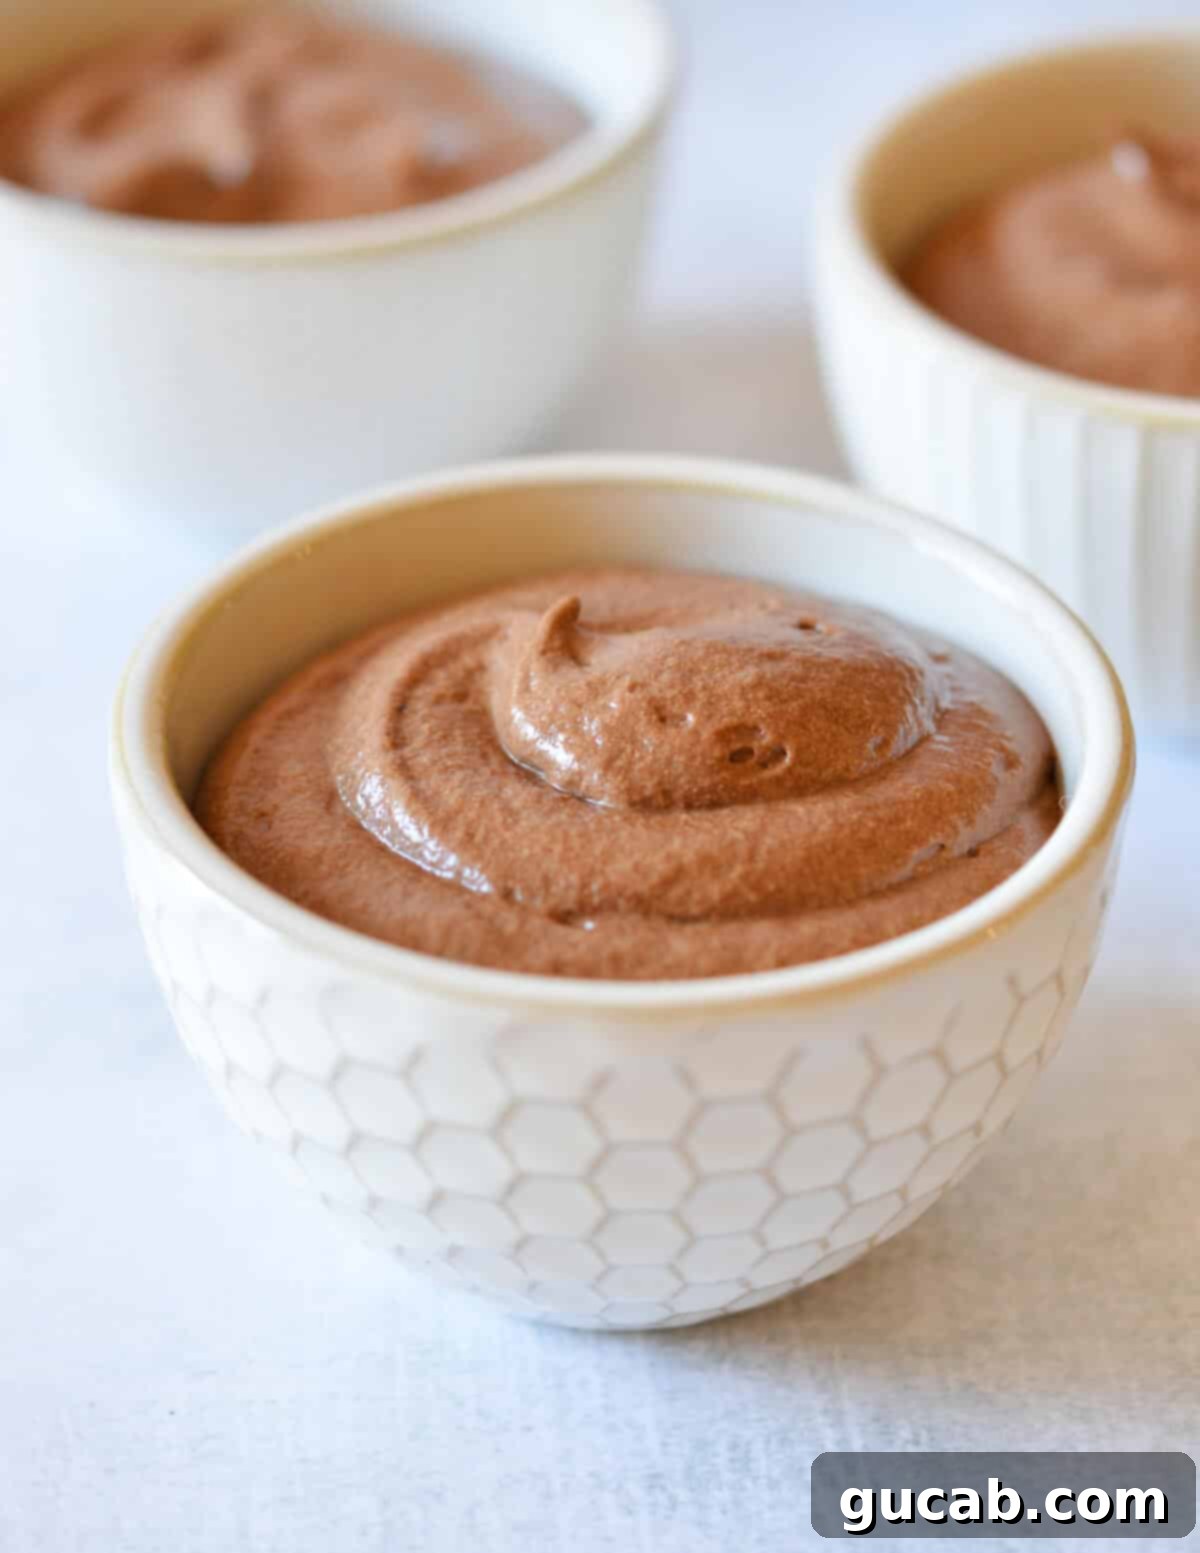
This easy chocolate mousse is a truly divine dessert – unbelievably light, yet deeply rich and luxurious! Whether you pipe it elegantly into ramekins for a sophisticated presentation or simply enjoy it by the spoonful straight from the bowl, its appeal is undeniable. While it boasts a fancy appearance, this recipe is surprisingly simple to master, making it perfect for both novice and experienced home bakers. Prepare to impress without the stress!
Many home cooks might feel intimidated by the idea of making chocolate mousse, envisioning complicated techniques and specialized equipment. But fear not! This recipe is specifically designed to be easy and approachable, allowing you to achieve a sinfully indulgent dessert without any unnecessary fuss or fancy culinary terms. Forget about complex methods or even knowing what a “Bain Marie” is – we’re keeping things wonderfully straightforward here.
My journey with this particular chocolate mousse recipe began during my time as a Pastry Chef in a university catering department. It was there that I had the pleasure of working alongside a wonderful woman from Bulgaria. Our initial communication was challenging, as her English was limited, and my Bulgarian was nonexistent. I still remember drawing a picture of a microwave during my first week just to locate it in the kitchen! This anecdote perfectly illustrates that sometimes, the simplest tools and methods can lead to the most delicious outcomes, and this mousse recipe embodies that philosophy.
Disclosure: This post may contain affiliate links. In other words, if you click a link and purchase something I will receive a commission at no cost to you. I only recommend products I use and enjoy myself.
Why You’ll Adore This Easy Chocolate Mousse
There’s a reason why this chocolate mousse is a perennial favorite and a guaranteed crowd-pleaser. Its unique combination of textures and flavors makes it incredibly hard to resist. Every bite is an experience of pure bliss, and you’ll understand why everyone, including you, will fall in love with it!
- Lusciously Velvety Texture: This isn’t just a dessert; it’s a sensory delight. The texture is exquisitely smooth, almost like a cloud, yet it delivers a luxurious, melt-in-your-mouth richness with every chocolatey bite. I promise, I do not exaggerate its delightful consistency! It strikes the perfect balance between airy lightness and profound decadence, making it truly unforgettable.
- Surprisingly Simple to Make: Don’t let its sophisticated appearance fool you. This recipe is incredibly straightforward. Most of the magic happens in the microwave – melting the chocolate and butter is quick and effortless. The only other significant step is whipping some egg whites, which adds that signature airy lightness. From there, it’s just a matter of folding everything together, chilling, and then you’re on your merry way to dessert heaven. No complex techniques or fancy chef skills required!
- Irresistibly Crave-Worthy: This easy chocolate mousse is more than just a dessert; it’s a culinary masterpiece that consistently garners rave reviews. It’s truly a crowd-pleaser, and I often find myself sharing the recipe because people are always eager to recreate its magic. The deep chocolate flavor combined with its delicate, pillowy texture creates a dessert that leaves a lasting impression and keeps everyone coming back for more.
Key Ingredients for the Perfect Chocolate Mousse
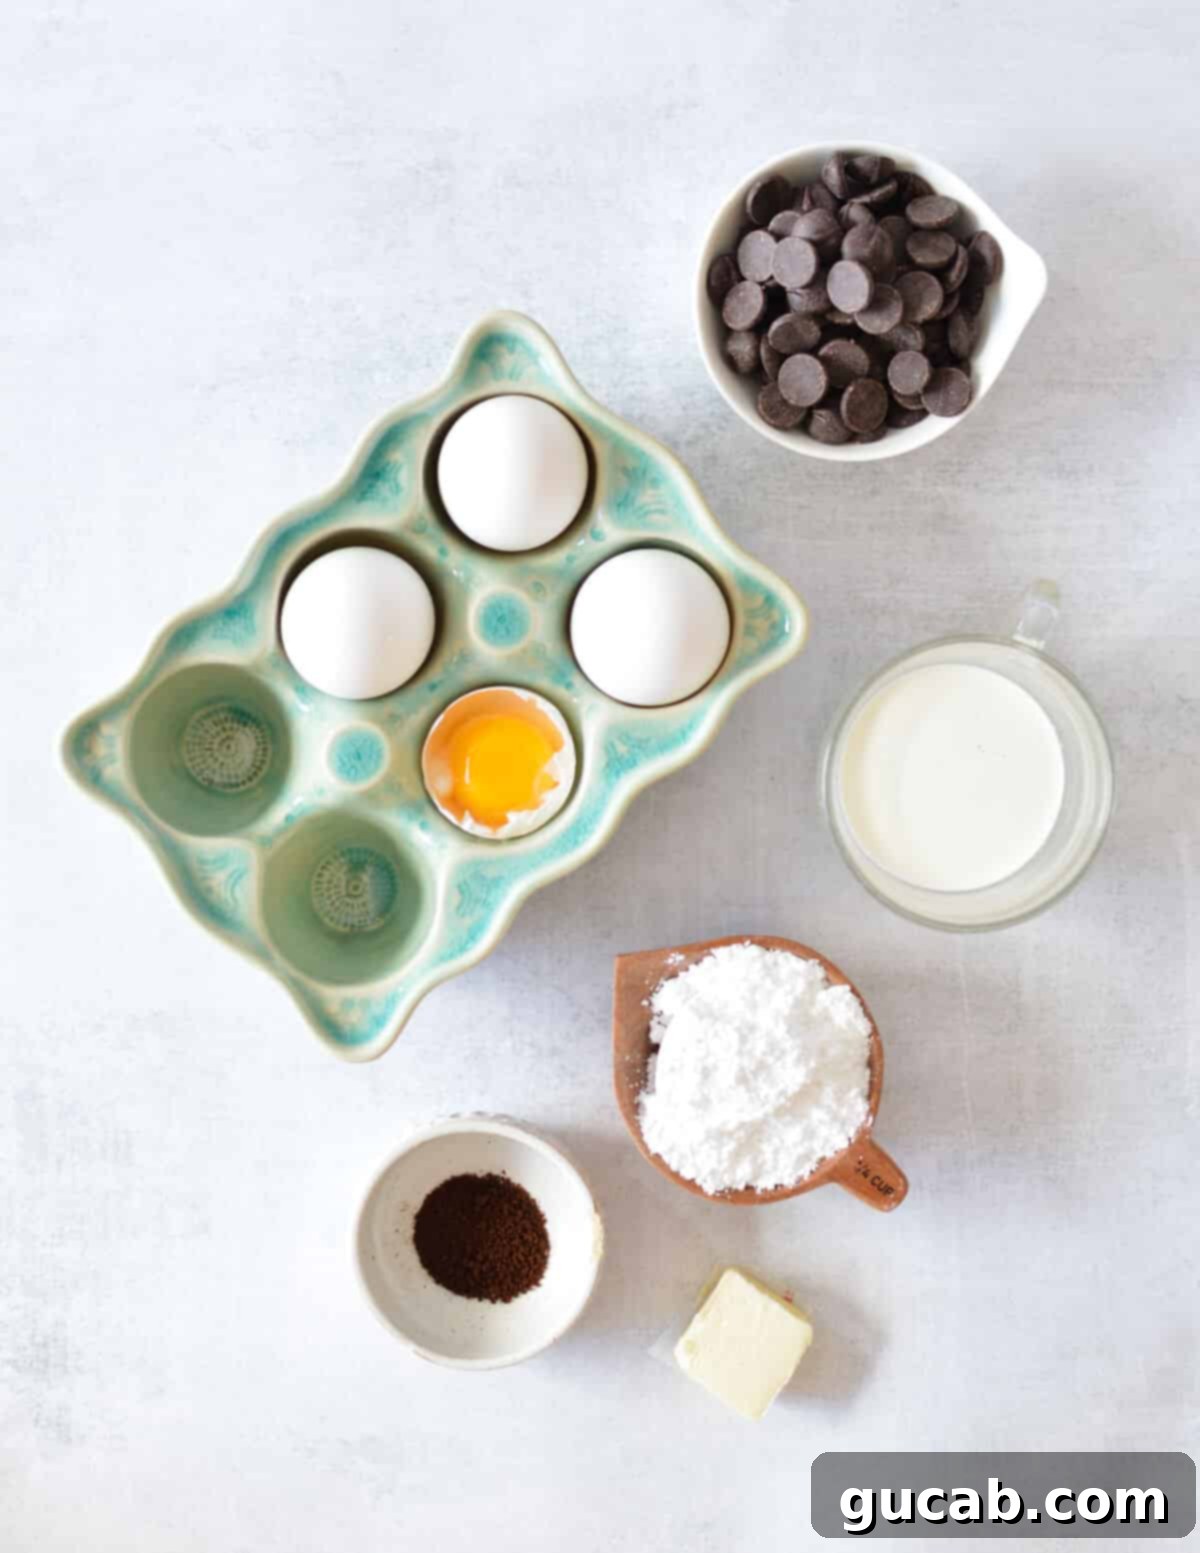
Creating an exceptional chocolate mousse starts with choosing the right ingredients. Each component plays a crucial role in achieving that perfect balance of rich flavor and airy texture. Here’s a closer look at what you’ll need:
- Good Quality Dark Chocolate: This is the star of your show, so absolutely spring for high-quality chocolate! Using a premium dark chocolate will make a noticeable difference in the depth and complexity of your mousse’s flavor. Cheap chocolate often contains more fillers and less cocoa butter, leading to a tendency to clump or seize when melted, which we definitely want to avoid. I personally love Ghirardelli dark chocolate chips for their consistent melting and excellent flavor profile. If you’re using a chocolate bar, be sure to break it into small, uniform pieces first to ensure even melting. A cocoa percentage of around 60% works wonderfully for a balanced richness.
- Unsalted Butter: What else could provide that lusciously smooth texture and contribute to the rich mouthfeel? Butter is essential for giving the mousse its silky finish and adding another layer of creamy indulgence. It also helps to create a stable base for the chocolate mixture.
- Heavy Cream: This ingredient is key for both richness and texture. The best part? You don’t even have to whip it beforehand for this recipe! It gets incorporated simply, contributing to the overall creamy consistency without adding an extra step. It’s truly simple and effective.
- Large Eggs: Eggs are fundamental to chocolate mousse, providing both structure and richness. You’ll need to separate them carefully into yolks and whites. Don’t worry, I’ll walk you through the easiest method! As a pastry chef, I’ve separated a “bajillion” eggs, so I have a few tricks up my sleeve. The whipped egg whites are crucial for providing the light, airy, and pillowy texture that defines a great mousse, while the egg yolks add incredible richness, depth of flavor, and a smooth mouthfeel to the chocolate base. Make sure to use pasteurized eggs if you are concerned about consuming raw egg.
- Powdered Sugar (Confectioners’ Sugar): This is preferred over granulated sugar for a reason! Powdered sugar dissolves much more easily and completely into the egg whites, ensuring a delightfully smooth mousse with absolutely no grainy texture. It also provides the perfect level of sweetness to balance the intensity of the dark chocolate, creating a harmonious flavor profile.
How to Make Easy Chocolate Mousse: Step-by-Step Guide
1. Master the Egg Separation
This might seem like the fussiest part of the entire recipe, but with a little care, it’s incredibly simple. The reason for the precision is critical: egg whites absolutely will not whip properly if even the tiniest speck of fat (like egg yolk) is present. If you accidentally drip yolk into your whites, you might have to start over with a fresh batch of whites (boo!).
To ensure good vibes and success in your kitchen from the start, we’ll aim to do it right the first time. While there are many gadgets and “crazy methods” out there, I’ve found that the easiest and most reliable way is simply using your hands – it’s a method I perfected during my pastry chef days.
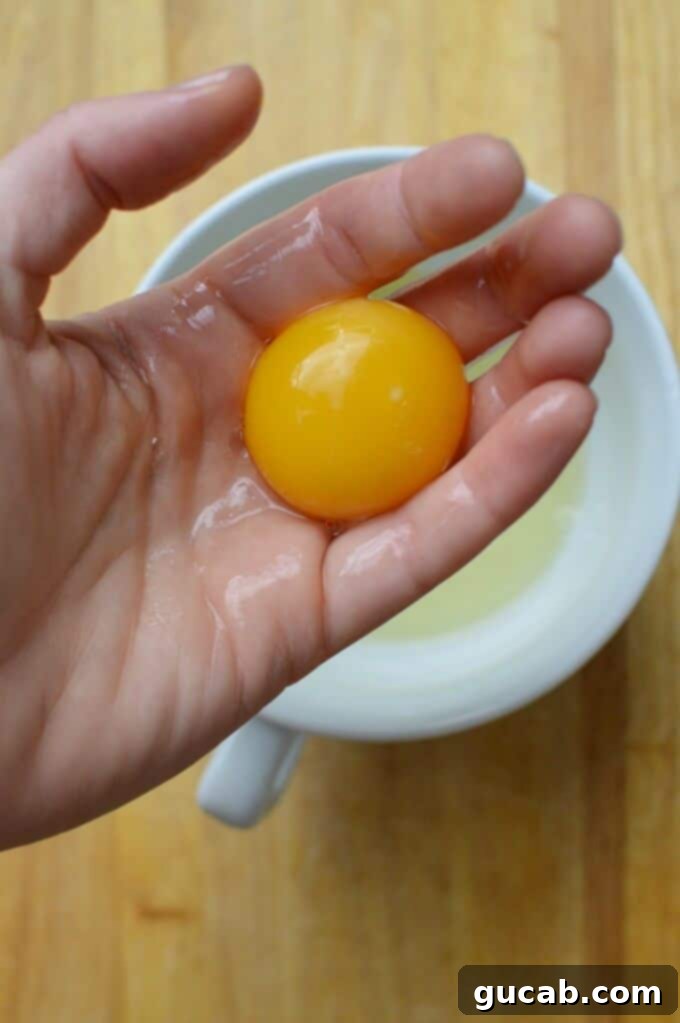
- Gently crack the whole egg into your loosely cupped hand, holding it over a bowl (the bowl for the whites).
- Allow the egg white to slip right through the gaps between your fingers and into the bowl below. It’s important not to hold your fingers too tightly together, as this prevents the white from separating cleanly. Notice how my fingers are slightly open in the picture.
- Once most of the white has dripped away, carefully transfer the intact egg yolk to a separate, clean bowl (this one is for the yolks). You only need two yolks for this recipe, but you’ll have three whites. You can save the extra yolks for another recipe like carbonara or discard them if you prefer. Repeat this process for all three eggs, ensuring each egg white bowl is completely free of yolk.
2. Melt the Chocolate and Create the Base
This step builds the rich, decadent foundation of your chocolate mousse.
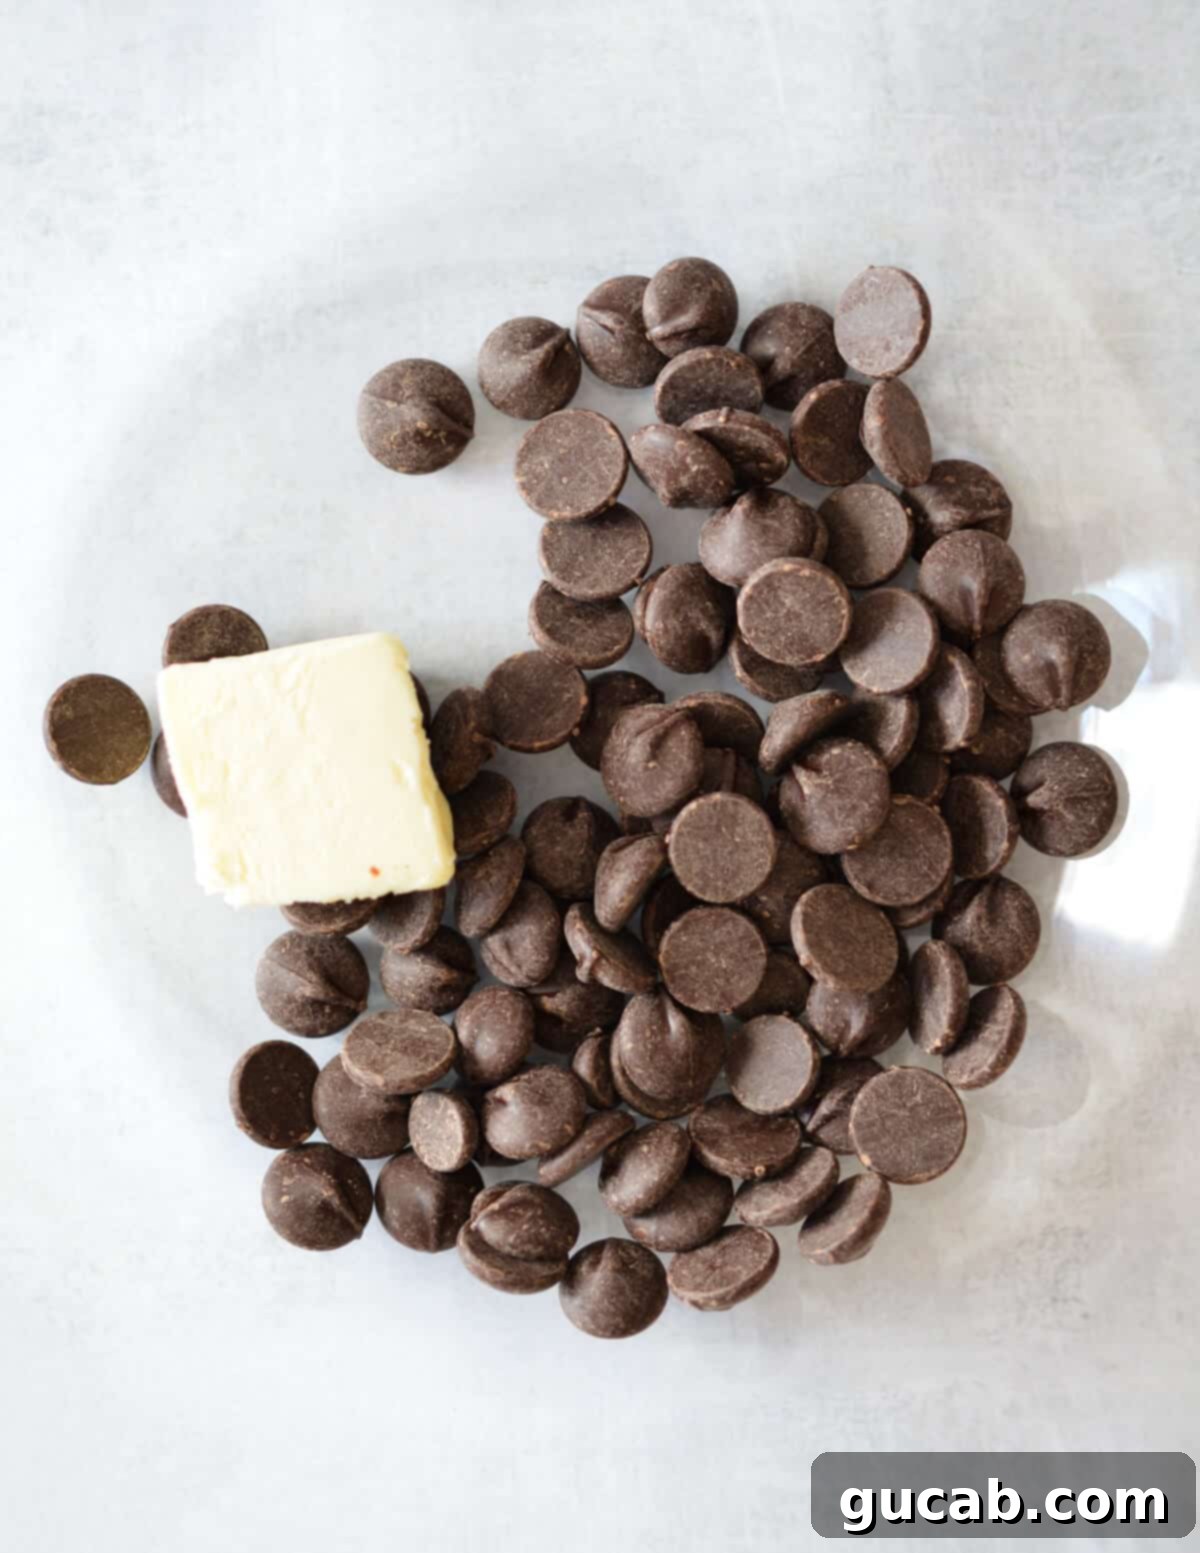
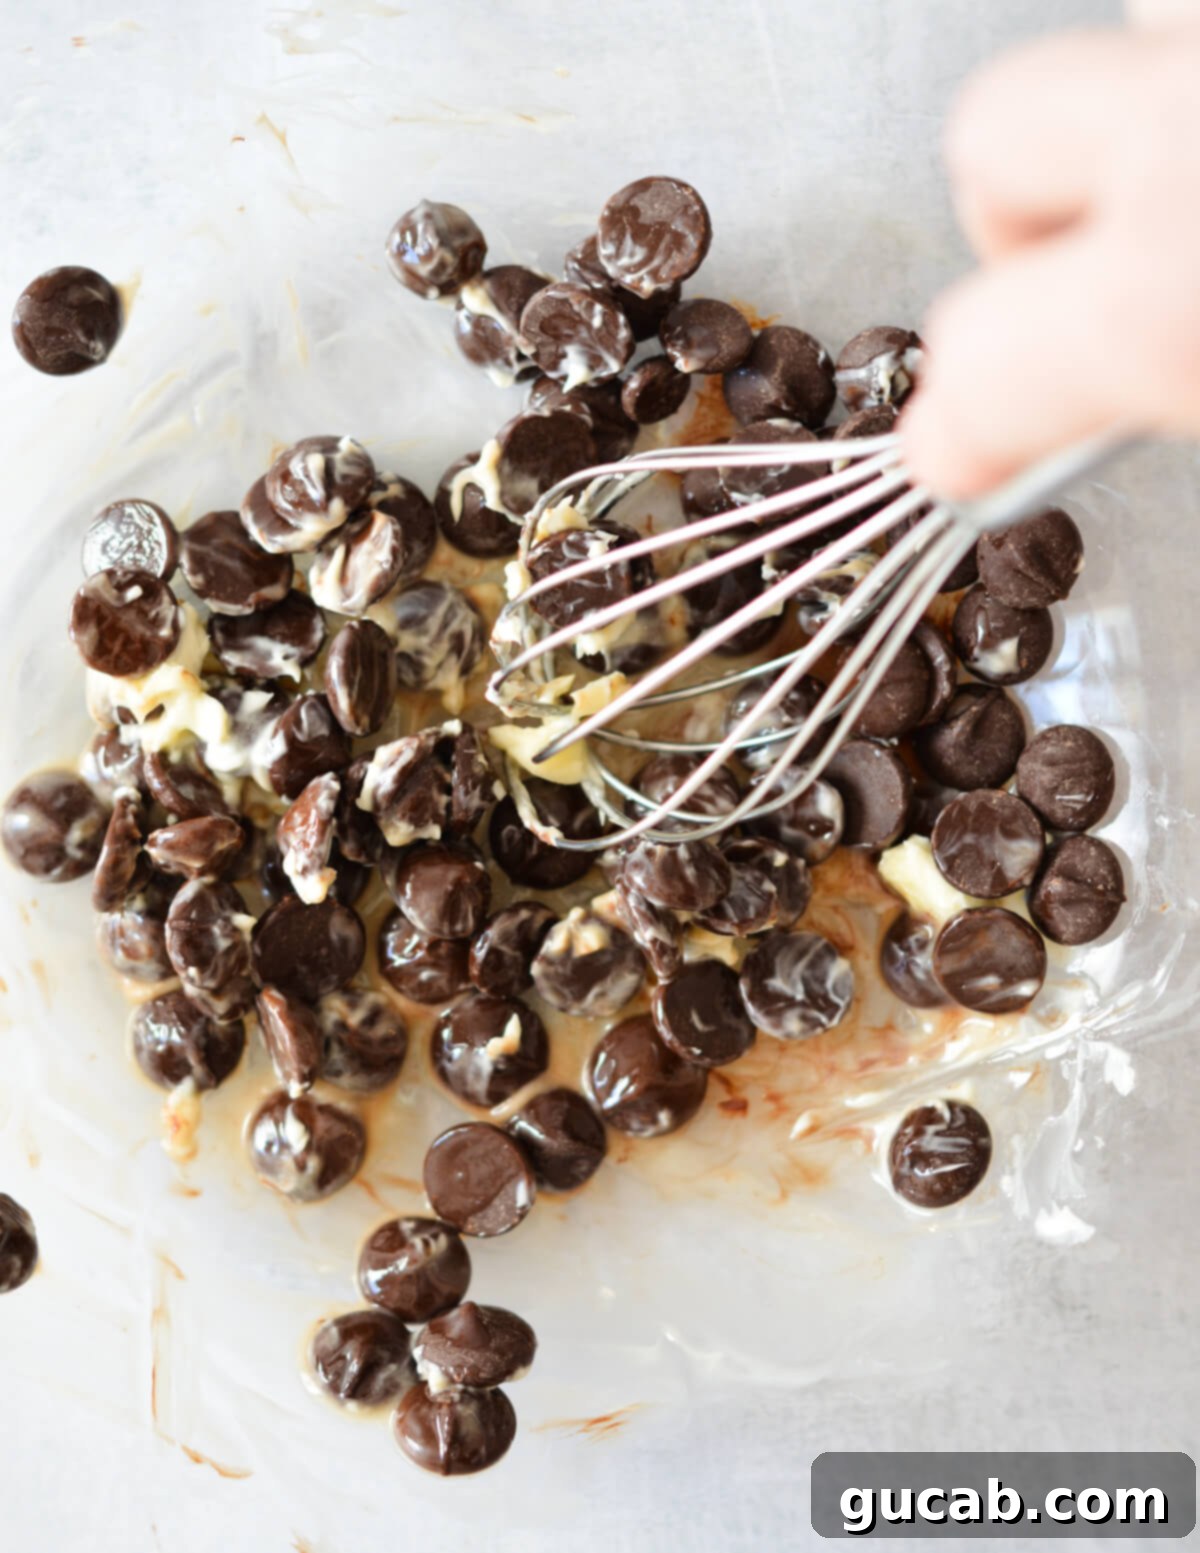
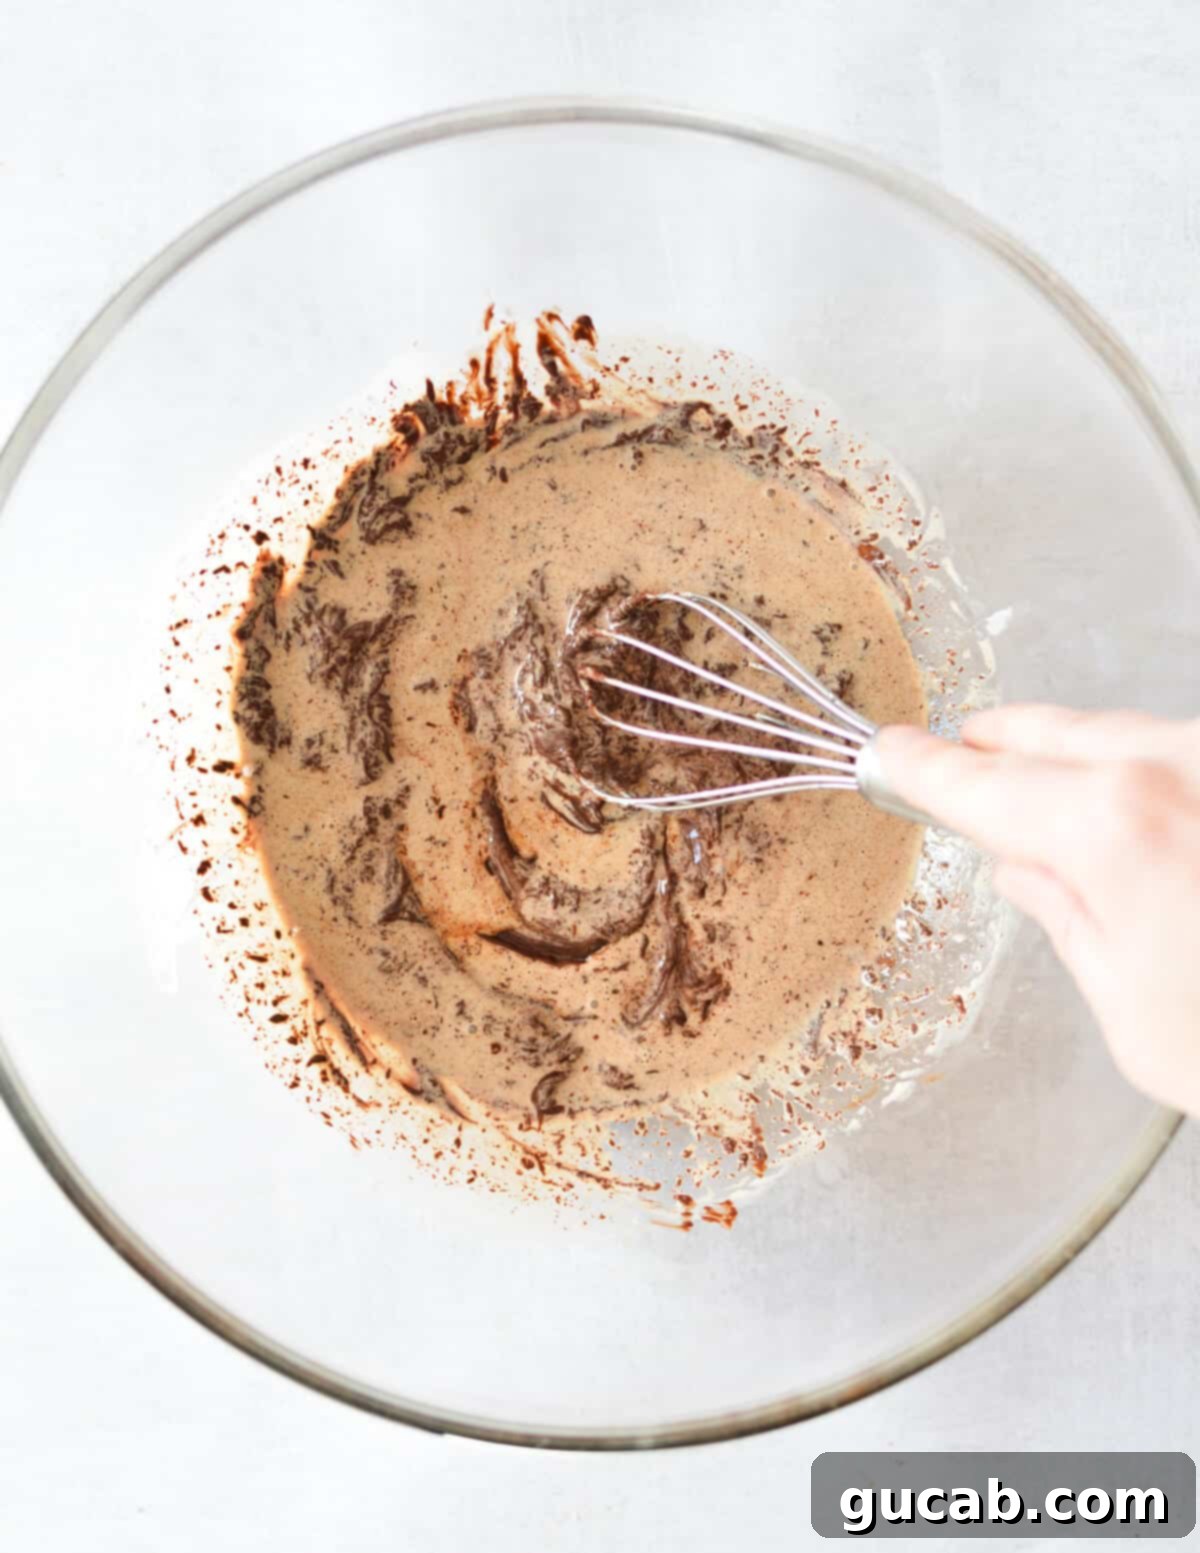
- Microwave your butter and chocolate together in a large, microwave-safe bowl. Start by heating them in 30-second intervals. After each interval, stir the mixture thoroughly. The key here is gradual heating to prevent the chocolate from scorching or seizing, which can happen if it gets too hot too quickly. Continue this process until the chocolate and butter are mostly melted, with just a few small chunks remaining.
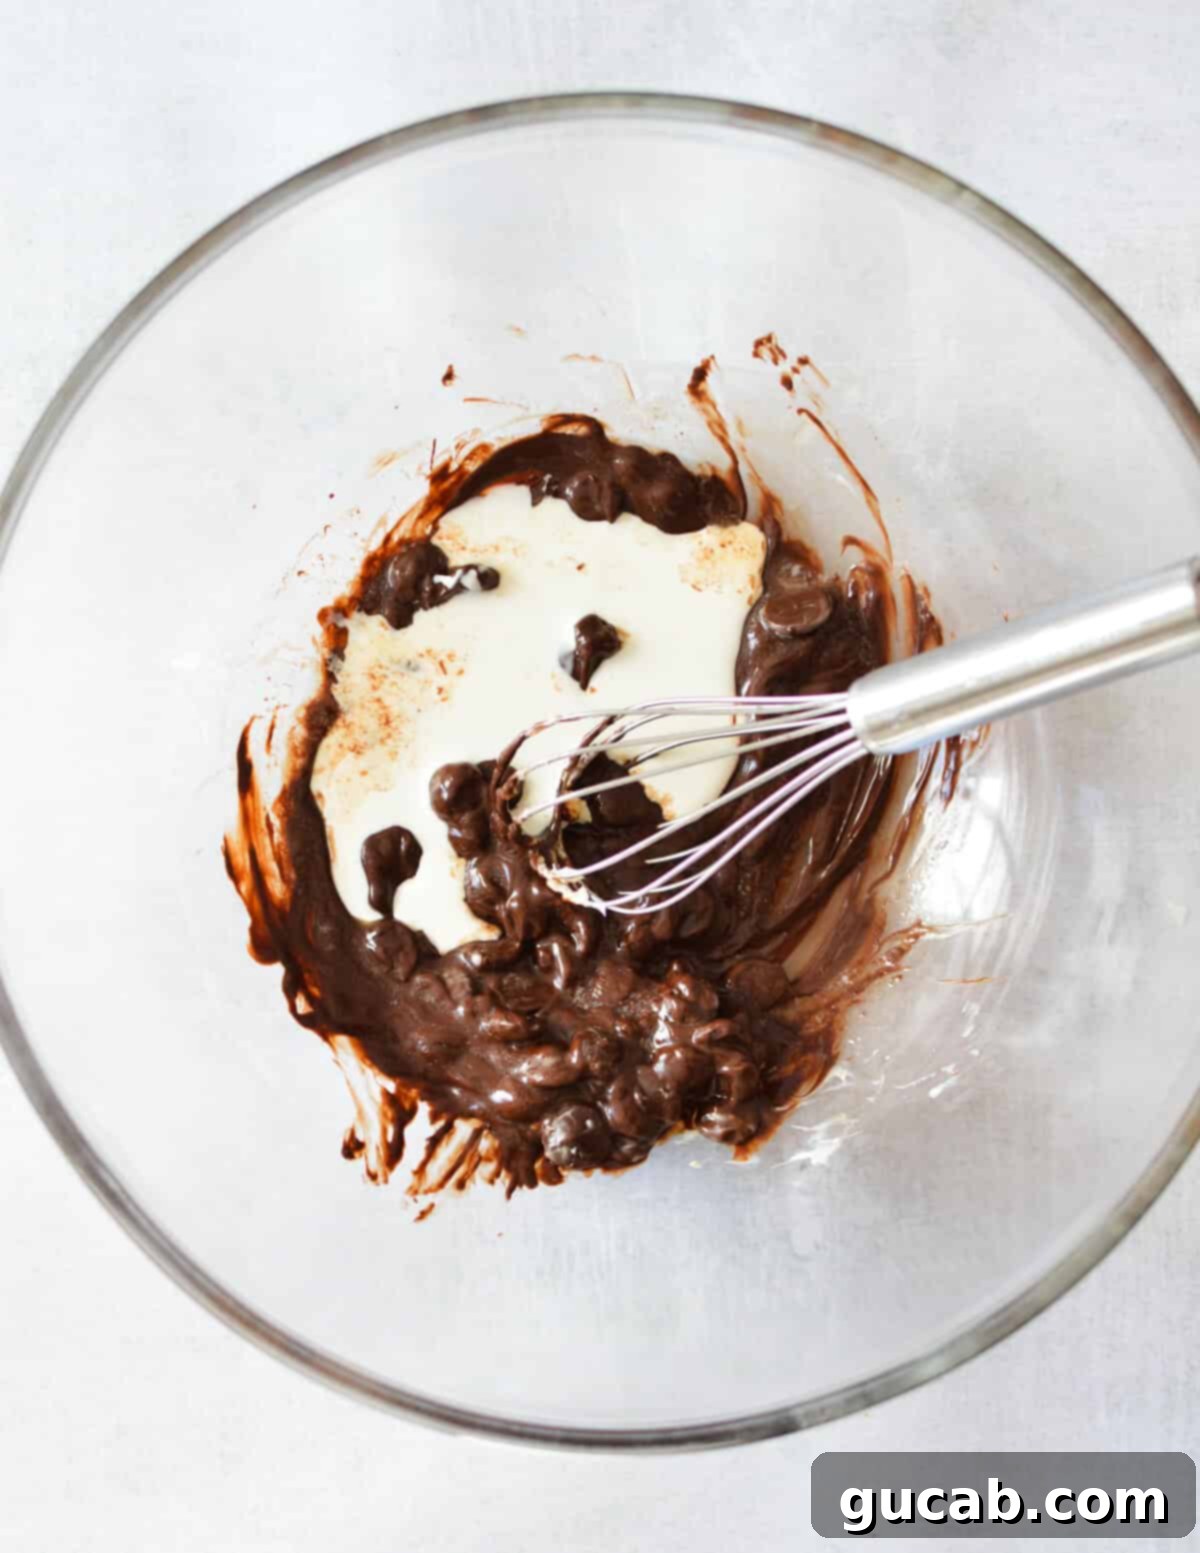
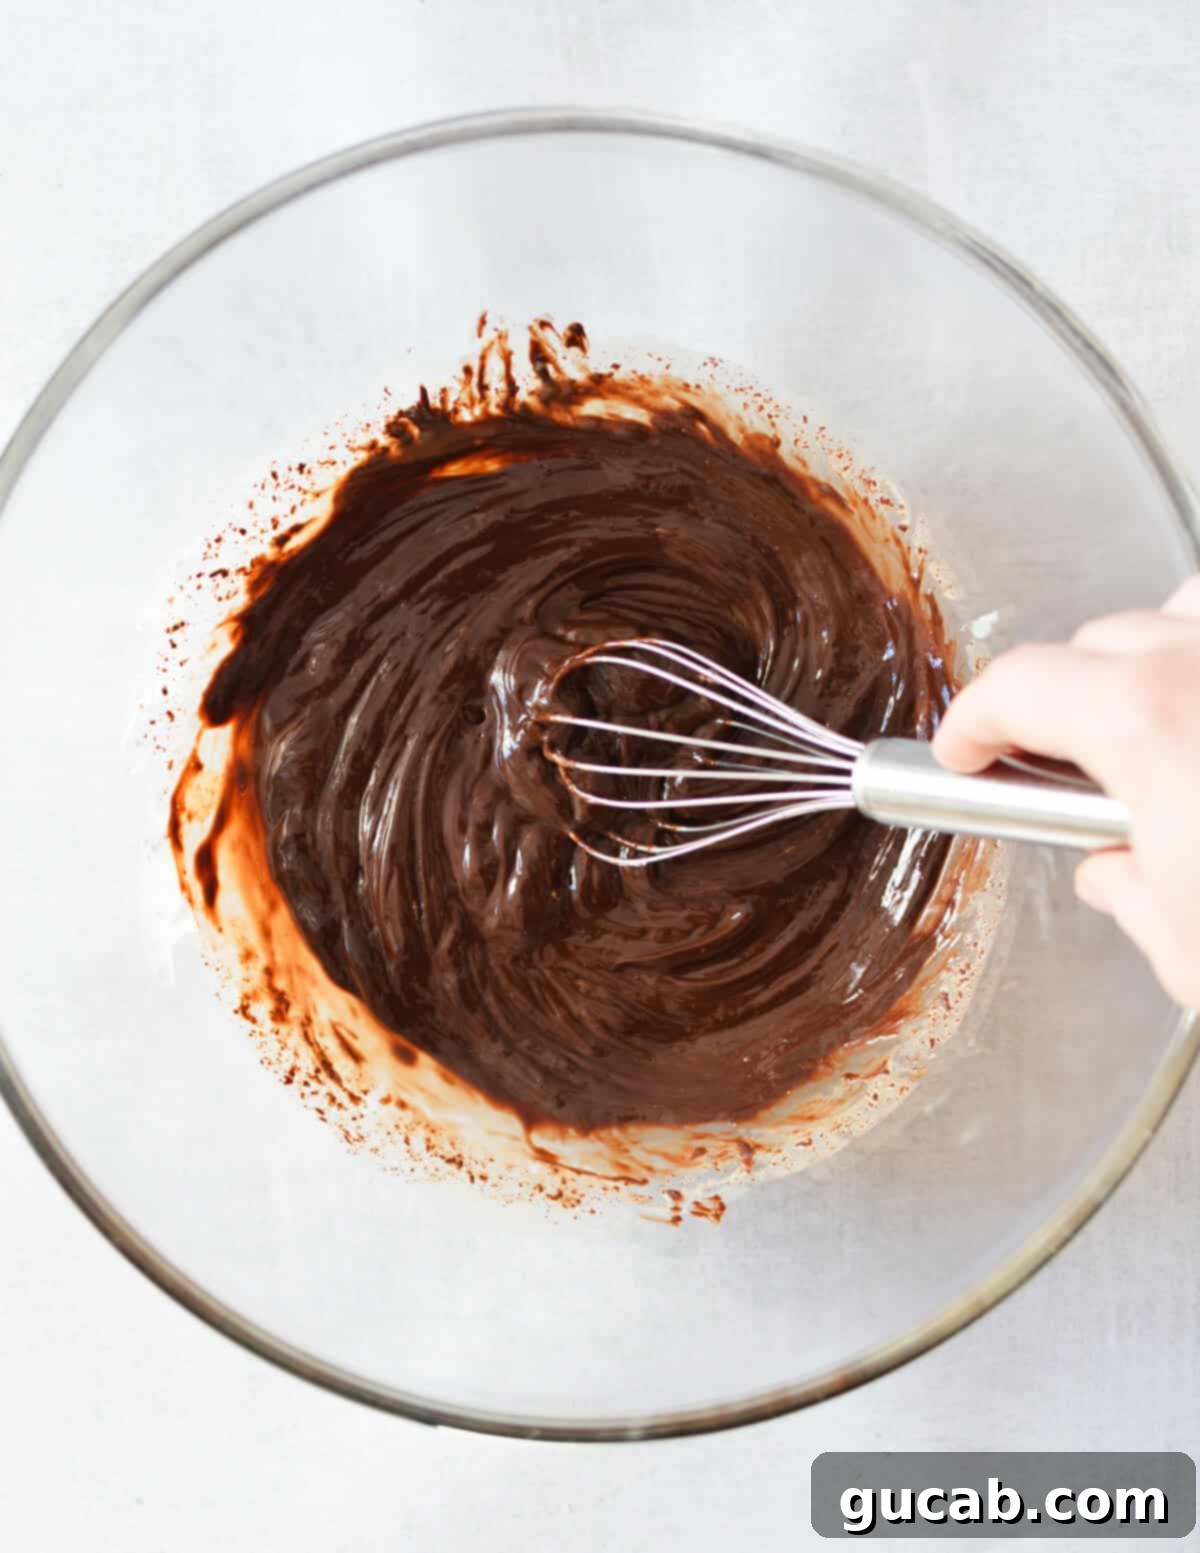
- Now, add the heavy cream and instant coffee to your melted chocolate and butter mixture. Give it another 30-second zap in the microwave. After heating, stir vigorously until all the chocolate pieces are completely dissolved and the mixture transforms into a smooth, glossy, uniform liquid. It’s crucial that the mixture is warm, but not piping hot, at this stage. If it feels too hot, let it cool down slightly; extreme heat can cook the egg yolks in the next step, which we definitely want to avoid for that perfect mousse texture.
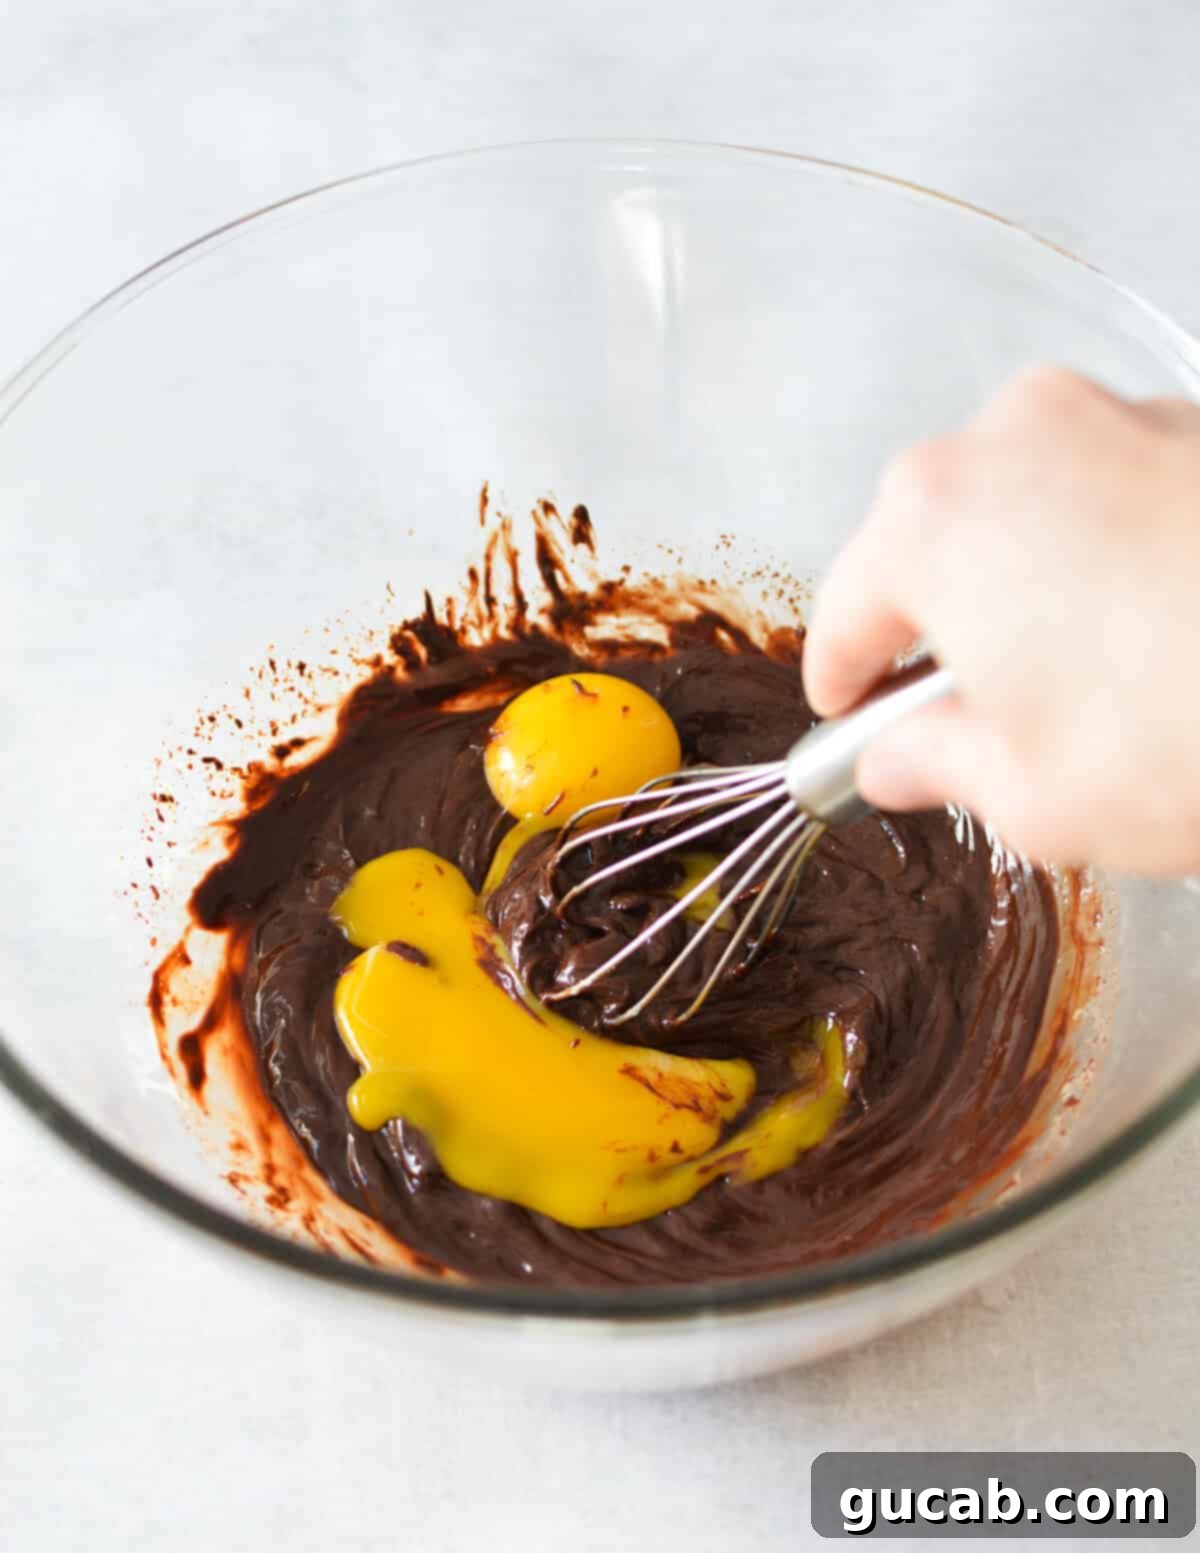
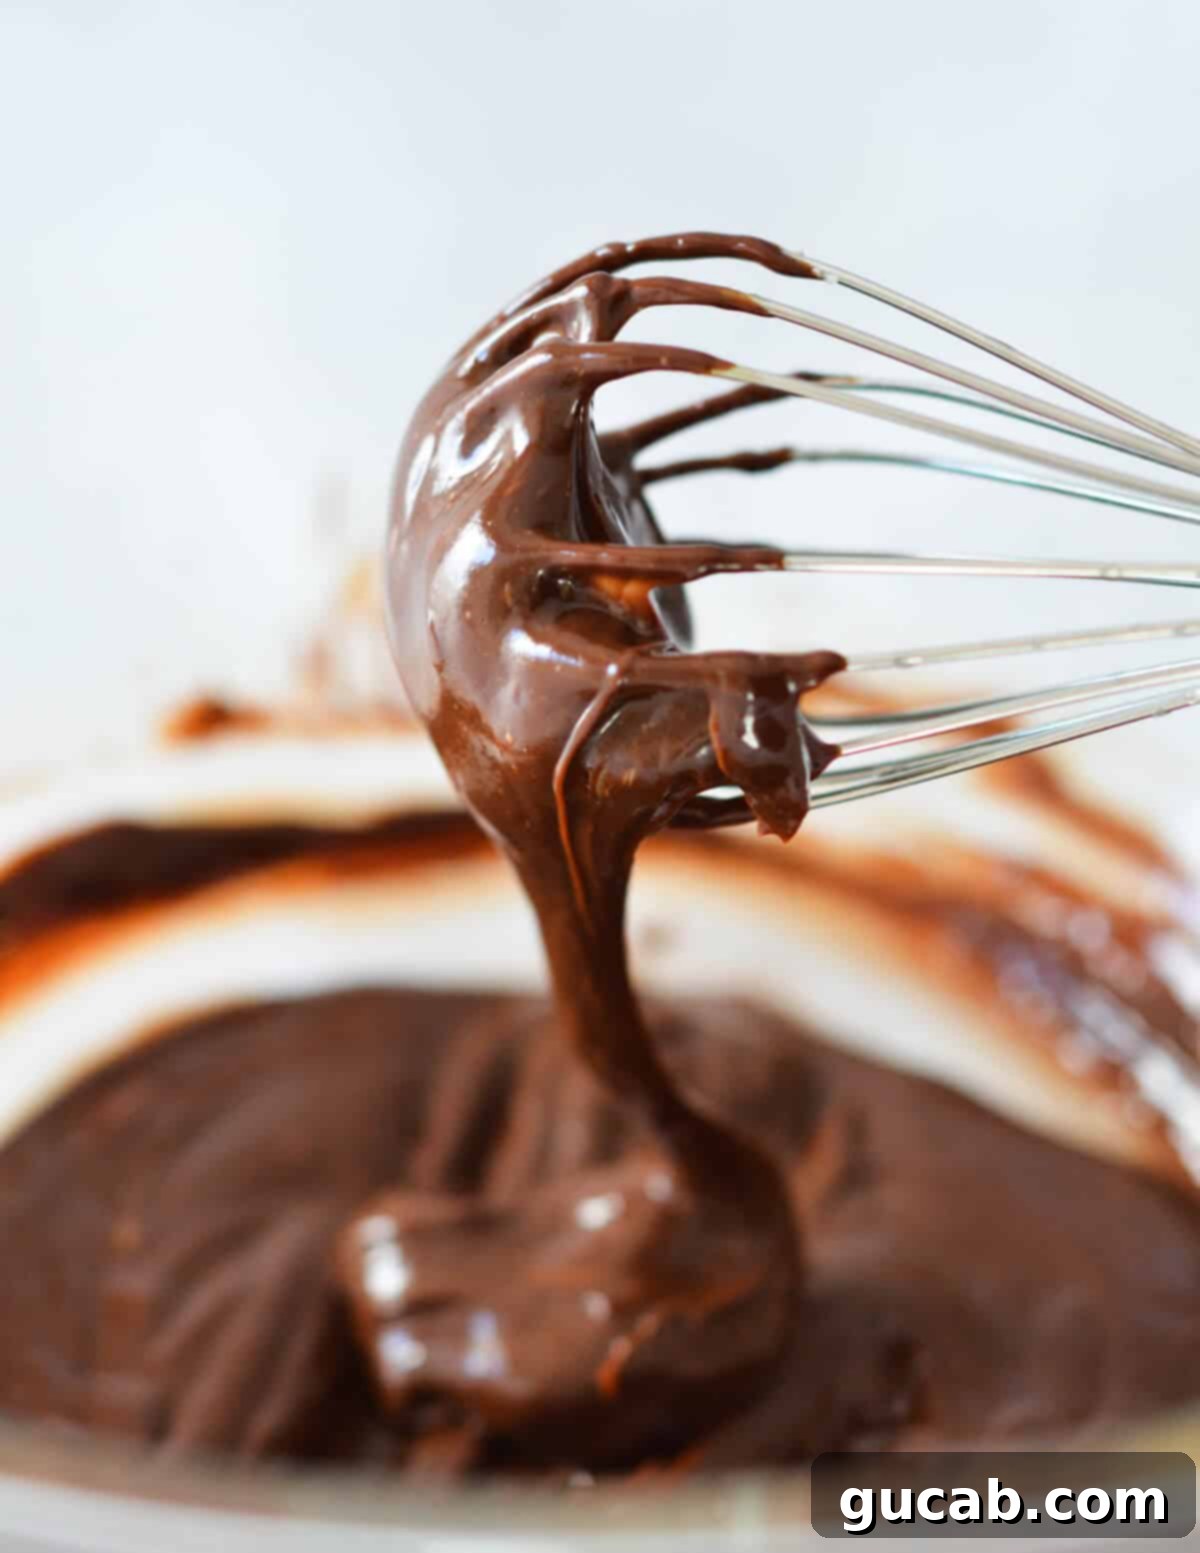
- Finally, whisk in the egg yolks (remember, just the two yolks you saved). Whisk continuously until they are fully incorporated and the mixture becomes noticeably thicker, taking on a consistency similar to a rich pudding. This step adds richness and helps emulsify the mixture, contributing to the mousse’s luxurious mouthfeel.
3. Whip the Egg Whites to Perfection
Achieving perfectly whipped egg whites is crucial for the light, airy texture of your chocolate mousse. Timing is important here, so make sure your chocolate base is ready before you start this step.
- Always whip the egg whites last. If you whip them too early and let them sit, they can “weep” (release liquid) and separate, losing their precious volume. Worse still, they might break apart when you try to fold them into your chocolate mixture, resulting in unsightly pockets of unmixed egg white and a less airy mousse. Nobody wants that!
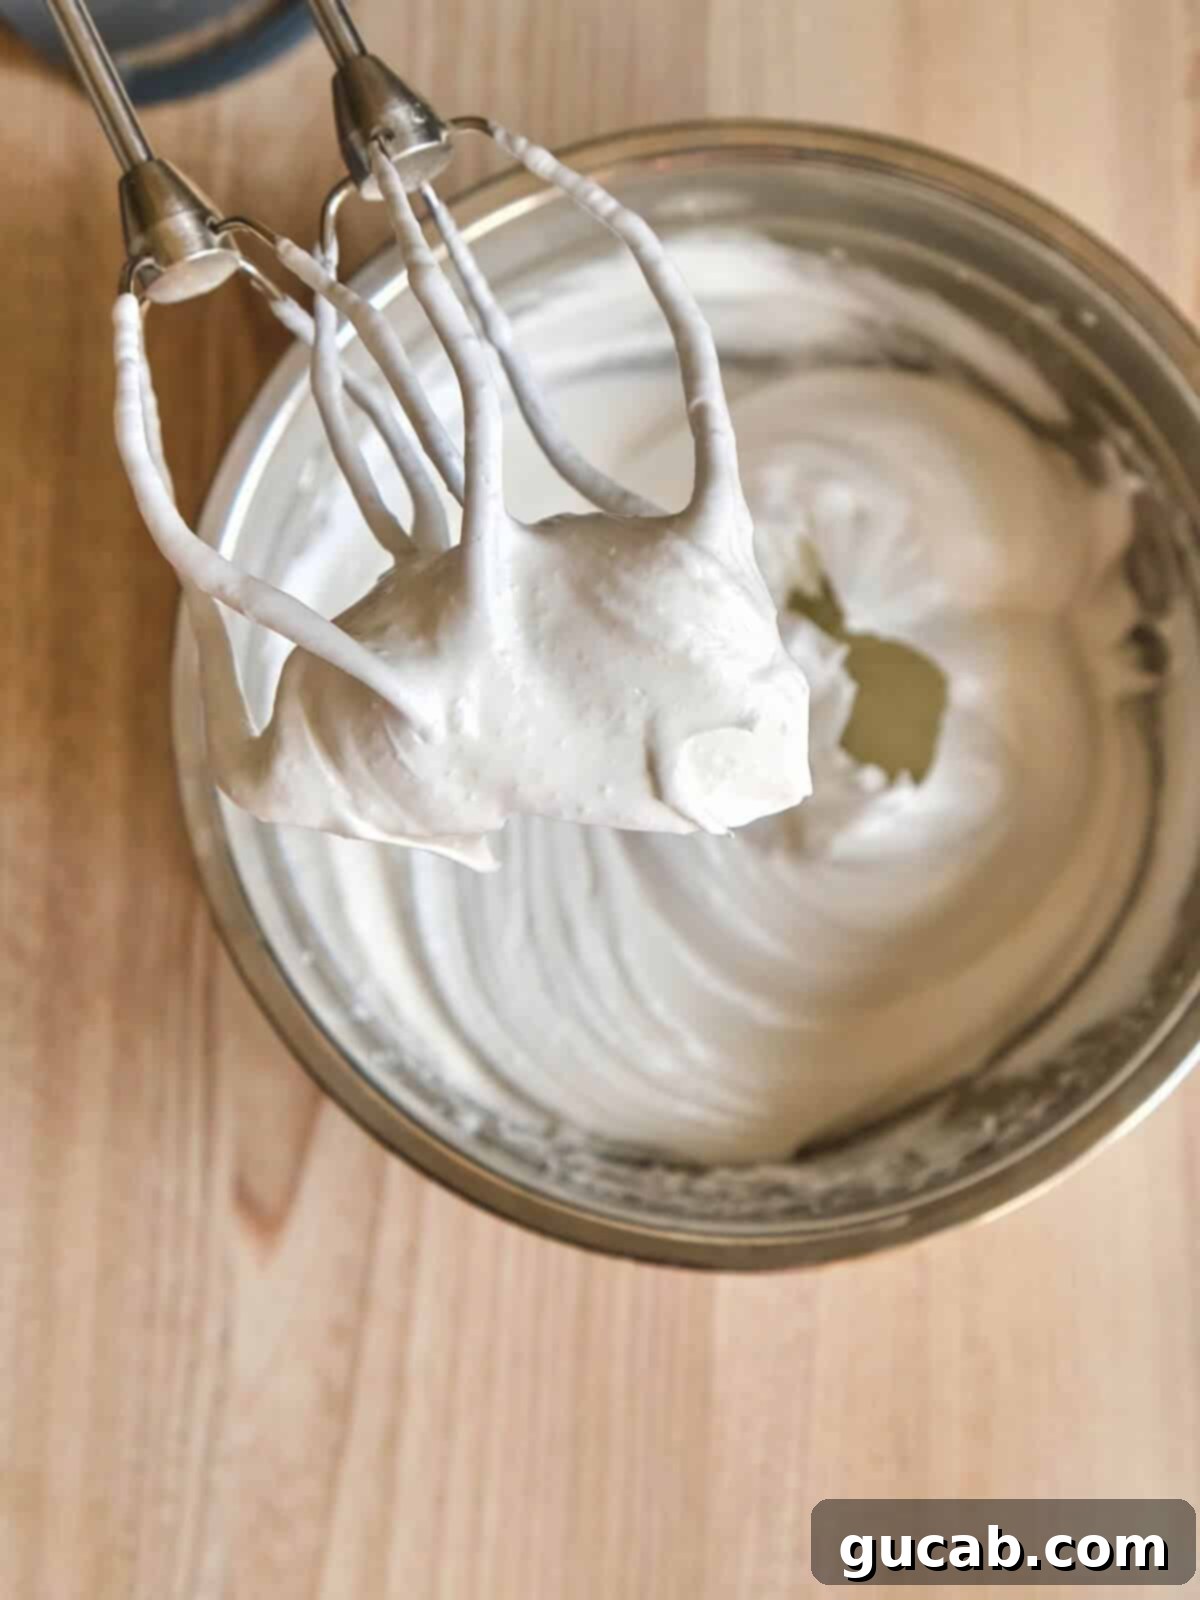
- Place your carefully separated egg whites into the bowl of a stand mixer fitted with the whisk attachment. Begin whipping them on medium speed for about 1 to 2 minutes. During this initial stage, you’re looking for the egg whites to become foamy and opaque, looking fully whipped but without yet forming any distinct peaks. They should still be quite soft.
- Once the egg whites are foamy, gradually start adding the powdered sugar, one tablespoon at a time, while the mixer continues to run on medium speed. Continue whipping until the egg whites transform and hold stiff peaks. This usually takes an additional 2 to 3 minutes. Stiff peaks mean that when you lift the whisk, the whipped whites stand straight up without drooping or collapsing, just like the perfect example shown in the picture above. This is the ideal consistency for creating a light and airy mousse.
4. Gently Fold in the Egg Whites
This is where the magic happens and your rich chocolate base transforms into a light, airy mousse. The key word here is “fold,” not “stir”!
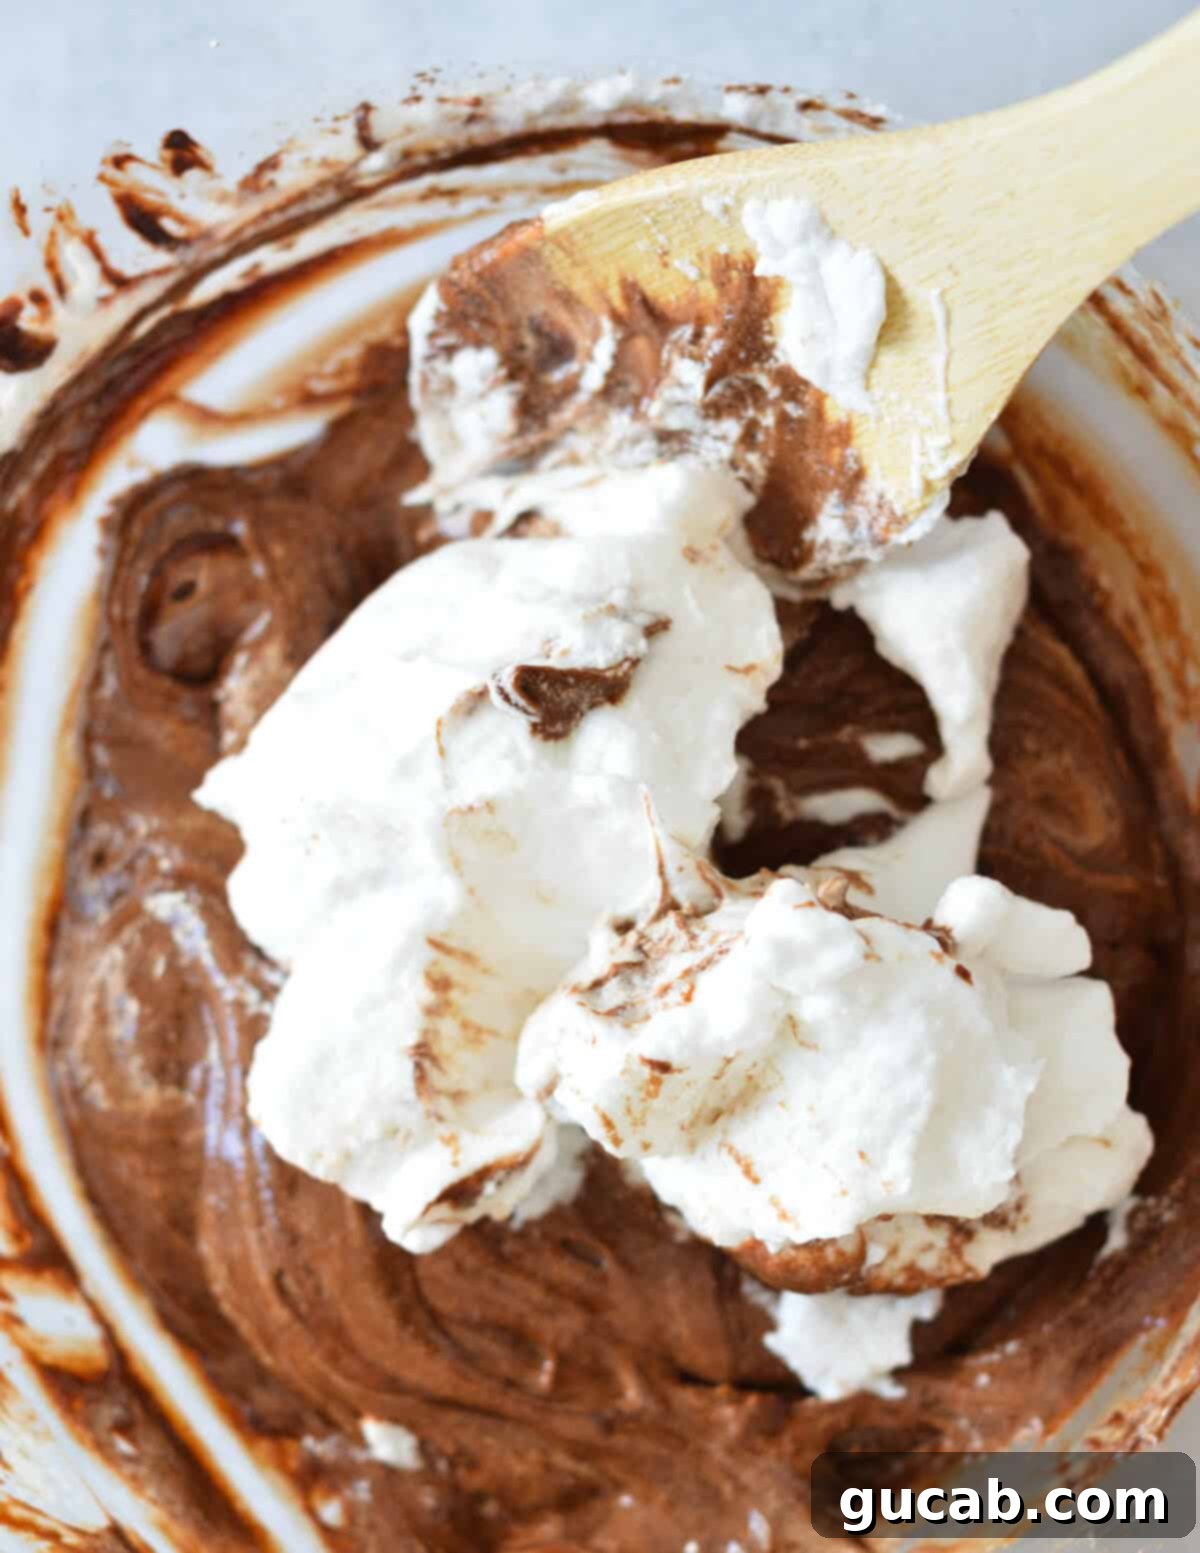
- Fold the whipped egg whites into the chocolate mixture in three stages. Start by adding approximately one-third of your beautifully whipped egg whites to the chocolate base.
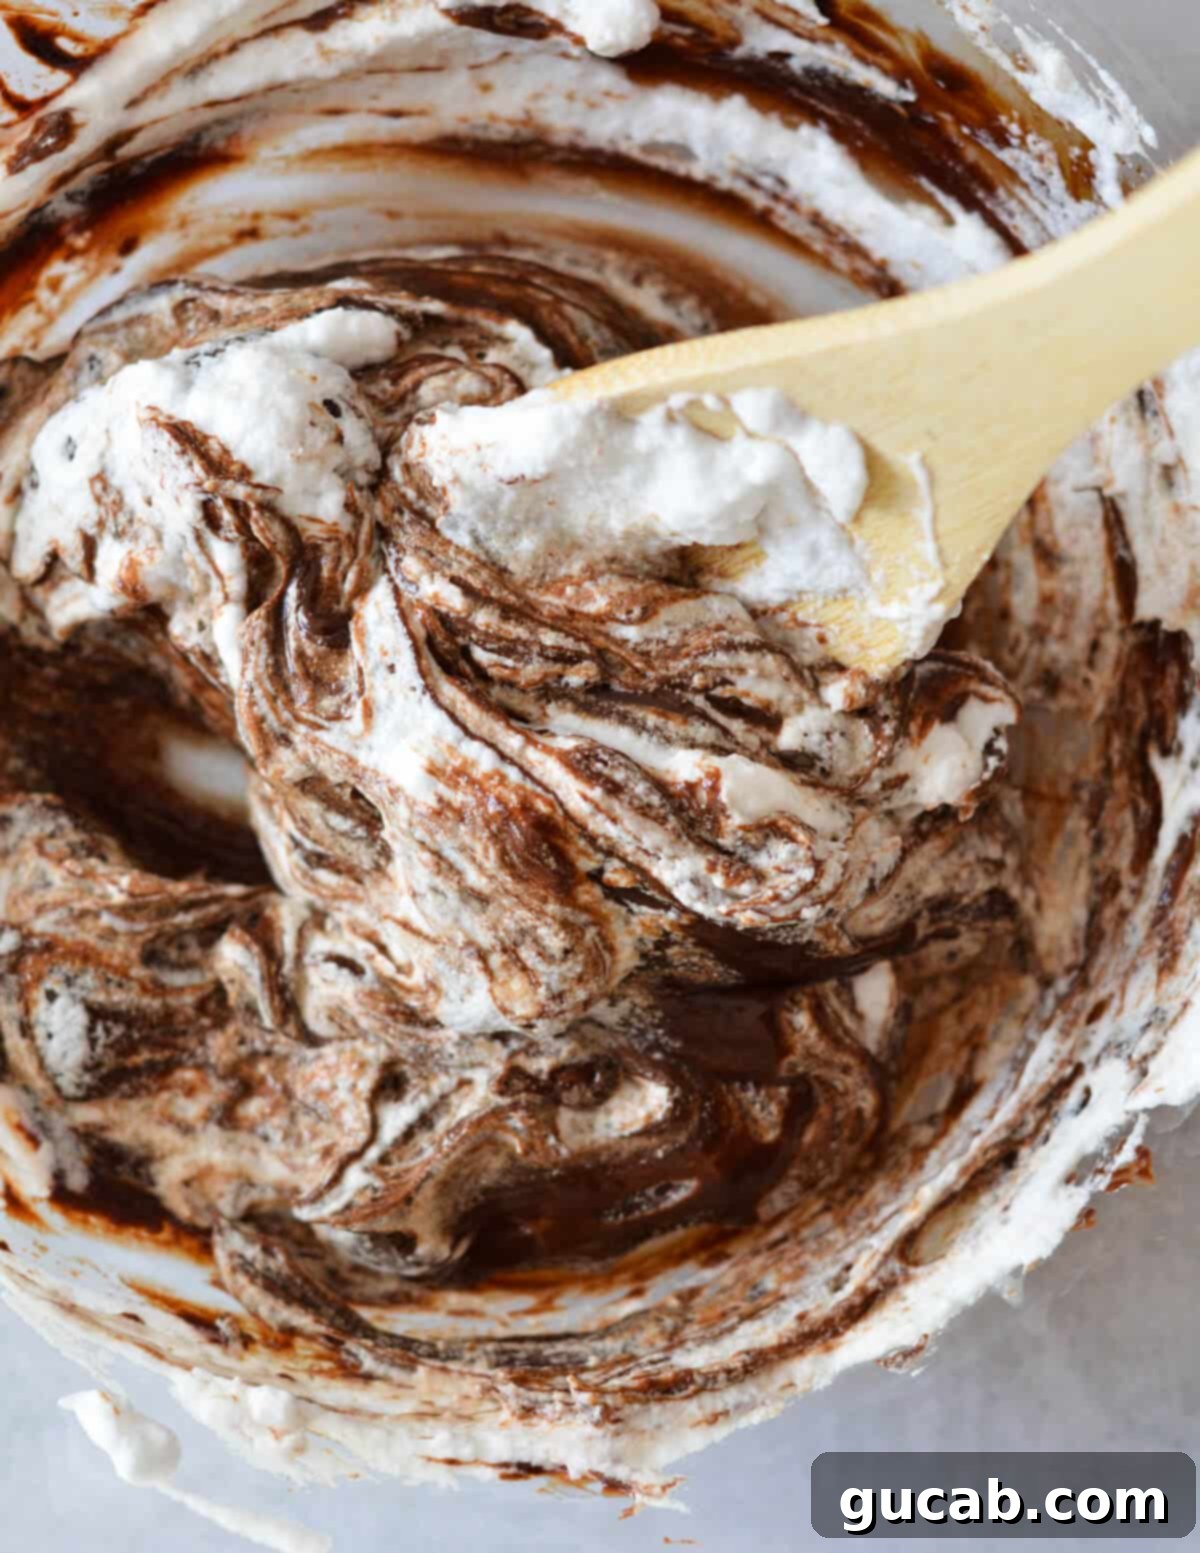
- It’s crucial to fold instead of stir. Stirring will deflate all the air you worked so hard to incorporate into the egg whites, resulting in a dense, heavy mousse rather than a light and airy one. Folding is a gentle, turning motion. Use your spatula to cut down through the center of the mixture, sweep it along the bottom of the bowl, and then fold the chocolate back over itself, bringing it up and over the egg whites.
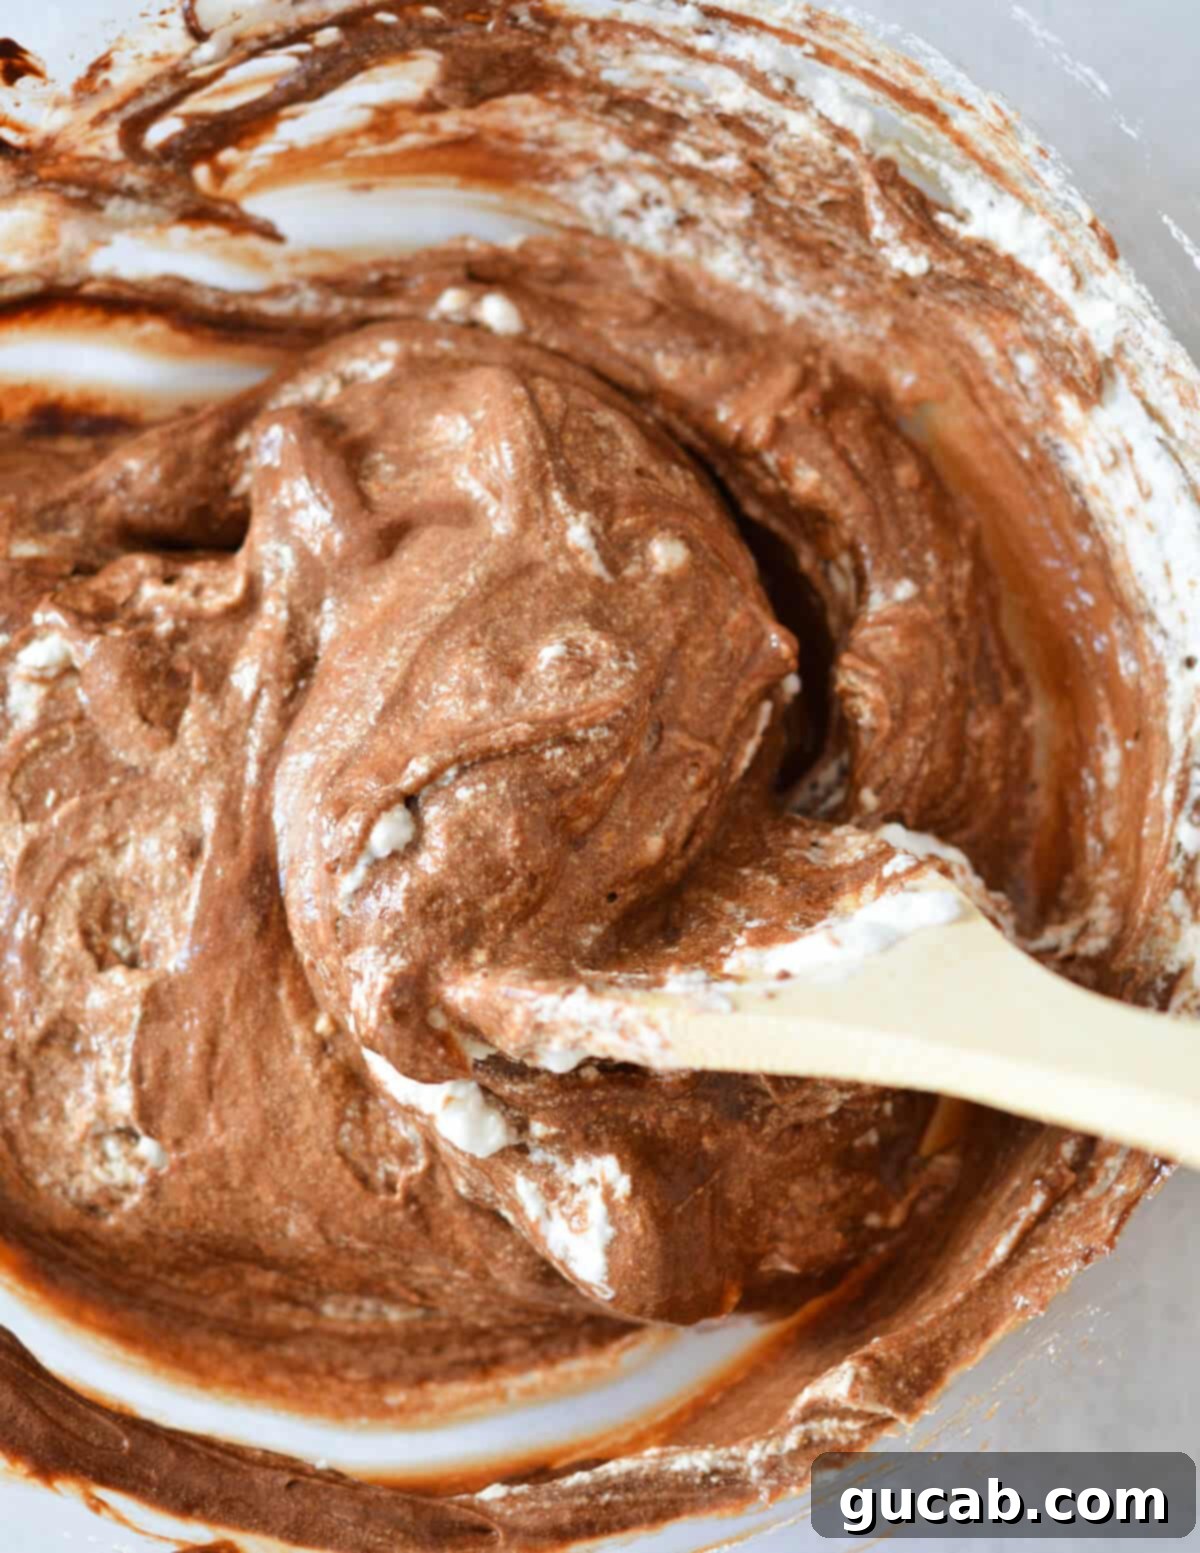
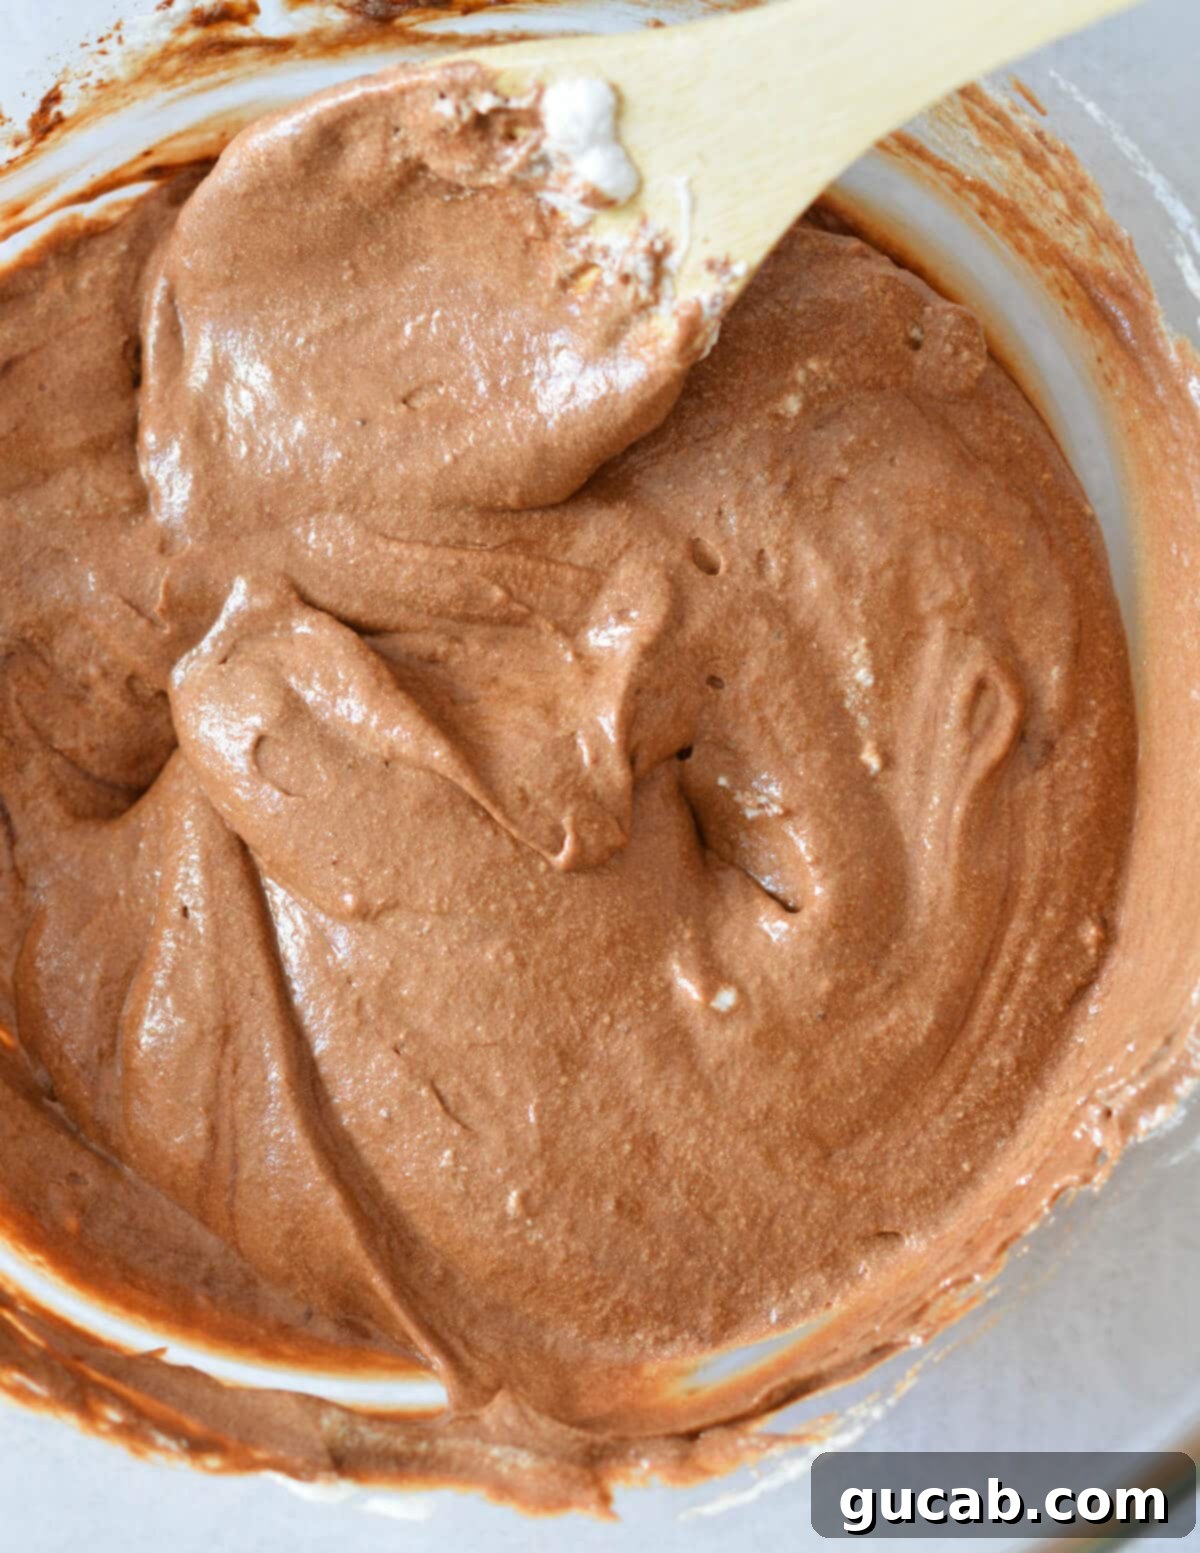
- Repeat this gentle folding process with the remaining egg whites, adding them in two more stages. Continue until all the whites are fully incorporated and there are no streaks of white visible. You should be left with a beautifully light, fluffy, and uniformly colored chocolate mixture that looks absolutely divine. Yummmm!
5. Fill Ramekins and Chill for Perfection
The final steps involve preparing your mousse for its grand debut and giving it time to set and for flavors to meld.
- Fill small ramekins with your freshly made mousse. While ramekins are classic, don’t feel limited! Any attractive vessel will work wonderfully – small bowls, elegant teacups, clear dessert glasses, or even mason jars for a rustic touch all make great choices. Get creative with your presentation!
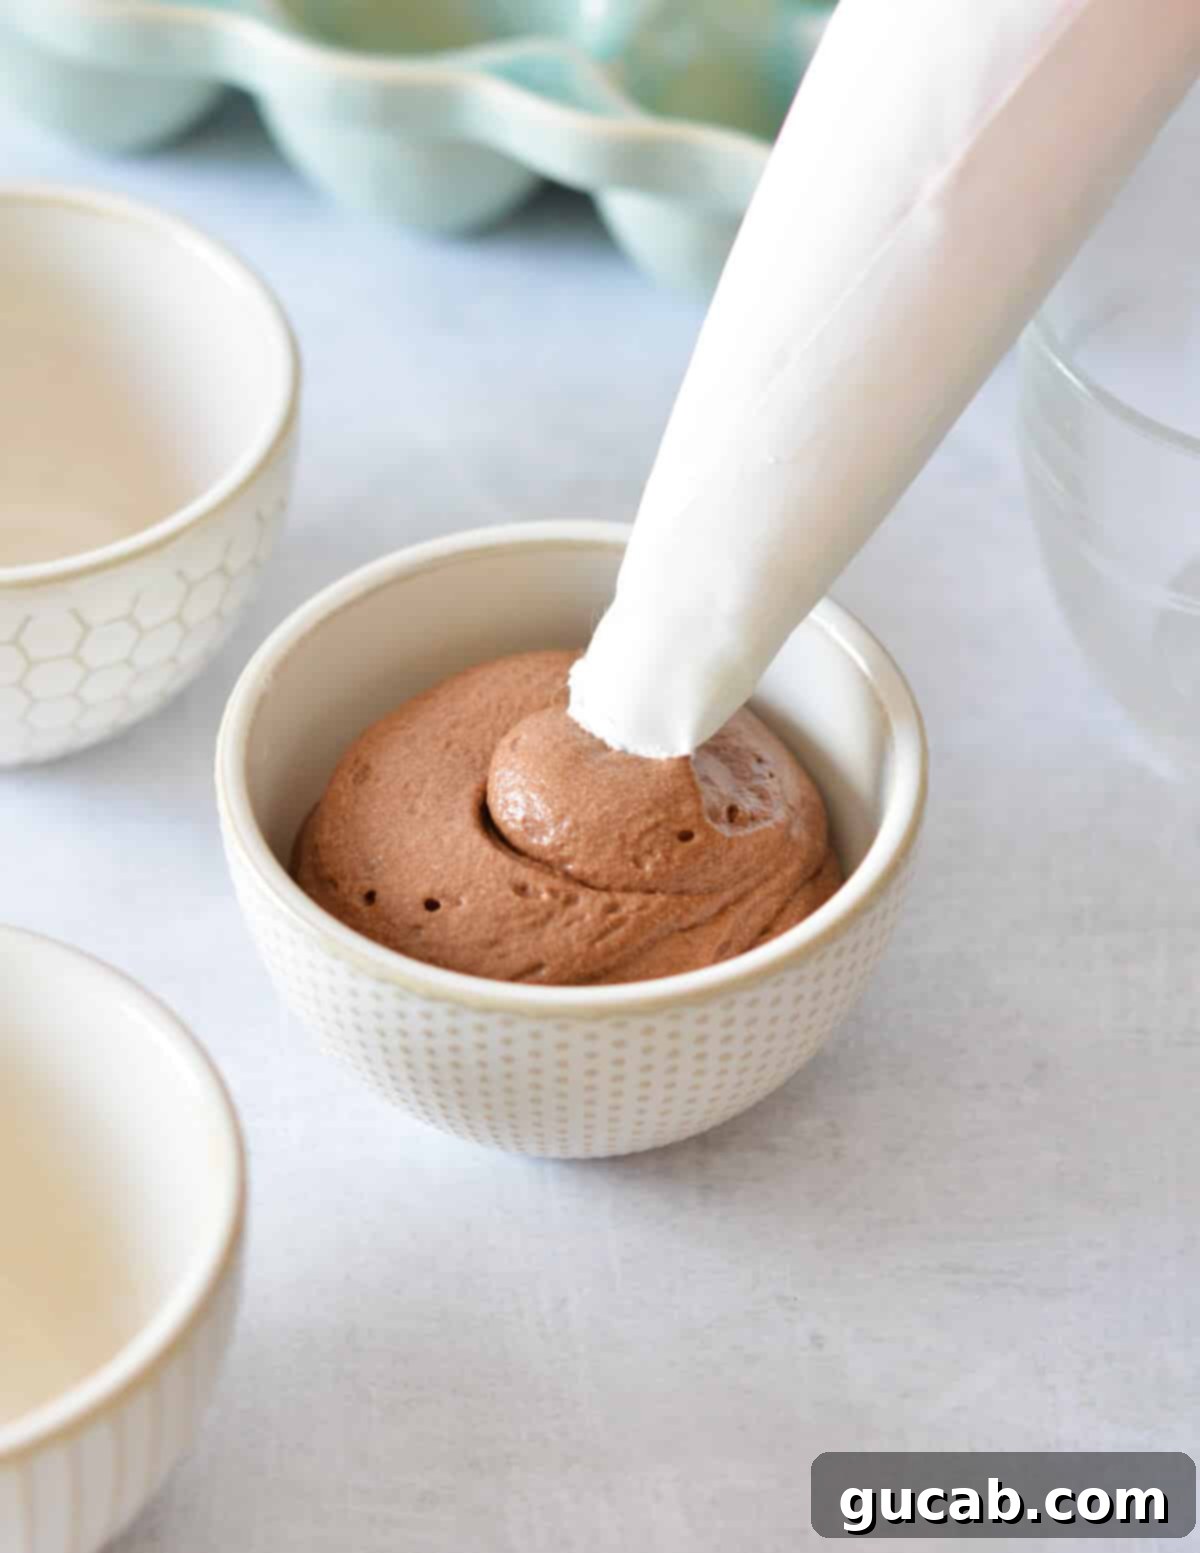
- You have a couple of options for transferring the mousse into your chosen serving dishes. For a neat and professional look, you can use a large piping bag (with or without a decorative tip) to pipe the mousse gracefully into each cup. Alternatively, if you prefer a simpler approach, a portion scoop or a large spoon works perfectly well to scoop the mousse into the ramekins.
- Once filled, cover each bowl tightly with plastic wrap (saran wrap). This prevents a skin from forming on the surface and keeps the mousse fresh. Then, transfer them to the refrigerator and chill for a minimum of 4 hours. This chilling time is essential not only for the mousse to fully set and achieve its characteristic firm-yet-creamy texture but also for the flavors to deepen and fully develop.
Expert Tips for the Best Chocolate Mousse
Even though this is an easy chocolate mousse recipe, a few expert tips can elevate your dessert from great to absolutely extraordinary. Pay attention to these details for a truly perfect result every time:
- Embrace the Instant Coffee – Seriously! Even if you’re not a coffee drinker, do not skip the instant coffee in this recipe. Its purpose isn’t to make the mousse taste like coffee; rather, it acts as a magical flavor enhancer, deepening and intensifying the rich chocolate notes. Chocolate and coffee are like dear old friends – they bring out the very best in each other, making the chocolate taste even more chocolatey. You won’t detect a coffee flavor, just a more profound and complex chocolate experience.
- Beware of Overwhipping Egg Whites! While stiff peaks are your goal, there’s a fine line between perfectly whipped and overwhipped. If you overbeat the egg whites, they can become dry, brittle, and curdled, making them difficult to fold smoothly into the chocolate mixture. They’ll lose their elasticity and ability to create a silky, airy texture. Stop whipping as soon as firm, glossy peaks form and hold their shape; don’t push it beyond that point.
- Get Creative with Your Presentation. The beauty of chocolate mousse is its versatility in serving. Don’t feel confined to traditional ramekins! This is your opportunity to add a personal touch. Want to pull out those fun cocktail glasses for an elegant dinner party? Go for it! Small teacups, espresso cups, shot glasses, or even small clear mason jars all work wonderfully. Consider layering the mousse with crushed cookies or fruit in your chosen vessel for an added visual and textual appeal.
Storage Solutions for Your Chocolate Mousse
While this decadent dessert often disappears quickly, it’s good to know how to properly store any leftovers to enjoy later.
- Refrigeration: Chocolate mousse stores beautifully in the refrigerator for up to 4 days. To maintain its fresh texture and prevent it from absorbing any refrigerator odors, make sure to cover each individual serving with plastic wrap (saran wrap) before chilling. This creates an airtight seal that keeps it perfectly delicious.
- Freezing: In my experience, my chocolate mousse rarely makes it to the freezer – it’s typically devoured on day one! However, if you find yourself with extra (a rare and fortunate occurrence!), this mousse freezes surprisingly well. You can freeze individual portions in their ramekins or other freezer-safe containers for up to 2 months. To freeze, ensure they are tightly covered with plastic wrap and then possibly an additional layer of aluminum foil. When you’re ready to enjoy, simply transfer the frozen mousse to the refrigerator and allow it to thaw for several hours, or overnight, until it returns to its wonderfully creamy consistency. The texture may be slightly different after thawing, perhaps a touch denser, but it will still be incredibly delicious.
Delicious Variations to Customize Your Mousse
This easy chocolate mousse recipe is fantastic on its own, but it also serves as an excellent canvas for creative variations. Feel free to experiment and make it your own!
- Chocolate Preference: If you prefer a less intense chocolate flavor, or simply enjoy milk chocolate, you can easily substitute the dark chocolate with milk or semi-sweet chocolate. Remember that the higher the percentage of cocoa, the darker and more bitter the chocolate bar will be. For a creamy milk chocolate mousse, aim for a chocolate with less than 50 percent cocoa. This will result in a sweeter, milder flavor profile that appeals to those who prefer milk chocolate desserts.
- Richness Level: The number of egg yolks significantly impacts the mousse’s richness and dense, creamy mouthfeel. For an even more intensely rich and velvety mousse, consider using three egg yolks instead of two. If you’re aiming for a mousse that’s exceptionally light and airy, you could reduce it to just one egg yolk. However, in my humble opinion and through years of experience, using two egg yolks strikes the perfect balance – that’s where the money is, offering optimal richness without becoming too heavy.
- Add a Splash of Liqueur: For an adult twist, fold in a tablespoon or two of your favorite liqueur with the chocolate mixture. Orange liqueurs like Grand Marnier or Cointreau pair beautifully with chocolate, as do coffee liqueurs like Kahlua, or even a good quality dark rum or brandy.
- Spiced Mousse: Infuse your mousse with warmth and intrigue by adding a pinch of spices. A tiny amount of cayenne pepper can add a subtle, exciting heat that complements the chocolate, or a dash of cinnamon can provide a cozy, comforting flavor.
- Extracts for Flavor: Experiment with different extracts. A few drops of peppermint extract can transform it into a refreshing mint chocolate mousse, while almond extract adds a delicate nutty undertone.
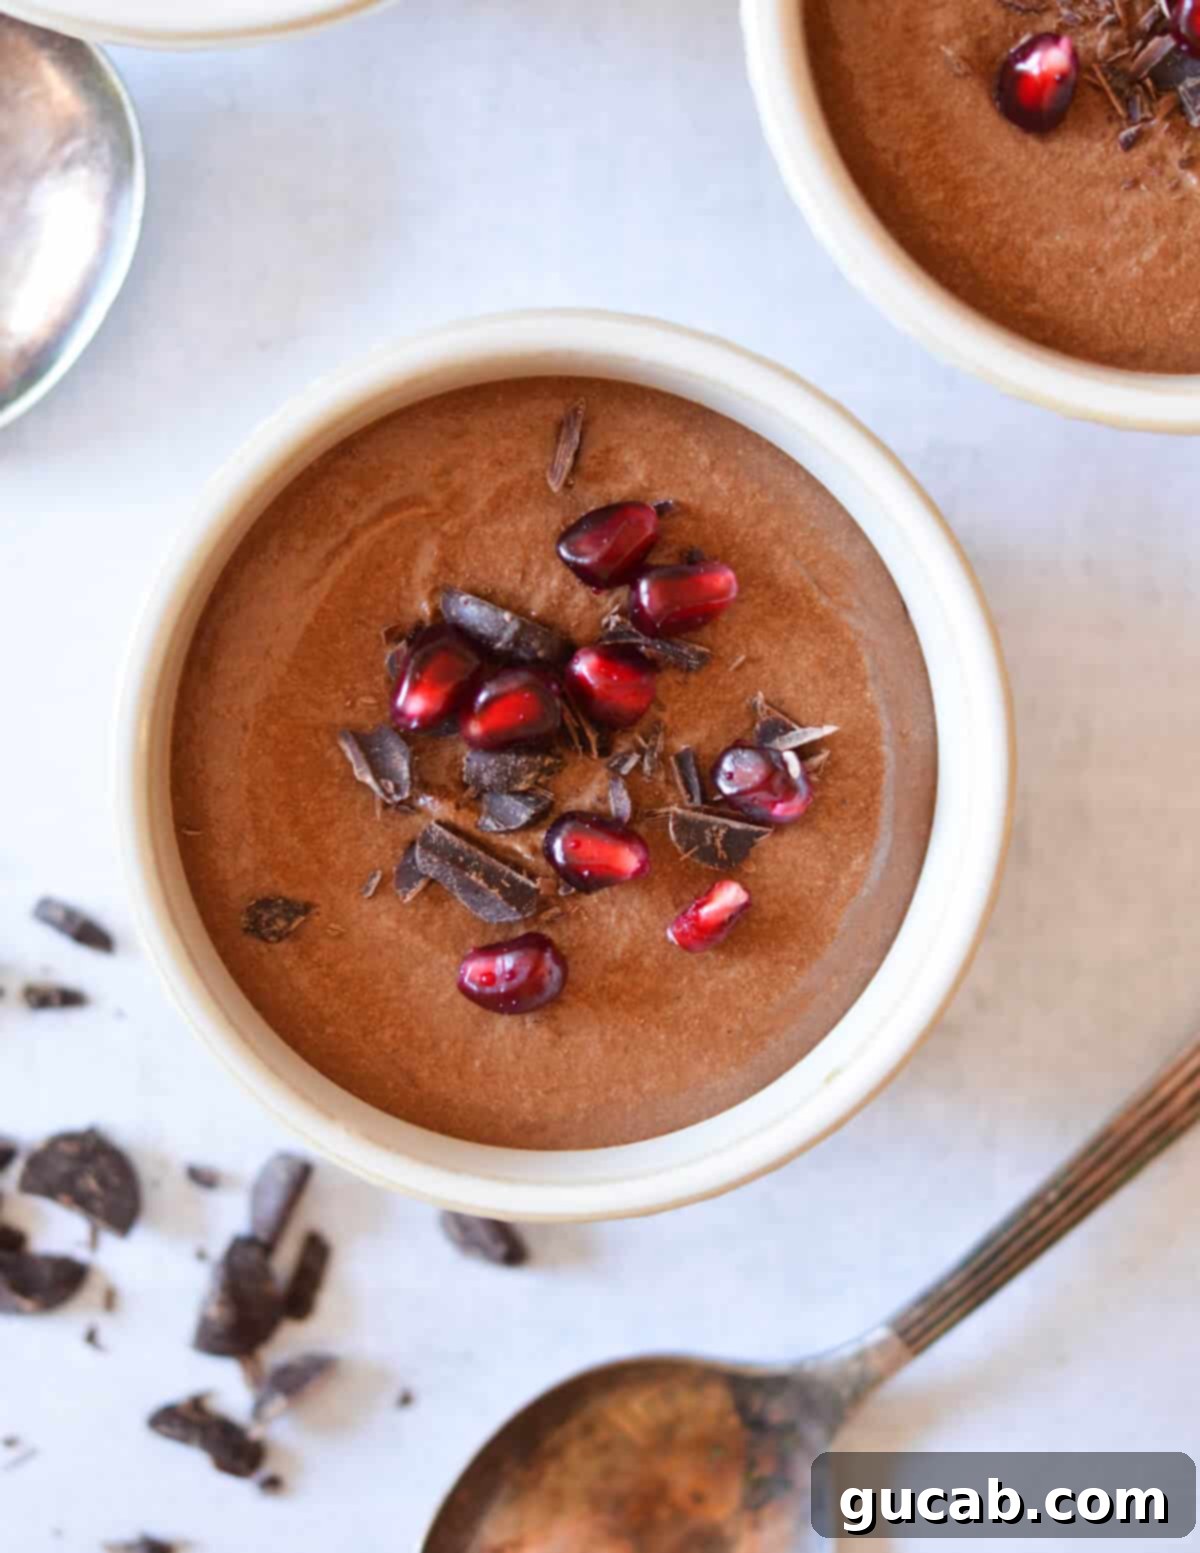
Irresistible Chocolate Mousse Toppings
While this decadent chocolate mousse is absolutely amazing on its own, toppings offer a fantastic opportunity to add a contrasting texture, a pop of color, or an extra layer of flavor. Here are some of my favorite ideas to elevate your chocolate mousse experience:
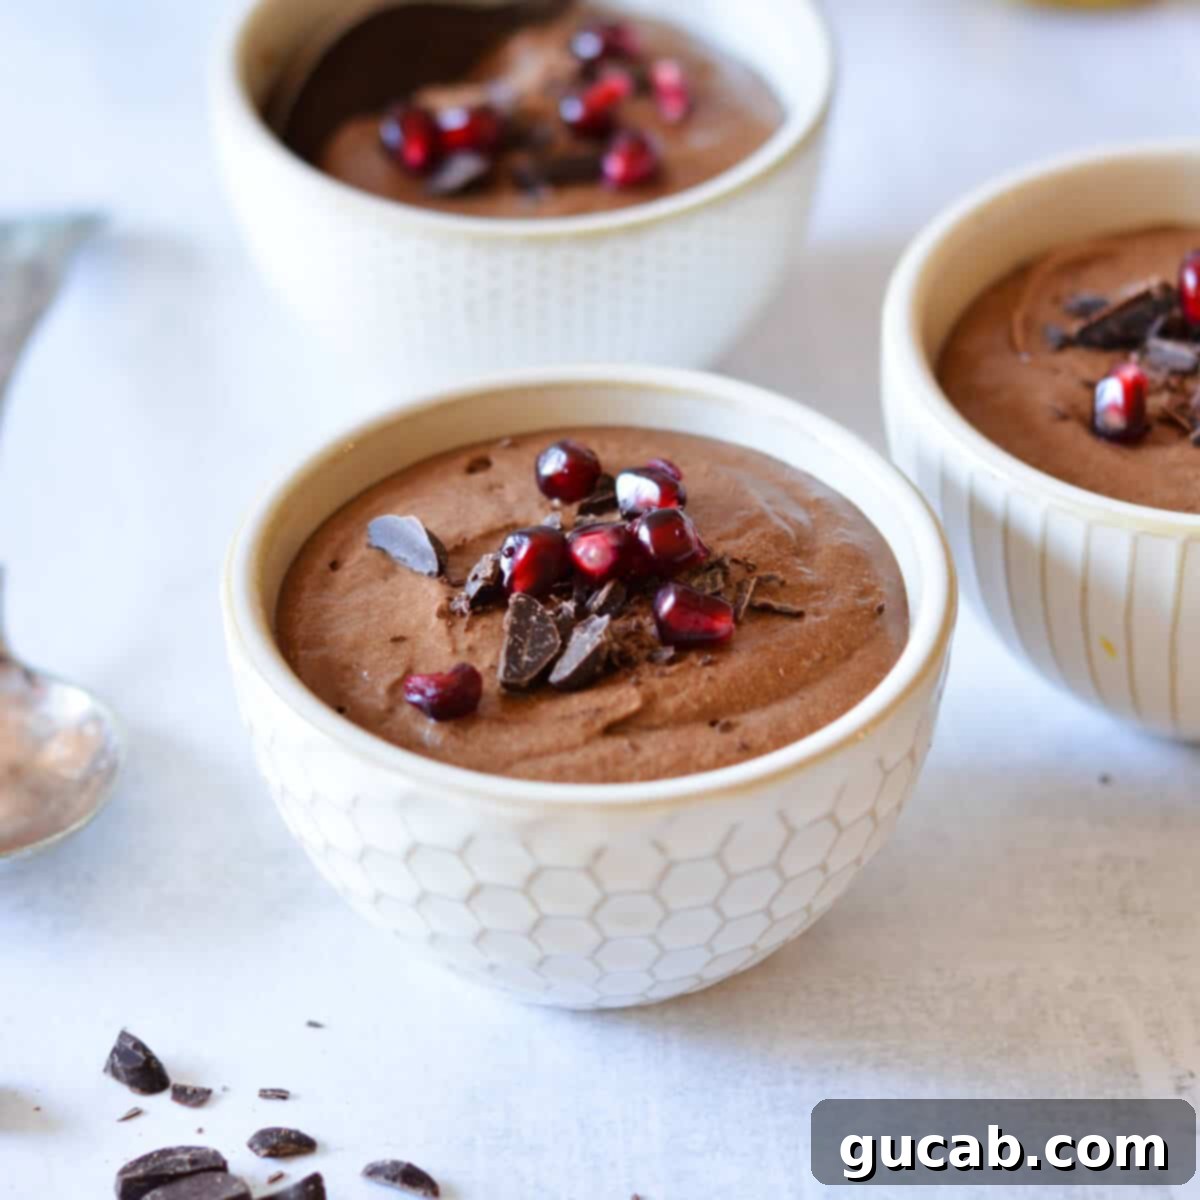
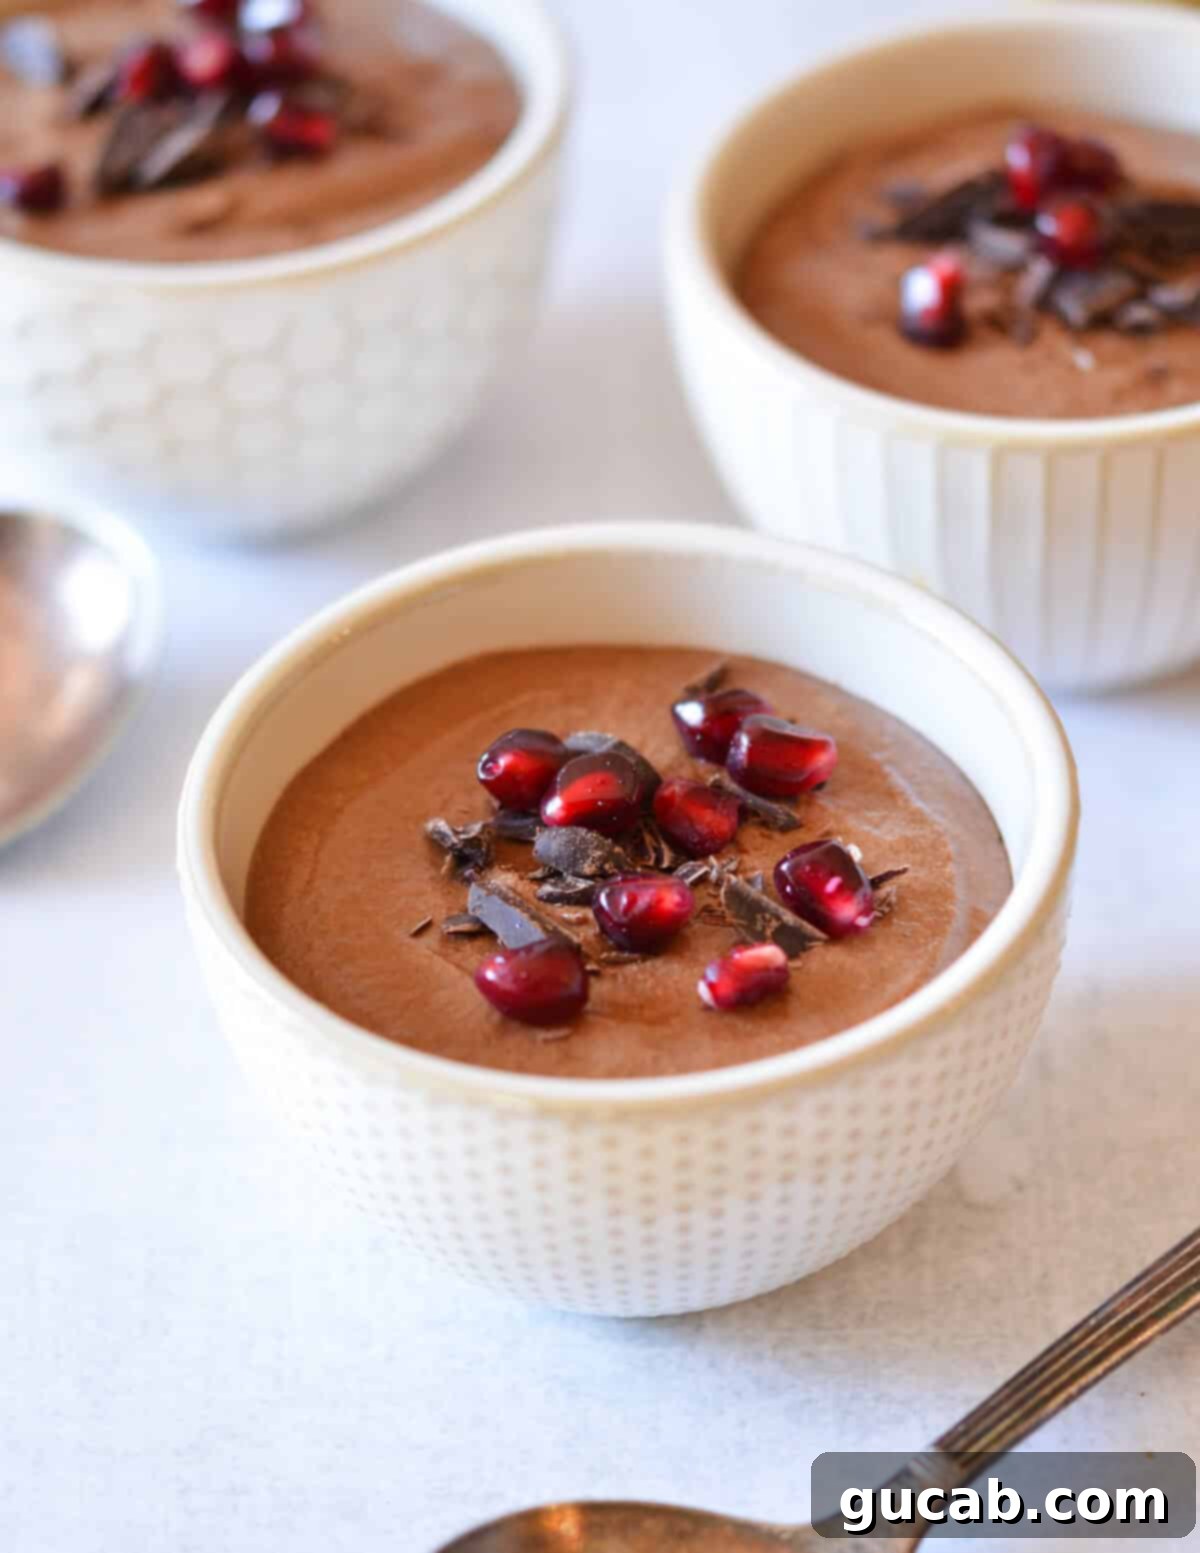
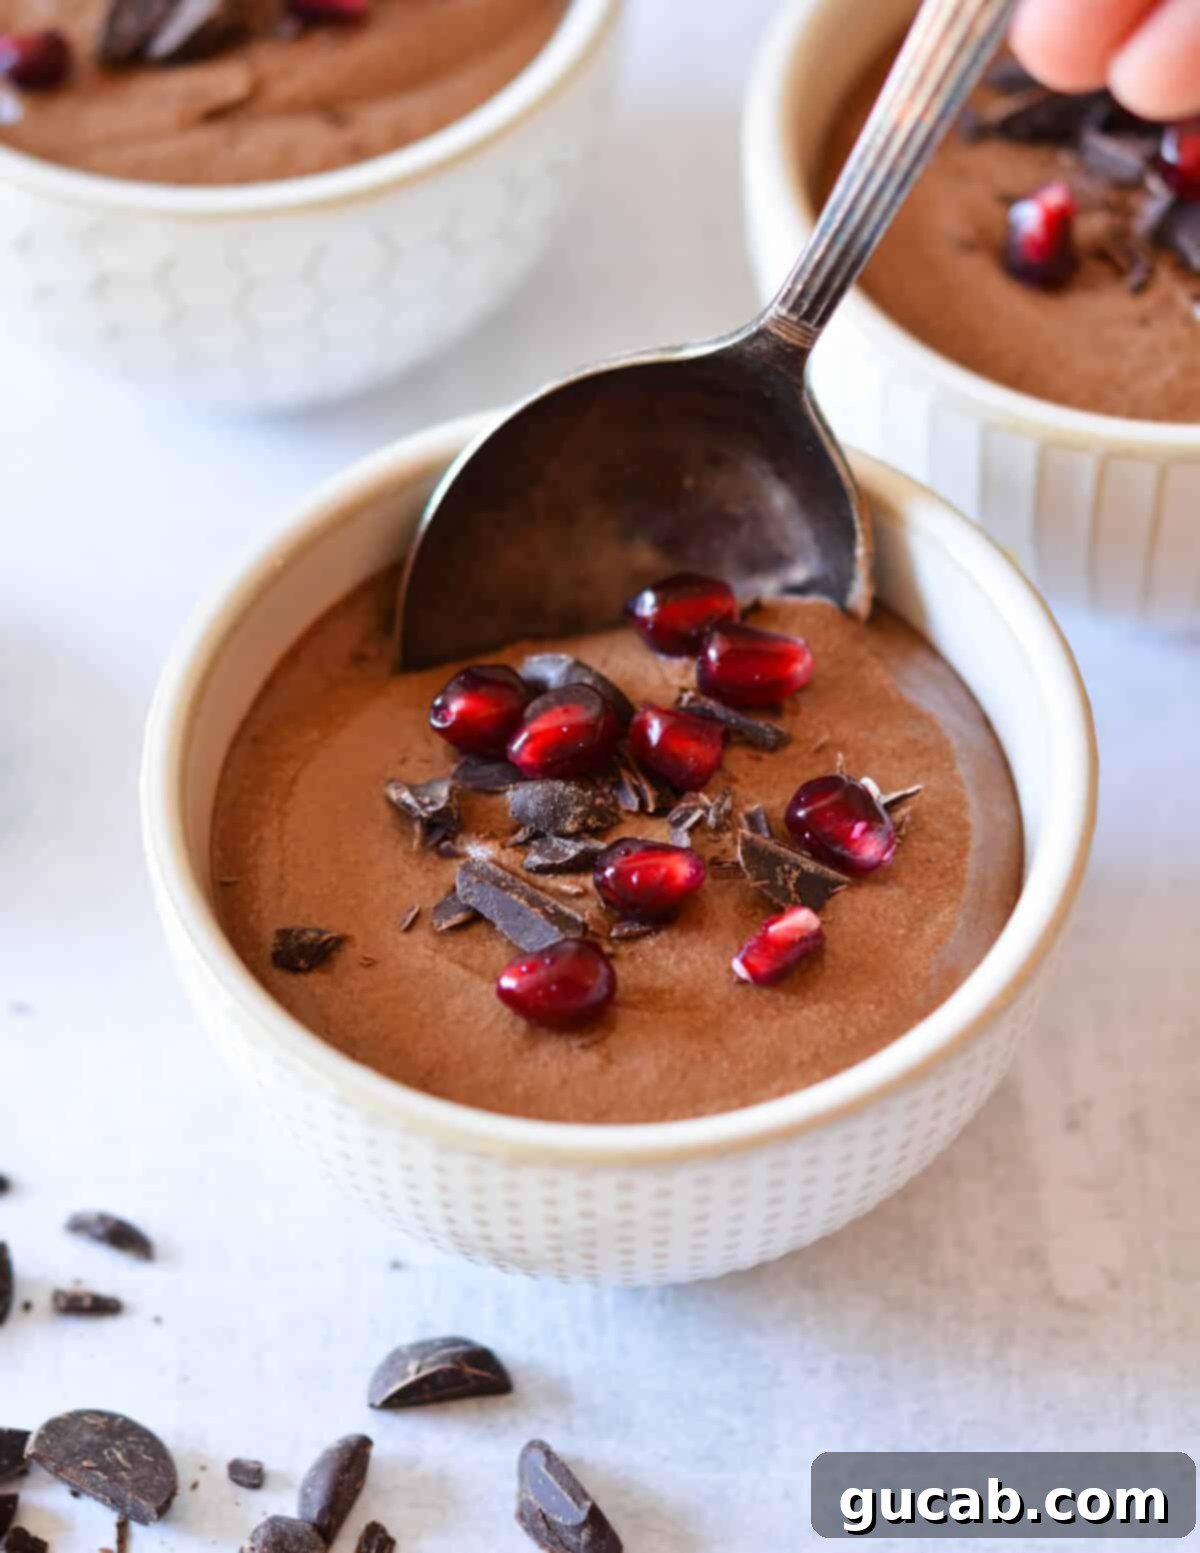
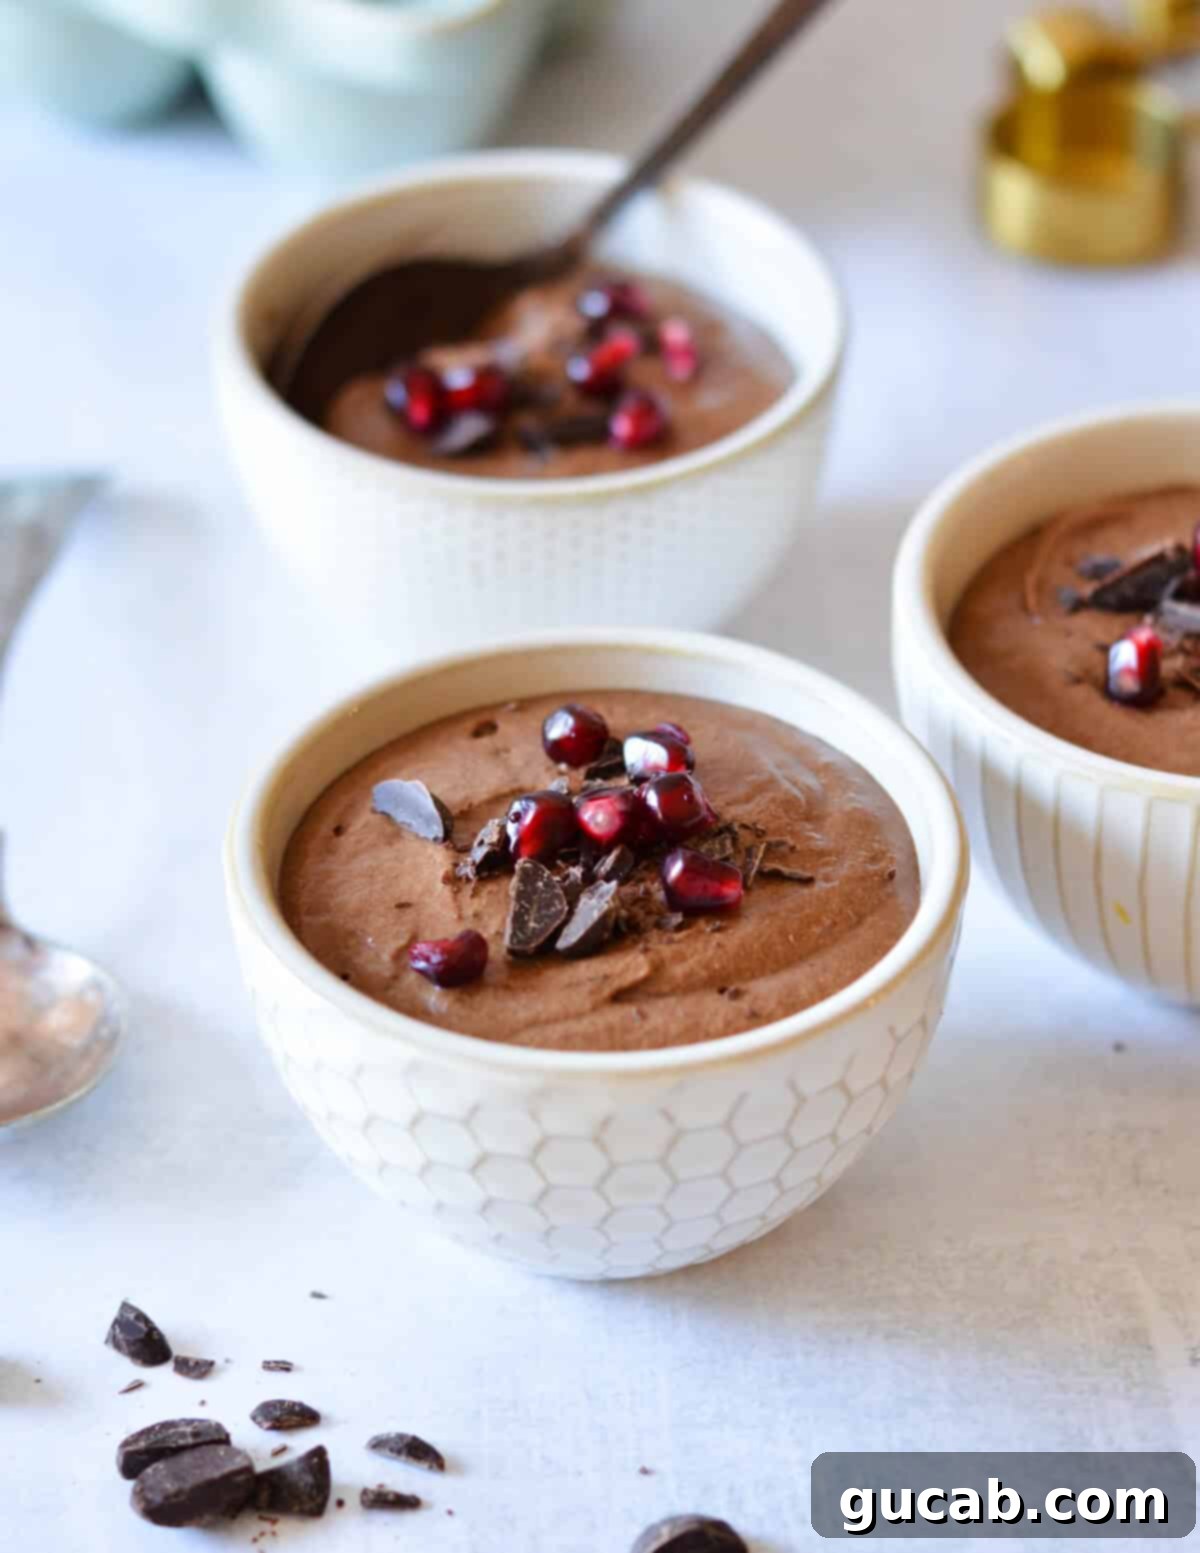
- Chopped Chocolate + Pomegranate Seeds: The bitterness of chopped dark chocolate provides a wonderful textural contrast and an extra chocolatey punch, while the jewel-toned pomegranate seeds add a burst of tart freshness and vibrant color.
- Crushed Peppermints + Mini Chocolate Chips: Perfect for the holiday season or whenever you crave a minty treat. The crisp, cool crunch of crushed peppermints combined with the subtle sweetness of mini chocolate chips creates a festive and delightful combination.
- Whipped Cream + Toasted Coconut: A classic pairing! A swirl of freshly whipped cream adds extra lightness and creaminess, while toasted coconut flakes bring a subtle nuttiness and a satisfying chew.
- Fresh Berries + Whipped Cream: Berries like raspberries, strawberries, or blueberries offer a bright, acidic counterpoint to the rich chocolate. Paired with a dollop of whipped cream, this is a beautifully elegant and refreshing option.
- Chopped Almonds + Chocolate Shavings: For those who love a nutty crunch, chopped toasted almonds are ideal. Complement them with delicate chocolate shavings for an extra layer of chocolatey elegance.
- Caramel Drizzle and Sea Salt: A swirl of homemade or store-bought caramel sauce, finished with a tiny sprinkle of flaky sea salt, creates a sophisticated sweet and salty flavor profile that is utterly addictive.
- Orange Zest: A fine grating of fresh orange zest over the top can brighten the entire dessert, adding a fragrant citrus note that perfectly complements the dark chocolate.
More Decadent Chocolate Recipes to Love
If you’ve enjoyed this rich chocolate mousse, you’ll definitely want to explore these other delectable chocolate creations:
- Easy Chocolate Ganache without Heavy Cream
- Chewy Double Chocolate Oatmeal Cookies
- Homemade Chocolate Covered Graham Crackers
- Flourless Chocolate Marshmallow Cookies
The Best Easy Chocolate Mousse
Carolyn
Pin Recipe
Equipment
-
Stand Mixer with Whisk Attachment (or electric hand mixer)
-
Large Microwave-Safe Bowl
-
Mini Whisk or Rubber Spatula
-
Two Medium Bowls (for egg separation)
-
Ramekins or Small Serving Dishes
Ingredients
- 1 tbsp unsalted butter
- 3 oz. good quality 60% dark chocolate chips or a high-quality dark chocolate bar, finely chopped (I recommend Ghirardelli)
- ½ teaspoon instant coffee granules enhances chocolate flavor, doesn’t make it taste like coffee
- 2 oz heavy cream
- 2 large egg yolks use pasteurized eggs if concerned about raw egg consumption
- 3 large egg whites ensure no yolk is present
- ¼ cup powdered sugar also known as confectioners’ sugar
Instructions
-
Carefully separate your egg yolks from your egg whites. Prepare two clean bowls. Crack one whole egg into your loosely cupped hand, holding it over the first bowl (for the whites). Allow the egg white to gently slip through the gaps in your fingers and into the bowl. Once separated, place the intact yolk into the second bowl (for the yolks). Repeat this process for all three eggs, ensuring no egg yolk drips into the whites, as any fat will prevent them from whipping properly. Set both bowls aside.
-
In a large microwave-safe bowl, combine the unsalted butter and dark chocolate chips (or chopped chocolate bar). Microwave the mixture in 30-second intervals. After each interval, stir thoroughly. Continue this process until the chocolate is mostly melted with only small chunks remaining. This gradual approach prevents scorching.
-
To the partially melted chocolate and butter, add the heavy cream and instant coffee granules. Microwave for another 30 seconds. Stir the mixture vigorously until all the chocolate pieces are completely dissolved and the mixture appears smooth, shiny, and glossy. The mixture should be warm, not hot. If it feels too hot, let it cool down slightly to a warm temperature before proceeding, to avoid cooking the egg yolks.
-
Add the two egg yolks to the chocolate mixture. Whisk continuously until the egg yolks are fully incorporated, and the mixture thickens to a consistency resembling a rich pudding. This creates the decadent base of your mousse. Set this bowl aside.
-
In a clean stand mixer bowl (or using an electric hand mixer), attach the whisk. Add the three egg whites. Whip the egg whites on medium speed until they are frothy, white, and voluminous, but without yet forming distinct peaks. This will take approximately 1 minute.
-
While continuing to beat on medium speed, gradually add the powdered sugar to the egg whites, a tablespoon at a time. Continue whipping until the egg whites achieve stiff, glossy peaks. This means that when you lift the whisk, the peaks stand firm and straight without drooping. This step will take about 2 to 3 more minutes.
-
Now, it’s time to combine the mixtures. Gently fold one-third of the whipped egg whites into the chocolate mixture using a rubber spatula. Use a gentle, sweeping motion, cutting down through the center, sweeping along the bottom, and folding the chocolate back over the whites. This preserves the air in the whites. Repeat this process twice more with the remaining egg whites until they are fully and evenly incorporated into the chocolate mixture, resulting in a beautifully light and airy mousse.
-
Transfer the chocolate mousse into a large piping bag (if using for a neat presentation) and pipe it into your chosen ramekins or serving dishes. Alternatively, you can simply use a portion scoop or a spoon to gently scoop the mousse into the ramekins.
-
Cover each filled ramekin or serving dish tightly with plastic wrap (saran wrap) to prevent any skin from forming. Chill in the refrigerator for at least 4 hours, or preferably overnight, to allow the mousse to set completely and for the flavors to fully develop. Serve chilled and enjoy!
Notes
Choosing Your Chocolate: The quality of your chocolate makes a huge difference! Whether you opt for chocolate chips or a chocolate bar, ensure it’s a good quality brand. I personally recommend Ghirardelli dark chocolate chips for their consistent melting and rich flavor. If you prefer a milder, milk chocolate mousse over a dark chocolate one, select a chocolate bar with a lower cocoa percentage, ideally less than 50 percent cocoa. This will result in a sweeter, less intense chocolate flavor.
The Magic of Coffee: Don’t be tempted to omit the instant coffee! Its inclusion is not to make the mousse taste like coffee, but rather to act as a powerful flavor enhancer. Coffee has a unique ability to deepen and intensify the natural notes of chocolate, making your mousse taste even more robust and decadent without imparting any distinct coffee flavor.
Nutrition
