The Ultimate Homemade Strawberry Cake Filling: Easy, Jammy & Perfect for Any Dessert
Prepare to elevate your homemade desserts with this incredible, super easy, and irresistibly jammy **strawberry cake filling**! Whether you’re crafting a show-stopping layer cake, delightful cupcakes, or a creamy cheesecake, this versatile recipe is your secret weapon. Made from just five simple pantry staples, it comes together in under 15 minutes, making it the perfect addition to your baking repertoire. Enjoy the vibrant taste of fresh strawberries during peak season, or effortlessly use frozen berries to bring a burst of summer sweetness to your winter creations. Get ready to transform ordinary desserts into extraordinary treats with this luscious homemade strawberry filling!
Why You’ll Love This Easy Strawberry Cake Filling
There’s nothing quite like the arrival of spring and the abundance of fresh, juicy strawberries. As soon as those vibrant red berries hit the grocery store shelves at an unbeatable price, my baking instincts kick in! Beyond making traditional jam, one of my absolute favorite things to whip up is this incredible **homemade strawberry filling for cake**. It’s not just a recipe; it’s an experience that captures the essence of peak strawberry season in every spoonful, delivering a taste far superior to anything store-bought.
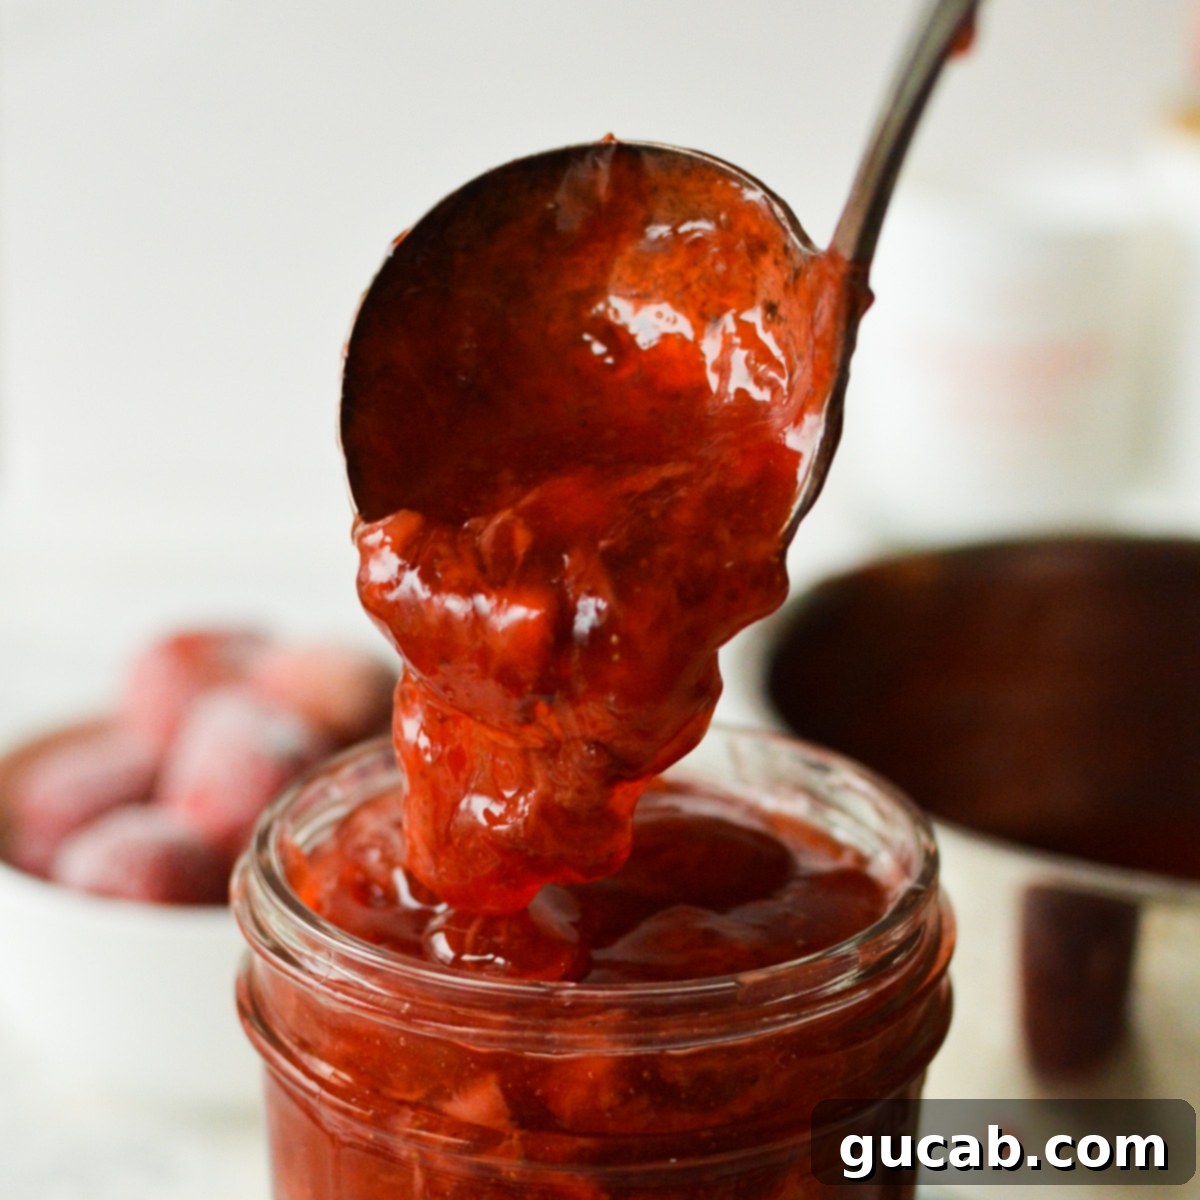
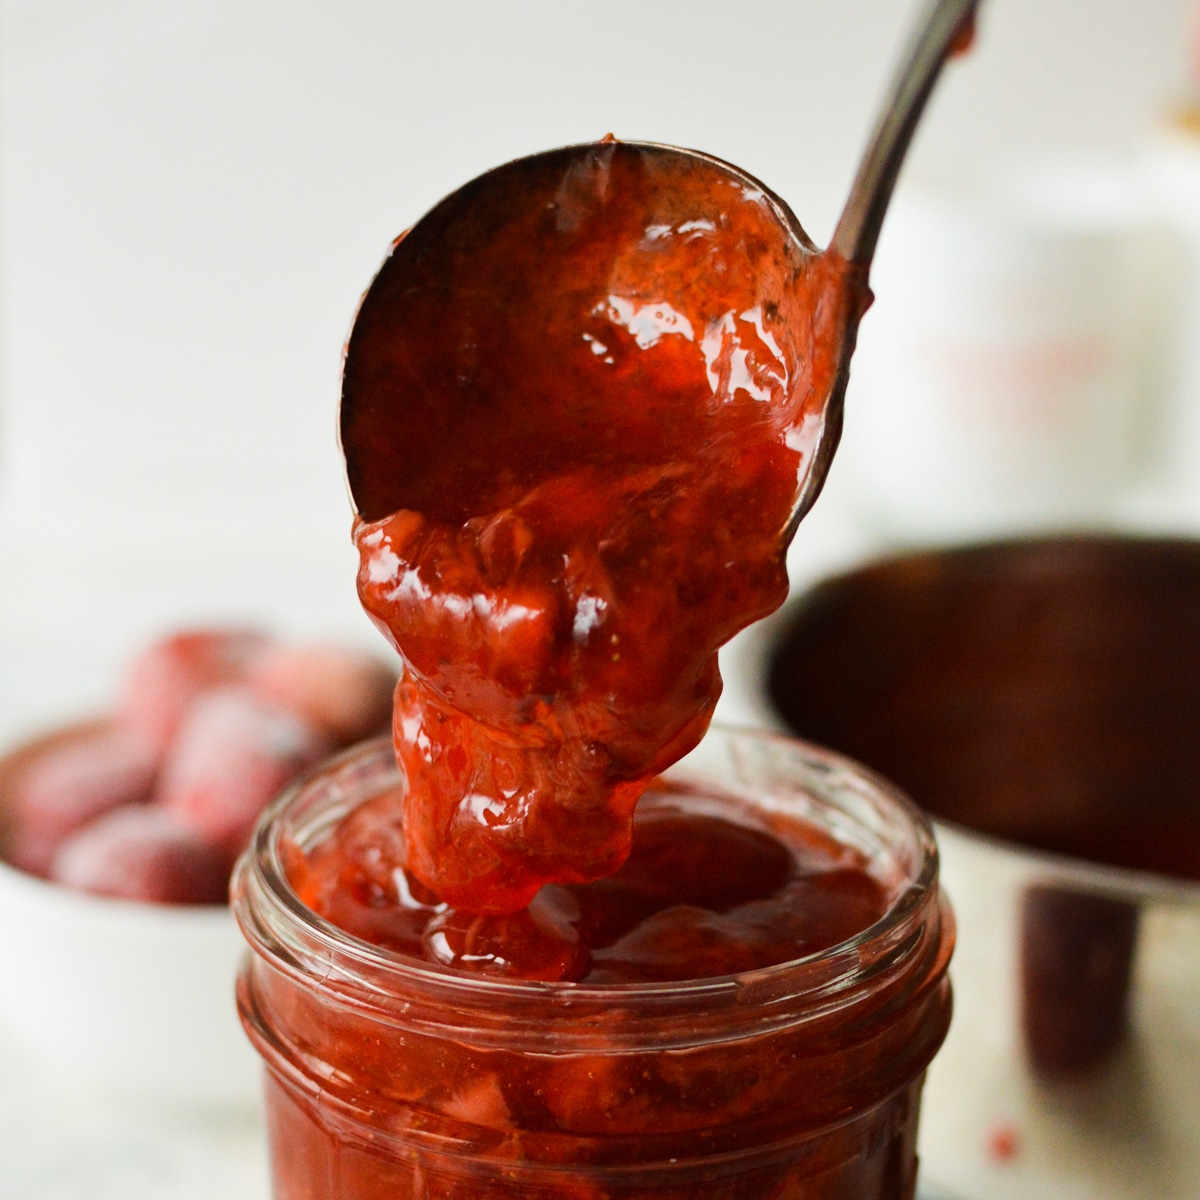
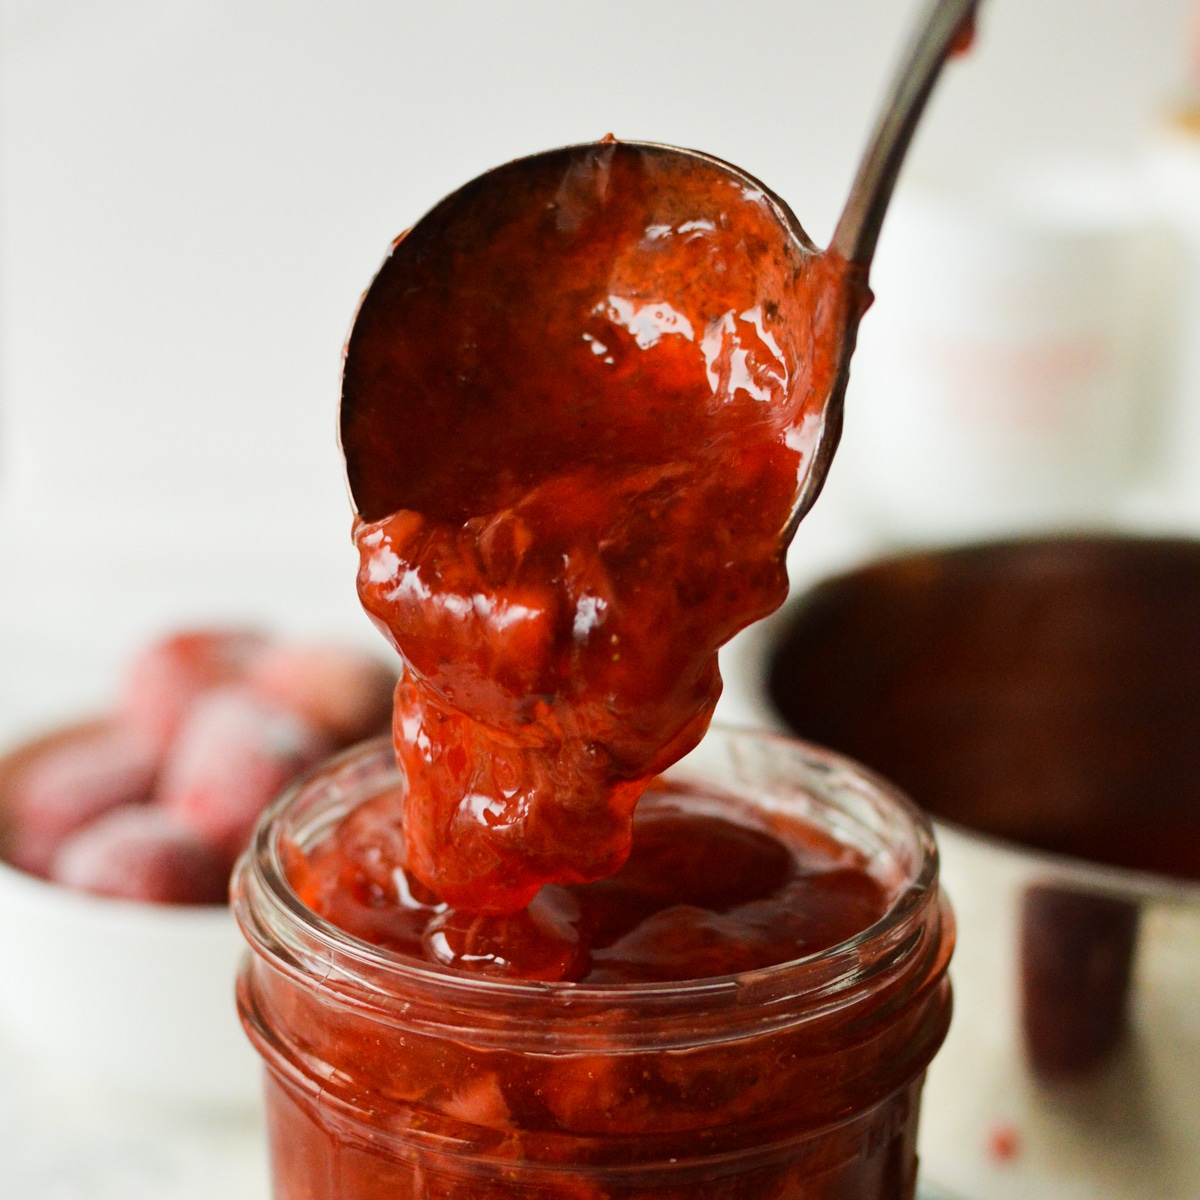
This easy strawberry filling recipe is a true game-changer. It’s quick, incredibly simple, yet yields a stunningly beautiful and deeply flavorful result. The texture is perfectly sweet and wonderfully jammy, striking that ideal balance between a smooth spread and delightful little bursts of strawberry pieces. Imagine piping this luscious filling into rich chocolate cupcakes, or spreading it generously between layers of a moist vanilla cake. The bright, natural sweetness of the strawberries, enhanced by a hint of lemon, creates a vibrant contrast that elevates any dessert it touches. You’ll love how effortlessly it transforms your bakes into bakery-quality treats, making every bite a celebration of fresh, fruity goodness.
Key Ingredients for the Perfect Strawberry Filling
You only need five basic ingredients to create this fantastic **strawberry cake filling**, and chances are, you already have most of them in your pantry! I’ve rigorously tested this recipe with both fresh and frozen strawberries, and I’m happy to report that both yield equally delicious results, giving you the flexibility to enjoy this treat year-round. Using high-quality ingredients, even in such a simple recipe, makes all the difference in achieving that irresistible jammy texture and vibrant flavor.
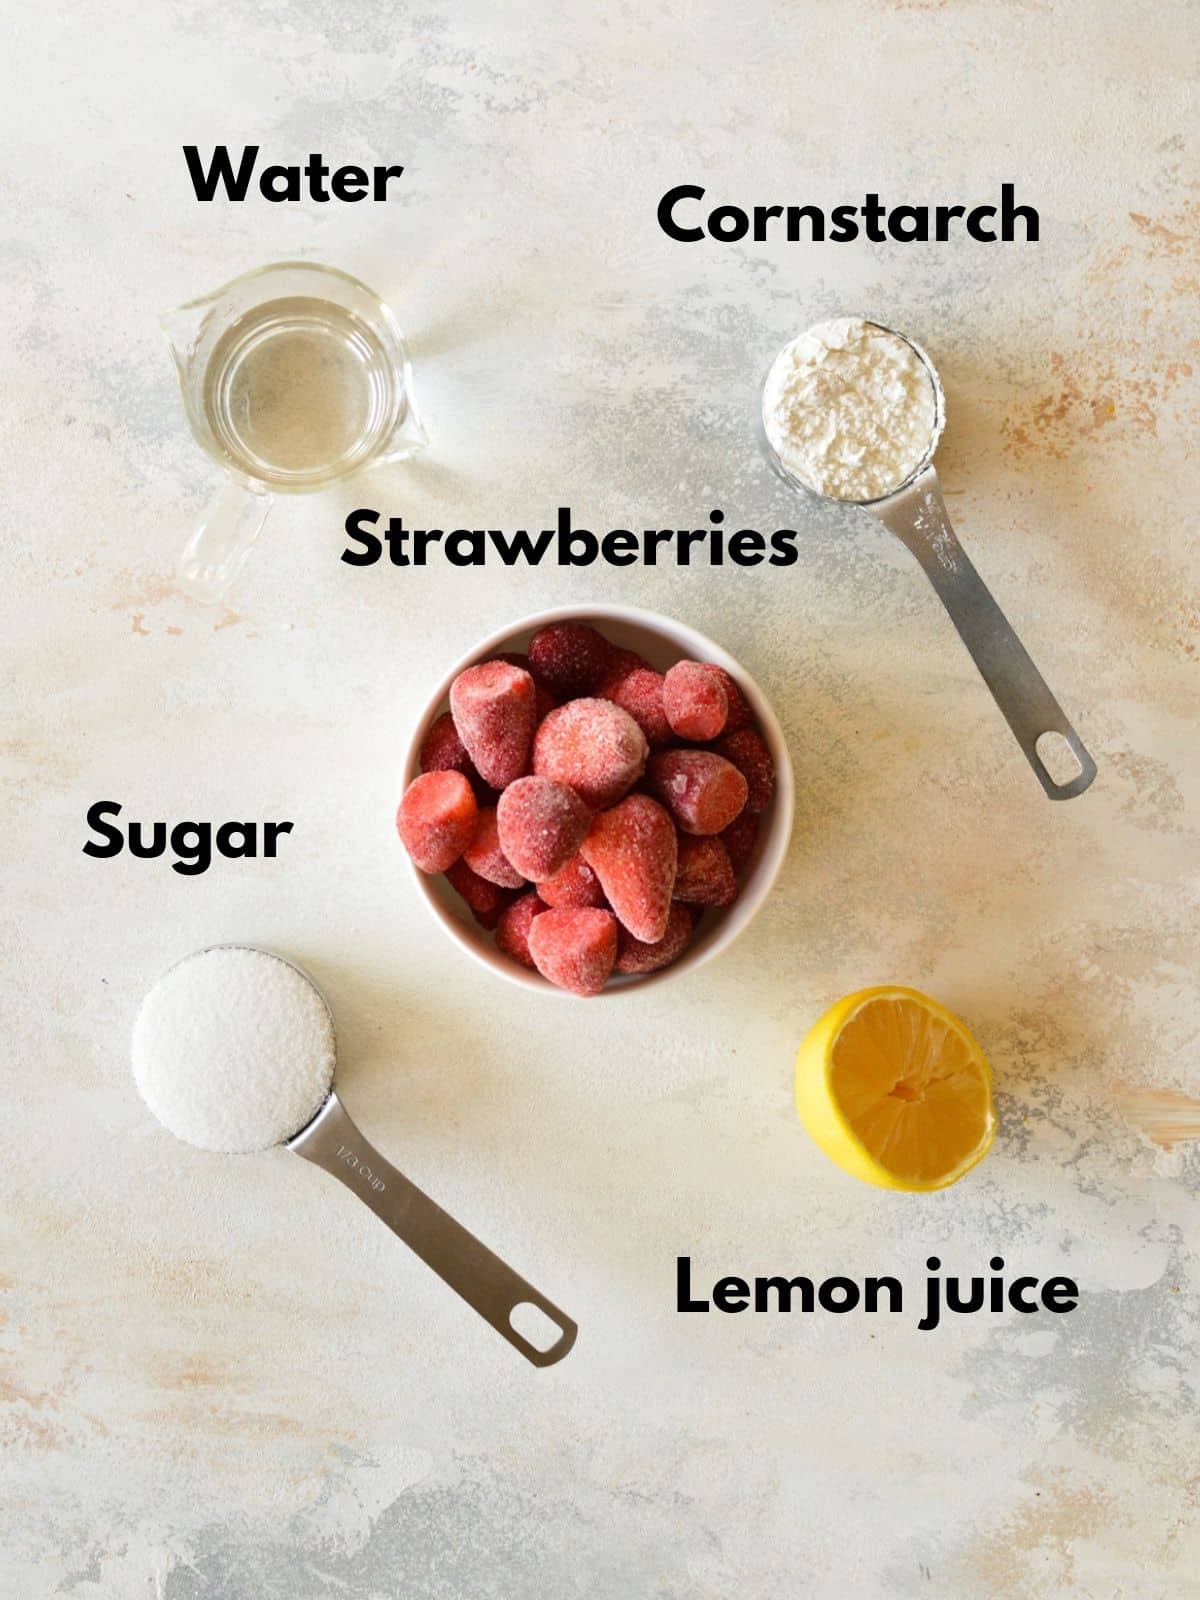
- Strawberries: As the star of this delectable filling, your choice of strawberries is paramount. To make this **strawberry cake filling recipe** accessible all year, I confirmed that both fresh and frozen strawberries work beautifully. If opting for fresh, choose berries that are deeply red, fragrant, and perfectly ripe for the best flavor. For frozen, ensure they are unsweetened and good quality. No matter your choice, quartering them before cooking helps them break down evenly, creating that desirable chunky-yet-jammy consistency.
- Water: This humble ingredient plays a crucial role in creating a smooth, lump-free filling. It’s used to hydrate the cornstarch, forming a “slurry.” This pre-mixing step is vital; adding cornstarch directly to hot liquid can cause it to clump, leading to an unpleasant texture in your finished filling.
- Cornstarch: The thickening agent that gives this **strawberry filling** its structure. Cornstarch works by swelling and thickening liquids when heated, preventing your filling from being too runny. It’s important to use the right amount – two tablespoons are typically perfect. Too much cornstarch can result in a filling that’s overly thick, resembling Jell-O once chilled, rather than a soft, spreadable jam. The natural pectin in strawberries and the sugar also contribute to the thickening, so cornstarch provides just the right boost.
- Sugar: Beyond adding sweetness, sugar helps to draw out the natural juices from the strawberries and contributes to the filling’s beautiful gloss and jam-like consistency. I’ve found that ½ cup is the ideal amount to enhance the strawberries’ inherent sweetness without making the filling cloyingly sweet. You can slightly adjust this based on the tartness of your berries and your personal preference.
- Lemon Juice: Do not skip this essential ingredient! A squeeze of fresh lemon juice is like a secret weapon for any fruit filling. Its bright acidity cuts through the sweetness, prevents the filling from tasting flat, and truly enhances the vibrant flavor of the strawberries. Always use freshly squeezed lemon juice; bottled varieties often lack the fresh zest and can have an artificial taste that will compromise your homemade filling. Lemons are inexpensive and significantly superior for this recipe.
How to Make Homemade Strawberry Filling: A Step-by-Step Guide
Creating this delicious **homemade strawberry filling** is incredibly straightforward and requires minimal effort. Just follow these simple steps to achieve a perfectly jammy and flavorful result:
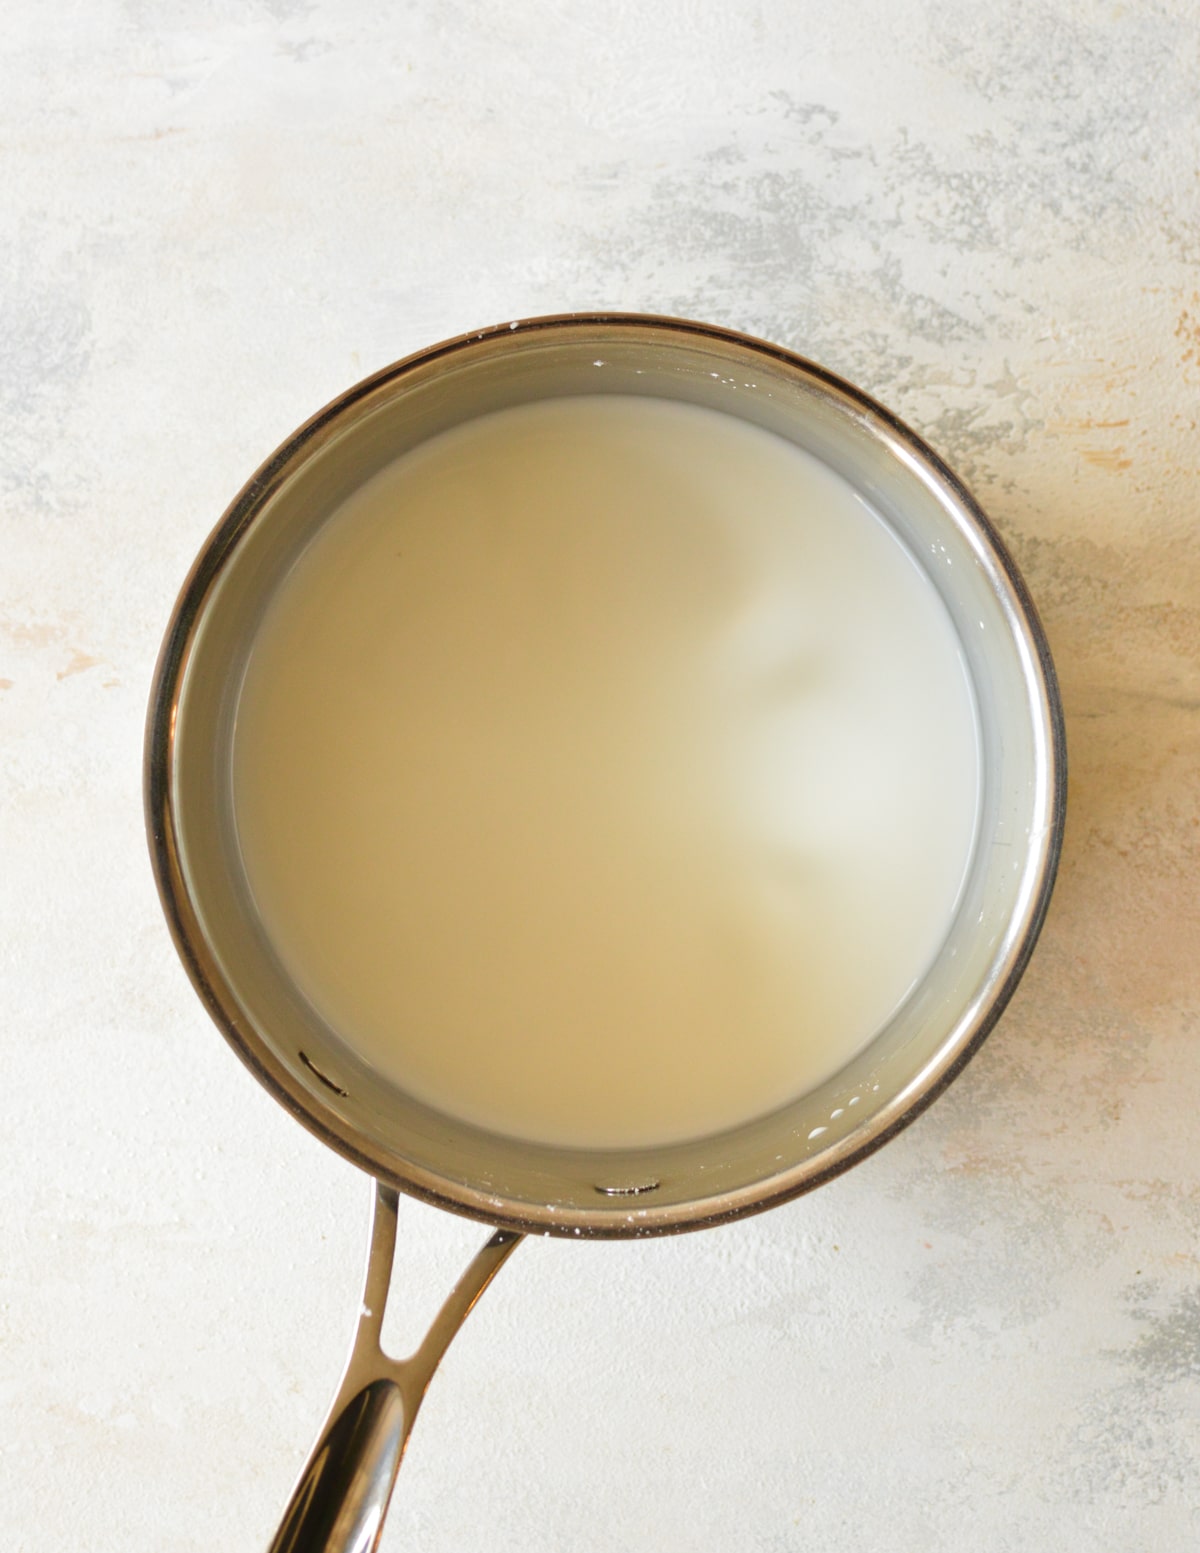
1. Prepare the Cornstarch Slurry: In a small, cold saucepan, combine the water and cornstarch. Whisk or stir vigorously with a spatula until the cornstarch is completely dissolved. It’s crucial that there are no visible lumps at this stage; a smooth slurry ensures a silky-smooth filling later on.
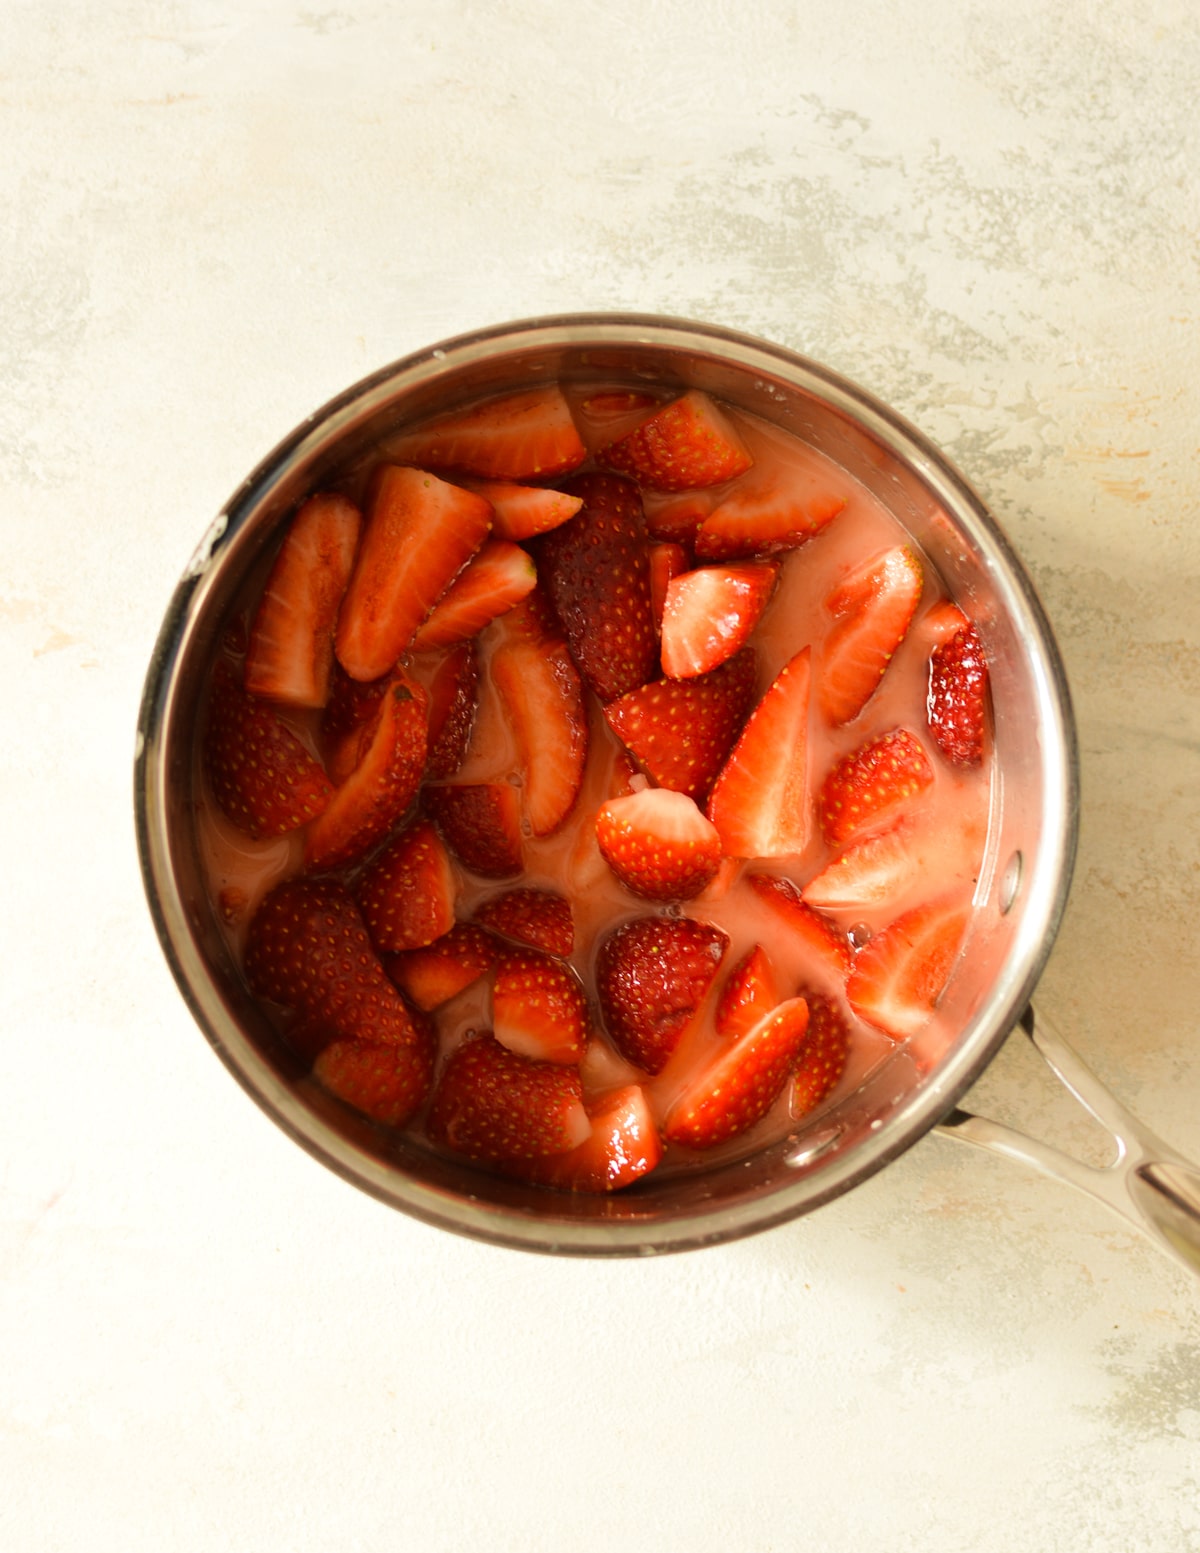
2. Combine Ingredients: Add your quartered strawberries, freshly squeezed lemon juice, and sugar to the saucepan with the cornstarch slurry. Stir everything together thoroughly, ensuring the strawberries are well coated and the sugar begins to dissolve.
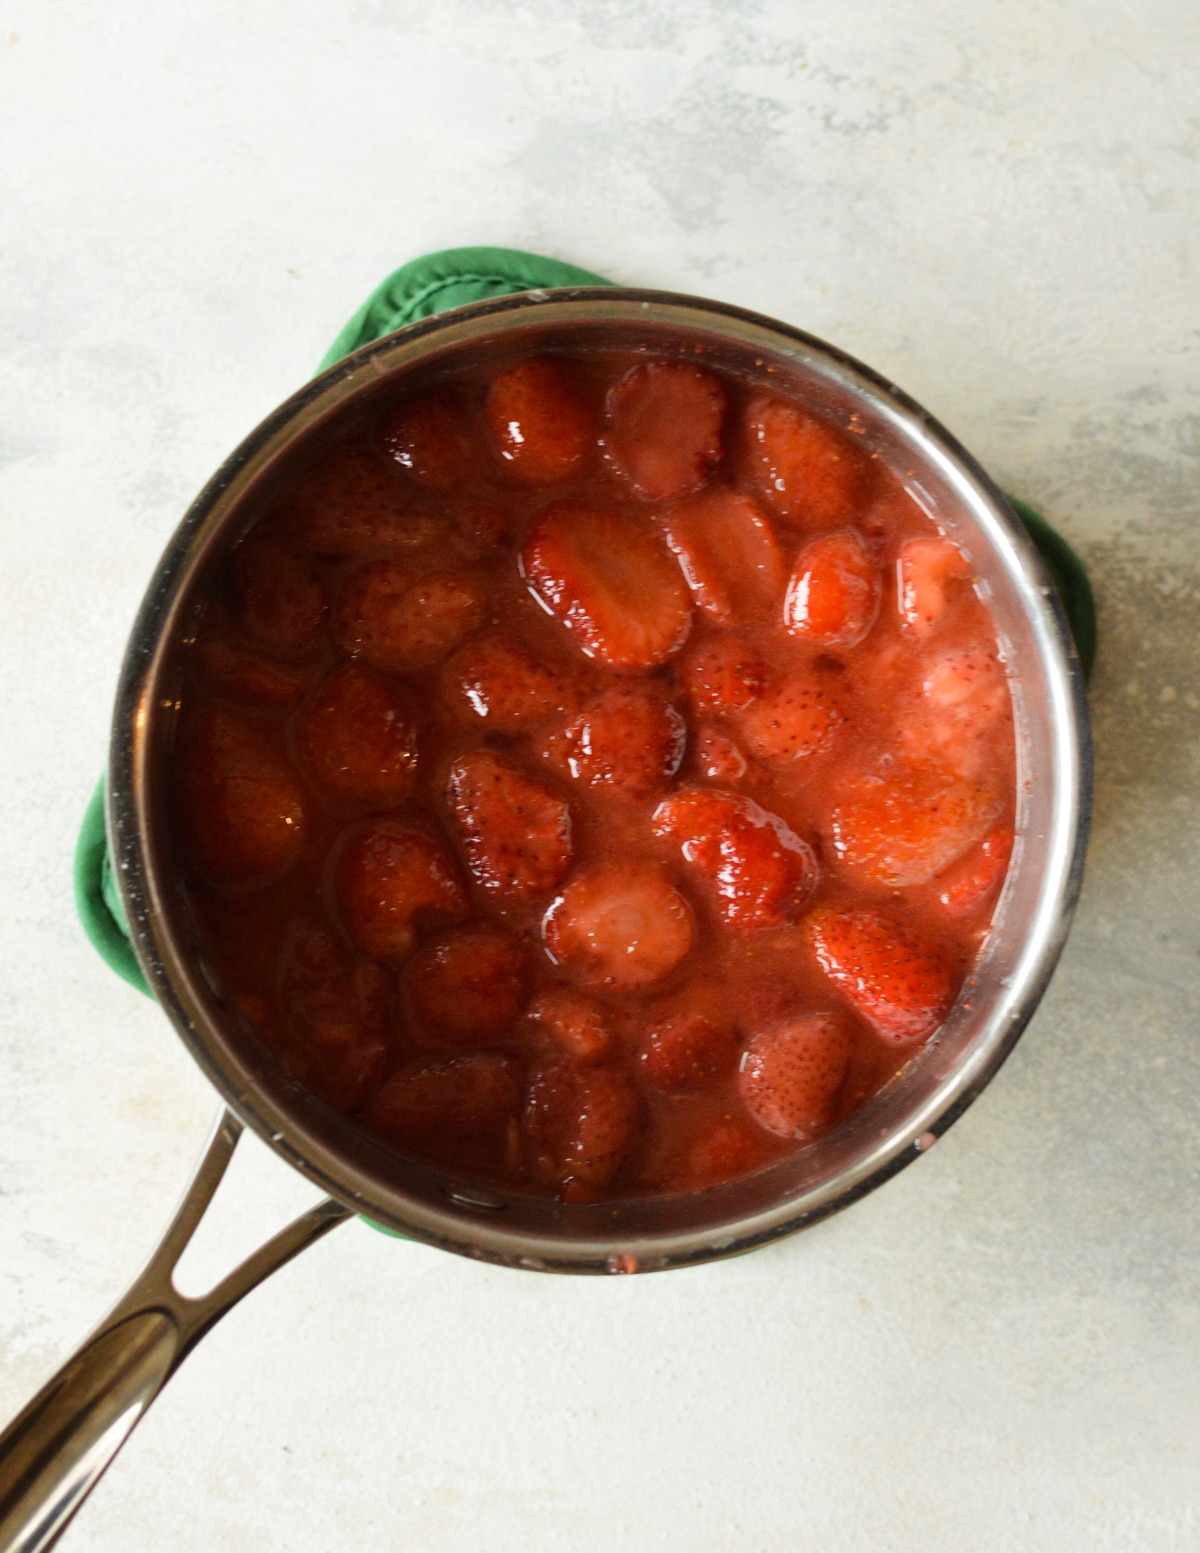
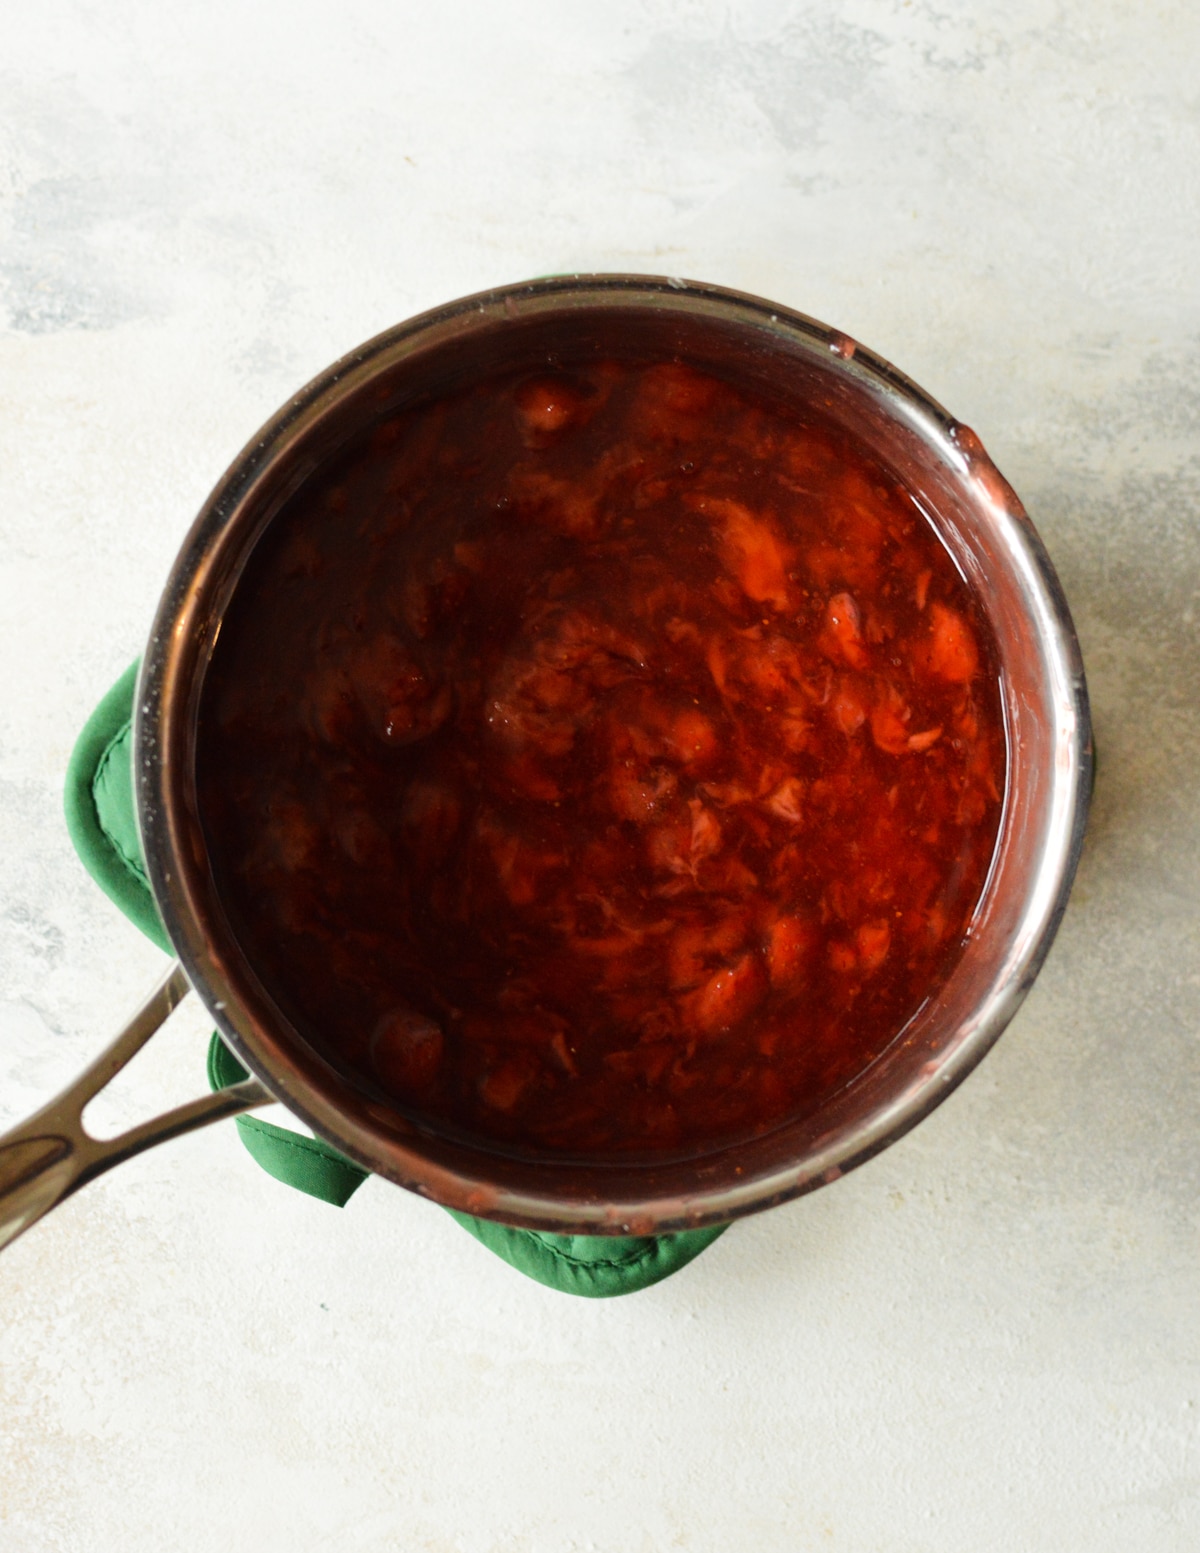
3. Cook to Thicken: Place the saucepan over medium heat. Cook the mixture, stirring continuously with your spatula, for about 10 to 12 minutes. As the strawberries heat up, they will release their juices, and the cornstarch will begin to thicken the mixture. During this time, you can gently mash some of the strawberries with your spatula to break them down further, creating a more jammy consistency. The goal is a bubbling mixture that coats the back of your spoon, but it will still appear somewhat thin at this stage.
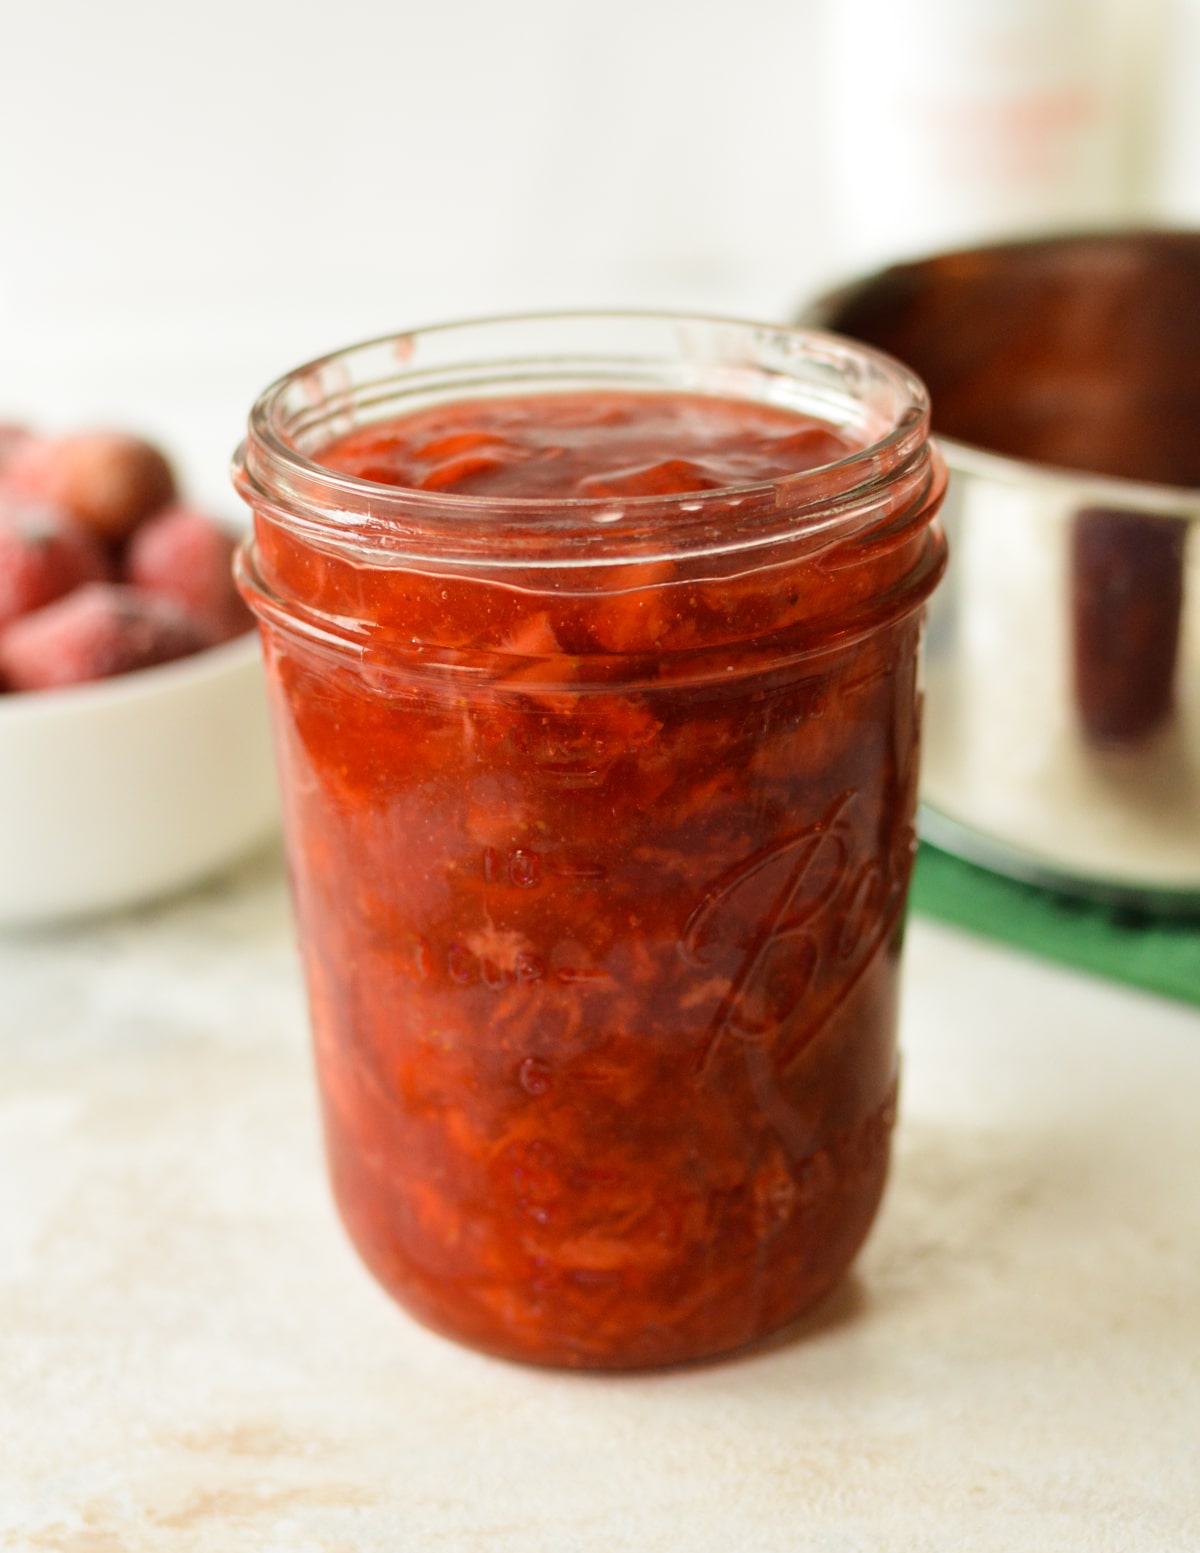
4. Cool and Set: Remove the saucepan from the heat. At this point, the **strawberry filling** will appear thinner than you might expect for a cake filling – this is perfectly normal! Pour the mixture into a clean glass jar or heat-safe container. The magic happens as it cools: the cornstarch will fully activate, and the filling will set into that beautiful, spreadable, jammy consistency. For best results, let it cool at room temperature for at least 2 hours, or speed up the process by refrigerating it until thoroughly chilled and thickened. Patience is key here; a properly cooled filling ensures your cakes stay perfectly structured.
Expert Recipe Tips for the Best Strawberry Cake Filling
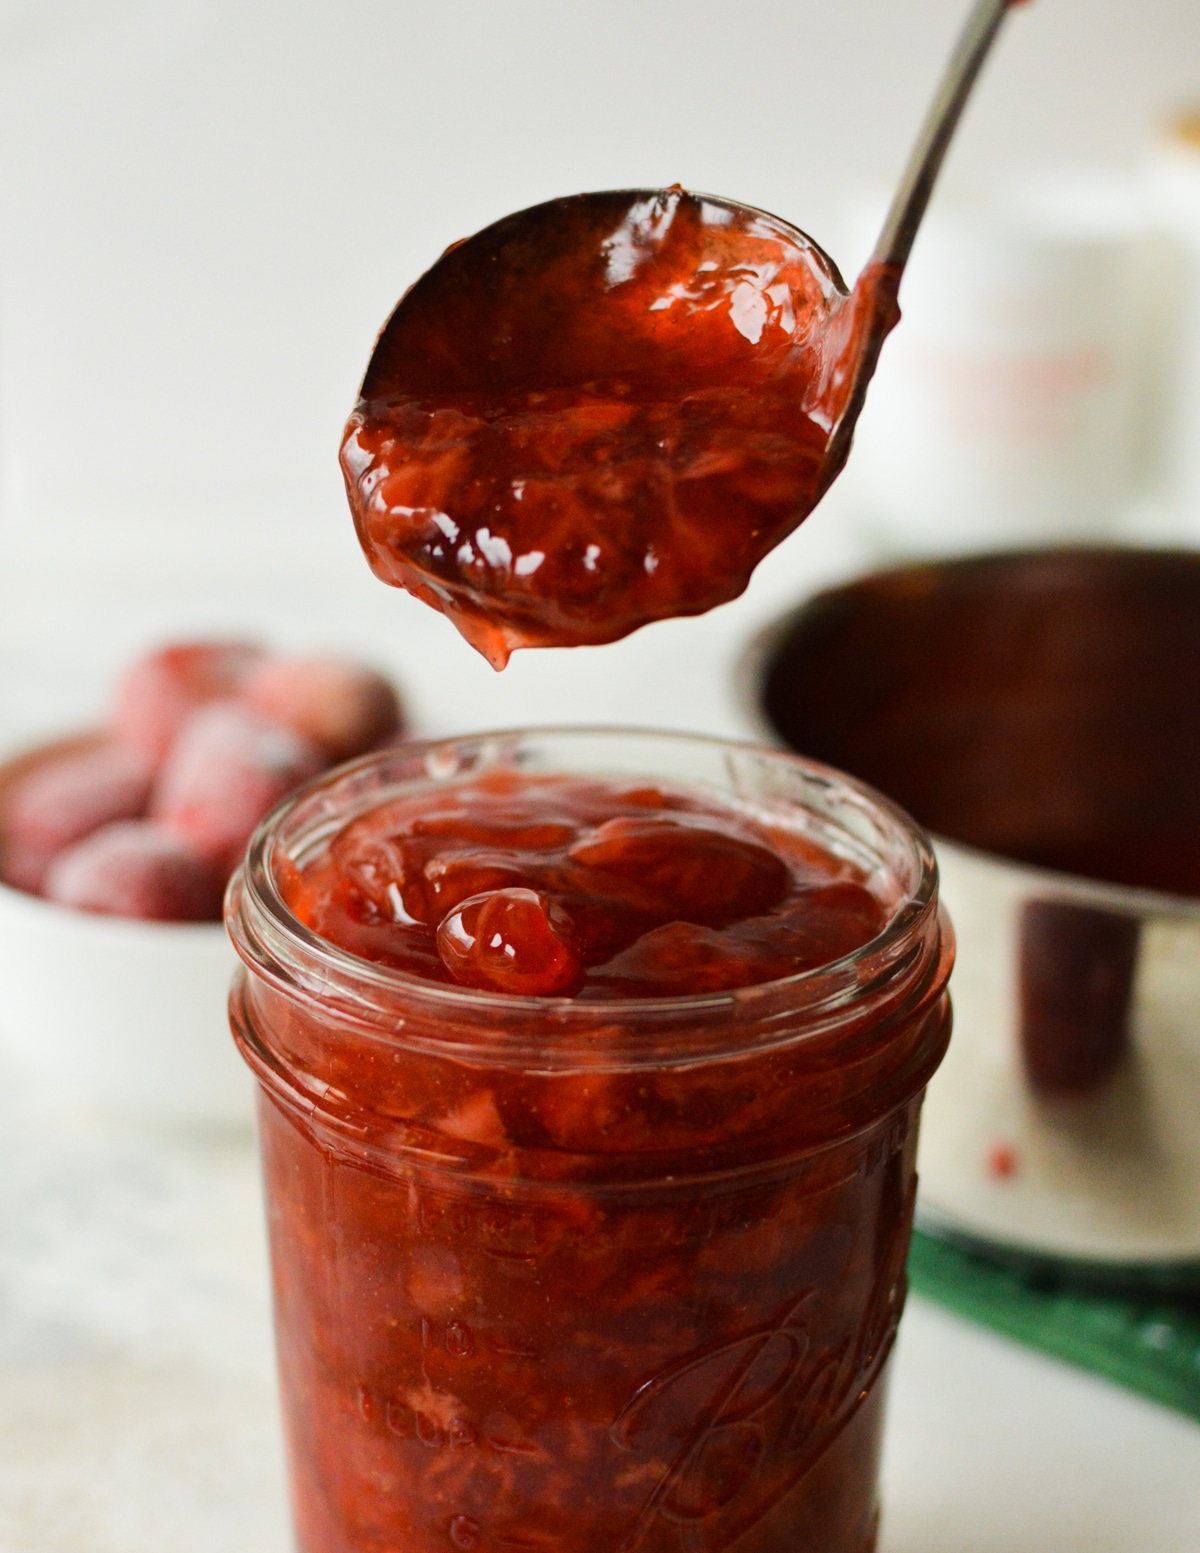
- Chill Thoroughly Before Use! This is perhaps the most critical tip for any **cake filling**. As emphasized in the instructions, your strawberry filling *must* be completely cooled before you even think about layering it into a cake or piping it into cupcakes. The thickening action of cornstarch is fully realized once it cools. If you use it warm, it will be runny and potentially melt your frosting, leading to a collapsed or messy dessert. Plan ahead: make the filling several hours in advance, or pop it into the refrigerator for faster chilling.
- Handling Frozen Strawberries: If using frozen strawberries, allow them to partially thaw at room temperature for about 30-60 minutes before cutting. They should be soft enough to easily slice into quarters with a knife. This ensures they break down uniformly during cooking, giving you a consistent, jammy texture without overly large, tough chunks. There’s no need to fully defrost them, as they will finish thawing and cook down in the saucepan.
- Creating a Buttercream Dam for Layer Cakes: When assembling a layer cake with this delicious **strawberry filling**, a sturdy buttercream border is your best friend. This “dam” acts as a protective barrier, preventing the luscious filling from oozing out the sides of your cake layers under the weight of subsequent layers or frosting. Pipe a ring of your chosen buttercream (vanilla, cream cheese, or lemon frosting all pair wonderfully!) around the outer edge of your cake layer. Make sure the dam is tall and thick enough to contain the filling. Then, spoon the cooled strawberry filling into the center of this dam and spread it evenly.
- Ensure Cake Layers Are Cool: Just as with the filling, your cake layers must be completely cool, or even slightly chilled, before assembly. Warm cake layers are fragile and prone to crumbling, and their heat will quickly melt any frosting or filling, turning your beautiful creation into a sad, sliding mess. For the cleanest assembly, consider chilling or even freezing your cake layers slightly beforehand, which also helps lock in moisture.
- Adjusting Sweetness: Taste your strawberries before adding sugar. If they are exceptionally sweet, you might reduce the sugar slightly. If they are tart, you might add a touch more. The ½ cup is a good starting point, but trust your palate.
Versatile Ways to Use This Jammy Strawberry Cake Filling
This delightful **strawberry filling** isn’t just for cakes! Its vibrant flavor and jammy texture make it incredibly versatile. Here are a few of my favorite ways to enjoy it:
- In Layer Cakes! This is its primary purpose, and it shines brightly here. It pairs beautifully with a wide array of cake flavors. Try it as a luscious layer in classic vanilla, rich chocolate, bright lemon, or delicate coconut cake. Consider pairing it with a smooth vanilla buttercream, a tangy cream cheese frosting, or a zesty lemon buttercream for an unforgettable flavor combination.
- Elevate Your Cupcakes! Transform ordinary cupcakes into gourmet treats by filling them with this **homemade strawberry filling**. Simply core the center of each cupcake, spoon in a generous dollop of the filling, and then top with your favorite frosting. It’s a delightful surprise in every bite!
- With Greek Yogurt and Granola: For a breakfast or snack that feels indulgent yet nutritious, swirl this fruity filling into unsweetened Greek yogurt. Top with your favorite crunchy granola for added texture and a burst of flavor that will start your day right.
- Alongside Angel Food Cake or Pound Cake: These light, airy cakes are the perfect canvas for a rich fruit topping. Scoop a generous portion of strawberry filling over a slice of angel food cake or pound cake, then add a dollop of freshly whipped cream. It’s a simple, elegant dessert that screams summer.
- Top Your Favorite Cheesecake! Take a plain vanilla or classic New York cheesecake to an entirely new level. Spoon this **strawberry filling** generously over the top of a chilled cheesecake for a stunning presentation and an explosion of berry flavor that complements the creamy texture perfectly.
- Spruce Up Breakfast Staples: Brighten up your breakfast or brunch by spooning this filling over warm pancakes, fluffy waffles, or golden French toast. It’s a wonderful alternative to maple syrup, adding natural sweetness and a fresh fruit component.
- Ice Cream Sundaes: A scoop of vanilla bean ice cream topped with this warm or chilled **strawberry filling** and a sprinkle of chopped nuts or a dollop of whipped cream makes for an instant, irresistible ice cream sundae.
Storage Tips for Your Strawberry Filling
Once your homemade **strawberry cake filling** has fully cooled, transfer it to a clean glass jar with a tight-fitting lid or any other airtight container. Stored properly in the refrigerator, it will maintain its freshness and delicious flavor for up to one week. This makes it perfect for preparing in advance, saving you time when you’re ready to assemble your dessert.
It’s important to note that the filling will thicken further in the refrigerator, becoming quite firm. This is completely normal and desirable for use in cakes. Before using, simply give it a good stir with a spoon or whisk to loosen it slightly and restore its spreadable consistency. If it’s too thick to spread easily, you can let it sit at room temperature for 15-20 minutes or gently warm it for a few seconds in the microwave (stirring well after) to make it more pliable, though chilling is generally preferred for cake assembly.
I do not recommend freezing this strawberry filling. Freezing and then thawing can significantly alter the texture of fruit fillings, often making them watery and mushy due to ice crystal formation that breaks down the fruit’s cell walls. The delightful jammy consistency we worked so hard to achieve will likely be compromised, leading to a less enjoyable result.
How to Professionally Assemble a Cake with Strawberry Filling
Having worked as a pastry chef for years, including a stint at a bustling wedding cake bakery, I’ve frosted and assembled my fair share of cakes. There are a few key tricks to ensure your cake layers and delicious **strawberry filling** stay perfectly in place for a beautiful, stable result.
Firstly, the temperature of your cake layers is crucial. It’s always easiest to assemble a cake when the layers are cool, or even slightly frozen. Chilled cake layers are firmer, making them less prone to crumbling (which means fewer crumbs in your frosting!) and easier to handle. Crucially, cold cake layers prevent your buttercream and filling from melting. A warm cake is a recipe for disaster, as it will cause your frosting to slide and your filling to ooze, leading to a collapsed or uneven cake. If you don’t have time to freeze them, just ensure they are completely cool to the touch.
Once your first cake layer is on your serving plate or cake stand, it’s time to create a “dam” for your **strawberry filling**. Using a piping bag fitted with a round tip (or simply snipping the end off a Ziploc bag), pipe a sturdy border of buttercream around the very edge of the cake layer. This border should be thick and tall enough to create a wall that will securely hold the strawberry filling within the cake. This critical step prevents the filling from escaping once you place the next cake layer on top and apply gentle pressure.
Now, scoop your *chilled and thickened* **strawberry filling** into the center of the buttercream dam. Spread it evenly across the cake layer, making sure not to overfill or exceed the height of your buttercream dam. Once the filling is spread, carefully place your second cake layer directly on top, aligning it perfectly. Gently press down to ensure it’s stable. Repeat this process for each layer of your cake. Finally, proceed with frosting the entire cake with your chosen buttercream. I always start by applying a generous layer of frosting to the top, then move to the sides, and finally use an offset spatula to smooth everything out, creating a flawless finish.
FAQs About Homemade Strawberry Cake Filling
Strawberry filling is typically made from simple, wholesome ingredients: fresh or frozen strawberries, cornstarch, water, sugar, and lemon juice. The cornstarch, combined with water, creates a slurry that acts as a thickening agent, giving the filling its desirable jammy texture. Sugar enhances the natural sweetness of the strawberries and helps draw out their juices, while a crucial splash of fresh lemon juice brightens the overall flavor, preventing it from tasting flat and adding a delightful tart note. These ingredients work together to create a vibrant, flavorful filling perfect for a variety of desserts.
Yes, absolutely! If you’re short on time or prefer the convenience, store-bought fruit jam can be a perfectly acceptable substitute for homemade fruit filling in cakes. It will still be delicious and add a lovely fruity flavor to your dessert. However, keep in mind that store-bought jams often have a much thicker, more uniform texture compared to a homemade filling which can offer a fresher, brighter flavor and a more nuanced, chunky consistency. Store-bought jams also tend to be sweeter, so you might consider reducing sugar in other components of your cake if using them. For the most vibrant flavor and control over sweetness and texture, homemade is always recommended, but jam is a fantastic shortcut!
You can successfully use both fresh or frozen strawberries for this delicious **strawberry filling recipe**. I’ve tested it thoroughly with both options, and the results are equally fantastic. When using fresh strawberries, aim for ripe, fragrant berries for the best flavor. If using frozen strawberries, it’s best to allow them to partially thaw before you quarter them. This makes them much easier to cut and helps them break down more evenly during the cooking process, ensuring a smooth, jammy consistency without large, unwieldy chunks. The flexibility to use either type means you can enjoy this versatile filling all year round!
If you prefer a less sweet **strawberry filling**, you can easily adjust the sugar content. Start by tasting your strawberries; if they are naturally very sweet, you can reduce the sugar from ½ cup to ¼ or ⅓ cup. You can also increase the amount of fresh lemon juice slightly, as its acidity will help balance the sweetness and brighten the fruit flavor without adding more sugar. Taste the mixture as it cooks (carefully!) and adjust to your preference before it fully thickens and cools.
Must-Try Cake Fillings!
- Peanut Butter Ganache
- Peanut Butter Cream Cheese Frosting
- Dreamy Cream Cheese Frosting
Homemade Strawberry Cake Filling
Carolyn
Pin Recipe
Equipment
-
small saucepan
Ingredients
- 3 cups quartered strawberries (about 1 quart) (fresh or frozen & thawed)
- ½ cup granulated sugar
- ½ lemon, freshly juiced
- 2 tablespoons cornstarch
- ⅓ cup cold water
Instructions
-
In a small saucepan, combine the cornstarch and cold water. Stir with a whisk or spatula until the cornstarch is completely dissolved with no visible clumps. This creates a smooth slurry.
-
Add the granulated sugar, quartered strawberries, and freshly squeezed lemon juice to the saucepan. Stir everything together thoroughly to combine all ingredients.
-
Place the saucepan over medium heat and cook, stirring continuously with your spatula, for 10 to 12 minutes. As it heats, the mixture will begin to bubble and thicken. You can gently mash some of the strawberries with your spatula to achieve your desired jammy consistency. Remember, it will thicken significantly more as it cools.
-
Remove the pan from the heat. Pour the hot strawberry mixture into a heat-safe glass jar or container and allow it to cool completely at room temperature for at least 2 hours, or refrigerate to speed up the chilling process. The filling must be thoroughly cooled and set before it can be used in cakes or cupcakes.
Nutrition
