The Ultimate Guide to Easy Homemade Chocolate Mousse: Light, Rich & Perfect Every Time
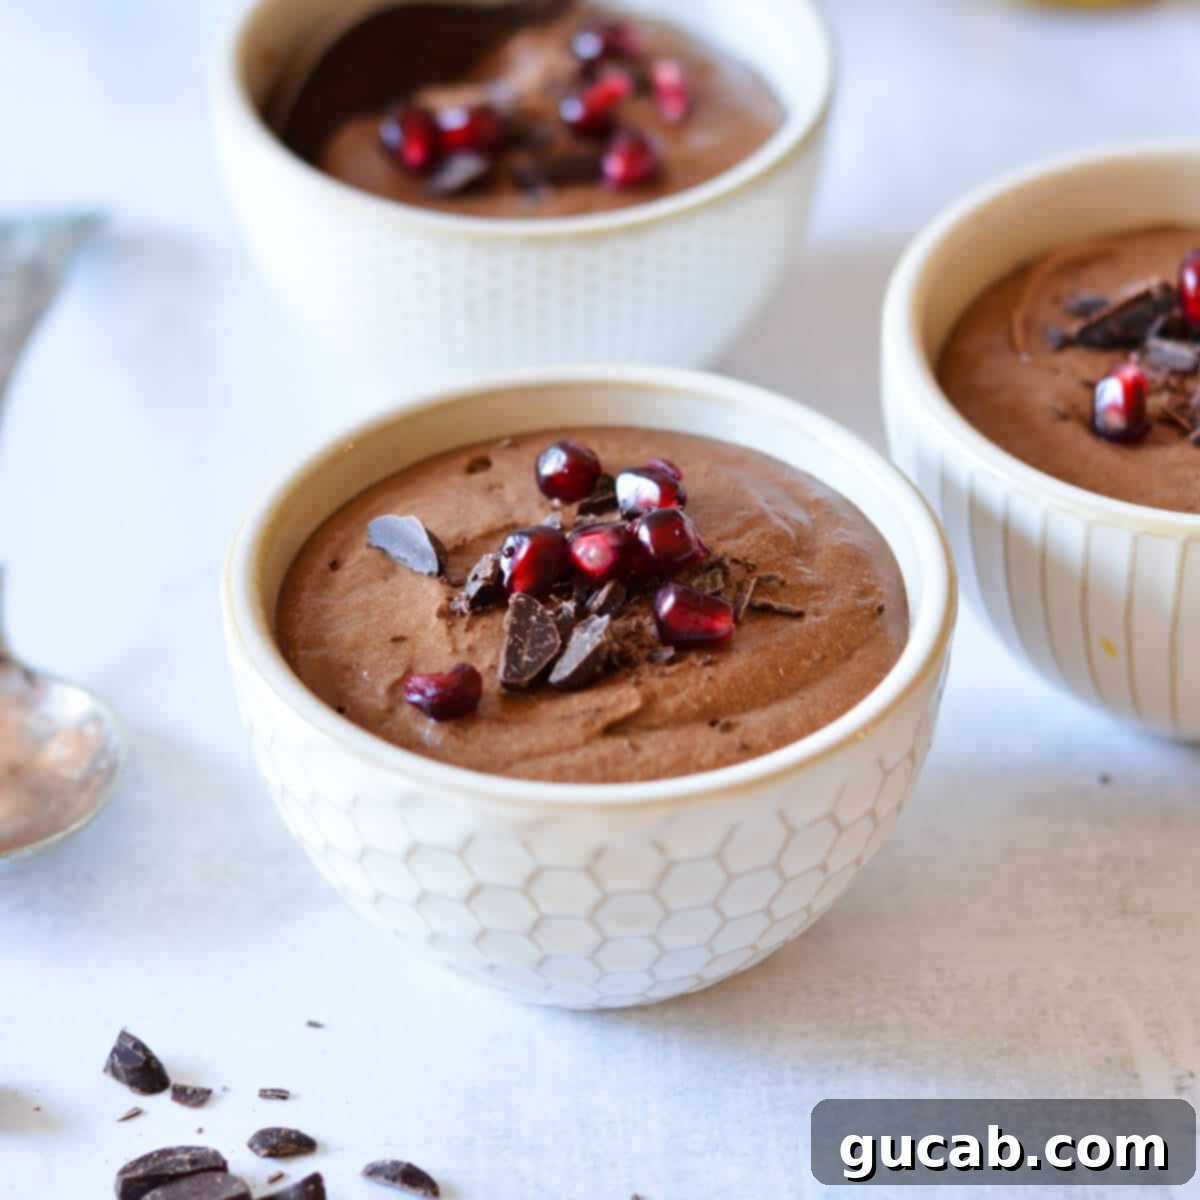
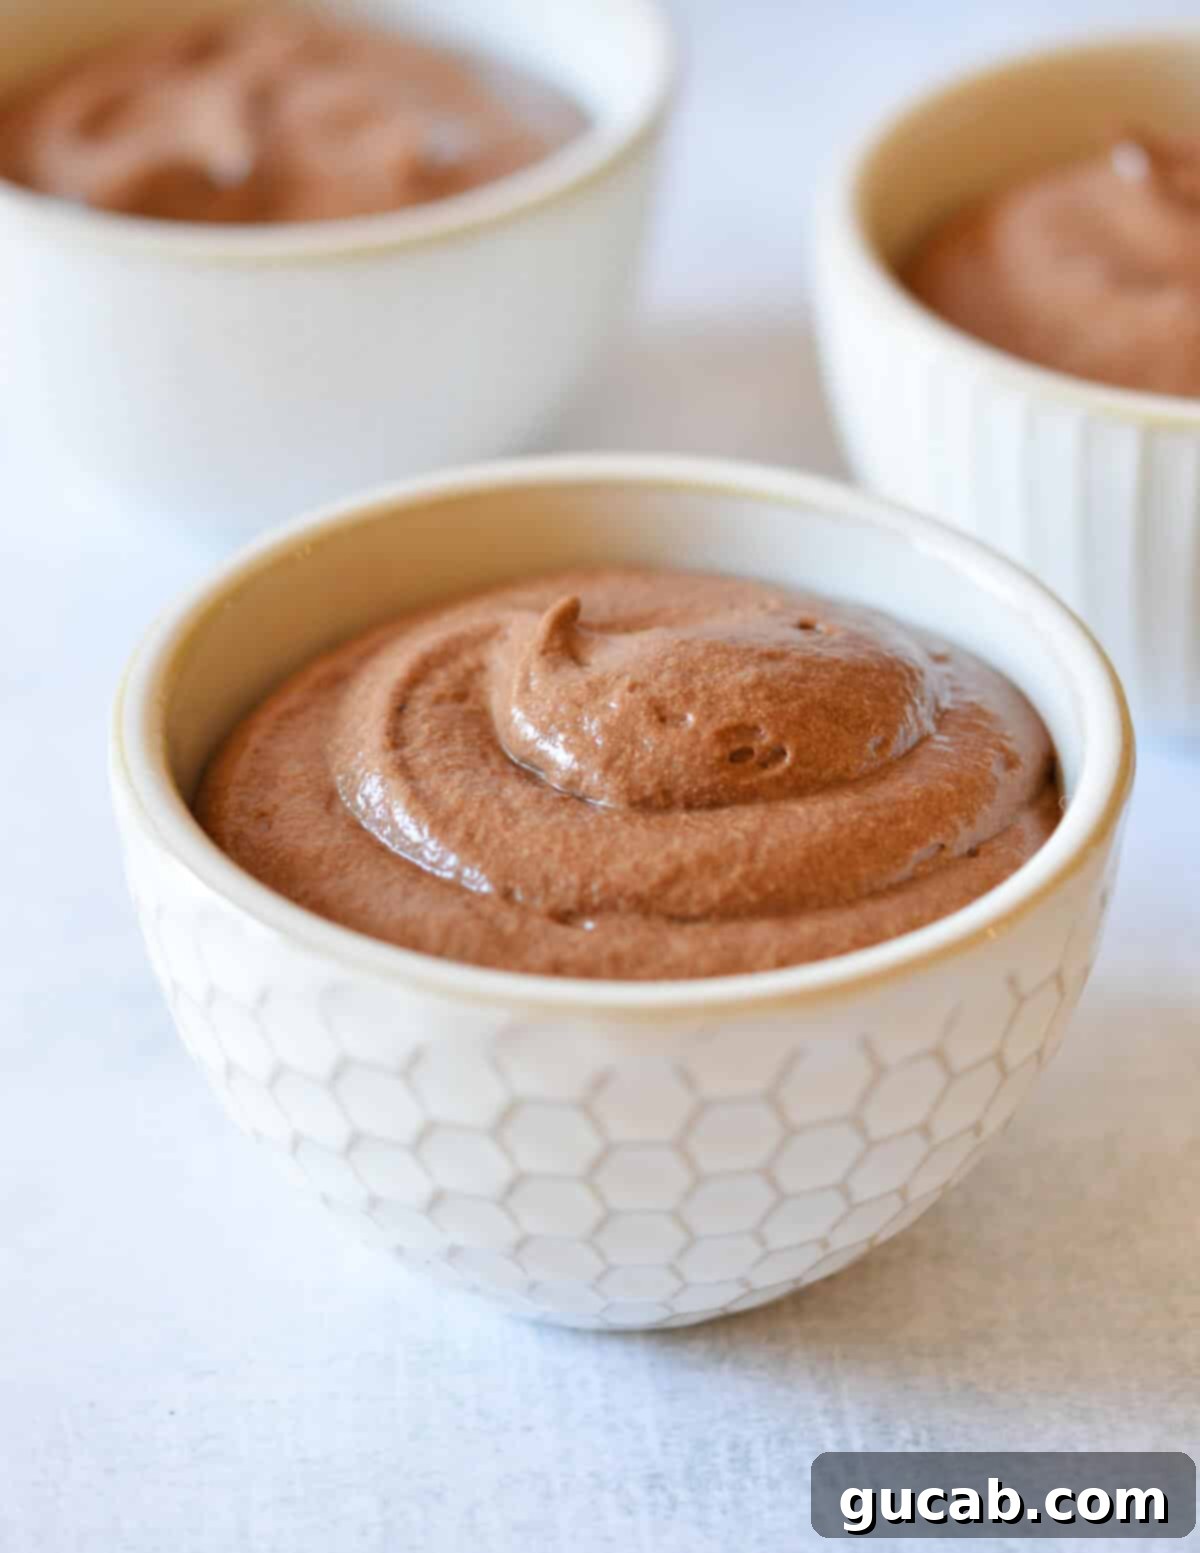
Prepare to be enchanted by the magic of homemade chocolate mousse. Often seen as a dessert reserved for fancy restaurants or expert pastry chefs, the idea of making it at home can feel intimidating. But what if we told you that creating a light, rich, and utterly luxurious chocolate mousse is far simpler than you imagine? This easy chocolate mousse recipe is designed to demystify the process, delivering a dessert that looks incredibly fancy, yet is surprisingly straightforward to make. Whether you pipe it elegantly into delicate ramekins for a sophisticated presentation or enjoy it straight from the bowl by the spoonful, this mousse promises a sinfully indulgent experience without any of the usual fuss.
Forget everything you thought you knew about the complexities of making a truly exceptional chocolate mousse. This recipe cuts through the traditional culinary jargon, proving that you don’t need a double boiler (or to even know what a Bain Marie is!) to melt chocolate perfectly. A simple microwave is your secret weapon for achieving smooth, glossy melted chocolate, making the entire process accessible to home cooks of all skill levels.
My journey to perfecting this simple chocolate mousse began during my time as a Pastry Chef in the bustling catering department of a university. It was there, working alongside a wonderful woman from Bulgaria with whom communication was often a delightful challenge (I once had to draw a microwave just to find it!), that I refined this technique. This experience taught me that elegance in dessert doesn’t require complexity; sometimes, the best recipes are those that embrace simplicity without compromising on taste or texture.
Disclosure: This post may contain affiliate links. In other words, if you click a link and purchase something I will receive a commission at no cost to you. I only recommend products I use and enjoy myself.
Why You’ll Fall in Love with This Easy Chocolate Mousse Recipe
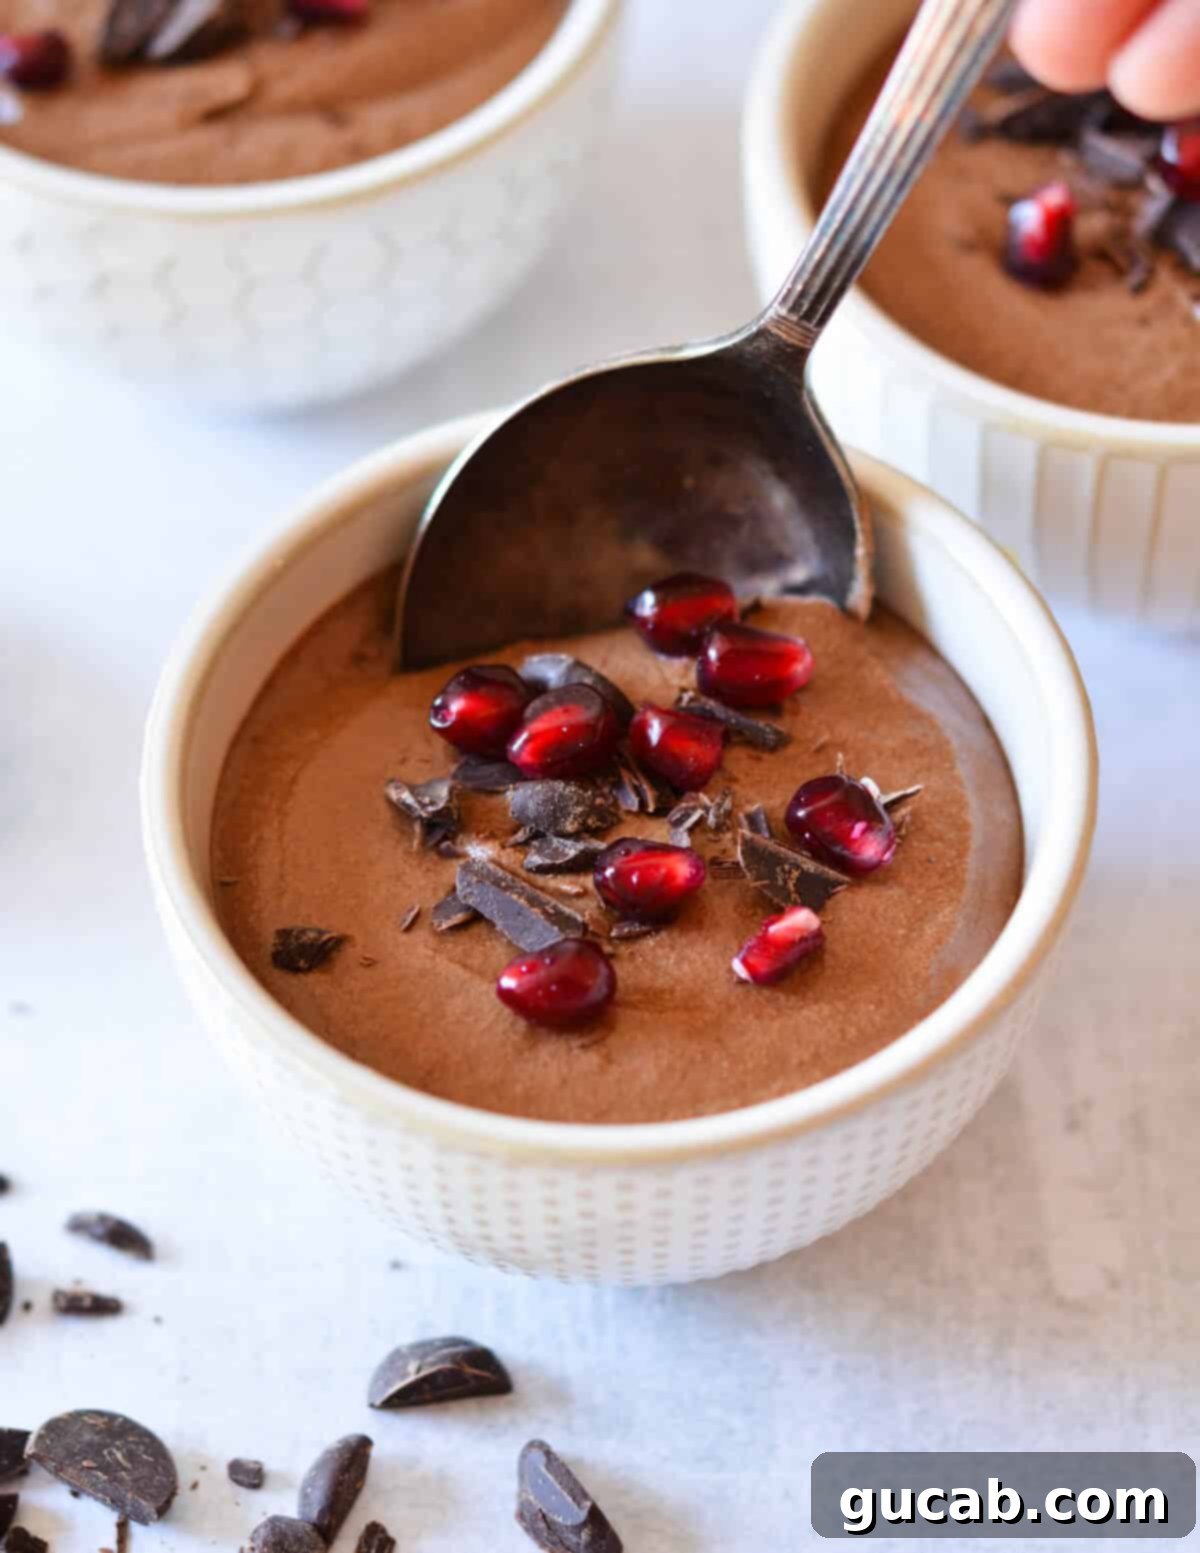
This isn’t just any chocolate mousse; it’s the chocolate mousse that everyone raves about! Its ultra-chocolatey, decadent flavor profile is perfectly balanced by an incredibly light and pillowy texture. It’s truly hard to resist, making it the ideal dessert for sharing – or keeping all to yourself. Get ready to impress your friends, family, and even yourself with this delightful treat!
- Luscious Texture: Prepare for a sensory delight. Each spoonful of this mousse offers a velvety smooth consistency that melts effortlessly in your mouth. It’s airy and light, yet simultaneously rich and luxurious. I truly do not exaggerate when I say the texture is absolutely divine – a perfect harmony of indulgence and delicacy in every chocolatey bite.
- Effortlessly Easy: Forget complicated techniques and endless washing up. The core of this recipe involves simply melting your chocolate and butter in the microwave, then gently whipping some egg whites. Everything is then folded together with care, allowing you to whip up this exquisite dessert with minimal effort and maximum reward. It’s a foolproof method that skips the bain-marie and intricate tempering, making fancy desserts achievable for anyone.
- Absolutely Crave-worthy: This chocolate mousse is a guaranteed crowd-pleaser and a recipe constantly requested by those who try it. Its deep chocolate flavor and exquisite texture make it an irresistible dessert that leaves a lasting impression. Be warned: once you make it, you’ll be making it again and again!
Key Ingredients for Your Perfect Homemade Chocolate Mousse
Creating an exceptional chocolate mousse starts with understanding the role of each key ingredient. Here’s a closer look at what you’ll need and why quality matters:
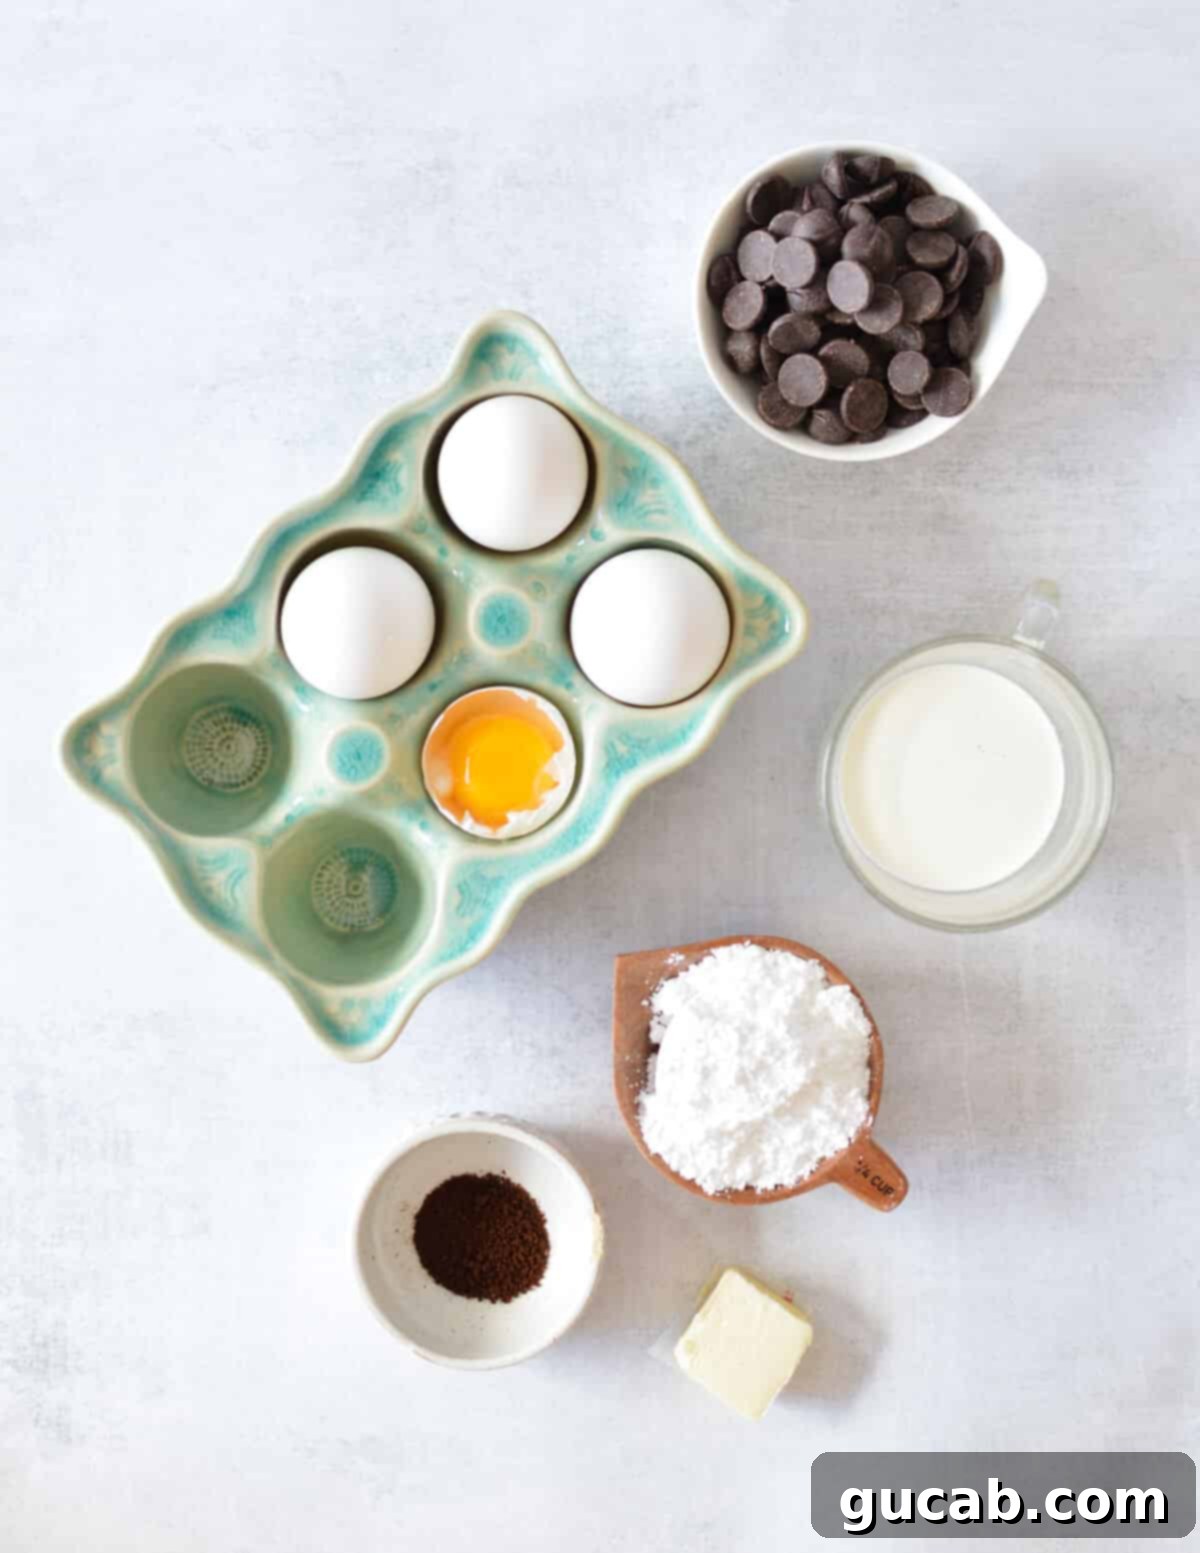
- Good Quality Dark Chocolate: This is the star of your mousse, so invest in the best chocolate you can. High-quality chocolate melts more smoothly and provides a deeper, richer flavor. Avoid cheap chocolate, which tends to clump or seize when melted, hindering that desired velvety texture. I personally recommend Ghirardelli dark chocolate chips for their consistent quality. If you’re using a chocolate bar, ensure you break it into small, uniform pieces to promote even melting. Aim for a cocoa percentage between 60-70% for a balanced dark chocolate flavor that isn’t overly bitter.
- Butter: Unsalted butter is crucial here, as it allows you to control the overall saltiness of your dessert. Butter contributes to the incredibly smooth, melt-in-your-mouth consistency of the chocolate mixture, enriching the flavor and adding a luxurious mouthfeel that is simply irresistible.
- Heavy Cream: In this recipe, the heavy cream is simply stirred into the melted chocolate mixture, adding a rich, creamy base without needing to be whipped separately. This streamlines the process significantly while still contributing to the mousse’s decadent quality and smooth finish.
- Eggs: Eggs are fundamental to chocolate mousse, providing both richness and its signature light, airy structure. You’ll need to separate them into yolks and whites. The yolks add an incredible richness and help emulsify the chocolate mixture, creating a smooth, stable base. The whites, once whipped, are folded in to incorporate air, giving the mousse its characteristic light and pillowy texture. Don’t worry if separating eggs feels tricky; I’ll guide you through the easiest method, and using pasteurized eggs is always recommended for recipes with raw eggs for food safety.
- Powdered Sugar: Also known as confectioners’ sugar, this finely milled sugar is ideal for mousse because it dissolves quickly and completely, ensuring a delightfully smooth texture without any grainy bits. It also helps stabilize the whipped egg whites, ensuring they hold their volume and contribute effectively to the mousse’s airy structure, all while providing the perfect level of sweetness.
- Instant Coffee (Optional, but Recommended): While not pictured with the core ingredients, a small amount of instant coffee is a secret ingredient that doesn’t make your mousse taste like coffee, but instead deeply enhances and intensifies the natural flavor of the chocolate. It’s a flavor enhancer that makes the chocolate taste even more “chocolatey.”
How to Make Decadent Chocolate Mousse: A Step-by-Step Guide
Follow these straightforward steps to create a show-stopping chocolate mousse that will impress everyone!
1. Master the Egg Separation
This might seem like the trickiest part, but it’s crucial for the perfect mousse. Egg whites simply won’t whip properly if there’s even the tiniest speck of fat (from the yolk) in them. If you accidentally get yolk into your whites, it’s best to start with fresh whites for optimal results. While many methods exist, I find using your hands to be the most reliable and fuss-free technique.
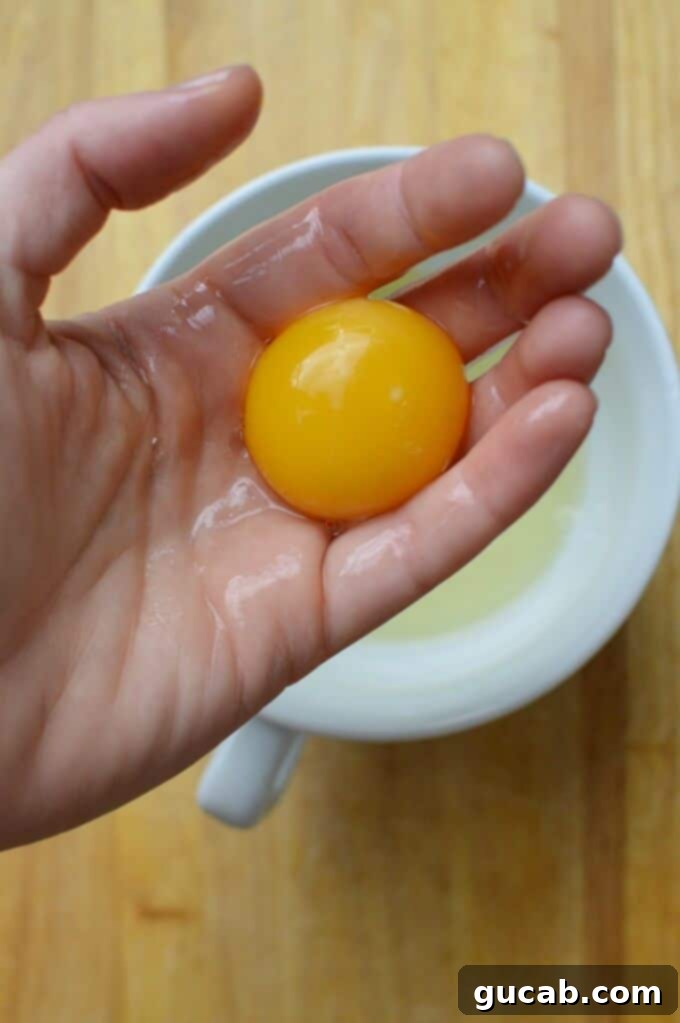
- Crack the Egg: Gently crack a whole egg into your loosely cupped hand. Position your hand directly over a bowl designated for the egg whites.
- Separate with Fingers: Allow the egg white to naturally slip through the gaps between your fingers into the bowl below. Keep your fingers slightly open – don’t clench them, or the white won’t pass through easily.
- Collect the Yolk: Once the white has drained, carefully transfer the intact yolk to a separate bowl. For this particular recipe, you’ll need two yolks and three whites. You can save any extra yolks for another recipe like carbonara or a rich custard, or discard them. For best whipping results, allow your separated egg whites to come to room temperature while you prepare the chocolate mixture.
2. Perfectly Melt Your Chocolate Base
Achieving a smooth, glossy chocolate mixture is paramount for a velvety mousse. The microwave is your friend here, making this step incredibly simple and efficient.
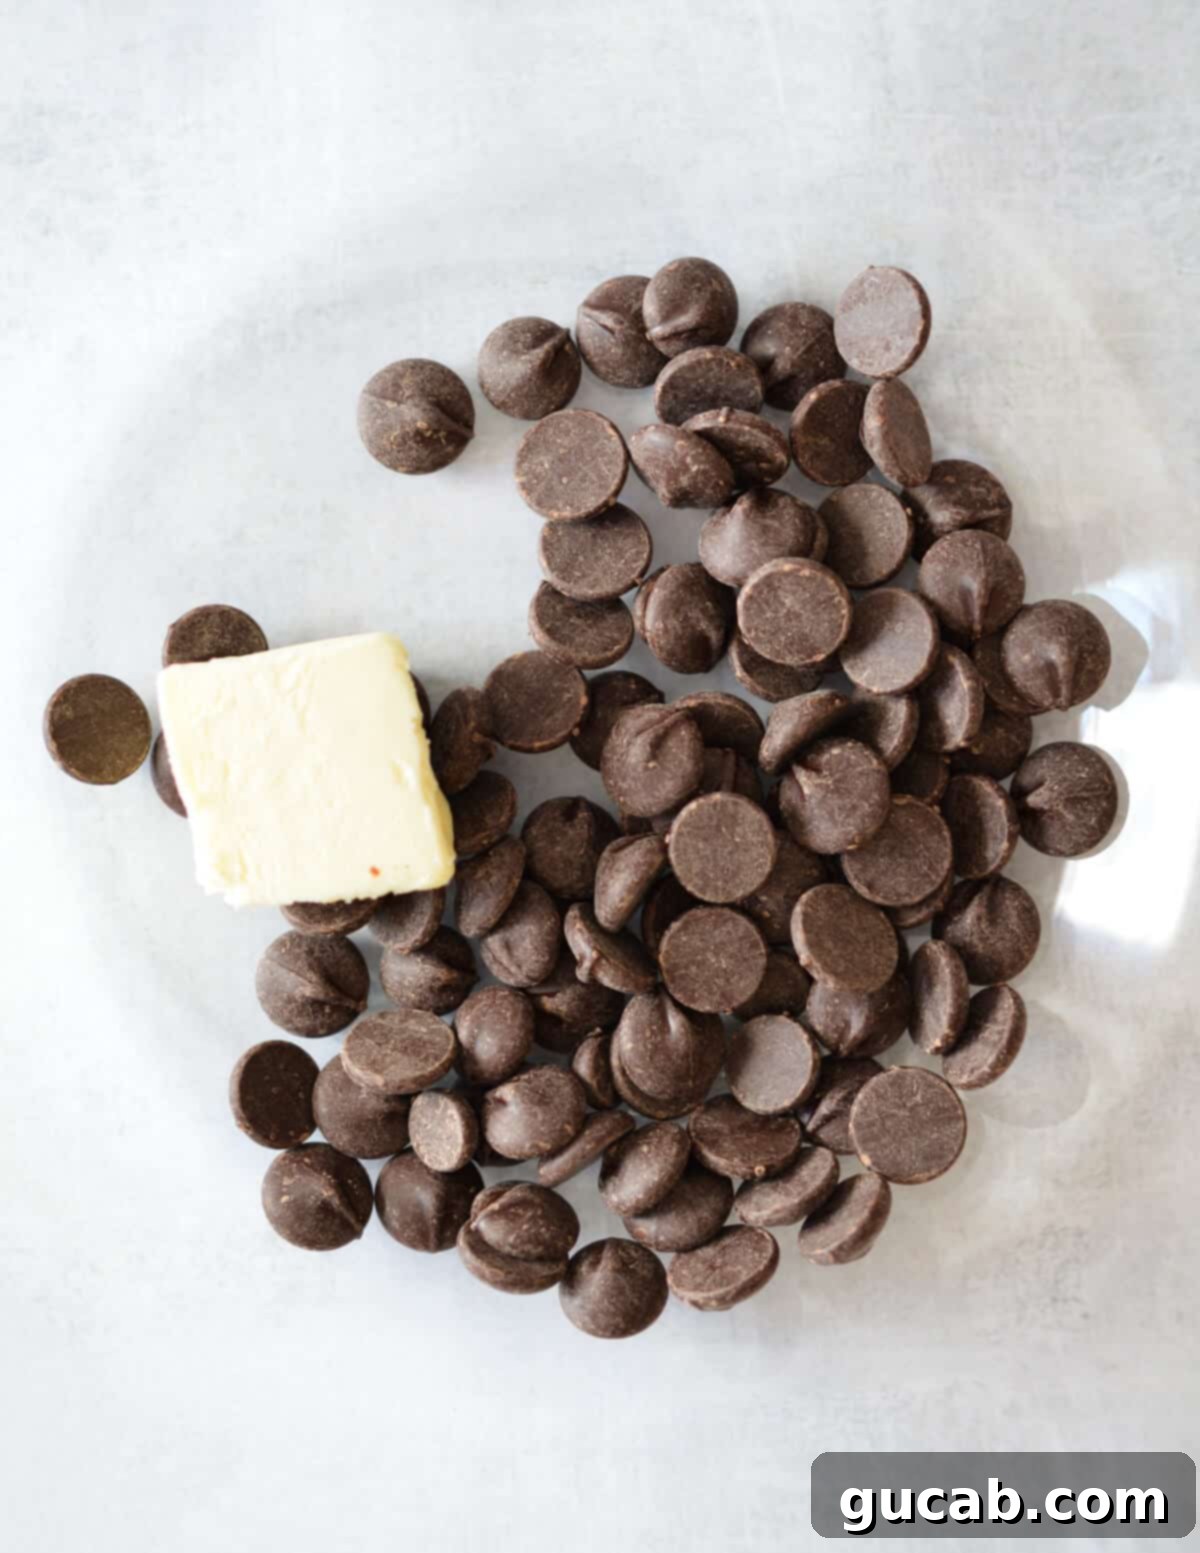
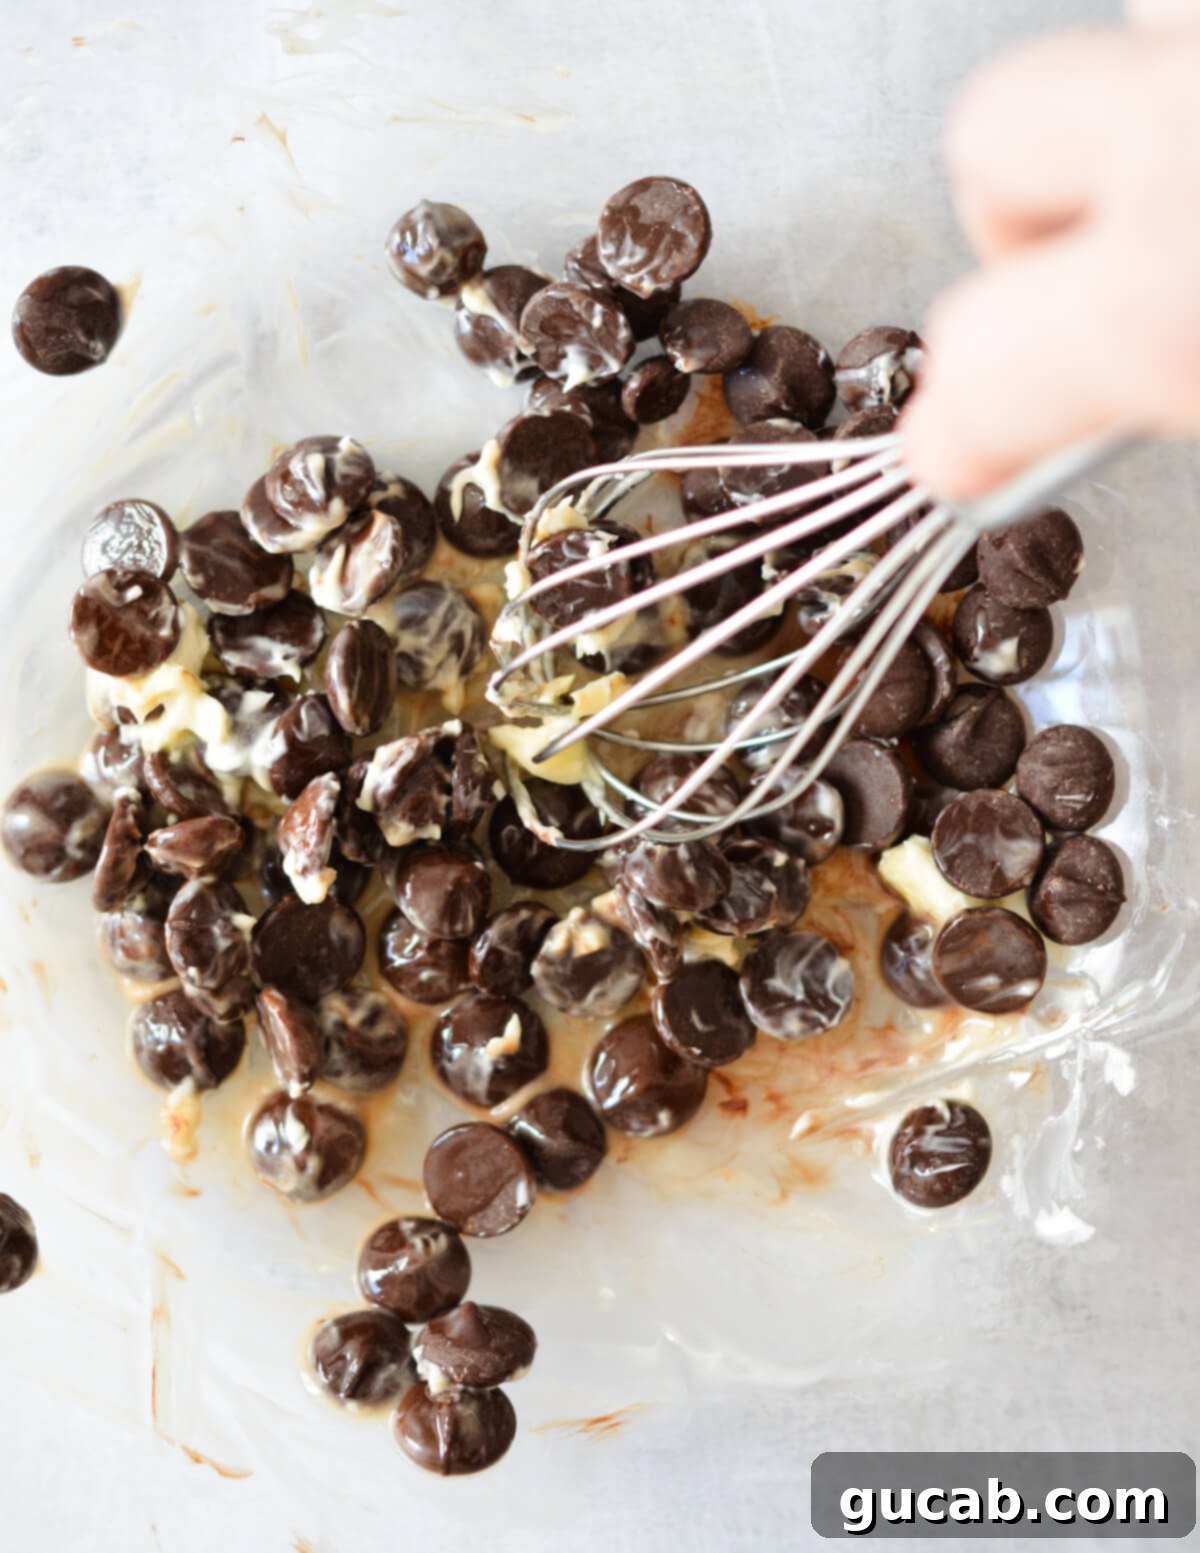
- Microwave Butter and Chocolate: Combine your butter and good quality dark chocolate (chips or finely chopped bar) in a large microwave-safe bowl. Microwave in short bursts, typically 30-second intervals, stirring thoroughly after each interval. This gradual approach is crucial to prevent the chocolate from burning or seizing, ensuring a beautifully smooth melt. Continue until the chocolate is mostly melted with just a few small chunks remaining.
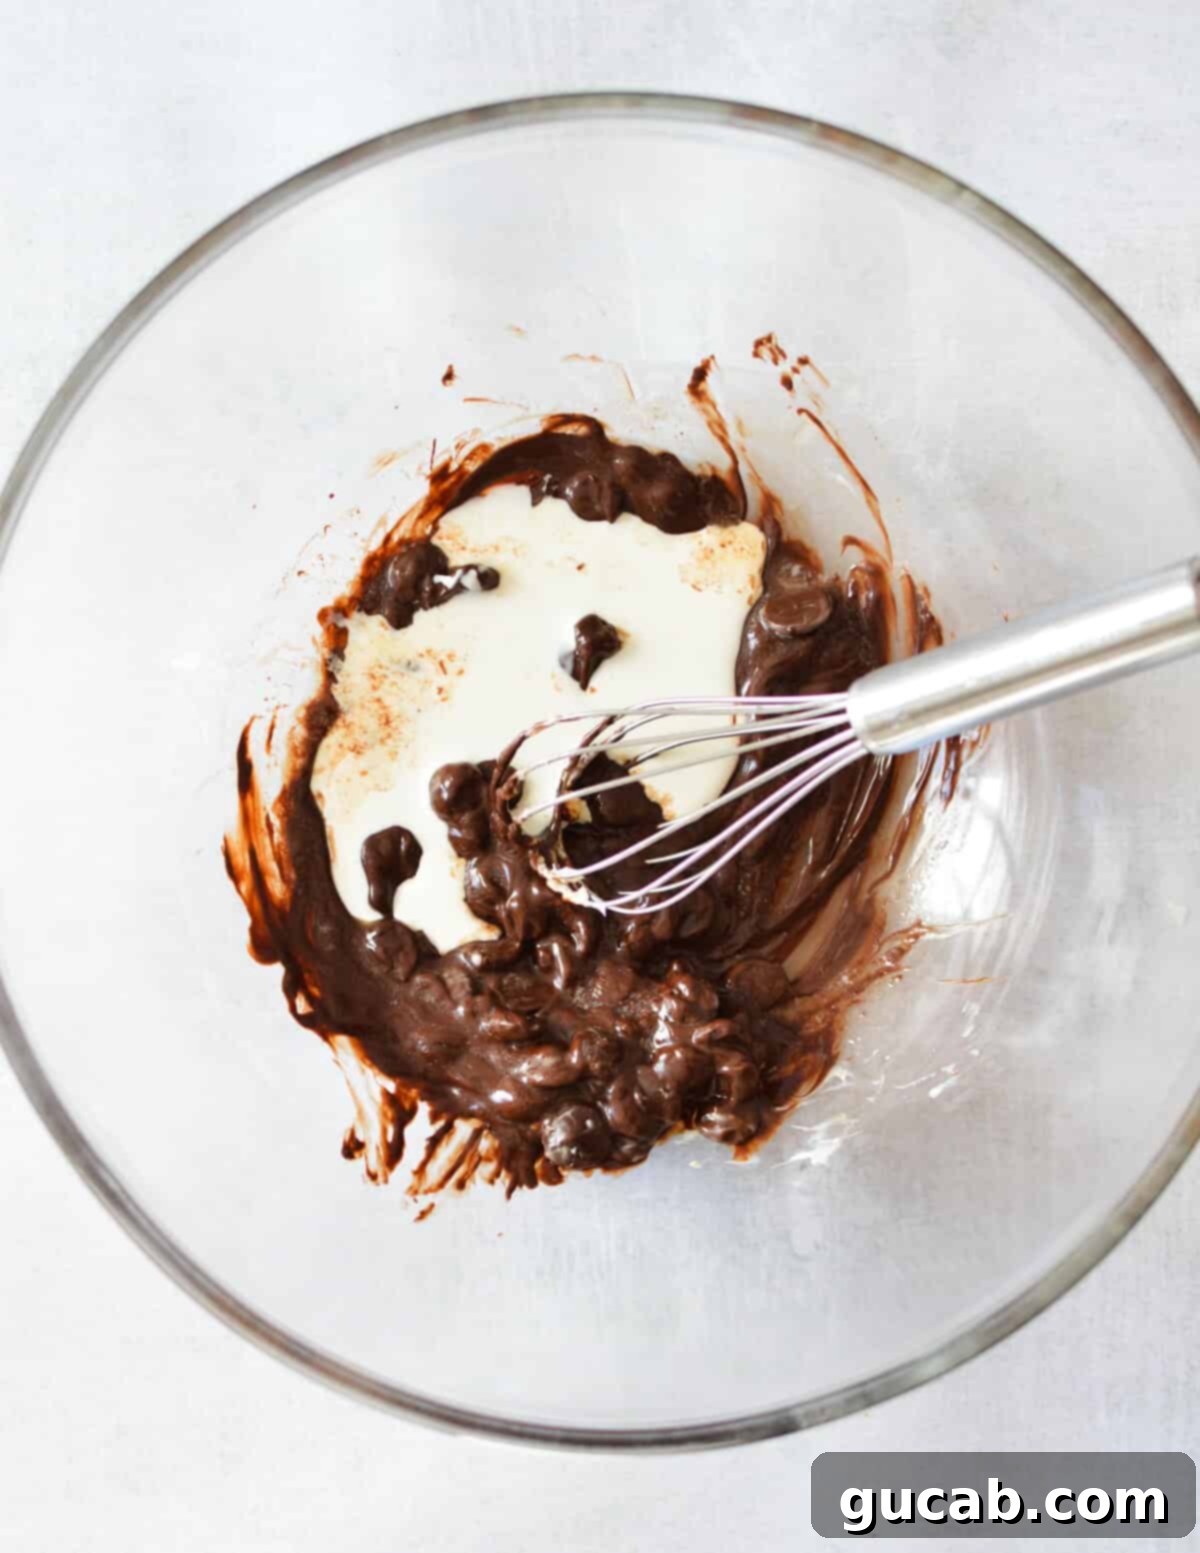
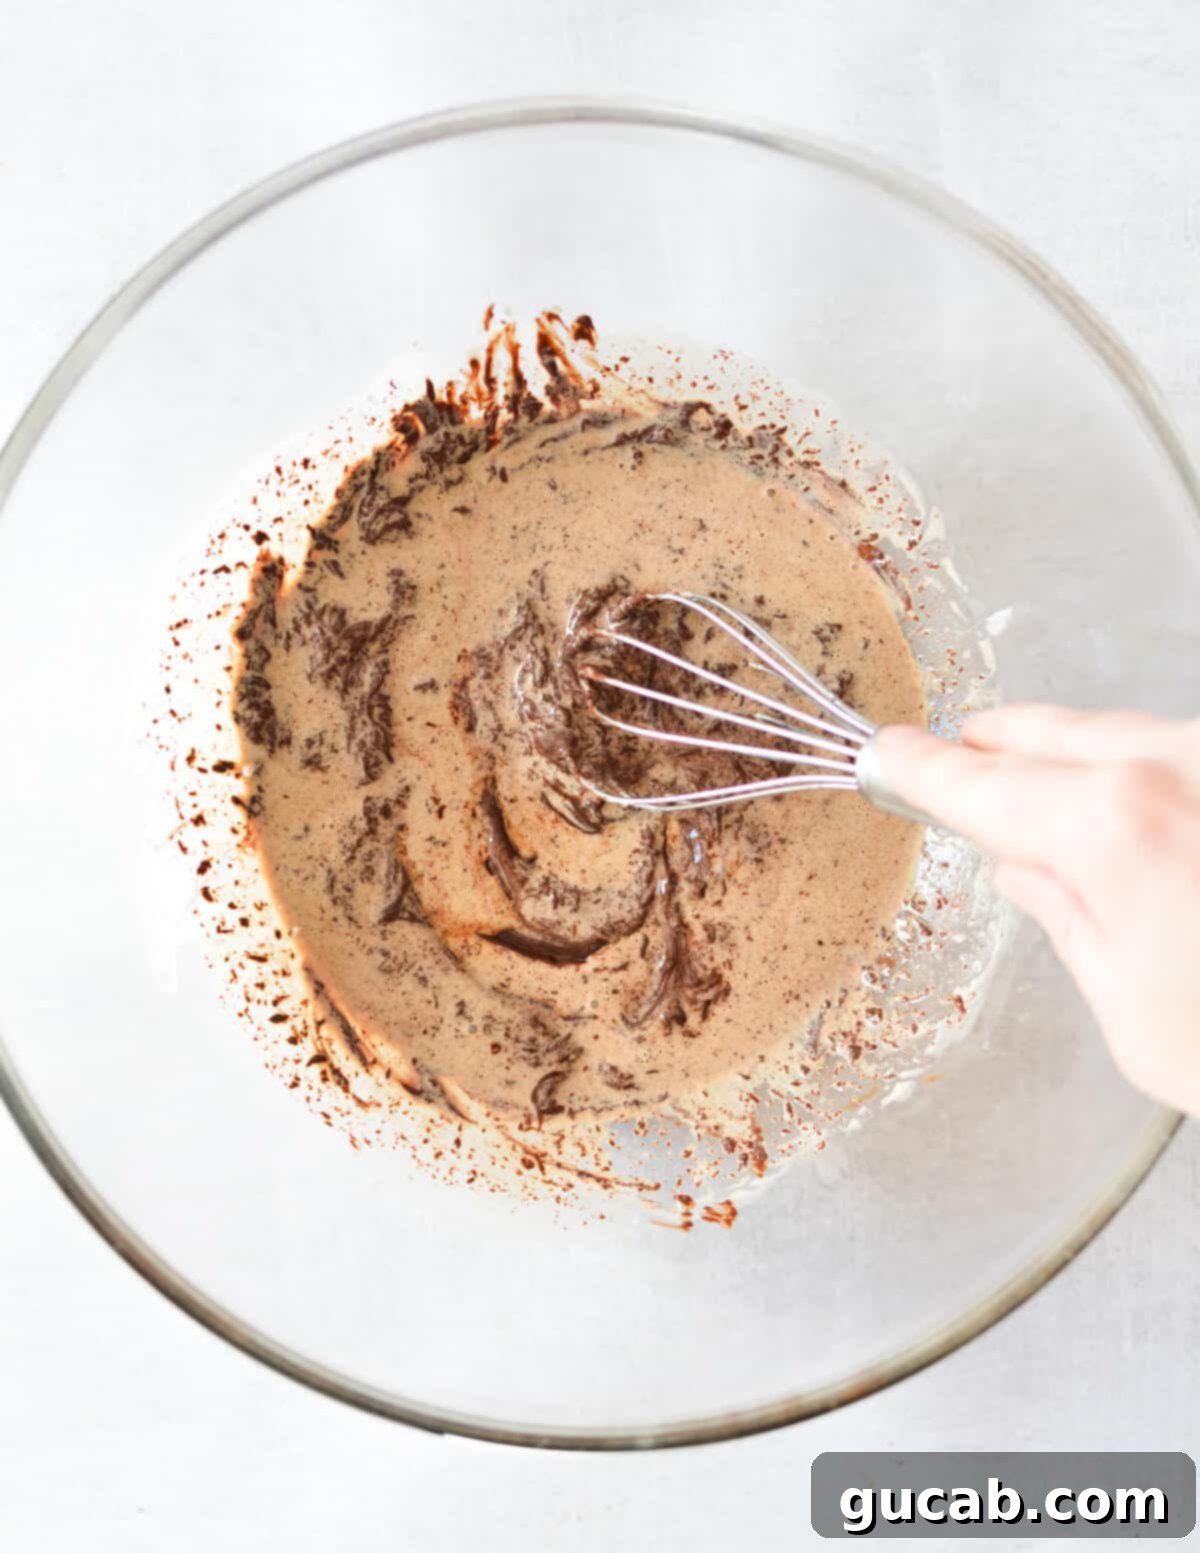
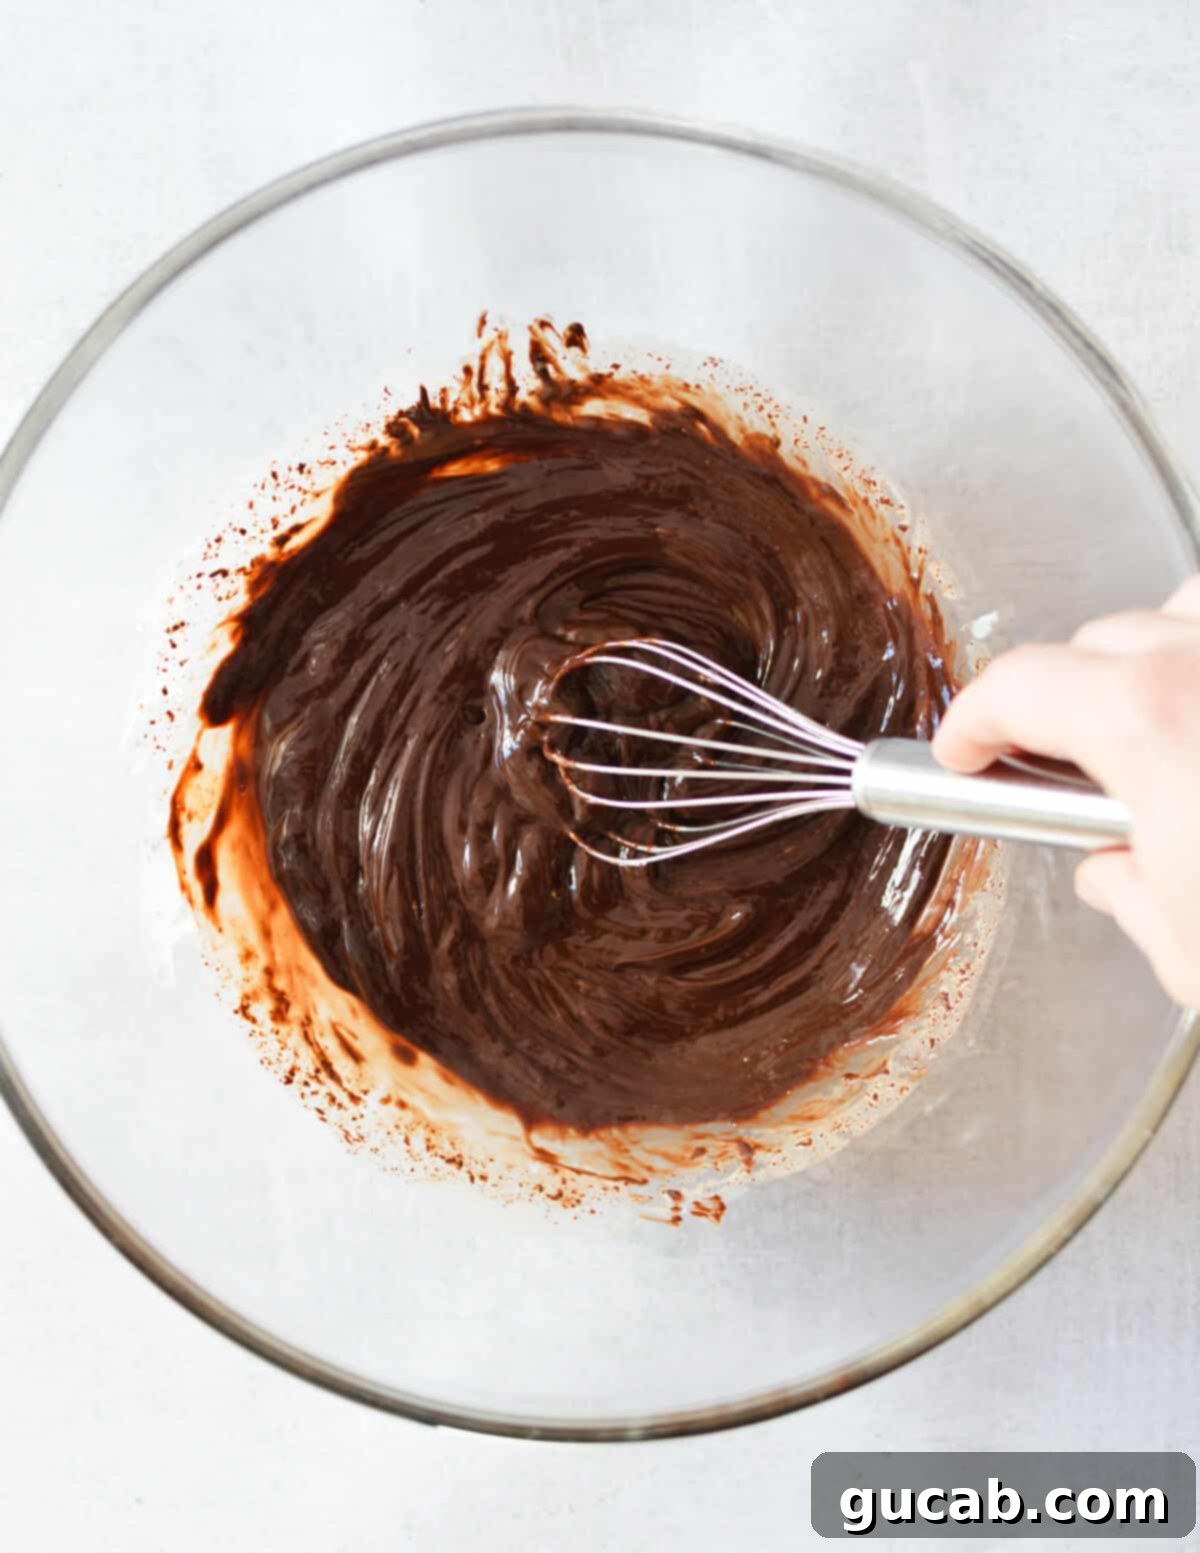
- Incorporate Cream and Coffee: Add the heavy cream and a pinch of instant coffee (even if you’re not a coffee lover, this ingredient is key to deepening the chocolate flavor without adding a coffee taste). Microwave for another 30 seconds, then stir vigorously until all the chocolate pieces are completely dissolved and the mixture is smooth and glossy. The ideal temperature for this mixture is warm, not hot. If it feels too hot to the touch, let it cool for a few minutes to prevent cooking the egg yolks in the next step.
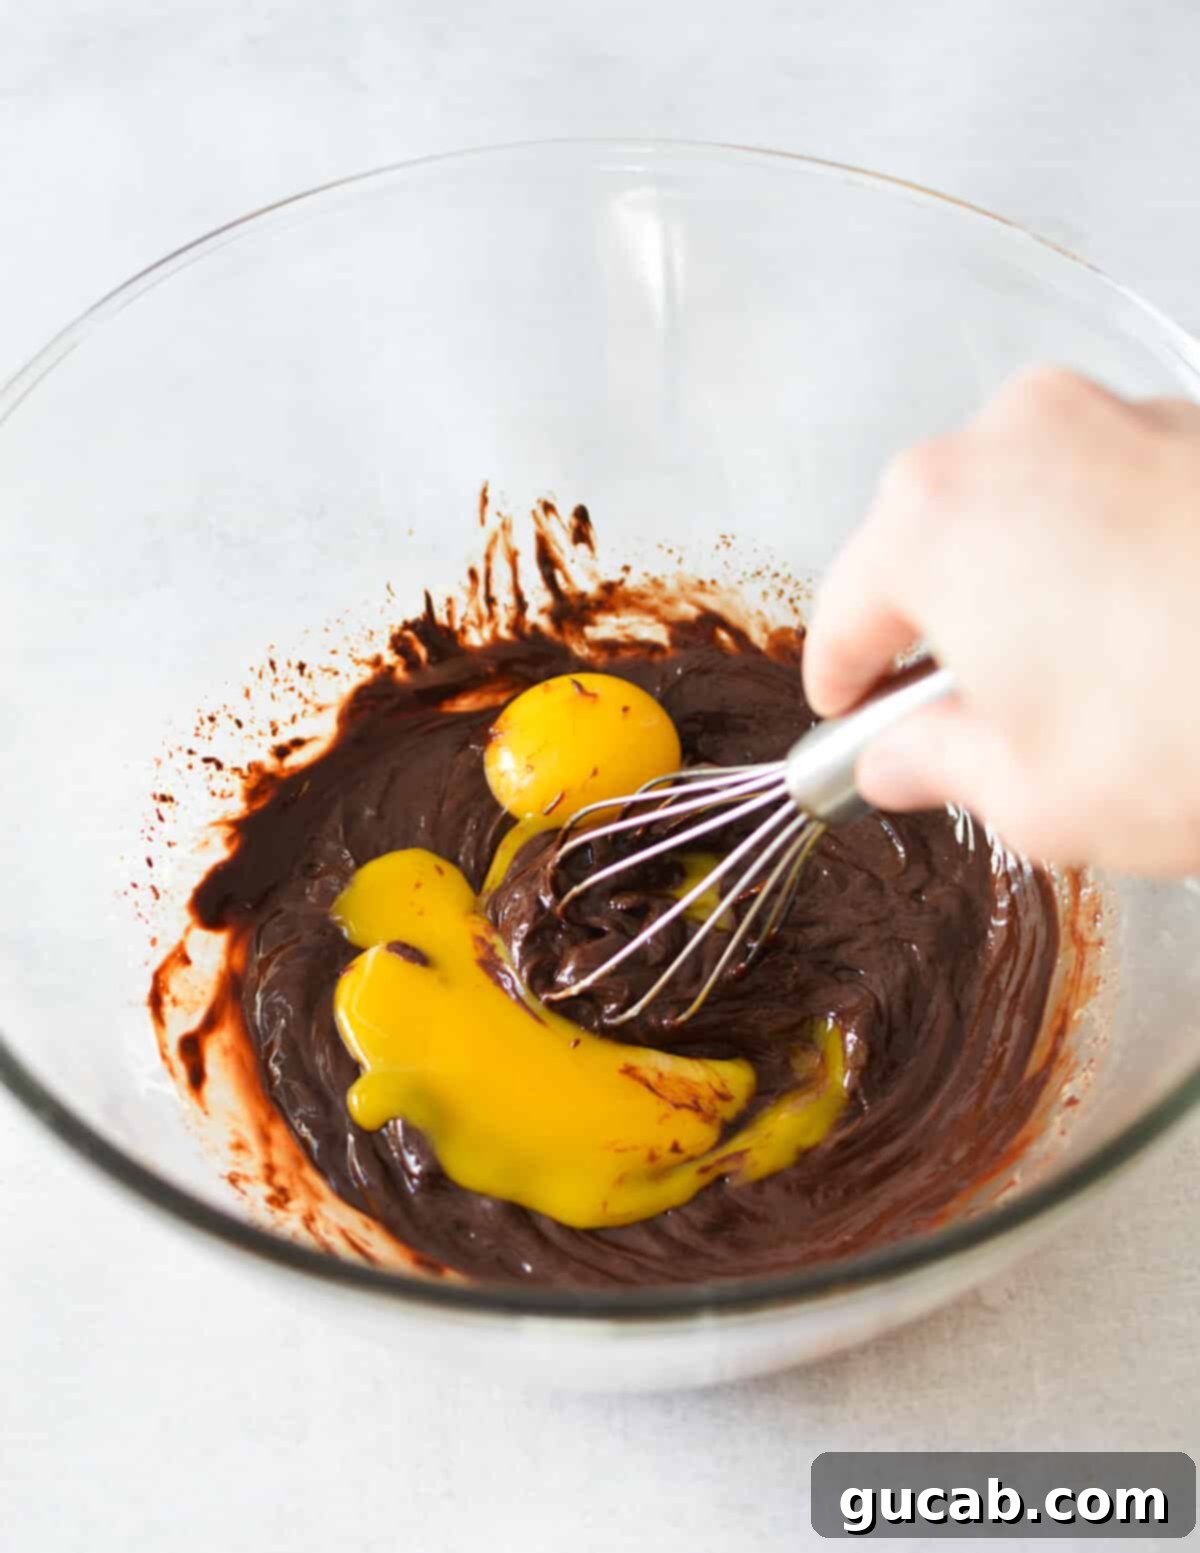
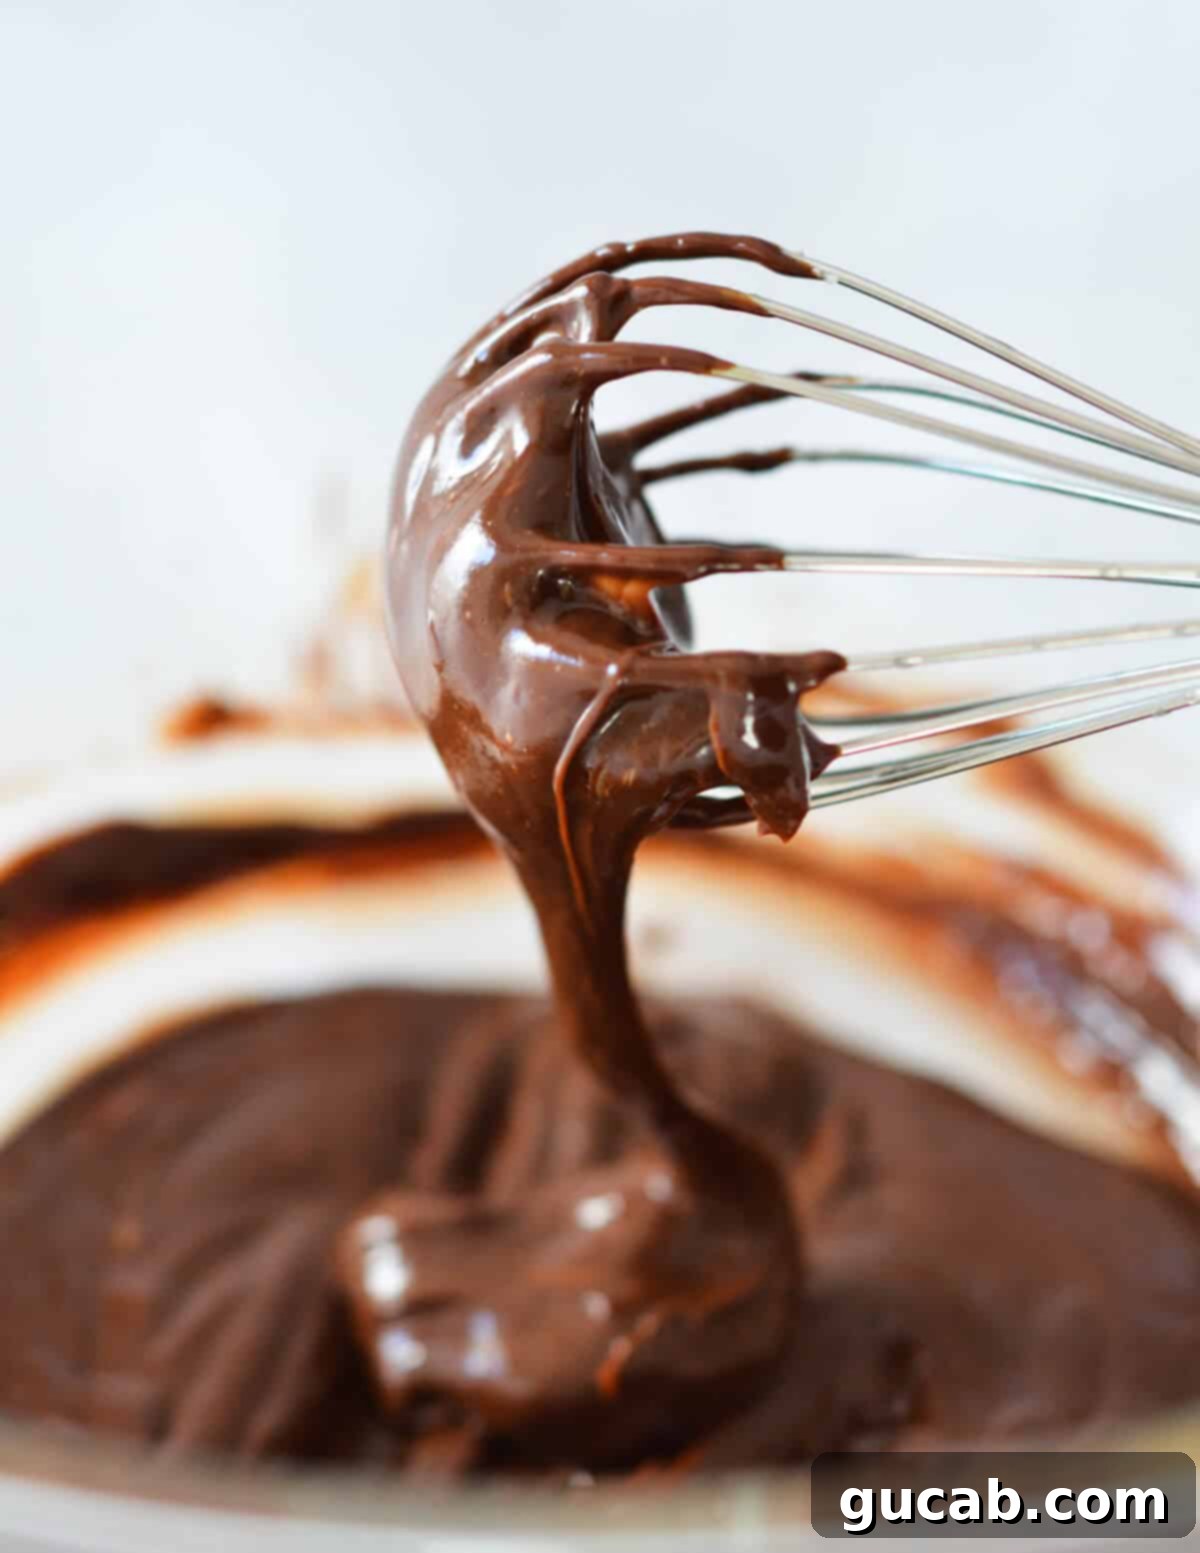
- Whisk in Egg Yolks: Carefully whisk the separated egg yolks into the warm chocolate mixture until fully incorporated. Continue whisking until the mixture transforms into a thick, luxurious, pudding-like consistency. This step adds incredible richness and helps create the mousse’s characteristic density before the airy egg whites are folded in.
3. Whip the Egg Whites to Stiff Peaks
This step is where the magic of lightness truly happens. It’s crucial to whip the egg whites last, right before folding them into the chocolate base. If whipped too early and left to sit, they can start to “weep” or separate, losing their essential airiness. Worse, they might break down during folding, leaving unwanted egg white pockets instead of a uniformly smooth mousse.
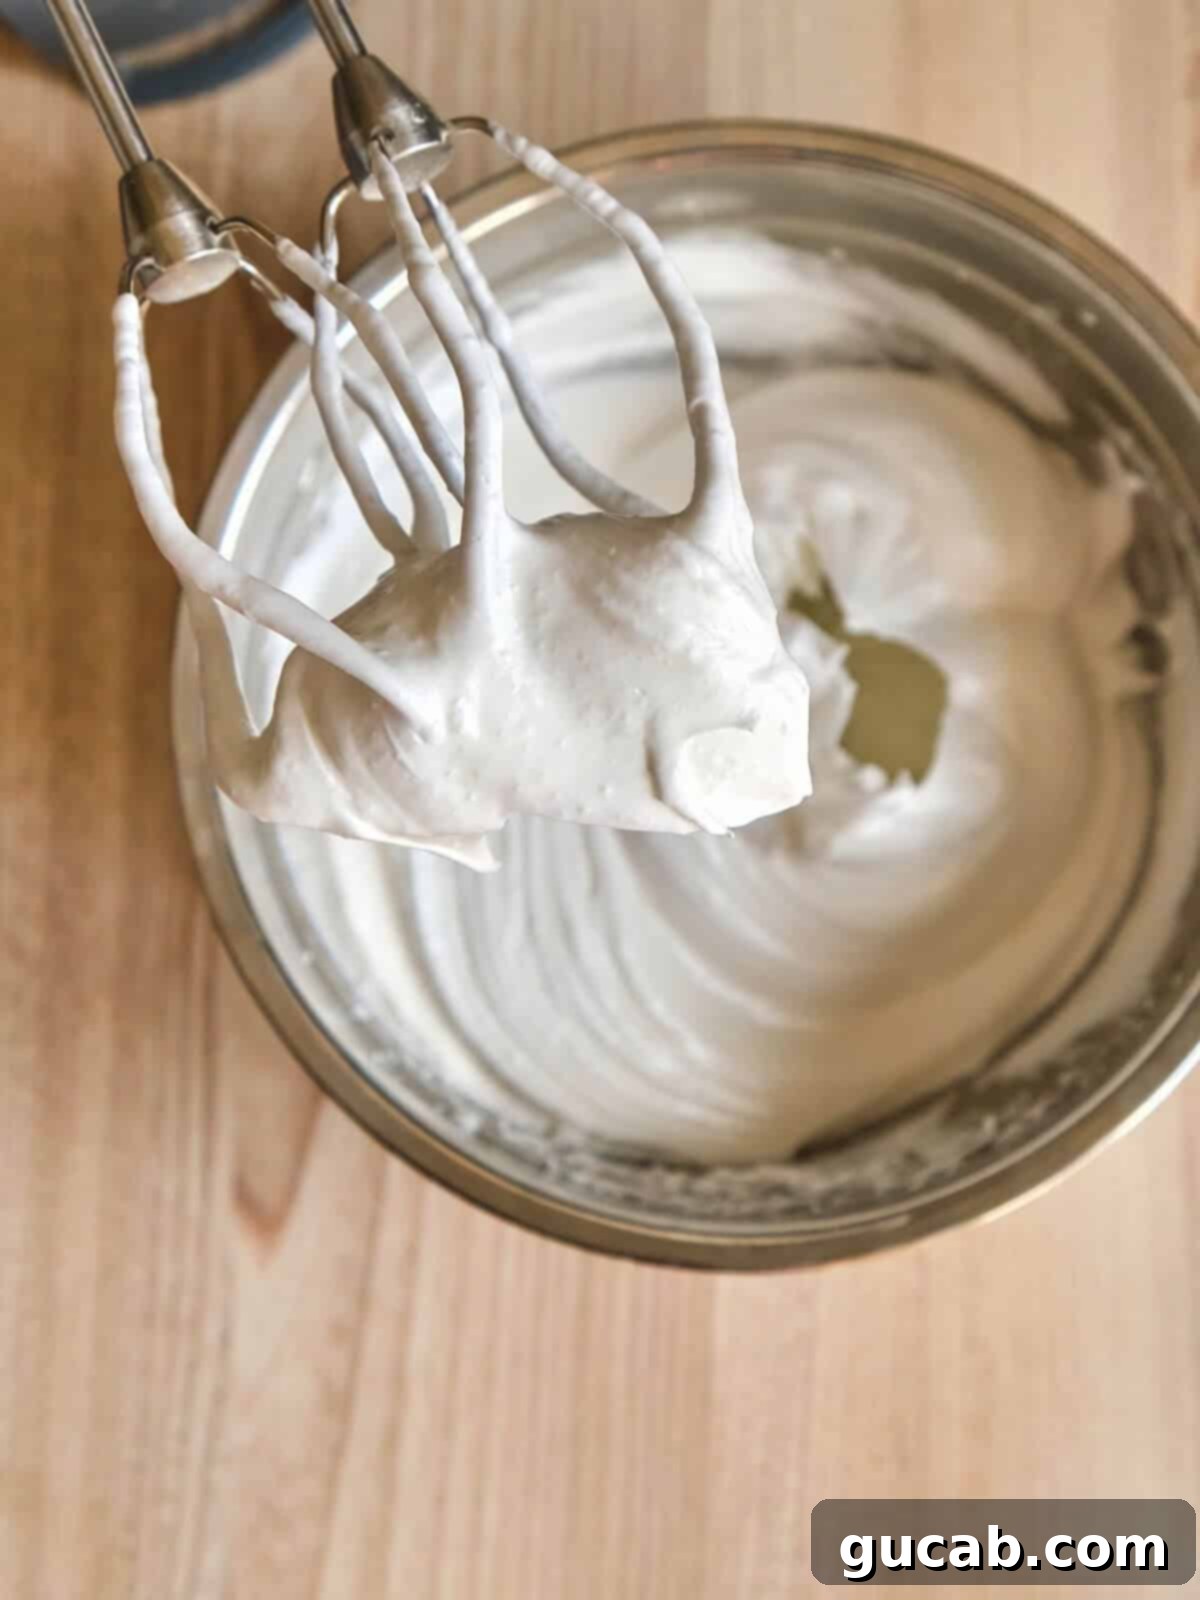
- Initial Whip: Place your room-temperature egg whites in the bowl of a stand mixer fitted with the whisk attachment. Begin whipping on medium speed for 1 to 2 minutes. You’re looking for the whites to become frothy and voluminous, but without forming any distinct peaks yet.
- Add Powdered Sugar: While the mixer is still running on medium speed, gradually add the powdered sugar, a tablespoon at a time. This helps stabilize the egg whites and sweeten them evenly.
- Whip to Stiff Peaks: Continue whipping for approximately 2 to 3 more minutes, or until the egg whites achieve stiff, glossy peaks. Stiff peaks mean that when you lift the whisk, the peaks stand straight up without drooping or curling over. The mixture should be firm but still smooth and not dry or crumbly.
4. Gently Fold in the Egg Whites
This is arguably the most delicate step, where the rich chocolate base meets the airy egg whites to create the mousse’s signature light texture. The key is to fold, not stir, to preserve as much of the whipped-in air as possible.
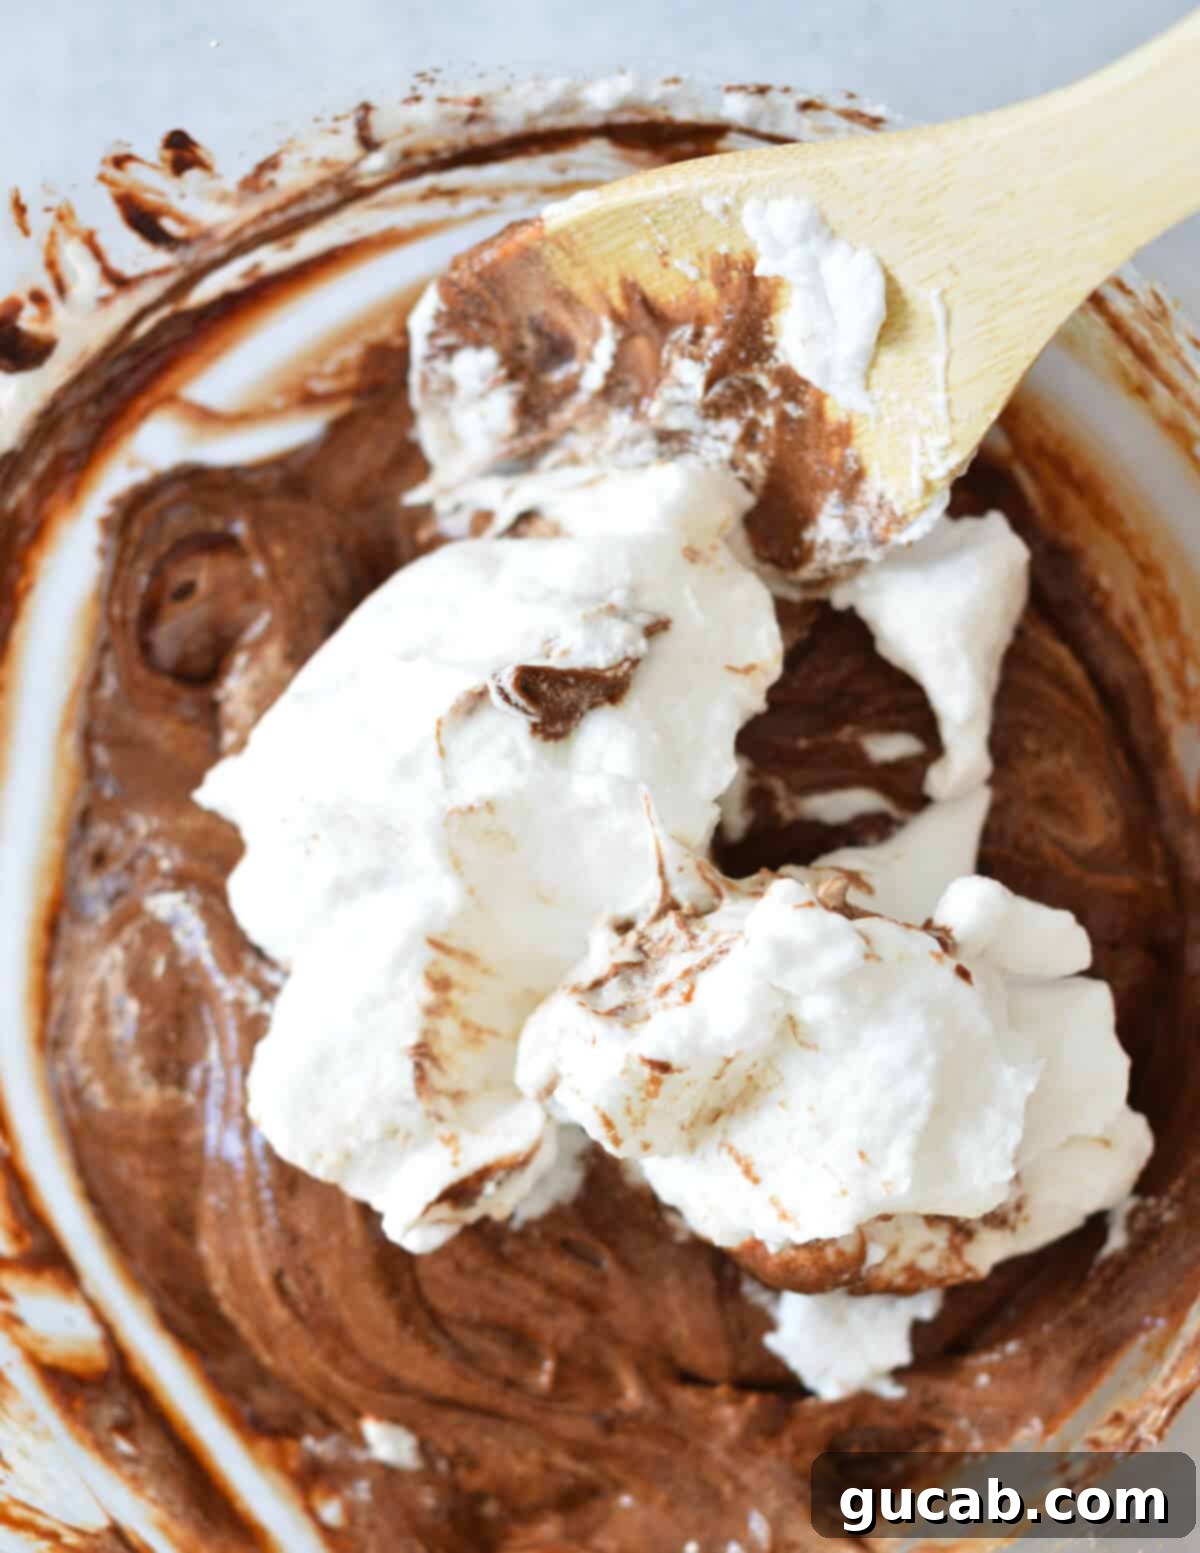
- First Fold: Take about one-third of your whipped egg whites and add them to the chocolate mixture. Using a rubber spatula, gently fold them in. The first portion doesn’t need to be perfectly incorporated; its purpose is to lighten the chocolate mixture, making it easier to fold in the remaining whites without deflating them.
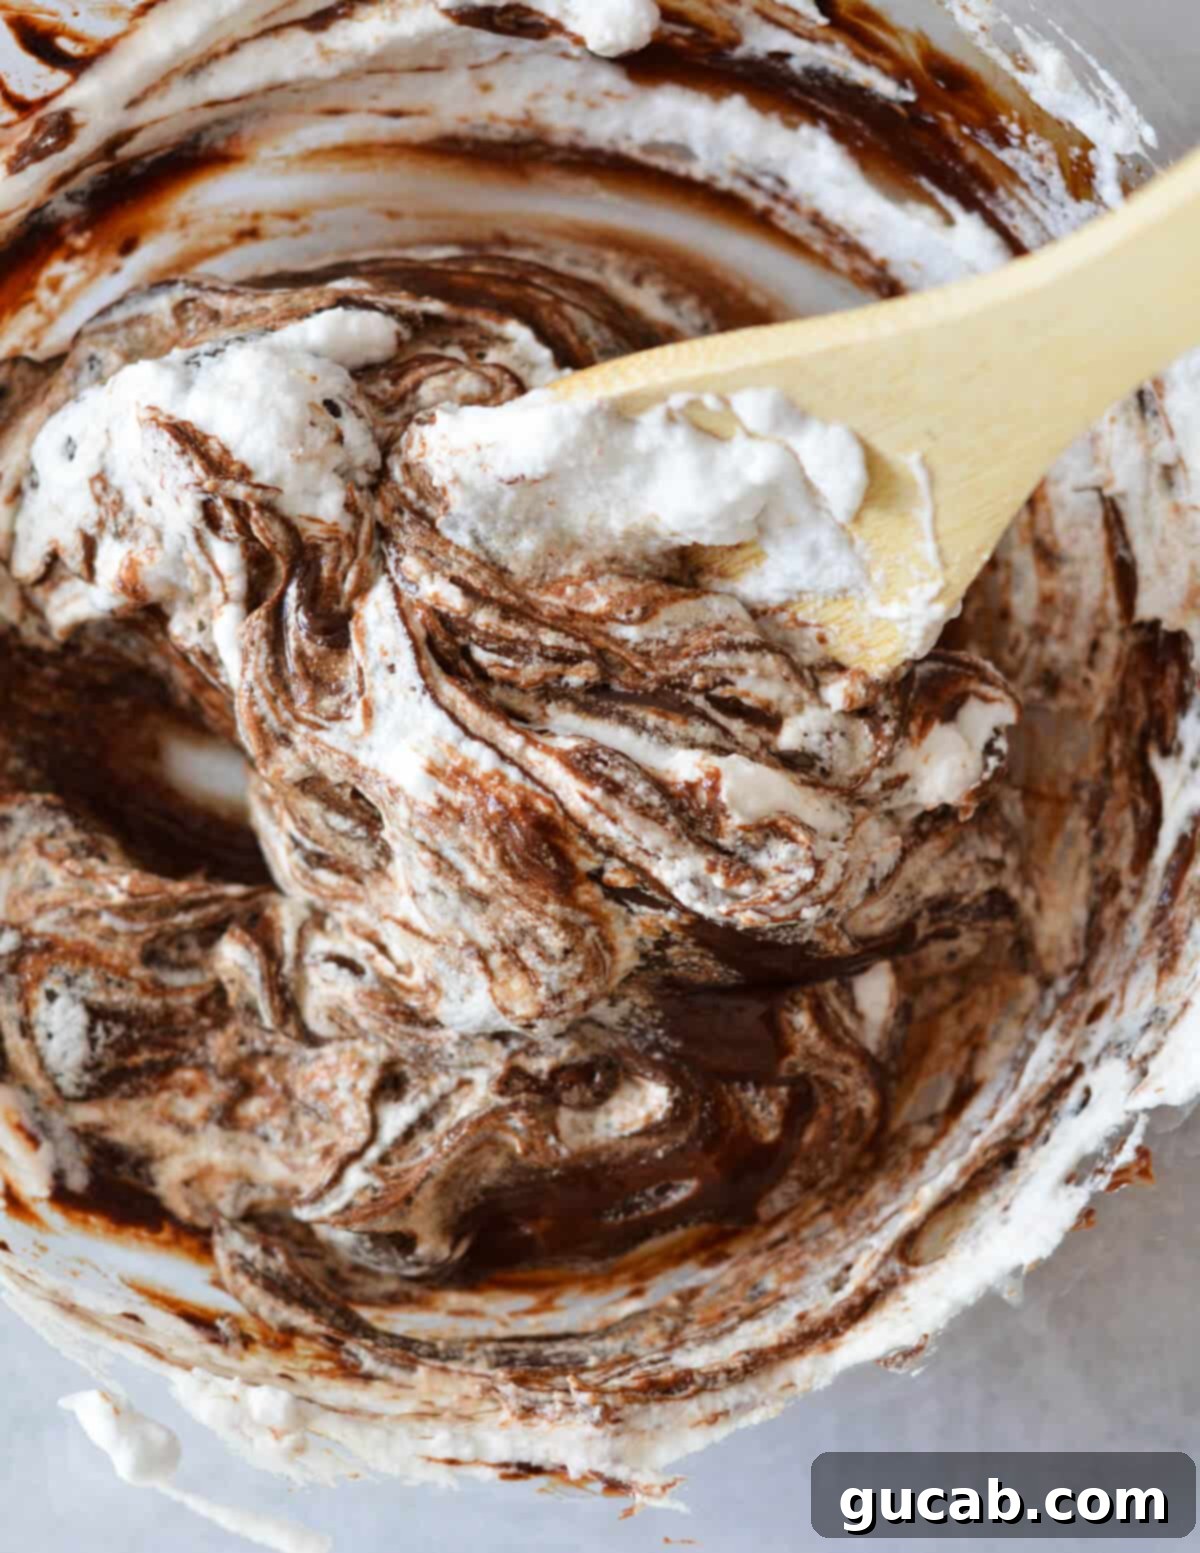
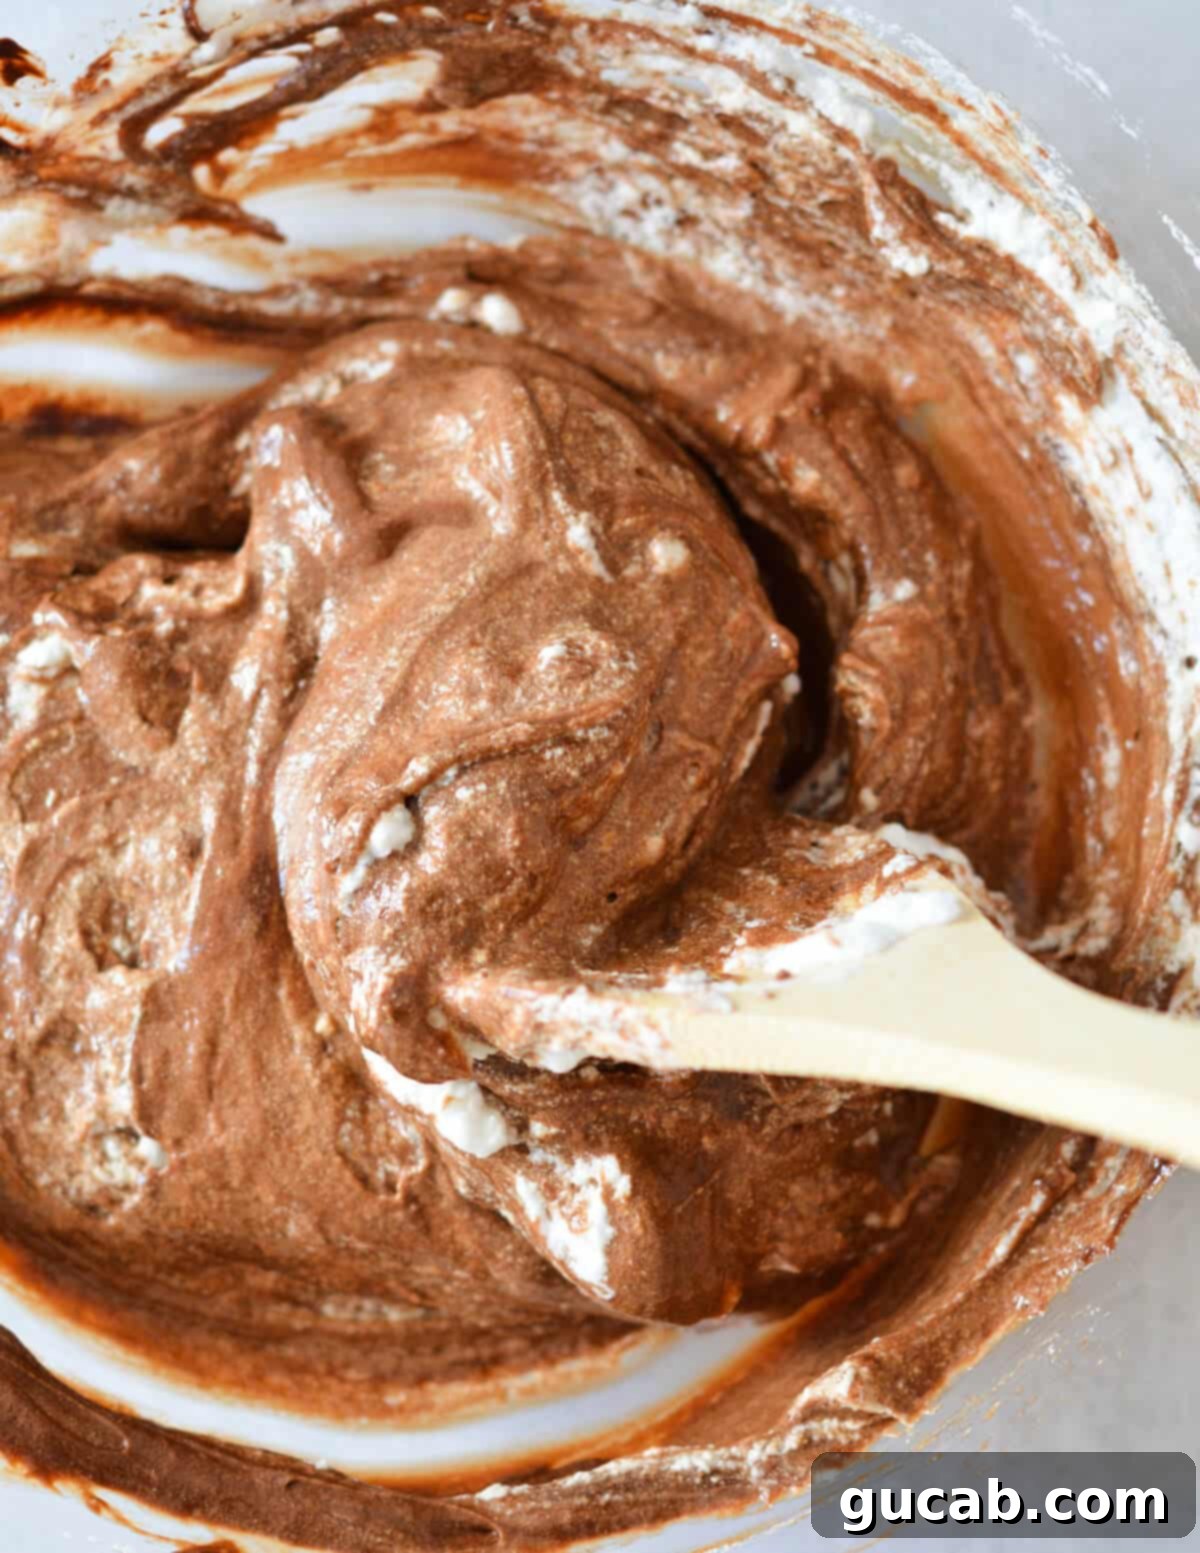
- Continue Folding: Add the remaining two-thirds of the whipped egg whites to the chocolate mixture in two more stages. With each addition, use your spatula to gently “fold” the whites into the chocolate. This technique involves cutting down through the center of the mixture, then turning the spatula and bringing the mixture from the bottom up and over. Rotate the bowl as you go. This motion is designed to incorporate the ingredients while minimizing air loss.
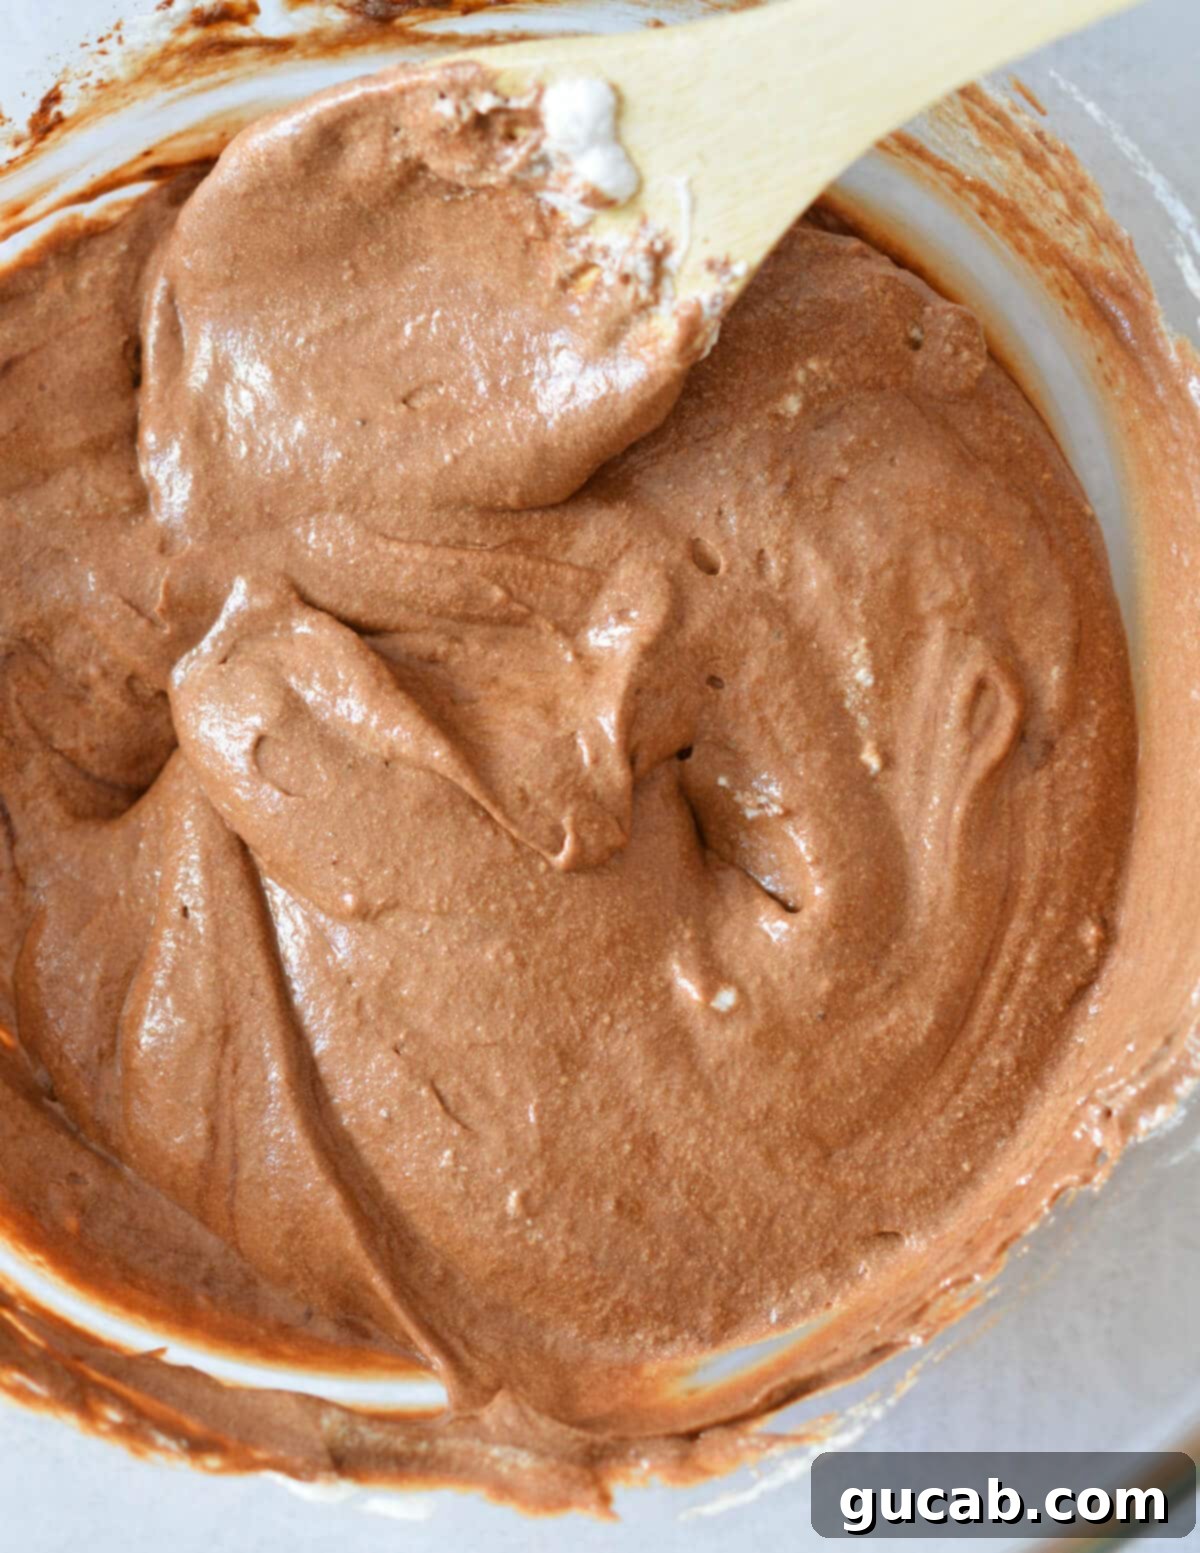
- Achieve Fluffy Perfection: Continue folding until the egg whites are just evenly incorporated, resulting in a beautifully fluffy, airy chocolate mixture. Be careful not to overmix, as this can deflate the mousse and make it dense. You should be left with a light, cloud-like chocolate creation. Yummmm.
5. Fill Ramekins and Chill for Decadence
The final steps involve preparing your mousse for its grand debut. The chilling process is essential for the mousse to set properly and for the flavors to fully develop.
- Portion Your Mousse: Once the mousse is perfectly folded, it’s time to transfer it to your chosen serving vessels. Small ramekins are classic, but you can get creative! Elegant cocktail glasses, teacups, small bowls, or even cute jars work wonderfully.
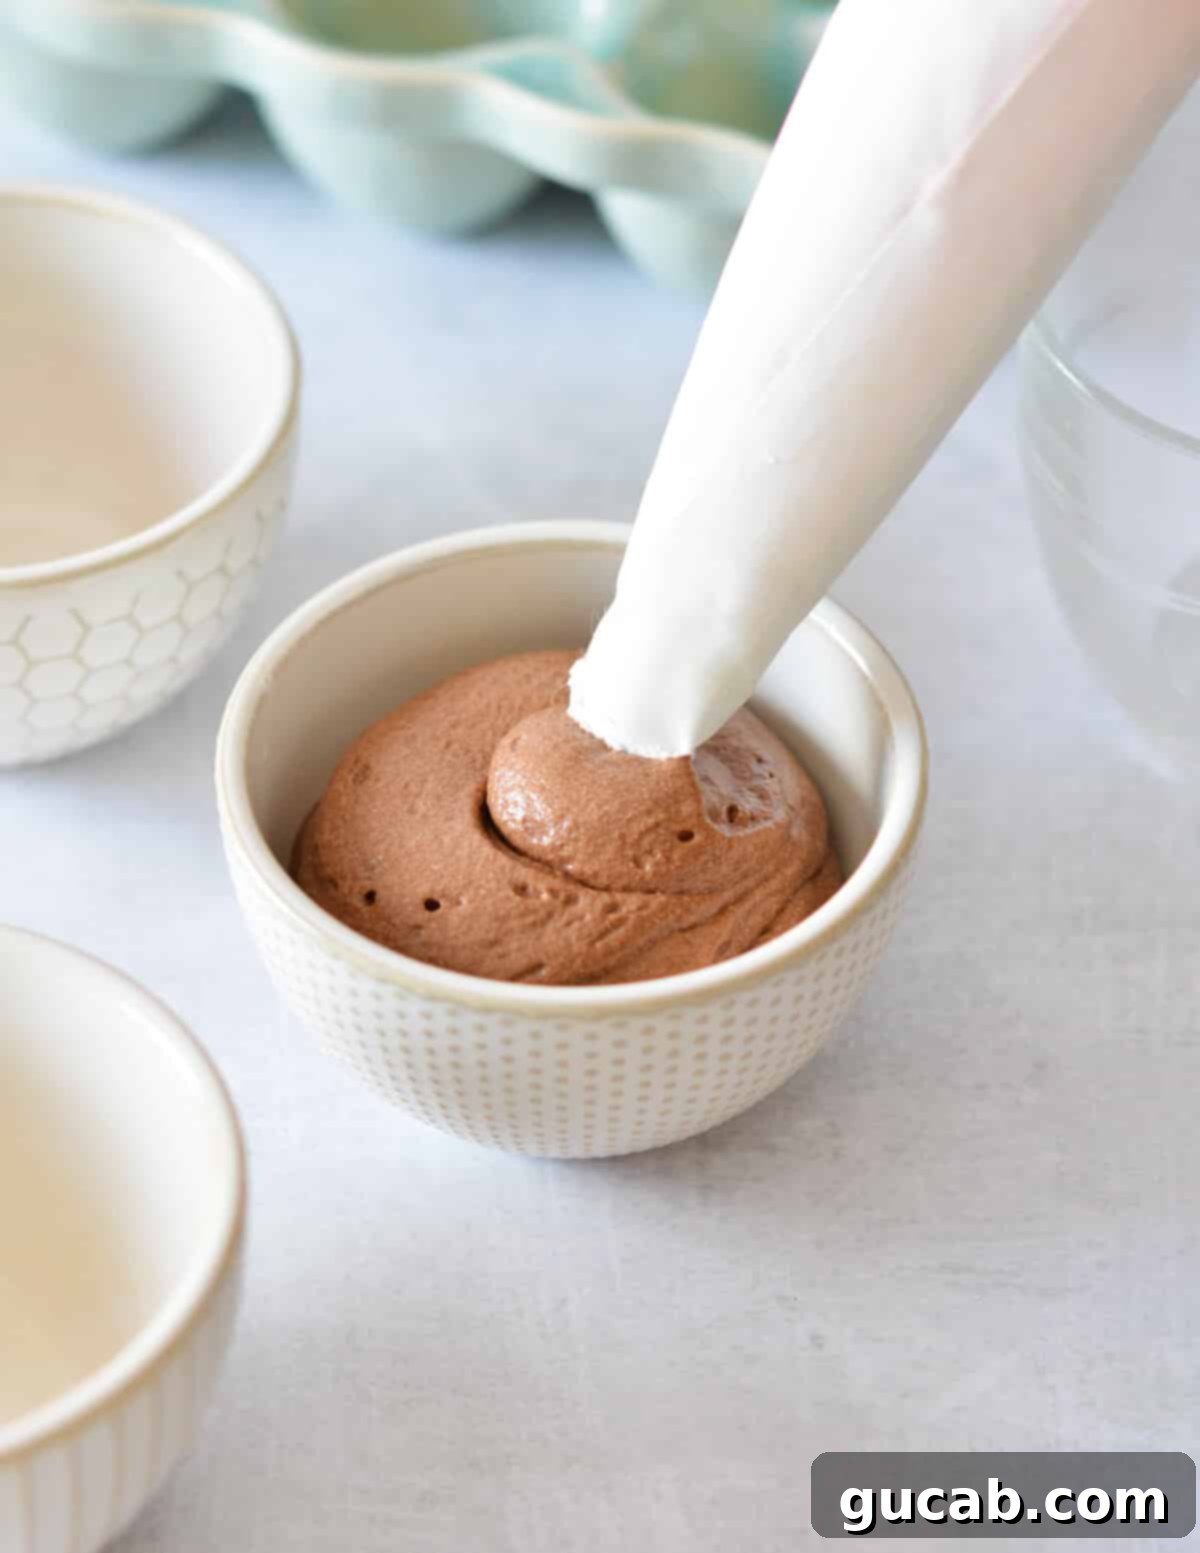
- Filling Options: You have two main ways to fill your containers. For a neat, professional look, transfer the mousse to a large piping bag (no special tip needed, just snip the end) and pipe it evenly into the cups. Alternatively, a simple portion scoop works perfectly for a more rustic presentation.
- Chill to Perfection: Cover each filled bowl or ramekin tightly with plastic wrap to prevent a skin from forming and to keep any refrigerator odors out. Chill the chocolate mousse in the refrigerator for at least 4 hours. This crucial chilling time allows the mousse to set, firm up, and lets the rich chocolate flavors fully meld and intensify, resulting in that irresistible, luxurious texture you crave.
Expert Tips for the Best Chocolate Mousse
Achieve chocolate mousse perfection with these tried-and-true tips:
- Don’t Skip the Coffee! Even if you’re not a coffee drinker, the instant coffee in this recipe is a game-changer. It doesn’t make your mousse taste like coffee; instead, it acts as a powerful flavor enhancer, deepening and intensifying the natural richness of the chocolate. Think of it as chocolate’s best friend – they bring out the very best in each other.
- Avoid Overwhipping Egg Whites: While stiff peaks are the goal, be careful not to overwhip your egg whites. Overwhipping can cause them to become dry, granular, and brittle, making them difficult to fold smoothly into the chocolate mixture. This can lead to a less uniform texture and a mousse that loses its airy quality. Stop as soon as those stiff, glossy peaks form!
- Room Temperature Egg Whites are Key: For maximum volume and stability when whipping, ensure your egg whites are at room temperature. Cold egg whites take longer to whip and won’t achieve the same fluffy, voluminous result. Separate them when cold (easier to separate), then let them sit for 30 minutes to an hour before whipping.
- Cleanliness is Next to Moussey-ness: Make sure your mixing bowl and whisk attachment are impeccably clean and free of any grease or fat residue. Even a tiny trace of fat can prevent egg whites from whipping up properly, leading to a flat mousse.
- Get Creative with Your Presentation: Chocolate mousse is inherently elegant, but its presentation can be as varied as your imagination. Feel free to use any charming container you have on hand – coupe glasses, martini glasses, classic ramekins, small teacups, or even decorative Mason jars all work beautifully and add a personal touch to your dessert.
Storage Solutions for Your Decadent Mousse
While this chocolate mousse is often devoured immediately, here’s how to properly store any leftovers:
- Refrigerator Storage: Store your chocolate mousse in the refrigerator for up to 4 days. It’s essential to cover it tightly with plastic wrap to prevent it from absorbing any odors from other foods in your fridge and to maintain its fresh texture.
- Freezing (If You Can Resist!): My homemade chocolate mousse rarely makes it to the freezer; it’s usually gone on day one! However, if you find yourself with extra, it freezes exceptionally well. For best results, freeze individual portions in airtight containers for up to 2 months. To thaw, simply transfer it to the refrigerator overnight. The texture should remain delightfully smooth after thawing.
Delicious Variations to Customize Your Mousse
While this chocolate mousse is perfect as is, you can easily adapt it to your preferences or explore new flavor profiles:
- Chocolate Type: The cocoa percentage of your chocolate significantly impacts the final flavor.
- For a Darker, More Intense Mousse: Choose chocolate with 70% cocoa or higher. This will result in a more robust, less sweet dessert.
- For a Milder or Milk Chocolate Mousse: Substitute dark chocolate with good quality milk or semi-sweet chocolate. Aim for a chocolate with less than 50% cocoa for a classic, sweeter milk chocolate flavor profile. Adjust powdered sugar slightly if switching to a much sweeter chocolate.
- Adjusting Richness with Egg Yolks: The number of egg yolks affects the richness and density of the mousse.
- For an Even Richer Mousse: Use three egg yolks instead of two. This will create a slightly denser, even more intensely creamy and decadent texture.
- For a Lighter, More Airy Mousse: Reduce the egg yolks to just one. This will yield an incredibly delicate and ethereal mousse, with a focus on the airy texture from the egg whites. In my humble opinion, using two yolks strikes the perfect balance between richness and lightness!
- Flavor Boosters: Introduce subtle flavor notes to complement the chocolate.
- Liqueurs: A splash of orange liqueur (like Grand Marnier or Cointreau), coffee liqueur (Kahlua), rum, or even a raspberry liqueur can add a sophisticated touch. Add 1-2 tablespoons with the heavy cream.
- Extracts: A few drops of peppermint extract for a mint chocolate mousse, almond extract for a nutty depth, or even a hint of vanilla extract can elevate the flavor.
- Citrus Zest: Finely grated orange zest folded in at the end provides a bright, refreshing counterpoint to the rich chocolate.
- Spicy Kick: For the adventurous palate, a tiny pinch of cayenne pepper or chili powder can add a surprising warmth and complexity.
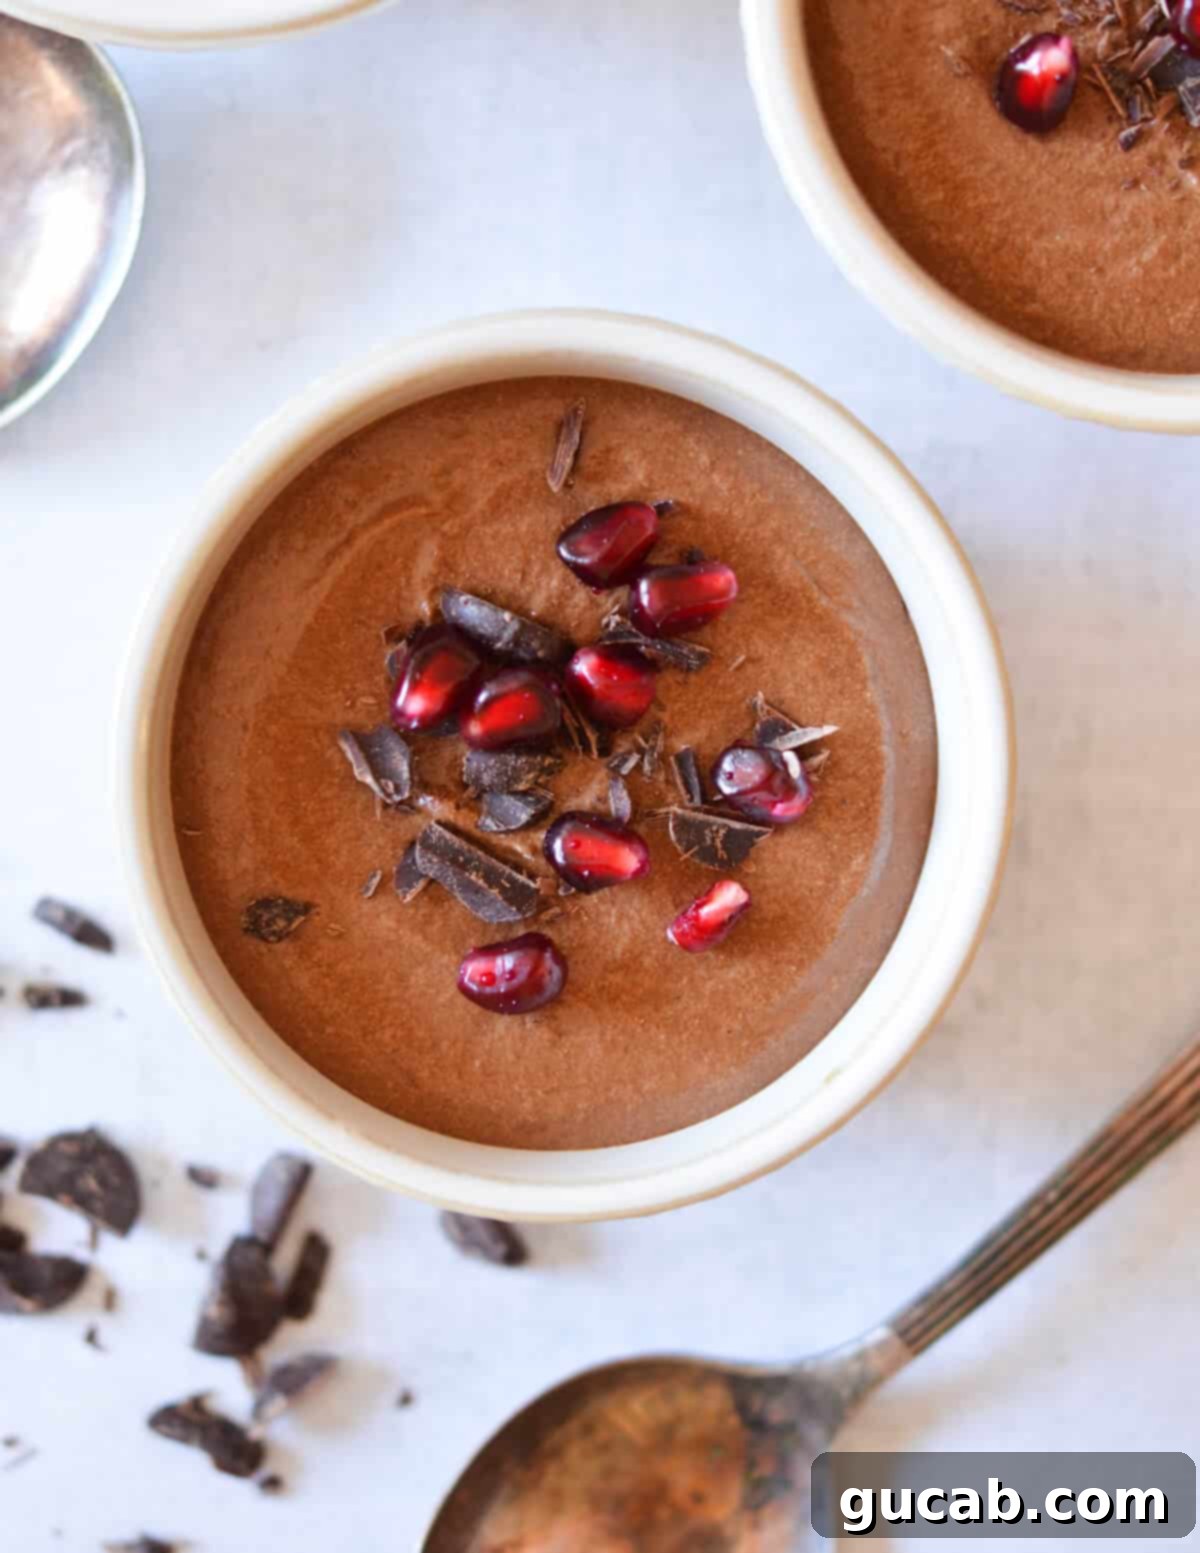
Elevate Your Mousse with Perfect Toppings
This decadent chocolate mousse is extraordinary on its own, but toppings offer a fantastic opportunity to add visual appeal, contrasting textures, and complementary flavors. Here are some of my favorite ideas to take your mousse to the next level:
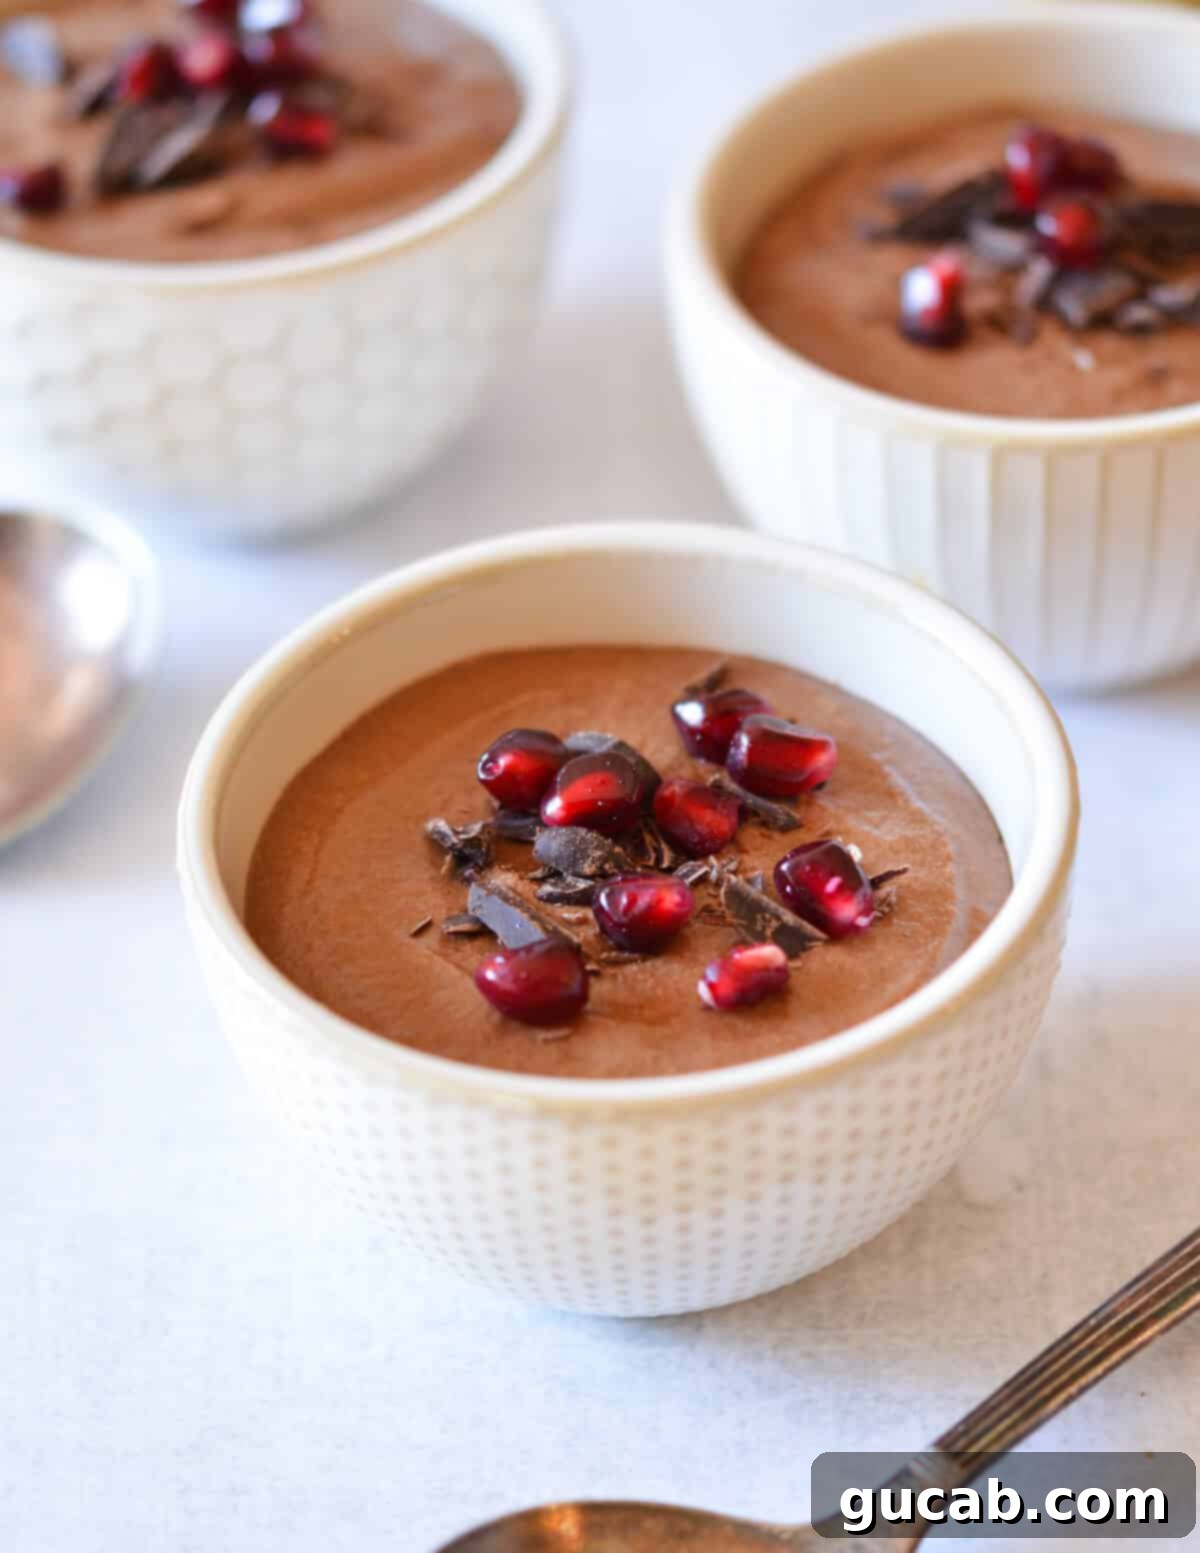
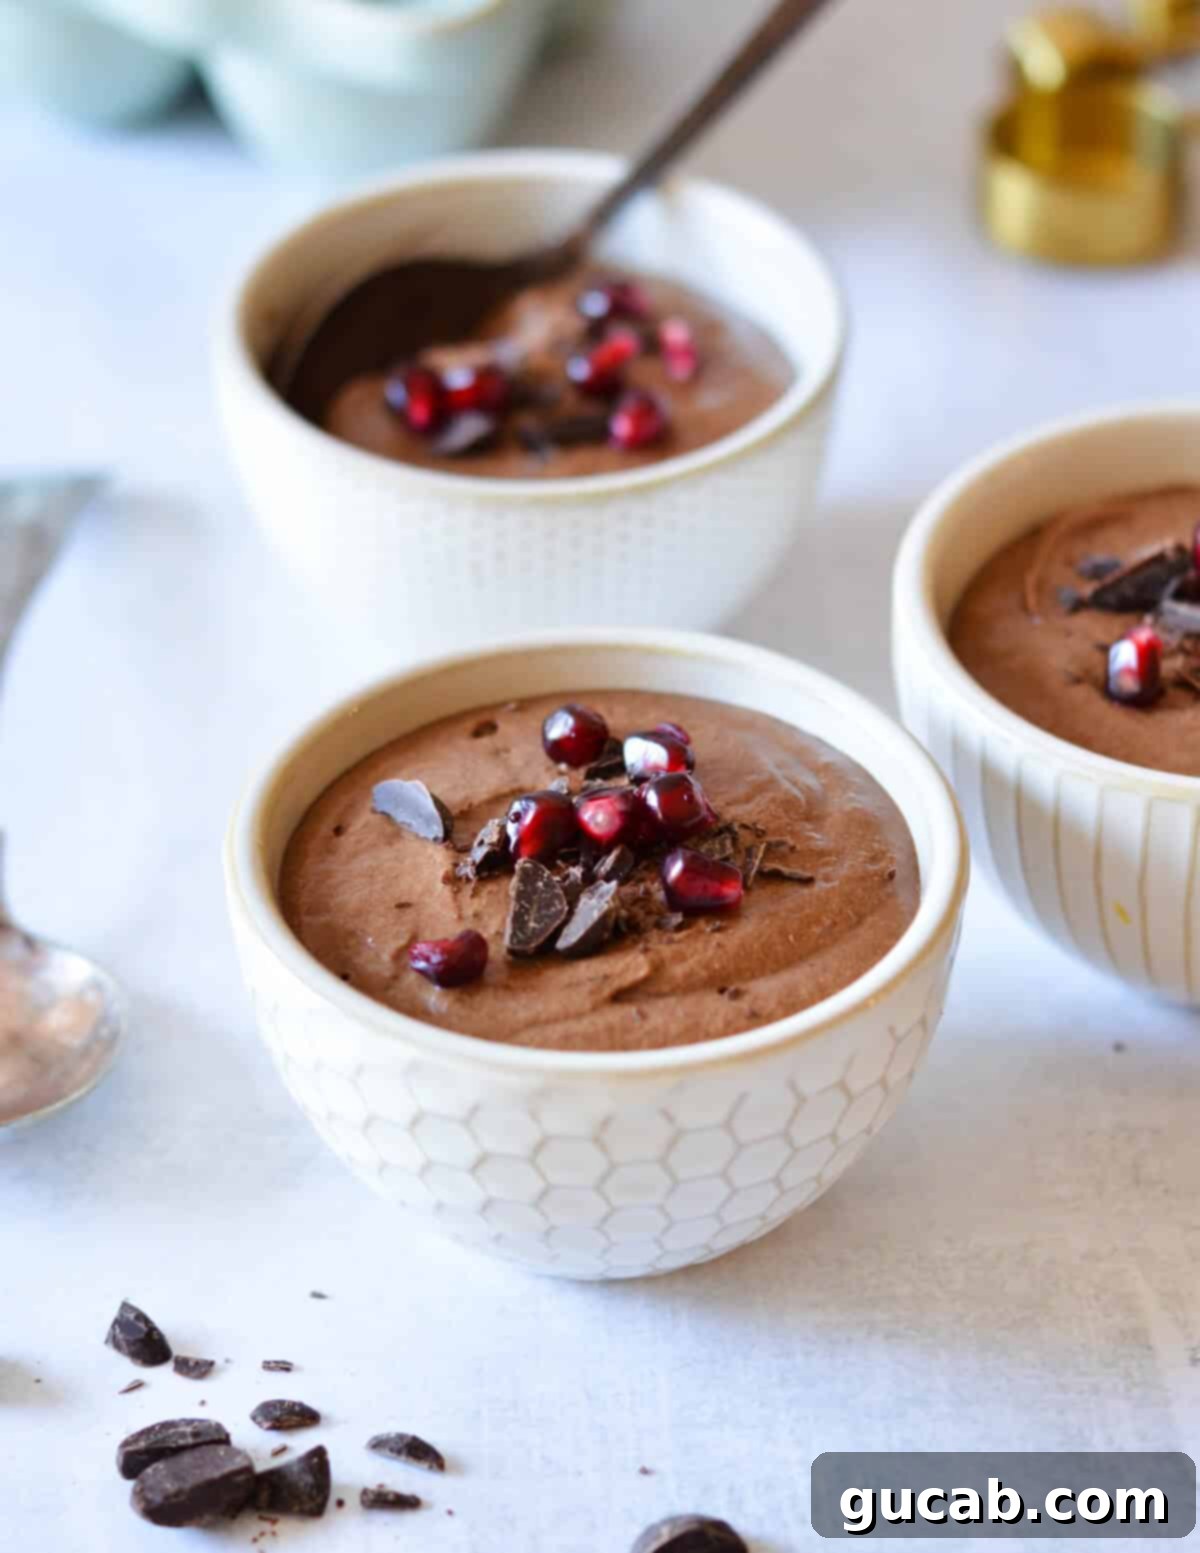
- Chopped Chocolate & Pomegranate Seeds: Shaved or finely chopped dark chocolate adds an extra layer of chocolatey goodness, while vibrant pomegranate seeds provide a beautiful pop of color and a burst of tart, juicy freshness that perfectly cuts through the richness.
- Crushed Peppermints & Mini Chocolate Chips: For a festive or mint-chocolate lover’s dream, sprinkle crushed peppermint candies for a refreshing crunch, alongside mini chocolate chips for extra texture and visual appeal.
- Whipped Cream & Toasted Coconut: A dollop of freshly whipped cream adds another layer of luxurious creaminess, and a sprinkle of toasted coconut flakes introduces a wonderful chewy texture and a hint of tropical sweetness.
- Fresh Berries & Whipped Cream: A classic combination! A medley of fresh berries like raspberries, strawberries, or blueberries provides a natural sweetness and a slight tang, beautifully complementing the deep chocolate. Top with a cloud of whipped cream for a truly elegant finish.
- Chopped Almonds & Chocolate Shavings: For a delightful textural contrast, sprinkle finely chopped toasted almonds. Their slight crunch and nutty flavor pair wonderfully with the smooth mousse. Garnish with delicate chocolate shavings for a sophisticated touch.
- A Dusting of Cocoa Powder: For a simple yet elegant finish, a light dusting of high-quality cocoa powder over the top adds a beautiful matte appearance and a subtle bitter contrast.
- Candied Orange Peel: The bright, slightly bitter notes of candied orange peel make an exquisite pairing with dark chocolate, offering a gourmet flourish.
- A Pinch of Sea Salt: A tiny sprinkle of flaky sea salt on top can enhance the chocolate flavor and provide a delightful savory contrast, bringing out the complexities of the mousse.
More Decadent Chocolate Recipes to Love
- Chocolate Ganache without Cream
- Double Chocolate Oatmeal Cookies
- Chocolate Covered Graham Crackers
- Chocolate Marshmallow Cookies
The Best Easy Homemade Chocolate Mousse
Carolyn
Pin Recipe
Equipment
-
Stand Mixer with Whisk attachment
-
Large microwave safe bowl
-
Mini whisk or spatula
Ingredients
- 1 tbsp unsalted butter
- 3 oz. 60% dark chocolate chips or a chocolate bar cut into small pieces, I used Ghirardelli
- ½ teaspoon instant coffee
- 2 oz heavy cream
- 2 egg yolks
- 3 egg whites
- ¼ cup powdered sugar
Instructions
-
Separate your egg yolks from your egg whites. Set two bowls out. Crack one egg into your loosely cupped hand over the first bowl. Let the egg white drip through your fingers into the bowl. Place the yolk into the other bowl. Repeat three times until you have 2 yolks and 3 whites. Set aside your egg whites to come to room temperature.
-
In a large microwave-safe bowl, add the butter and chocolate. Microwave for 30 seconds, then stir well. Microwave for another 30 seconds and stir again until the chocolate is mostly melted with some small chunks remaining.
-
Add heavy cream and instant coffee to the chocolate mixture. Microwave for 30 more seconds. Stir vigorously until all the chocolate chunks are completely melted and the mixture appears smooth and glossy. The mixture should be warm to the touch, not hot. If it’s too hot, let it cool slightly before proceeding.
-
Add the two egg yolks to the chocolate mixture and whisk to fully incorporate them. Continue whisking until the mixture achieves a thick, pudding-like consistency. Set this chocolate base aside.
-
In a stand mixer with the whisk attachment, whip the room-temperature egg whites on medium speed until they become frothy and voluminous, with no peaks, about 1 minute.
-
Gradually add the powdered sugar to the egg whites while continuing to beat on medium speed. Whip until the egg whites hold stiff, glossy peaks, which typically takes about 2 to 3 more minutes. Be careful not to overwhip.
-
Gently fold one third of the whipped egg whites into the chocolate mixture using a rubber spatula. Once mostly incorporated, repeat with the remaining egg whites in two more additions, folding gently until all the whites are evenly mixed into the chocolate, creating a light and airy mousse. Be careful not to deflate the mixture.
-
Transfer the fluffy chocolate mousse to a large piping bag (or use a spoon/portion scoop) and pipe it into individual ramekins or your preferred serving dishes.
-
Cover the ramekins tightly with plastic wrap and chill in the refrigerator for at least 4 hours, or until thoroughly set and cold.
Notes
Chocolate: For the best results, always use good quality chocolate! Whether you choose chocolate chips or a chocolate bar, quality makes a difference. I highly recommend Ghirardelli for dark chocolate chips. If you prefer a milder, milk chocolate mousse instead of dark, opt for a chocolate bar with a lower cocoa percentage (preferably less than 50 percent cocoa).
Coffee: The instant coffee in this recipe does not make the mousse taste like coffee! Its purpose is to significantly enhance and deepen the flavor of the chocolate, making it taste even more intensely chocolatey.
Nutrition
Frequently Asked Questions About Chocolate Mousse
What kind of chocolate is best for mousse?
For the best results, use a high-quality dark chocolate (60-70% cocoa) for a rich flavor that isn’t overly bitter or sweet. Brands like Ghirardelli, Callebaut, or Valrhona are excellent choices. Using good chocolate is key to the overall taste and smooth texture of your mousse. Avoid very cheap chocolate, which can sometimes seize when melted.
Can I make chocolate mousse without raw eggs?
While this classic recipe uses raw eggs for that signature light and luxurious texture, there are variations that don’t. Recipes often substitute whipped heavy cream or aquafaba (chickpea brine) for egg whites, and a cooked custard base for egg yolks. However, for the most authentic and decadent mousse, pasteurized raw eggs are recommended and safe.
Why did my egg whites not whip to stiff peaks?
The most common reasons for egg whites not whipping properly are the presence of fat (even a tiny speck of egg yolk or grease from your bowl/whisk), or using cold egg whites. Ensure your bowl and whisk are impeccably clean and dry, and always use room-temperature egg whites for optimal volume and stability.
How long does homemade chocolate mousse last?
When properly covered and refrigerated, homemade chocolate mousse can last for up to 4 days. While it’s best enjoyed fresh, it maintains its delightful texture and flavor well within this timeframe. As mentioned, it can also be frozen for up to 2 months.
Can I make this chocolate mousse ahead of time for a party?
Absolutely! Chocolate mousse is an ideal make-ahead dessert. Preparing it the day before or even two days in advance allows the flavors to deepen and the mousse to fully set, resulting in an even more delicious treat. Just remember to keep it covered tightly in the refrigerator until serving.
With this comprehensive guide, you now have all the tools and confidence to create an easy, yet incredibly elegant and delicious chocolate mousse. Forget the intimidation and embrace the simple joy of crafting this classic dessert at home. Its light, rich, and utterly decadent nature makes it the perfect ending to any meal or a delightful treat all on its own. So go ahead, gather your ingredients, and prepare to indulge in the best homemade chocolate mousse you’ve ever tasted!
