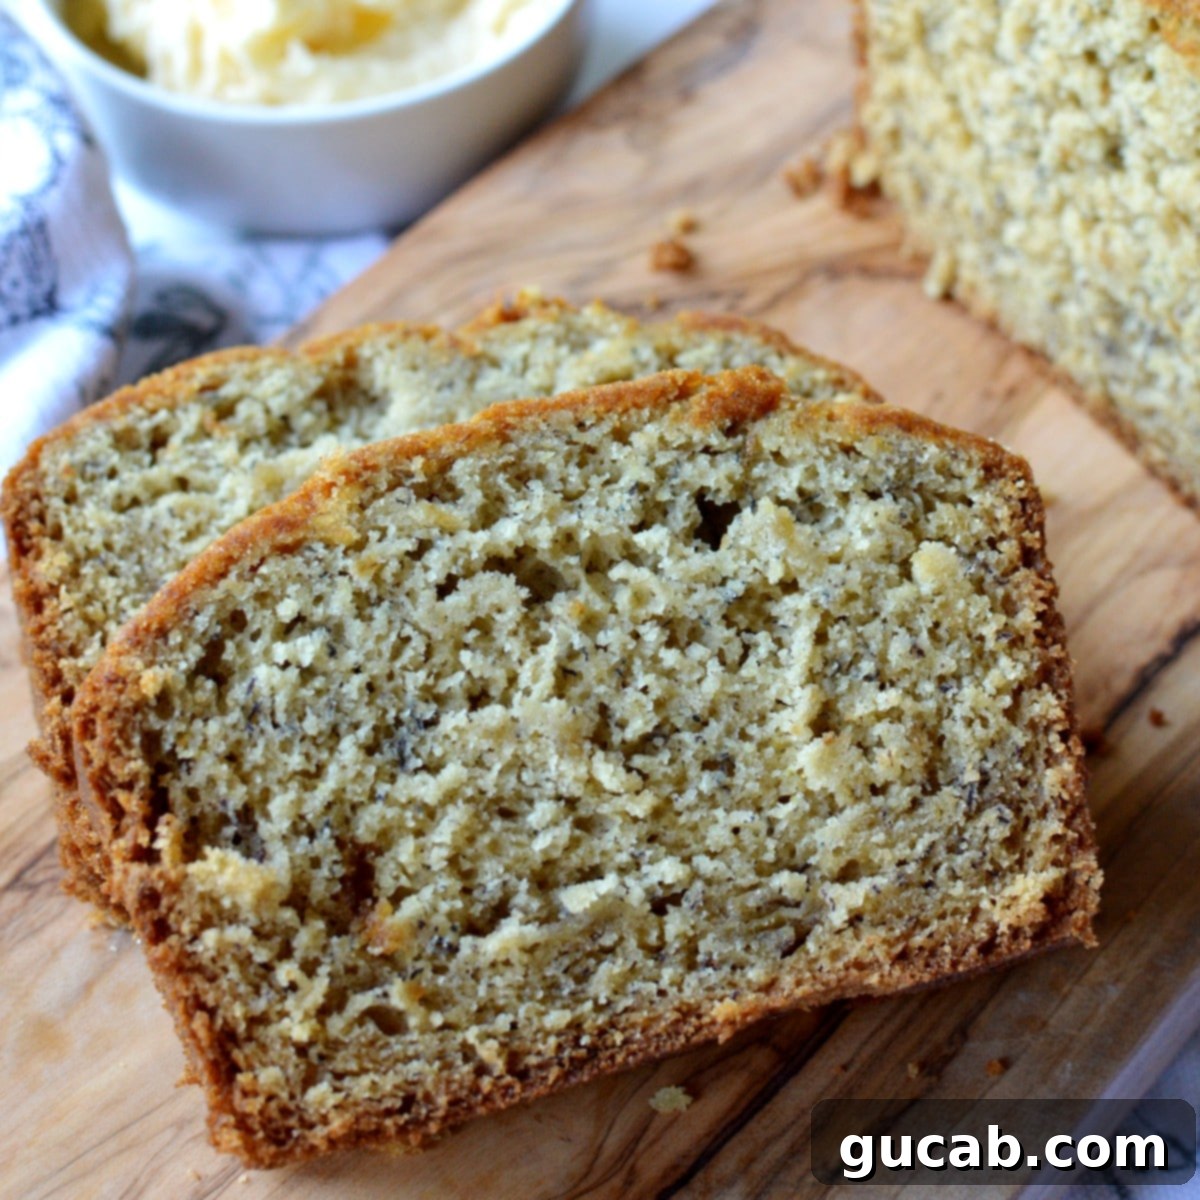
The Best One-Bowl Gluten-Free Banana Bread Recipe for Ultimate Moisture and Flavor
Discover the magic of homemade baking with this incredibly easy and utterly delicious gluten-free banana bread recipe! If you’ve been searching for a reliably moist, perfectly sweet, and effortlessly simple gluten-free banana bread, your quest ends here. This isn’t just another recipe; it’s a game-changer for anyone navigating gluten sensitivities or simply seeking a fantastic quick bread that tastes like pure comfort.
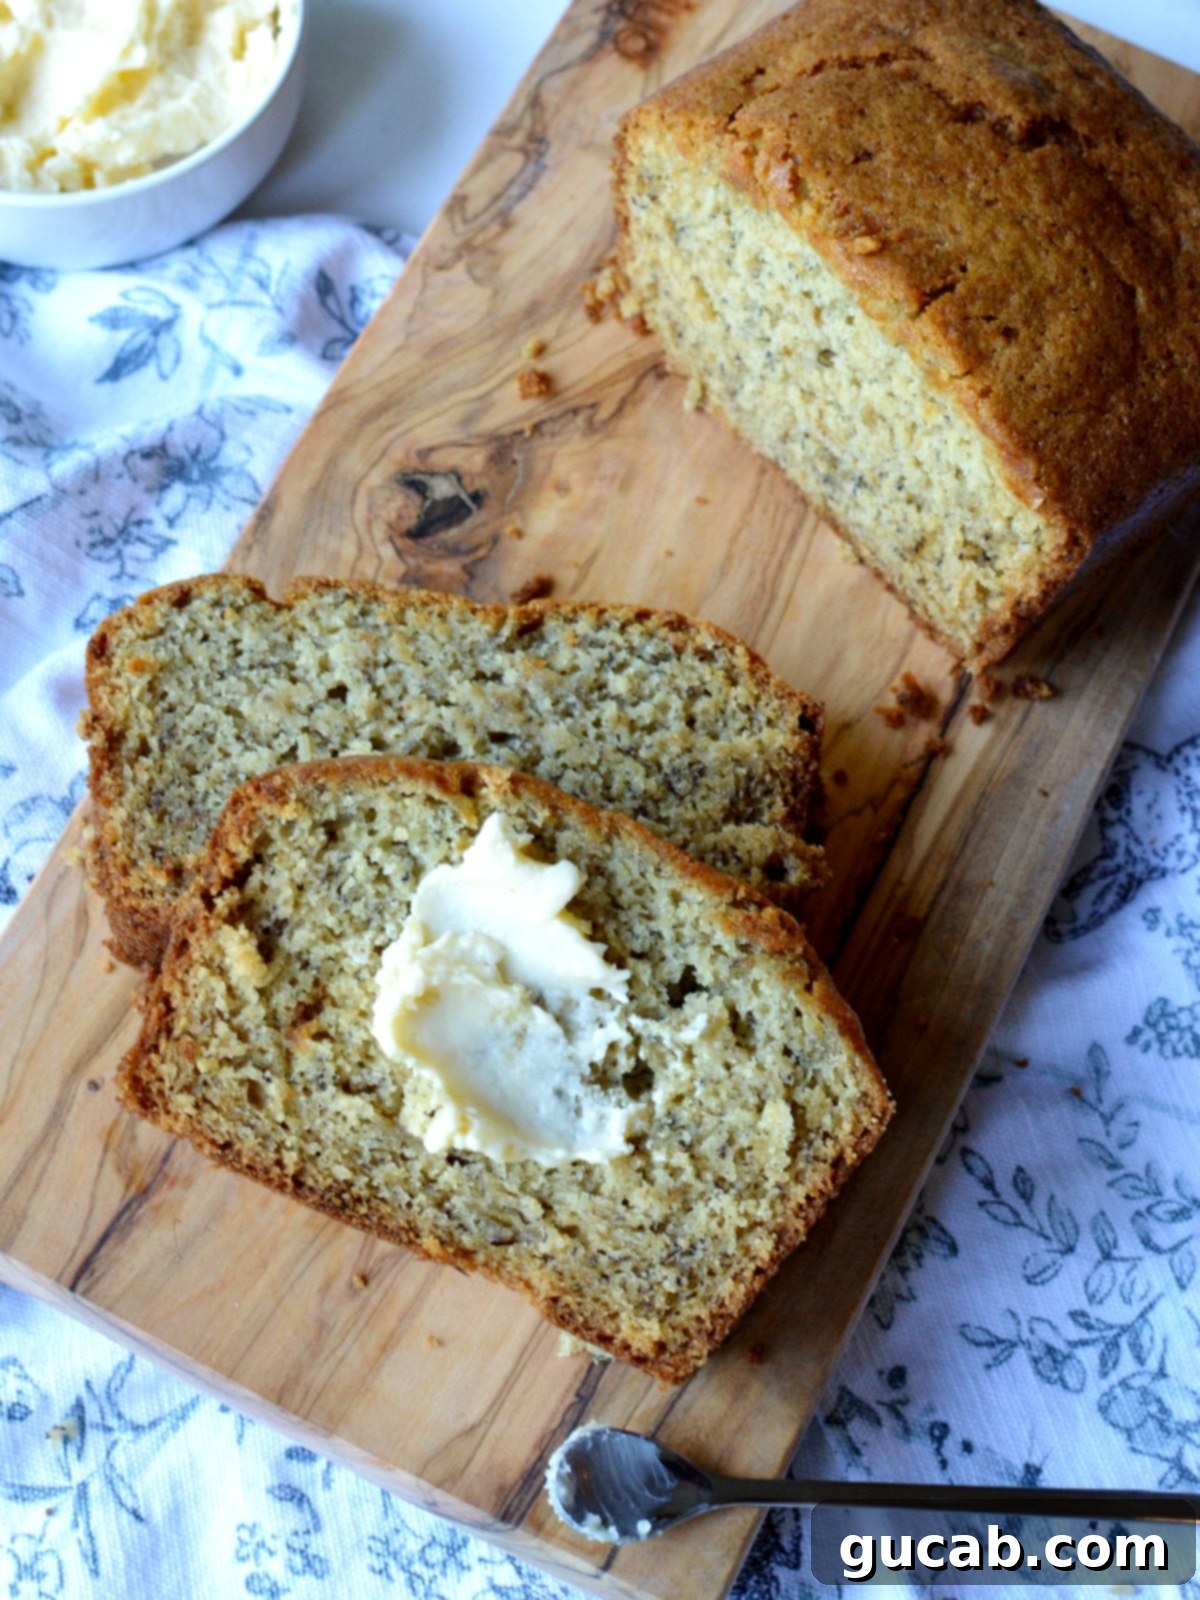
There’s a reason banana bread is a beloved classic worldwide, and this gluten-free version captures all that cozy, comforting essence without compromise. It’s perfect for breakfast, a delightful snack, or a sweet treat any time of day. What makes this recipe truly special is its one-bowl design, meaning minimal cleanup and maximum enjoyment. You won’t even need a stand mixer – just a large mixing bowl, a spatula or whisk, and a few simple ingredients. Prepare to fall in love with a banana bread that’s so good, you’ll want to make it again and again. (And if you enjoy this, you might also love our gluten-free zucchini bread for another delightful treat!)
Essential Ingredients for Perfect Gluten-Free Banana Bread
Crafting the perfect gluten-free banana bread starts with understanding the role each ingredient plays. Here’s a detailed look at what you’ll need and why these choices make all the difference for a moist, flavorful loaf:
- Granulated Sugar: Beyond just sweetness, granulated sugar contributes to the tender crumb and slight crispness of the crust. It’s the classic sweetener that balances the flavors of the bananas and brown sugar beautifully.
- Brown Sugar (packed): This is a secret weapon for deeply flavored and incredibly moist banana bread. Brown sugar contains molasses, which not only adds a rich, caramel-like complexity but also helps to retain moisture, ensuring your loaf stays tender for days. Make sure to pack it firmly when measuring for accurate results.
- Vegetable Oil: While butter is undeniably delicious in many baked goods, neutral-flavored vegetable oil (like canola or sunflower oil) is truly the star for achieving an exceptionally moist and tender quick bread. Unlike butter, which can make baked goods dense when cooled, oil stays liquid at room temperature, keeping your banana bread wonderfully soft and delicate. This choice is crucial for the signature melt-in-your-mouth texture.
- Ripe Bananas: The star of the show! For the best flavor and sweetness, always use ripe bananas. As bananas ripen, their starches convert into natural sugars, making them sweeter and easier to mash. Look for bananas with plenty of brown spots or even a mostly brown peel – but avoid entirely black or mushy bananas, as these can impart an overly fermented or “rotten” taste. Aim for a beautiful speckled brown, which indicates peak sweetness and ideal texture for baking. About 3 medium bananas will yield the ¾ cup of mashed banana needed.
- Eggs: Eggs serve as a vital binder in this recipe, holding all the ingredients together to create a cohesive batter. They also contribute to the structure, richness, and overall moisture of the banana bread, helping it to rise and set properly.
- Gluten-Free All-Purpose Flour: This is arguably the most critical ingredient for successful gluten-free baking. It’s essential to use a high-quality 1:1 gluten-free all-purpose flour blend that contains xanthan gum. Xanthan gum is a natural binder that mimics the elasticity and structure normally provided by gluten, preventing your banana bread from becoming crumbly. I highly recommend Bob’s Red Mill 1:1 All Purpose Gluten Free Flour, as this recipe was specifically tested and perfected with it. For more detailed information on choosing the right gluten-free flour, see the dedicated section below.
- Baking Powder & Baking Soda: These two leavening agents work in tandem to give your banana bread its beautiful rise and light, airy texture. Baking soda reacts with the acidic components in brown sugar and bananas, while baking powder provides an additional lift, ensuring a soft and fluffy crumb.
- Kosher Salt: Don’t skip the salt! A pinch of kosher salt doesn’t make the bread taste salty; instead, it acts as a flavor enhancer, balancing the sweetness and deepening the overall profile of the banana bread. I prefer kosher salt for its cleaner taste, but if you’re using regular table salt, remember it’s much finer and saltier, so use half the amount specified.
- Ground Cinnamon (optional, but highly recommended): A warm hint of cinnamon truly elevates the flavor profile of banana bread, adding a cozy spice that complements the sweet bananas perfectly. While optional, it’s a delicious addition that we strongly encourage for that classic banana bread aroma and taste.
Baking Bliss: Step-by-Step Guide to Making Your Gluten-Free Banana Bread
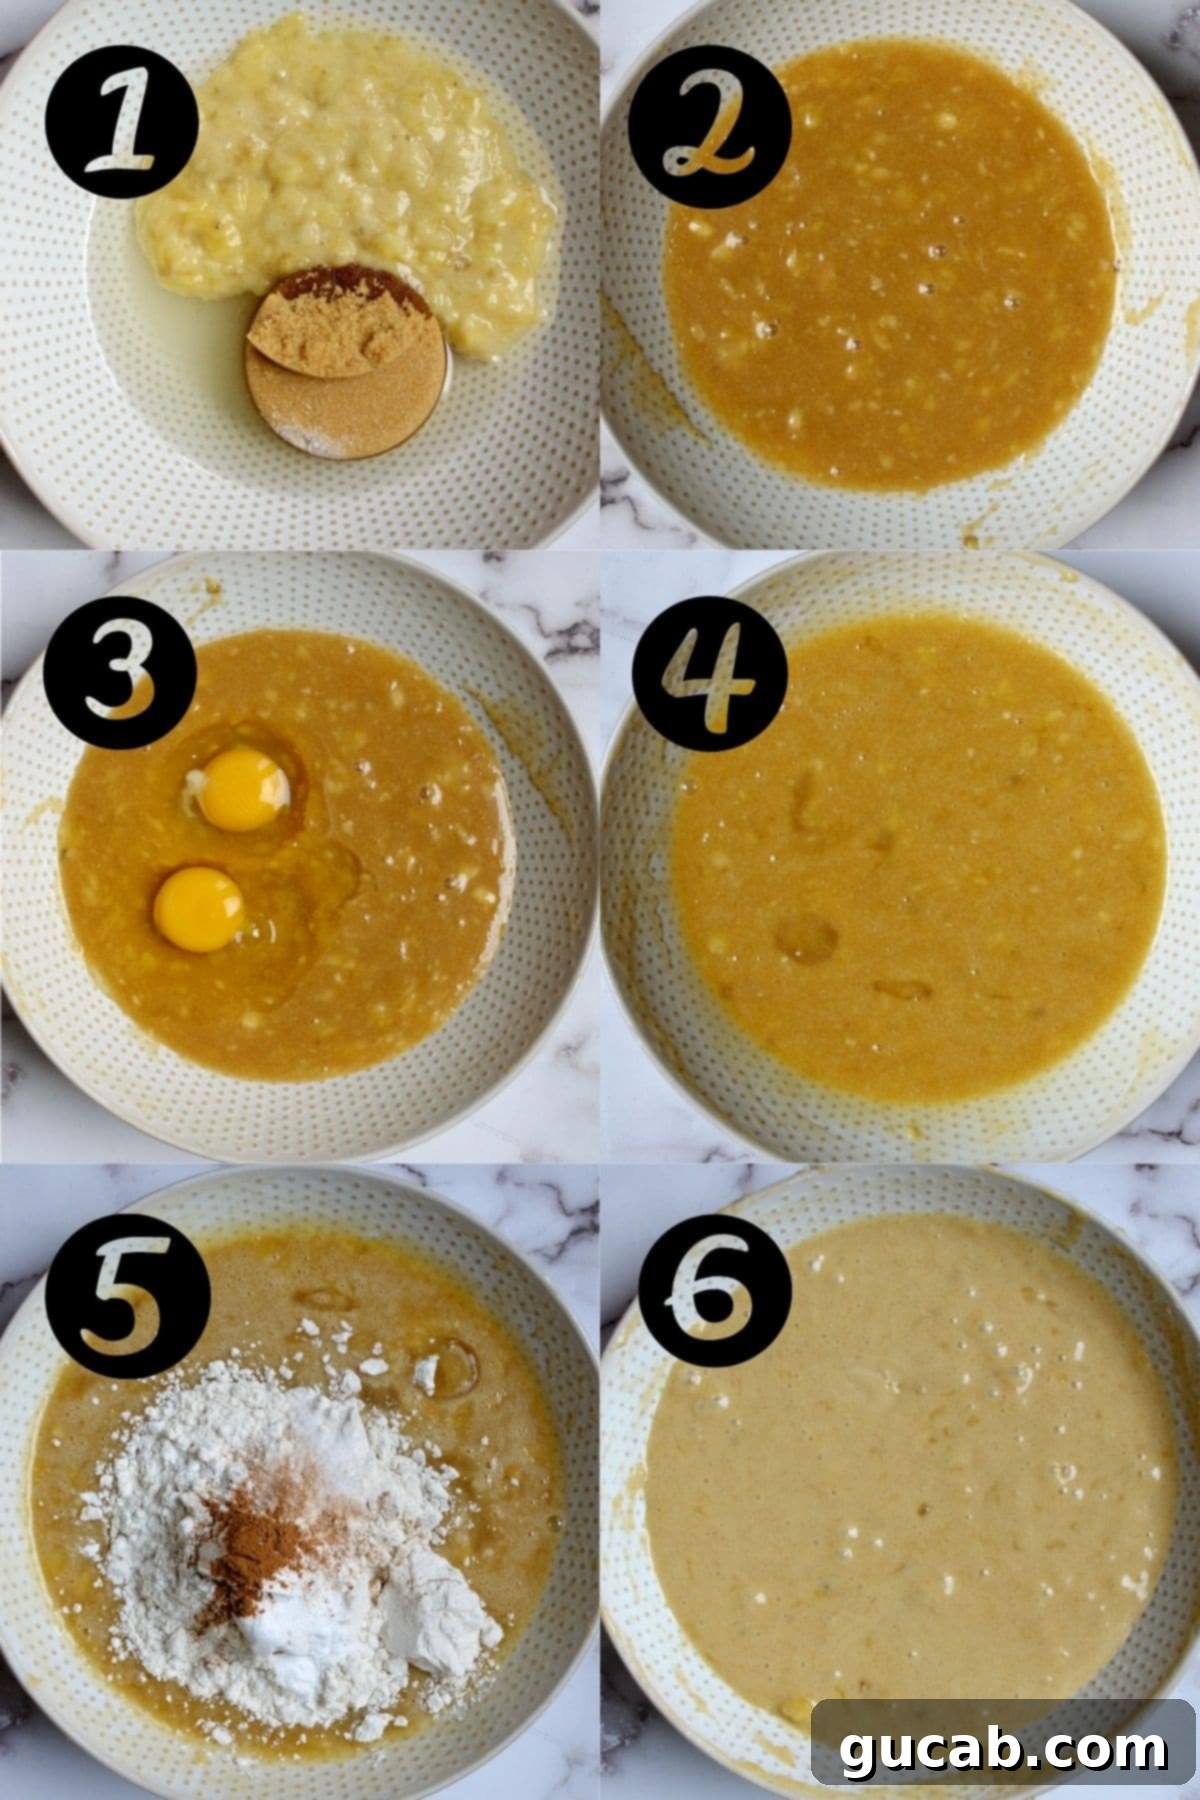
You’ll be amazed at how straightforward it is to whip up this delightful gluten-free banana bread. Forget about complicated steps or fancy equipment; this recipe is designed for ease and convenience. All you truly need is a spacious mixing bowl, a reliable spatula or whisk, and your standard measuring tools. No electric mixer is required, making it perfect for a relaxed baking session.
Preparing Your Baking Station
- Preheat Your Oven: Start by preheating your oven to 350°F (175°C). This ensures your oven is at the optimal temperature for even baking as soon as your batter is ready.
- Prepare Your Loaf Pan: Lightly grease a standard 9×5 inch (23×13 cm) loaf pan. You can use butter, cooking spray, or even line it with parchment paper for easy removal. This step prevents sticking and ensures a beautifully golden crust.
Crafting the Perfect Batter (The One-Bowl Method!)
- Combine Wet Ingredients & Sugars: In your large mixing bowl, combine both the granulated sugar and brown sugar. Add the vegetable oil and your perfectly mashed ripe bananas. Stir these ingredients together thoroughly with your spatula or whisk until they are well combined and form a uniform mixture. The sugars should dissolve a bit into the liquid, and the bananas should be evenly distributed.
- Incorporate the Eggs: Crack both eggs into the mixture. Continue to stir until the eggs are completely incorporated, ensuring no streaks of egg white remain. This helps create a smooth base for your dry ingredients.
- Add Dry Ingredients: Now, add the gluten-free all-purpose flour blend, baking powder, baking soda, kosher salt, and the optional (but recommended) cinnamon to the bowl. Stir gently but thoroughly. The key here is to mix until just combined – a smooth batter should form with no visible dry flour pockets. Be careful not to overmix, as this can lead to a tougher texture in quick breads, even gluten-free ones.
That’s it for the batter! The beauty of this one-bowl method is how quickly you go from ingredients to a ready-to-bake mixture. The hard part is already over, and the delicious aromas are just around the corner.
Baking to Golden Perfection
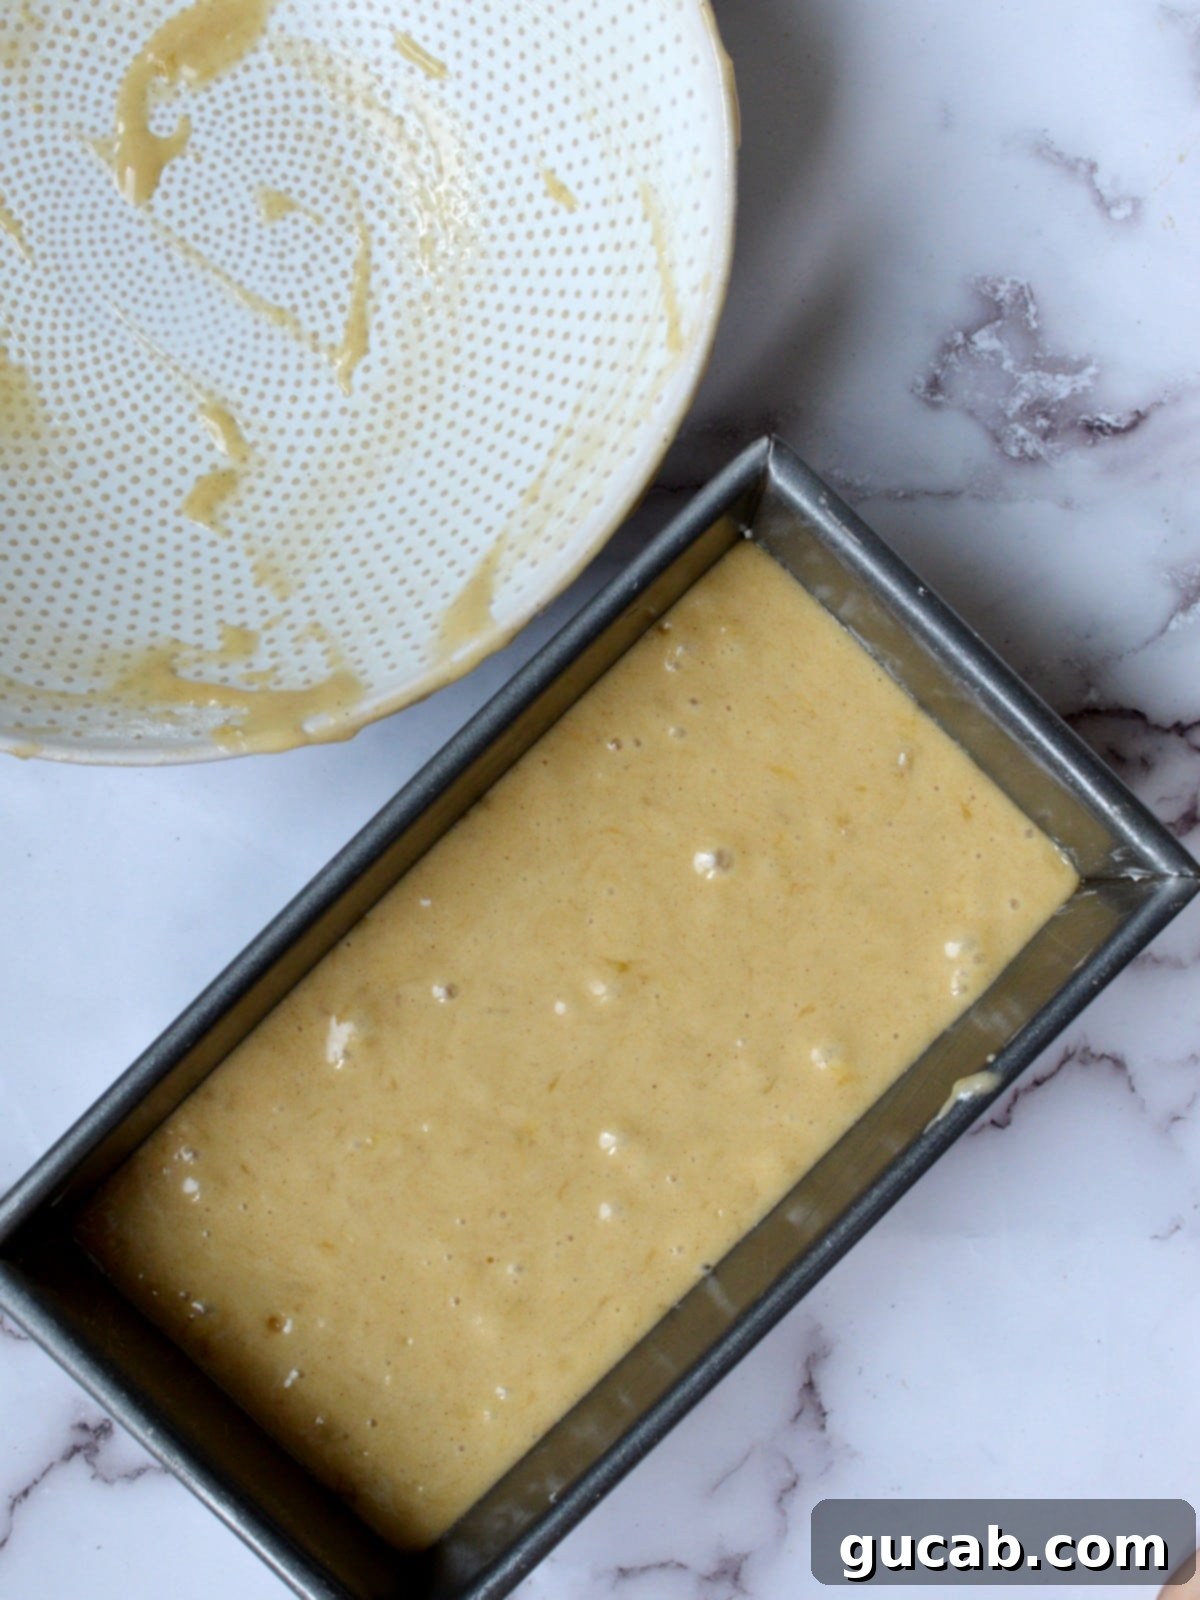
Once your batter is perfectly mixed, gently scrape it into your prepared loaf pan. Distribute the batter evenly, and if desired, smooth the top with your spatula. Place the pan in your preheated oven and bake for approximately 45 to 50 minutes. The banana bread is ready when the top is beautifully golden brown, and a wooden skewer or toothpick inserted into the center comes out clean or with just a few moist crumbs attached. Avoid under-baking to prevent a gummy texture, but also be mindful not to over-bake, which can lead to dryness.
Expert Tips & Creative Substitutions for Your Best Gluten-Free Banana Bread
Even though this recipe is incredibly simple, a few expert tips can elevate your gluten-free banana bread from great to absolutely extraordinary. Plus, we’ll explore some fun ways to customize your loaf!
- The Golden Rule: Ripe Bananas are Non-Negotiable. We cannot stress this enough – the ripeness of your bananas is the single most important factor for flavor and moisture in your banana bread. As bananas ripen, their starches transform into natural sugars, intensifying their sweetness and making them incredibly easy to mash. Using under-ripe (green or firm yellow) bananas will result in a less flavorful, less sweet, and potentially drier loaf. Aim for heavily speckled bananas, or even those mostly brown, but avoid anything with a truly rotten or sour smell. If your bananas aren’t quite ripe enough, you can speed up the process by placing them in a paper bag with an apple for a day or two, or even baking them unpeeled on a baking sheet at 300°F (150°C) for 15-30 minutes until soft and black.
- Unleash Your Creativity with Mix-Ins and Toppings! This banana bread serves as a fantastic base for all sorts of delicious additions. I’m a huge fan of chocolate chips (dark, semi-sweet, or milk chocolate all work wonderfully!), but the possibilities are endless. Consider adding:
- Nuts: Chopped walnuts or pecans add a delightful crunch and earthy flavor.
- Dried Fruits: Dried cranberries, golden raisins, or chopped dried cherries bring bursts of fruity sweetness.
- Coconut: Shredded coconut (sweetened or unsweetened) for a tropical twist.
- Cocoa Nibs: For a sophisticated, slightly bitter chocolate note and crunch.
- Other Spices: A pinch of nutmeg or allspice can complement the cinnamon beautifully.
For best results, lightly toss your chosen mix-ins (about 1/2 to 1 cup total) with a tablespoon of your gluten-free flour before adding them to the batter. This helps prevent them from sinking to the bottom of the loaf. For toppings, sprinkle sliced almonds, turbinado sugar (for a crunchy crust), or an extra handful of chocolate chips over the top of the batter before baking.
- Patience is Key: Let Your Banana Bread Cool. We know it’s tempting to dive into that warm, fragrant loaf straight out of the oven, but resist the urge! Allowing your banana bread to cool in the pan for at least 15-20 minutes, and then completely on a wire rack, is crucial. Hot bread is delicate and prone to breaking apart when removed from the pan. Cooling also allows the internal structure to set properly and the flavors to fully develop, resulting in a perfectly sliced and even more delicious loaf.
- Check for Doneness Accurately: While baking times are a good guide, oven temperatures can vary. To ensure your banana bread is perfectly baked, always rely on the toothpick test. Insert a wooden skewer or toothpick into the very center of the loaf. It should come out clean or with only a few moist crumbs attached. If you see wet batter, continue baking in 5-minute increments until done.
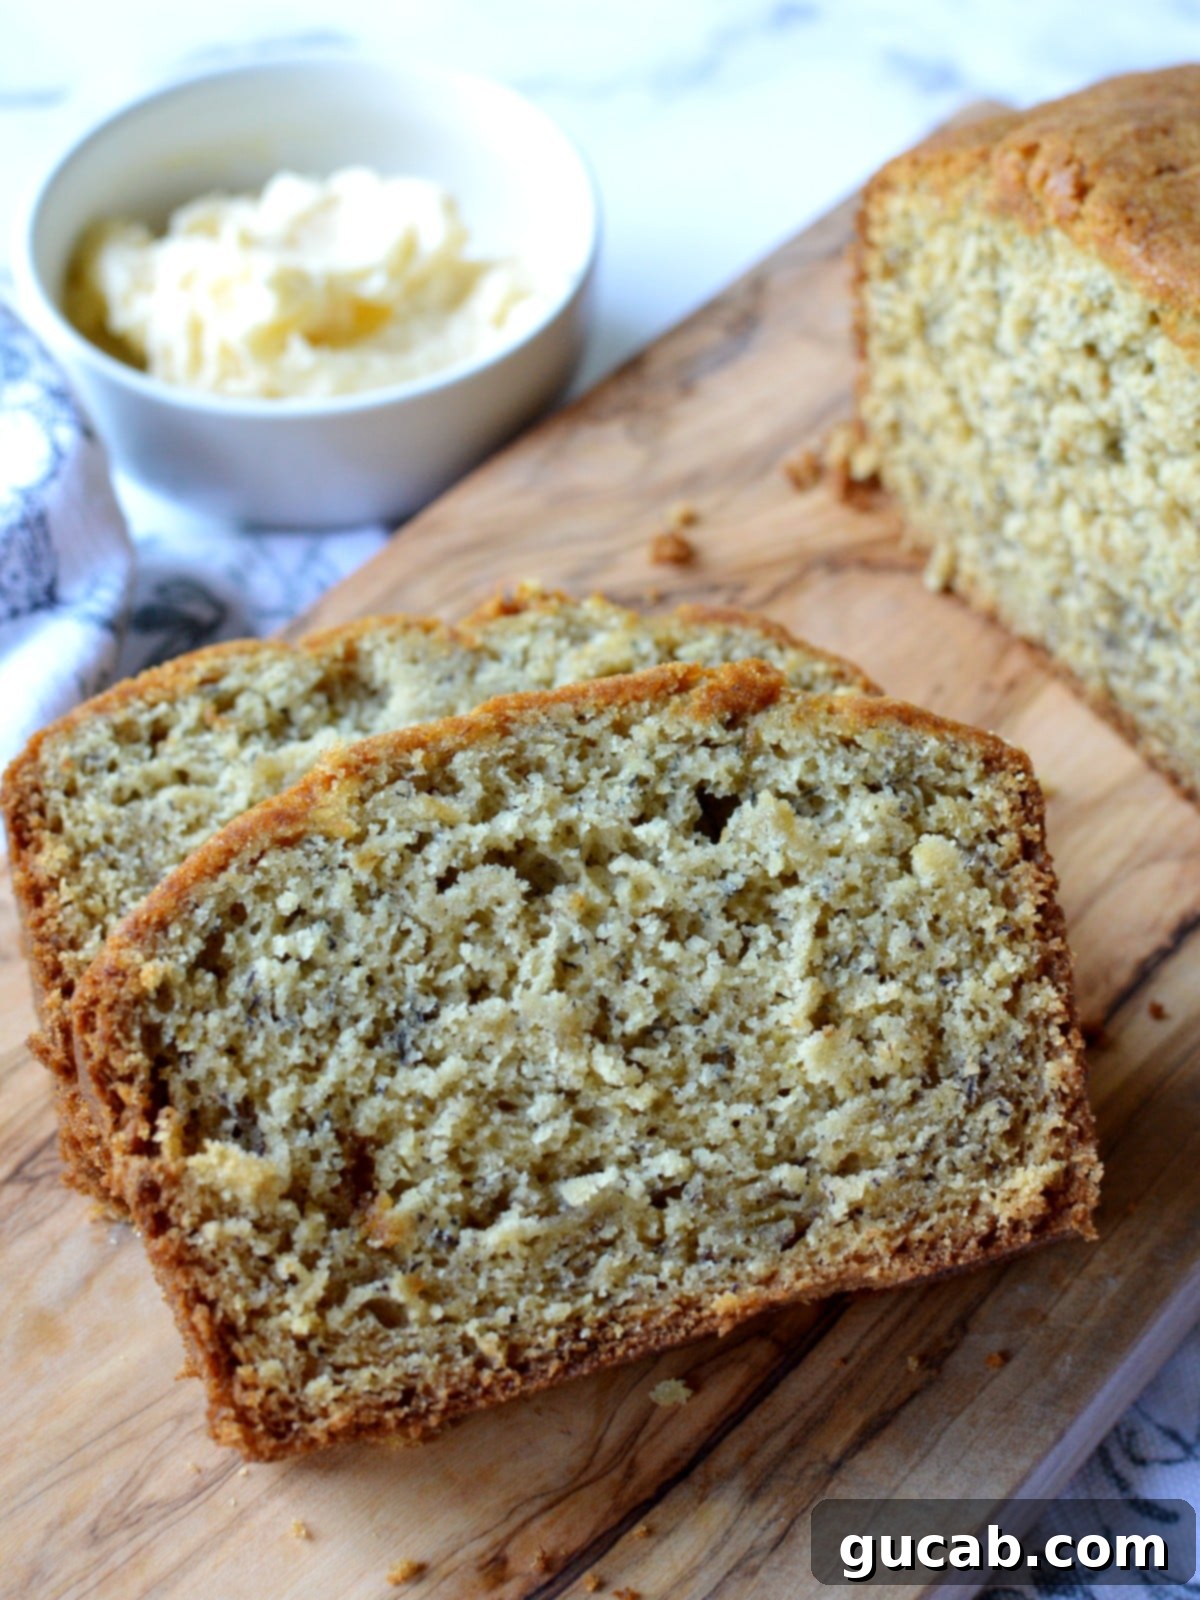
Storing and Freezing Your Gluten-Free Banana Bread for Lasting Freshness
Proper storage is essential to keep your delicious gluten-free banana bread fresh and moist for as long as possible. A common mistake is storing warm bread, which leads to condensation and can make your loaf soggy or even prone to mold.
Always ensure the banana bread is completely cooled first. This means letting it come to room temperature for several hours or even overnight. Once fully cooled, you can place the entire loaf or individual slices in an airtight container or wrap it tightly in plastic wrap. On the counter, your gluten-free banana bread will stay fresh and moist for up to 3 days.
For longer storage, freezing is an excellent option and my preferred method, especially since it’s hard to finish an entire loaf alone! Freezing slices allows for convenient, single-serving portions whenever a craving strikes.
To freeze effectively, slice the cooled banana bread into your desired portions. Arrange these slices in a single layer on a parchment-lined baking sheet and place them in the freezer for about 1-2 hours, or until solid. This “flash freezing” prevents the slices from sticking together. Once frozen, wrap each slice individually in plastic wrap, then aluminum foil (for extra protection against freezer burn). Place the wrapped slices into a freezer-safe gallon zip-top bag, label it with the date, and store it in the freezer. For the freshest taste and best texture, aim to use within 3 months.
Choosing the Right Gluten-Free Flour Blend for Baking Success
The world of gluten-free baking can sometimes feel daunting, especially when it comes to flour. Unlike traditional wheat flour, gluten-free all-purpose flour is actually a carefully crafted blend of various flours and starches designed to mimic the properties of gluten. These blends typically include ingredients like rice flour, potato starch, tapioca starch, and often, a binder like xanthan gum.
It is absolutely crucial to use an all-purpose gluten-free flour blend that explicitly states it is “1:1” or “measure for measure” and contains xanthan gum. The presence of xanthan gum is vital as it provides the elasticity and structure that gluten normally would, preventing your baked goods from being crumbly or falling apart. Different brands have slightly different ratios and compositions, which can significantly impact the taste and texture of your final product.
My top recommendation for this specific recipe is Bob’s Red Mill 1:1 Gluten Free All Purpose Flour. This is the blend I used to test and perfect this recipe, ensuring the exact moistness and texture described. While other brands exist, results may vary. If Bob’s Red Mill is unavailable, King Arthur Baking Company’s Measure for Measure Gluten-Free Flour is often considered a close second in terms of performance and consistency for 1:1 substitutions.
Frequently Asked Questions About Gluten-Free Banana Bread
Can I use frozen bananas for this recipe?
Absolutely! Frozen ripe bananas are excellent for banana bread. Just be sure to thaw them completely before mashing. You might notice some extra liquid after thawing; drain off any excess water to prevent the batter from becoming too thin, which could affect the final texture of your bread.
My gluten-free banana bread came out dry/gummy. What went wrong?
Several factors can lead to an undesirable texture. A dry loaf is often due to over-baking or not enough moisture (e.g., under-ripe bananas). A gummy texture can result from under-baking or, surprisingly, from over-mixing the batter, which can activate starches excessively even in gluten-free flour blends. Ensure your oven temperature is accurate and that your bananas are very ripe!
Can I turn this recipe into gluten-free banana muffins?
Yes, this recipe works beautifully for muffins! Simply divide the batter into a greased muffin tin (filling about two-thirds full). Bake at 375°F (190°C) for 20-25 minutes, or until a toothpick inserted into the center comes out clean. Adjust baking time as needed, as muffins cook faster than a loaf.
Is this recipe dairy-free?
Yes, as written, this recipe is naturally dairy-free since it uses vegetable oil instead of butter. This makes it a great option for those with dairy allergies or sensitivities!
Other Gluten-Free Recipes You Might Like
- Gluten Free Chocolate Pound Cake
- Gluten Free Pumpkin Chocolate Bread
- Gluten Free Pumpkin Muffins
- Gluten Free Marble Cake
- Banana Bread with Frozen Bananas
Gluten Free Banana Bread
Carolyn
Pin Recipe
Equipment
-
Large mixing bowl
-
Spatula or whisk
-
Liquid Measuring cup
-
Measuring cups
-
Measuring spoons
Ingredients
- ⅓ cup sugar
- ½ cup brown sugar, packed
- ½ cup vegetable oil
- ¾ cup Mashed banana
- 2 eggs
- 1 ¼ cup Bob’s Red Mill 1:1 All Purpose Gluten Free Flour
- 1 ½ teaspoons Baking powder
- ½ teaspoons Baking soda
- ½ teaspoon Kosher salt
- ¼ teaspoon Cinnamon (optional)
Instructions
-
Preheat the oven to 350 degrees Fahrenheit. Grease a 9 by 5 loaf pan and set aside.
-
In a large bowl combine sugar, brown sugar, vegetable oil, and mashed banana. Stir until well combined.
-
Add both eggs and mix together with a spatula or whisk.
-
Add the gluten free flour, baking powder, baking soda, salt and cinnamon. Stir until a smooth batter forms and everything is incorporated.
-
Scrape the batter into the greased loaf pan and place it in the oven. Bake until the top is golden brown and a toothpick comes out clean around 45 to 50 minutes.
Nutrition
