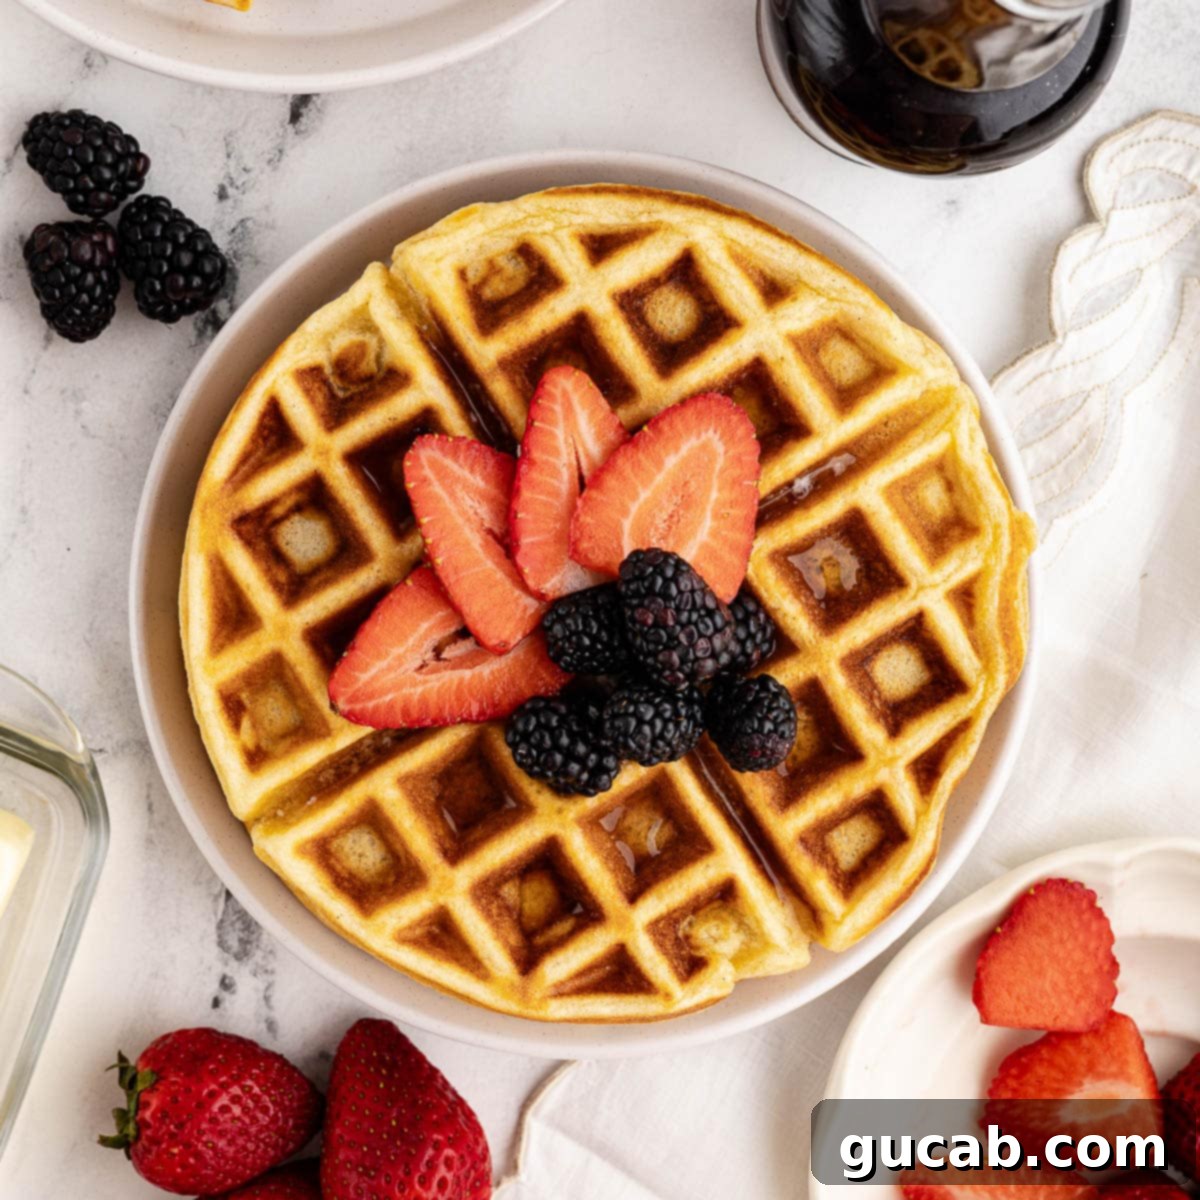
The Ultimate Guide to Crispy, Fluffy, and Delicious Gluten-Free Waffles
Tired of sad, dense, or crumbly gluten-free waffles? Prepare to be amazed! This is hands-down the best gluten-free waffle recipe you’ll ever try. Our carefully crafted method creates waffles that are perfectly crispy and golden on the outside, yet wonderfully soft and airy on the inside. They are so incredibly delicious, you’ll find yourself wondering if they’re truly gluten-free – and your guests certainly won’t believe it! Get ready to transform your breakfast routine with these irresistible, homemade gluten-free waffles.
Why This is The Best Gluten-Free Waffle Recipe You’ll Ever Make
For those living a gluten-free lifestyle, finding truly satisfying breakfast staples can often feel like a never-ending quest. Many gluten-free recipes for waffles fall short, resulting in a texture that’s either too heavy, too dry, or simply lacks that classic waffle charm. But fear not! Our recipe for the best gluten-free waffles is here to change everything you thought you knew about GF baking. We’ve meticulously developed this recipe to ensure you can avoid gluten AND enjoy truly amazing waffles. Say goodbye to those disappointing, sad, saggy, and dense waffles – we certainly have!
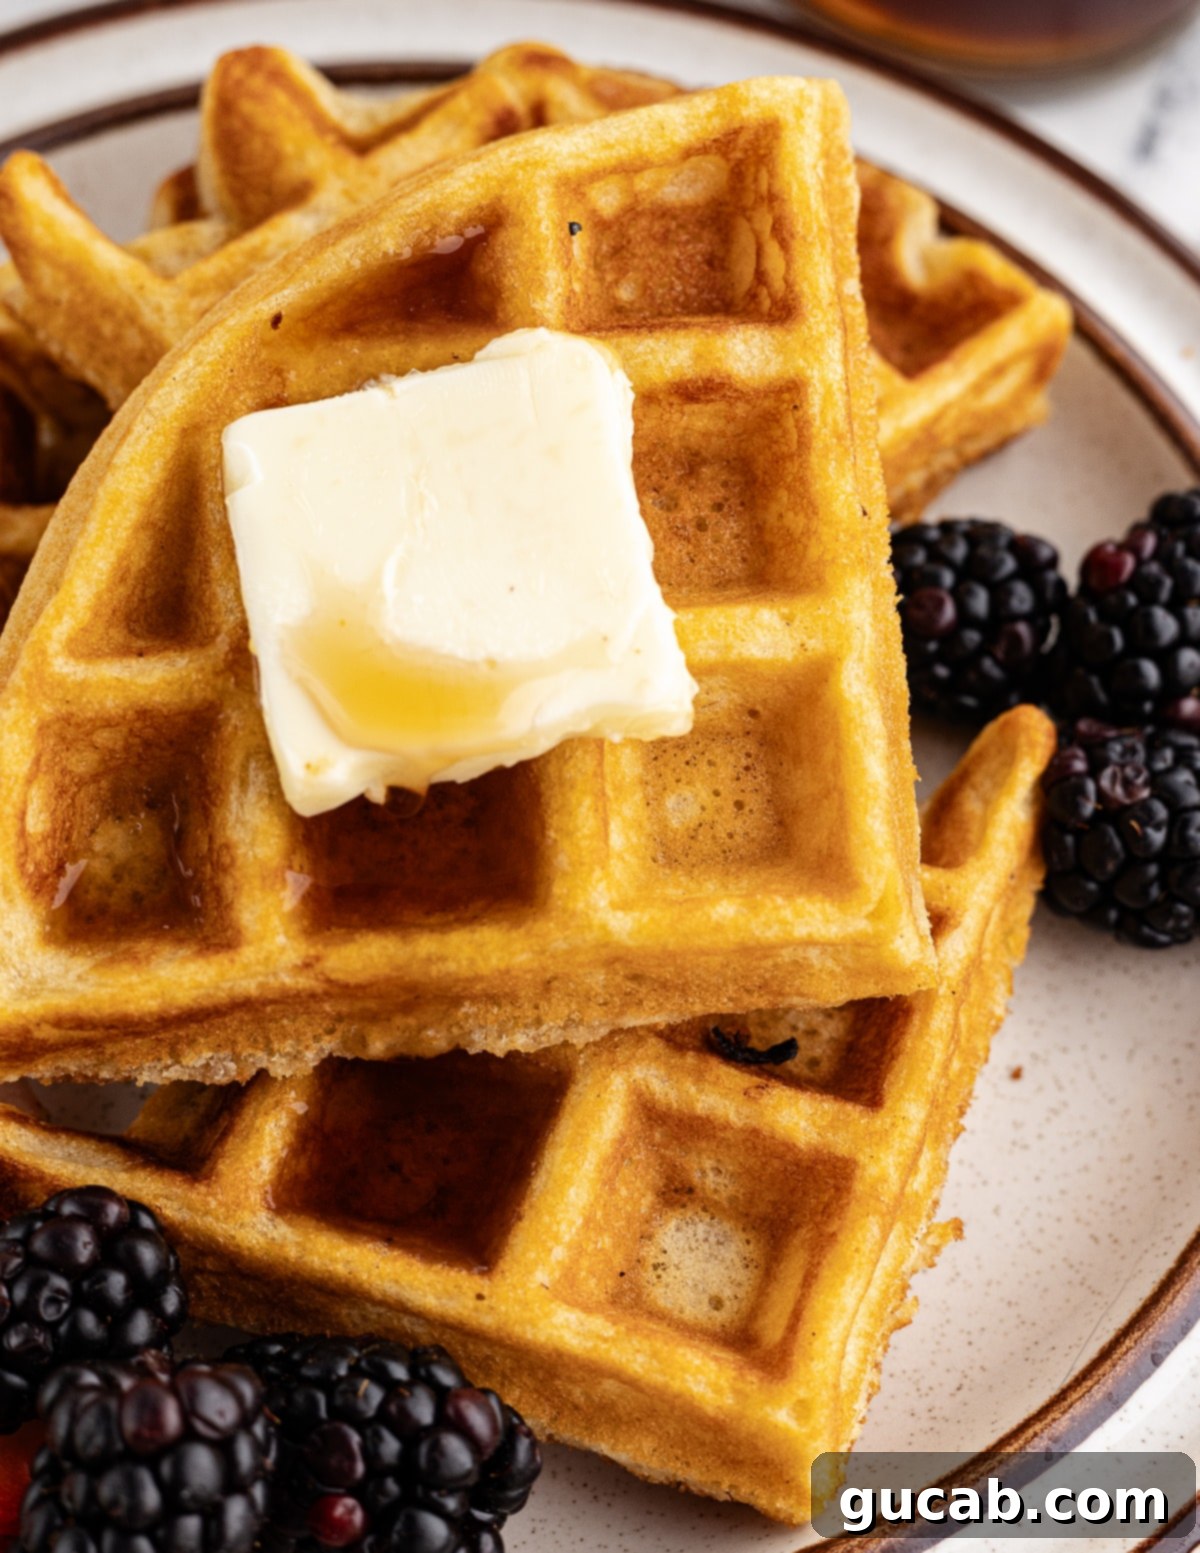
These gluten-free waffles are nothing short of dreamy! Imagine biting into a waffle with wonderfully crispy edges, giving way to a pillowy-soft, light, and airy middle. Every bite is a taste of heaven, especially when generously drizzled with warm maple syrup. Our one and only goal lately has been to devour these light and crispy GF waffles as if our lives depended on it, and we’ve successfully checked that box. They’re not just “good for gluten-free”; they’re simply fantastic waffles, period.
Key Ingredients for Unforgettable Gluten-Free Waffles
Achieving the perfect gluten-free waffle texture requires a thoughtful selection of ingredients. Each component plays a vital role in creating that desirable crispy exterior and fluffy interior. Here’s a closer look at the essential ingredients you’ll need:
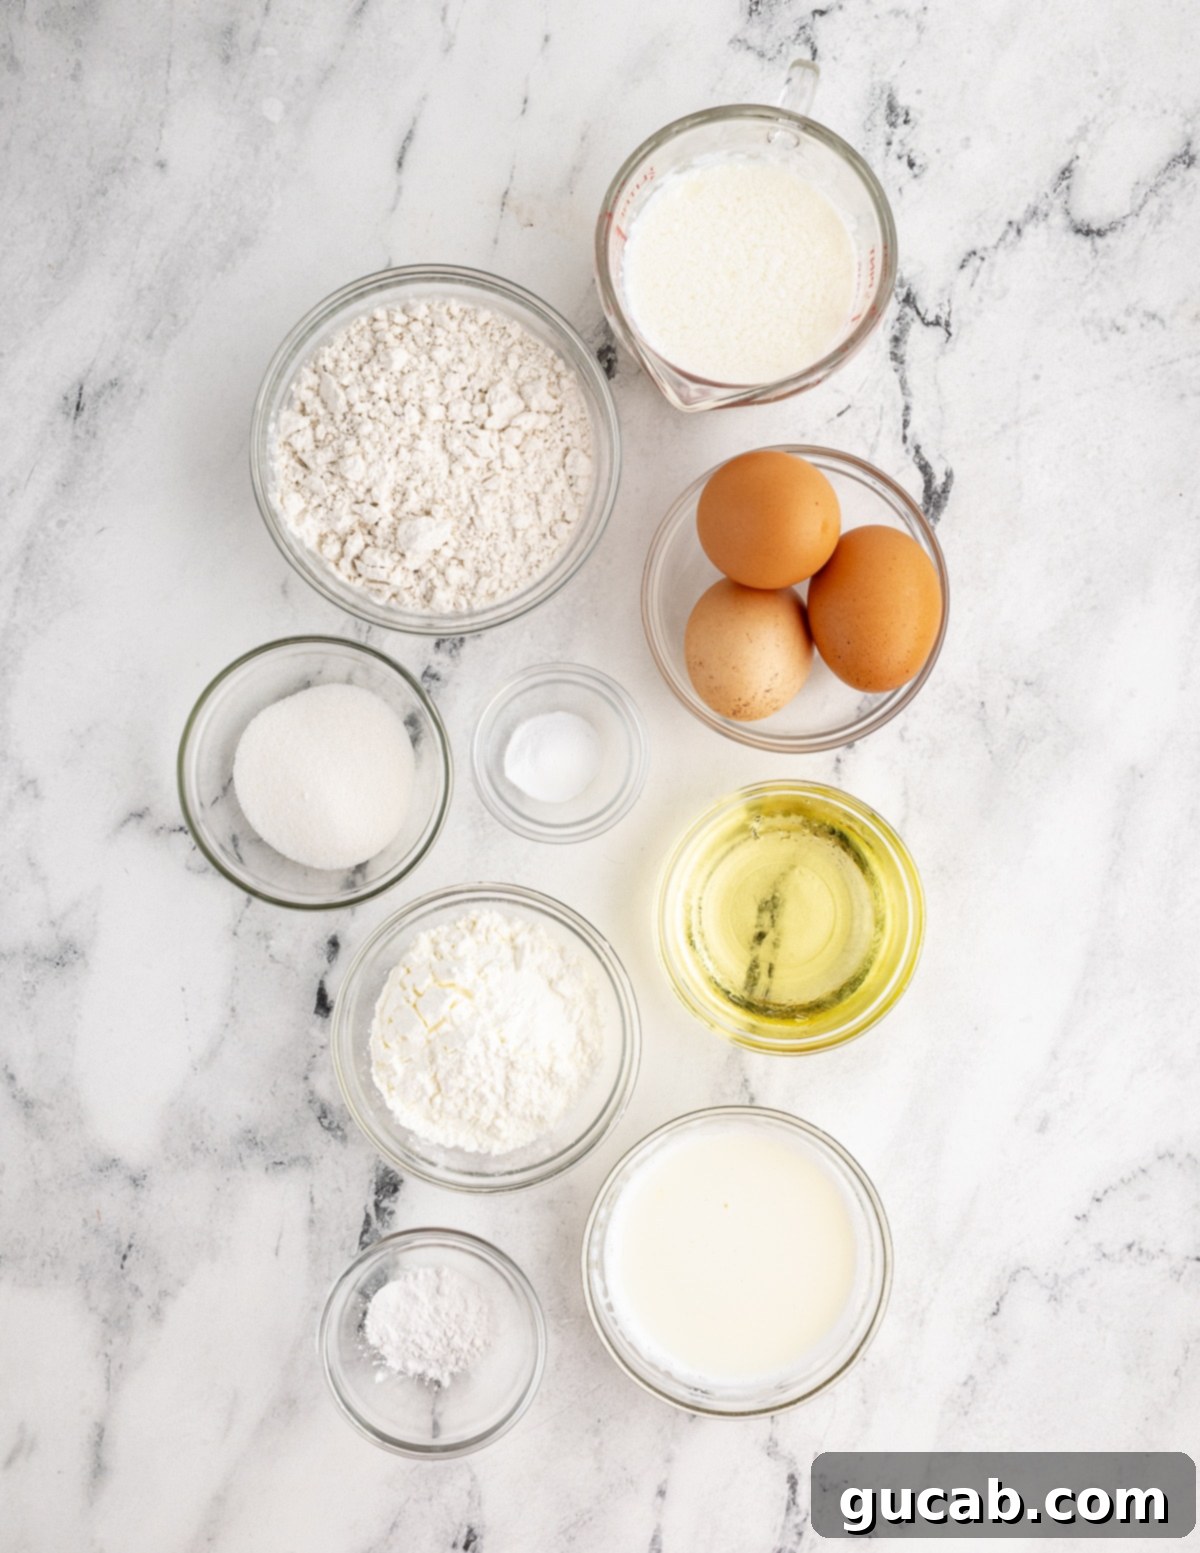
- Gluten-Free All-Purpose Flour Blend: This is the foundation of your gluten-free waffles. I’ve personally tested this recipe with both King Arthur brand and Bob’s Red Mill. While both produce great results, I lean towards Bob’s Red Mill 1:1 Gluten-Free Baking Flour (the one in the blue bag) because it offers an excellent product with little to no aftertaste, which can be a common issue with some GF blends. This specific blend is widely available at stores like Target or on Amazon, making it easy to find. It’s crucial to use a blend specifically designed for 1:1 baking to ensure the right flour-to-liquid ratio and texture.
- Cornstarch: A small but mighty addition! Just a little bit of cornstarch in the batter is the secret weapon for achieving that irresistibly nice and crispy exterior that sets these waffles apart from others. It helps to create a delicate crunch without drying out the interior.
- Baking Powder & Baking Soda: These are your leavening agents, essential for a magnificent rise and that airy, fluffy texture. If your baking powder or baking soda has been sitting in your pantry for what feels like over a decade, it’s definitely worth investing in fresh ones! Old leaveners lose their effectiveness over time, and this will significantly impact the fluffiness of your gluten-free waffles.
- Buttermilk: This ingredient is absolutely critical for the texture and subtle tang of these waffles. It’s important to use store-bought buttermilk; homemade buttermilk substitutes (like milk with lemon juice or vinegar) won’t give you the same rich flavor and chemical reaction needed for the perfect rise and tenderness. The acidity in buttermilk reacts with the baking soda, contributing to the light and airy crumb.
- Vegetable Oil (or Canola Oil): A neutral-flavored oil helps keep the waffles moist and contributes to their crispy finish. I find buying mine in bulk at Costco ensures I never run out! If you prefer to avoid seed oils, you can easily swap it with another neutral-flavored oil like light olive oil, avocado oil, or even melted unsalted butter for a richer flavor.
- Sugar: Beyond adding a touch of sweetness, a tablespoon of granulated sugar serves a crucial purpose in this recipe: it helps stabilize the egg whites when you whip them. This stability is key to maintaining their volume, which is vital for the waffles’ light texture.
- Eggs (separated): The secret ingredient to this spectacular gluten-free waffle recipe! Separating the eggs and whipping the egg whites into stiff peaks before folding them into the batter creates an unparalleled light, heavenly, and airy texture that truly elevates these waffles above the rest. The egg yolk contributes richness and binds the ingredients.
How to Make the Best Gluten-Free Waffles: A Step-by-Step Guide
While making these amazing gluten-free waffles isn’t overly complicated, they do require a little extra attention and a few specific steps to achieve their signature light and crispy perfection. Trust us, the minimal extra effort is SO worth it in the end when you bite into these unbelievably delicious homemade GF waffles.
Here’s a detailed breakdown of what you need to do:
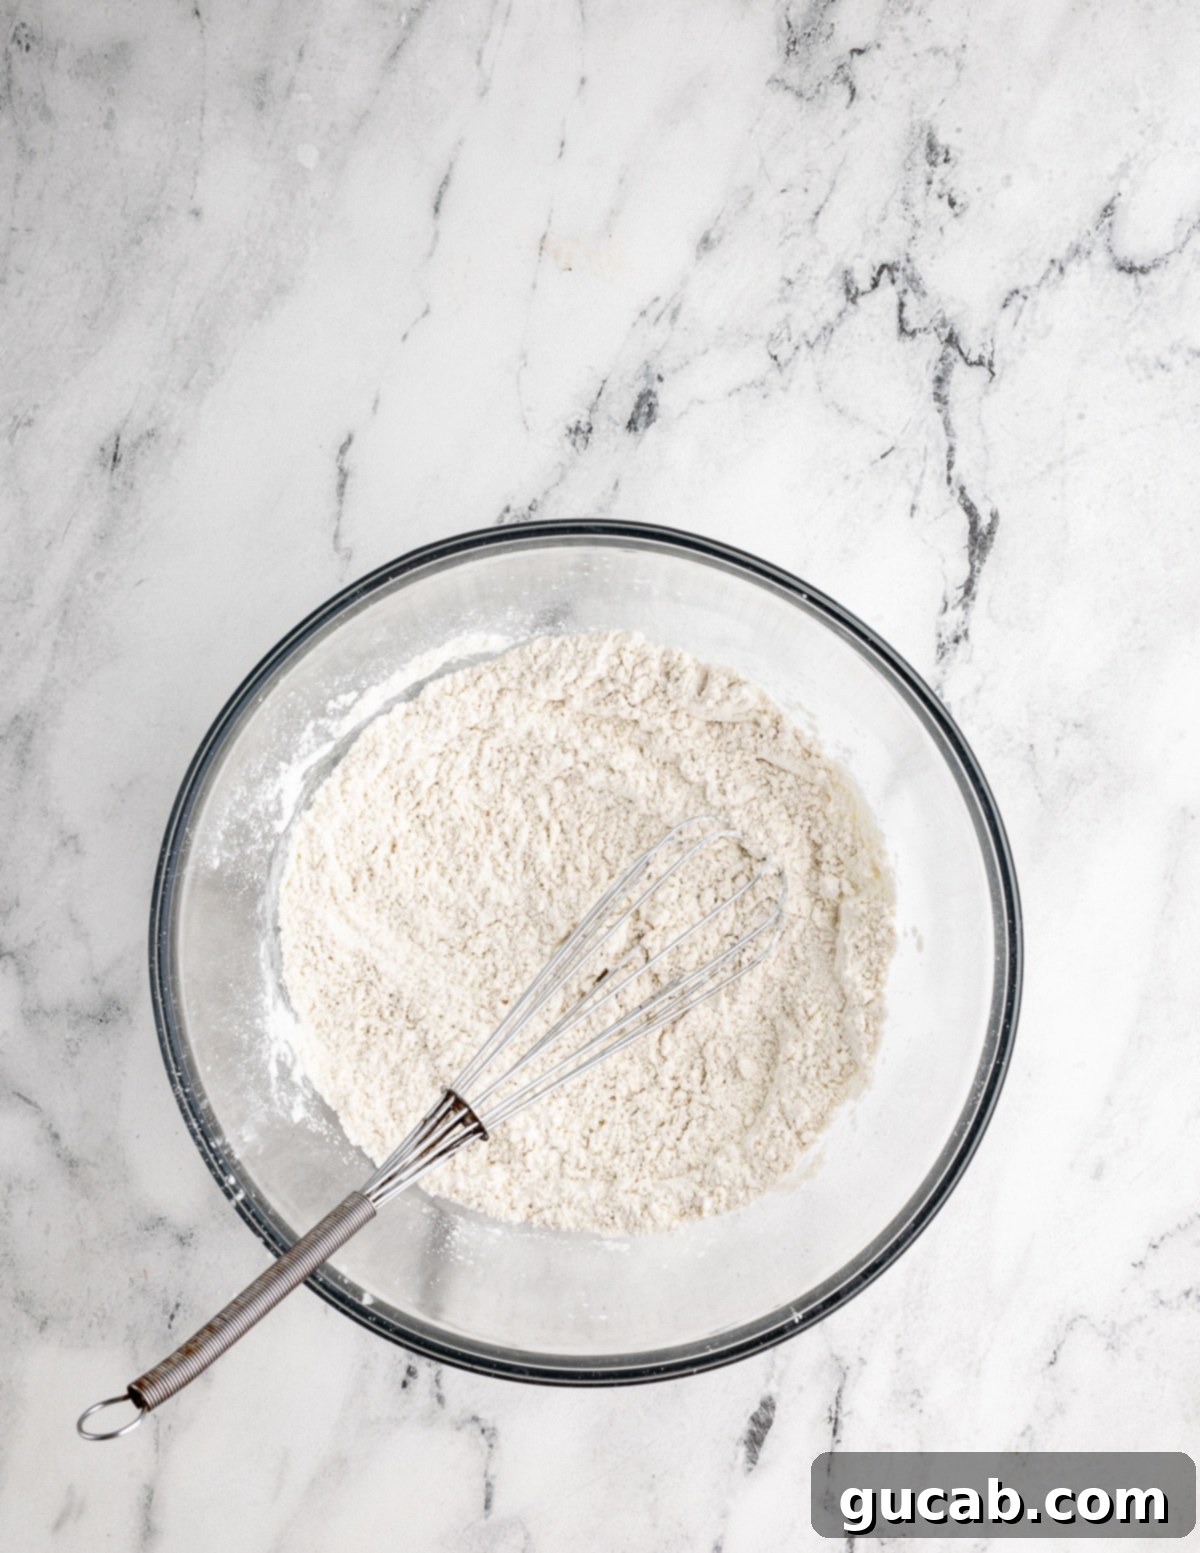
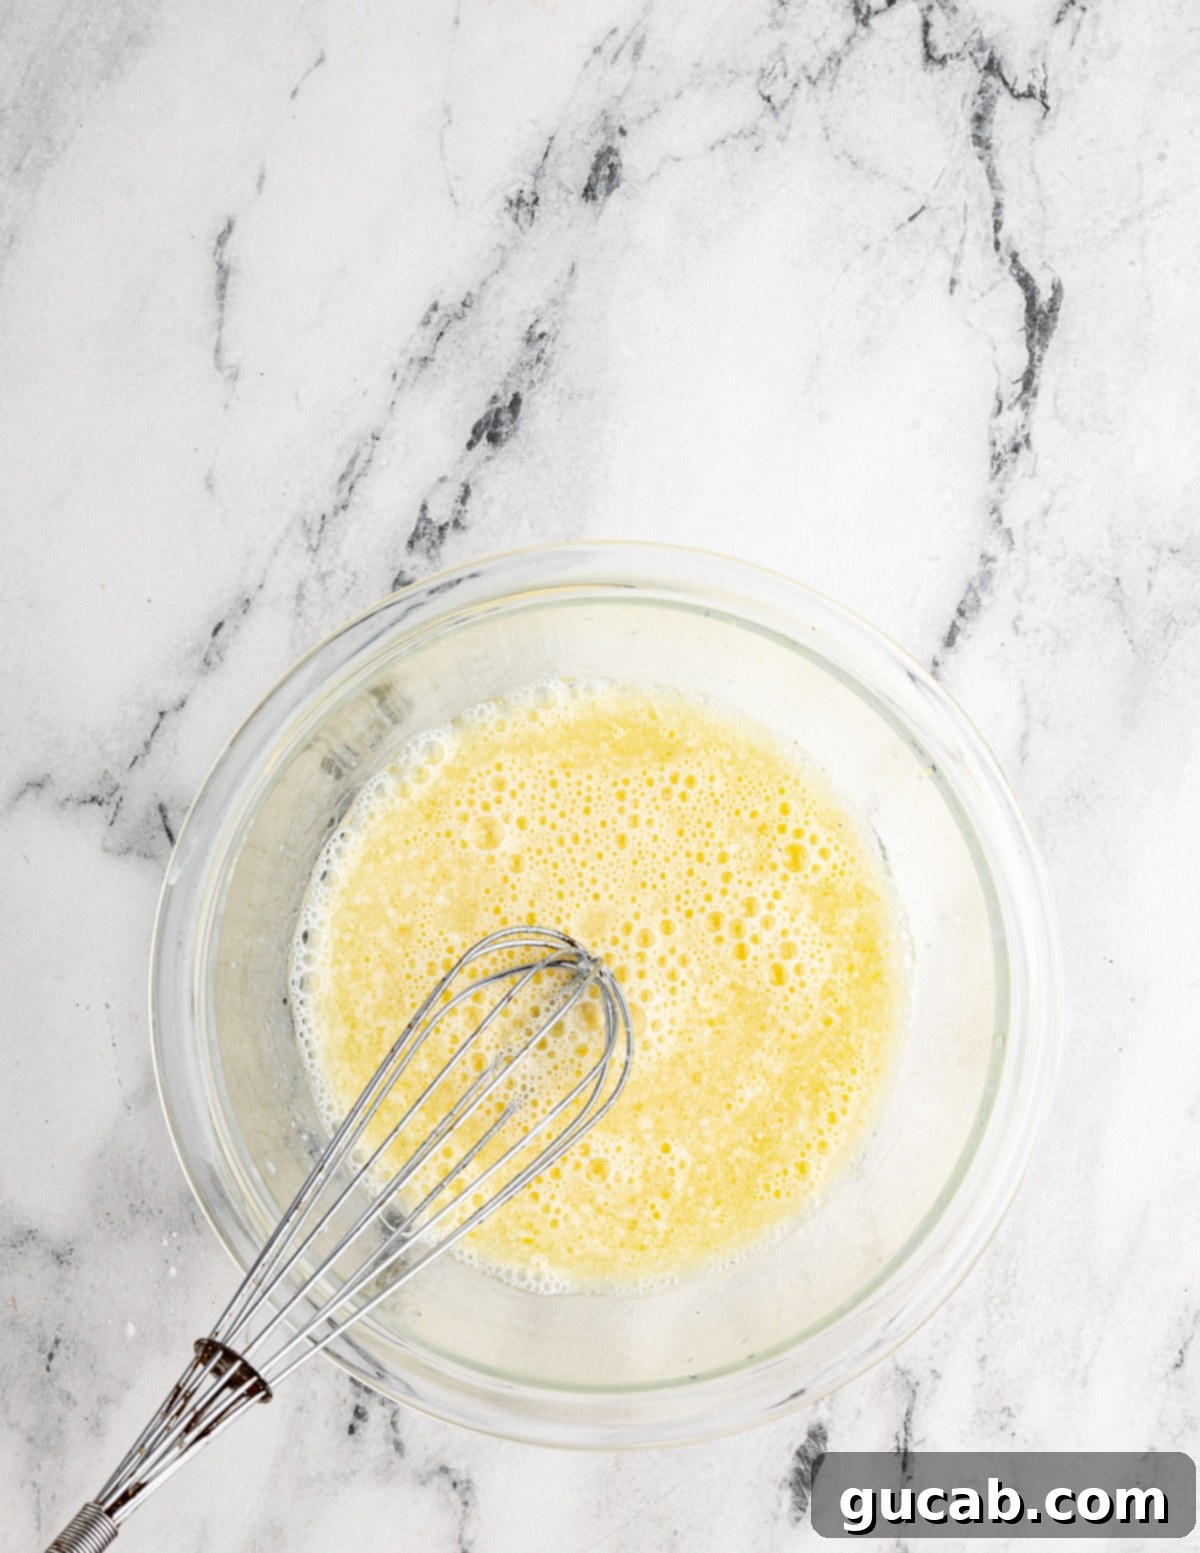
- Step 1: Prep Your Ingredients & Waffle Maker: Start by preheating your oven to 200°F (95°C) – this will be essential for keeping your cooked waffles warm and crispy while you finish the batch. Next, turn on your waffle maker and allow it to fully preheat. Most waffle makers have an indicator light to signal when they’re ready. While these are heating, combine all the dry ingredients (gluten-free all-purpose flour blend, cornstarch, baking powder, baking soda, and kosher salt) in a large mixing bowl. Give them a good whisk to ensure they are thoroughly combined and evenly distributed. In a separate, medium-sized bowl, whisk together the wet ingredients – buttermilk, milk, vegetable oil, and the single egg yolk – until everything is well blended.
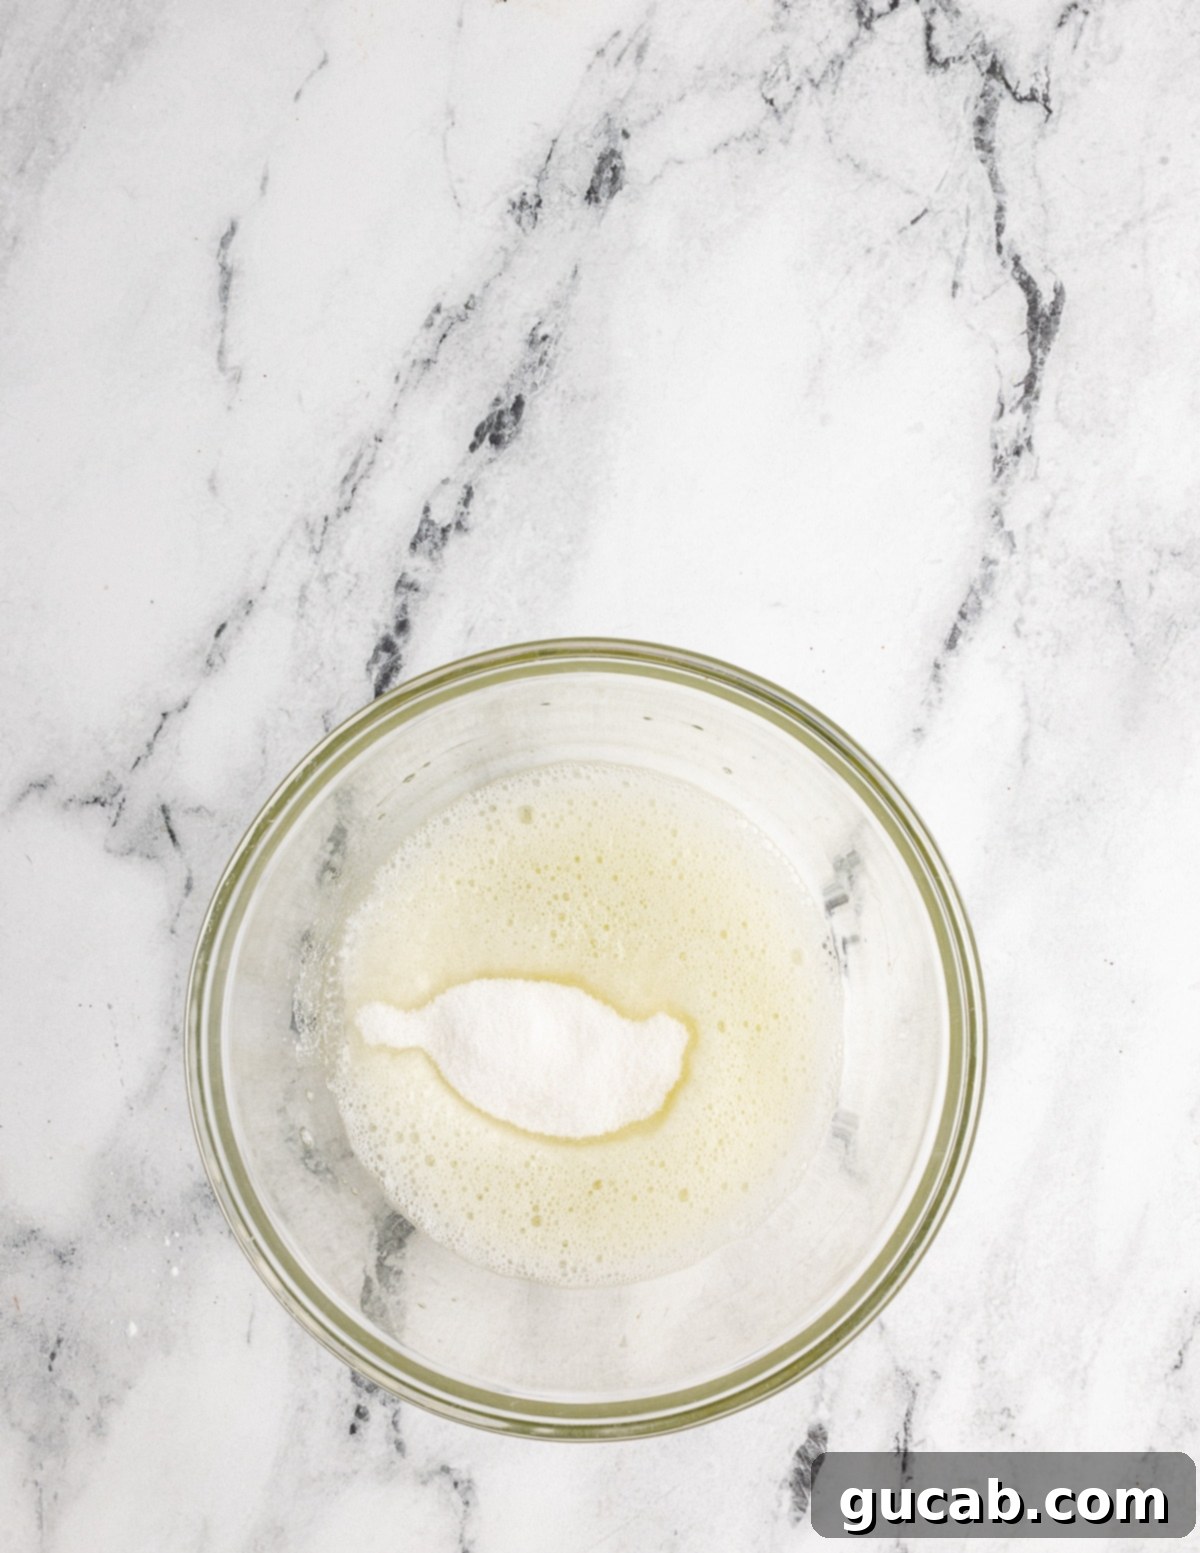
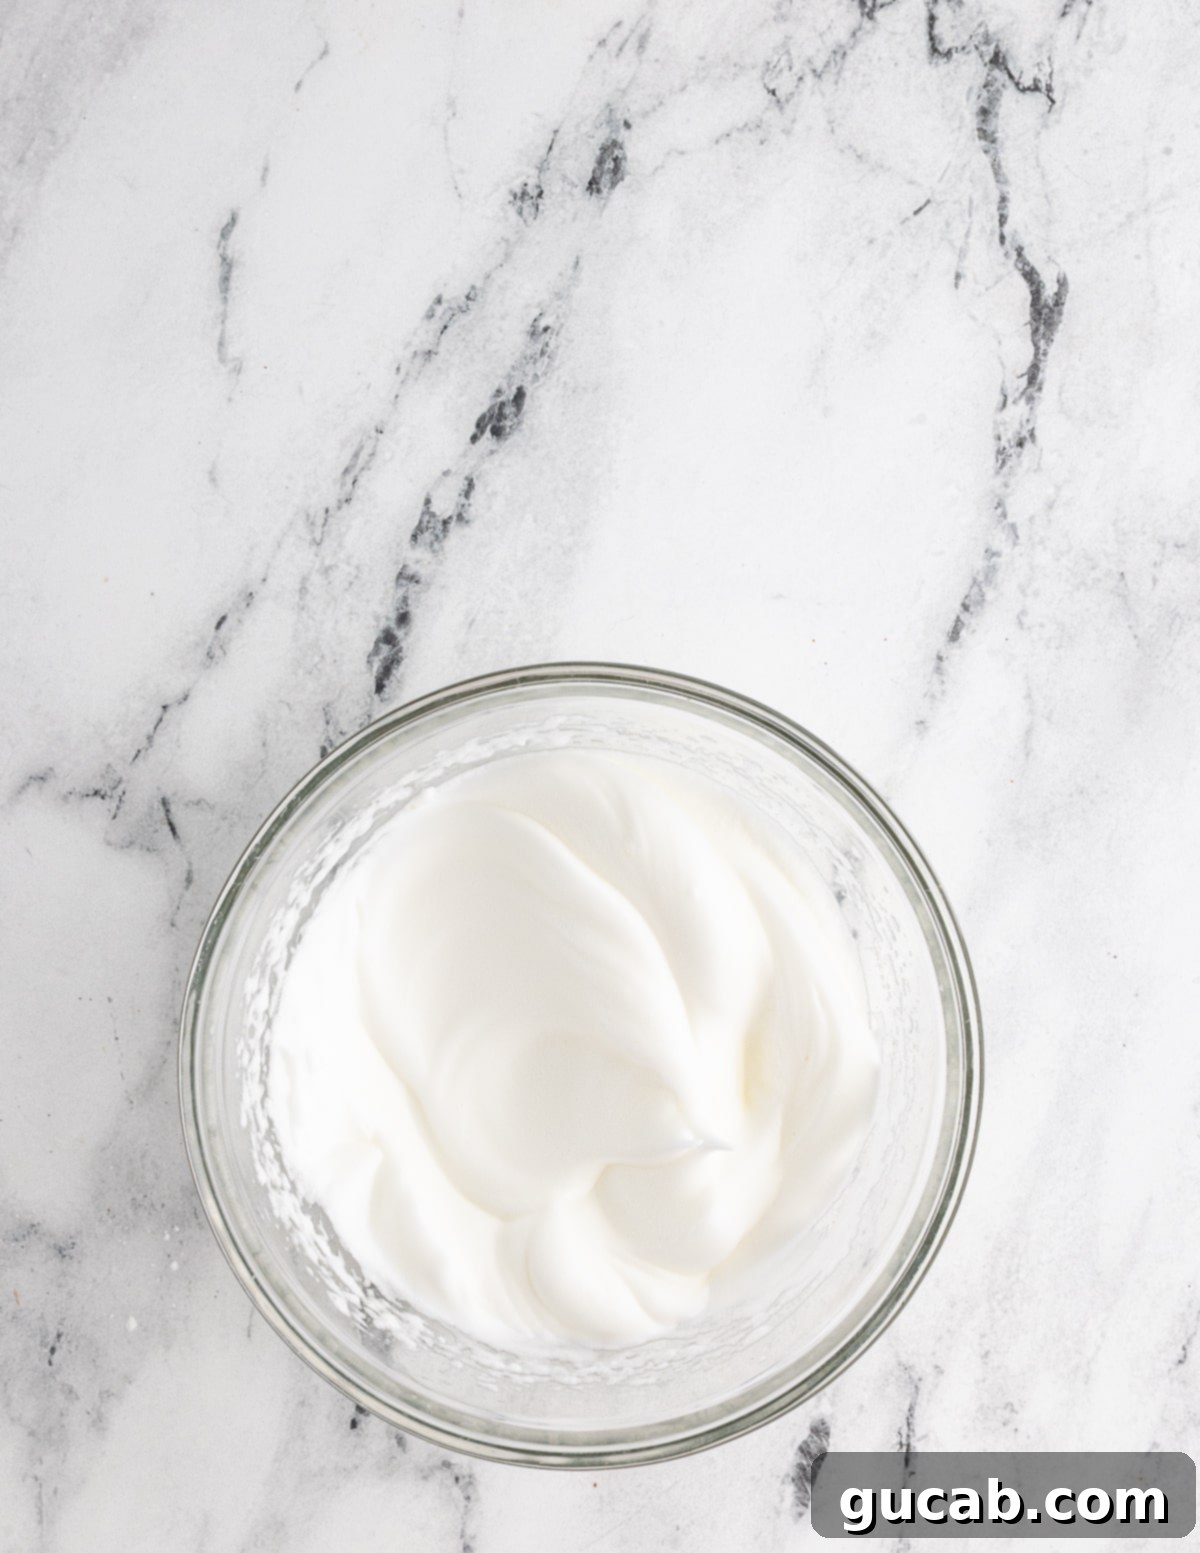
- Step 2: Whip the Egg Whites to Stiff Peaks: This is where the magic happens for truly light and airy waffles. In a meticulously clean, separate medium bowl (free from any grease or egg yolk remnants, as fat can prevent egg whites from whipping properly), use a hand mixer to beat the two egg whites until they become frothy. Once frothy, gradually sprinkle in the tablespoon of sugar while continuing to beat. Continue whipping until the egg whites form stiff, glossy peaks that stand up firmly on their own without flopping over when you lift the beaters. This incorporation of air is crucial for the waffles’ texture.
- Step 3: Combine Wet and Dry Ingredients: Pour the whisked wet mixture into the large bowl containing the dry ingredients. Stir gently with a spoon or whisk until just combined. Overmixing at this stage can develop gluten (even in GF flours, which can become gummy) and make your waffles tough. The batter will still be quite thick at this point.
- Step 4: Gently Fold in the Whipped Egg Whites: This is a delicate but crucial step. Using a rubber spatula, carefully add the whipped egg whites to the waffle batter. Instead of stirring, use a gentle “folding” motion: scoop from the bottom of the bowl and fold it over the egg whites, rotating the bowl as you go. The goal is to incorporate the air-filled egg whites into the batter without deflating them. Continue folding just until no streaks of egg white remain. Over-folding will cause the air to escape, resulting in less fluffy waffles. The finished batter should be light and airy.
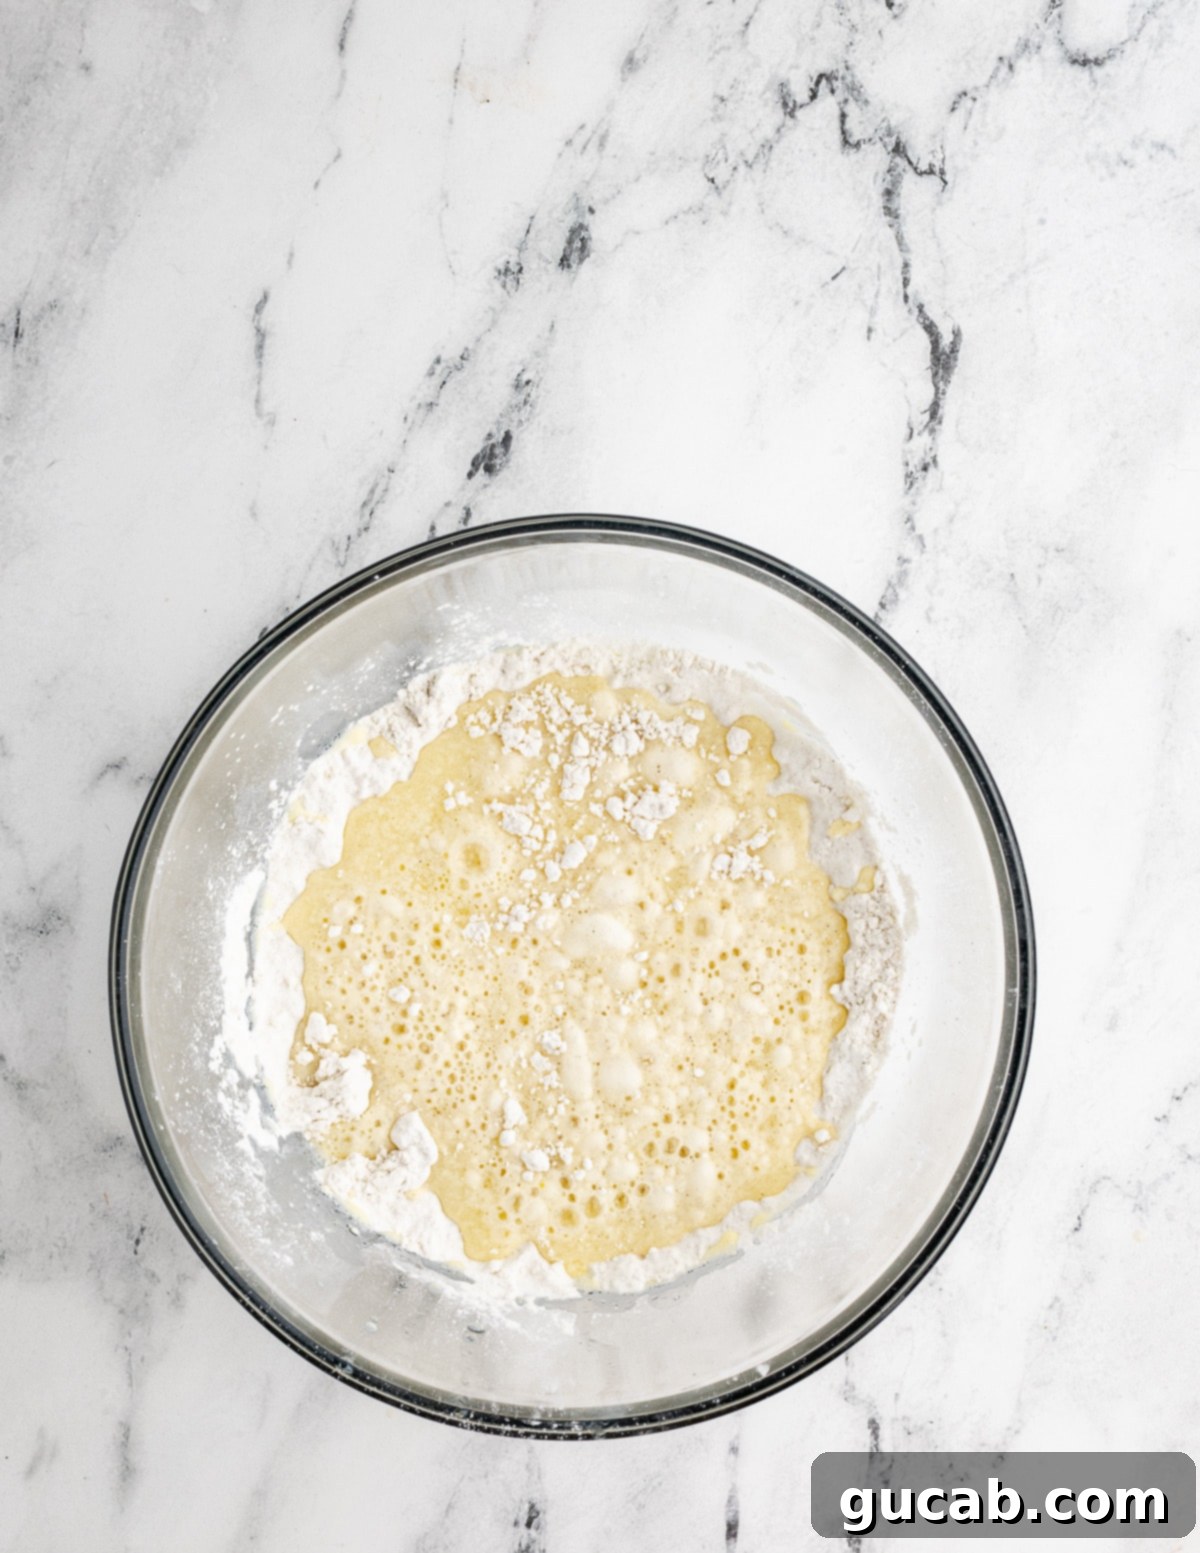
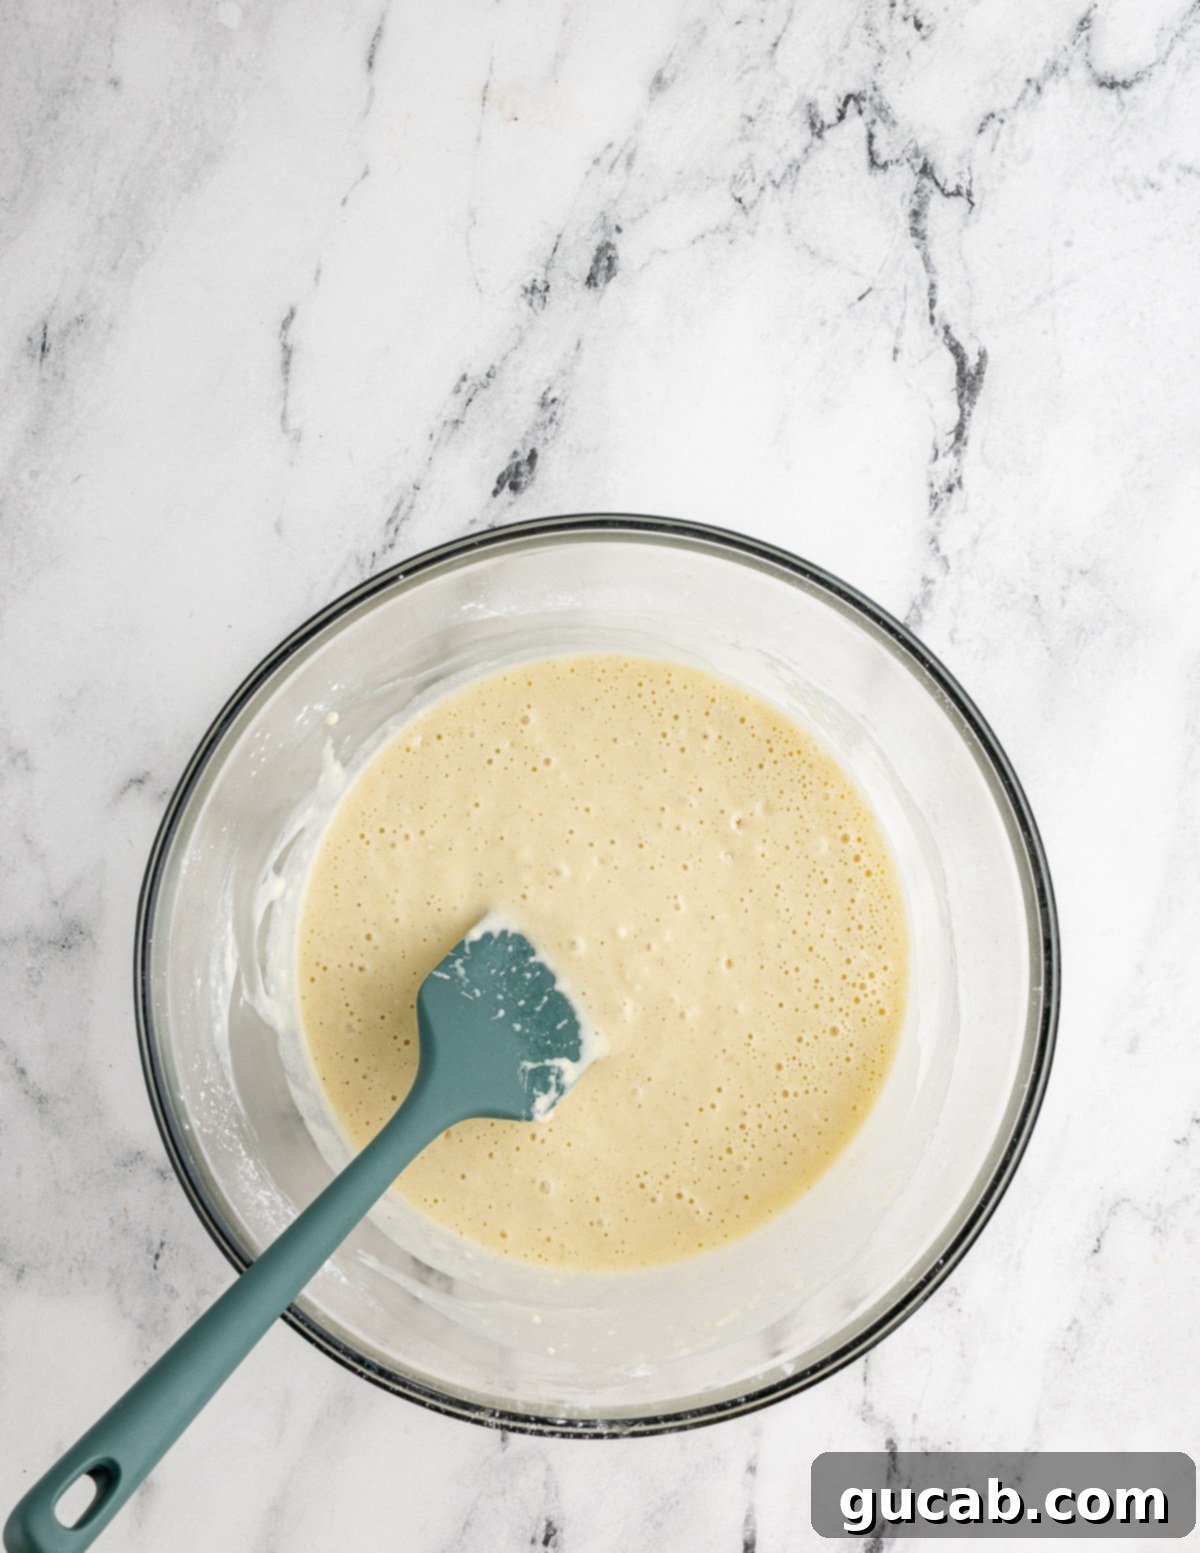
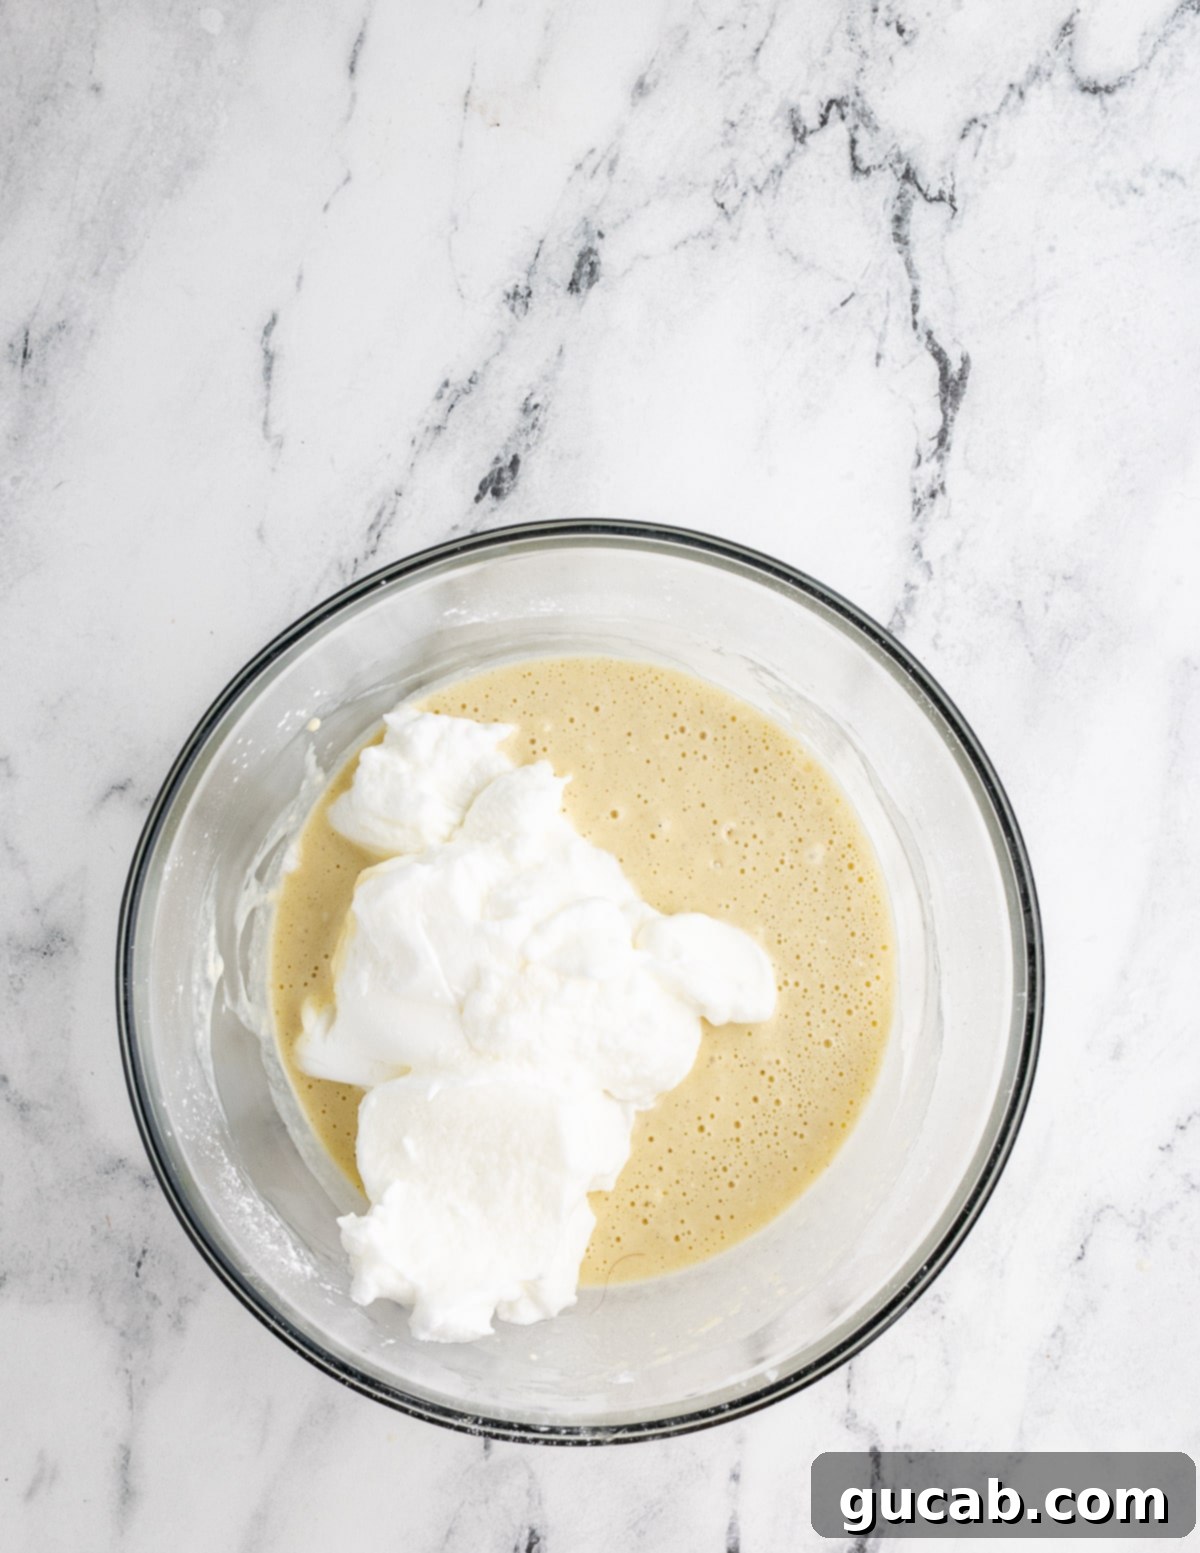
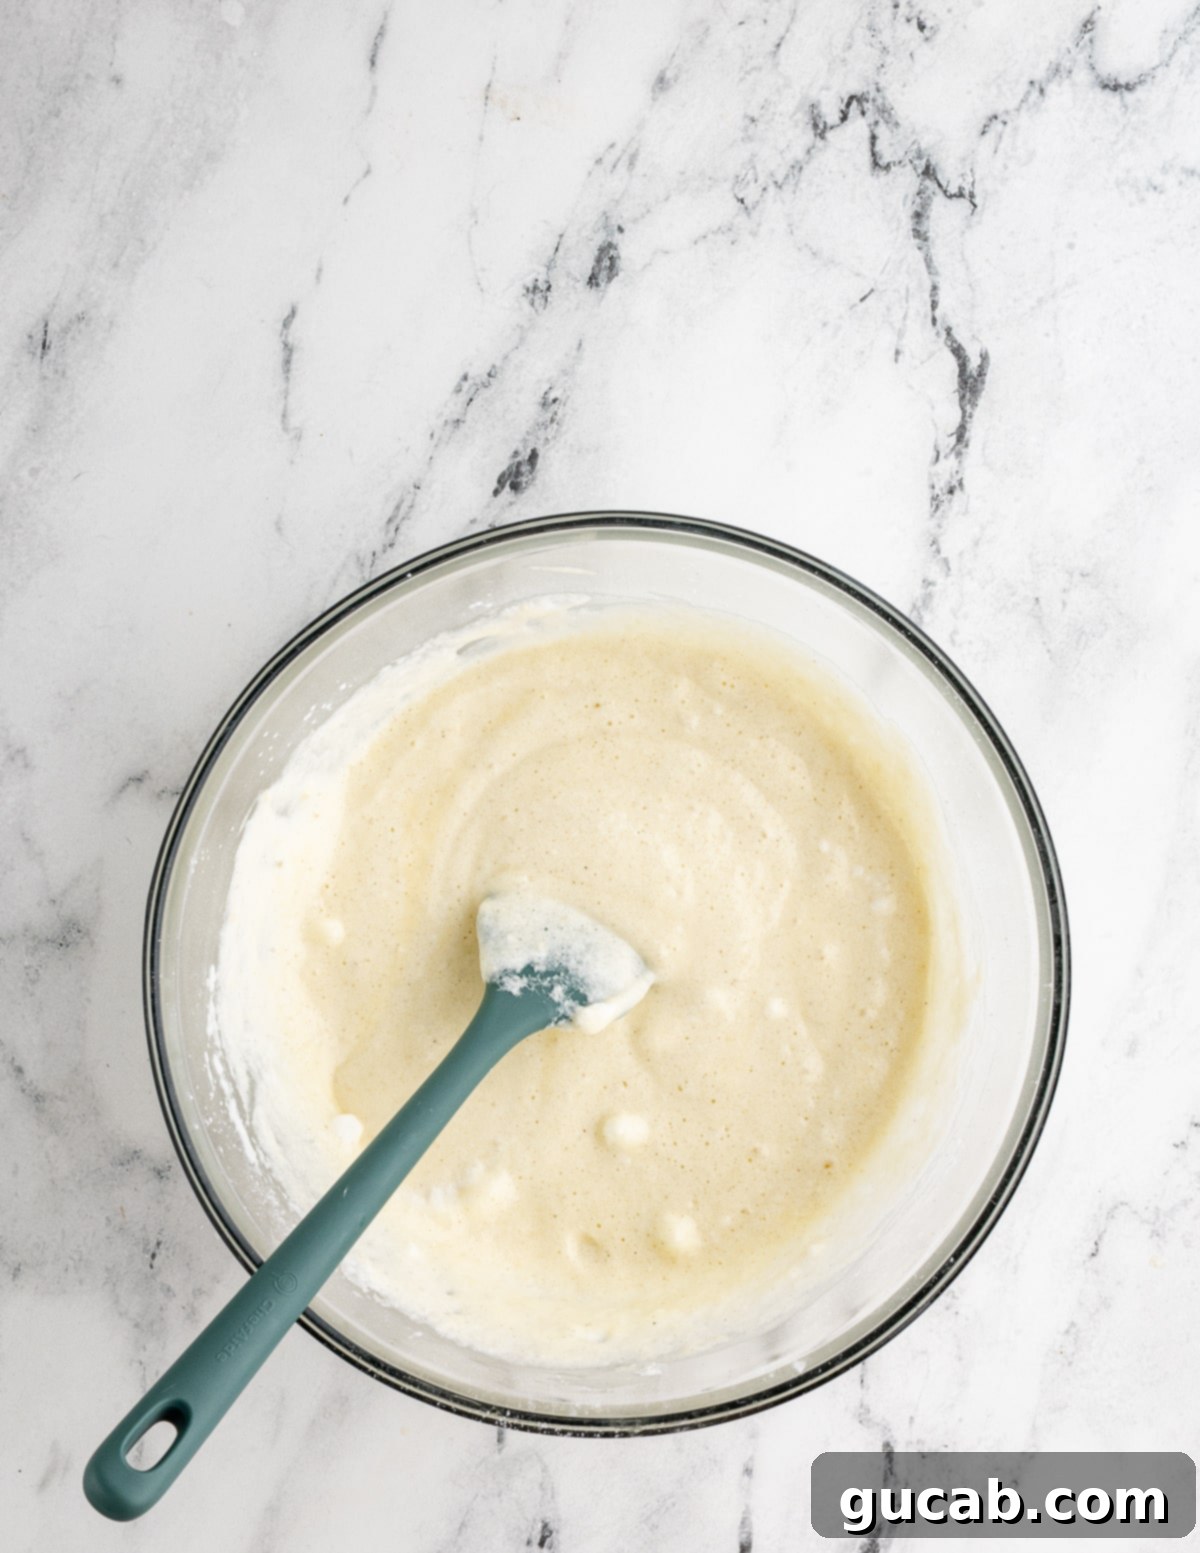
- Step 5: Cook Your Gluten-Free Waffles: Your waffle maker should now be hot and ready to go. Lightly grease the waffle iron plates if necessary (check your waffle maker’s instructions). Scoop the appropriate amount of batter into the hot waffle iron. The amount will vary depending on the size and style of your waffle maker. Close the lid and cook until the waffles are beautifully golden brown and crispy. Many waffle makers have a light that indicates when the waffle is done; rely on this or your preferred cooking time for perfect results. Gently remove the cooked waffle with a fork or tongs.
- Step 6: Keep Waffles Warm & Serve: Waffles are always best when enjoyed hot and fresh off the iron! If they sit out for too long, they can lose their crispiness and become a bit floppy. To prevent this, as you finish cooking each waffle, transfer it to the preheated 200°F (95°C) oven. Arrange them on a wire rack placed over a baking sheet to allow air circulation, which helps maintain crispiness. Once all your waffles are cooked, serve them immediately with your favorite toppings and savor every delicious bite!
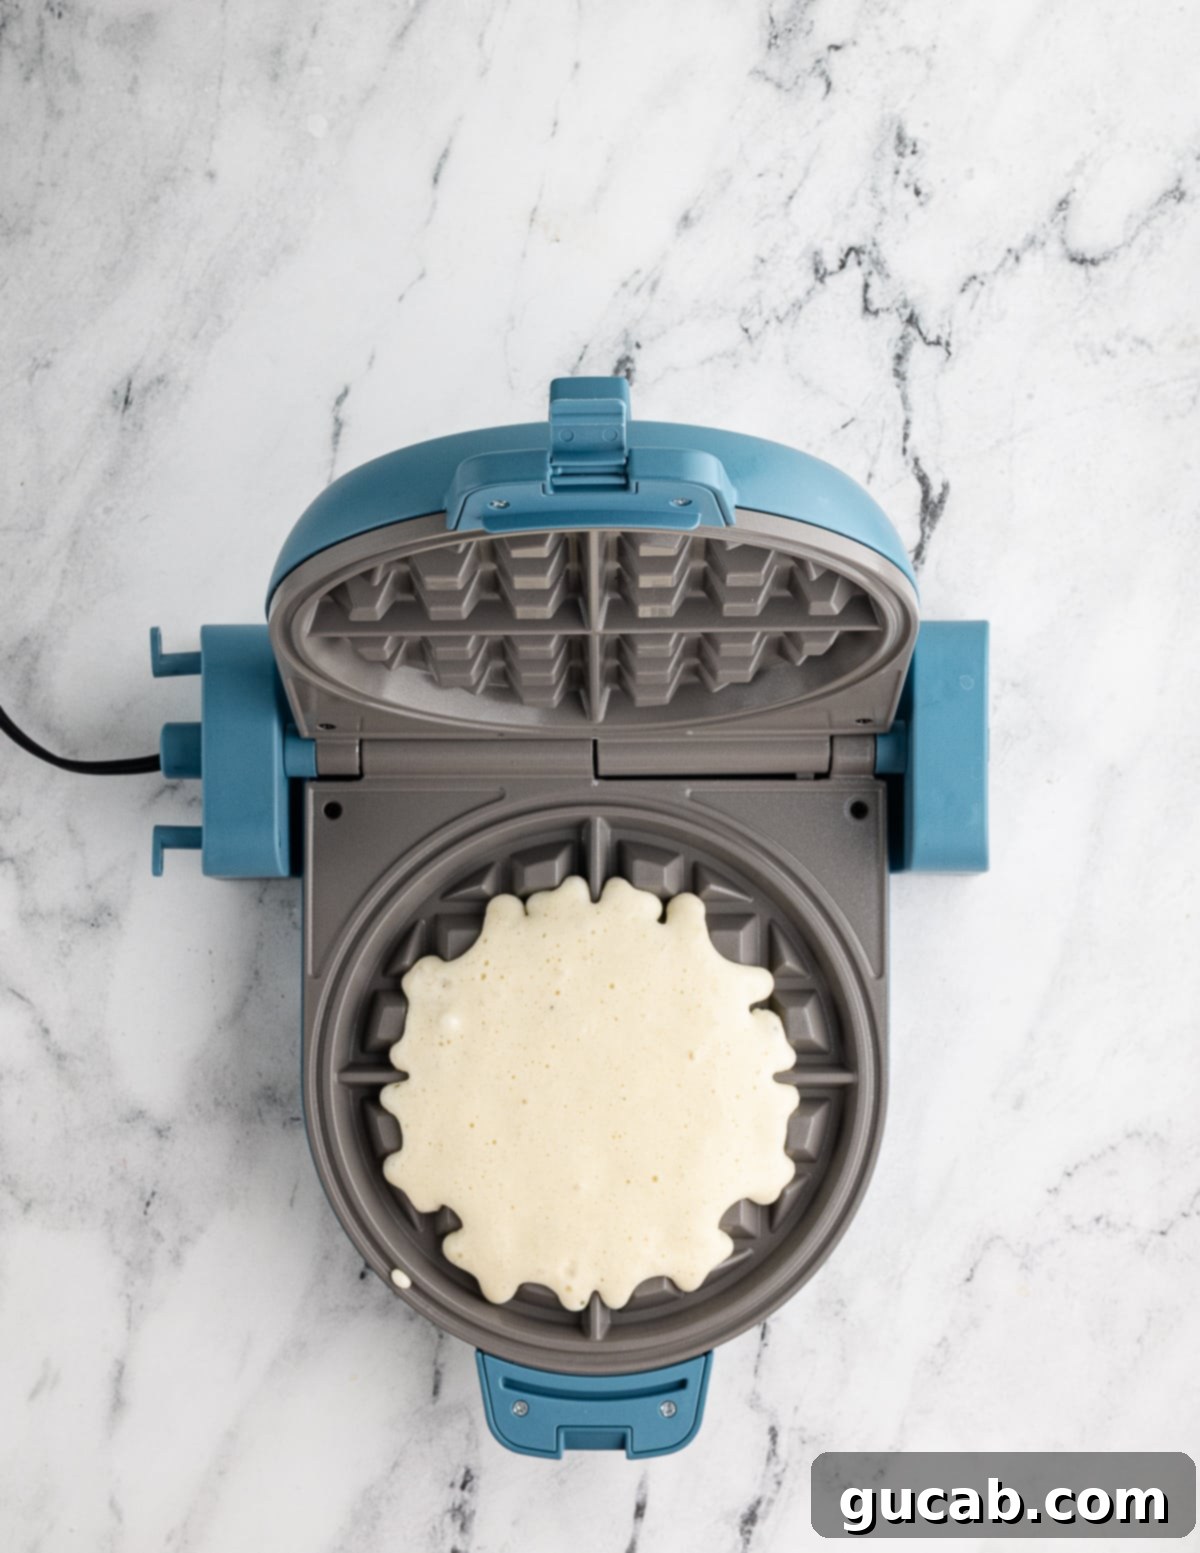
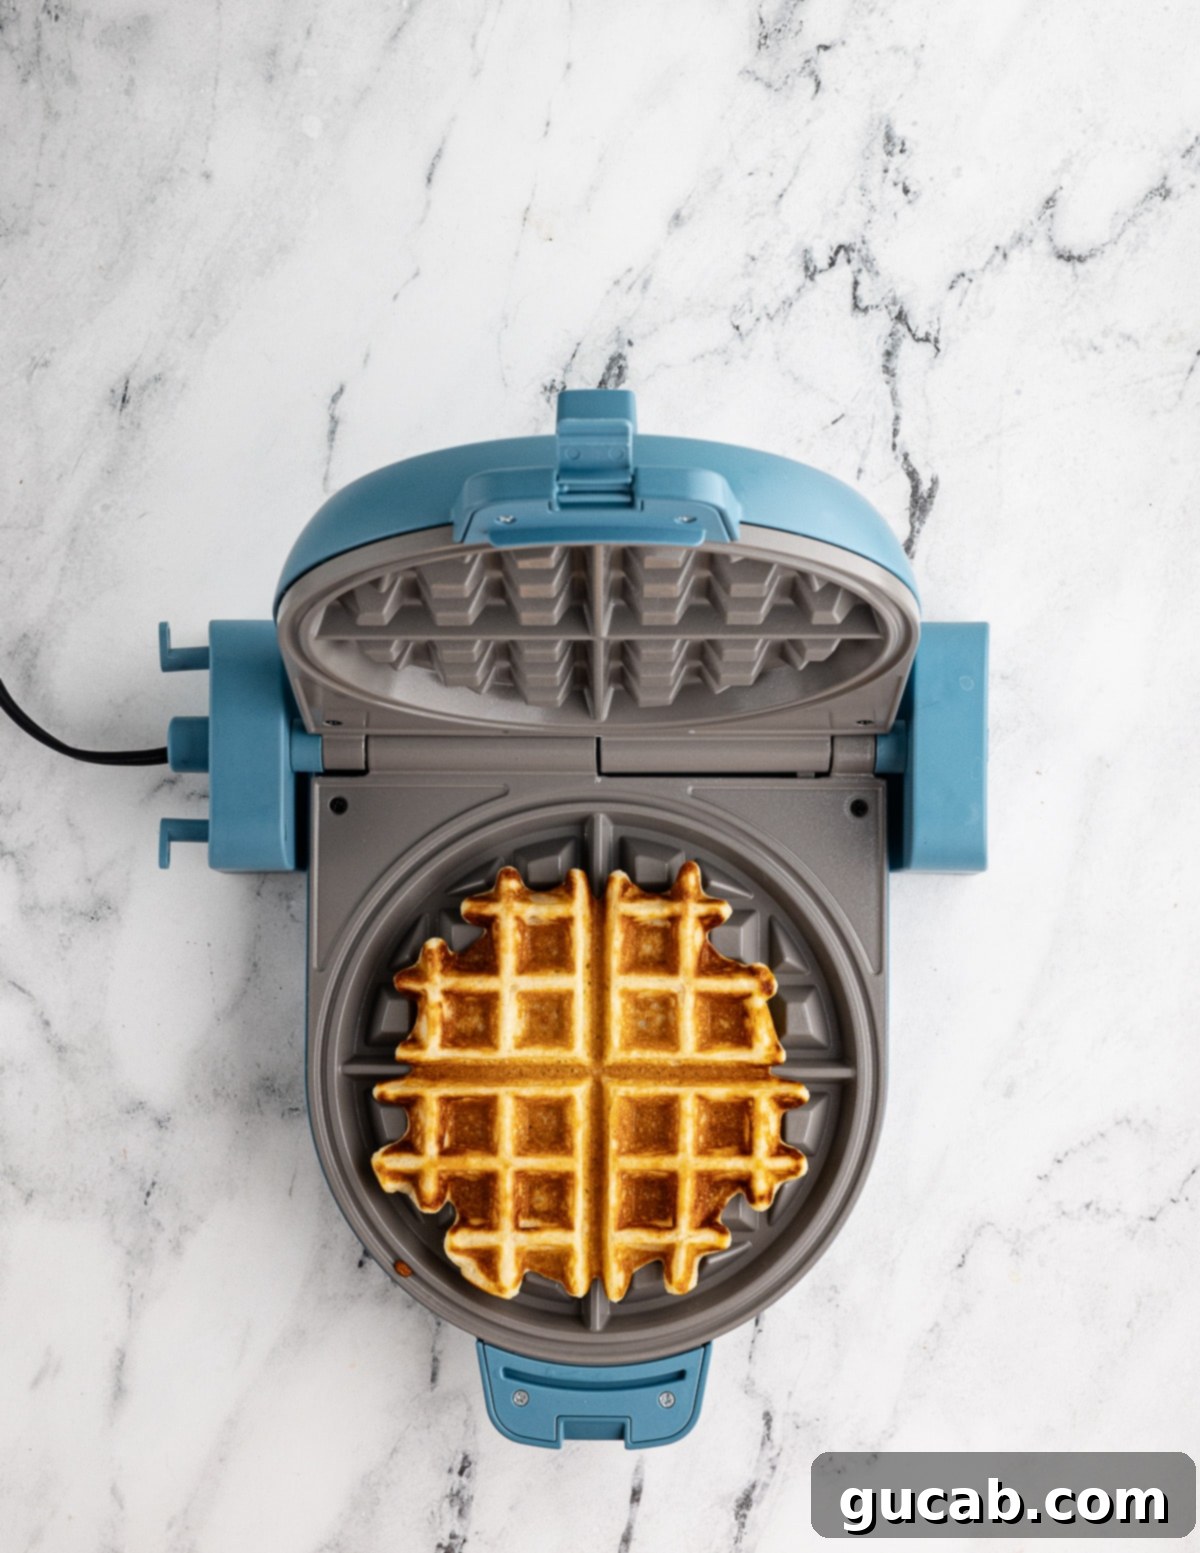
Expert Tips for Gluten-Free Waffle Perfection
To ensure your gluten-free waffles are consistently perfect every time, keep these crucial expert tips in mind:
- Choose Your Gluten-Free Flour Wisely: This cannot be stressed enough – avoid using a random gluten-free flour blend you’ve never tried before. Not all gluten-free flour blends are created equal, and some can frankly produce terrible results or leave an unpleasant aftertaste. If you don’t already have a trusted favorite brand, I highly recommend starting with Bob’s Red Mill 1 to 1 Gluten-Free Baking Flour. It’s widely accessible, consistently performs well, and most importantly, tastes excellent without any noticeable off-flavors. Using the right blend is the cornerstone of delicious GF baking.
- Ensure a Spotlessly Clean Bowl for Egg Whites: When whipping egg whites, even the tiniest trace of fat (from residual oil, grease, or even a speck of egg yolk) can prevent them from whipping up properly into stiff peaks. Always use a thoroughly clean, dry, and grease-free bowl and beaters. A glass or metal bowl is often preferred over plastic, as plastic can sometimes retain greasy residues. This small detail makes a huge difference in the airiness of your waffles.
- Don’t Let Hot Waffles Sit on the Counter: The enemy of a crispy waffle is moisture and cooling air! It’s almost impossible to keep a waffle crispy if it’s left exposed on the counter for an extended period after cooking. Instead, as soon as each waffle comes off the iron, transfer it directly to your preheated 200°F (95°C) oven. Placing them on a wire rack inside the oven helps prevent them from getting soggy or floppy while you cook the rest of the batch. This trick ensures every single waffle served is as perfectly crispy as the first.
- Don’t Overmix the Batter (Once Egg Whites are Added): After folding in the egg whites, resist the urge to vigorously stir the batter. Overmixing will deflate the carefully whipped egg whites, leading to dense, rather than light and fluffy, waffles. Mix only until the ingredients are just combined and no streaks of egg white remain.
- Maintain Consistent Waffle Iron Temperature: A consistent, hot temperature is key for crispness. Allow your waffle iron to fully preheat before adding any batter, and if it has a temperature setting, keep it on medium-high. Opening the iron too early can also release heat, affecting the cooking process.
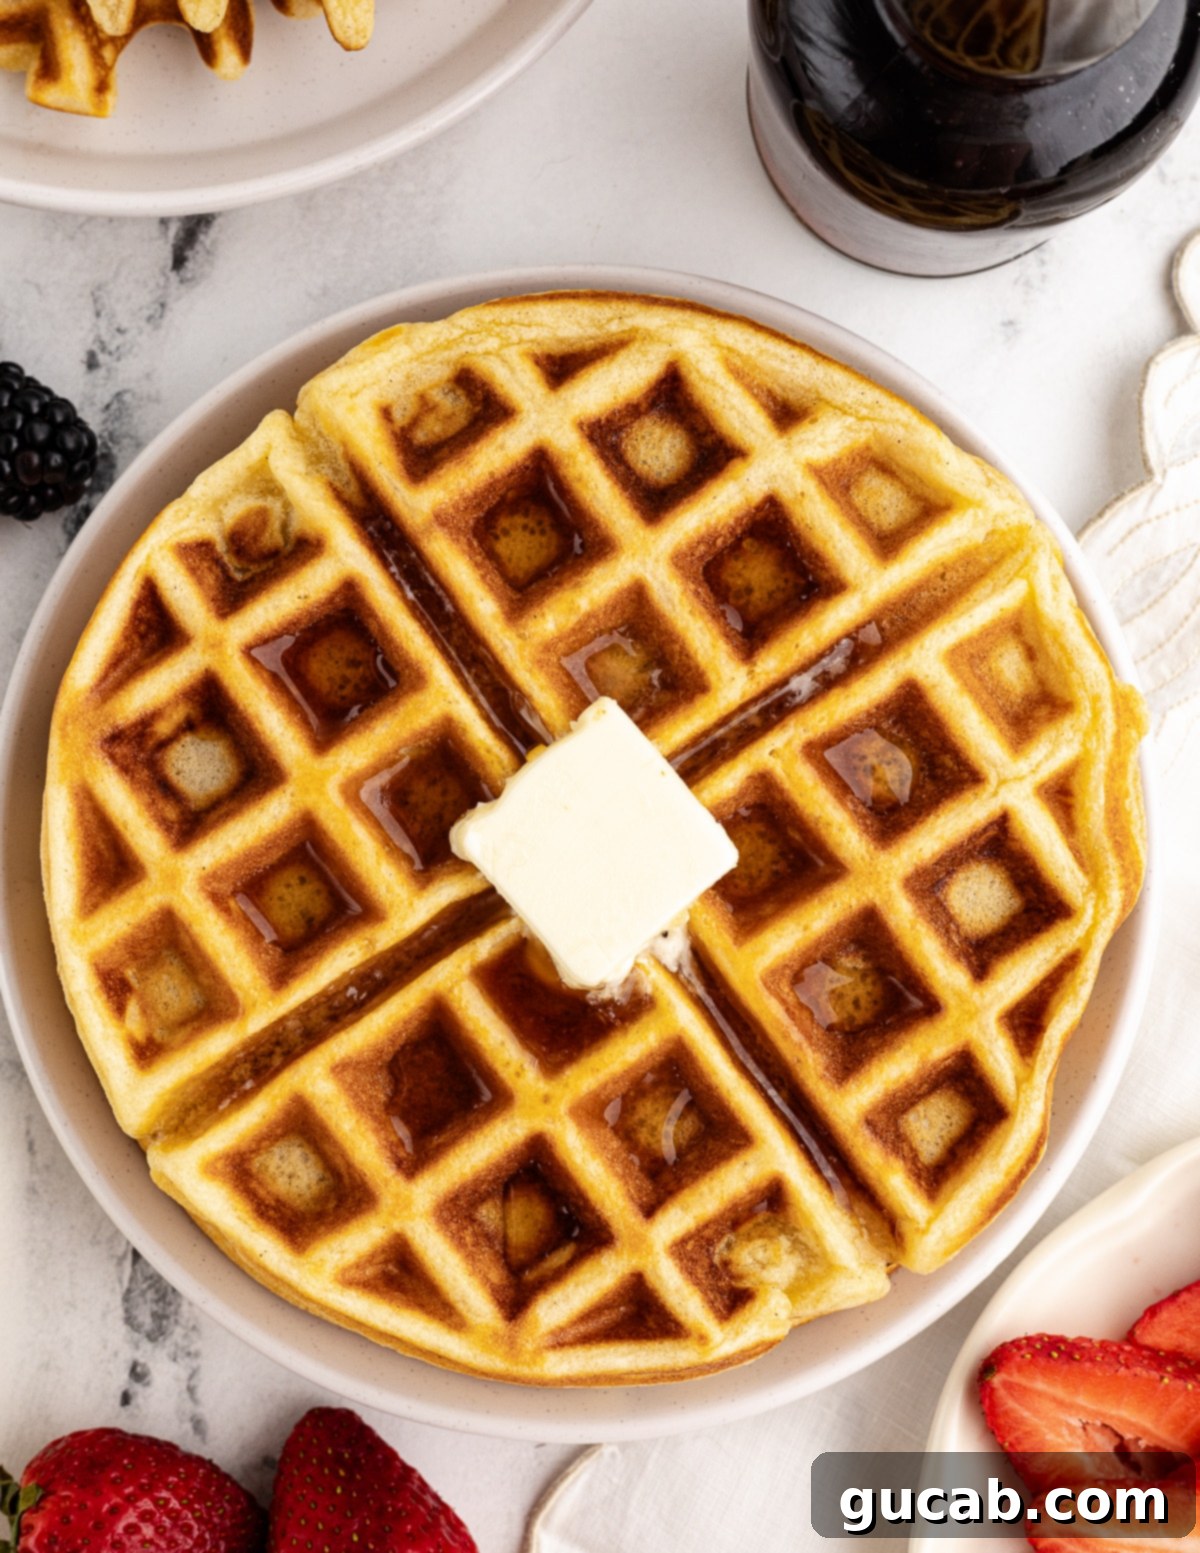
Storage & Freezing Gluten-Free Waffles
These gluten-free waffles are so good, you might want to make a double batch! Luckily, they are incredibly freezer-friendly, making them perfect for meal prepping a quick and delicious breakfast on busy mornings.
- Freezing Instructions: Once your waffles have cooled completely to room temperature (this is important to prevent ice crystals), you can prepare them for freezing. For best results, flash freeze them first: lay the cooled waffles in a single layer on a baking sheet and place them in the freezer for about 30 minutes to an hour, or until solid. This prevents them from sticking together. Once frozen, you can transfer them to a large zip-top freezer bag, ensuring to press out as much air as possible, or saran wrap them individually for extra protection. They will keep beautifully in the freezer for up to 3 months.
- Reheating Instructions: When you’re ready to enjoy them, reheat your frozen gluten-free waffles in the oven or a toaster, NOT the microwave. The microwave is the arch-nemesis of crispy textures; it will turn your perfectly crispy waffles into a sad, rubbery mess. There are certain foods you should never microwave if you want to preserve their texture – pizza, donuts, and waffles are definitely three of them. Instead, preheat your oven to 350°F (175°C) and place the frozen waffles directly on a wire rack or baking sheet. Bake for about 10-15 minutes, or until they are thoroughly reheated and crispy again. For a single serving, a toaster works wonderfully!
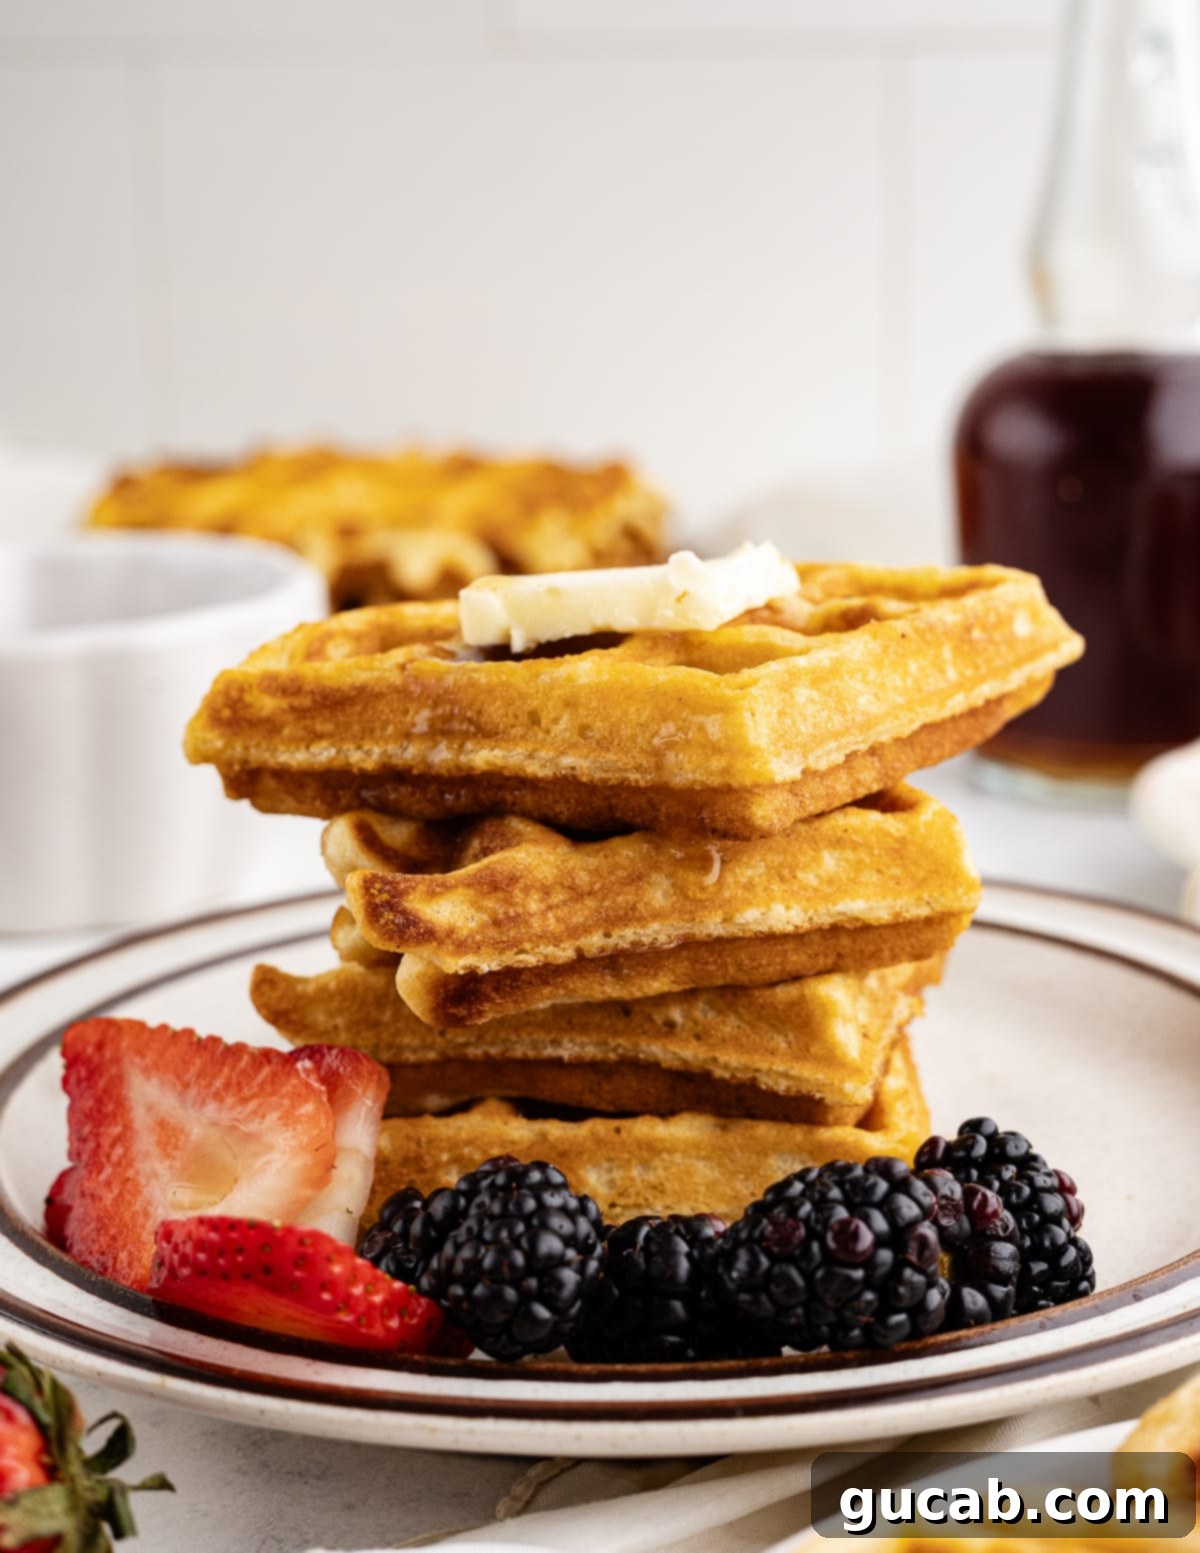
More Delicious Gluten-Free Breakfast Recipes to Try
If you love these gluten-free waffles, you’re in for a treat! We have a fantastic collection of other gluten-free breakfast and brunch recipes that are just as delightful and easy to make. Expand your gluten-free repertoire with these delicious options:
- Fluffy Gluten Free Pancakes: Just as light and airy as our waffles, these pancakes are a morning favorite!
- Gluten Free Buttermilk Biscuits: Perfect for a savory breakfast or alongside your favorite gravy.
- Gluten Free Cinnamon Rolls: A sweet and sticky treat that’s impossible to resist.
- Gluten Free Pumpkin Pancakes: Seasonal flavors that are perfect for autumn mornings.

Gluten Free Waffles
Carolyn
Pin Recipe
Equipment
-
Waffle Maker
Ingredients
- ¾ cup gluten-free all-purpose flour blend I use Bob’s Red Mill 1:1 All Purpose Gluten Free Flour
- ¼ cup cornstarch
- ¾ teaspoon baking powder
- ¼ teaspoon baking soda
- ½ teaspoon kosher salt
- ¾ cup buttermilk
- ¼ cup milk
- 3 ounces vegetable oil
- 1 tablespoon sugar
- 2 egg whites
- 1 egg yolk
Instructions
-
Preheat oven to 200 degrees and turn on your waffle maker. I make this recipe on the medium high setting but every waffle maker varies in temperature a little.
-
Combine all the dry ingredients except the sugar in a large bowl.
-
Combine the buttermilk, milk, vegetable oil and egg yolk together and whisk together with a fork.
-
In a medium bowl, beat egg whites with a hand mixer until frothy. Sprinkle in the sugar and beat to stiff peaks.
-
Pour the wet mixture into the dry ingredients and stir until combined. Fold the egg whites into the batter carefully until completely folded in.
-
Using a measuring cup or a portion scoop fill the waffle maker with batter and cook until golden brown and crispy. Use a fork to remove from waffle iron.
-
If you are not eating them immediately, place them in the oven to keep warm while you finish cooking. Serve with syrup and enjoy.
Nutrition
