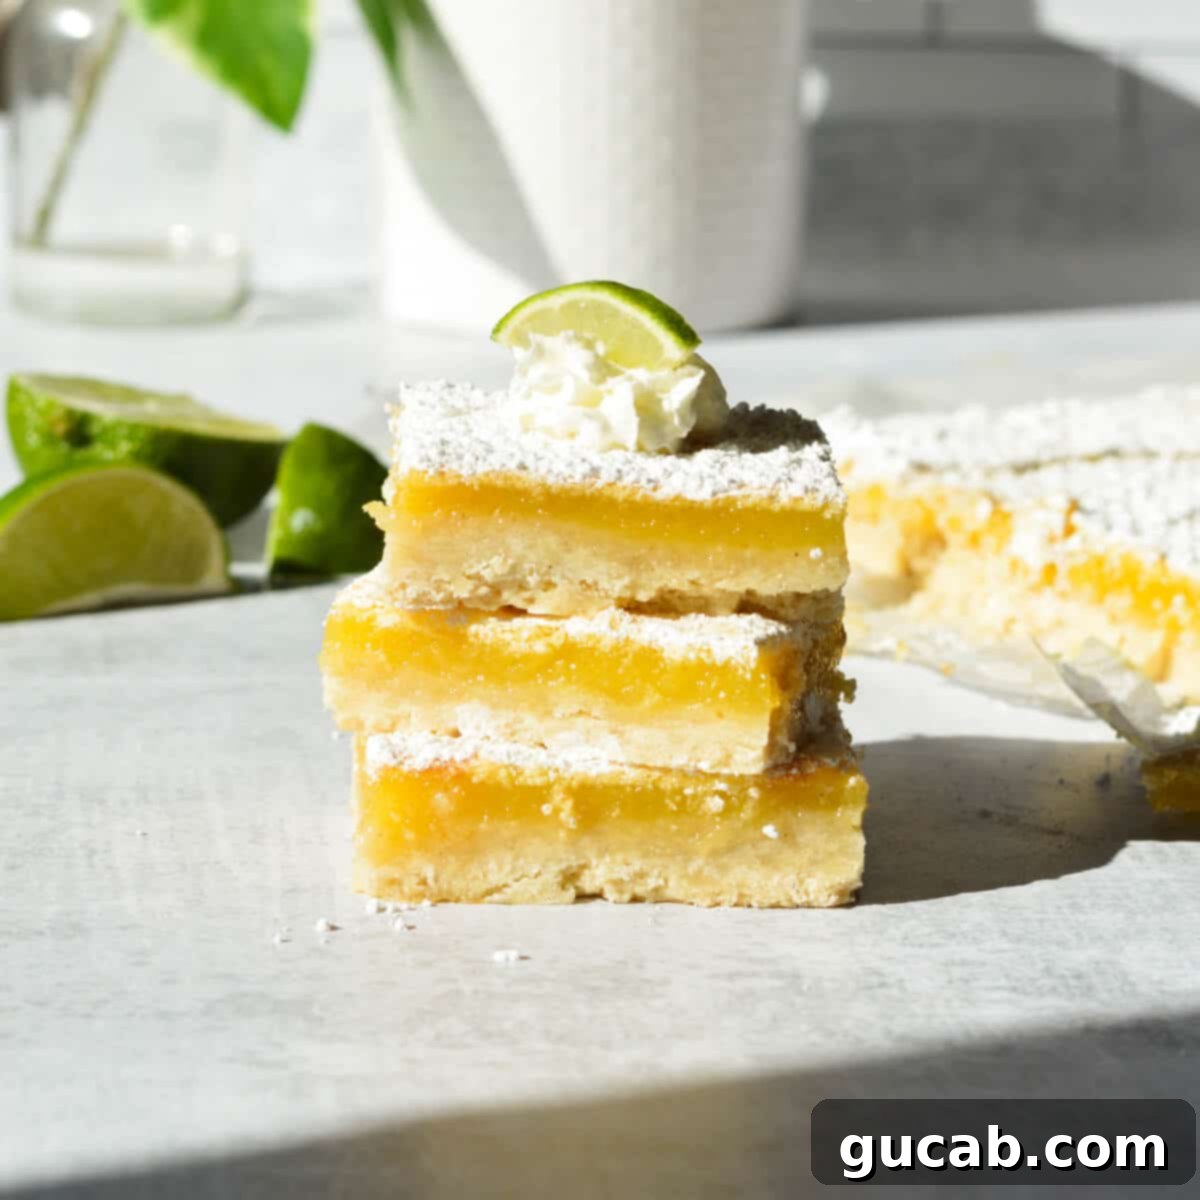
The Best Gluten-Free Key Lime Bars: Zesty, Creamy, and Perfectly Easy to Make
Imagine a dessert that’s both wonderfully sweet and delightfully tart, with a texture that melts in your mouth. Now, imagine it’s incredibly easy to make and happens to be gluten-free, without anyone even noticing! These gluten-free key lime bars are exactly that dream come true. With just 7 simple ingredients, you can create a show-stopping treat featuring a lusciously creamy lime curd sitting atop a perfectly buttery shortbread crust. They are absolutely ideal for spring and summer gatherings, picnics, or simply as a refreshing treat on a warm day.
Why You’ll Love These Gluten-Free Key Lime Bars
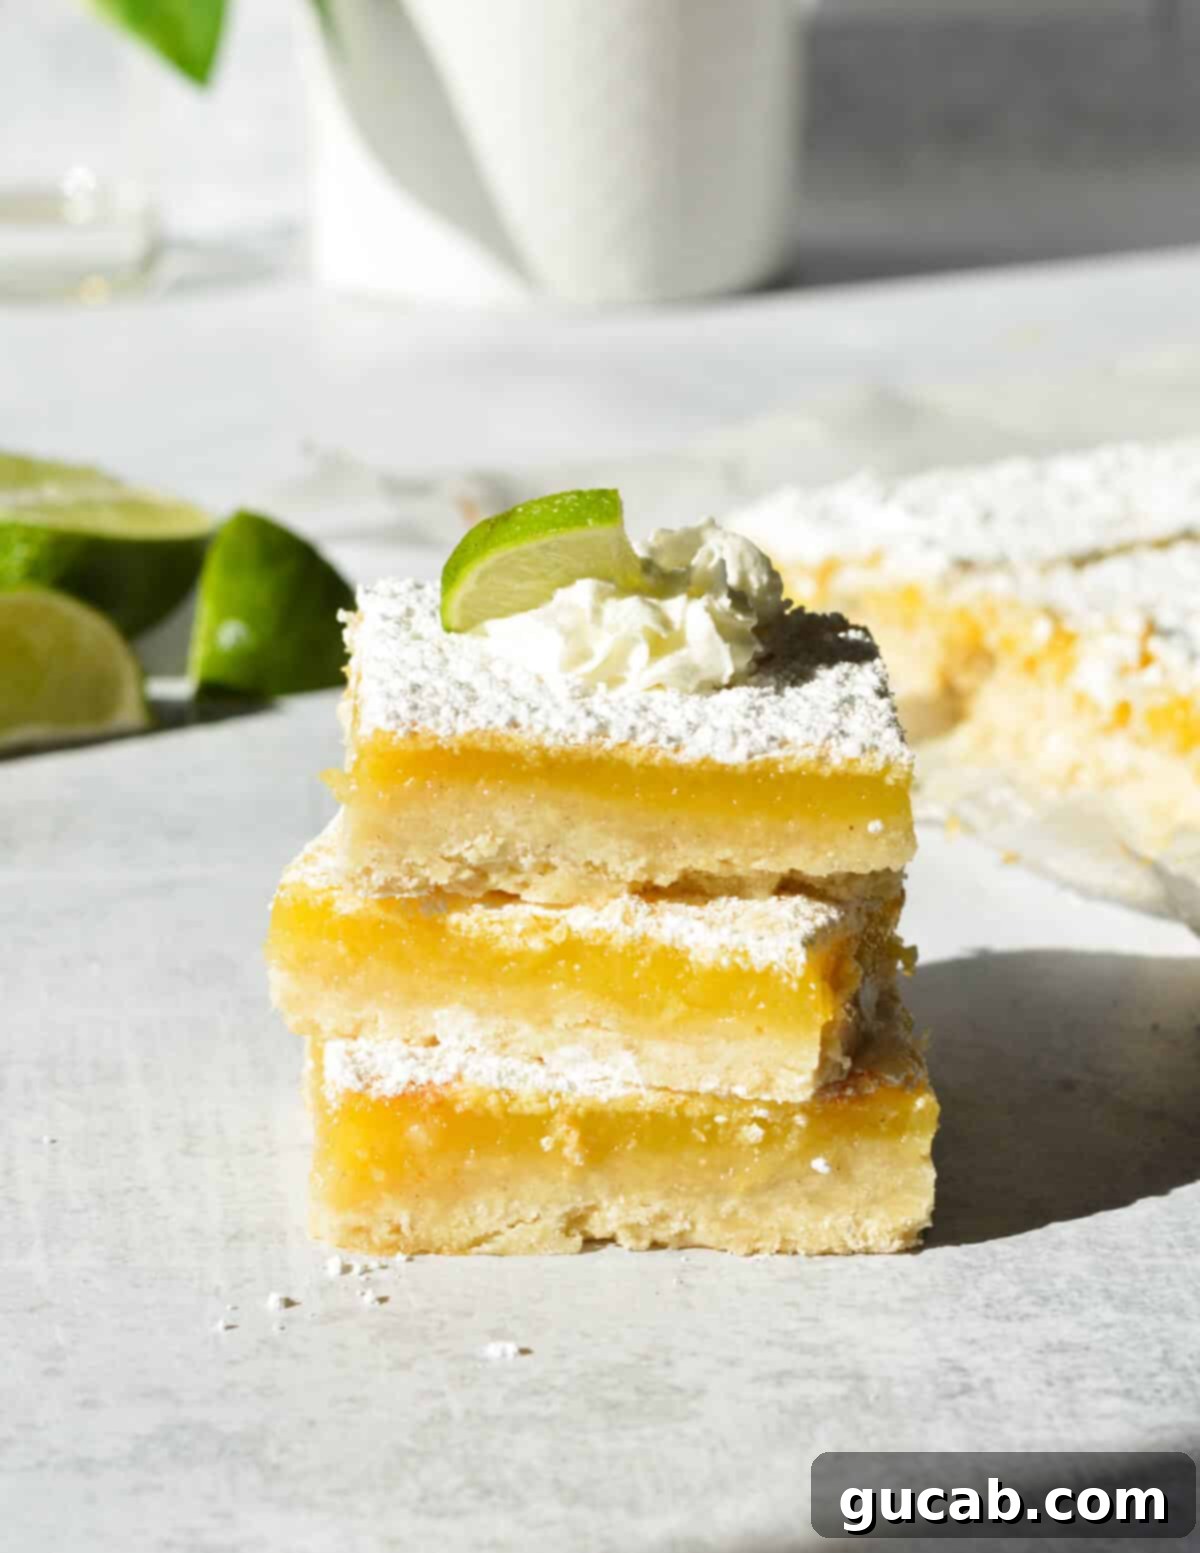
These sweet-tart lime bars truly embody dessert perfection. From the moment you take your first bite, you’ll be captivated by the delicate balance of flavors and textures. The base is a tender, gluten-free shortbread crust that provides just the right amount of crumbly richness, perfectly contrasting with the smooth, zingy lime curd that crowns it. What makes these bars truly special is how easy they are to prepare, their perfect sliceability for elegant serving, and their utterly crave-able taste. They offer all the bright, refreshing notes of a classic Key lime pie, but in a convenient, portable bar form.
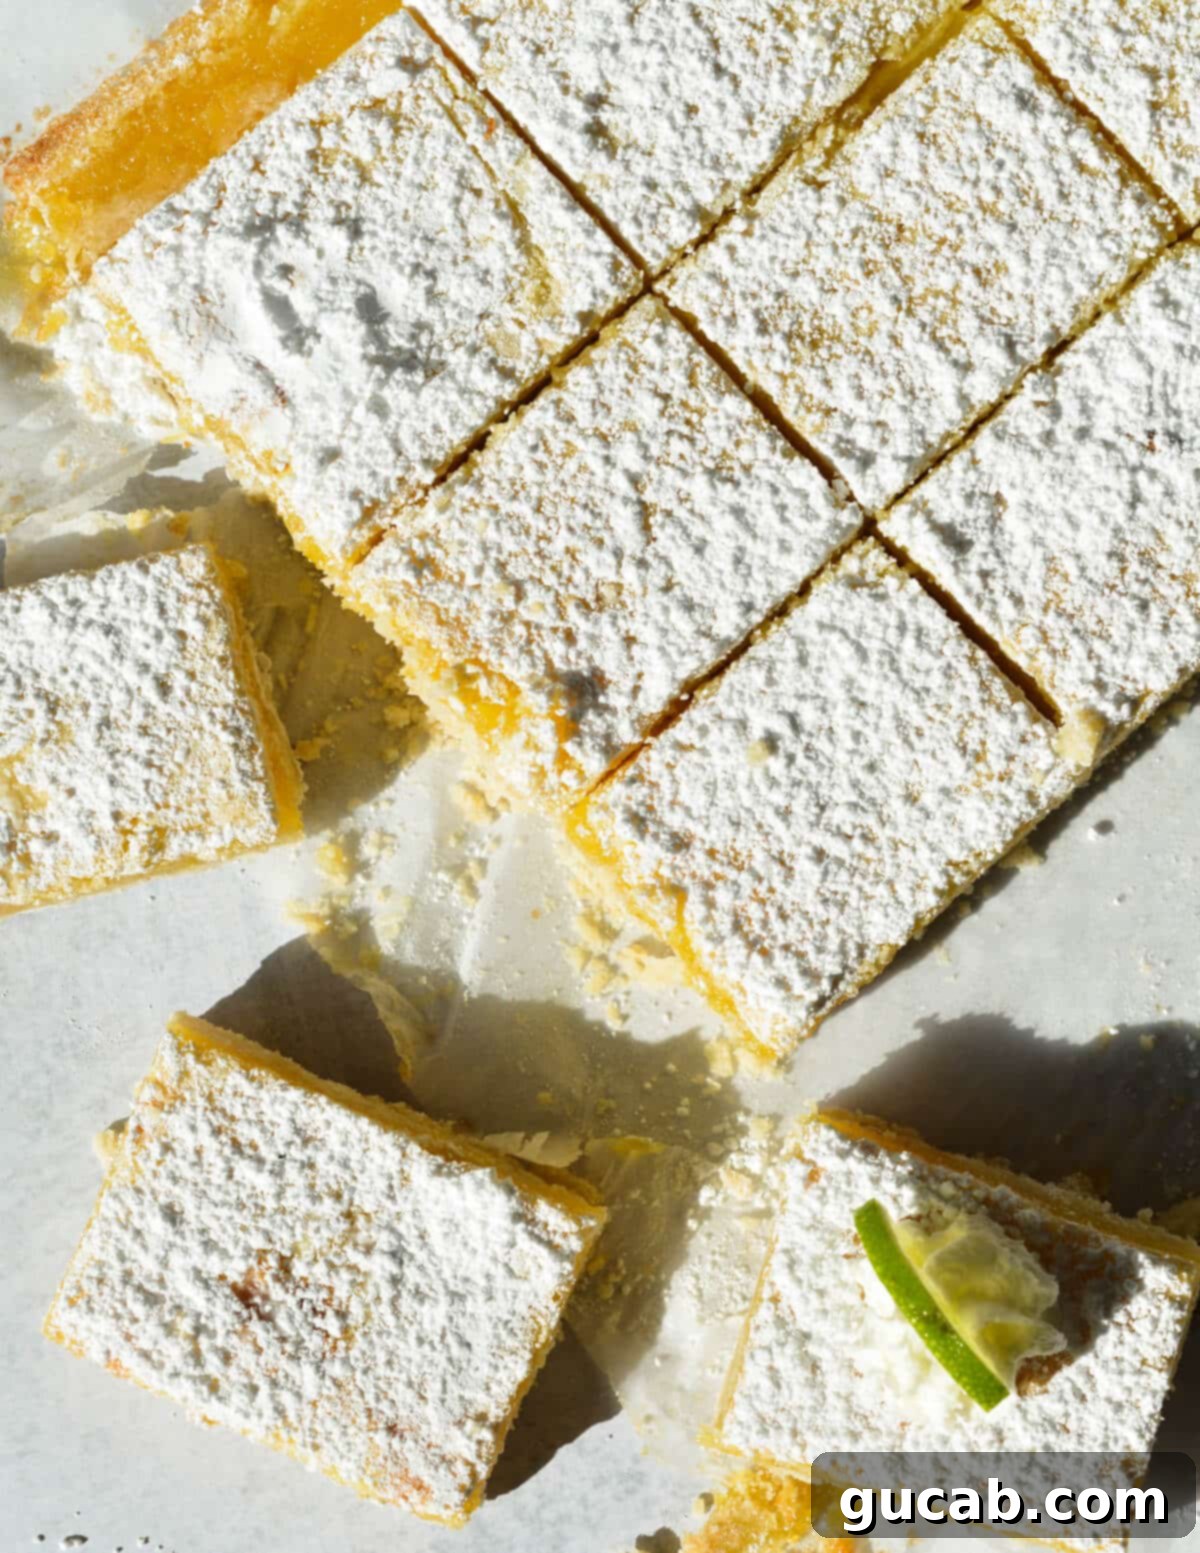
As soon as spring rolls around, my culinary focus shifts dramatically towards bright, refreshing citrusy desserts. These gluten-free key lime bars quickly become a household favorite, and I’m confident you’ll adore them just as much as I do! One of the most gratifying aspects is that whenever I share them at parties or gatherings, guests are consistently delighted by their flavor and texture, often completely unaware or simply indifferent to the fact that they are gluten-free. This is the ultimate testament to a fantastic gluten-free recipe – it tastes so good, it transcends dietary preferences!
If you’re a fan of citrus bars, you might also want to try the equally delightful gluten-free lemon version for a different, yet equally zesty experience!
Essential Ingredients for Your Gluten-Free Key Lime Bars
Crafting these amazing gluten-free key lime bars requires a handful of quality ingredients, each playing a crucial role in achieving the perfect sweet-tart balance and delightful texture. Here’s a closer look at the key players:
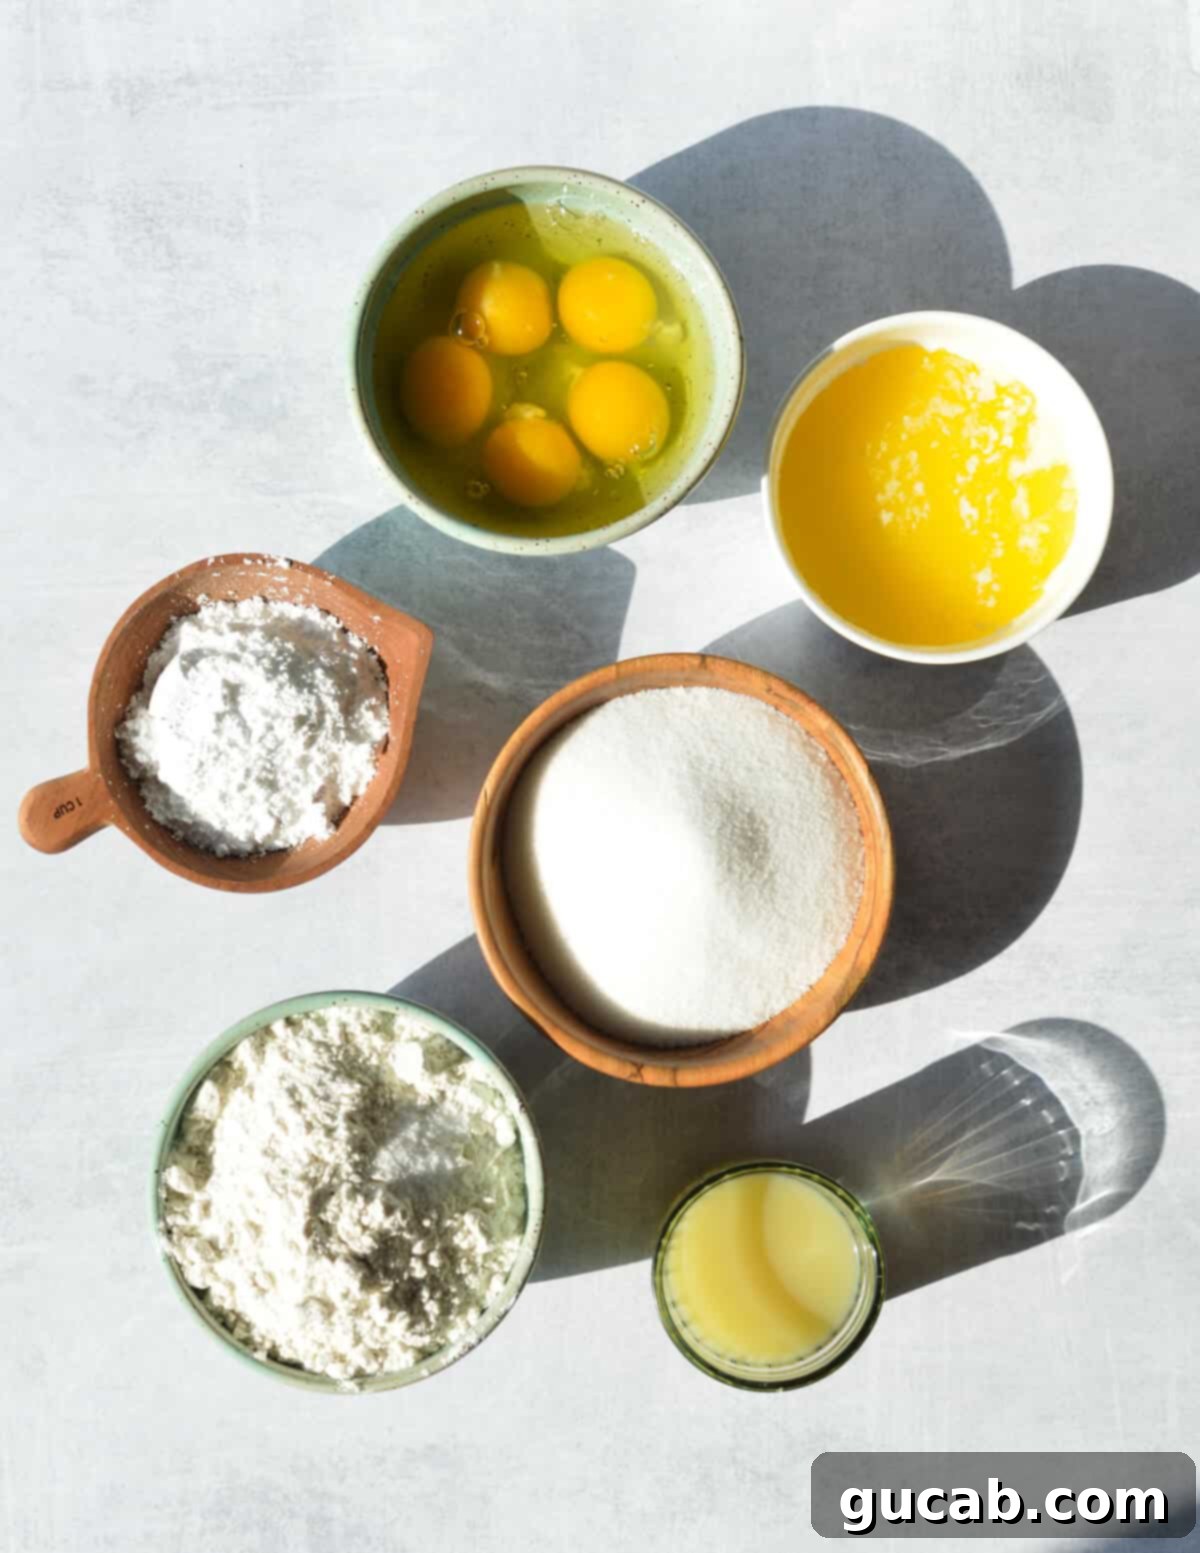
- Gluten-free flour: The foundation of our delicious shortbread crust. I meticulously developed this recipe using my absolute favorite gluten-free flour blend: Bob’s Red Mill’s 1 to 1 Gluten-Free Baking Flour. This particular blend is exceptional because it performs and tastes remarkably similar to traditional wheat flour, ensuring your shortbread crust is tender and crumbly without any strange grittiness or off-flavors that some other gluten-free flours can impart.
- Unsalted butter: This is an absolutely essential component for the rich, buttery flavor and melt-in-your-mouth texture of the shortbread crust. I always opt for unsalted butter in my baking. This allows me complete control over the amount and quality of salt in my baked goods, preventing any unwanted salinity. Ensure your butter is melted for easy incorporation into the crust ingredients.
- Powdered sugar: While granulated sugar is common, powdered sugar (also known as confectioners’ sugar) is key to creating that signature melt-in-your-mouth, delicate consistency for the shortbread crust. Its fine texture blends seamlessly, resulting in a smooth and tender crumb.
- Key lime juice: The star of the show! For the most authentic and vibrant flavor, I wholeheartedly recommend Nellie and Joe’s Key Lime Juice. This is the very brand we relied upon when I worked as a pastry chef at a high-end seafood restaurant, where Key lime desserts were a staple. It delivers an intensely bright and distinctively limey flavor that sets it apart from regular lime juice. While you *can* use fresh regular lime juice in a pinch, Key lime juice provides a unique, more aromatic tartness.
- Eggs: These humble ingredients are crucial for the creamy, custardy filling. The filling of these bars is essentially a baked curd, and the eggs act as a primary emulsifier and thickener. They provide the necessary structure for the lime curd to set beautifully, ensuring it’s rich, smooth, and holds its shape when sliced, rather than being runny.
- Sugar: Let’s be honest, Key lime juice is incredibly tart! While two cups of sugar might initially sound like a significant amount, trust me, it is absolutely necessary to achieve the perfect, harmonious sweet-tart flavor profile that makes these bars so irresistible. Without enough sugar, the lime flavor would be overwhelmingly sour.
- Kosher Salt (for the crust): Often overlooked, a tiny pinch of kosher salt in the crust is vital. It doesn’t make the crust salty, but rather enhances all the other flavors, balancing the sweetness and enriching the buttery notes.
Step-by-Step Guide: How to Make Gluten-Free Key Lime Bars
One of the many reasons I adore these gluten-free key lime bars is their incredible simplicity. The process is straightforward, yielding professional-quality results with minimal fuss. Follow these steps carefully for the best outcome:
First things first, make sure your oven is preheated to 350 degrees Fahrenheit (175°C) before you even begin mixing. This ensures a consistent baking temperature from the start.
For effortless removal and clean slices, I always recommend lining your 9×13-inch glass baking dish with parchment paper. Allow the excess parchment to hang over the sides of the dish – these will serve as convenient “handles” later when you need to lift the cooled bars out.
1. Prepare the Buttery Shortbread Crust
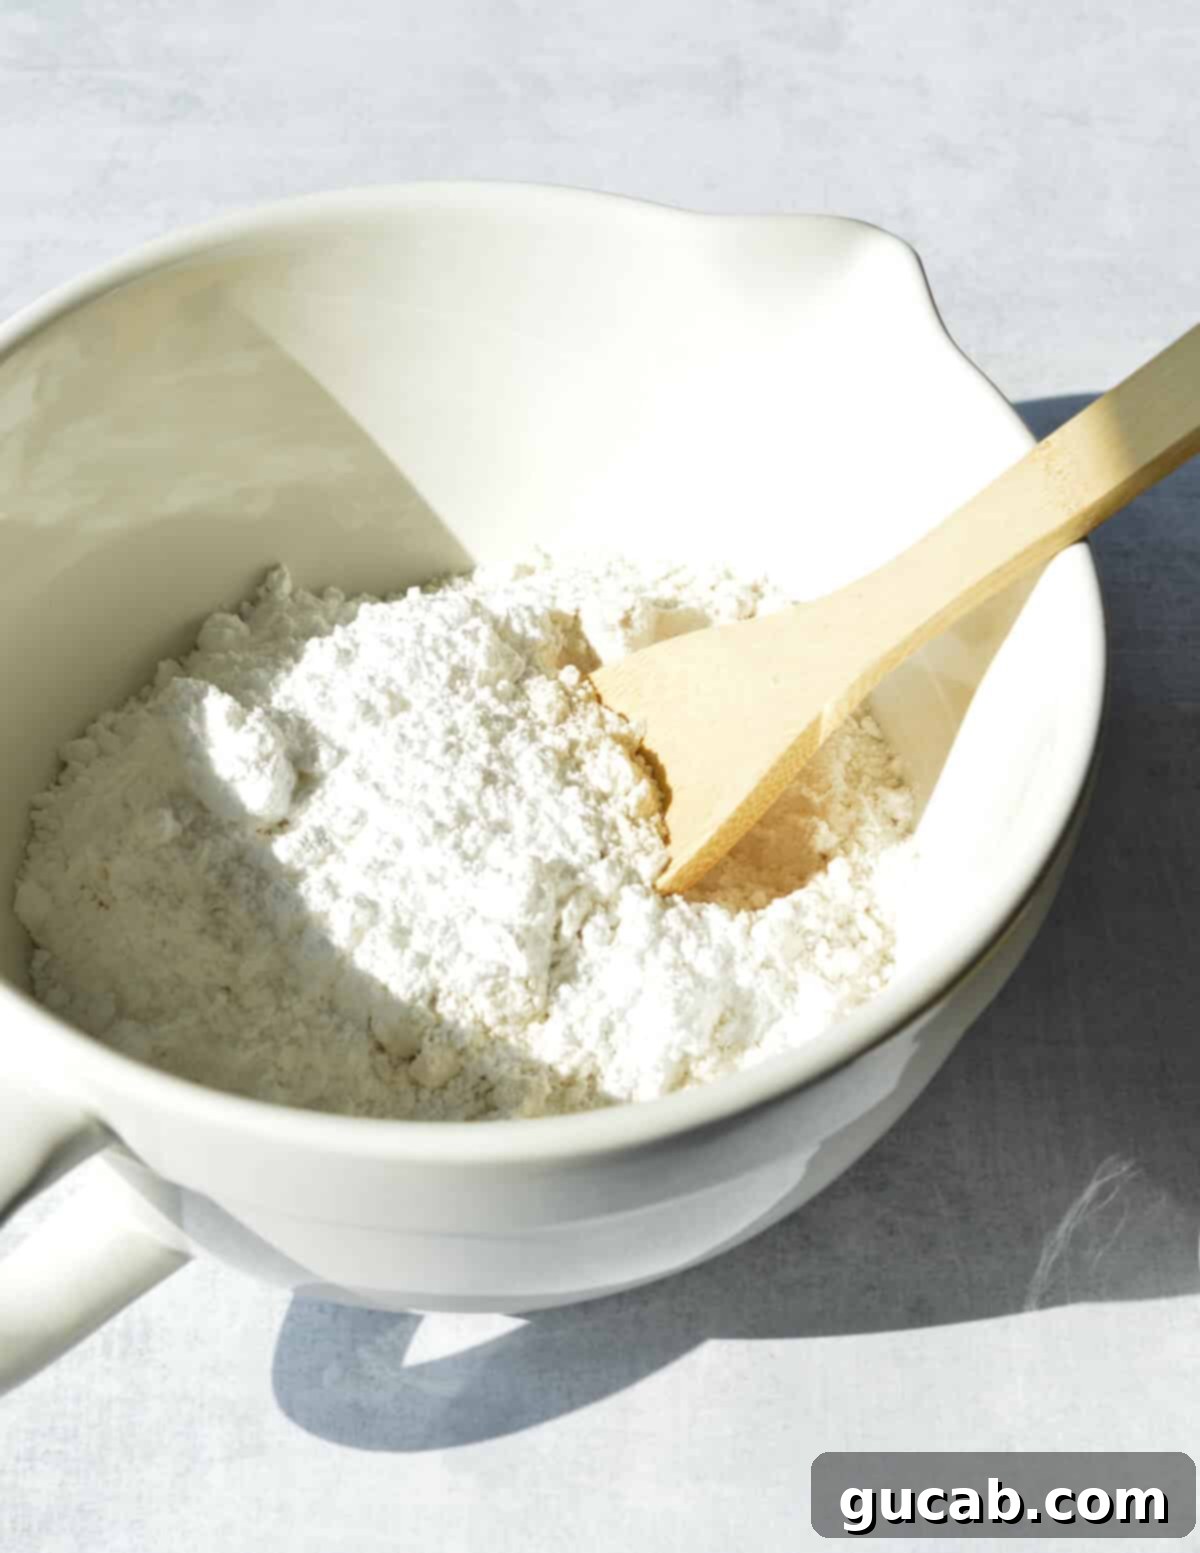
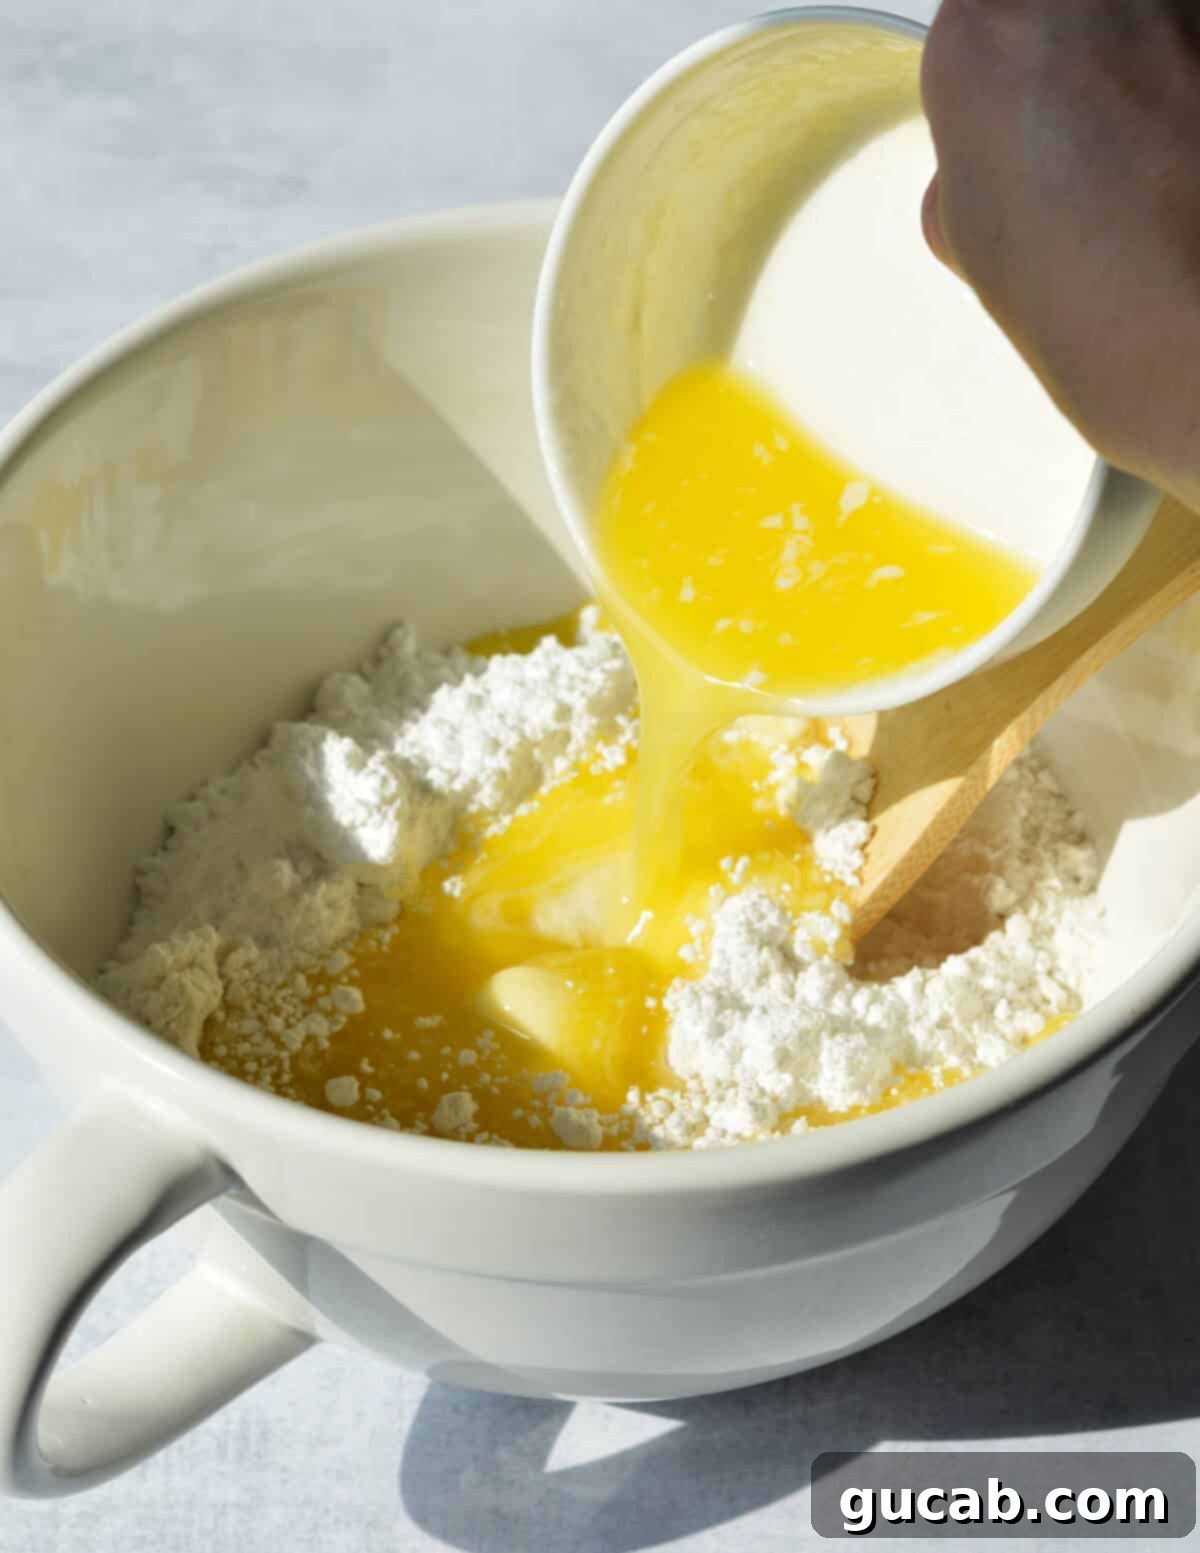
- In a spacious mixing bowl, begin by combining all the crust ingredients: the gluten-free flour, powdered sugar, kosher salt, and the melted unsalted butter.
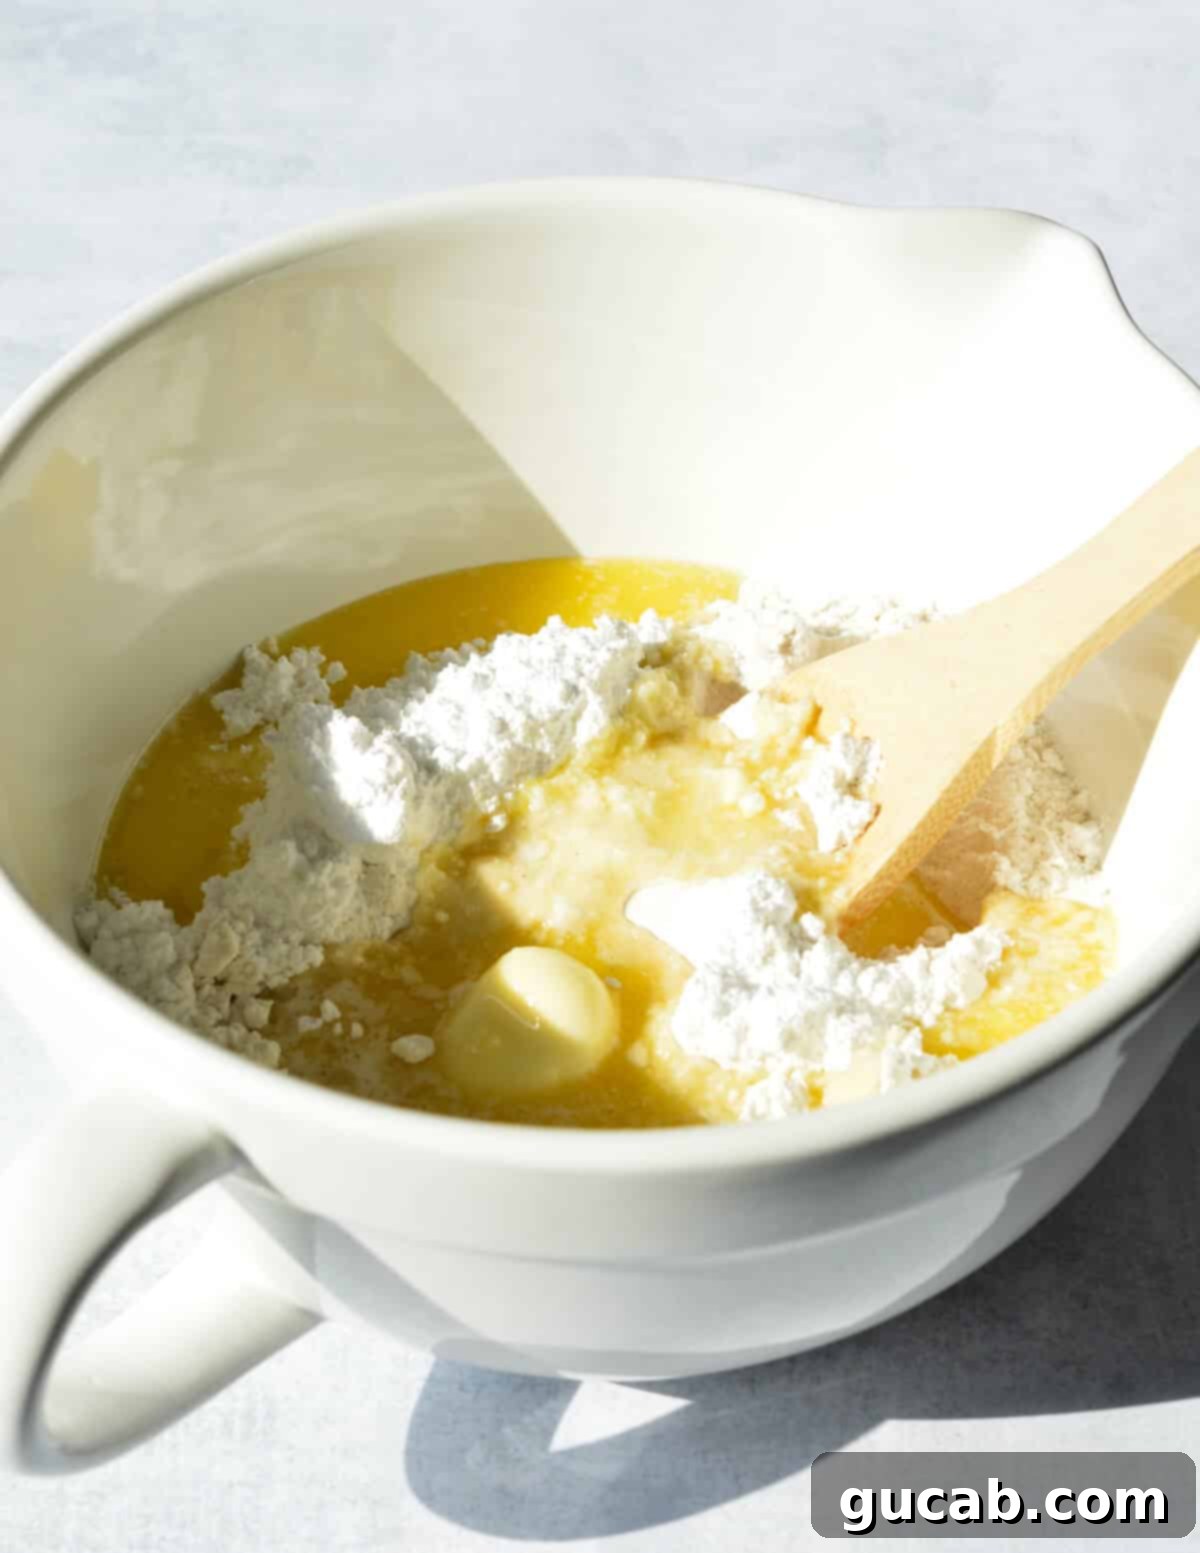
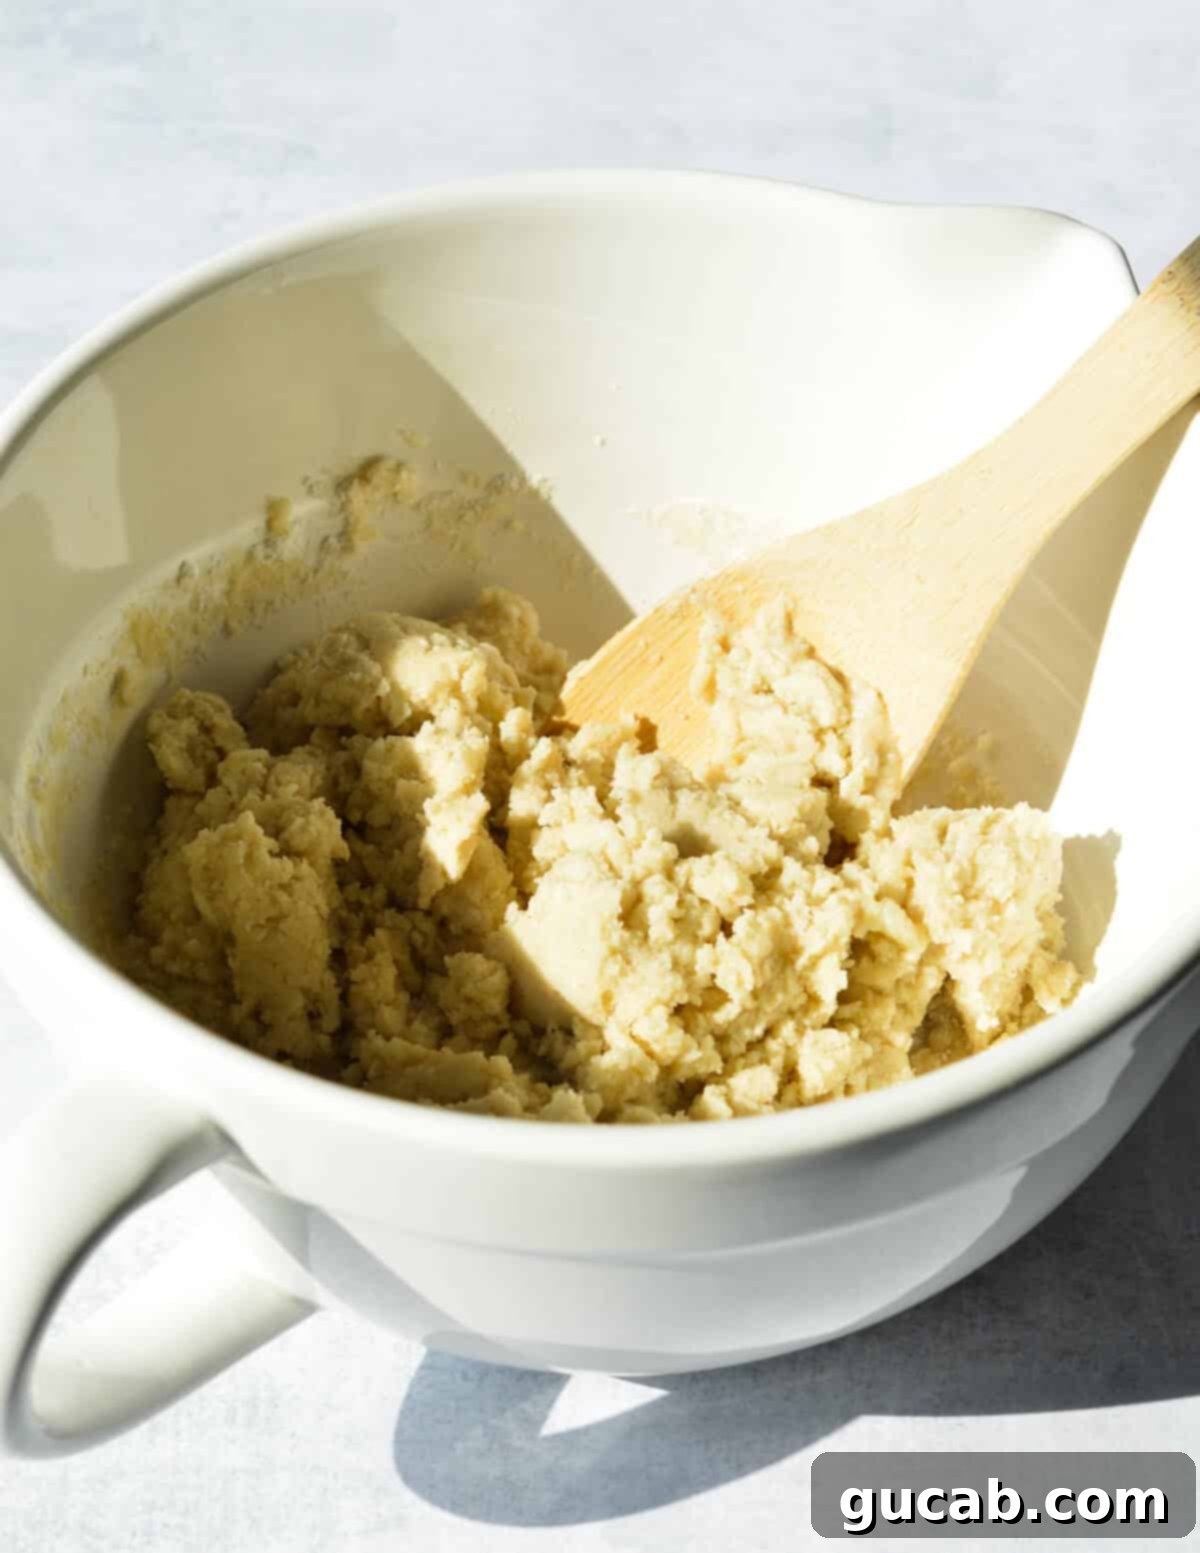
- Using a sturdy spoon or a rubber spatula, mix these ingredients together. Continue mixing until they are just combined and a cohesive dough forms. Be mindful not to overmix the dough, as this can lead to a tougher crust. The goal is a tender, crumbly shortbread, not a dense, chewy one.
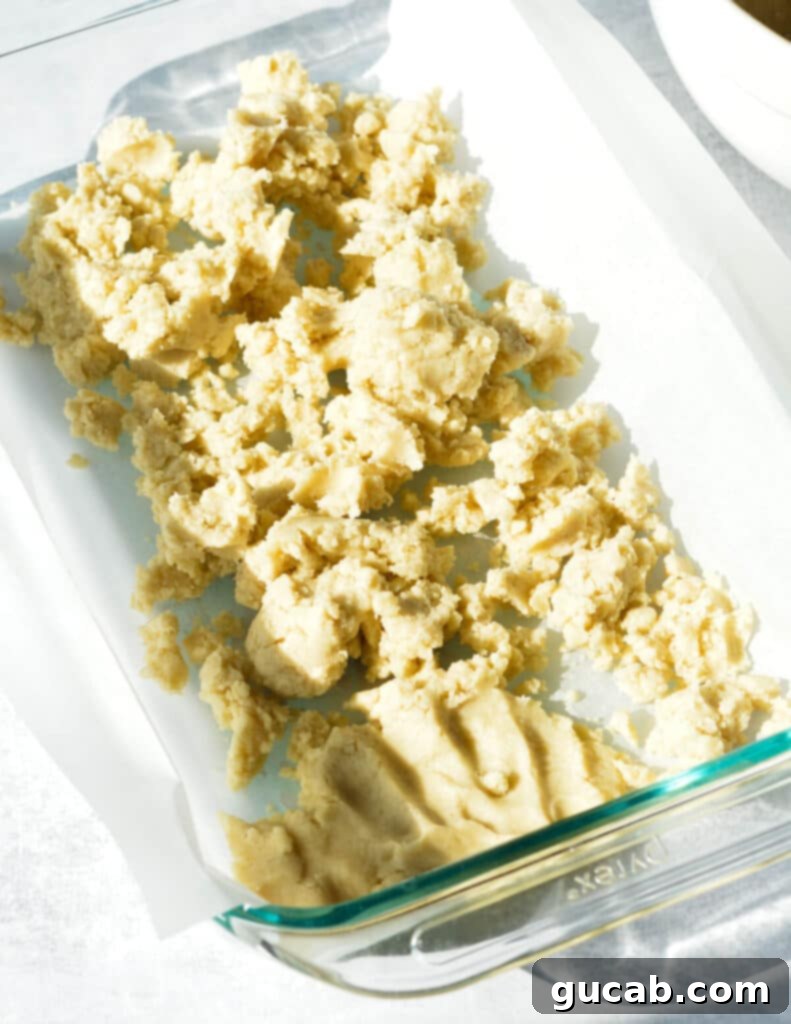
- Next, transfer the prepared shortbread dough into your parchment-lined baking dish.
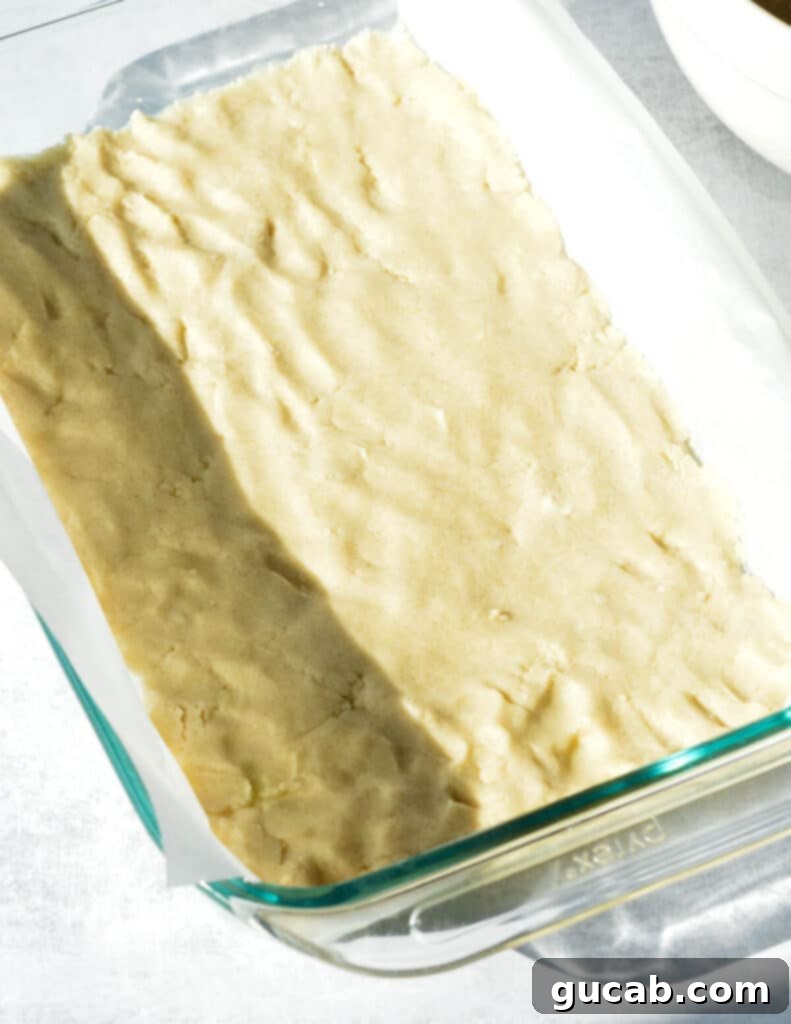
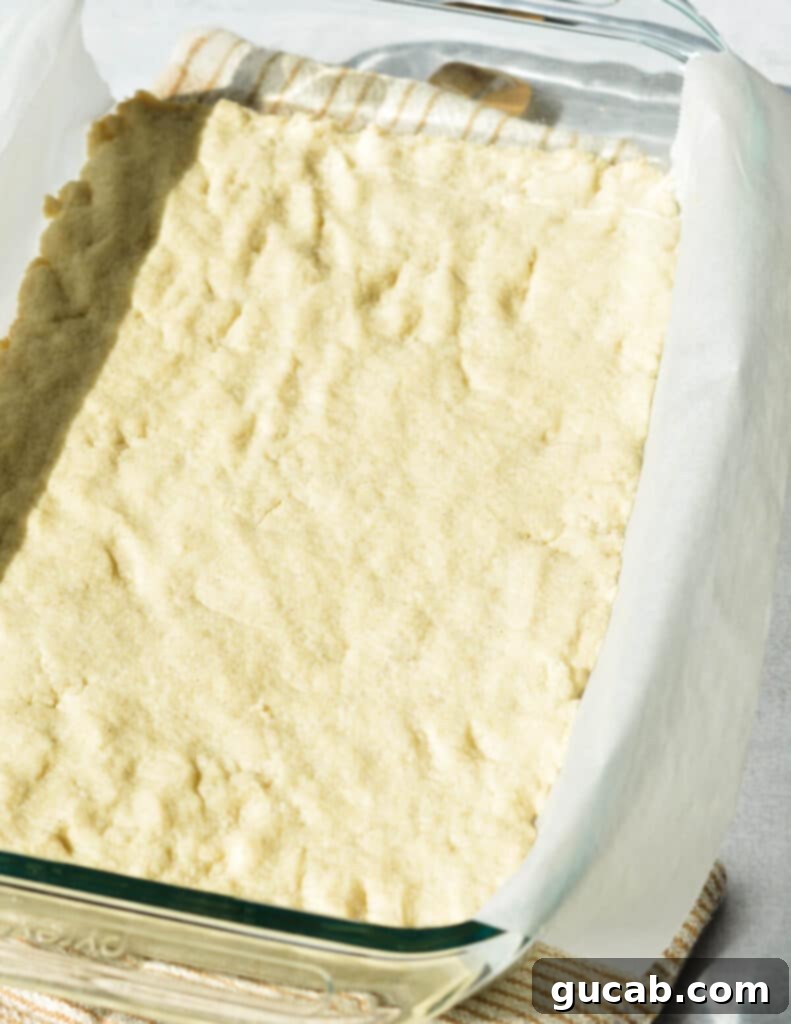
- Using your hands, firmly and evenly flatten the dough across the bottom of the dish, creating a uniform crust. Make sure there are no thick or thin spots, as this will affect baking consistency.
- Bake this crust in your preheated oven for approximately 20 minutes, or until it’s lightly golden around the edges. Once baked, remove it from the oven and set it aside to cool slightly while you prepare the vibrant Key lime filling. This cooling step helps prevent a soggy bottom once the filling is added.
2. Craft the Creamy Key Lime Filling and Bake
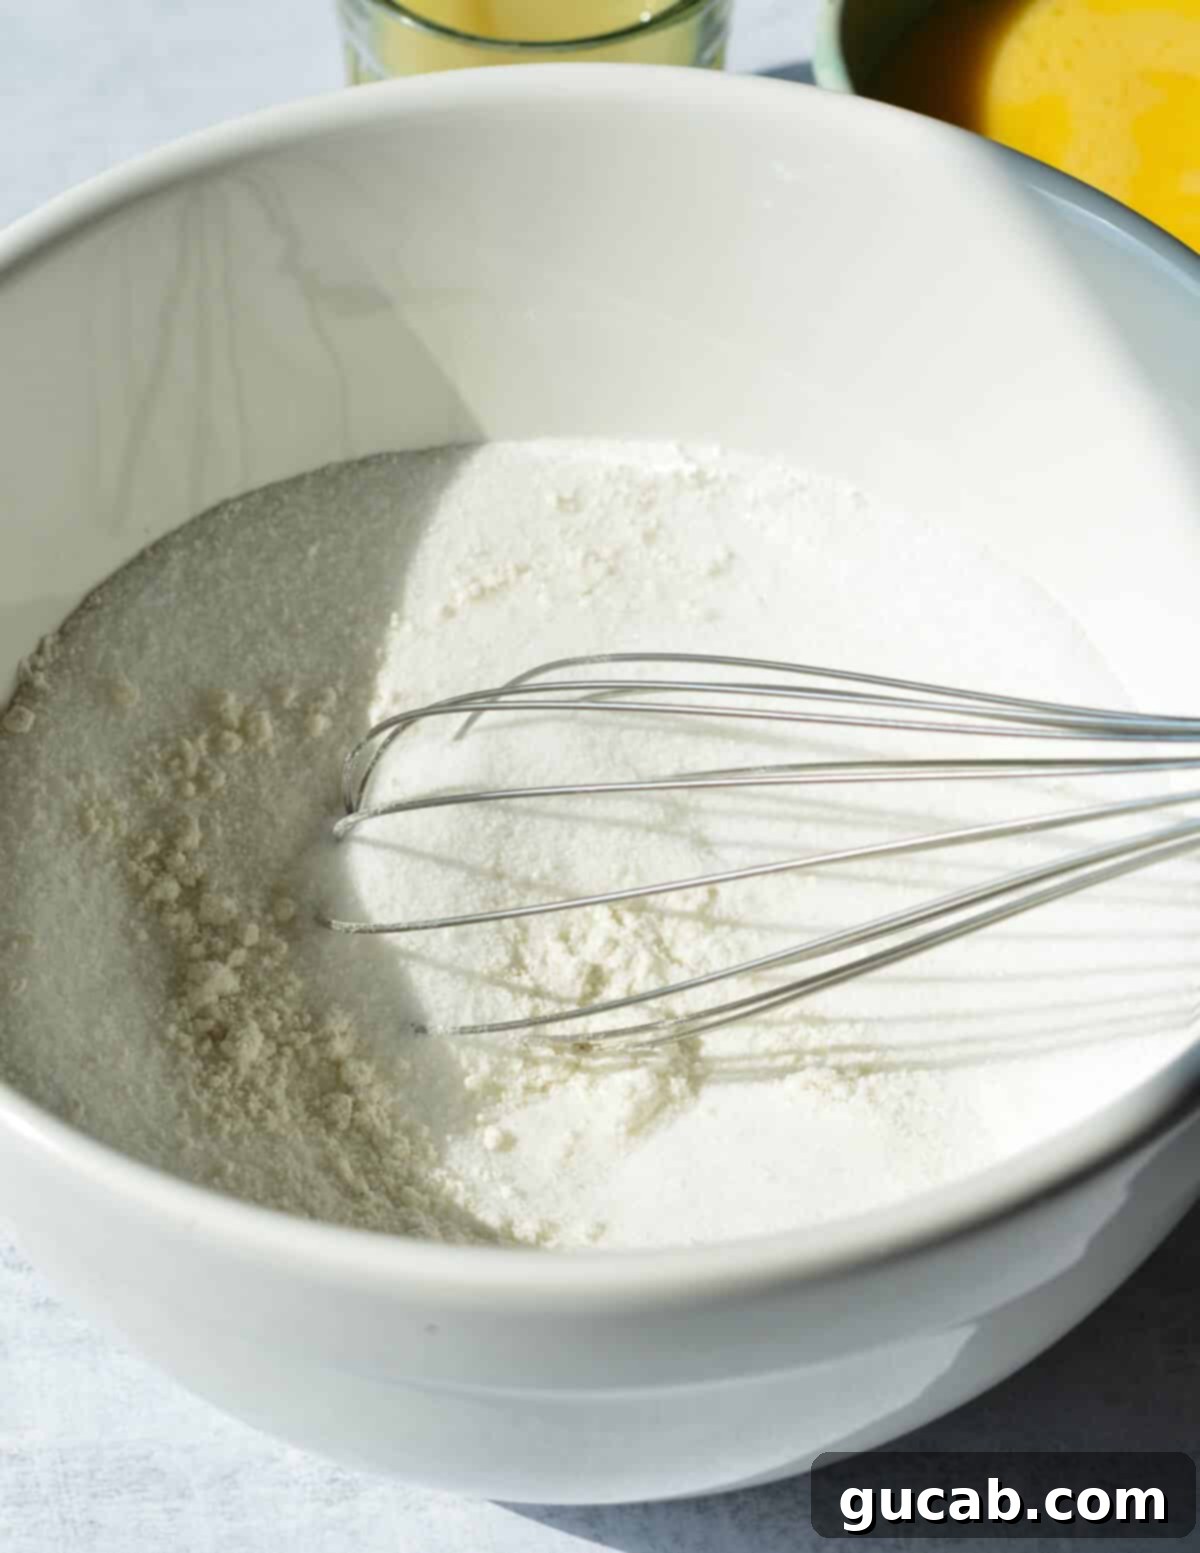
- In a separate large bowl, stir together the granulated sugar and the two tablespoons of gluten-free flour. Mixing the flour with the sugar at this stage helps prevent lumps when adding the wet ingredients.
- Add the five large eggs to the sugar and flour mixture, then whisk vigorously until everything is thoroughly incorporated and the mixture is smooth.
- Finally, pour in the key lime juice and continue to whisk until it is fully combined with the egg mixture, creating a smooth, bright yellow-green liquid.
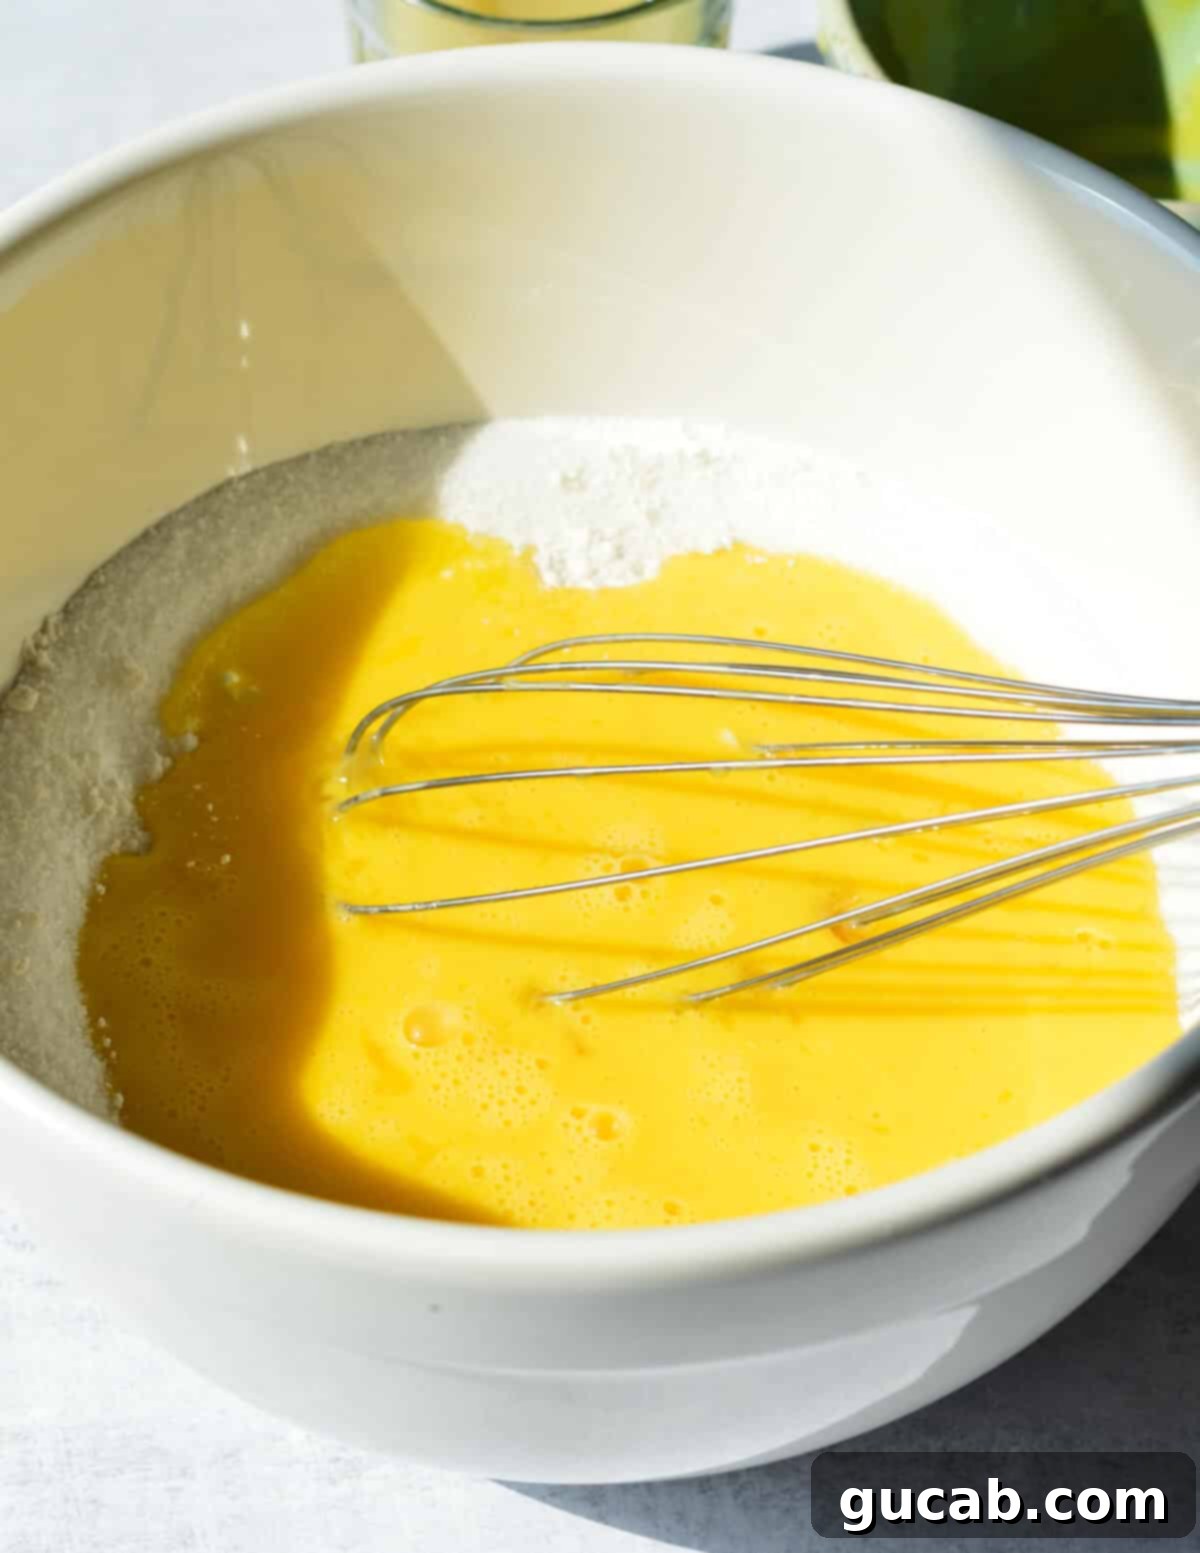
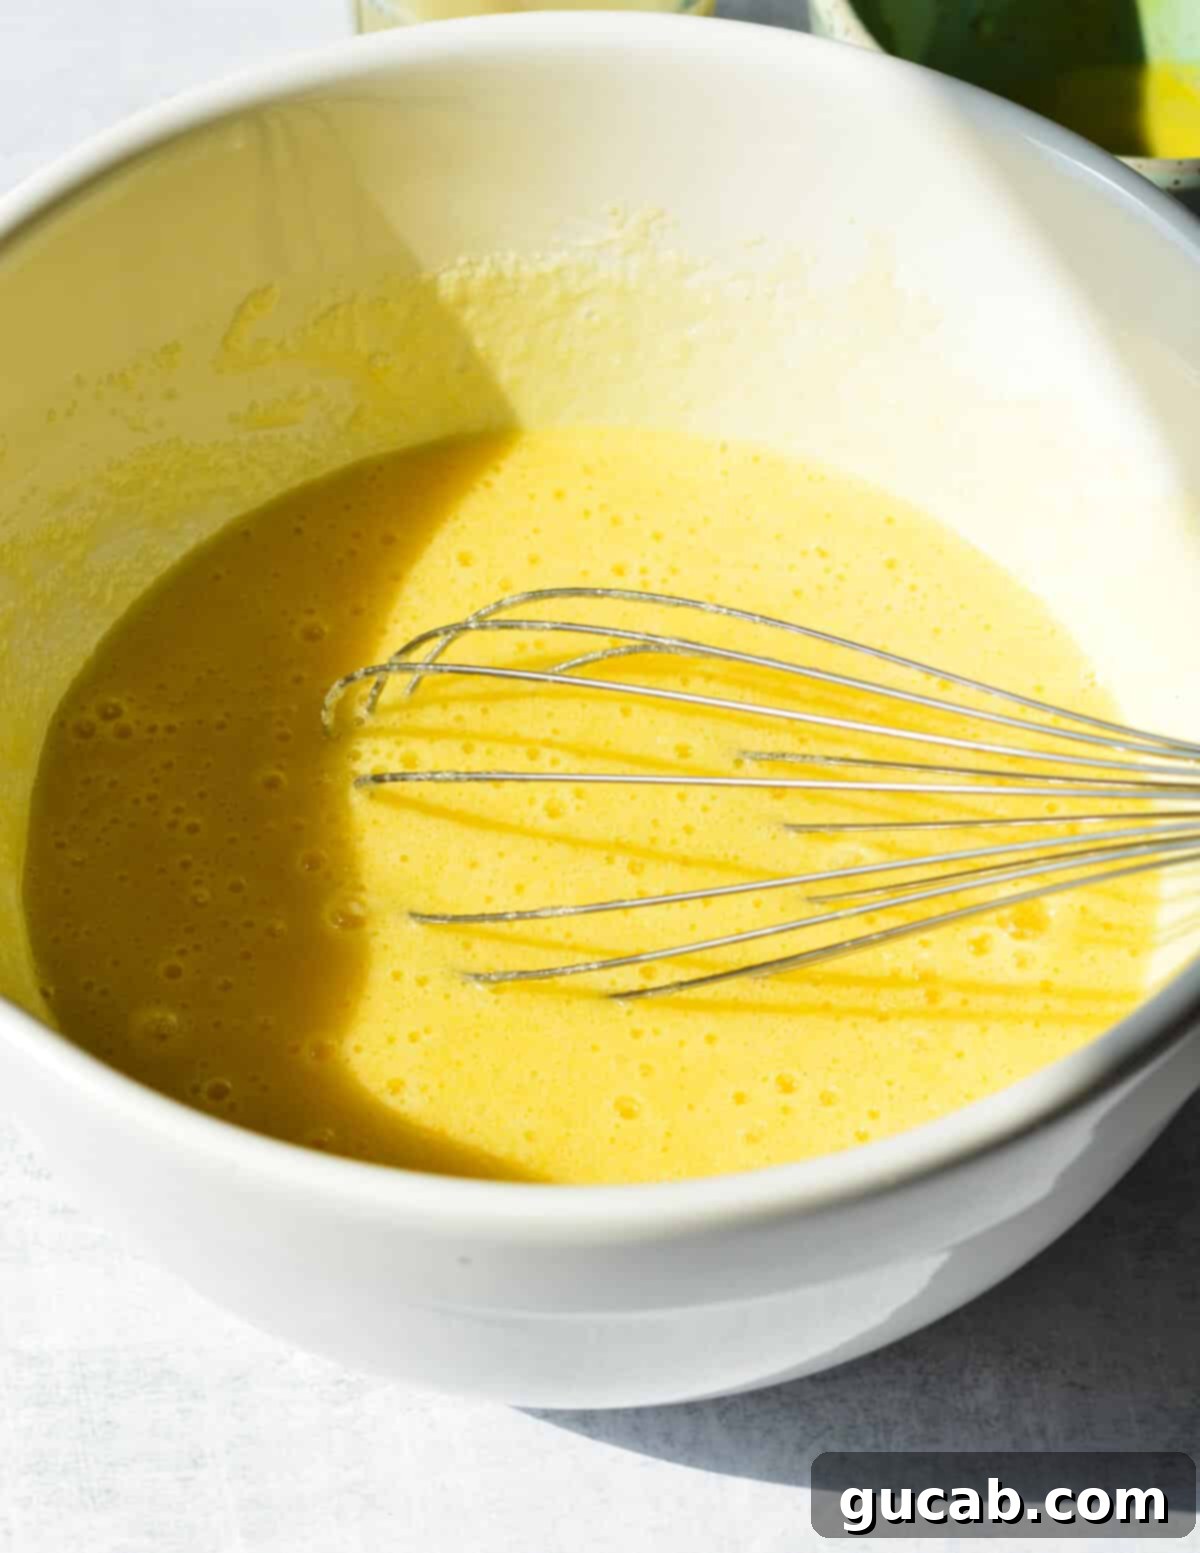
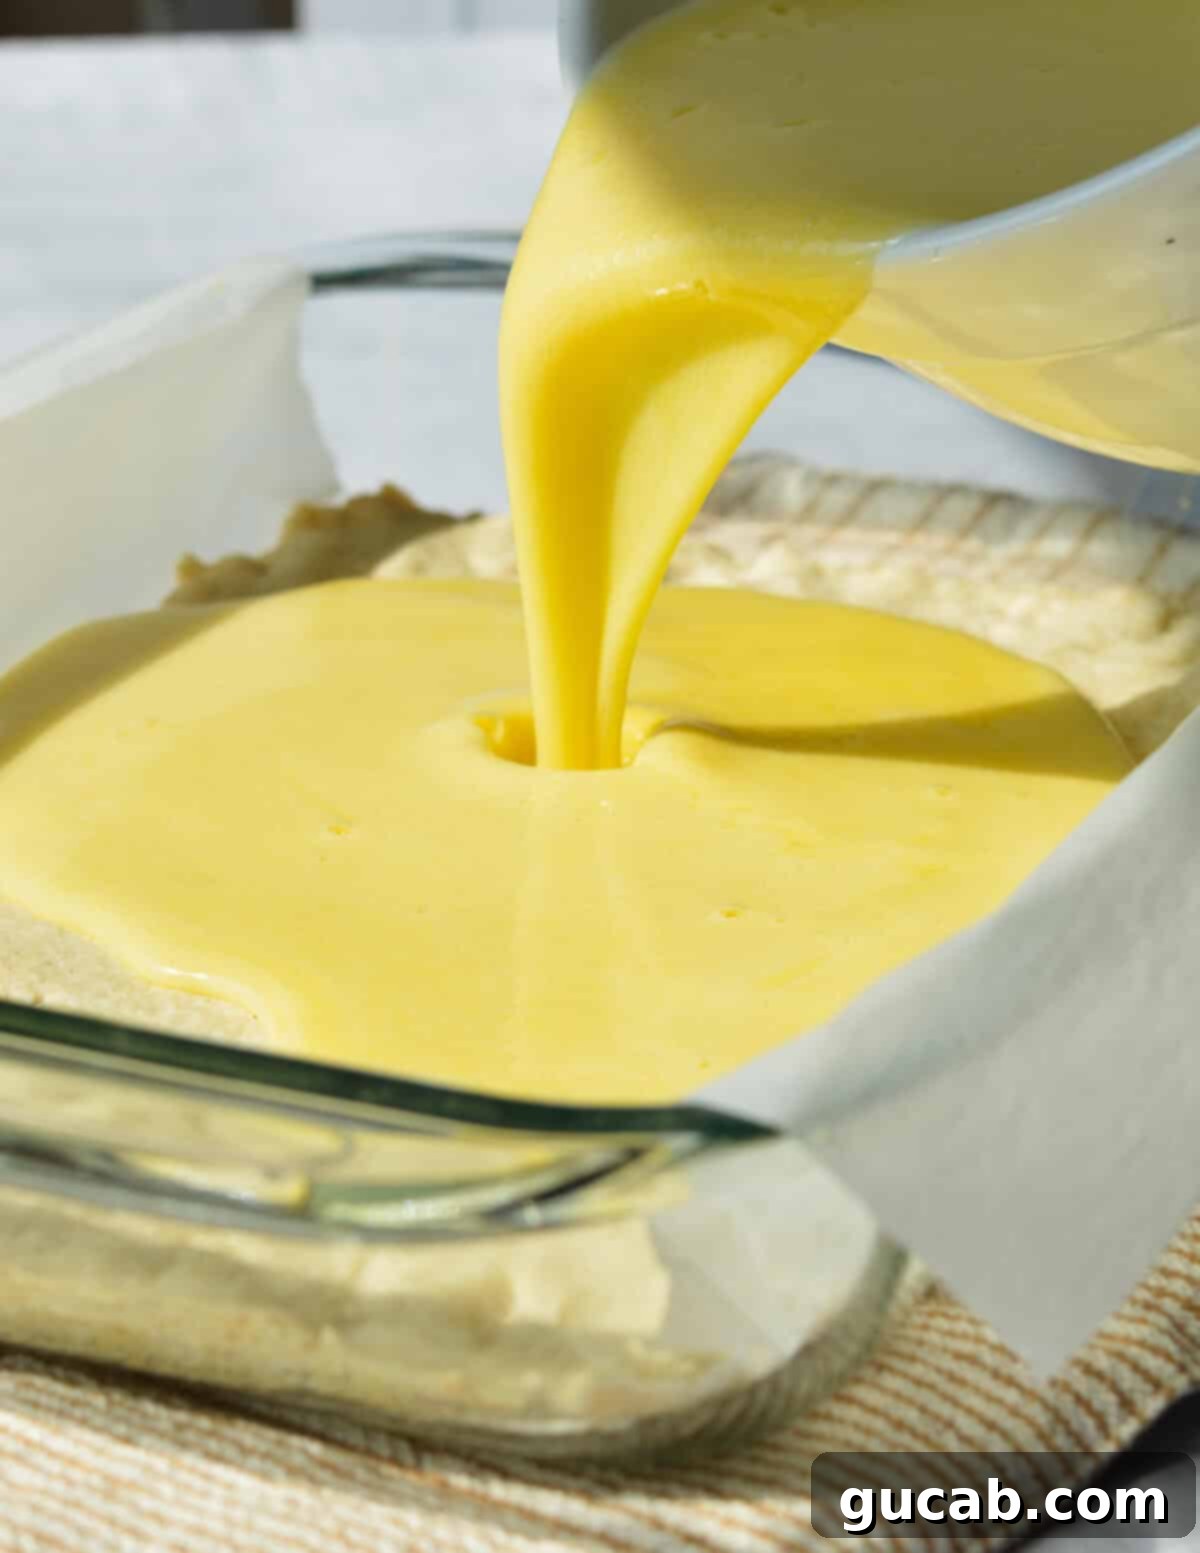
- Once your filling is ready, gently pour it over the still-warm crust in the baking dish. The slight warmth of the crust helps the filling bake more evenly.
- Carefully place the baking dish back into the preheated oven and bake for an initial 20 minutes.
- After 20 minutes, remove the dish from the oven. To prevent the top edges of your bars from over-browning while the center continues to set, gently tent the top of the baking dish with aluminum foil. Return it to the oven and bake for an additional 10 minutes. The filling should be set around the edges with a slight jiggle in the very center when gently shaken.
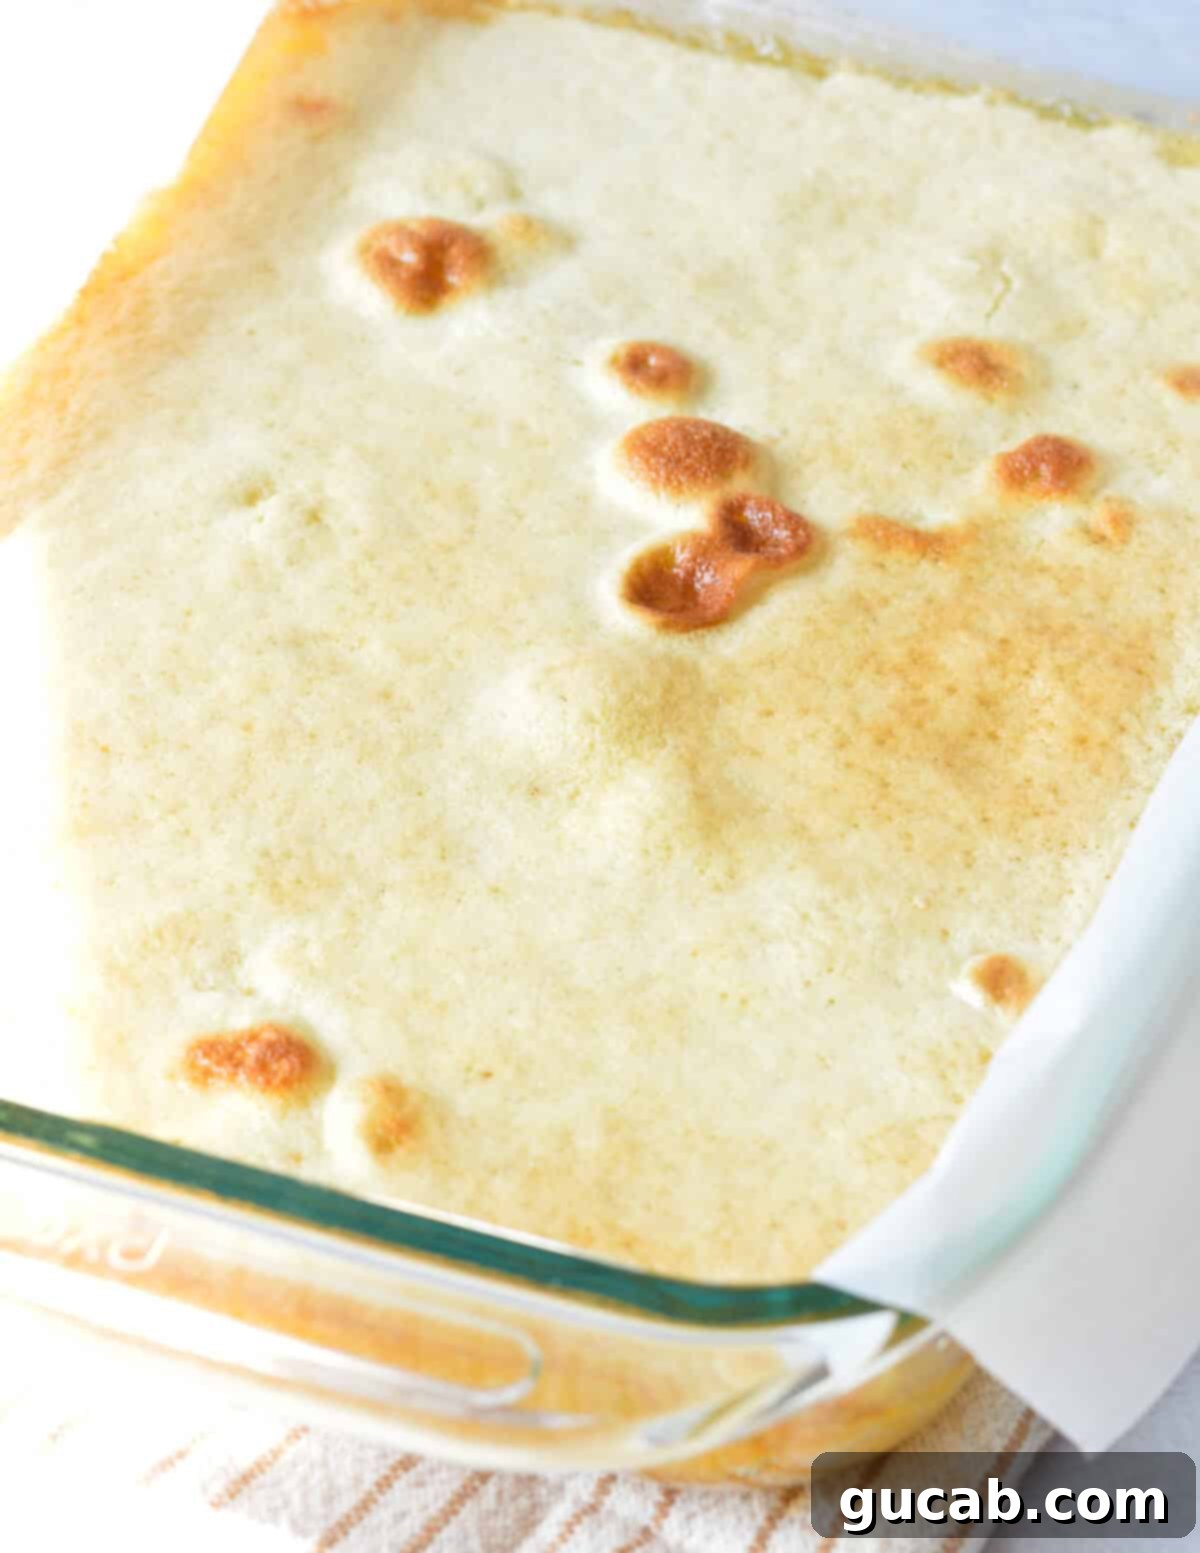
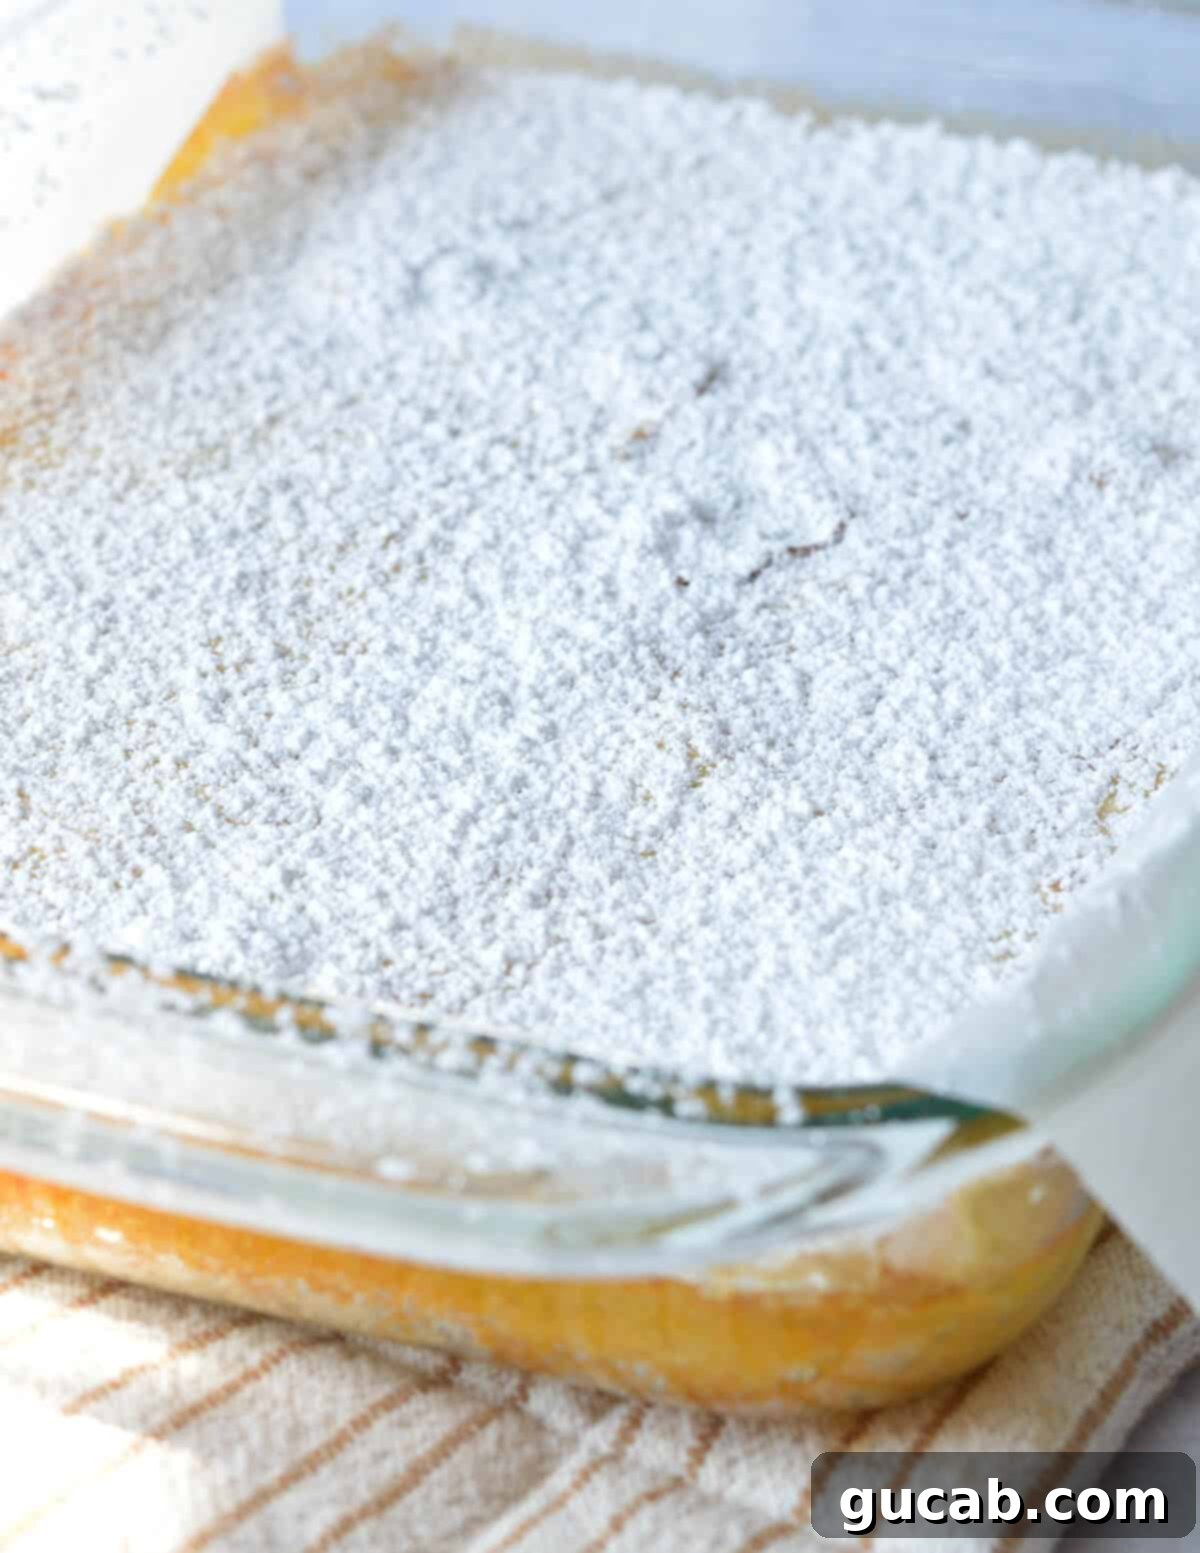
- Once removed from the oven, immediately dust the top of the warm bars with a generous layer of powdered sugar. This adds a beautiful finish and an extra touch of sweetness that complements the tart lime.
3. Cool Thoroughly and Slice the Bars
- This step is absolutely critical: You MUST allow your key lime (or lemon) bars to cool completely before attempting to cut them! Do NOT rush this process; patience here will be rewarded with perfectly set, clean slices. If you cut them too soon, the filling will be soft and runny, making for a messy presentation.
- First, let the bars cool at room temperature for at least 30 minutes. This allows the initial heat to dissipate and the filling to begin setting.
- After the initial cooling, carefully transfer the baking dish with the key lime bars to the fridge and chill for a minimum of 2 hours. For the absolute best results – perfectly firm and easily sliceable bars – I highly recommend chilling them overnight.
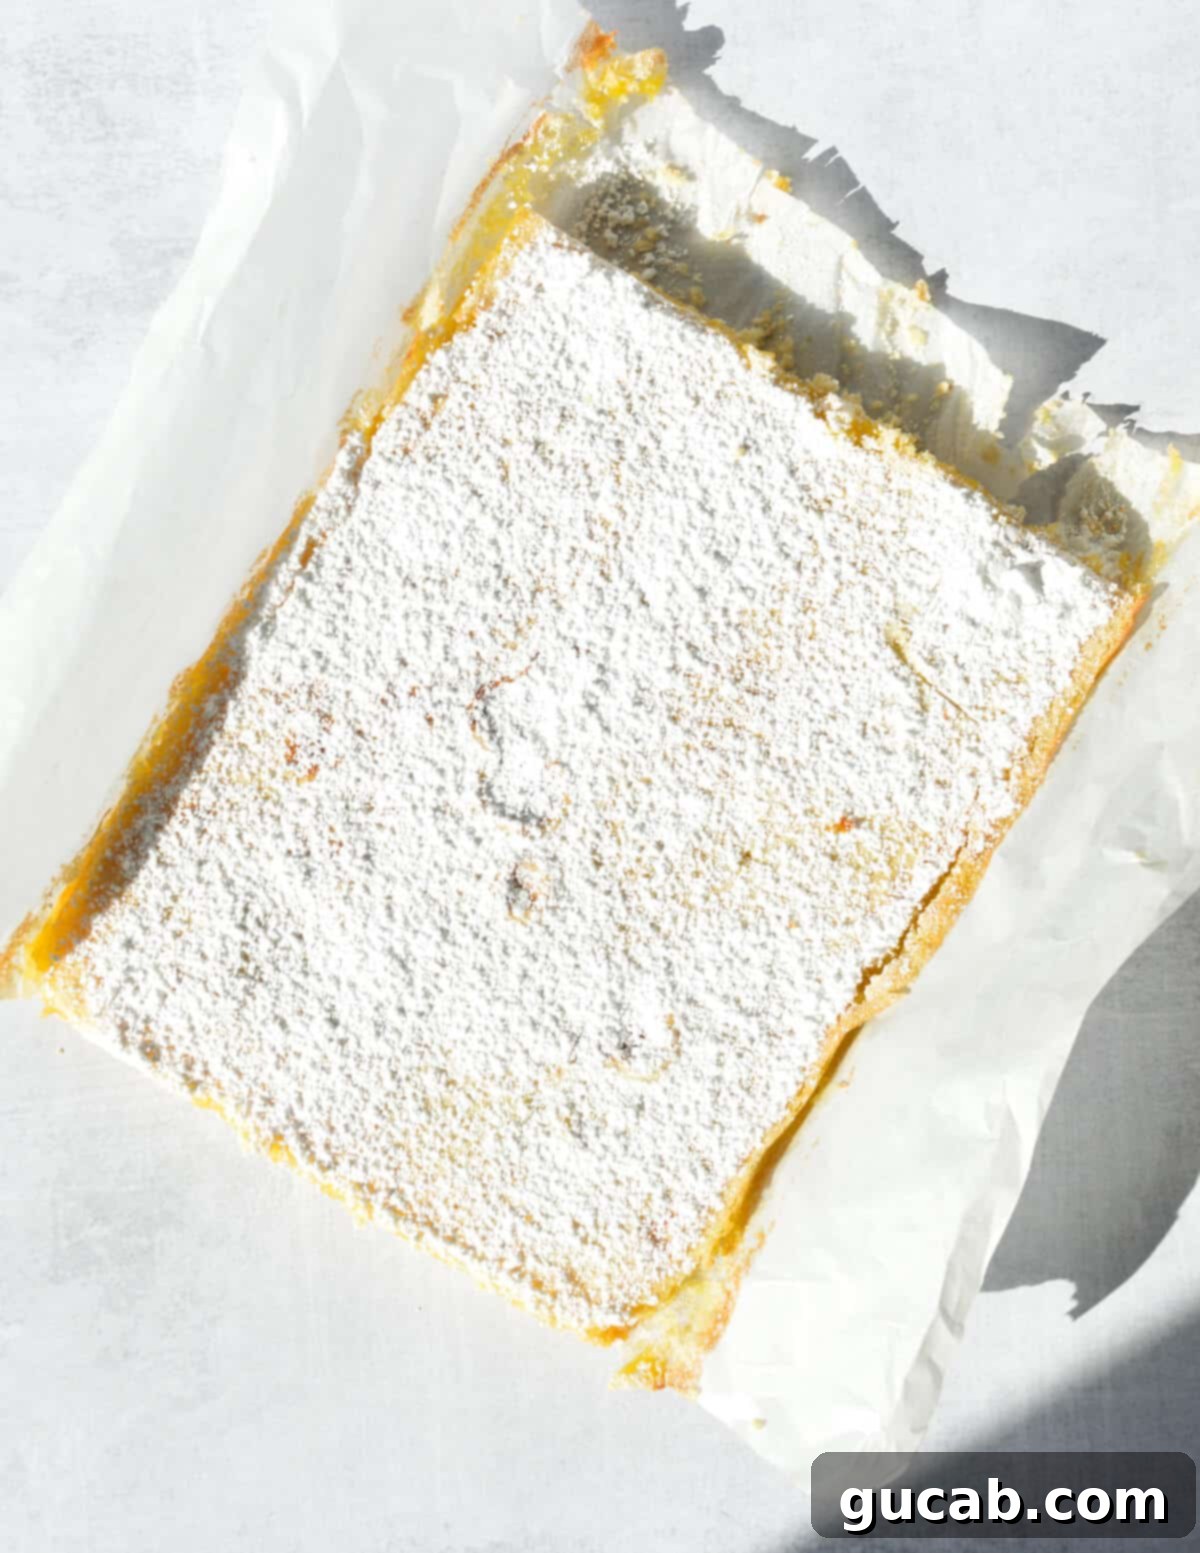
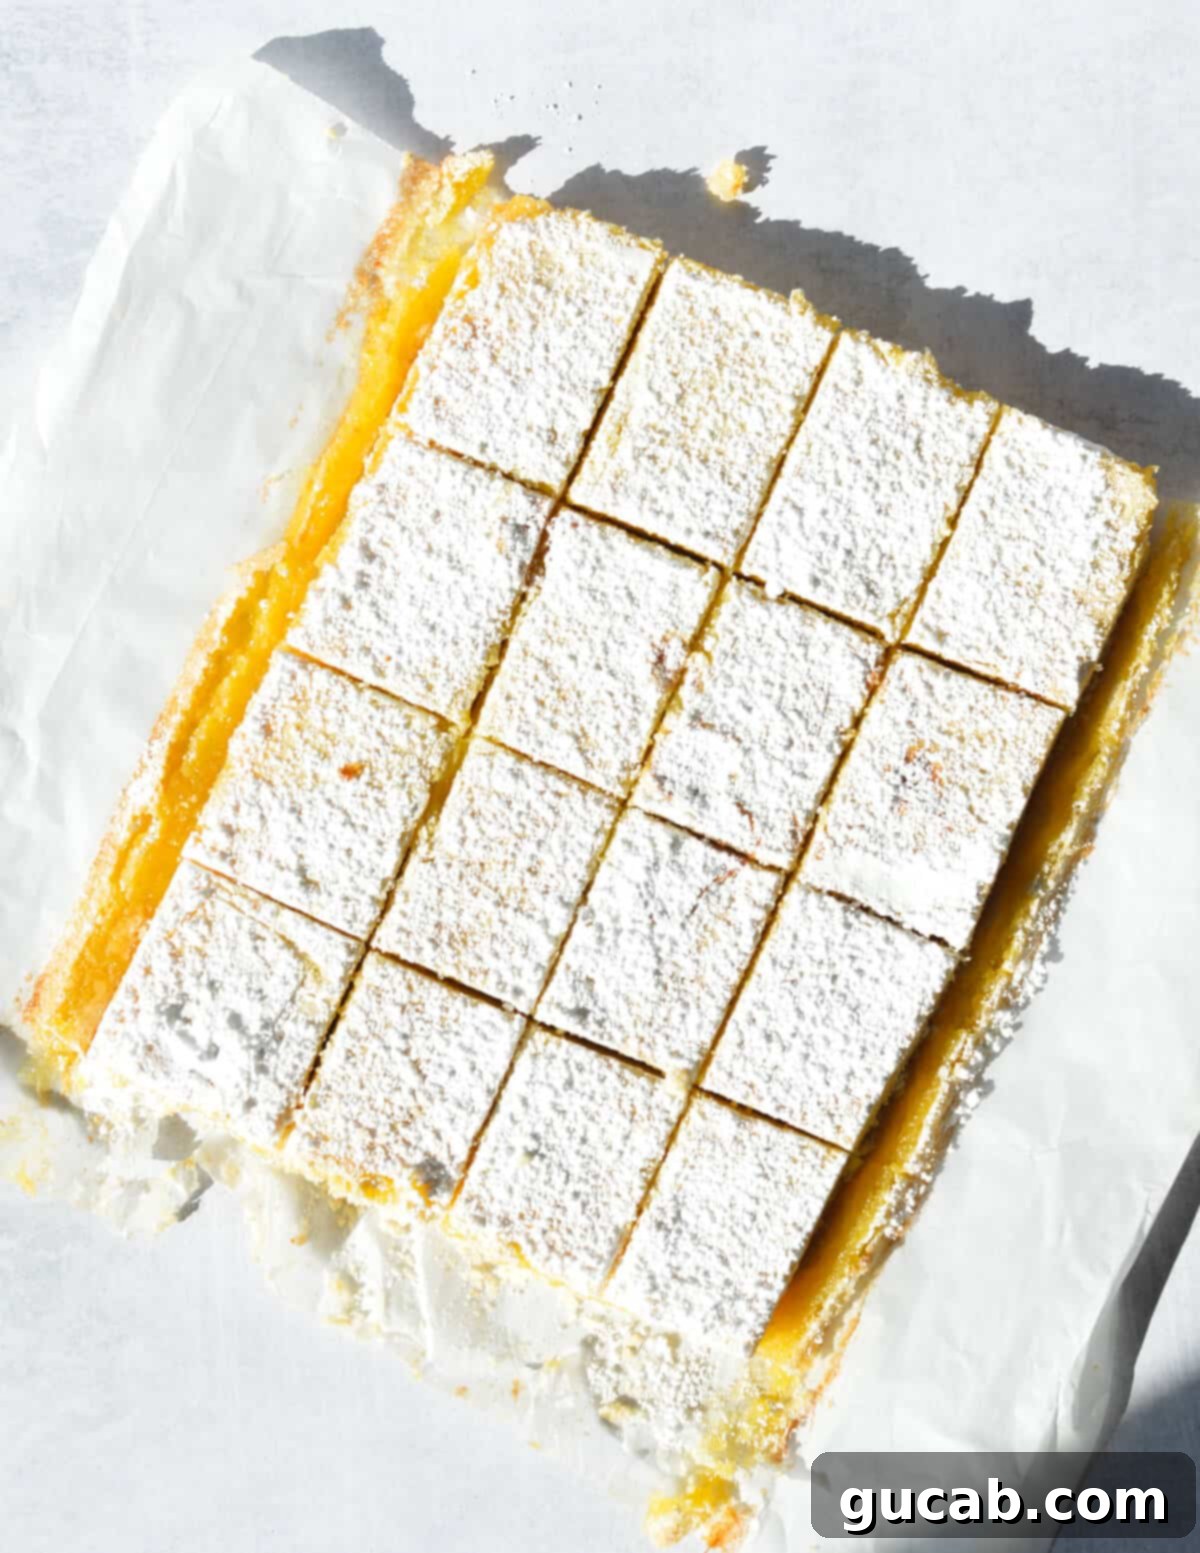
- Once thoroughly chilled and set, use the parchment paper “handles” to gently remove the entire slab of lime bars from the baking dish. Place it on a cutting board.
- Using a sharp knife, cut the bars into your desired squares or rectangles. For the cleanest cuts, wipe your knife clean between each slice, especially after the first few.
Understanding Gluten-Free Flour Blends
Baking with gluten-free flours can sometimes feel like a science experiment, as not all blends are created equal. Gluten-free all-purpose flour is typically a meticulously formulated blend of various flours (like rice flour, sorghum flour, or millet flour), starches (such as tapioca starch, potato starch, or cornstarch), and often includes xanthan gum. Each brand develops its own unique blend with different ratios of these components, which significantly impacts how the flour behaves in a recipe.
Some gluten-free flour brands are more “thirsty” than others, meaning they absorb more liquid, which can lead to a dry, crumbly result if not accounted for. Others may have a different density or protein content, affecting the structure and texture of your baked goods. Some blends are designed for direct 1-to-1 substitution in recipes that call for wheat flour, while others require specific adjustments.
For this particular gluten-free key lime bars recipe, I strongly recommend using **Bob’s Red Mill’s 1 to 1 Gluten Free Baking Flour**. This is the specific brand I used and thoroughly tested when developing this recipe, ensuring that the quantities of other ingredients, like butter and eggs, are perfectly balanced. This blend already contains xanthan gum, which is crucial for mimicking the elasticity and binding properties that gluten provides in traditional baking, giving your bars a fantastic texture without being gummy or brittle. While you might be tempted to try another brand, please be aware that results can vary, and you might need to adjust the liquid content or other ingredients to achieve the desired consistency. Sticking to the recommended flour will give you the most consistent and delicious outcome.
Storage & Freezing Tips for Gluten-Free Key Lime Bars
These delightful gluten-free key lime bars are not only delicious fresh but also incredibly freezer-friendly! Freezing is my preferred method for extending their shelf life, allowing you to enjoy a taste of summer whenever a craving strikes.
To Store (Refrigeration):
- For short-term storage, keep the cut key lime bars in the refrigerator. They will remain wonderfully fresh and delicious for up to 1 week.
- You can either cover the original baking dish tightly with plastic wrap or aluminum foil, or for optimal freshness, transfer the individual bars to an airtight container. Storing them in an airtight container helps prevent them from drying out or absorbing other odors from your fridge.
To Freeze (Long-Term Storage):
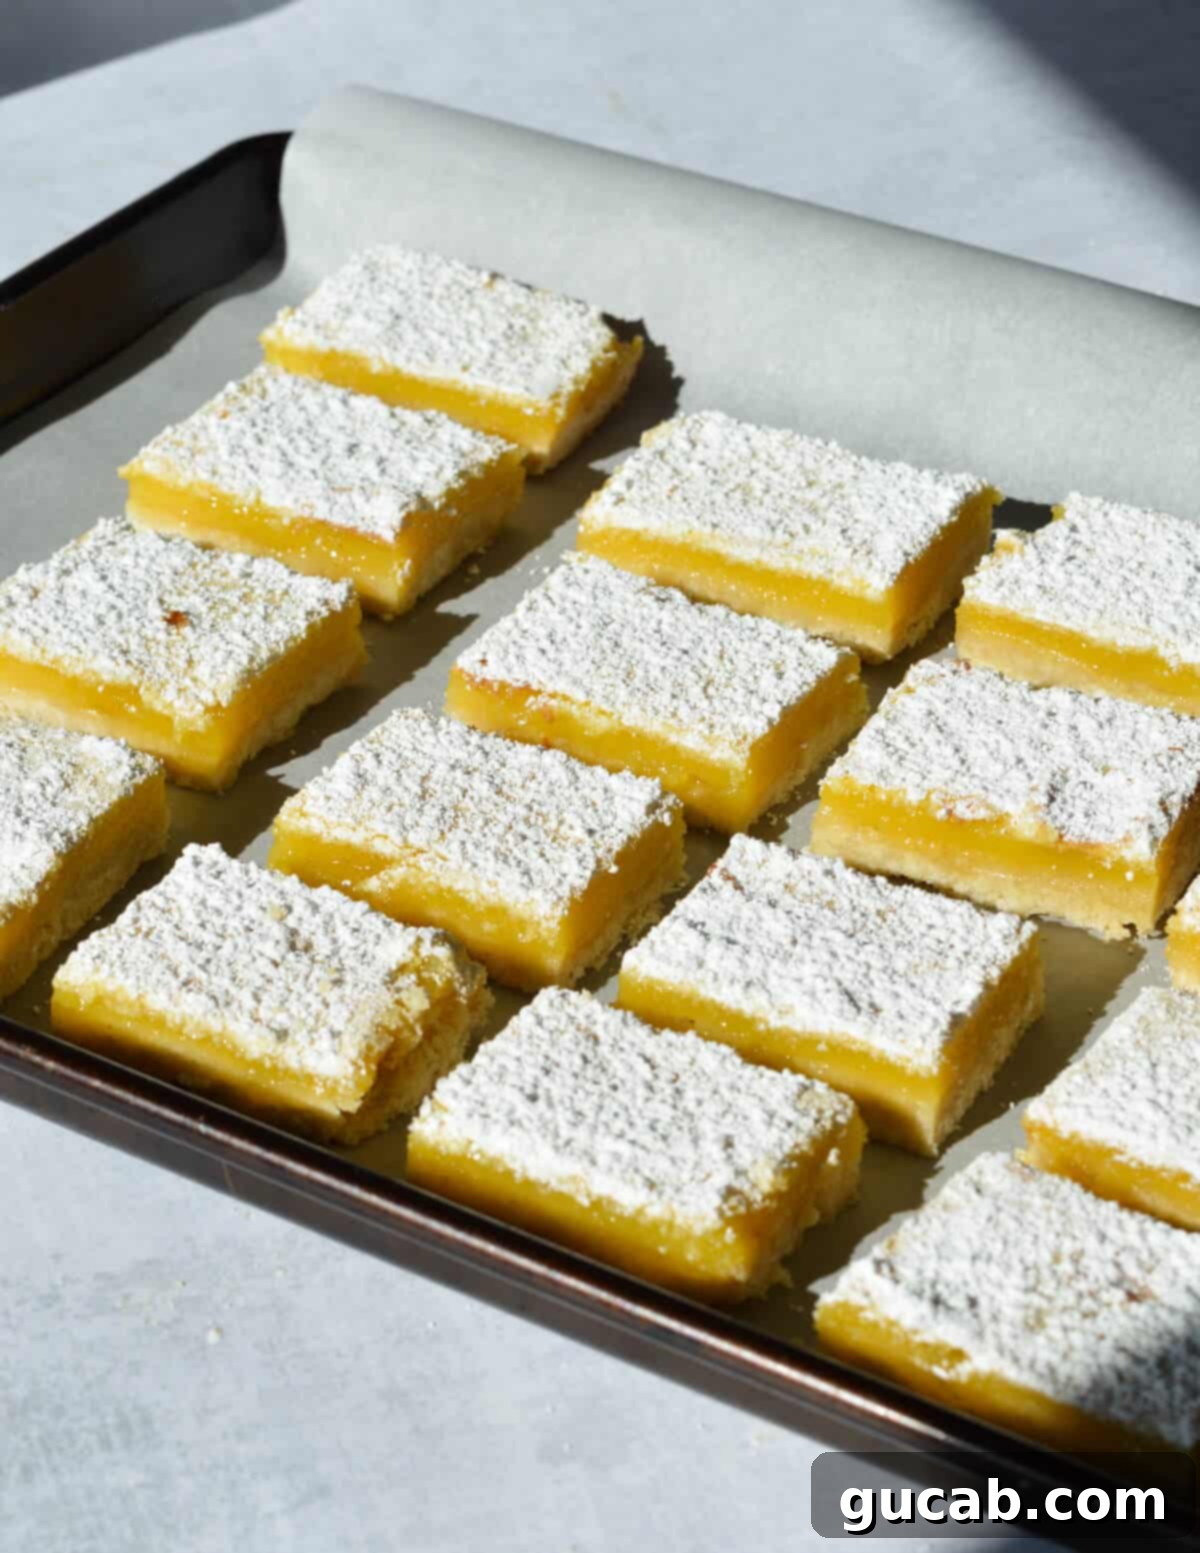
- To preserve your key lime bars for a longer period, freezing is an excellent option. Start by lining a sheet pan or a large plate with parchment paper.
- Arrange the cut bars onto the parchment-lined pan, ensuring they are not touching or stacked. This “flash-freezing” step prevents them from sticking together.
- Place the pan in the freezer until the bars are frozen solid, typically about 1-2 hours.
- Once frozen, transfer the individual solid bars to a freezer-safe airtight container or a heavy-duty zip-top freezer bag. For extra protection against freezer burn, you can wrap each bar individually in plastic wrap before placing them in the container.
- Frozen gluten-free key lime bars can be stored for up to 2-3 months. To enjoy, simply thaw them in the refrigerator for a few hours or at room temperature for about 30 minutes before serving.
Variations and Serving Suggestions
While these gluten-free key lime bars are utterly perfect as is, there’s always room for a little creative flair! Here are some ideas to customize them or elevate your serving experience:
- Toppings Galore: A simple dusting of powdered sugar is classic, but you can take it up a notch. A dollop of freshly made whipped cream (or coconut whipped cream for a dairy-free option) and a sprinkle of fresh lime zest immediately before serving adds elegance and a burst of fresh aroma. Shaved white chocolate curls or a few fresh raspberries or blueberries also make a beautiful garnish.
- Citrus Swaps (with caution): While the recipe is designed for Key limes, if you can’t find them, regular Persian limes can be used. Just note that the flavor will be slightly less aromatic and possibly a bit sharper, so you might want to slightly reduce the lime juice or increase the sugar to taste. For a completely different flavor profile, you could experiment with lemon juice for delightful gluten-free lemon bars (as linked earlier!), or even a mix of citrus for a unique blend.
- Crust Adventures: While the shortbread crust is a winner, for a different texture, you could adapt the recipe to use a gluten-free graham cracker crust. This would involve crushing gluten-free graham crackers, mixing them with melted butter and a bit of sugar, and pressing them into the pan.
- Portion Control and Presentation: Instead of a large pan, consider baking these in a muffin tin with paper liners for individual mini key lime tarts. Adjust baking time accordingly. For parties, cutting them into small, bite-sized squares makes them easy for guests to enjoy.
These gluten-free key lime bars are versatile enough for almost any occasion. They’re a refreshing end to a summer barbecue, a light dessert for a spring brunch, a sweet treat for a potluck, or simply a delightful indulgence with your afternoon tea or coffee. Their vibrant color and zesty flavor are sure to bring a smile to anyone who tries them.
Frequently Asked Questions About Gluten-Free Key Lime Bars
Here are answers to some common questions you might have while making these delicious bars:
- Q: Can I use fresh Key limes instead of bottled juice?
A: Absolutely! Fresh Key lime juice will provide an even more intense and nuanced flavor. You’ll need quite a few Key limes to get ½ cup of juice (typically about 15-20 small limes). If using fresh, make sure to strain the juice to remove any pulp or seeds. The bottled Nellie & Joe’s is a great, consistent alternative if fresh Key limes are hard to find. - Q: How do I know when the Key lime filling is done baking?
A: The filling is done when the edges are set and appear firm, but the very center (about a 2-inch square) still has a slight, gentle jiggle to it when you lightly shake the pan. The residual heat will continue to cook and set the center as the bars cool. Avoid overbaking, as this can make the curd tough or rubbery. - Q: Why did my bars turn out runny or not set properly?
A: The most common reasons for a runny filling are not enough baking time, not chilling them long enough, or incorrect ingredient measurements (especially the eggs, which provide the structure). Ensure your oven temperature is accurate and that you adhere to the full chilling time. If you used a different gluten-free flour blend, it might have affected the texture, as explained earlier. - Q: Can I make these dairy-free?
A: Yes, it’s possible, but I haven’t tested it specifically. You would need to use a high-quality dairy-free butter substitute for the crust. Ensure it melts well and has a neutral flavor. The rest of the recipe is naturally dairy-free if you opt for a suitable butter alternative. - Q: What does “spooned and leveled” mean for flour?
A: This is a crucial measuring technique for flour. Instead of scooping directly from the bag (which compacts the flour and results in too much), use a spoon to lightly scoop the flour into your measuring cup. Then, use the flat edge of a butter knife or straight-edge utensil to level off the excess flour, ensuring an accurate measurement. This prevents your baked goods from becoming dry or dense.
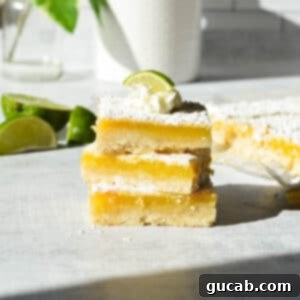
Gluten Free Key Lime Bars
Carolyn
Pin Recipe
Equipment
-
9×13-inch glass baking dish
-
Large Bowl
Ingredients
For the crust:
- 2 cups Bob’s Red Mill’s 1 to 1 Gluten Free Baking Flour spooned and leveled, see note
- 14 tablespoons unsalted butter, melted (7 ounces)
- ½ cup powdered sugar
- ¼ teaspoon kosher salt
For the filling:
- 2 cups sugar
- 2 tablespoons Bob’s Red Mill’s 1 to 1 Gluten Free Baking Flour
- 5 large eggs, whisked
- ½ cup key lime juice
Instructions
For the crust:
-
Preheat oven to 350 degrees Fahrenheit. Spray a 9×13-inch glass baking dish with nonstick spray. Cut a piece of parchment paper that fits inside the dish but let the excess hang off the sides.
-
In a large bowl, combine the gluten-free flour, powdered sugar, kosher salt, and melted butter. Use a large spoon to stir until combined.
-
Transfer the mixture to the baking dish and use your hands to press evenly into the dish. Bake for 20 minutes, then set aside to cool slightly.
For the filling:
-
In a large bowl, whisk the sugar and flour to combine. Add the eggs and whisk until smooth and incorporated.
-
Add the lime juice to the mixture while whisking to incorporate.
-
Pour the filling into the crust and bake for 20 minutes. Carefully tent the baking dish with aluminum foil and bake for 10 more minutes.
-
Remove the baking dish from the oven and dust the top with powdered sugar. Let the bars cool for 30 minutes, then transfer the baking dish to the fridge to set up for at least another 2 hours, preferably overnight.
-
Use the parchment paper “handles” to remove the bars from the baking dish. Cut into squares and serve.
Notes
Gluten-free flour: I created this recipe with Bob’s Red Mill’s 1 to 1 Gluten Free Baking Flour. It has a good gluten-like taste and texture. I haven’t tested it with another brand yet and all brands react differently in recipes.
Nutrition
More Must-Try Gluten-Free Recipes
If you loved these gluten-free key lime bars, you’re in for a treat! Explore some of my other popular gluten-free recipes that are sure to become new favorites:
- Fluffy Gluten-Free Blueberry Muffins: Perfect for breakfast or a snack.
- Classic Gluten-Free Chocolate Chip Cookies: A timeless treat, perfectly chewy.
- Bright & Zesty Gluten-Free Lemon Muffins: Another delightful citrus-infused baked good.
- Irresistible Gluten-Free Easter Desserts: A collection of festive and delicious treats.
- Flaky Gluten-Free Buttermilk Biscuits: Ideal for savory meals or a cozy breakfast.
Final Thoughts on These Irresistible Key Lime Bars
In conclusion, these gluten-free key lime bars are more than just a dessert; they are a celebration of vibrant flavors and accessible baking. Combining a rich, buttery shortbread crust with a perfectly balanced sweet and tangy Key lime curd, they offer a refreshing escape in every bite. Whether you’re adhering to a gluten-free diet or simply looking for an exceptionally delicious dessert that will impress everyone, this recipe is designed for success. The ease of preparation, coupled with practical storage and freezing options, makes these bars a convenient and delightful addition to your baking repertoire.
So, gather your ingredients, follow these simple steps, and prepare to be amazed by the incredible taste and texture of your homemade gluten-free key lime bars. Don’t forget to share your creations and feedback – I love hearing about your baking successes!
