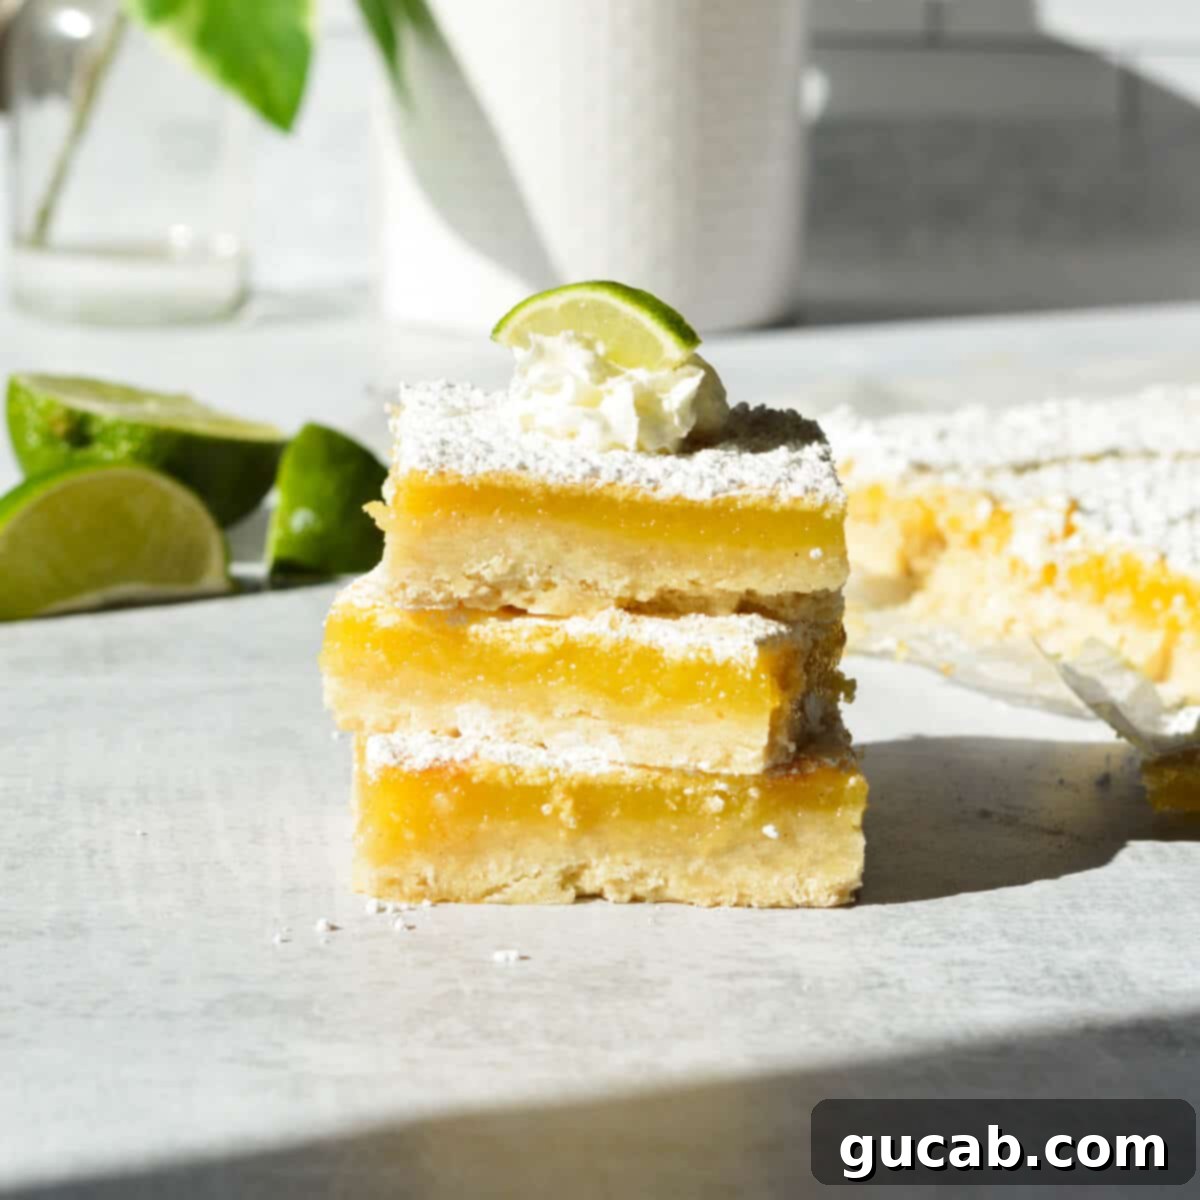
Irresistibly Zesty Gluten-Free Key Lime Bars: Your Ultimate Guide
Prepare to be amazed by these incredibly delicious and easy-to-make gluten-free key lime bars! Crafted with just 7 essential ingredients, these bars offer a perfect symphony of creamy, tangy lime curd resting on a delightfully buttery shortbread crust. They are the quintessential dessert for any spring or summer gathering, bringing a burst of sunshine to your table with every bite.
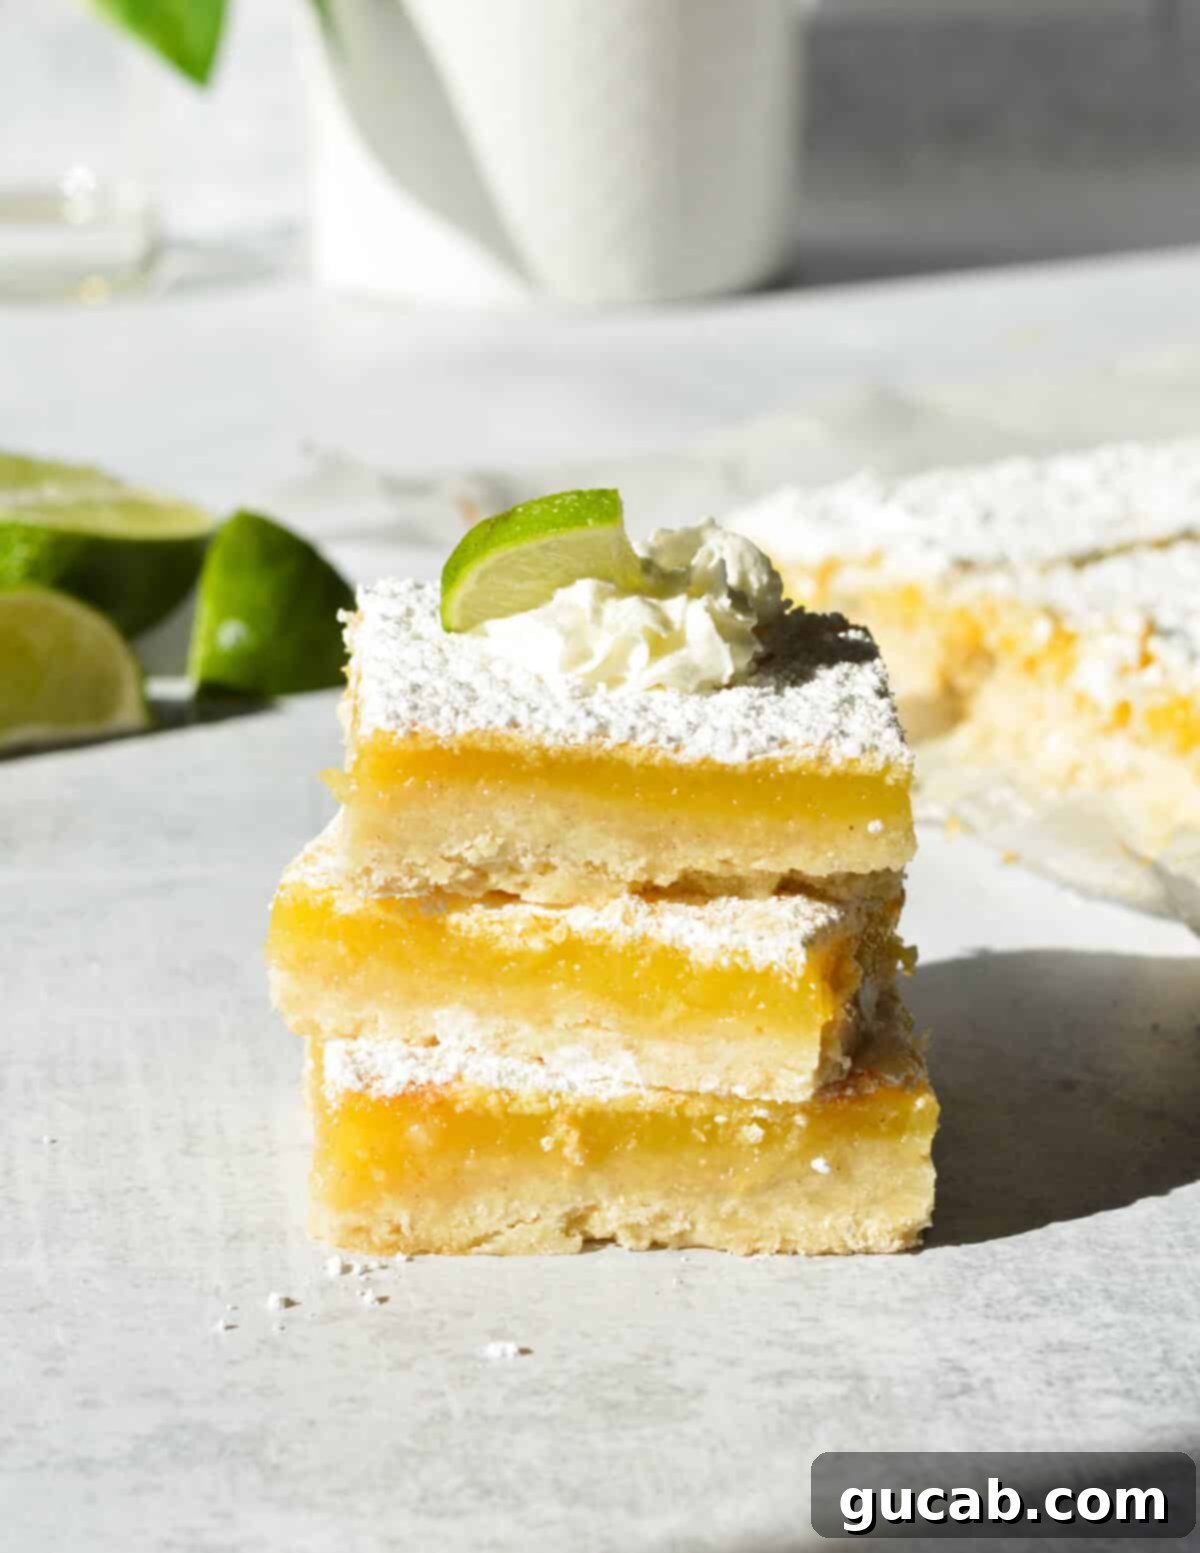
Discover the Perfect Gluten-Free Key Lime Bar Recipe
These sweet-tart key lime bars are nothing short of perfection. They feature a robust, gluten-free shortbread crust that provides a delightful crunch, beautifully contrasting with the smooth, zingy key lime curd. Not only are these bars incredibly easy to prepare, but they also slice beautifully and are so utterly crave-able that you’ll find yourself reaching for another piece before you know it. This recipe proves that gluten-free desserts can be just as, if not more, satisfying than their traditional counterparts.
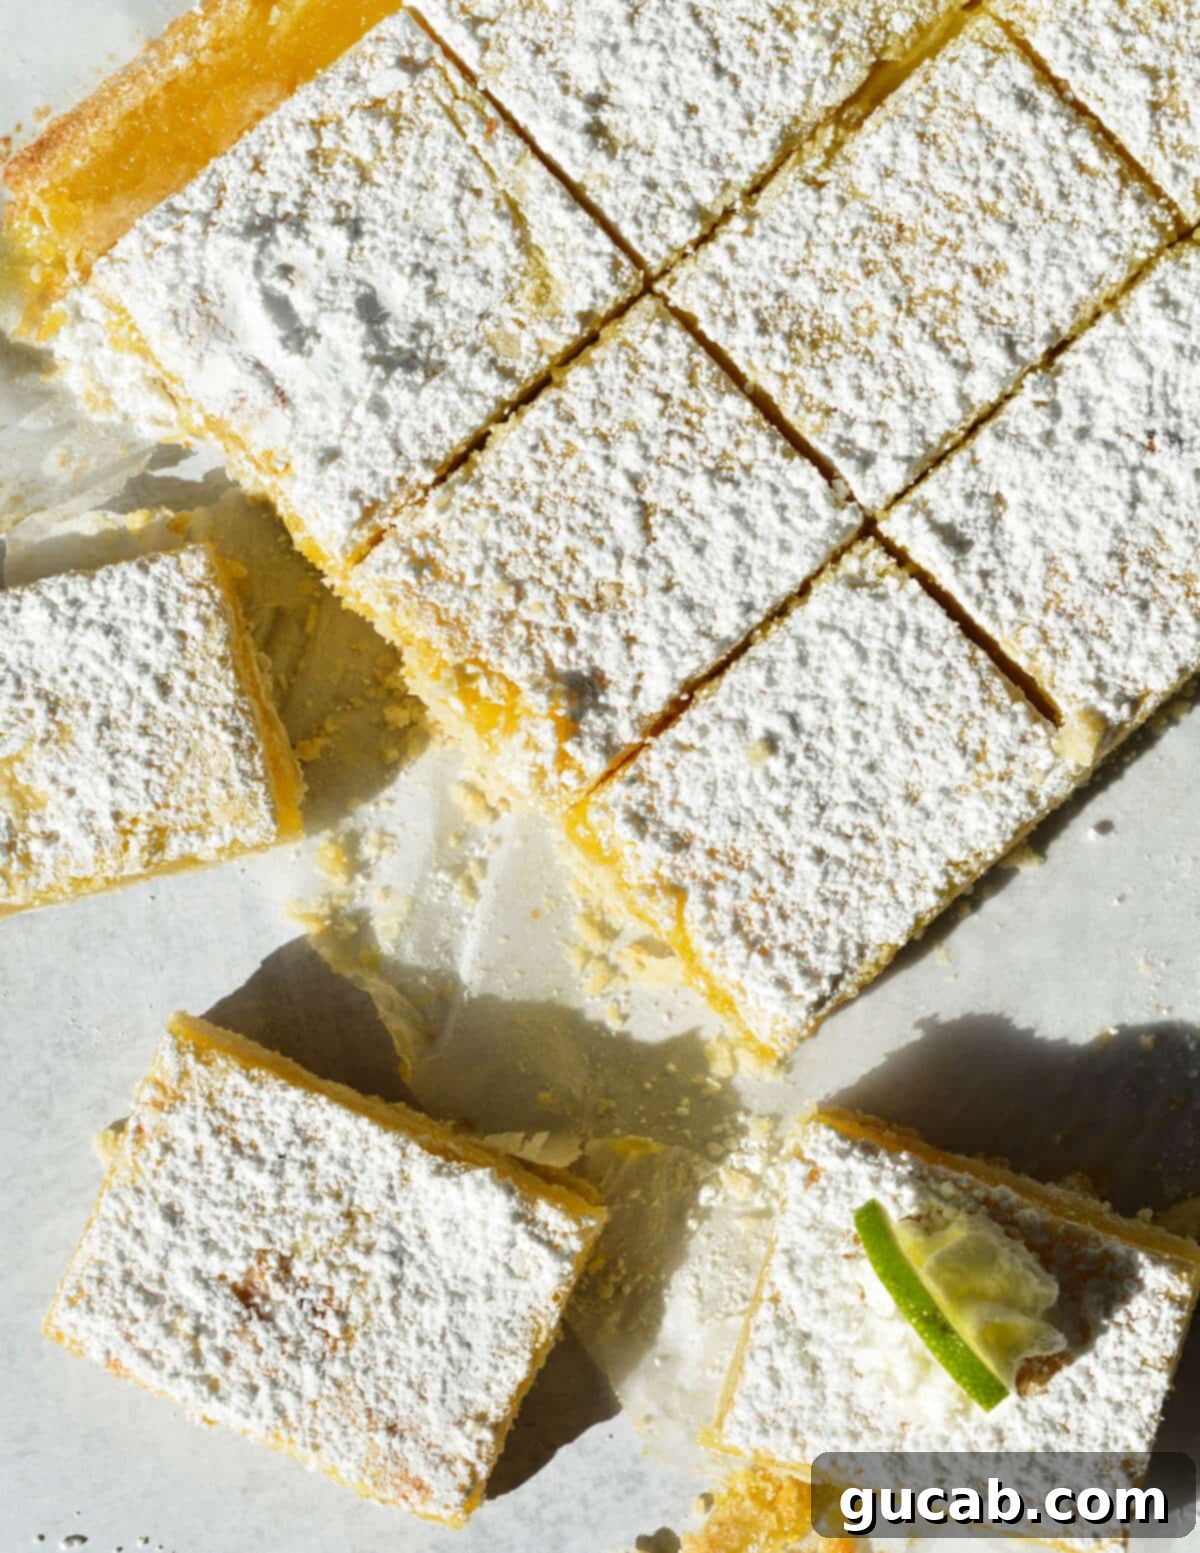
As the weather warms and longer days arrive, my culinary focus naturally shifts towards bright, refreshing citrusy desserts. These gluten-free key lime bars quickly become a springtime staple in my kitchen, and I am absolutely confident that you will fall in love with them just as much as I have! I’ve lost count of how many times I’ve brought these to potlucks and parties, only for guests to rave about them, completely unaware (or simply not caring) that they are gluten-free. Their vibrant flavor and satisfying texture speak for themselves.
Craving another delightful citrus treat? Don’t miss out on our equally amazing gluten-free lemon bars for a different tangy experience!
The Essential Ingredients for Unforgettable Key Lime Bars
Crafting these exceptional gluten-free key lime bars requires a handful of carefully selected ingredients, each playing a crucial role in achieving that perfect balance of flavor and texture. Here’s a detailed look at what you’ll need and why:
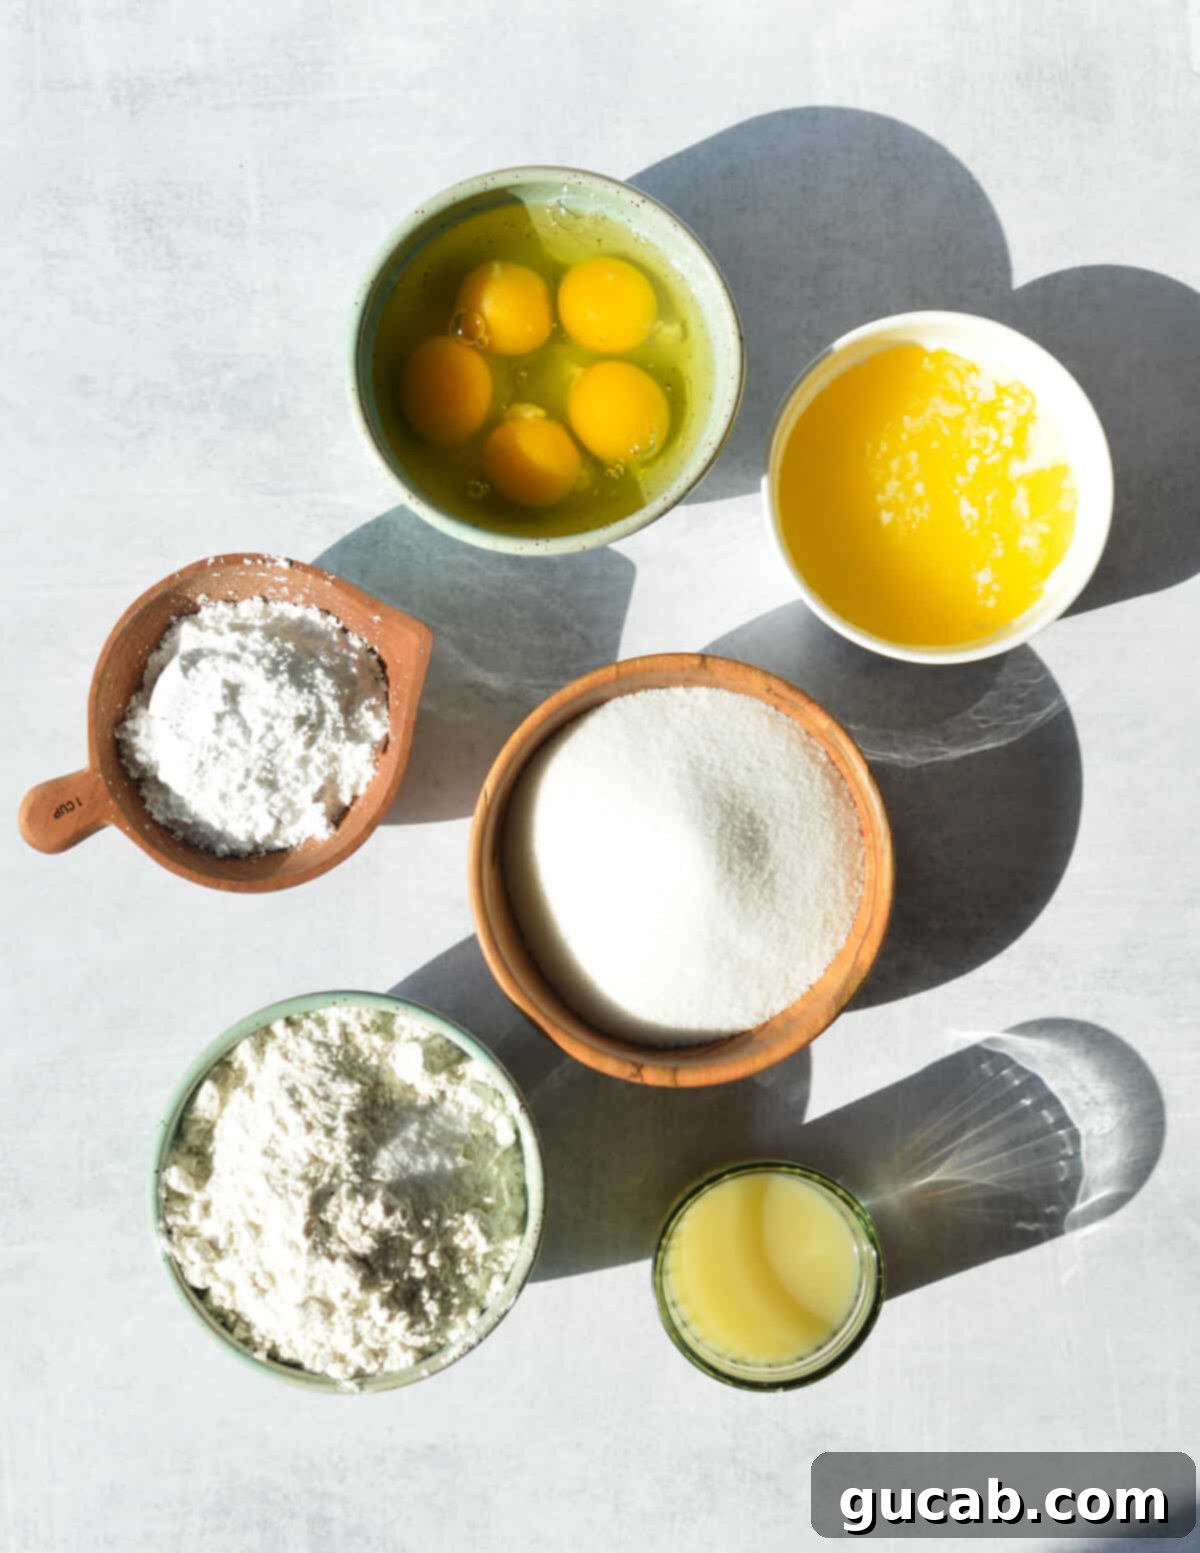
- Gluten-Free Flour: The foundation of our crust, the right gluten-free flour blend is paramount. For this recipe, I exclusively developed it using my go-to choice: Bob’s Red Mill’s 1-to-1 Gluten-Free Baking Flour. This particular blend is fantastic because it mimics the taste and texture of traditional all-purpose flour remarkably well, without introducing any strange flavors or grittiness often associated with other GF flours. Its consistent performance ensures a tender, flaky shortbread crust every time. Remember to always measure flour by spooning it into the measuring cup and leveling it off for accuracy, as packed flour can lead to a dry crust.
- Unsalted Butter: Butter is absolutely essential for creating that rich, melt-in-your-mouth shortbread crust. I always opt for unsalted butter in my baking. This allows me complete control over the total salt content in the recipe, ensuring the perfect balance that enhances all other flavors without becoming overly savory. Melted butter also helps bind the crust ingredients perfectly.
- Powdered Sugar: Unlike granulated sugar, powdered sugar (confectioners’ sugar) contributes to the incredibly tender and melt-in-your-mouth consistency of the shortbread crust. Its fine texture integrates seamlessly into the dough, resulting in a smooth, delicate crumb that is simply divine.
- Key Lime Juice: This is where the magic happens! For an authentic and bright key lime flavor, I cannot stress enough the importance of using high-quality key lime juice. My top recommendation, without a doubt, is Nellie and Joe’s Key Lime Juice. This is the brand I relied on extensively during my time as a pastry chef at a high-end seafood restaurant, and for good reason—it delivers an unparalleled bright, intensely limey, and wonderfully tangy flavor that truly makes these bars shine. While you *can* use fresh key limes, Nellie and Joe’s offers consistent quality and saves a significant amount of time and effort without compromising taste. Avoid using regular (Persian) lime juice, as the flavor profile is distinctly different and lacks the specific tartness and floral notes of key limes.
- Eggs: The key lime filling is essentially a baked curd, and eggs are the crucial structural component. They provide the necessary emulsification and coagulation to give the filling its smooth, creamy texture and ensure it sets properly when baked. Beyond structure, eggs also contribute a lovely richness to the curd, enhancing its luxurious feel.
- Granulated Sugar: Key lime juice is famously, deliciously tart! While two cups of sugar might seem like a substantial amount, it is absolutely vital for balancing the intense tartness of the key lime juice. This precise ratio ensures the finished bars achieve that classic sweet-tart flavor profile that is so characteristic of traditional key lime desserts, preventing the filling from being overwhelmingly sour.
- Kosher Salt: A pinch of kosher salt in the crust isn’t just for flavor, it enhances the sweetness and tang of the other ingredients, bringing everything into perfect harmony.
Mastering Gluten-Free Key Lime Bars: A Step-by-Step Tutorial
One of the many reasons these gluten-free key lime bars are such a beloved dessert is their straightforward preparation. Even if you’re new to gluten-free baking, you’ll find this recipe surprisingly simple and rewarding. Let’s walk through the process together, ensuring perfect results every time.
Before you begin, ensure your oven is preheated to a steady 350 degrees Fahrenheit (175°C). This consistent temperature is key for an evenly baked crust and a perfectly set filling. I also highly recommend lining your 9×13-inch baking dish with parchment paper. Leave an overhang on the sides – these will serve as convenient “handles” later, allowing you to easily lift the cooled bars out of the dish for clean, effortless slicing.
1. Prepare and Bake the Buttery Shortbread Crust
- In a large mixing bowl, combine all the crust ingredients: the measured gluten-free flour, powdered sugar, kosher salt, and melted unsalted butter.
- Using a sturdy spoon or a rubber spatula, mix these ingredients until they are just combined and form a cohesive, crumbly dough. Be mindful not to overmix the dough, as this can lead to a tough crust. The goal is a tender, shortbread texture.
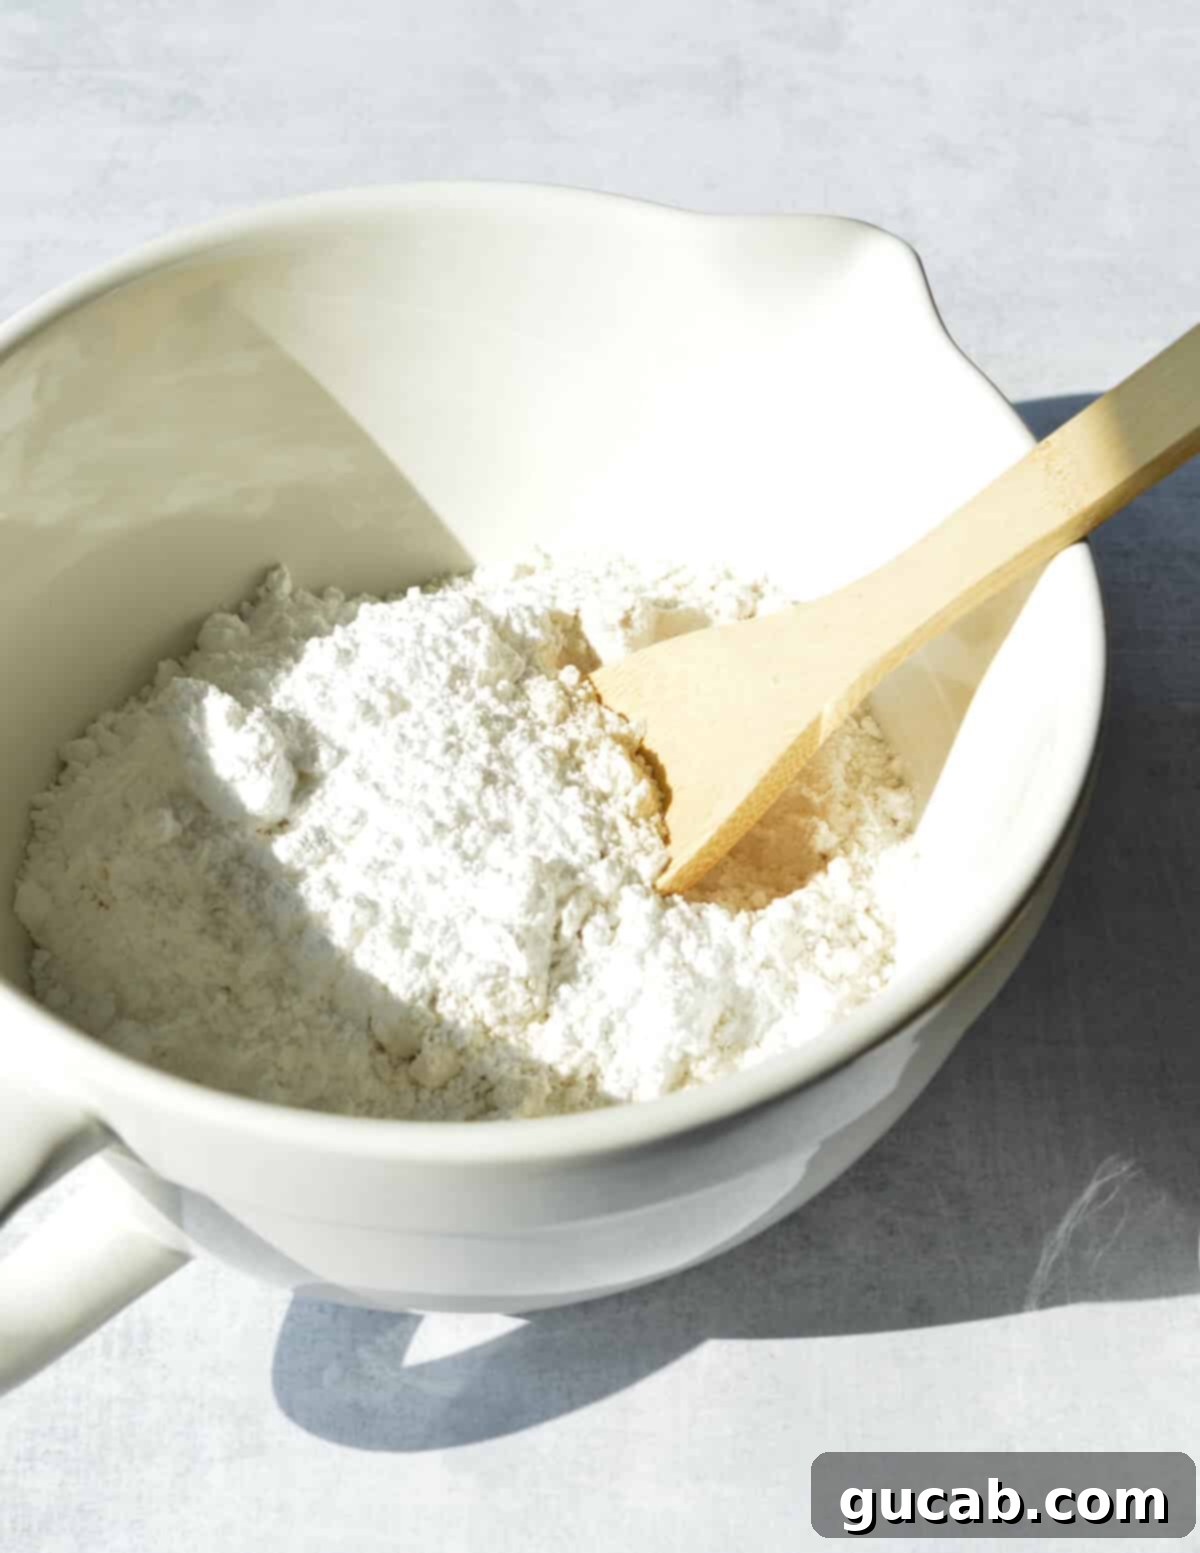
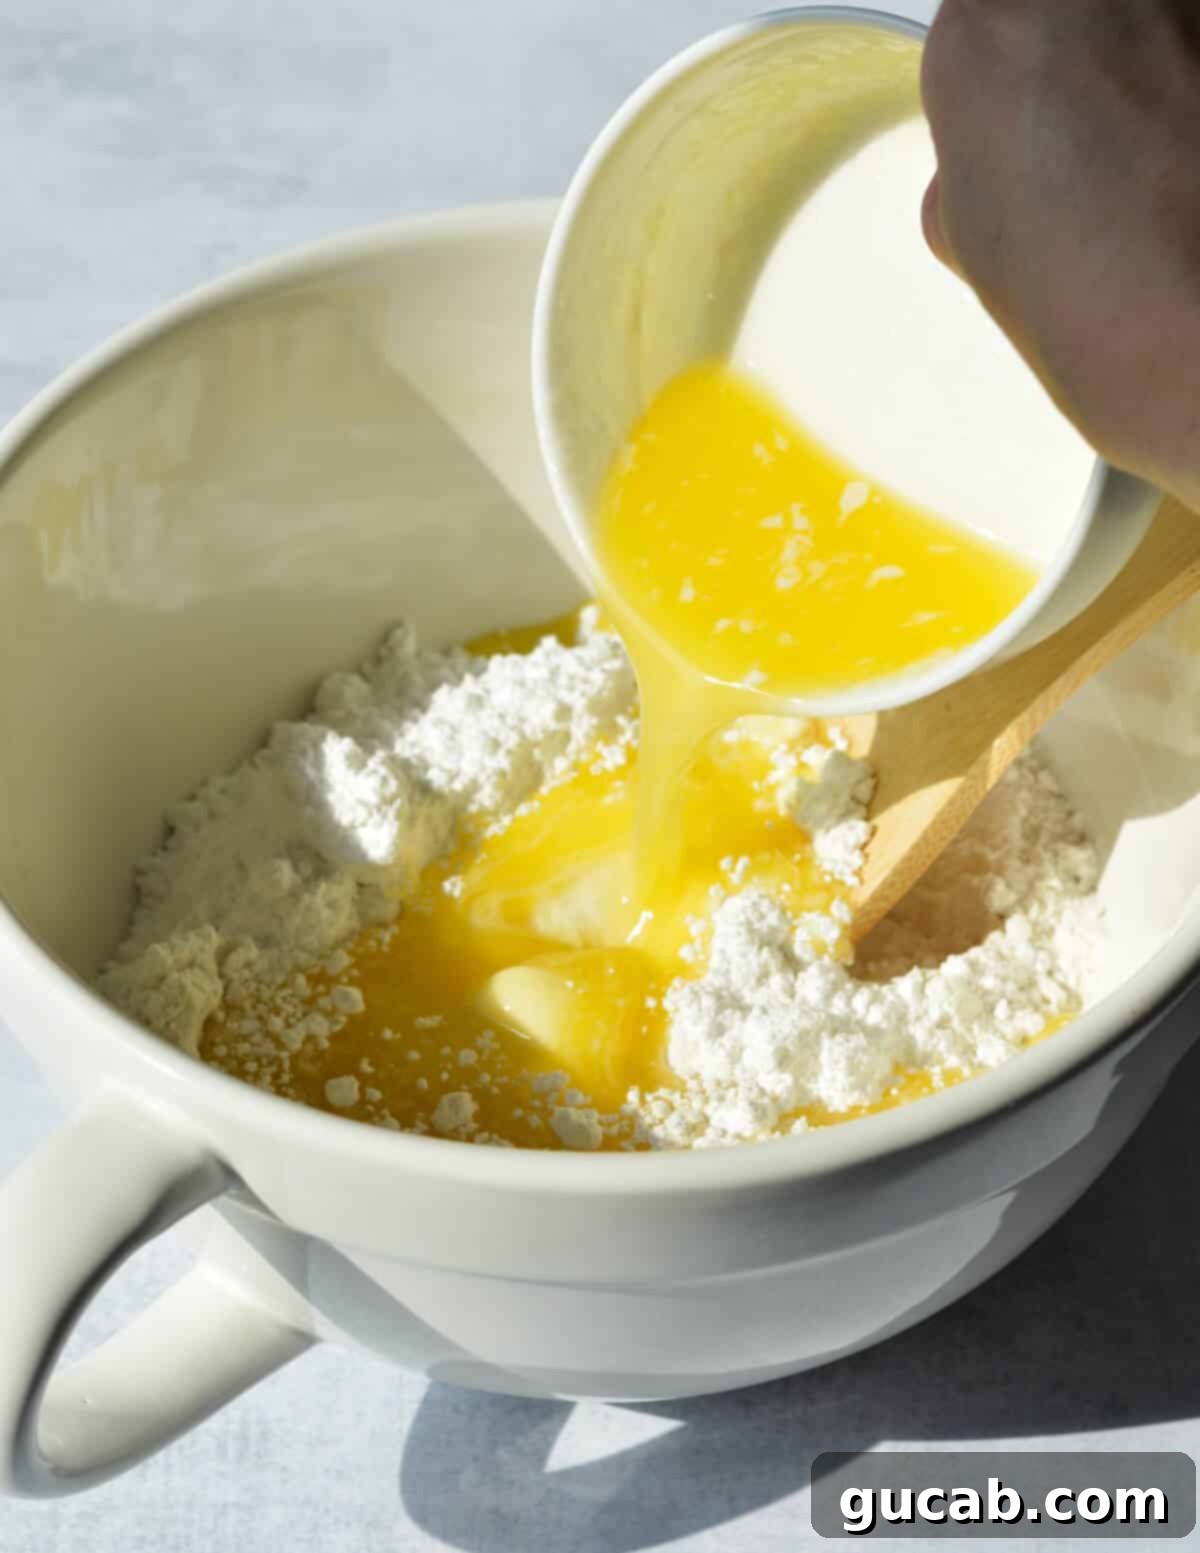
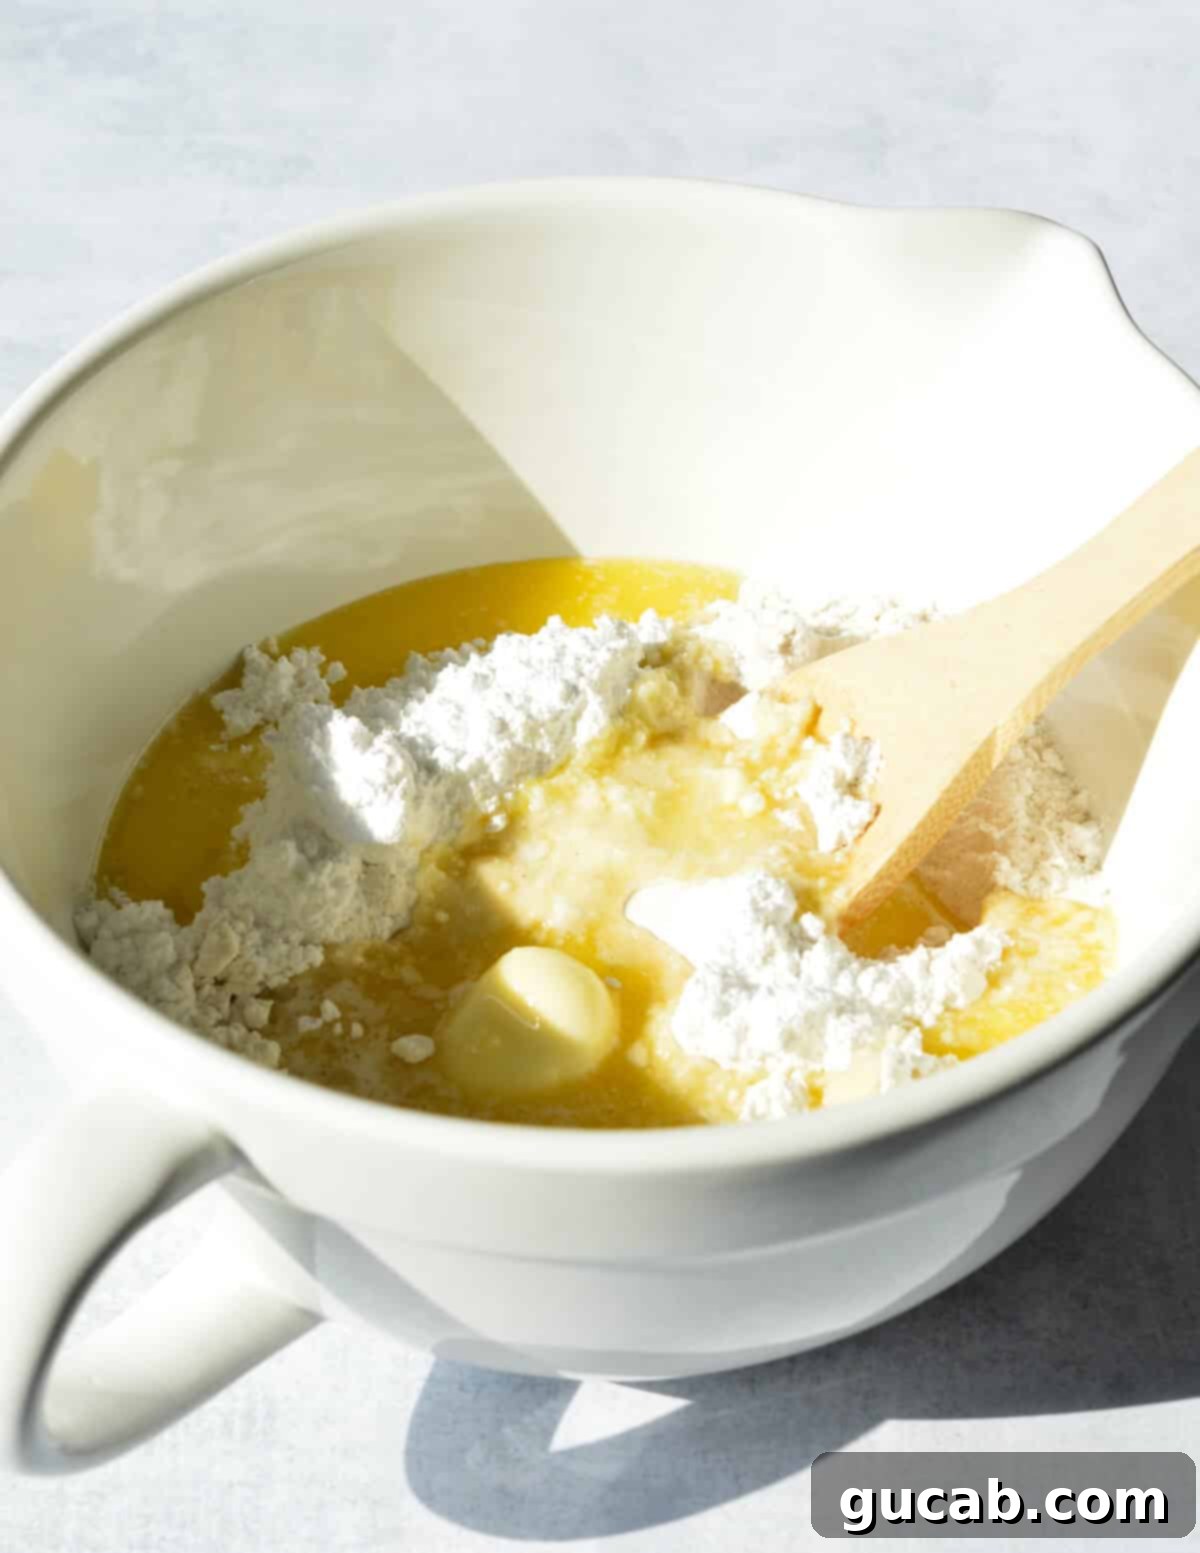
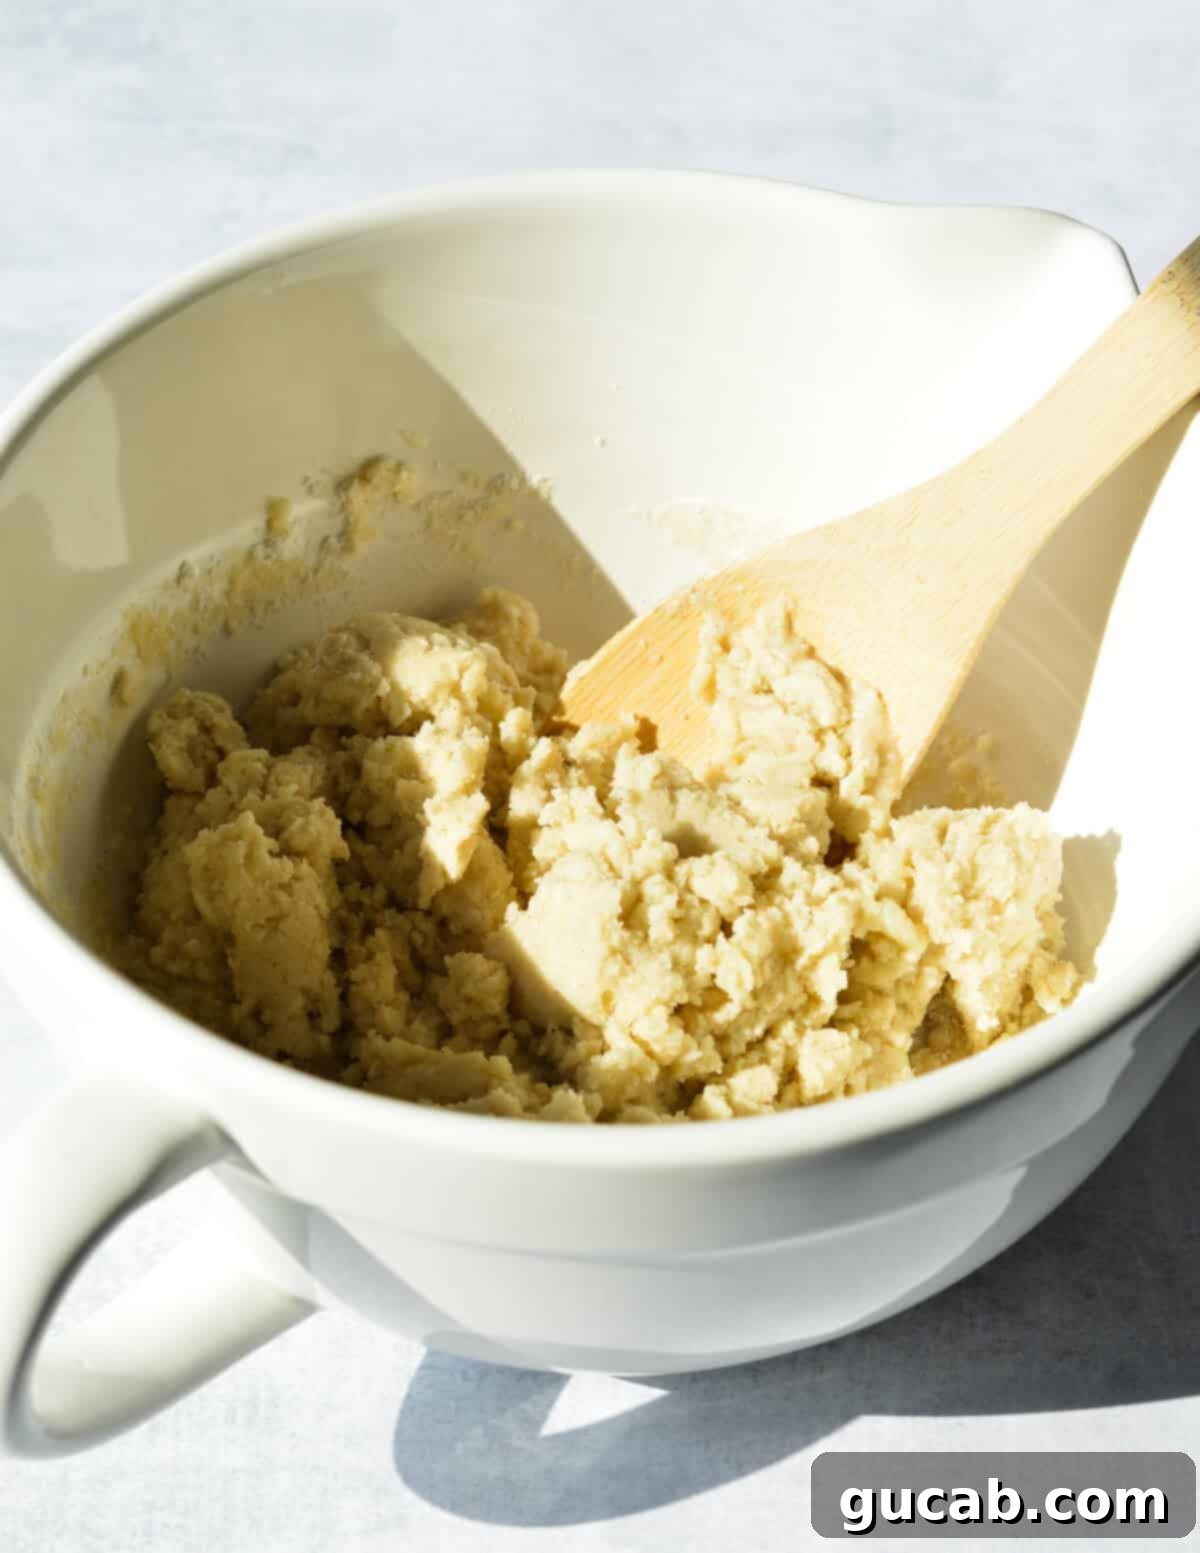
- Transfer the shortbread dough mixture into your prepared 9×13-inch baking dish.
- Using your clean hands or the bottom of a flat glass, flatten and press the dough evenly across the bottom of the dish. Make sure it’s packed firmly and consistently to ensure a stable base for your lime filling.
- Bake the crust in the preheated oven for 20 minutes, or until it’s lightly golden around the edges. Once baked, remove it from the oven and set it aside to cool slightly while you prepare the vibrant key lime filling.
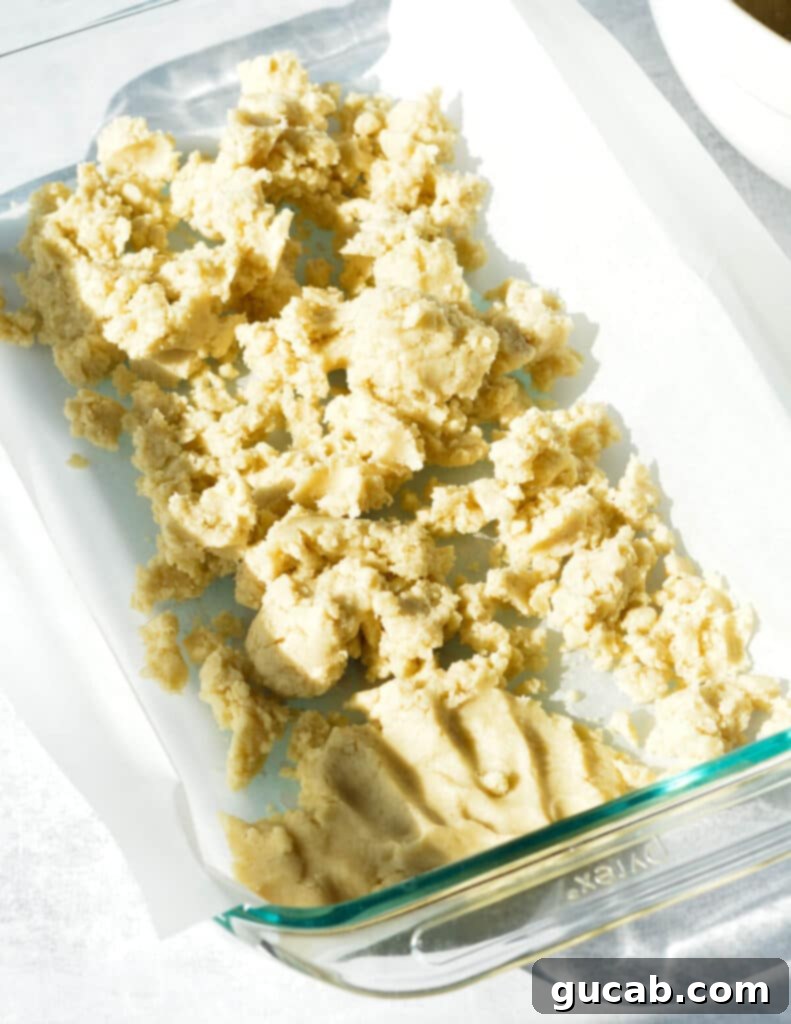
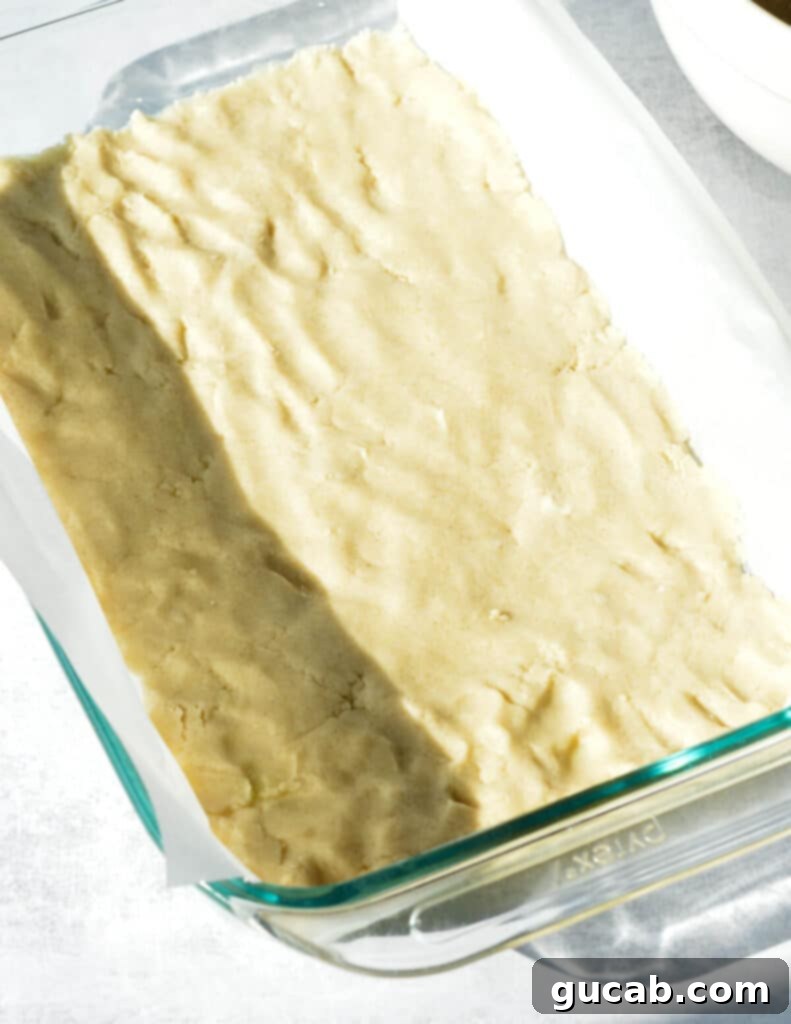
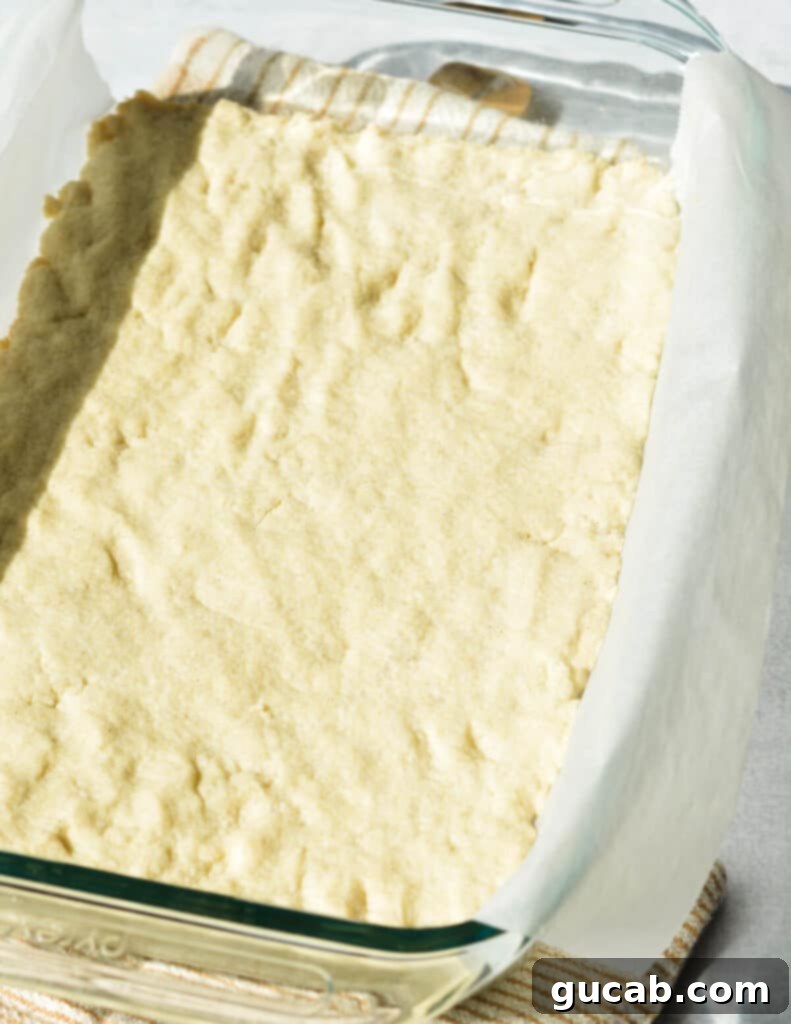
2. Craft the Key Lime Filling and Complete the Baking
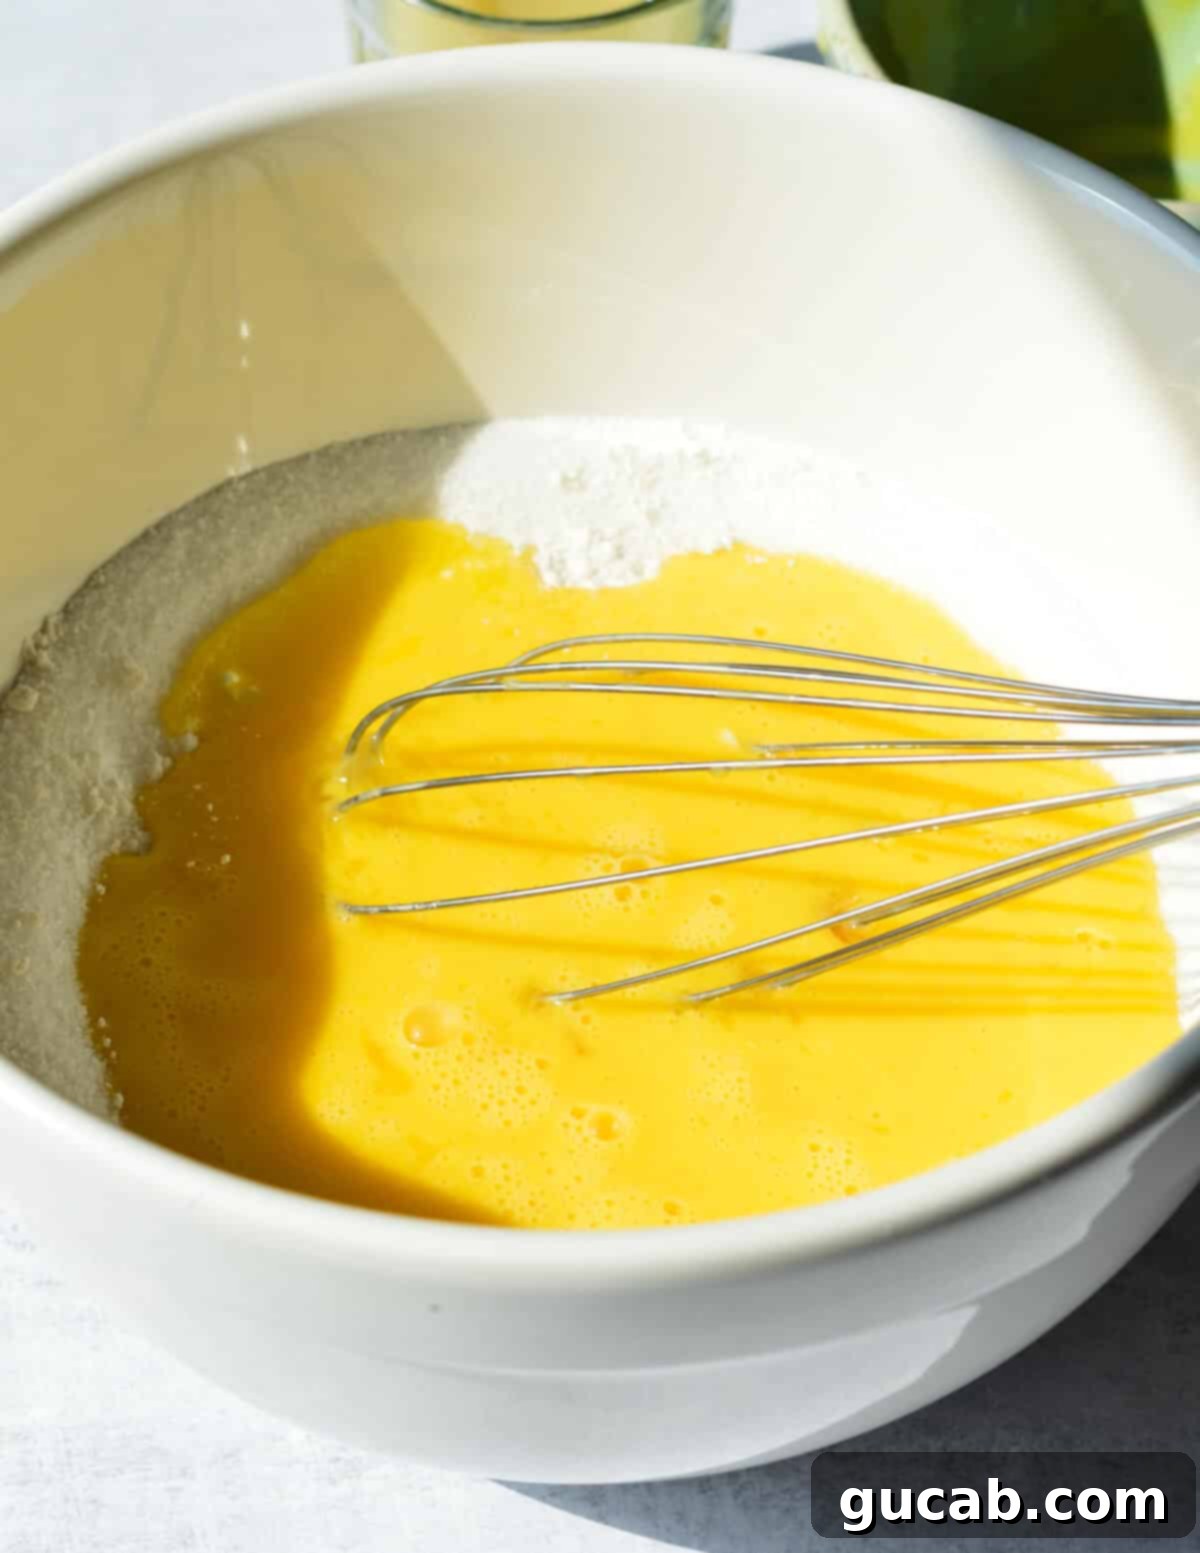
- In a separate large bowl, stir together the granulated sugar and the two tablespoons of gluten-free flour. The flour helps to stabilize the curd and gives it a slightly thicker texture.
- Next, add the whisked eggs to the sugar and flour mixture. Whisk vigorously until the mixture is smooth, well-combined, and the eggs are fully incorporated. This ensures a creamy, uniform curd.
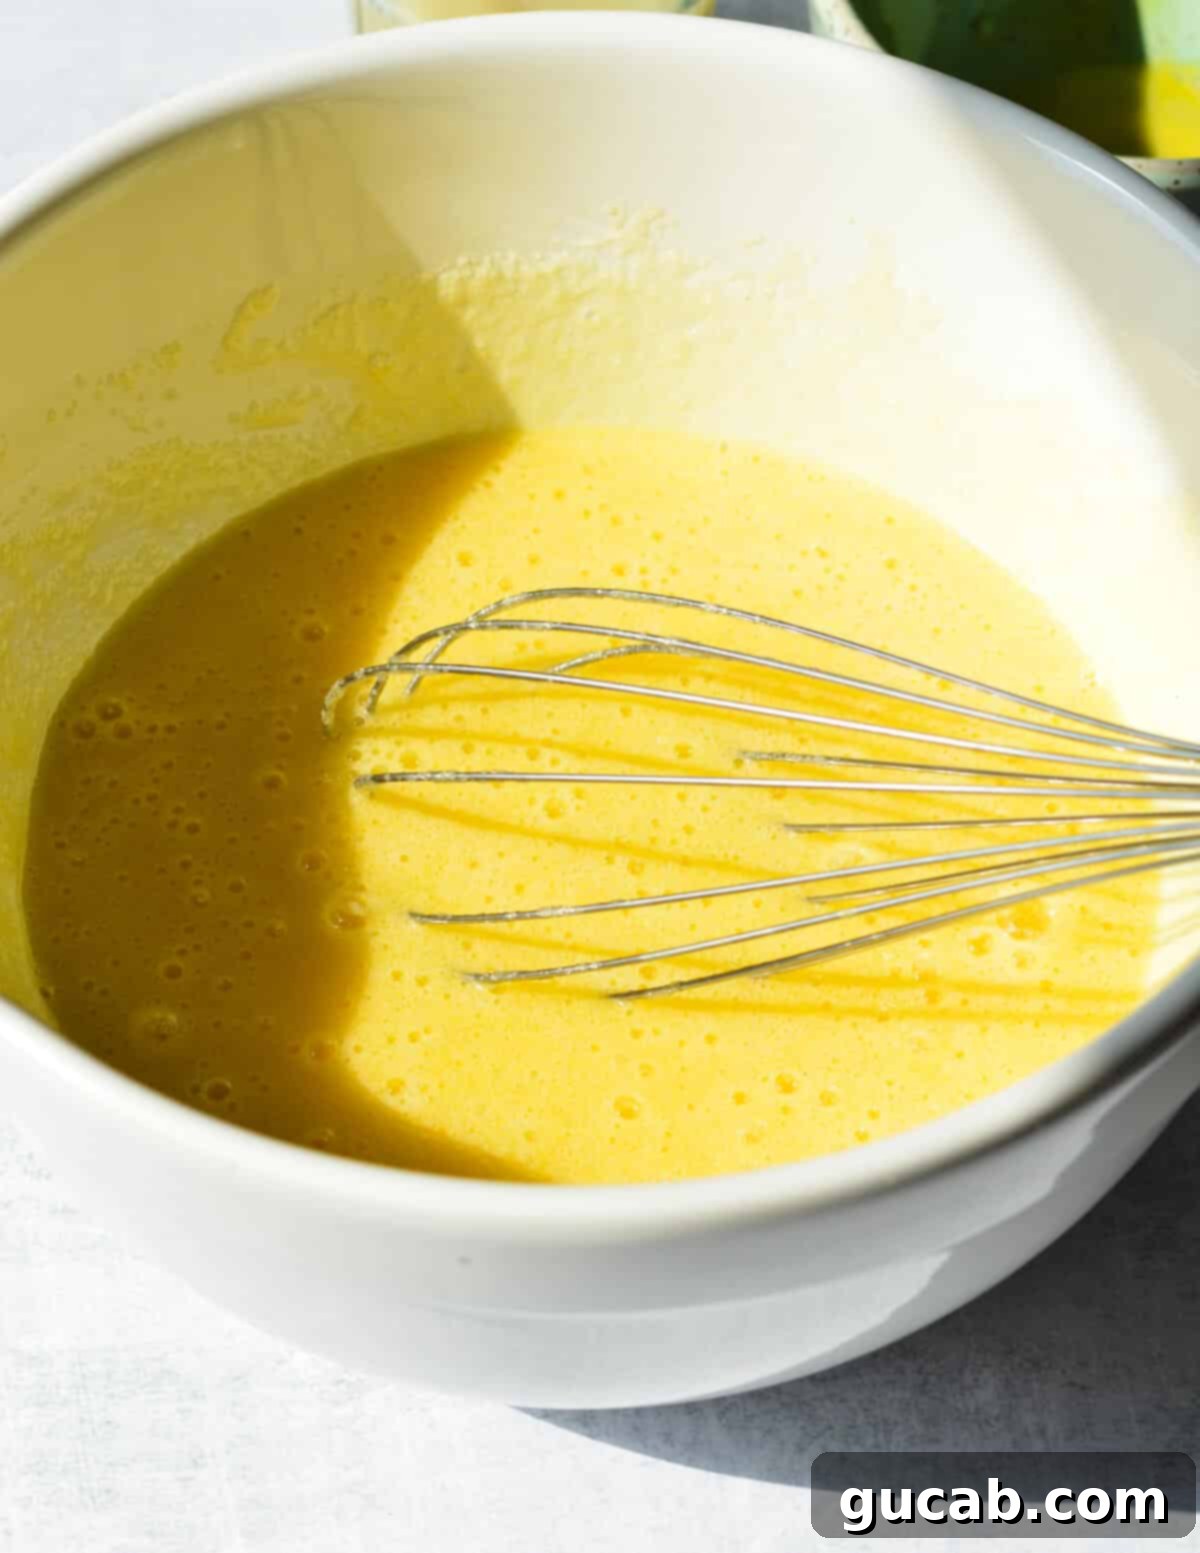
- Finally, add the key lime juice to the bowl. Continue to whisk until all ingredients are thoroughly blended into a vibrant, smooth liquid.
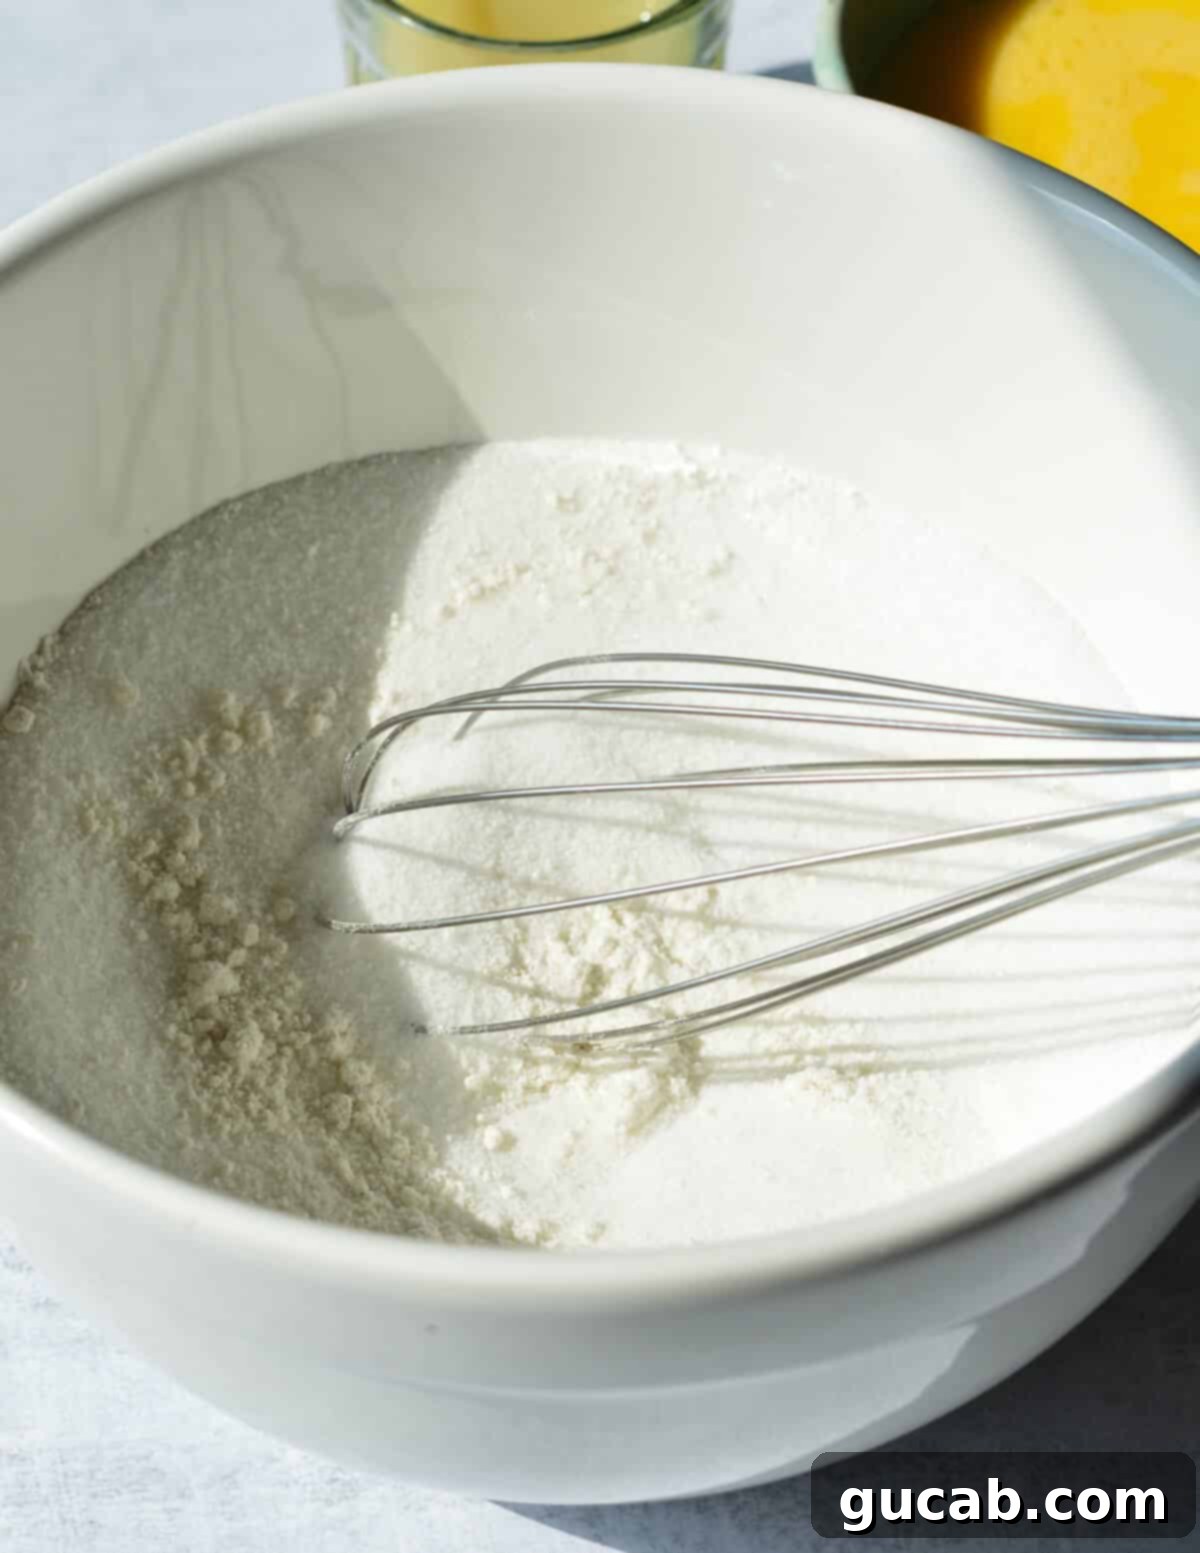
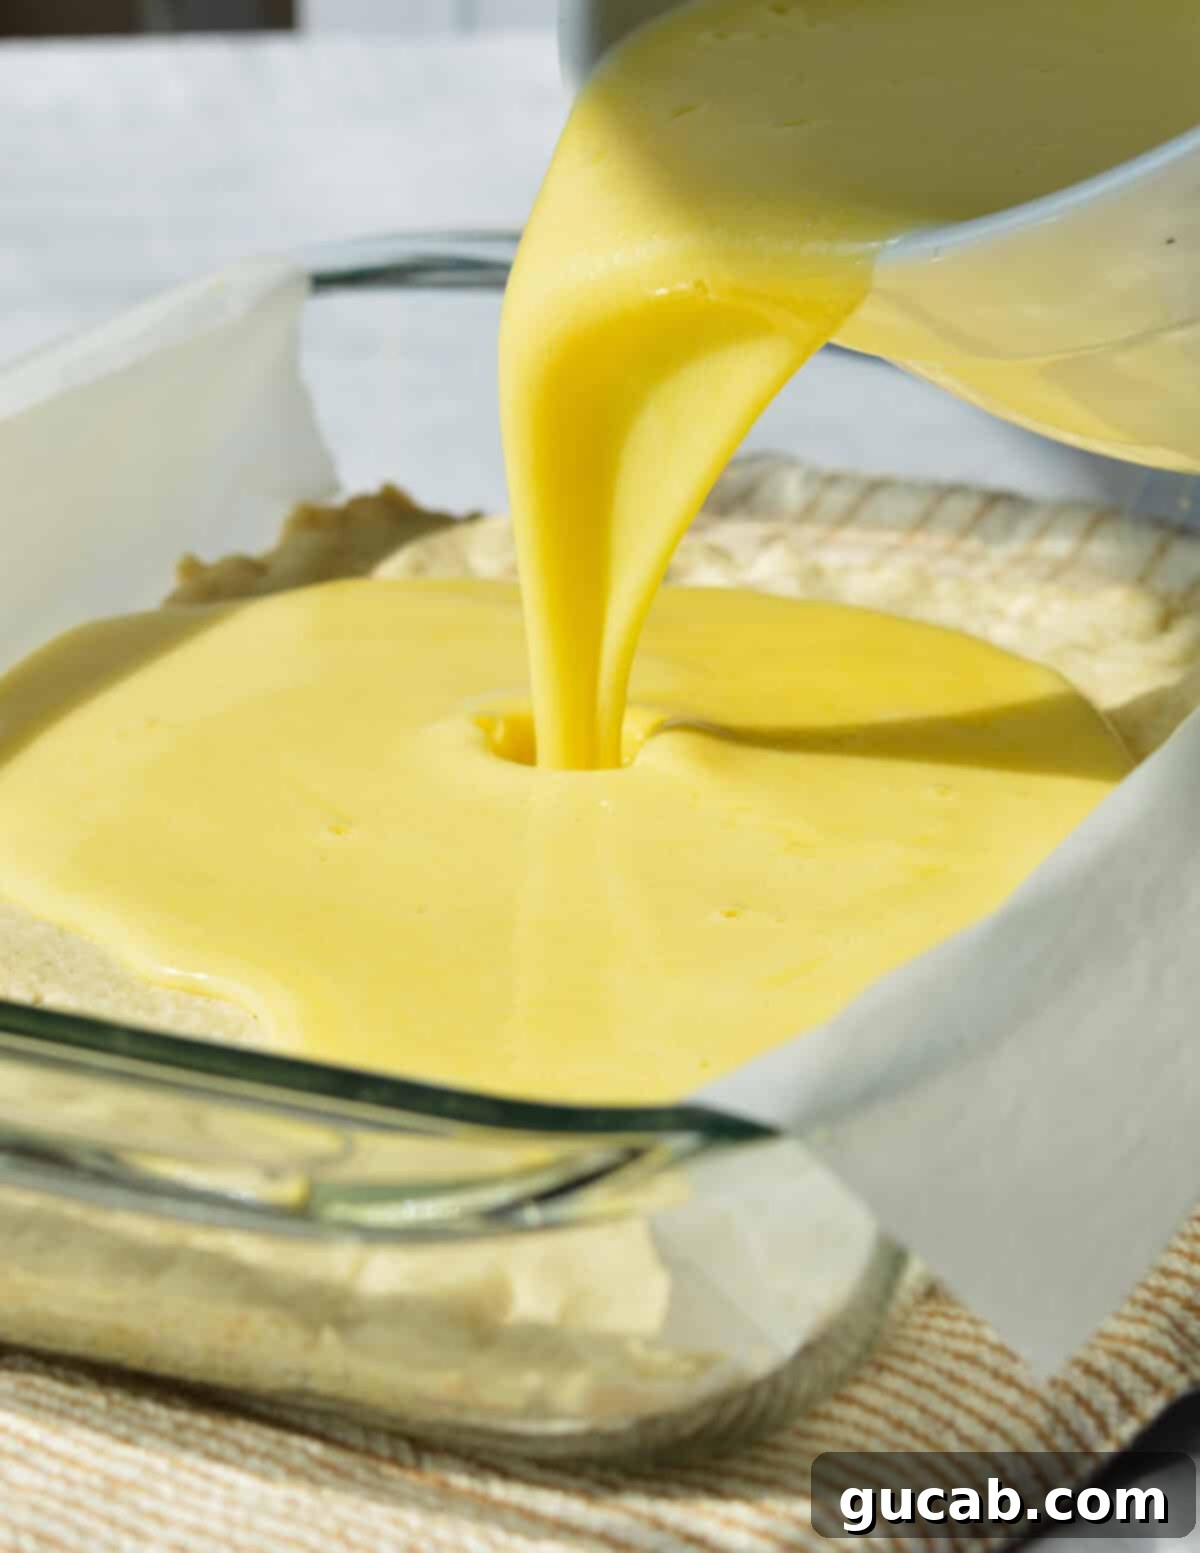
- Gently pour the prepared key lime filling over the slightly warm shortbread crust. The warmth of the crust helps the filling adhere beautifully.
- Carefully place the baking dish back into the preheated oven and bake for 20 minutes.
- After 20 minutes, remove the baking dish from the oven. To prevent the top from browning too much while allowing the center to fully set, loosely tent the top of the dish with aluminum foil. Return to the oven and bake for an additional 10 minutes. The filling should be mostly set, with a slight jiggle in the very center.
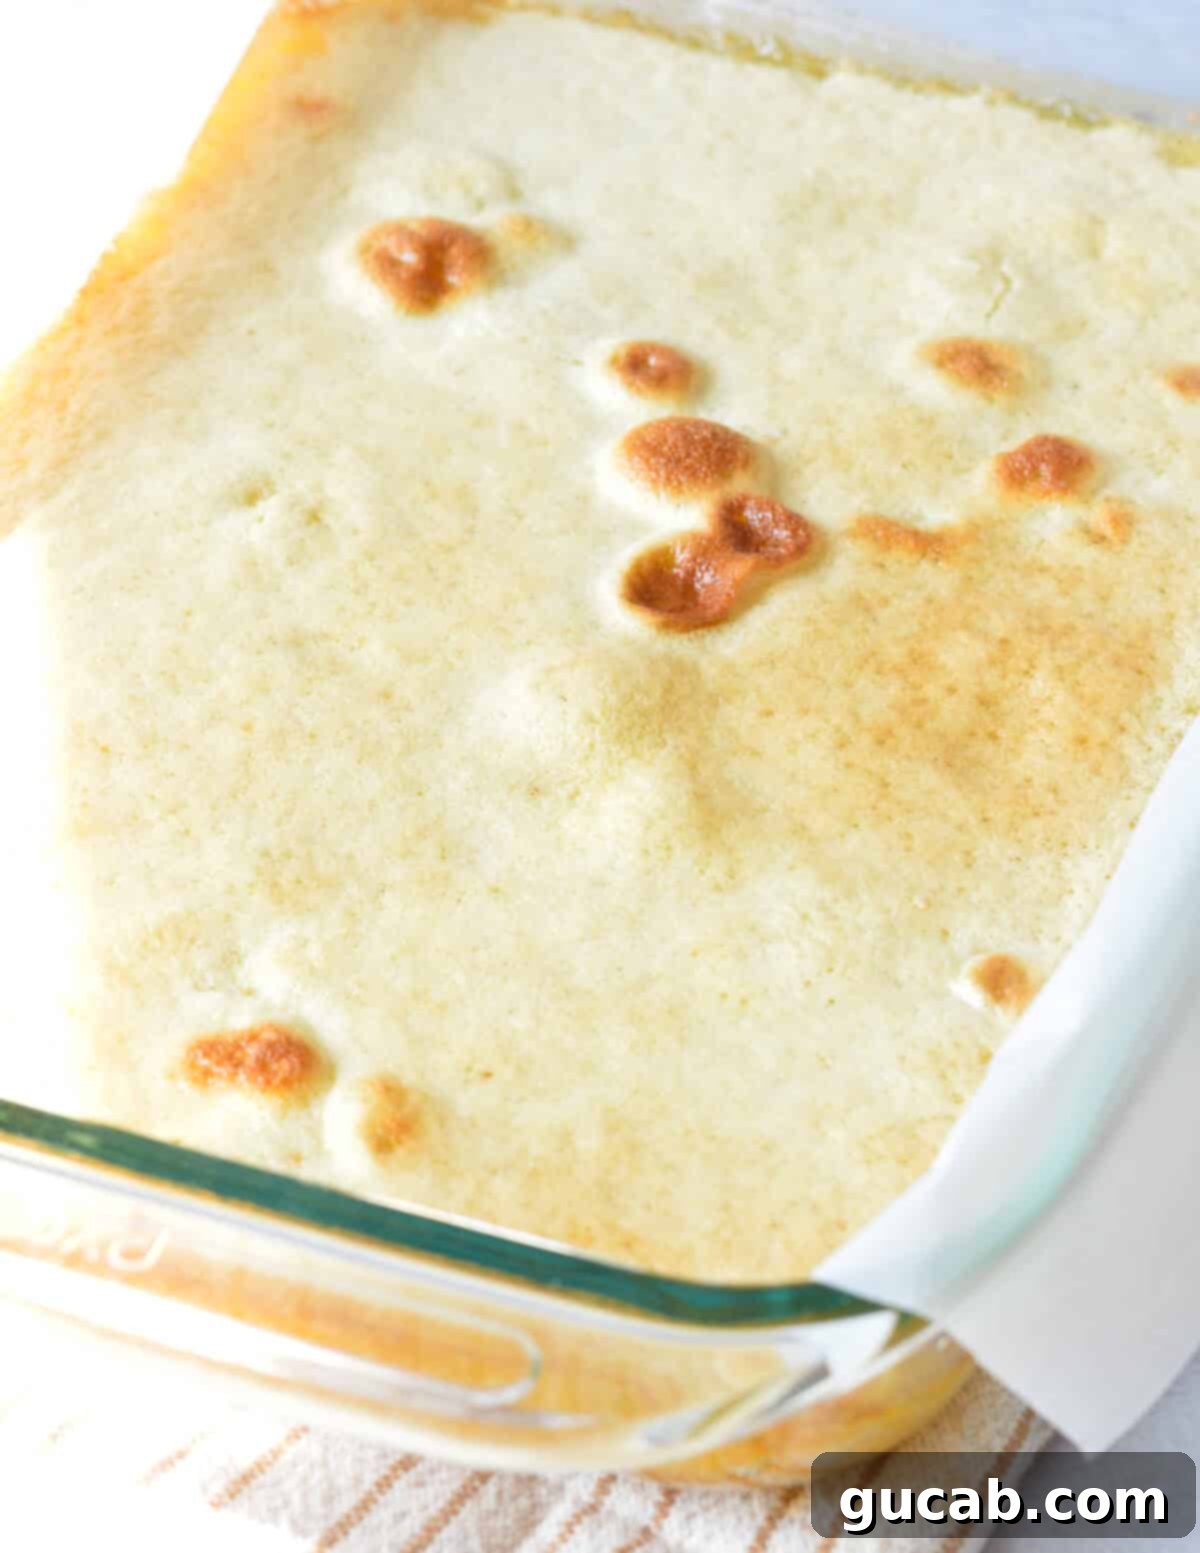
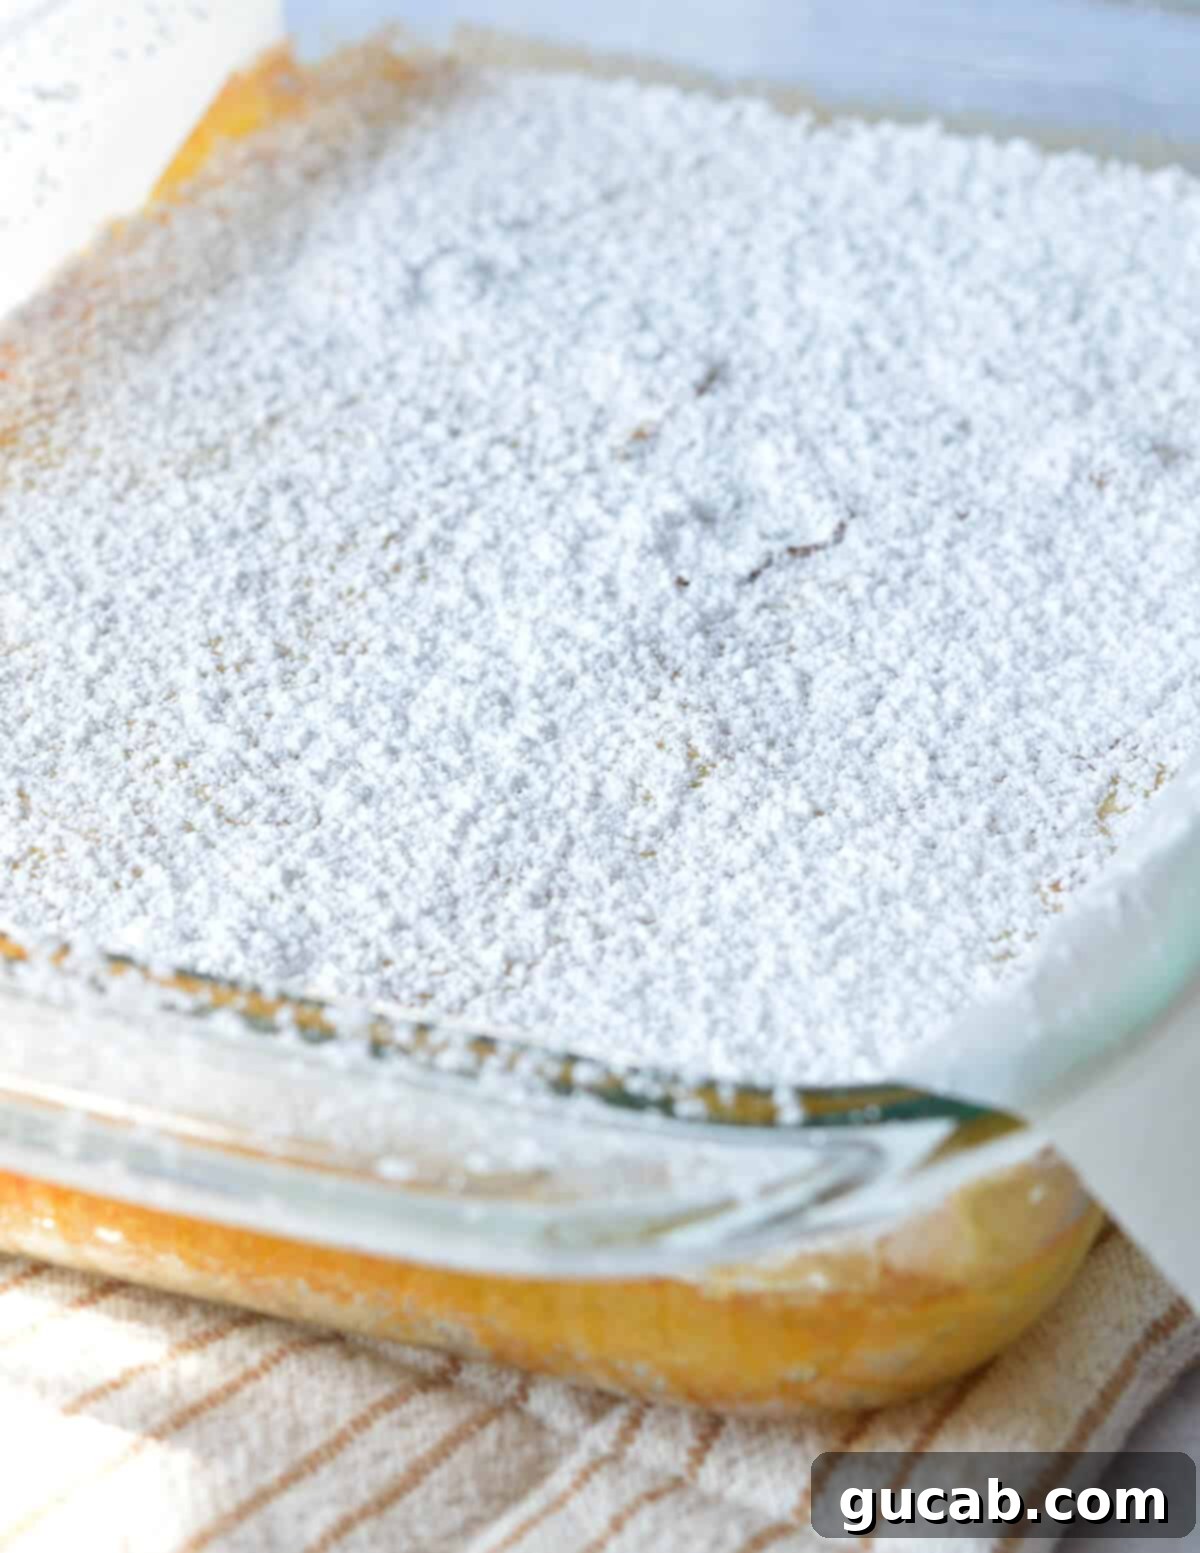
- Immediately upon removing the baking dish from the oven, dust the warm top of the key lime bars generously with an additional layer of powdered sugar. The warmth of the bars will allow the sugar to adhere beautifully and create a delicate, sweet finish.
3. The Critical Step: Cool and Expertly Cut the Bars
- This step is absolutely crucial for perfect bars: You MUST allow key lime (or lemon) bars to cool completely and set before attempting to cut them! Do NOT rush this process, as impatience will lead to a gooey, messy outcome.
- First, let the baked bars cool at room temperature for at least 30 minutes. This initial cooling allows the curd to begin firming up.
- After the initial cooling, transfer the entire baking dish, with the bars still inside, to the refrigerator. Chill for a minimum of 2 hours, but for the best, cleanest slices and fully set curd, chilling overnight is highly recommended. The longer they chill, the firmer and more sliceable they will be.
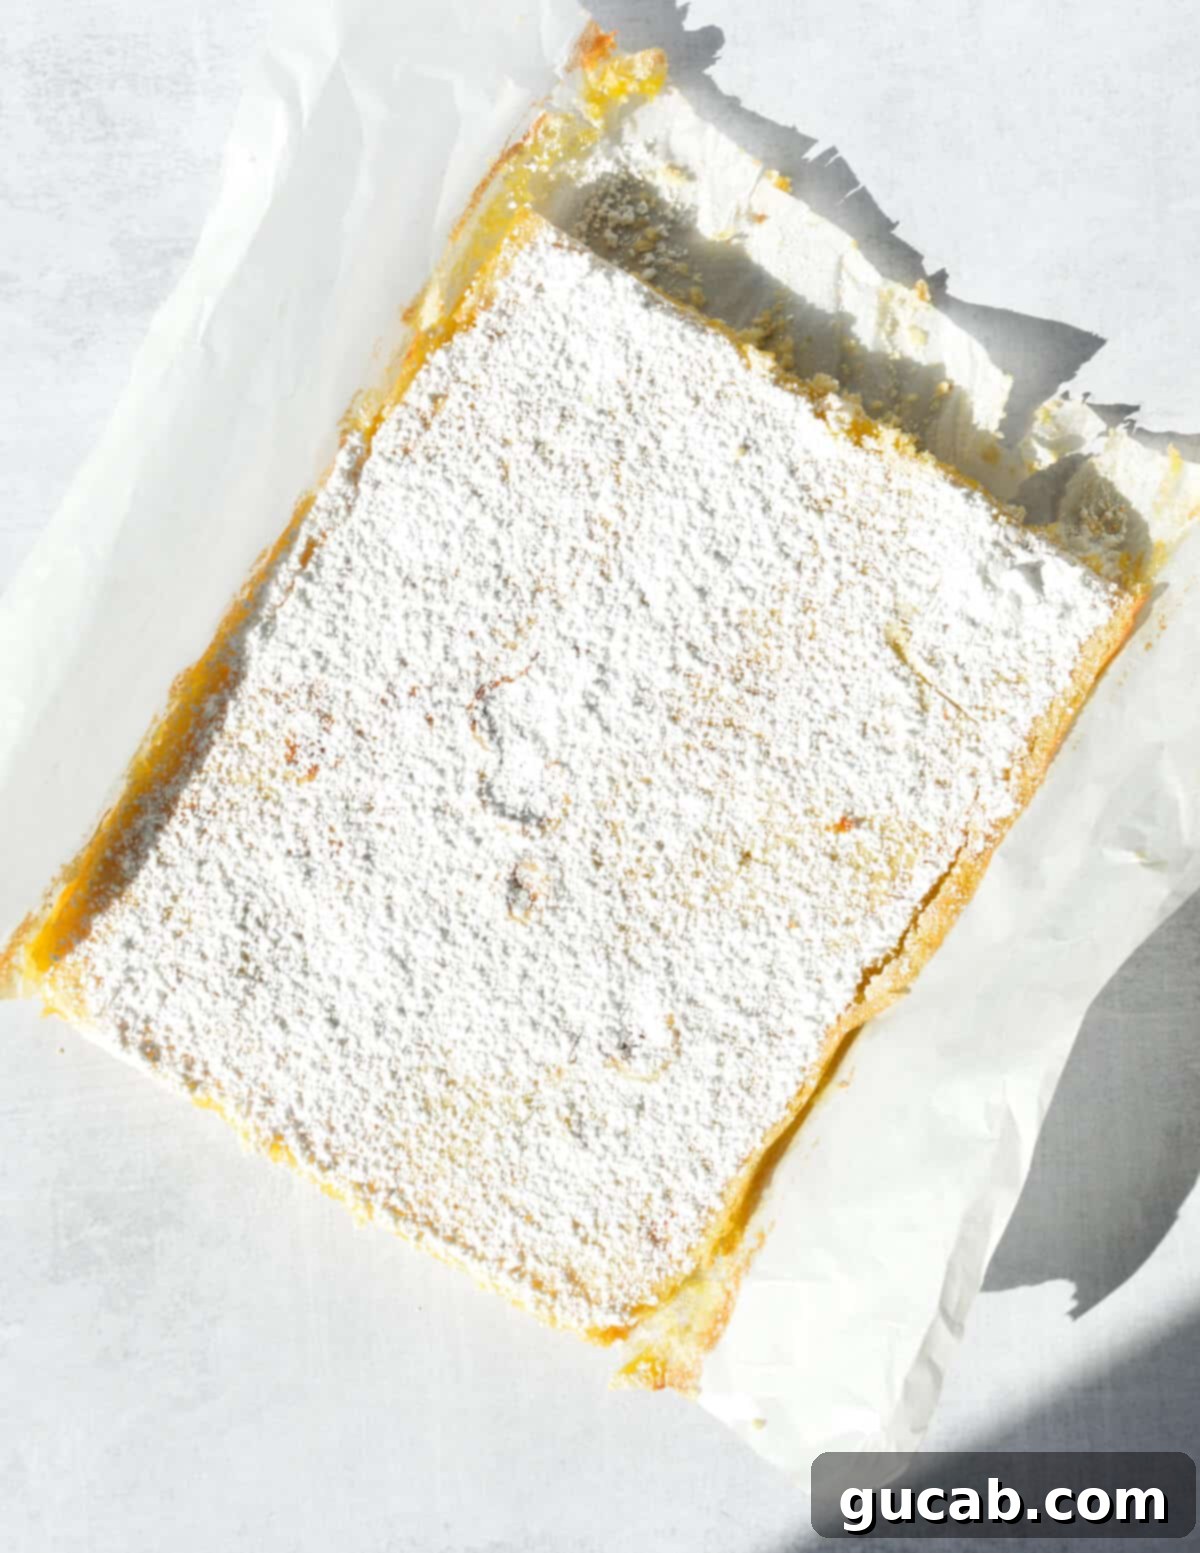
- Once thoroughly chilled, use the parchment paper “handles” that you left hanging over the sides to gently remove the entire slab of key lime bars from the baking dish. Place it on a cutting board.
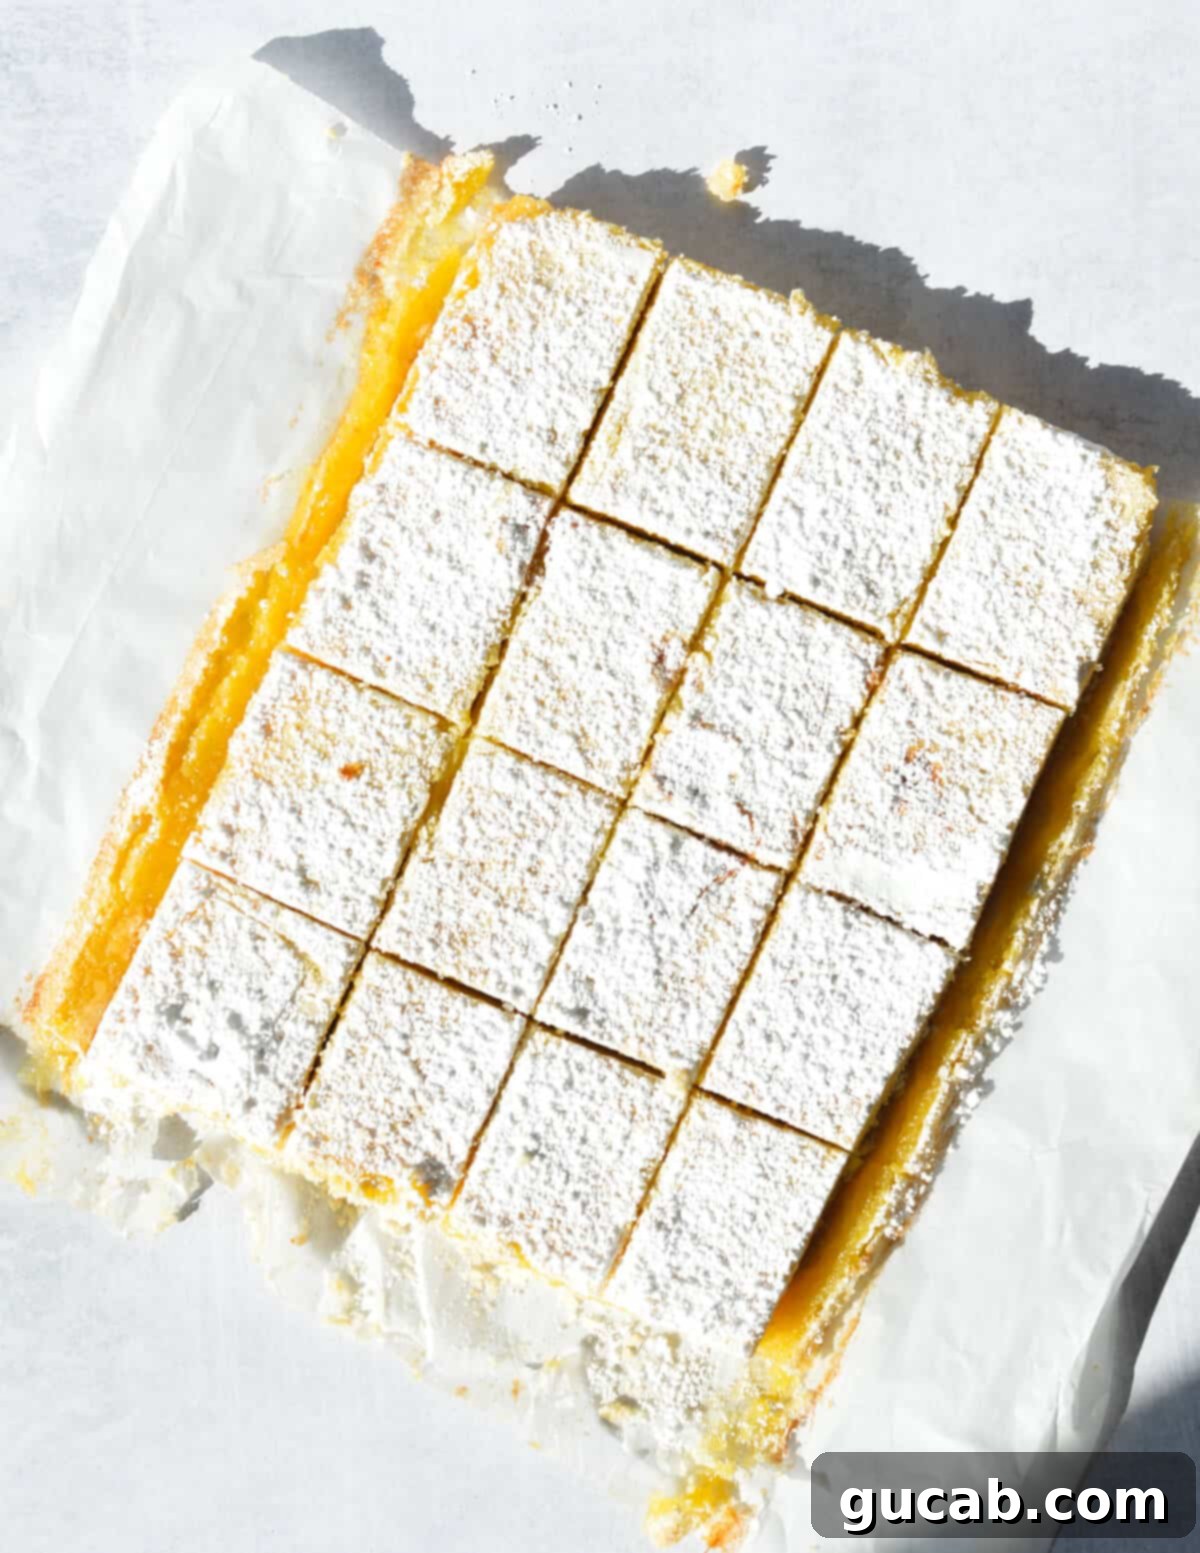
- Using a sharp knife, cut the bars into your desired squares or rectangles. For the cleanest cuts, wipe your knife clean between each slice, especially after the first few cuts.
A Crucial Note on Gluten-Free Flour Blends
When venturing into gluten-free baking, it’s vital to understand that “gluten-free all-purpose flour” isn’t a single ingredient but rather a blend. These blends typically consist of various flours (like rice flour, sorghum flour, tapioca flour), starches (cornstarch, potato starch), and sometimes hydrocolloids like xanthan gum (which helps mimic gluten’s elasticity). Each brand formulates its blend with different ratios and types of these components, resulting in unique properties.
Some gluten-free flour blends are “thirstier” than others, meaning they absorb more liquid, which can significantly impact the final texture of baked goods. While some recipes allow for direct 1-to-1 substitution, many do not, and experimenting with different brands can yield unpredictable results.
For the consistent success of these gluten-free key lime bars, I strongly recommend using **Bob’s Red Mill’s 1-to-1 Gluten-Free Baking Flour**. This is the specific brand I used when developing and testing this recipe, ensuring the precise balance of ingredients. If you choose to use a different brand, be aware that results may vary, and you might need to adjust liquid or flour quantities slightly to achieve the desired consistency. Always measure your gluten-free flour by spooning it into the measuring cup and leveling it off, rather than scooping directly from the bag, to avoid compacting the flour and adding too much to the recipe.
Storage & Freezing for Lasting Enjoyment
These delightful gluten-free key lime bars are not only perfect for immediate enjoyment but also surprisingly freezer-friendly, making them an excellent candidate for meal prep or saving for a future sweet craving. Freezing is actually my preferred method for ensuring a longer shelf life while maintaining their exquisite taste and texture.
To Store (Refrigeration):
- Once cooled and cut, store the key lime bars in the refrigerator for up to 1 week.
- You can keep them in the original baking dish, tightly covered with plastic wrap or aluminum foil. Alternatively, transfer the cut bars to an airtight container, arranging them in a single layer if possible, or separating layers with parchment paper to prevent sticking.
To Freeze for Longer Preservation:
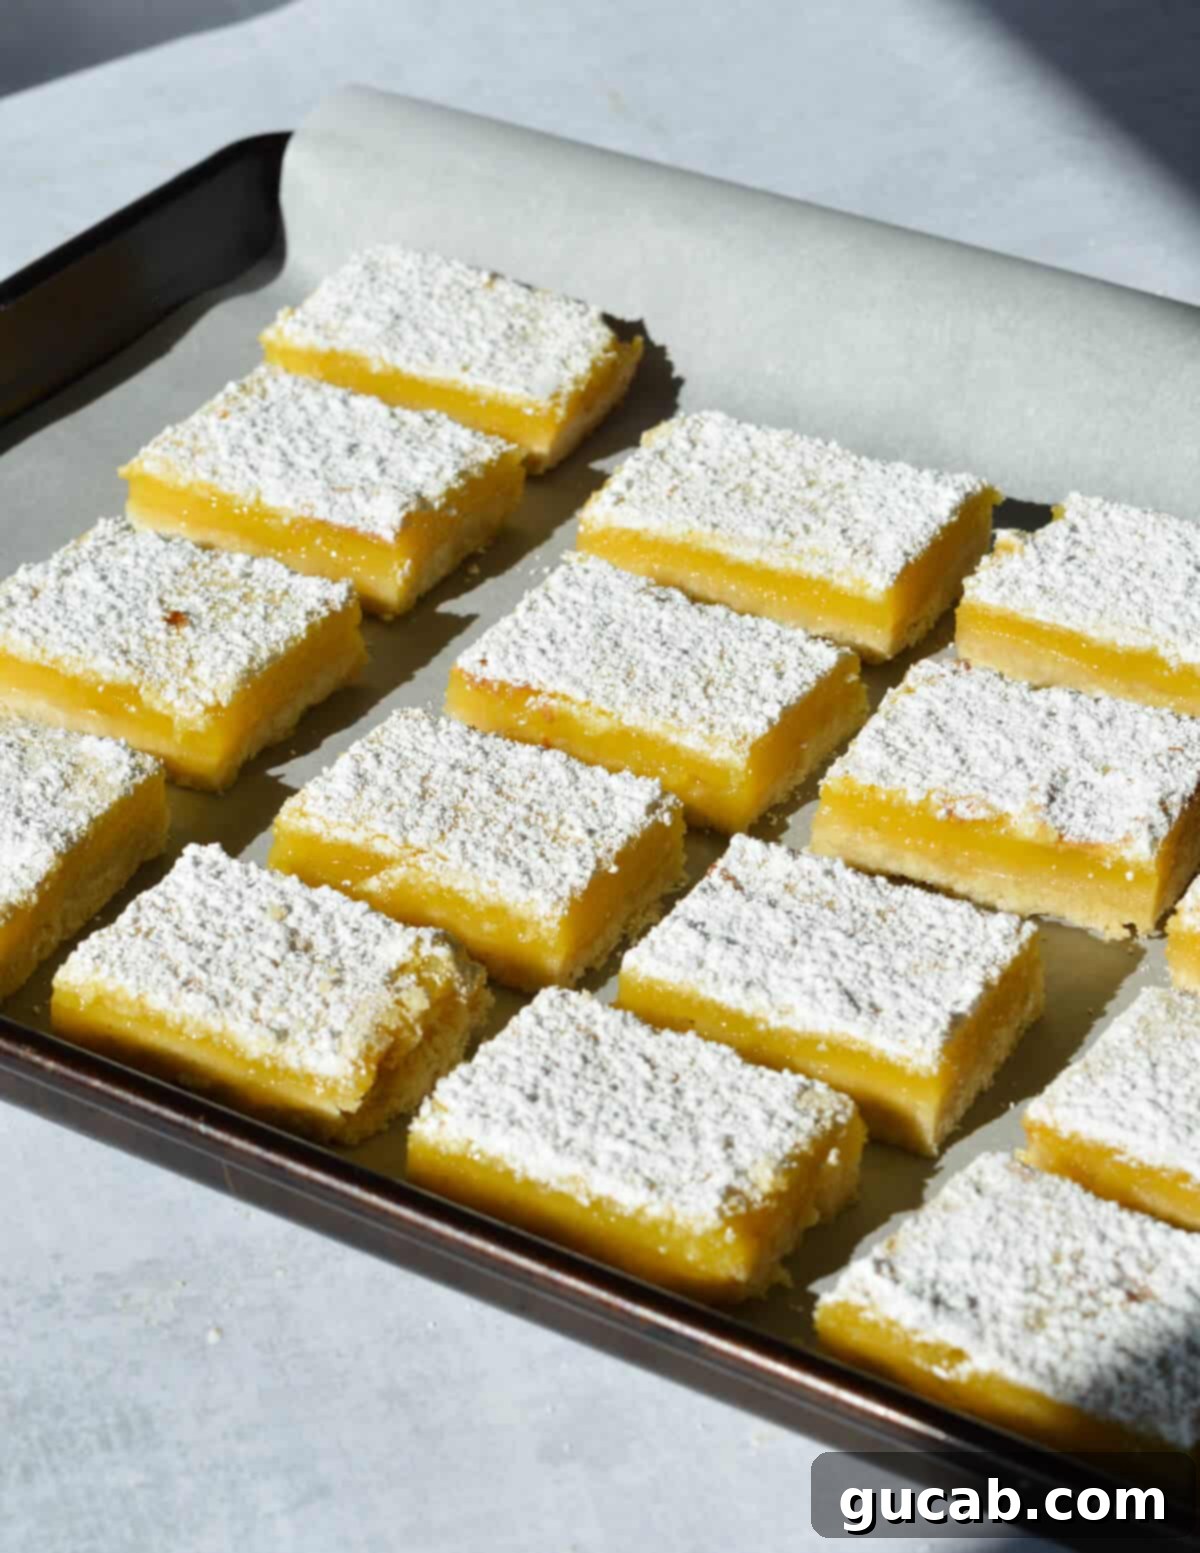
- For optimal freezing, begin by lining a sheet pan or a large plate with parchment paper.
- Place the completely cooled and cut key lime bars onto the lined pan in a single layer, ensuring they are not touching or stacked. This step is called “flash freezing.”
- Place the pan in the freezer until the bars are frozen solid, typically 1-2 hours. This prevents them from sticking together when stored in bulk.
- Once frozen solid, transfer the individual bars to an airtight freezer-safe container or a heavy-duty zip-top bag. Remove as much air as possible to prevent freezer burn.
- Frozen key lime bars can be stored for up to 2-3 months. To enjoy, simply thaw them in the refrigerator for a few hours or at room temperature for about 30 minutes. The texture and flavor will remain wonderfully intact, making them a perfect grab-and-go treat.
More Must-Try Gluten-Free Recipes from Our Kitchen
If you’ve loved these gluten-free key lime bars, you’re in for a treat! We have a wide array of other fantastic gluten-free recipes that are just as delicious and easy to make. Expand your gluten-free baking repertoire with some of our other popular favorites:
- Fluffy Gluten-Free Blueberry Muffins: A classic breakfast or snack, bursting with juicy blueberries.
- Classic Gluten-Free Chocolate Chip Cookies: The ultimate comfort food, perfectly chewy and full of chocolatey goodness.
- Bright and Zesty Gluten-Free Lemon Muffins: Another citrus delight, perfect for breakfast or an afternoon pick-me-up.
- Irresistible Gluten-Free Easter Desserts: A collection of festive and delicious treats perfect for any holiday celebration.
- Homemade Gluten-Free Buttermilk Biscuits: Light, flaky, and wonderfully savory, ideal for any meal.
Frequently Asked Questions (FAQs) About Gluten-Free Key Lime Bars
Here are some common questions you might have about making these delicious gluten-free key lime bars:
- Can I use regular lime juice instead of key lime juice? While you technically *can* use regular (Persian) lime juice, the flavor will be noticeably different. Key limes have a more aromatic, less acidic, and slightly sweeter profile than regular limes, which gives key lime pie and bars their distinctive taste. For the authentic experience, key lime juice is highly recommended.
- How do I know when the key lime filling is fully baked? The filling should be mostly set and firm around the edges, but it will still have a slight jiggle in the very center when you gently shake the pan. It will continue to set as it cools, especially during the crucial chilling period in the refrigerator. Overbaking can result in a rubbery texture.
- Why is my crust crumbly or hard? If your crust is too crumbly, it might lack enough melted butter to bind properly. If it’s too hard, you might have overmixed the dough or packed it too tightly into the pan. Ensure your butter is fully melted and incorporate it just until combined.
- Can I make these bars ahead of time? Absolutely! These bars are an excellent make-ahead dessert. In fact, they taste even better after a full night of chilling in the refrigerator, as the flavors meld and the curd sets perfectly for easy slicing.
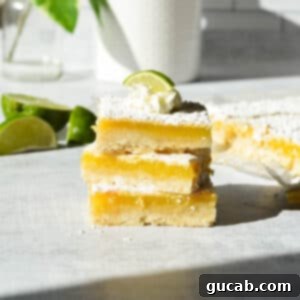
Gluten Free Key Lime Bars
Carolyn
Pin Recipe
Equipment
-
9×13-inch glass baking dish
-
Large Mixing Bowl
-
Whisk
-
Parchment Paper
Ingredients
For the buttery shortbread crust:
- 2 cups Bob’s Red Mill’s 1 to 1 Gluten Free Baking Flour spooned and leveled, see note for GF flour details
- 14 tablespoons unsalted butter, melted (7 ounces)
- ½ cup powdered sugar
- ¼ teaspoon kosher salt
For the zesty key lime filling:
- 2 cups granulated sugar
- 2 tablespoons Bob’s Red Mill’s 1 to 1 Gluten Free Baking Flour
- 5 large eggs, lightly whisked
- ½ cup key lime juice Nellie and Joe’s recommended
Instructions
For the crust:
-
Preheat your oven to 350 degrees Fahrenheit (175°C). Lightly spray a 9×13-inch glass baking dish with nonstick spray. Cut a piece of parchment paper to fit inside the dish, leaving an excess overhang on the sides to create “handles” for easy removal later.
-
In a large bowl, combine the gluten-free flour (spooned and leveled), powdered sugar, kosher salt, and melted butter. Use a large spoon or spatula to stir until all ingredients are just combined and a crumbly dough forms. Be careful not to overmix.
-
Transfer the dough mixture to the prepared baking dish. Use your hands to firmly and evenly press the dough into the bottom of the dish, creating a compact crust. Bake for 20 minutes, then remove from the oven and set aside to cool slightly while you prepare the filling.
For the filling and final bake:
-
In a separate large bowl, whisk together the granulated sugar and the 2 tablespoons of gluten-free flour until well combined. Add the lightly whisked eggs and continue to whisk until the mixture is smooth and fully incorporated.
-
Pour the key lime juice into the mixture while continuously whisking to ensure it is thoroughly combined and smooth.
-
Carefully pour the key lime filling over the warm, pre-baked shortbread crust in the baking dish. Place the baking dish back into the oven and bake for 20 minutes. After 20 minutes, gently remove the dish, loosely tent the top with aluminum foil (this prevents over-browning), and bake for an additional 10 minutes, or until the filling is mostly set with a slight jiggle in the center.
-
Remove the baking dish from the oven. Immediately and generously dust the warm top of the bars with powdered sugar. Allow the bars to cool at room temperature for 30 minutes. Then, transfer the baking dish to the refrigerator and chill for a minimum of 2 hours, or preferably overnight, for best results and firm setting.
-
Once thoroughly chilled, use the parchment paper “handles” to lift the entire slab of key lime bars out of the baking dish and onto a cutting board. Use a sharp knife to cut the bars into your desired squares or rectangles. For clean cuts, wipe the knife blade between each slice. Serve chilled and enjoy!
Notes
Gluten-free flour: As noted in the detailed ingredients section and main article, I exclusively created and tested this recipe with Bob’s Red Mill’s 1 to 1 Gluten Free Baking Flour. This particular blend offers a good gluten-like taste and texture, performing very consistently in this recipe. All gluten-free flour blends react differently in recipes due to their varied compositions (different flours, starches, and binders). For this reason, while you can experiment, I cannot guarantee the same results with other brands without specific testing.
Key Lime Juice: For the most authentic and vibrant flavor, Nellie and Joe’s Key Lime Juice is highly recommended. It delivers consistent quality and a true key lime taste, often superior to what can be achieved with fresh key limes unless you have access to exceptionally ripe ones.
Nutrition
