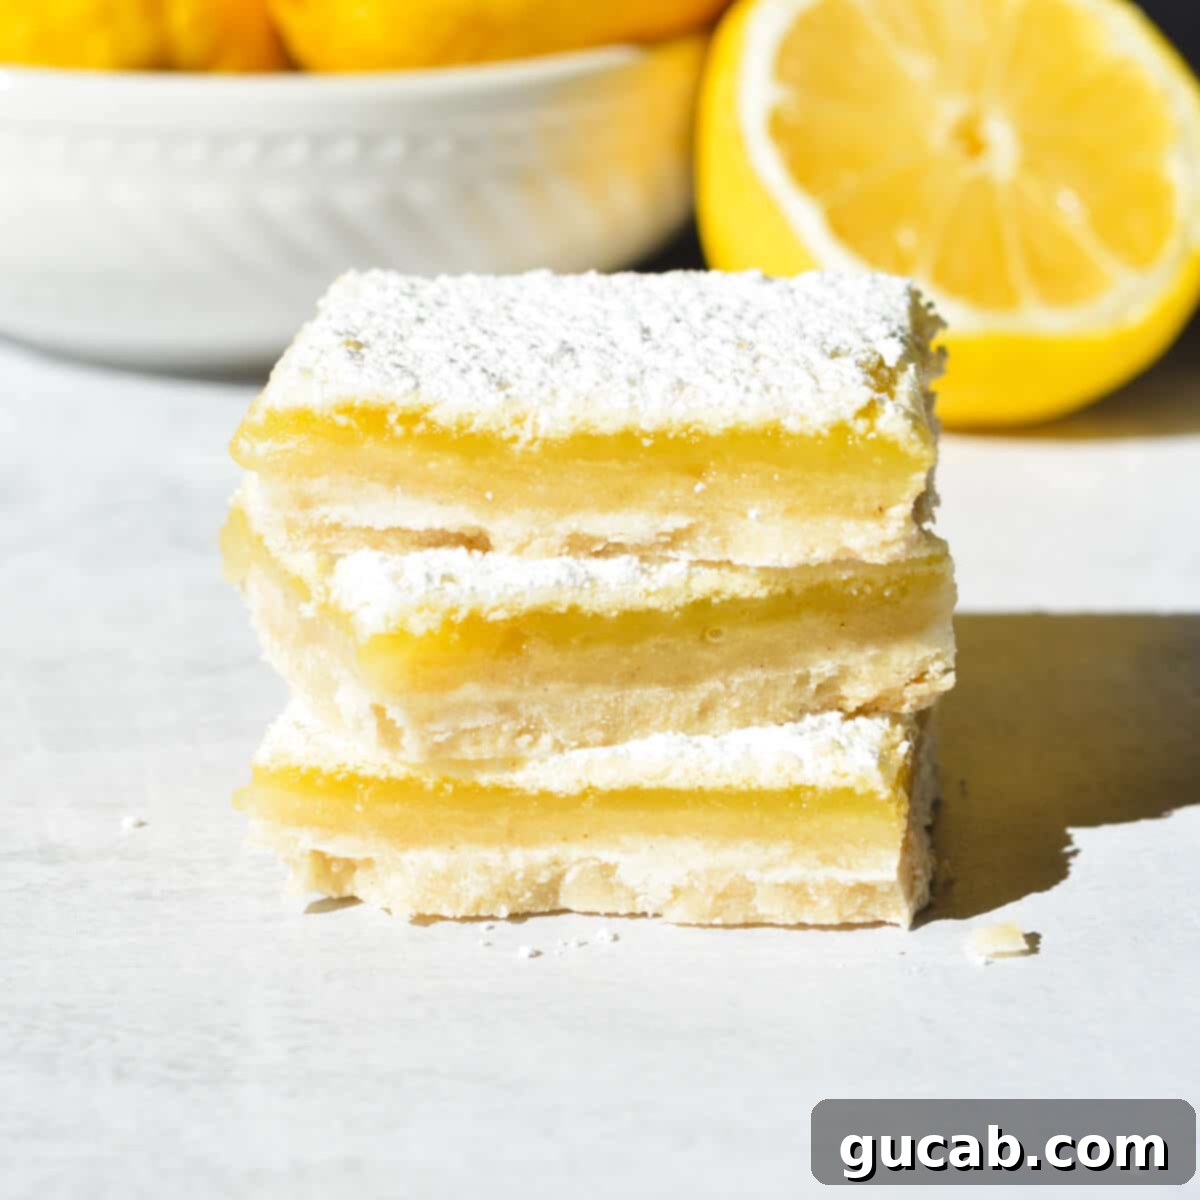
The Ultimate Gluten-Free Lemon Bars: Zesty, Decadent, and Perfectly Easy
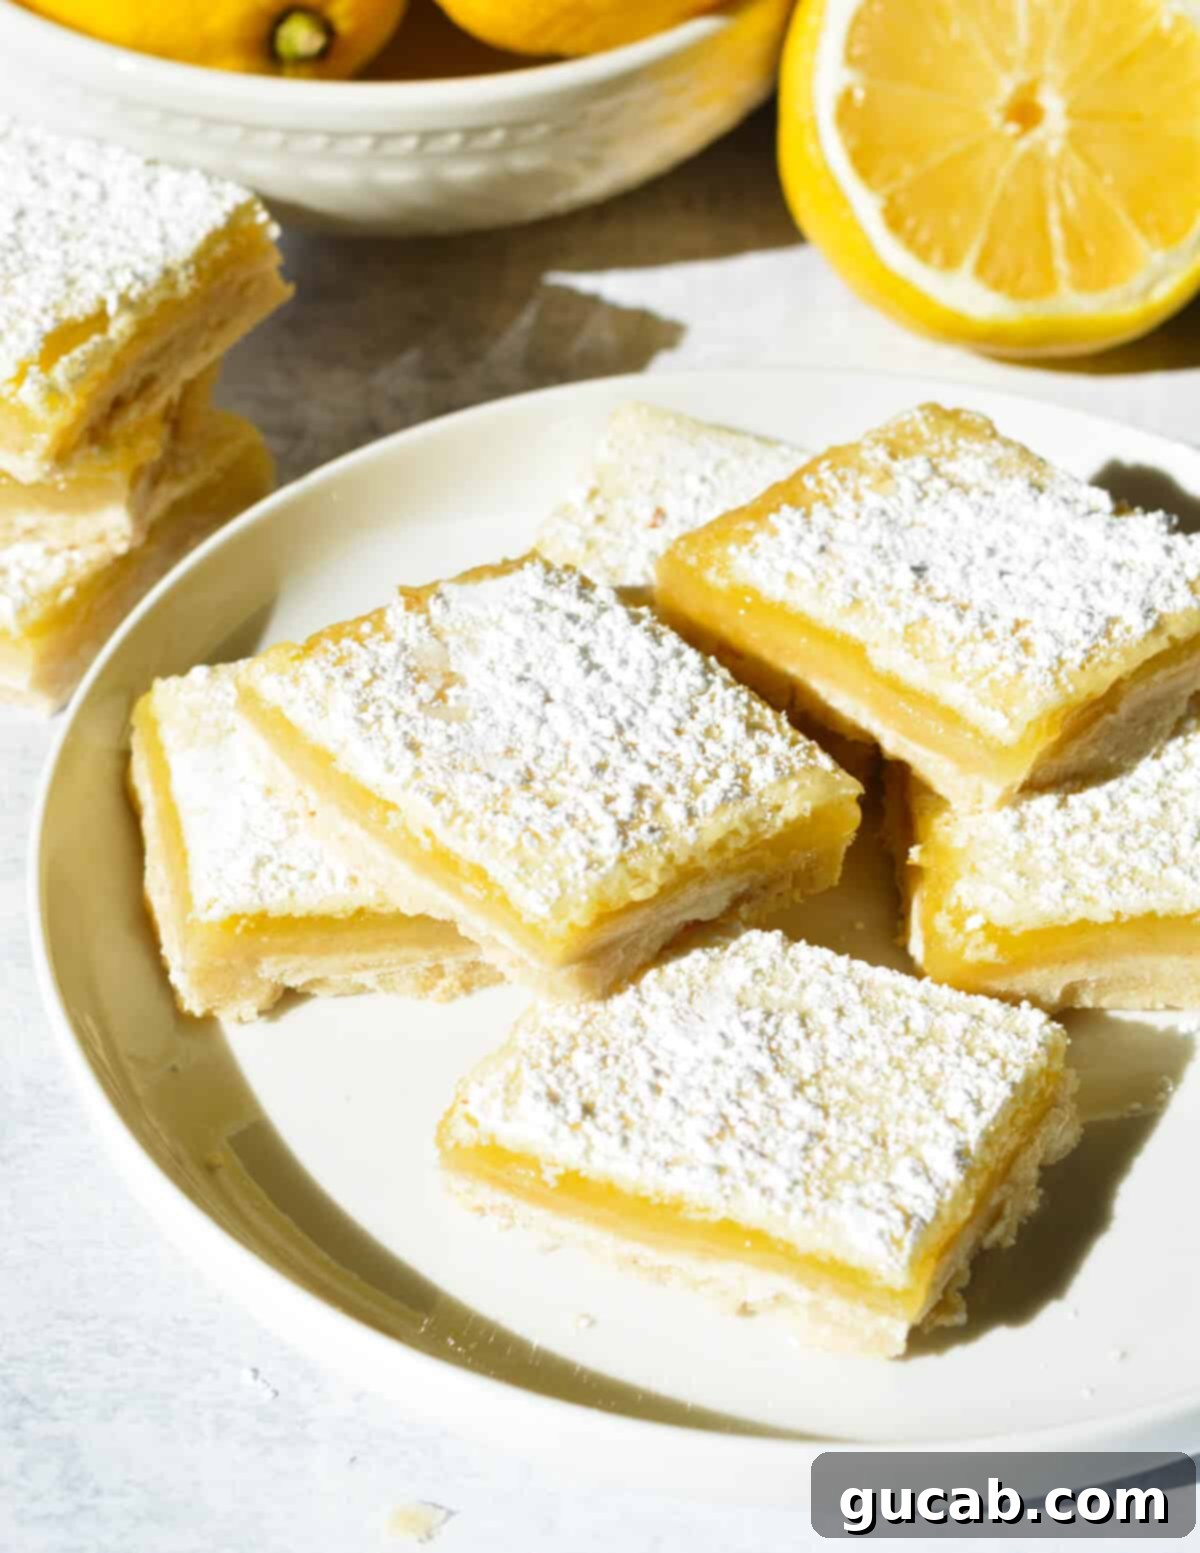
Indulge in the bright, refreshing taste of these exquisite gluten-free lemon bars. A perfect blend of rich, buttery shortbread crust and a vibrant, zippy lemon curd topping, these bars are a delightful treat for any occasion. Whether you’re hosting a spring garden party, a summer barbecue, a baby shower, or simply craving a sweet and tangy dessert, this recipe delivers pure sunshine in every bite. They are so irresistibly good, you’ll find yourself reaching for another slice!
Why These Gluten-Free Lemon Bars Will Become Your New Favorite
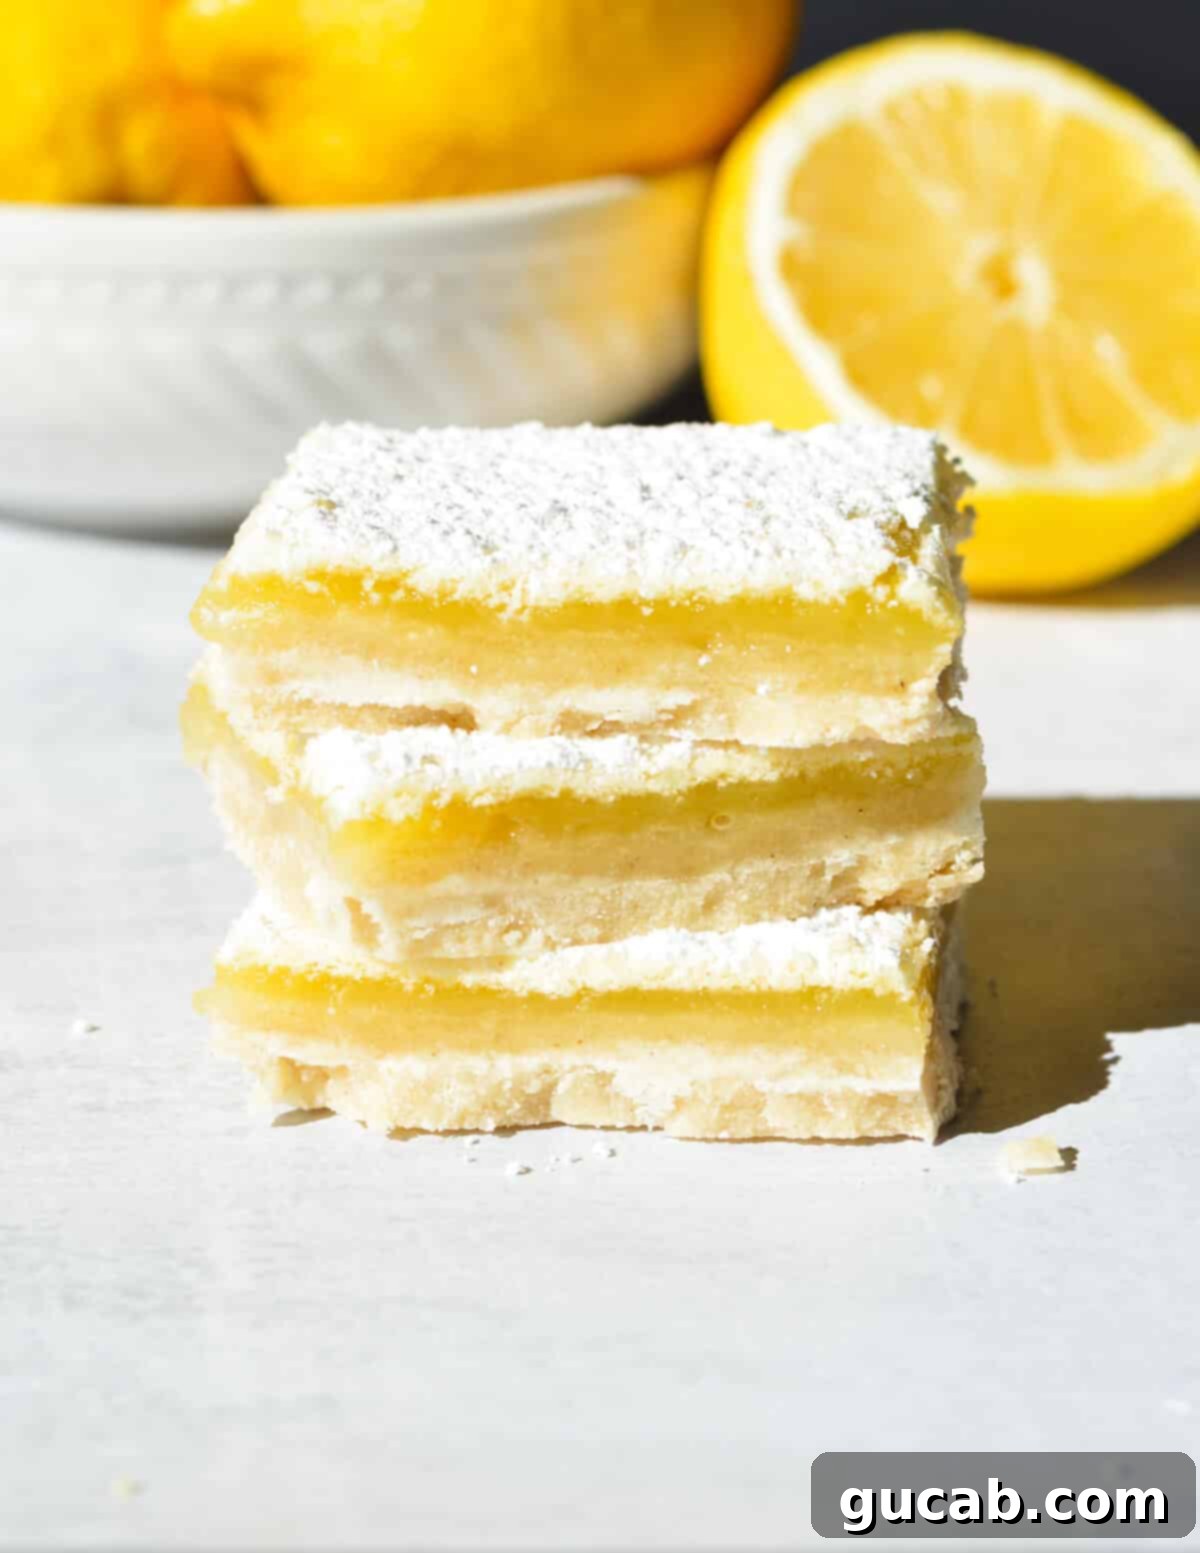
There’s something truly magical about a classic lemon bar. The contrast between a sturdy, crumbly crust and a silky, tangy-sweet filling is simply divine. But for those following a gluten-free diet, finding a recipe that truly captures this perfection can be a challenge. That’s where these gluten-free lemon bars shine. They are not just “good for gluten-free” – they are simply phenomenal lemon bars, period.
The secret lies in the harmonious balance of textures and flavors. The crust, made from a meticulously developed gluten-free shortbread recipe, offers a rich, melt-in-your-mouth base that beautifully complements the bright, zingy lemon filling. Each bite is a burst of citrusy delight, making them an ideal handheld treat for any gathering or a special moment of personal indulgence.
Inspired by my popular gluten-free key lime bar recipe, this lemon version takes all the best elements and infuses them with the vibrant essence of fresh lemons. They’re not only incredibly easy to prepare but also freezer-friendly, allowing you to whip up a batch ahead of time for effortless entertaining or a convenient treat whenever a craving strikes.
Essential Ingredients for Zesty Perfection
Crafting the perfect gluten-free lemon bars starts with selecting high-quality ingredients. Each component plays a crucial role in achieving that coveted balance of flavor and texture. Here’s a closer look at what you’ll need and why:
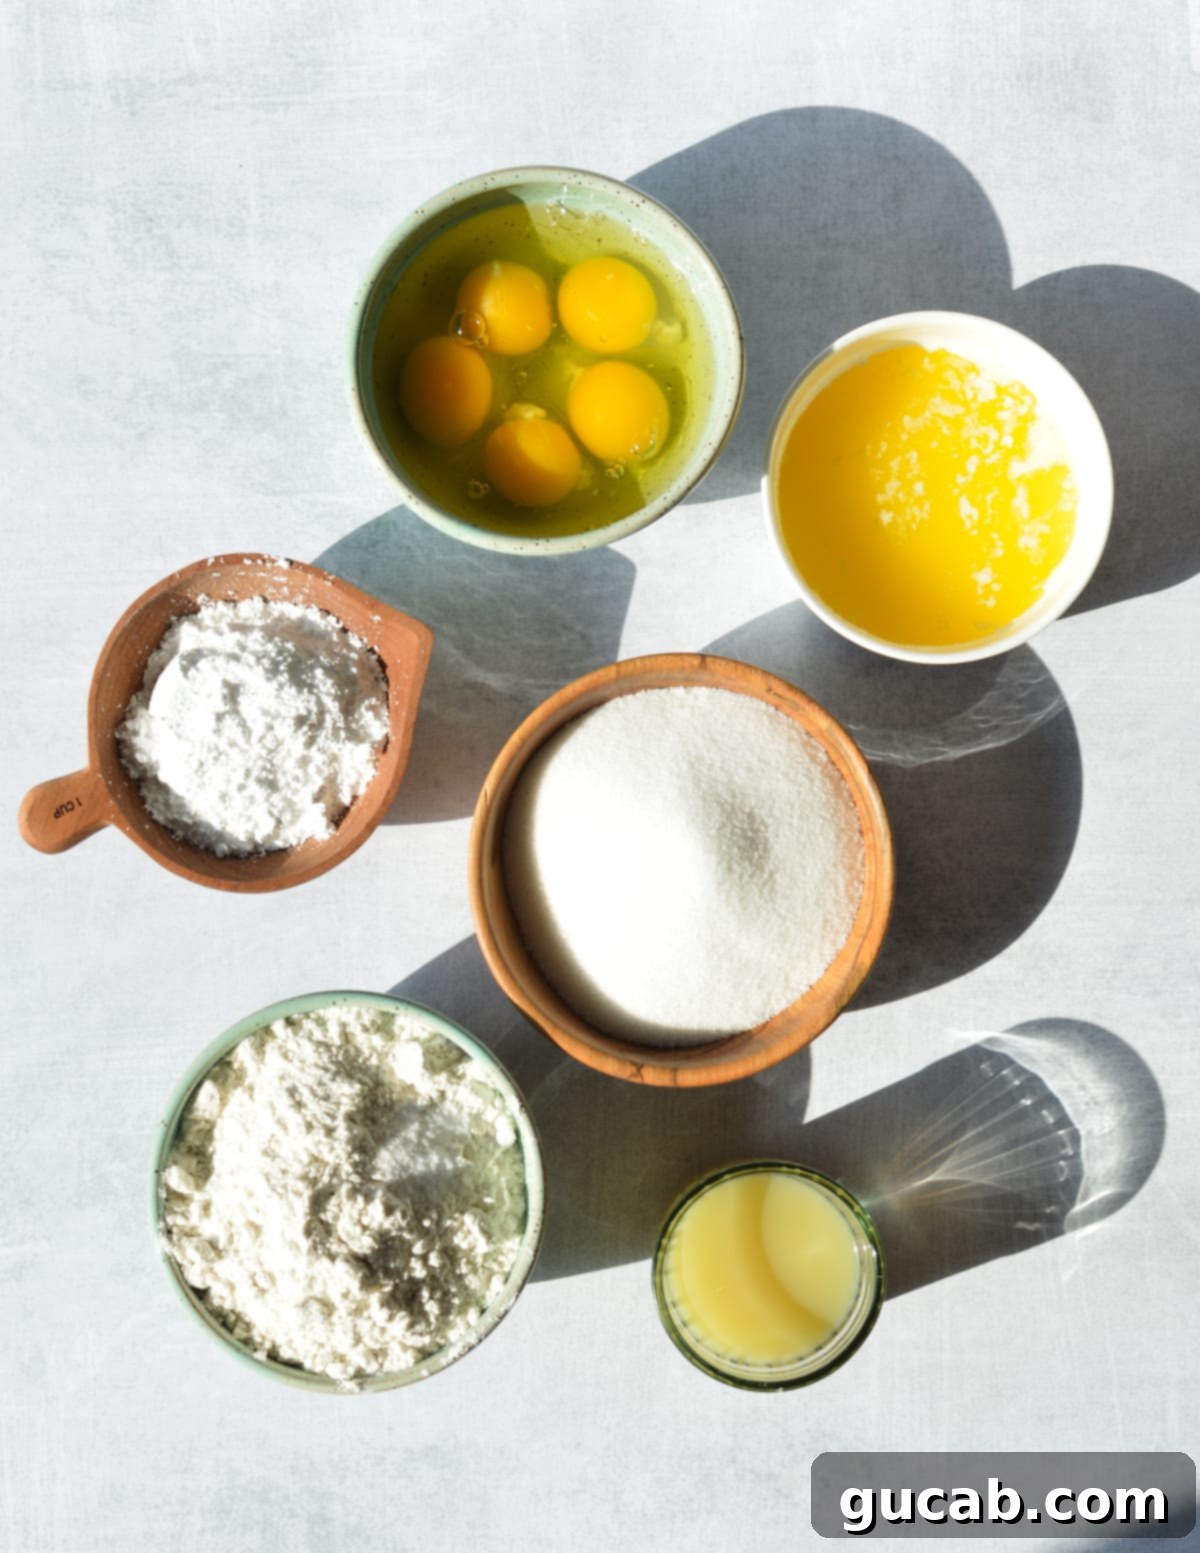
- Gluten-Free All-Purpose Flour: For these lemon bars, my absolute go-to is Bob’s Red Mill’s 1-to-1 Gluten-Free Baking Flour. This blend is specifically formulated to mimic the properties of traditional wheat flour, providing excellent structure and a tender crumb. It’s widely available at major retailers like Target, Walmart, and Amazon. Using a reliable 1-to-1 blend is crucial for gluten-free baking, as different brands can absorb liquids differently and yield varied results. If you opt for another brand, be aware that adjustments might be necessary, and the final texture could vary.
- Unsalted Butter: A cornerstone of the rich shortbread crust, unsalted butter allows you to control the exact amount of salt in your recipe. This ensures your bars are perfectly balanced in flavor, without being overly salty. Melted butter helps create that classic tender, crumbly shortbread texture that forms the ideal foundation for the tangy lemon topping.
- Powdered Sugar (for the Crust): Unlike granulated sugar, powdered sugar (confectioners’ sugar) in the crust contributes to an incredibly delicate, melt-in-your-mouth texture. Its fine consistency ensures a smooth blend with the butter and flour, preventing any grittiness and enhancing the overall richness of the shortbread.
- Granulated Sugar (for the Filling): Lemon juice is inherently tart, and two cups of granulated sugar might seem like a lot, but it’s absolutely essential to achieve that delightful sweet-tart balance we all crave in a lemon bar. This generous amount of sugar ensures the lemon filling is wonderfully tangy without being overwhelmingly sour, creating a harmonious flavor profile.
- Eggs: Eggs are vital for the lemon filling’s structure and set. They act as a binder, allowing the lemon curd to bake into a smooth, soft, yet sliceable consistency. Without enough eggs, your filling might be too runny, but with the right amount, you get that perfect jiggly, custard-like texture that holds its shape beautifully.
- Fresh Lemon Juice: This is where the magic truly happens! Always, always use freshly squeezed lemon juice for the most vibrant, authentic lemon flavor. Bottled lemon juice simply doesn’t compare in terms of brightness and aroma. A simple lemon squeezer makes the process quick and effortless, ensuring you get the purest lemon essence into your bars. For an extra pop of flavor, consider adding a teaspoon or two of lemon zest to the filling – it really amplifies the citrus notes!
- Kosher Salt: A small amount of kosher salt is added to both the crust and the filling. It might seem counterintuitive in a sweet dessert, but salt is a crucial flavor enhancer. It brightens the lemon, balances the sweetness, and brings out the buttery richness of the shortbread, elevating all the other flavors.
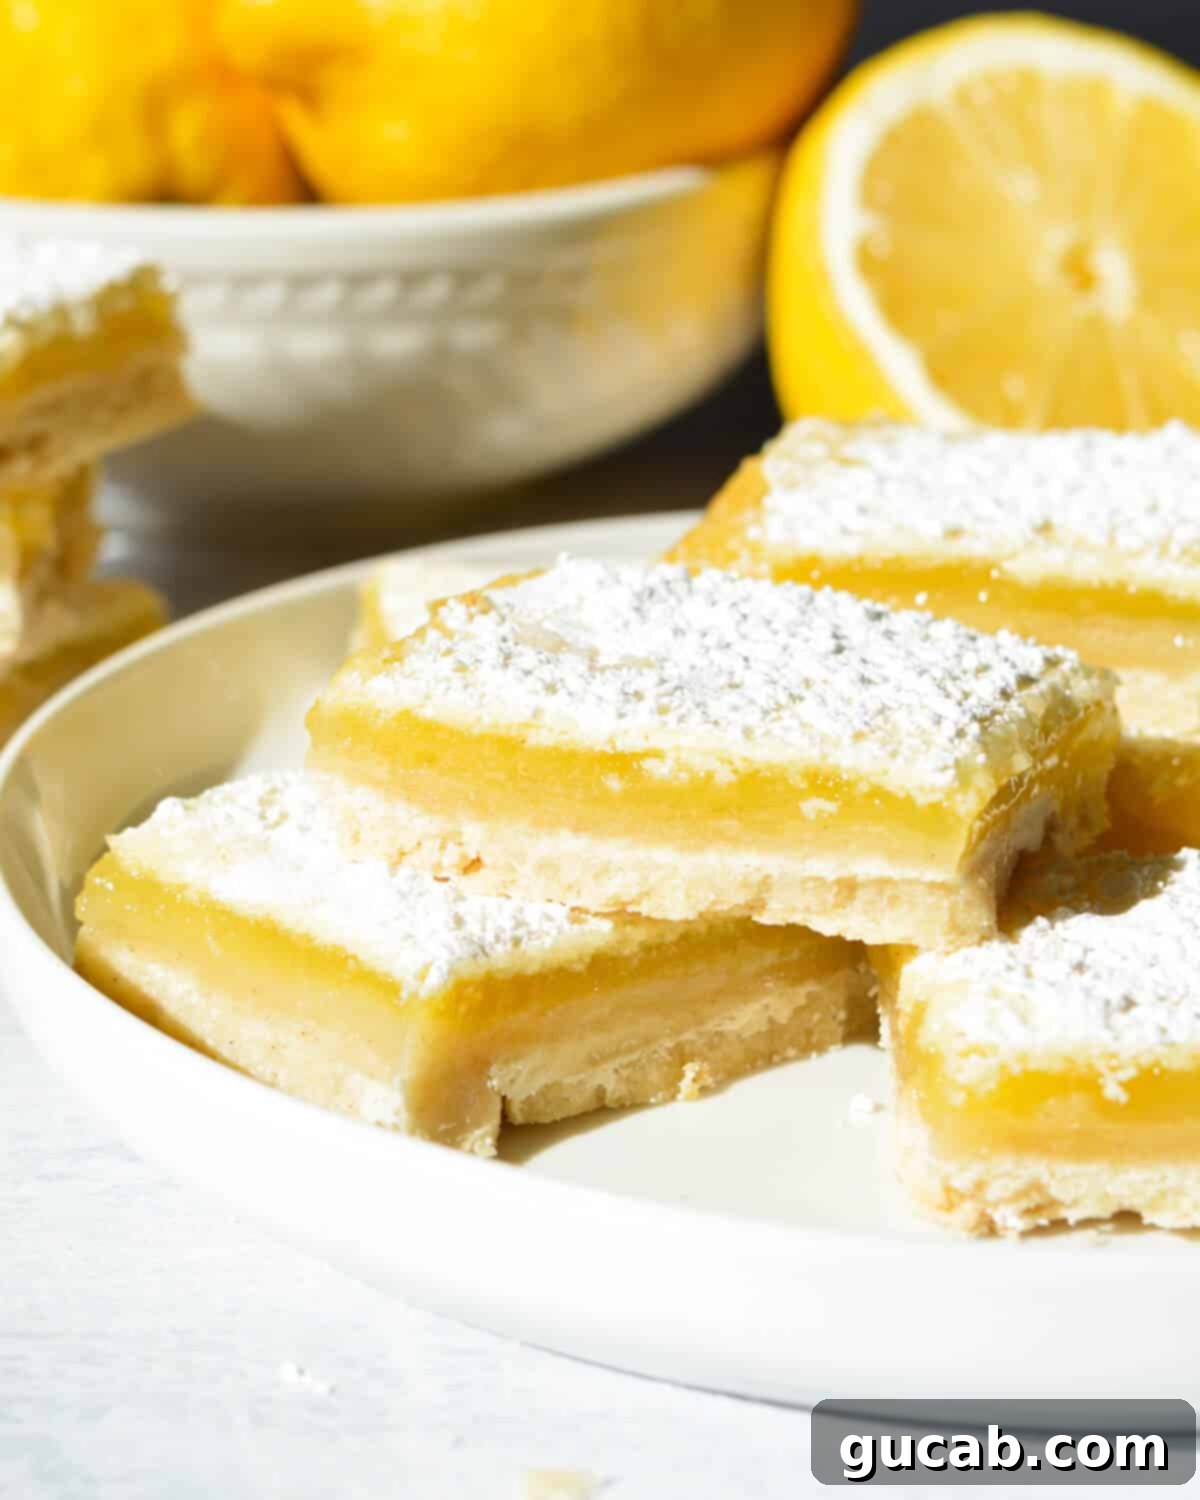
How to Create Irresistible Gluten-Free Lemon Bars: A Step-by-Step Guide
Making these gluten-free lemon bars is surprisingly straightforward, even for novice bakers. With a little attention to detail, you’ll be enjoying these luscious treats in no time!
Before you begin, remember to preheat your oven to 350°F (175°C). This ensures your oven is at the correct temperature for consistent baking from the moment your pan goes in. Additionally, I highly recommend lining your 9×13-inch baking dish with parchment paper. Leave an overhang on the sides to create “handles” – this makes removing the baked bars incredibly easy and mess-free, allowing for clean cuts.
1. Prepare the Buttery Shortbread Crust
- In a large mixing bowl, combine your gluten-free flour, powdered sugar, and kosher salt. Give them a quick whisk to ensure they’re evenly distributed.
- Pour in the melted unsalted butter. Using a large spoon or a sturdy spatula, mix the ingredients until just combined. Be careful not to overmix, as this can lead to a tough crust. The mixture should come together into a slightly crumbly but cohesive dough.
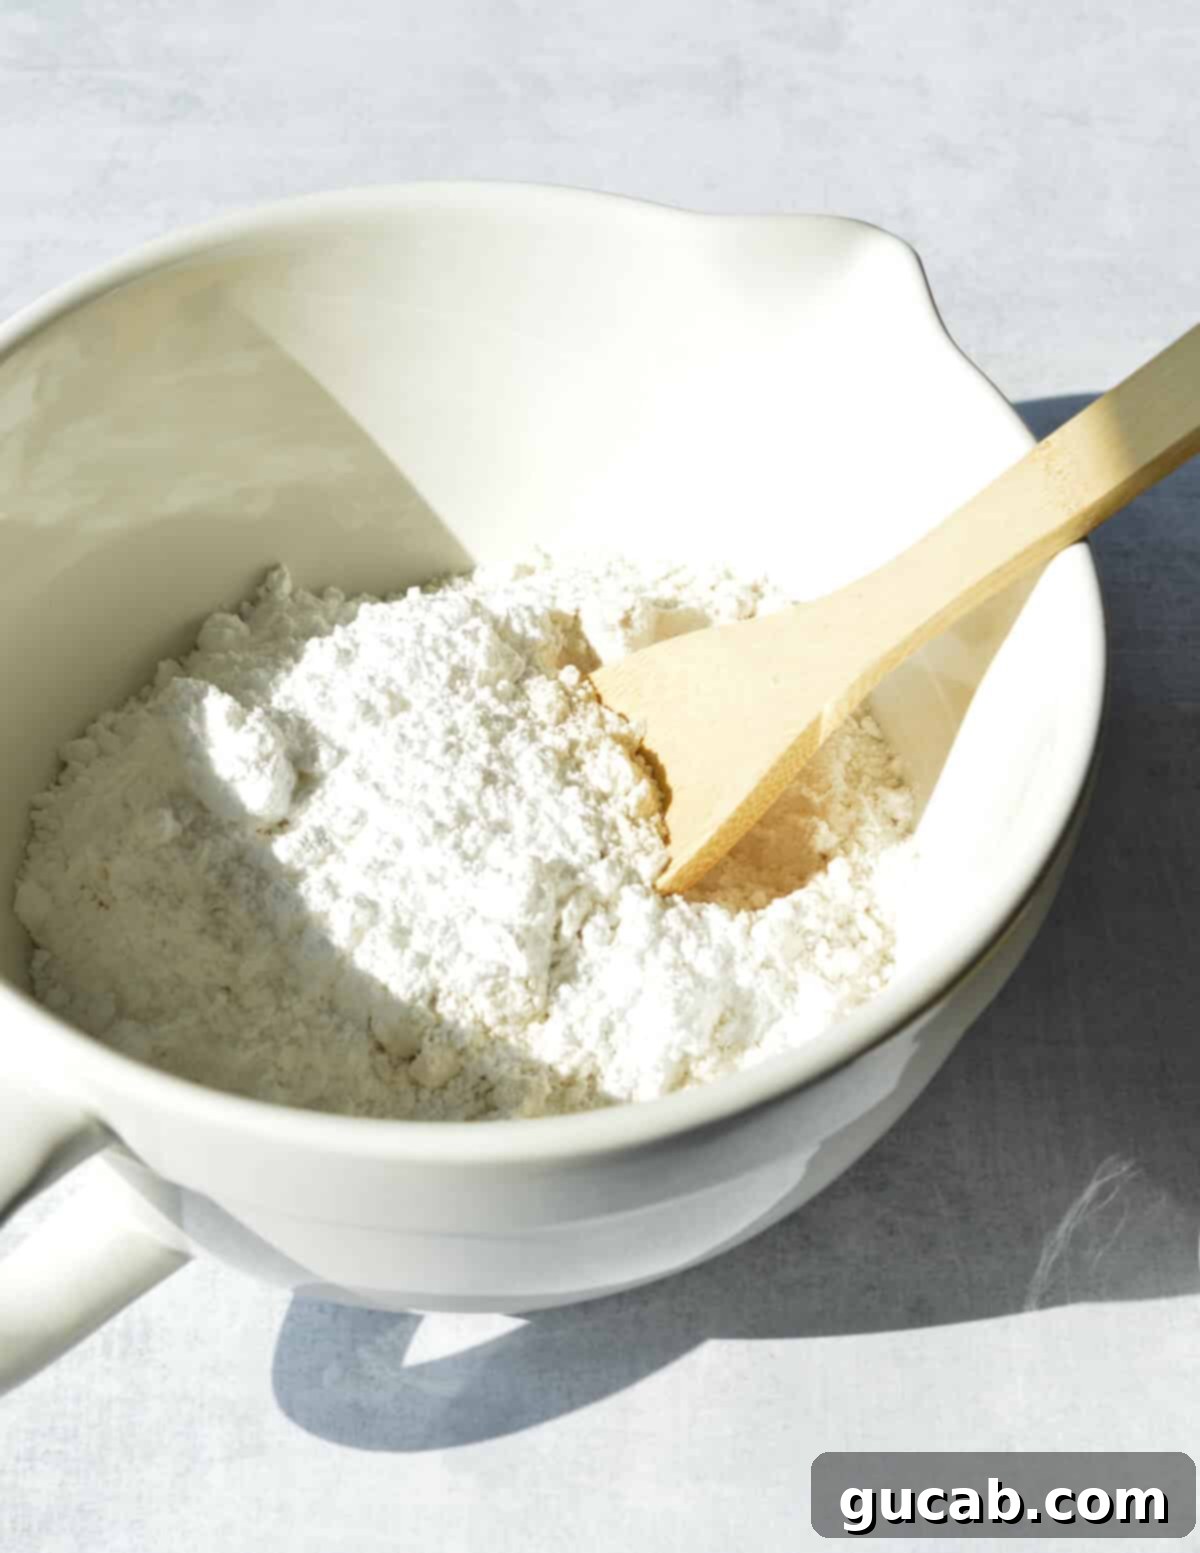
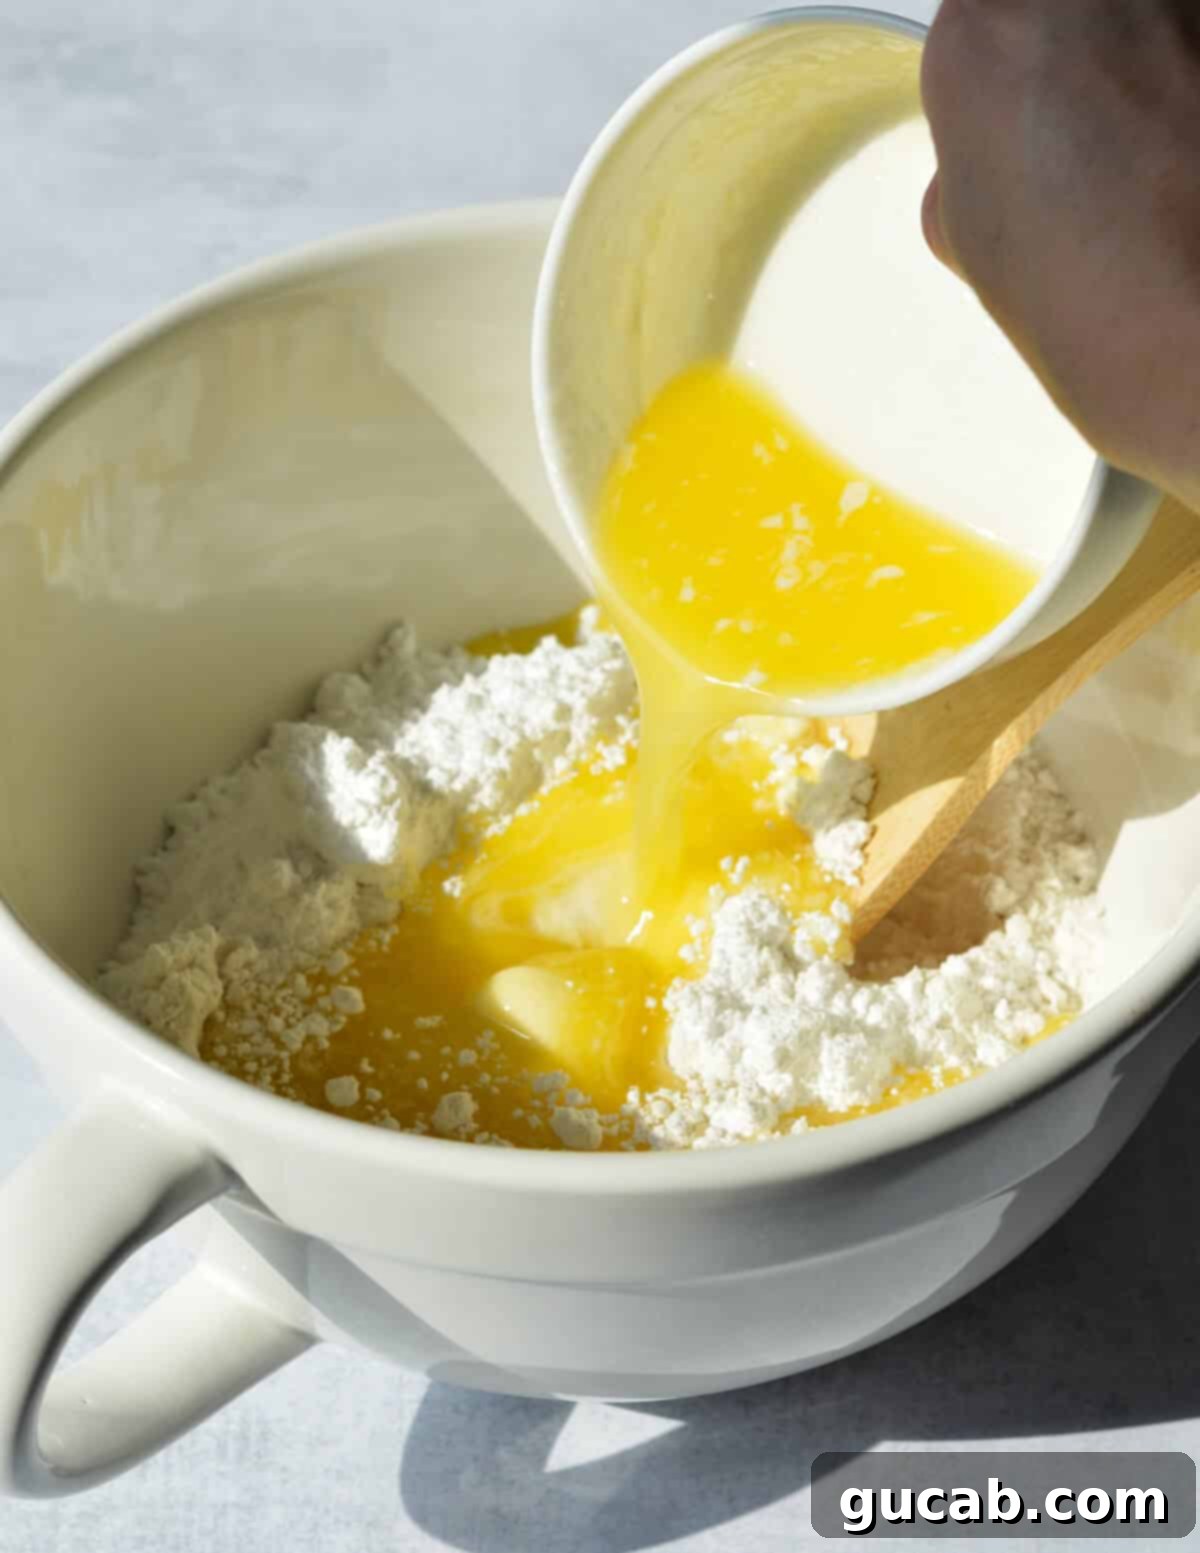
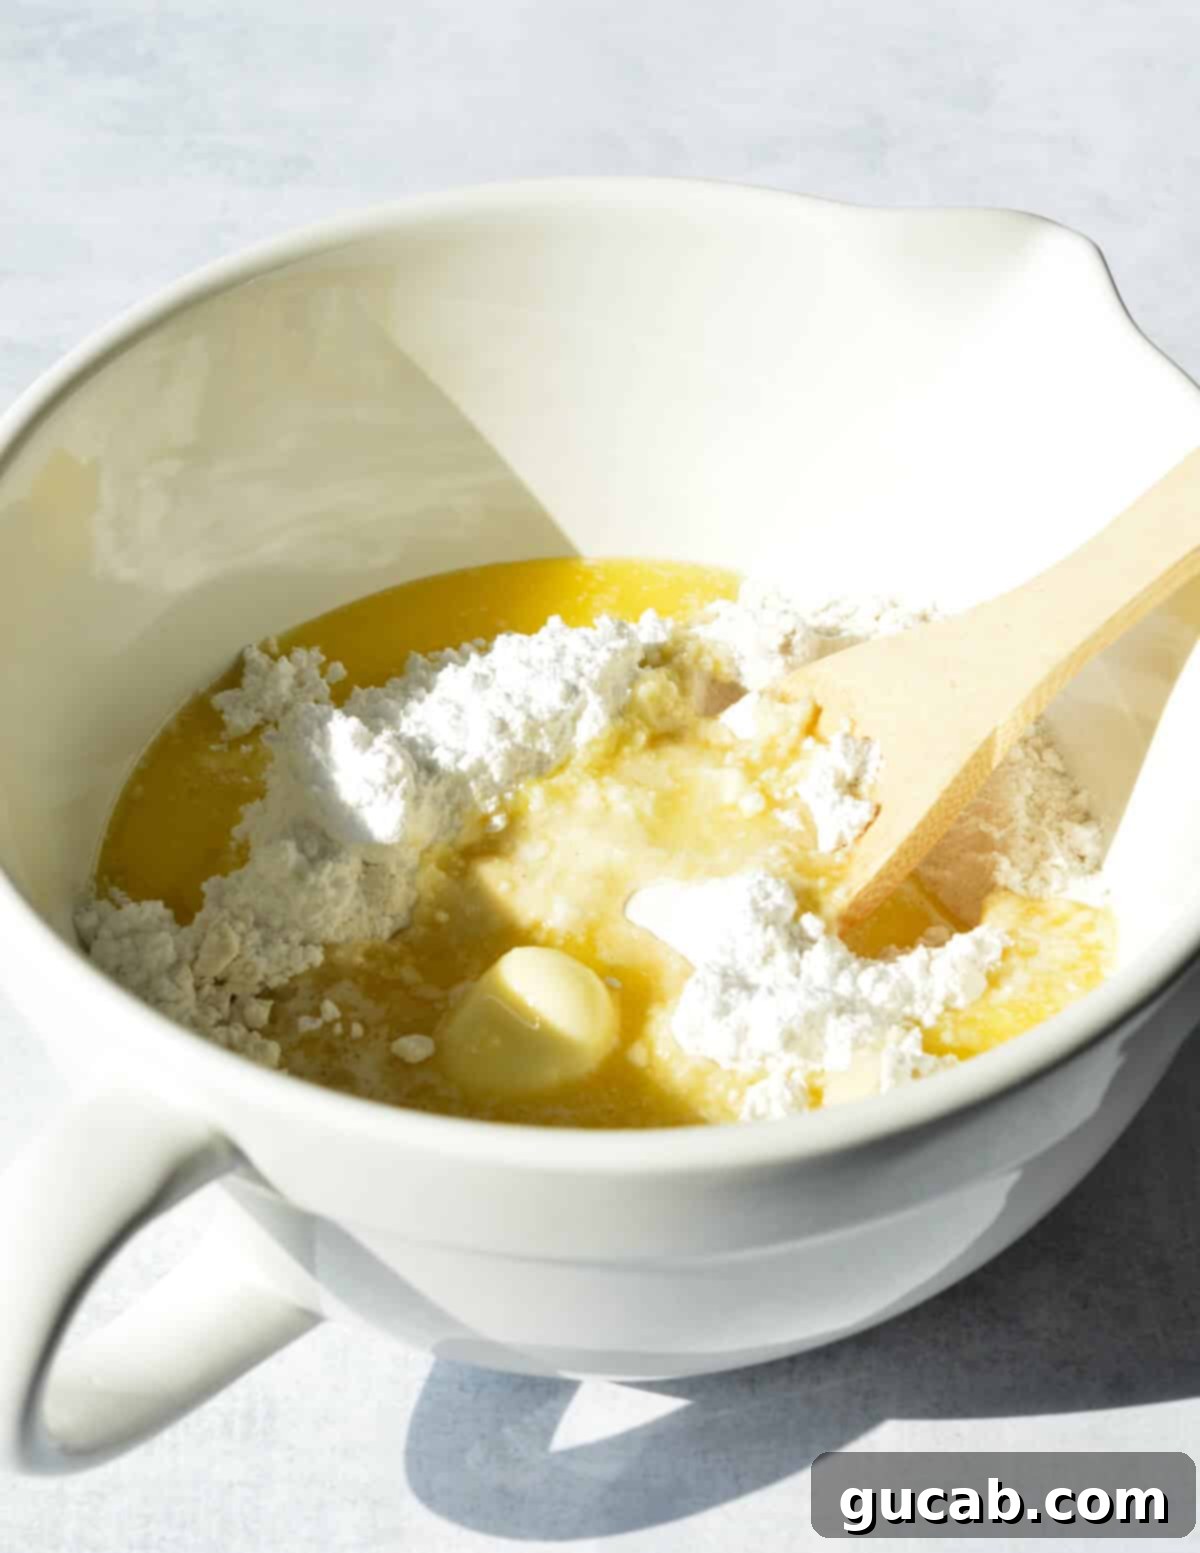
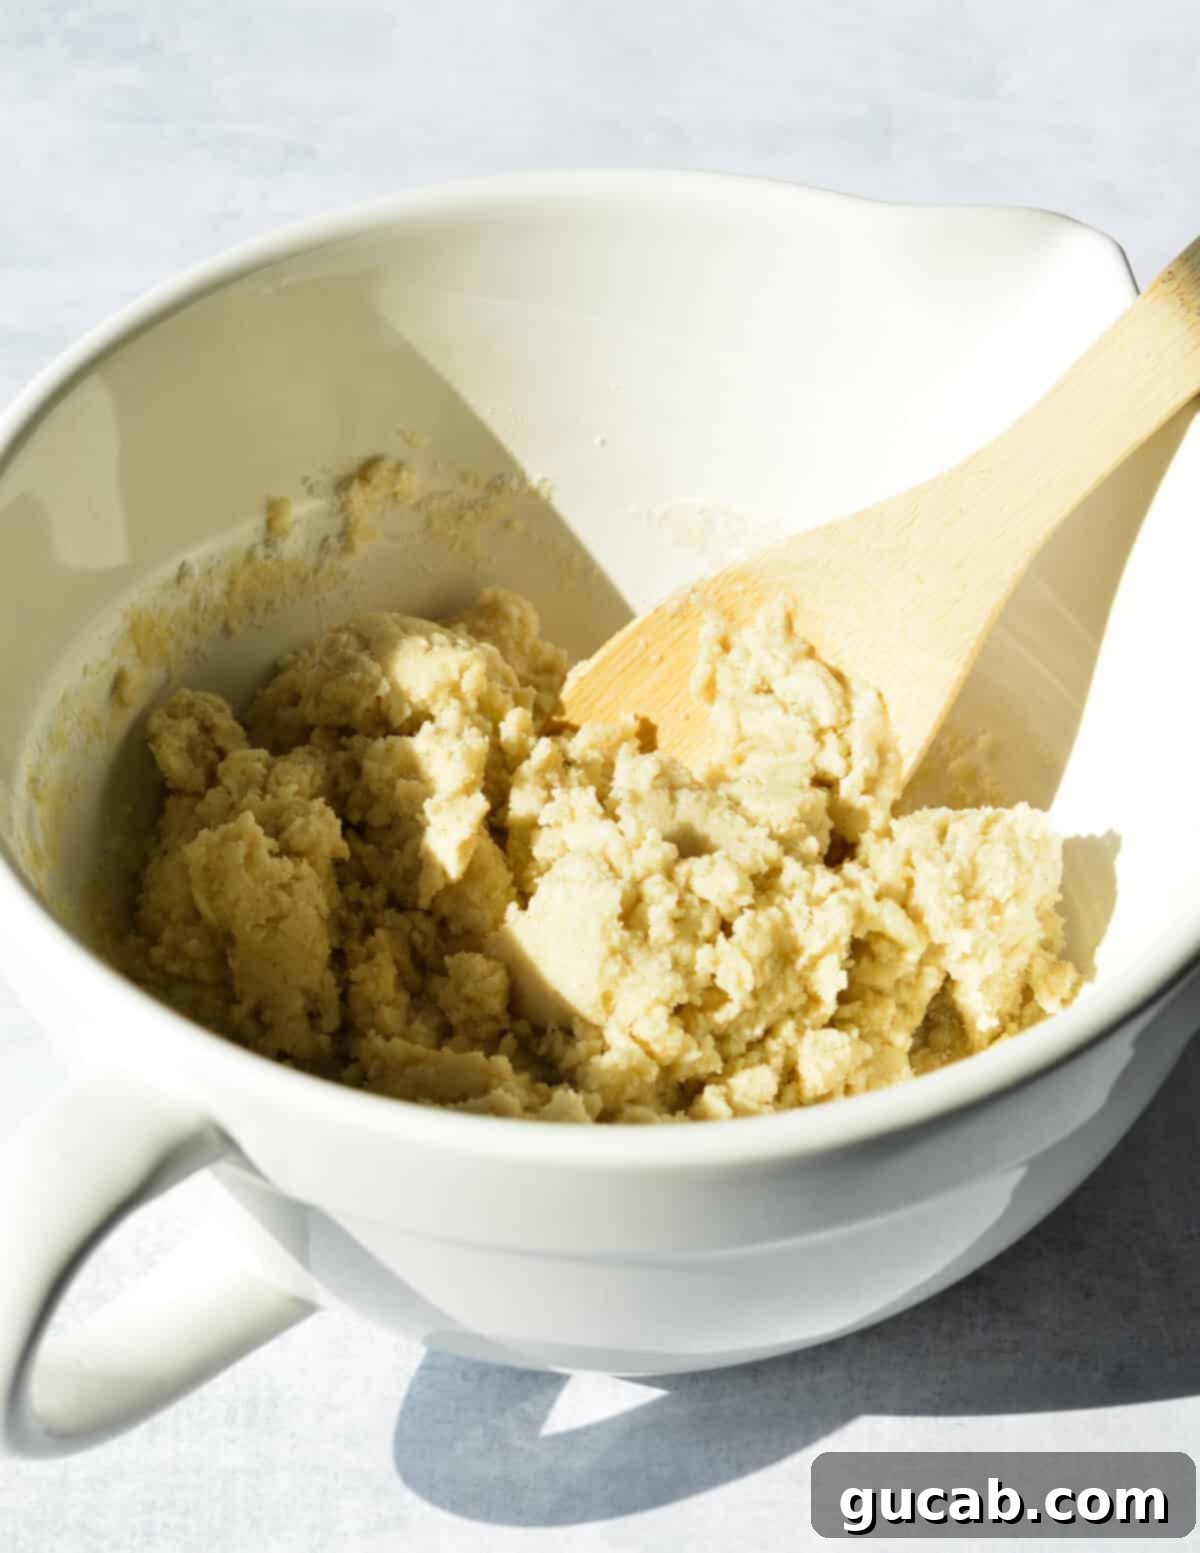
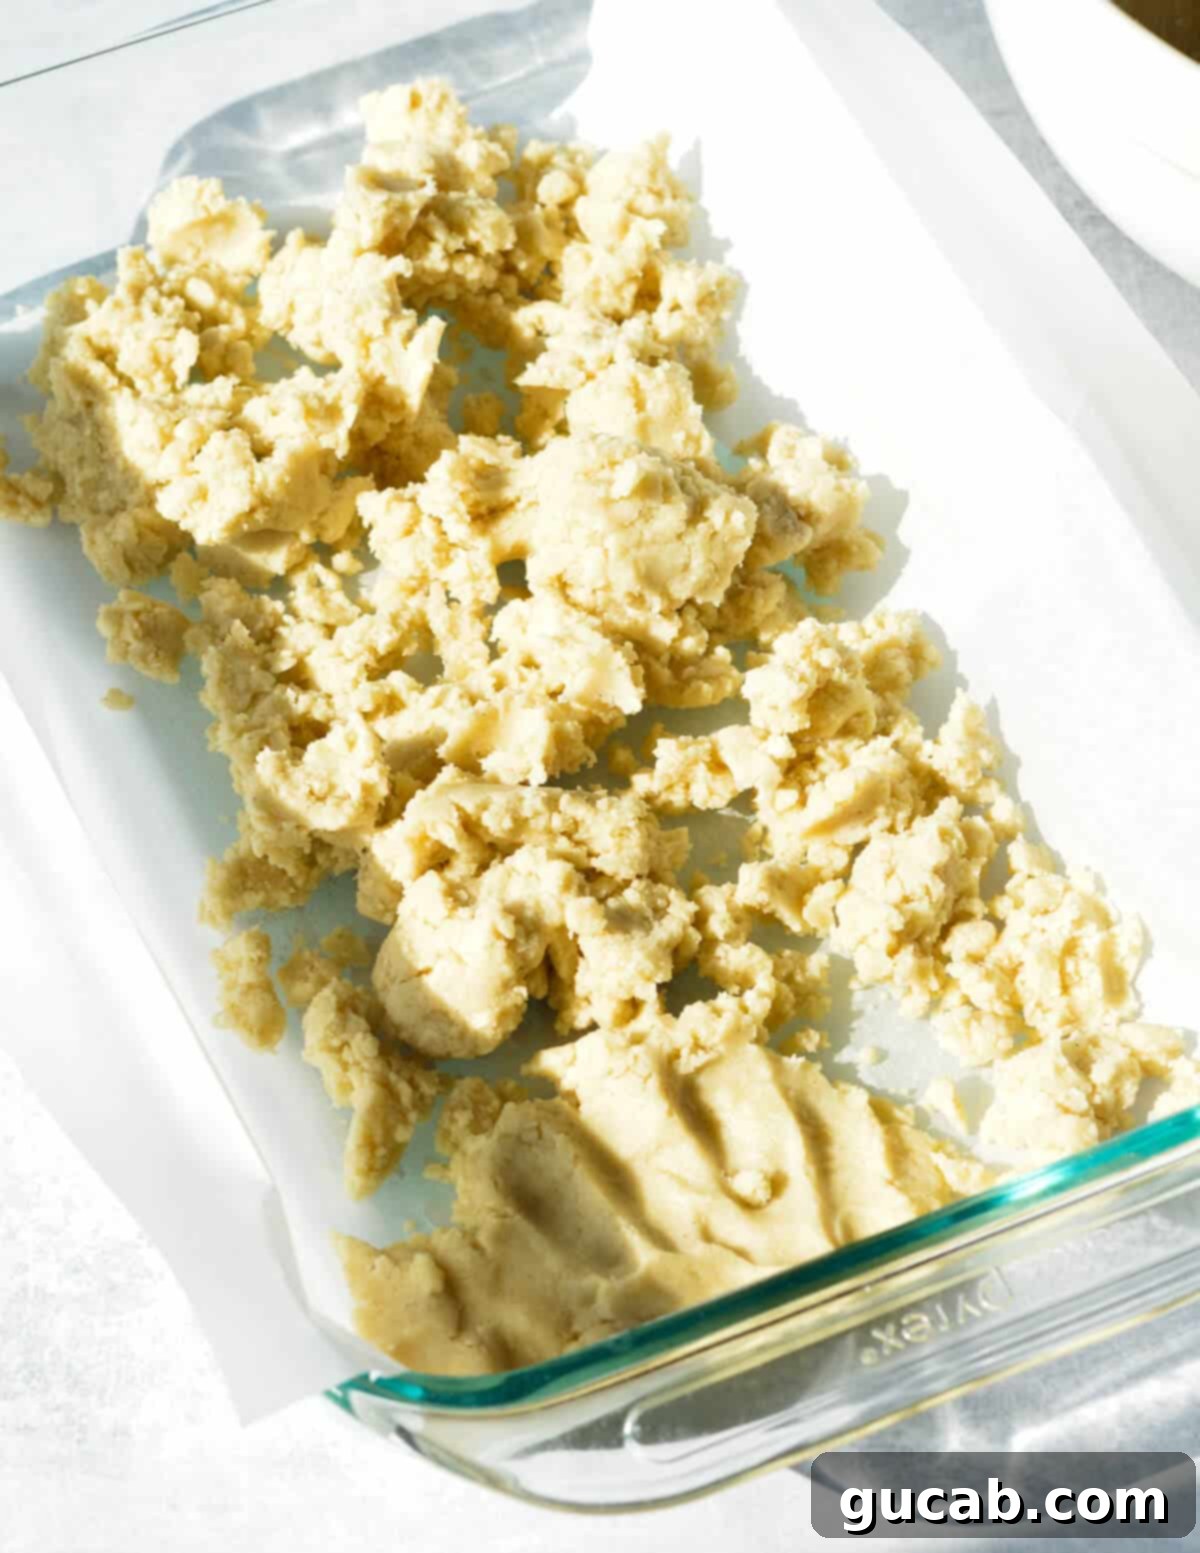
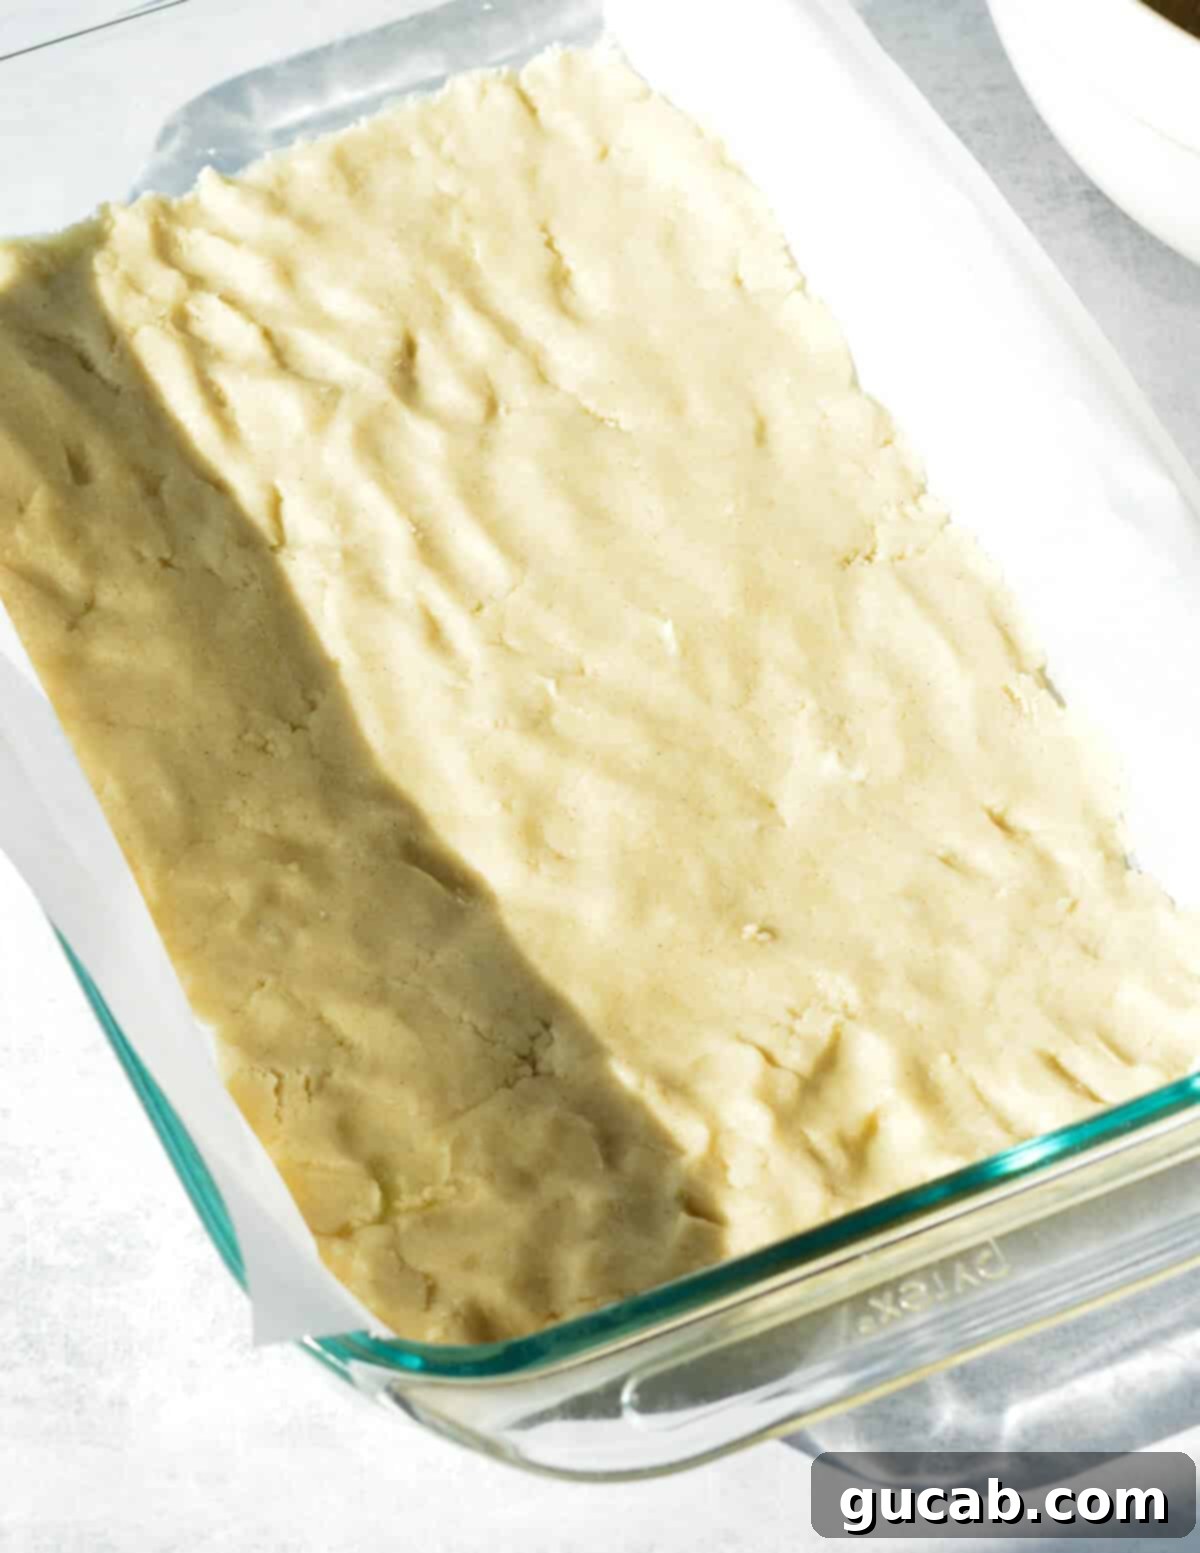
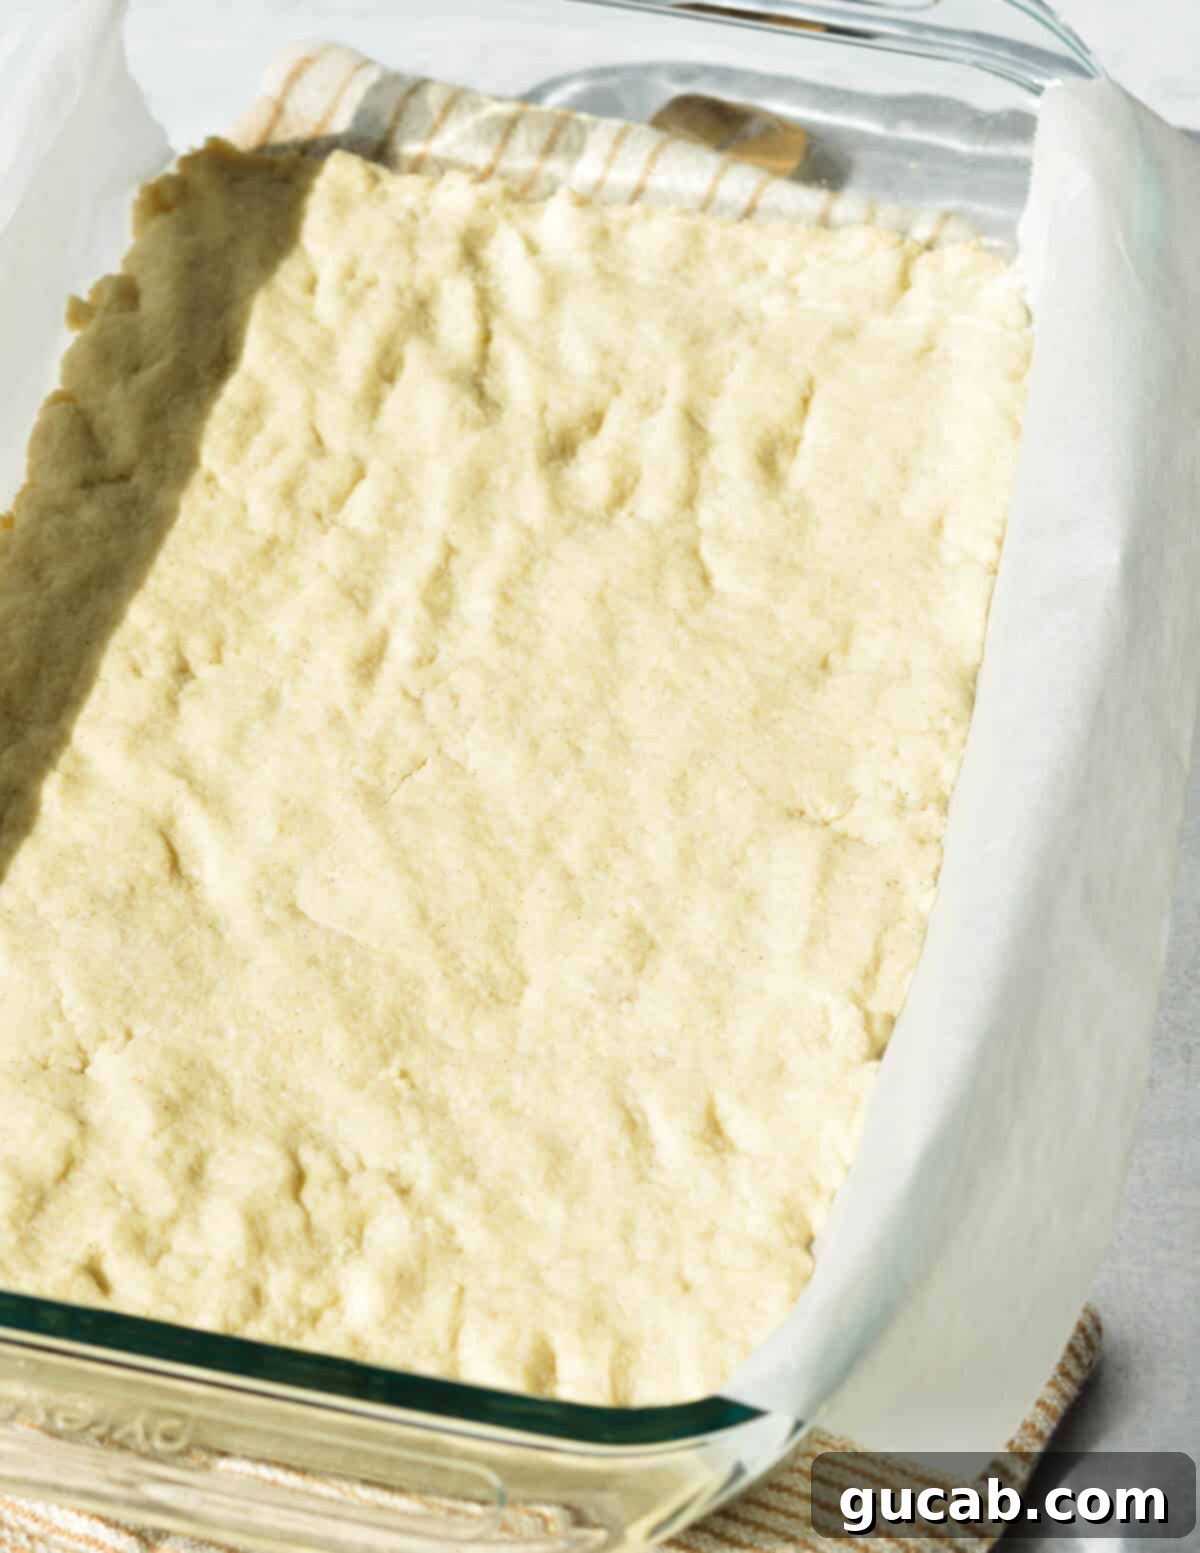
- Transfer the dough mixture into your prepared baking dish. Use your hands to press it evenly into the bottom of the dish, creating a compact and uniform crust. This even layer is important for consistent baking.
- Bake the crust for 20 minutes in your preheated oven. Once baked, remove it and set it aside to cool slightly while you prepare the vibrant lemon filling. This pre-baking (or blind baking) step helps the crust become golden and prevents it from becoming soggy once the wet filling is added.
2. Prepare the Lemon Filling and Bake
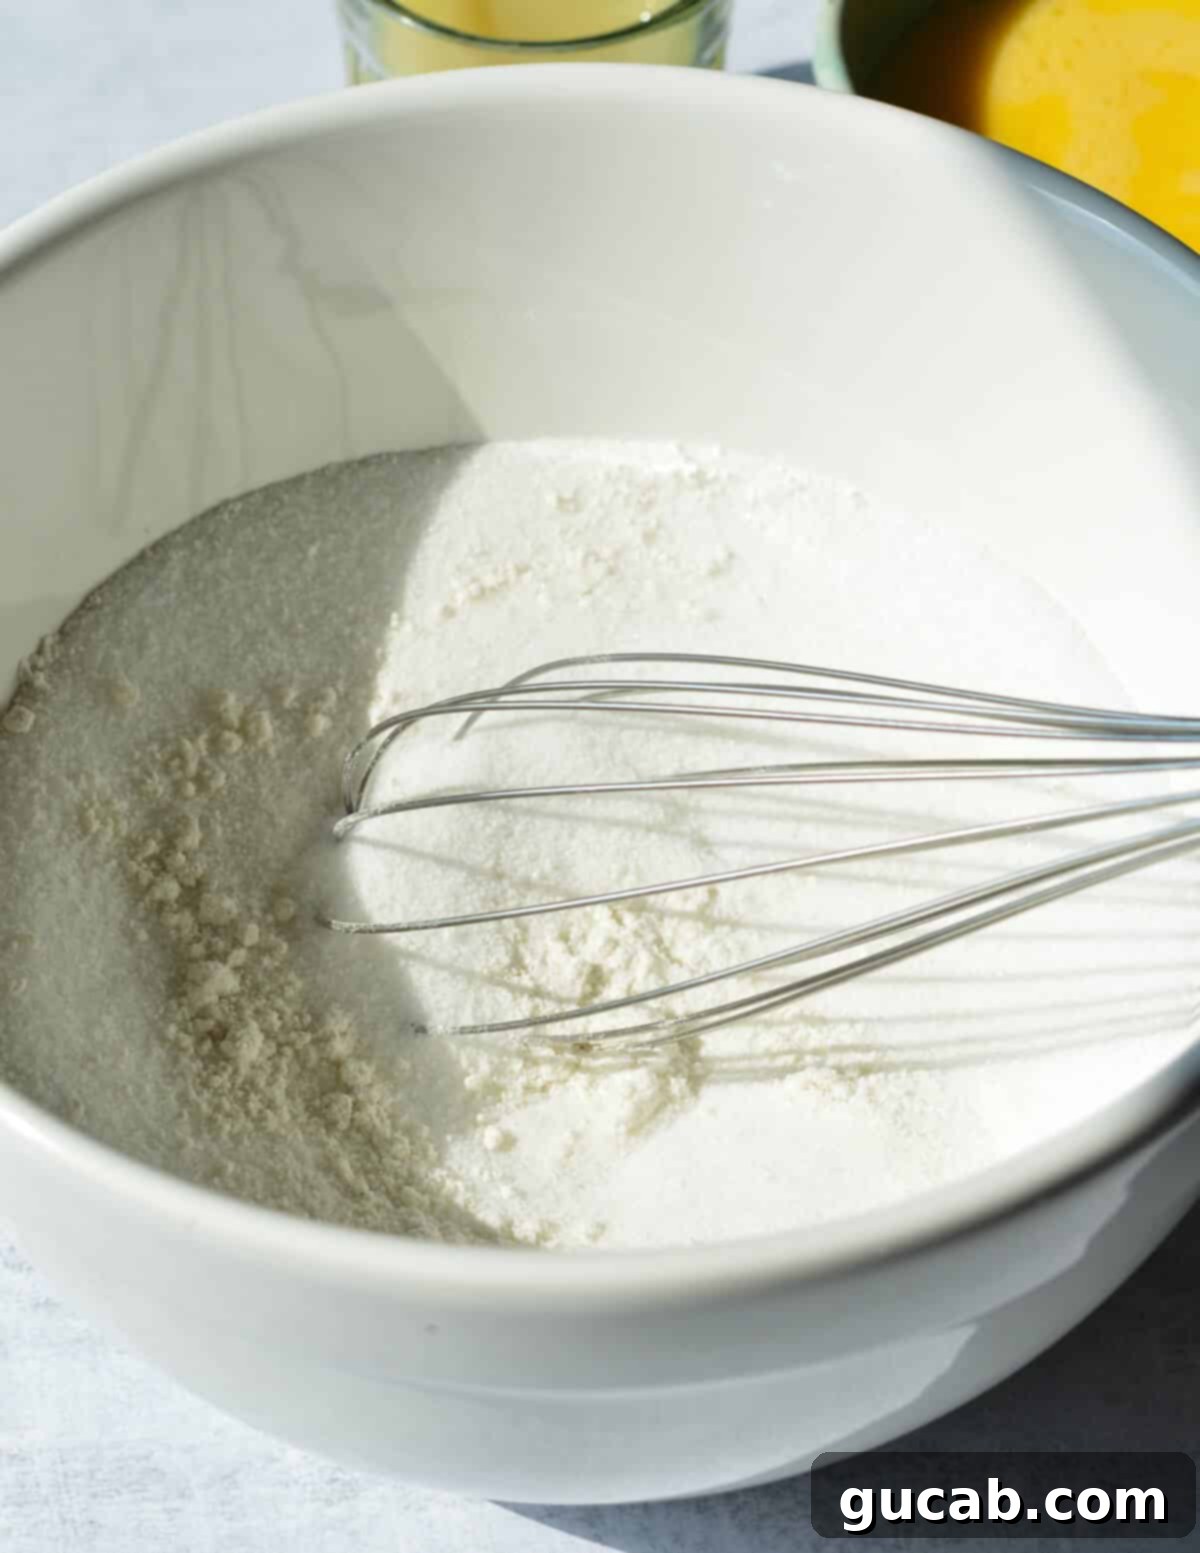
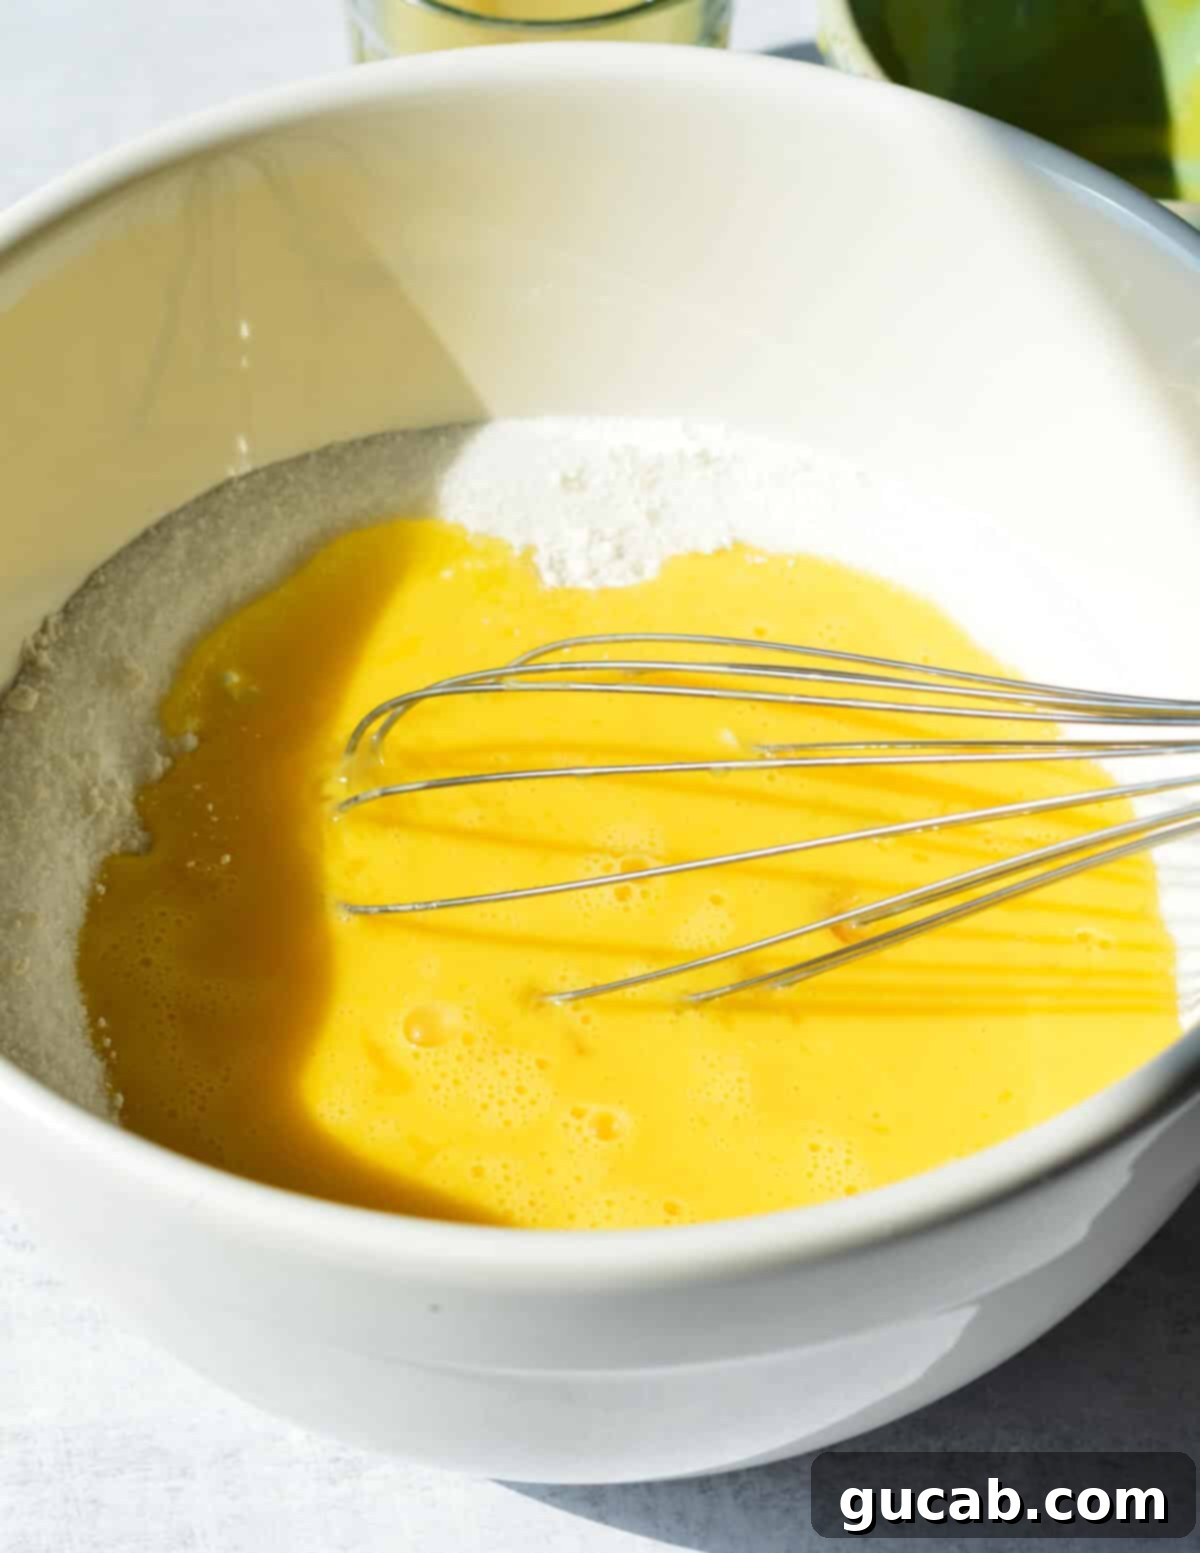
- In another large bowl, combine the granulated sugar and the two tablespoons of gluten-free flour. Whisk them together thoroughly. The flour here acts as a stabilizer, helping the lemon filling set properly without becoming too runny.
- Crack in the eggs and whisk vigorously until the mixture is smooth and thoroughly combined. Ensure there are no streaks of egg white remaining.
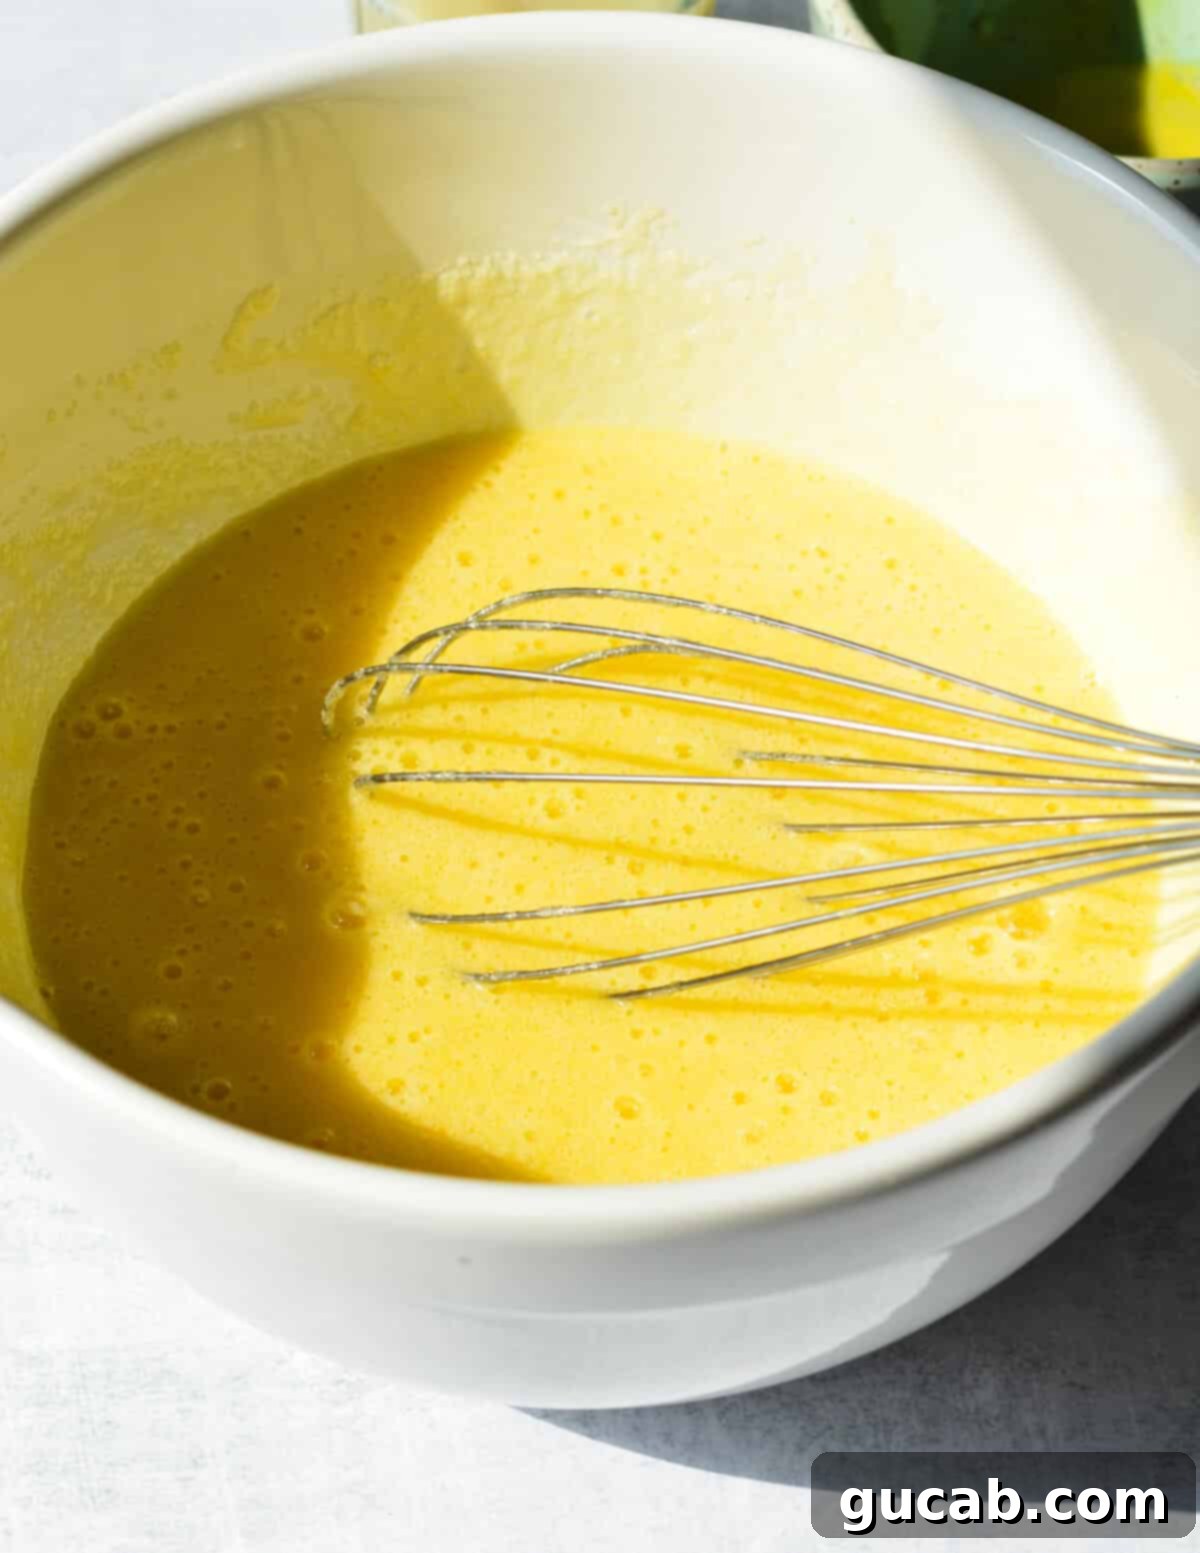
- Finally, add the freshly squeezed lemon juice to the egg and sugar mixture. Whisk everything together until fully incorporated. The mixture should be fluid and bright yellow.
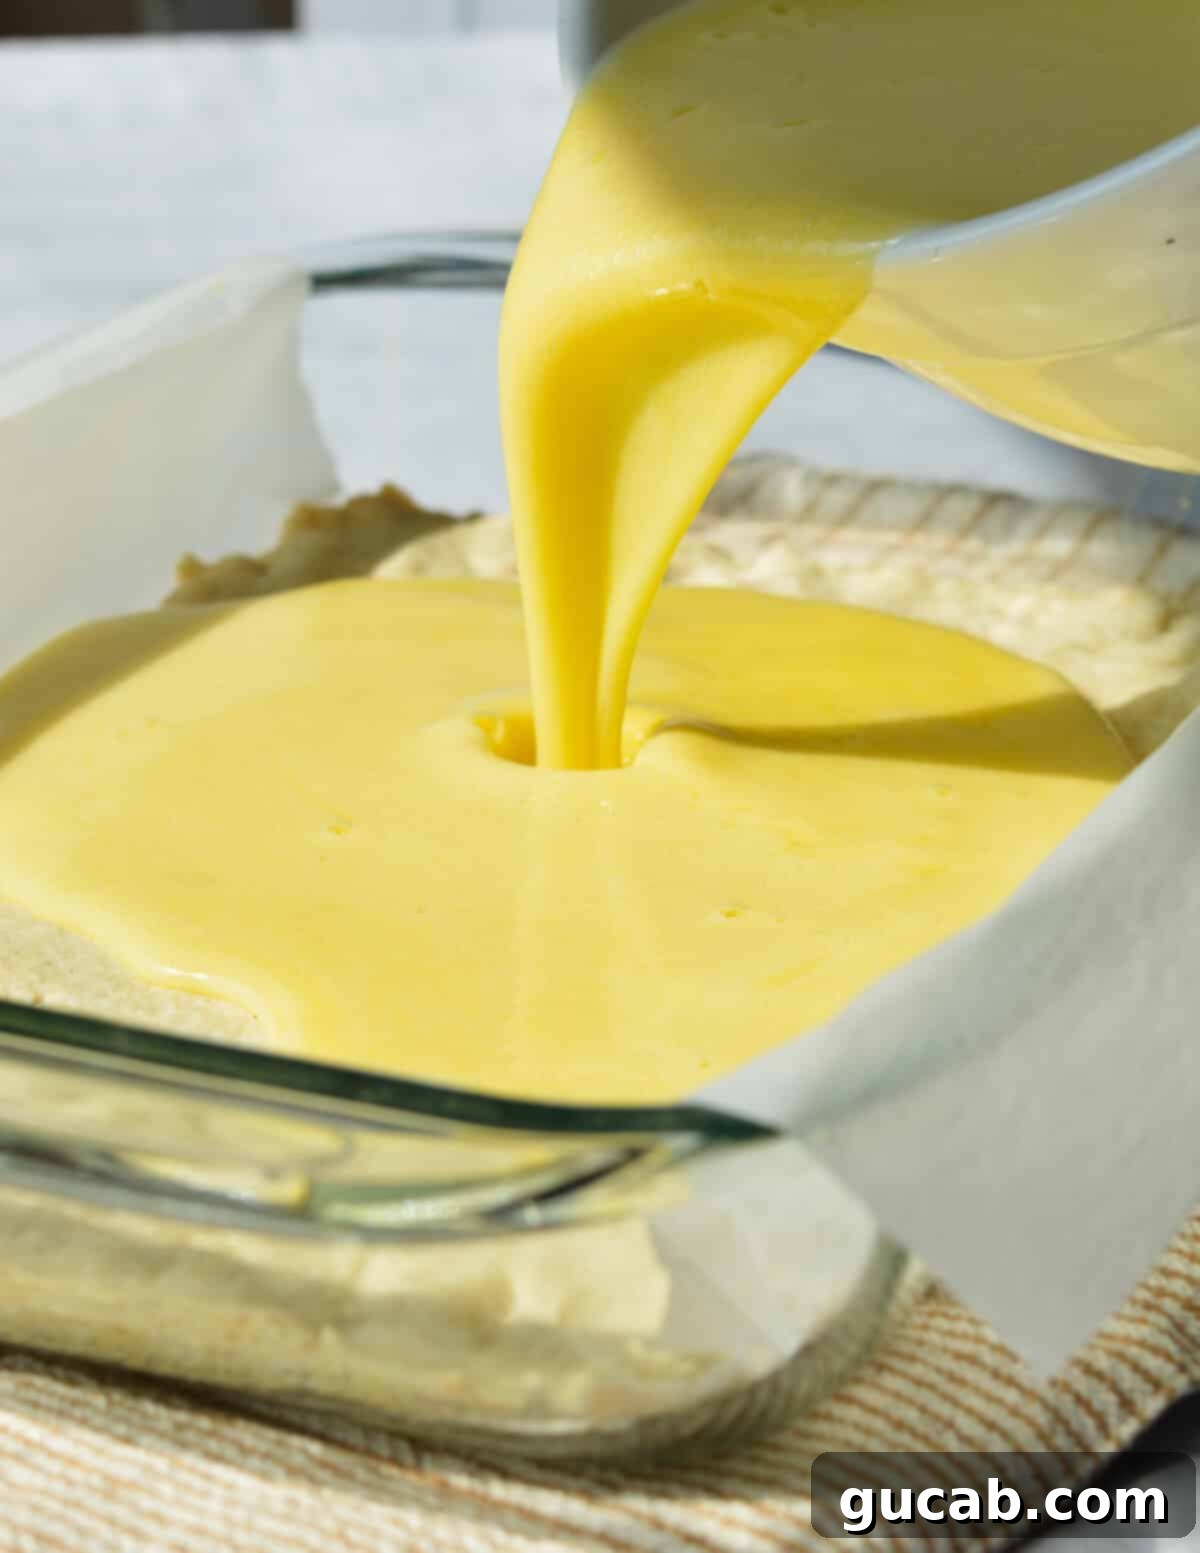
- Carefully pour the liquid lemon filling over the warm, pre-baked shortbread crust. The warmth of the crust helps in the baking process.
- Gently place the baking dish back into the oven and bake for an initial 20 minutes. After this time, the edges of the filling should be set, but the center might still be slightly jiggly.
- To prevent the top from browning too much while ensuring the center cooks through, carefully remove the baking dish from the oven and tent the top loosely with aluminum foil. Return it to the oven and bake for an additional 10 minutes. The foil acts as a shield, allowing the filling to finish setting without over-baking or darkening the delicate lemon curd.
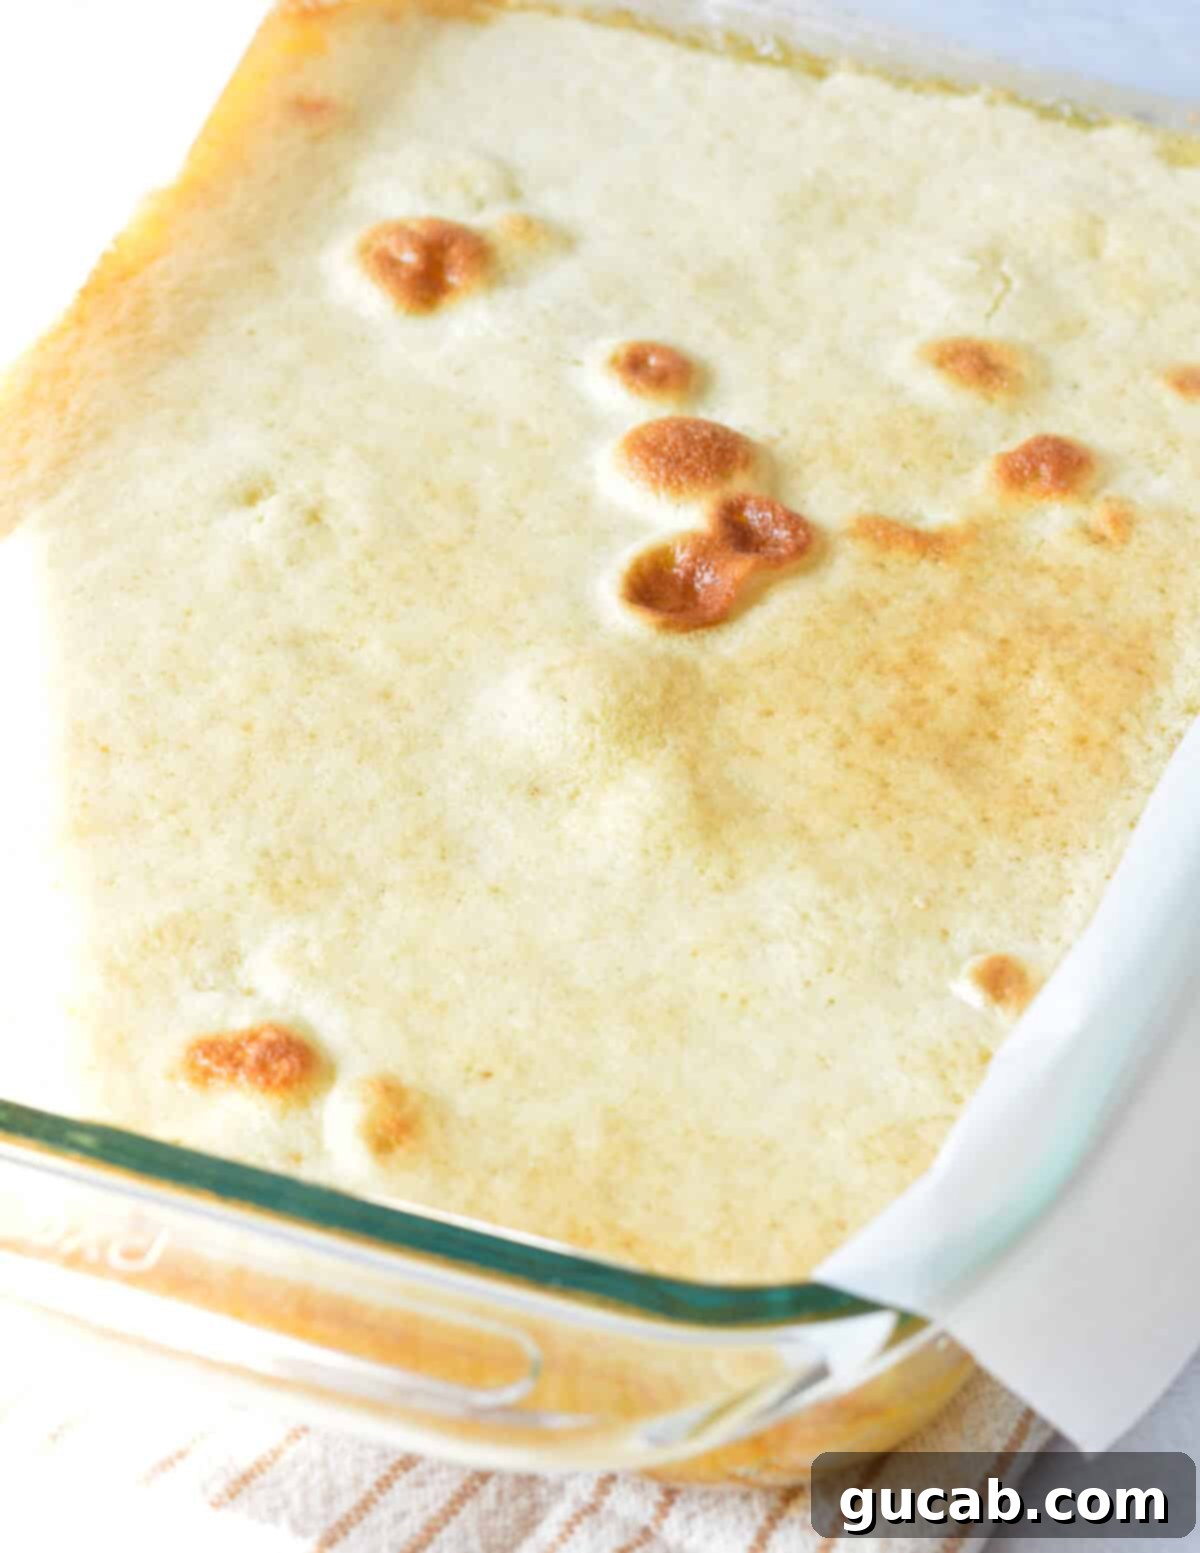
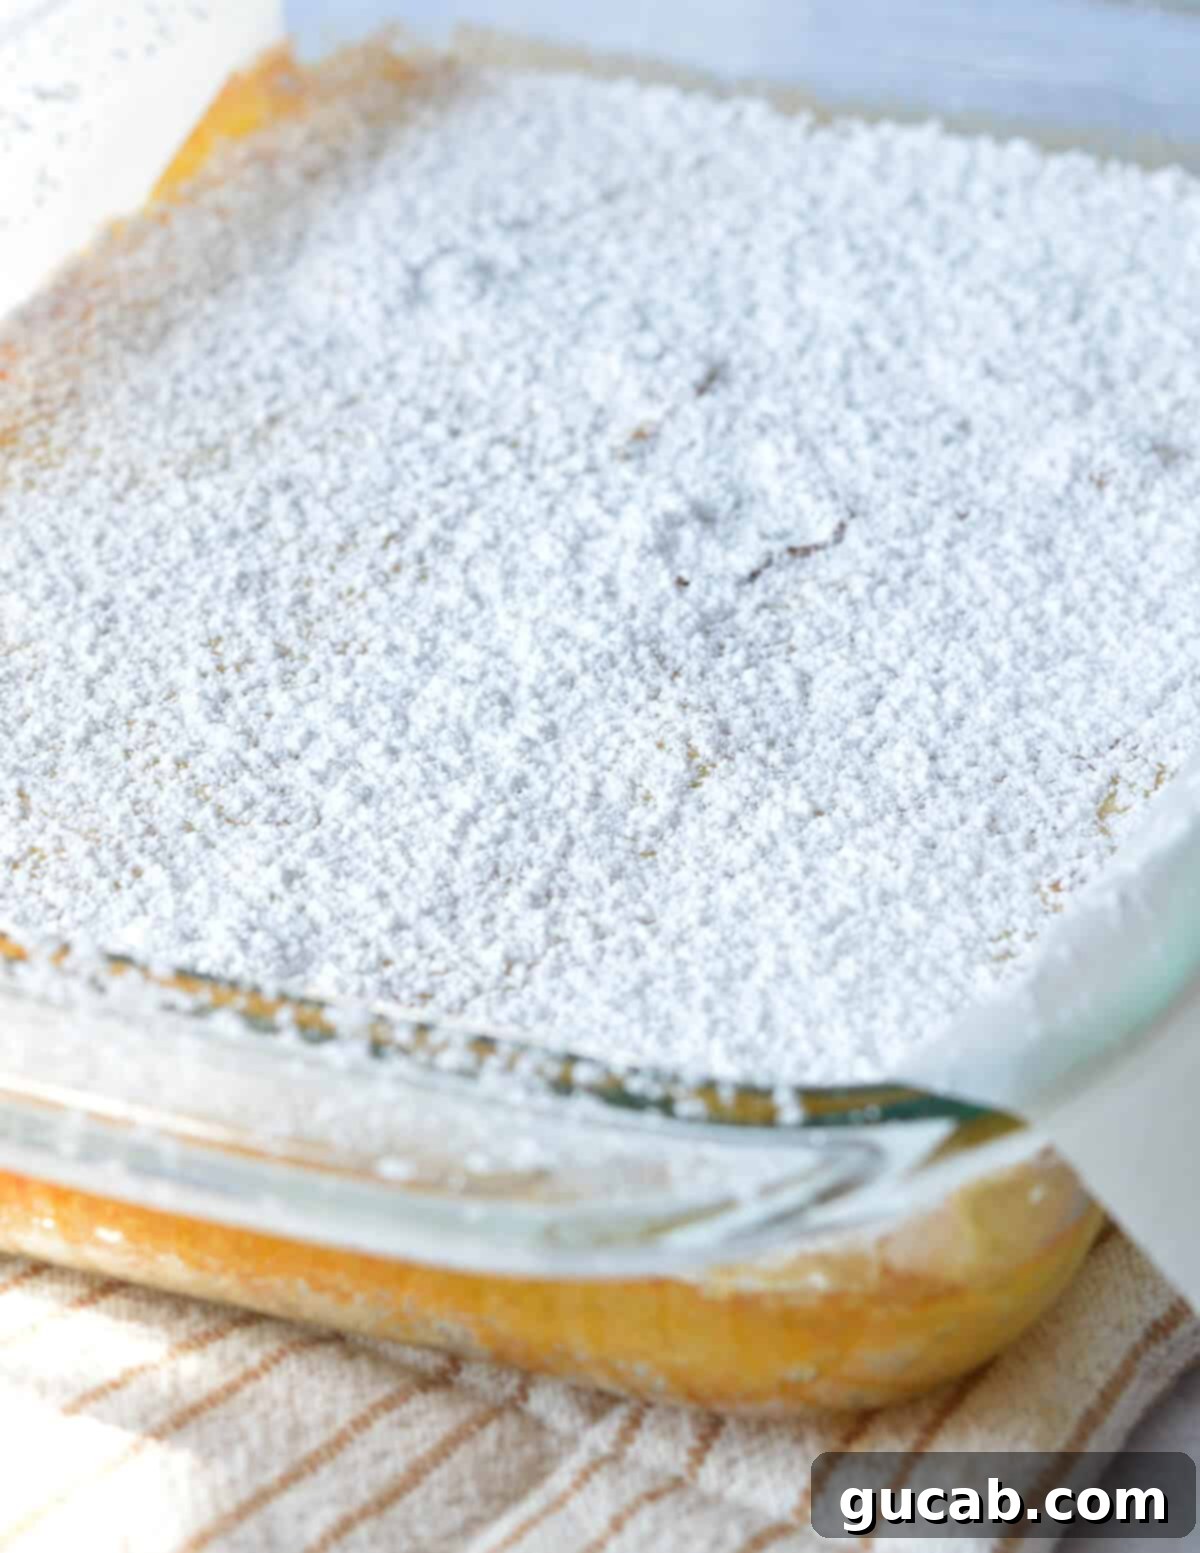
- Once out of the oven, immediately dust the top of the warm lemon bars generously with powdered sugar. A stainless steel shaker works wonderfully for an even, beautiful coating. This not only adds a touch of sweetness but also creates a lovely visual contrast.
3. Cool and Cut for Perfection
- This step is absolutely crucial for achieving perfectly structured lemon bars! You MUST allow the lemon bars to cool completely before attempting to cut them. Rushing this process will result in a messy, crumbly disaster. Patience is truly a virtue here.
- First, let the bars cool at room temperature for at least 30 minutes. This initial cooling period allows the steam to escape and the structure to begin setting.
- After cooling at room temperature, transfer the baking dish to the refrigerator. Chill the lemon bars for a minimum of 2 hours, but for the best, cleanest cuts and fully set filling, chilling them overnight is highly recommended. The cold helps the butter in the crust firm up and the lemon curd achieve its ideal consistency.
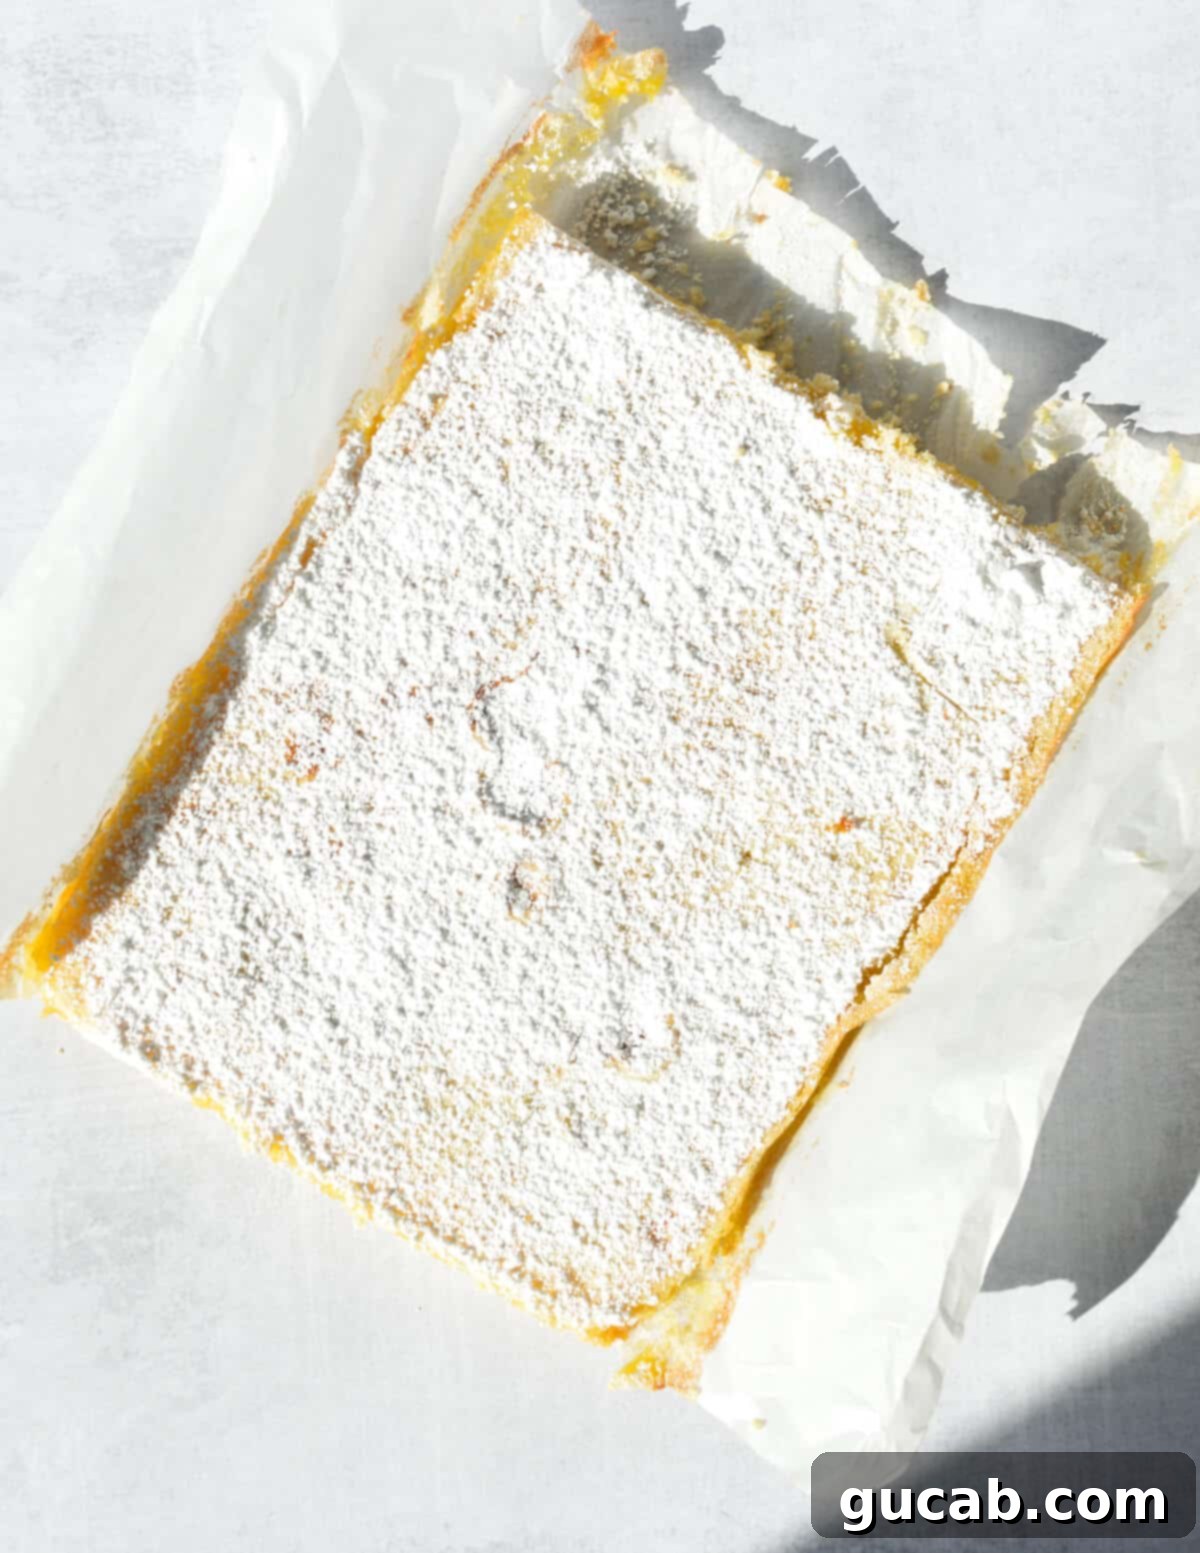
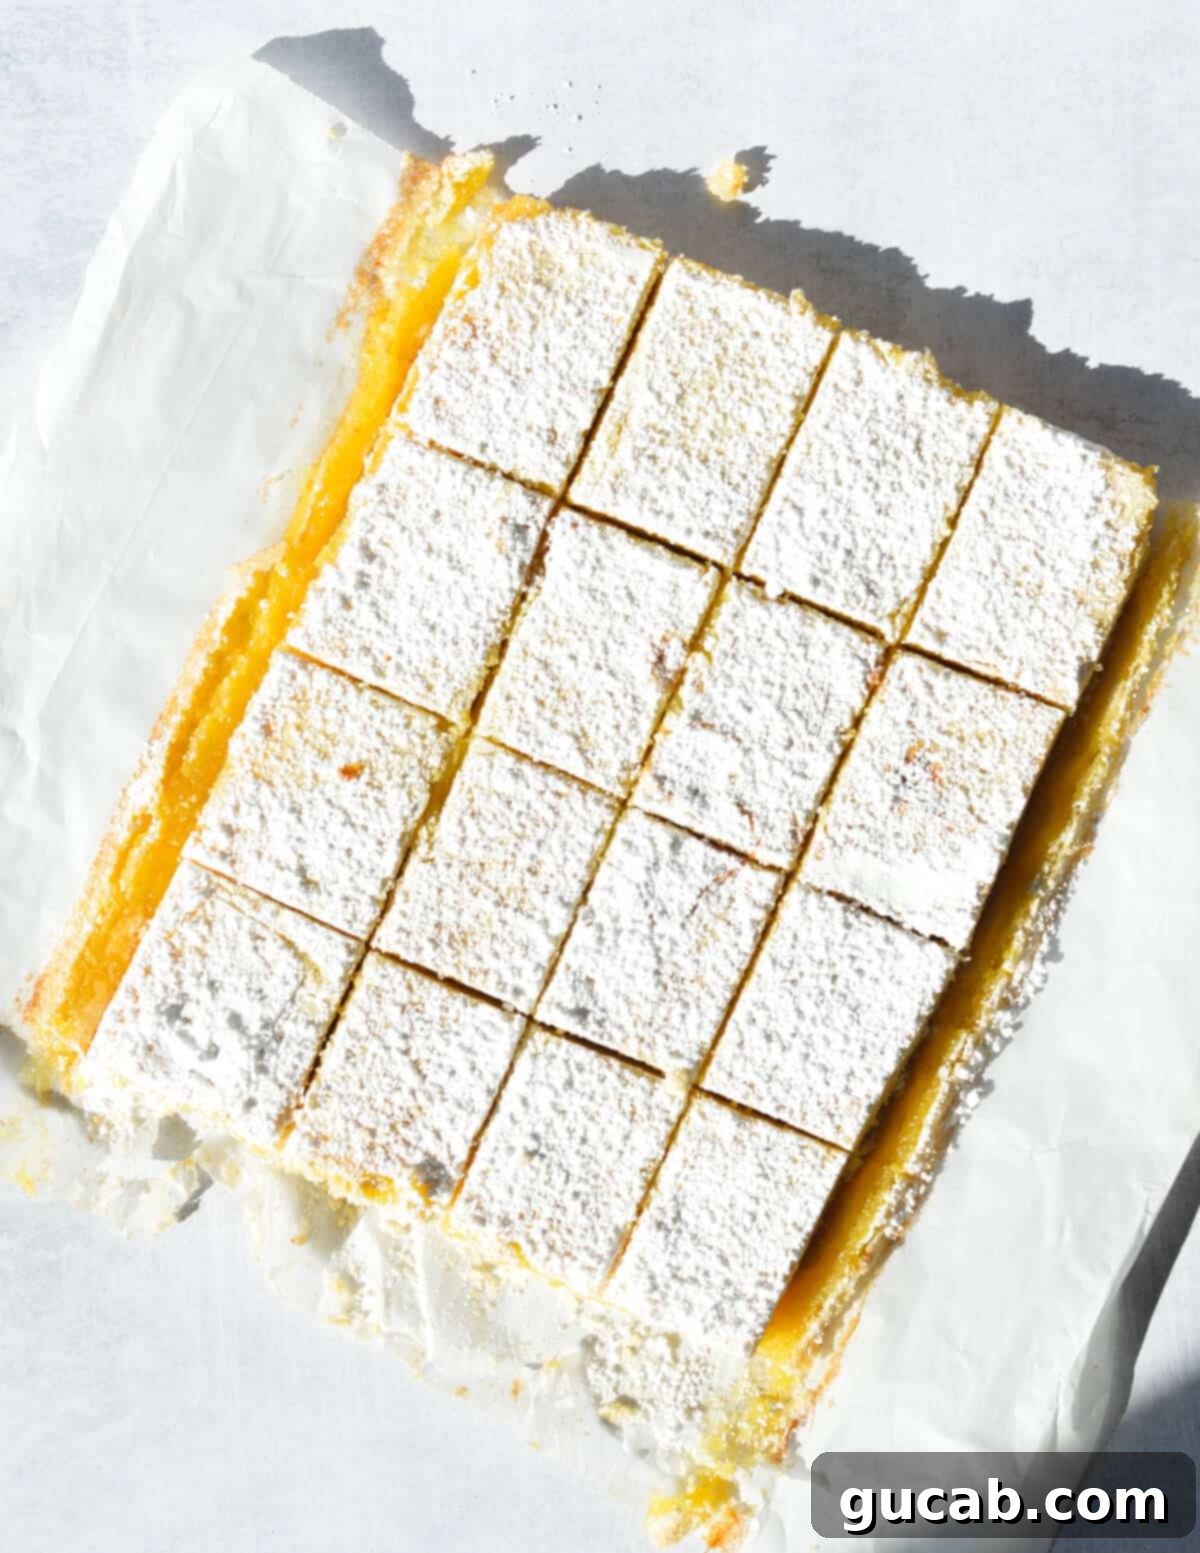
- Once thoroughly chilled, use the parchment paper “handles” to gently lift the entire slab of lemon bars out of the baking dish. Place them on a cutting board. If desired, you can trim the edges for a perfectly neat presentation, though this is optional. Then, using a sharp knife, cut the bars into your desired squares or rectangles. Clean the knife between cuts for the sharpest edges.
Tips for Gluten-Free Flour Success
As mentioned, choosing the right gluten-free flour blend is critical for the success of this recipe. While many gluten-free products exist, they are not all created equal, and their behavior in baking can vary significantly.
If at all possible, I strongly recommend sticking to Bob’s Red Mill’s 1-to-1 Gluten-Free Baking Flour. This is the specific blend I used when developing and testing this recipe, ensuring the proportions and baking times are perfectly calibrated for it. This particular blend contains xanthan gum, which helps provide elasticity and structure often missing in gluten-free baking.
All gluten-free flour blends react differently. Some are “thirstier” and absorb more liquid, leading to a drier product, while others might result in a more crumbly texture. While some brands can be interchangeable in certain recipes, baking, especially with delicate desserts like lemon bars, often requires precision. If you decide to use a different brand, please be aware that the results might vary. We’d love to hear about your experience in the comments if you try an alternative flour blend!
Storage & Freezing: Enjoy Them Longer!
One of the best things about these gluten-free lemon bars is how well they store, making them ideal for meal prep, entertaining, or simply having a delicious treat on hand. They are particularly freezer-friendly, which is my preferred method for long-term storage.
To Store:
- Once fully cooled and cut, store your gluten-free lemon bars in the refrigerator for up to 1 week.
- You can keep them in the baking dish you used, covered tightly with plastic wrap or aluminum foil, or transfer them to an airtight container. Storing them in a single layer, separated by parchment paper if stacking, will help maintain their fresh appearance and prevent them from sticking together.
To Freeze:
- To freeze lemon bars, first ensure they are completely cooled and cut into individual servings.
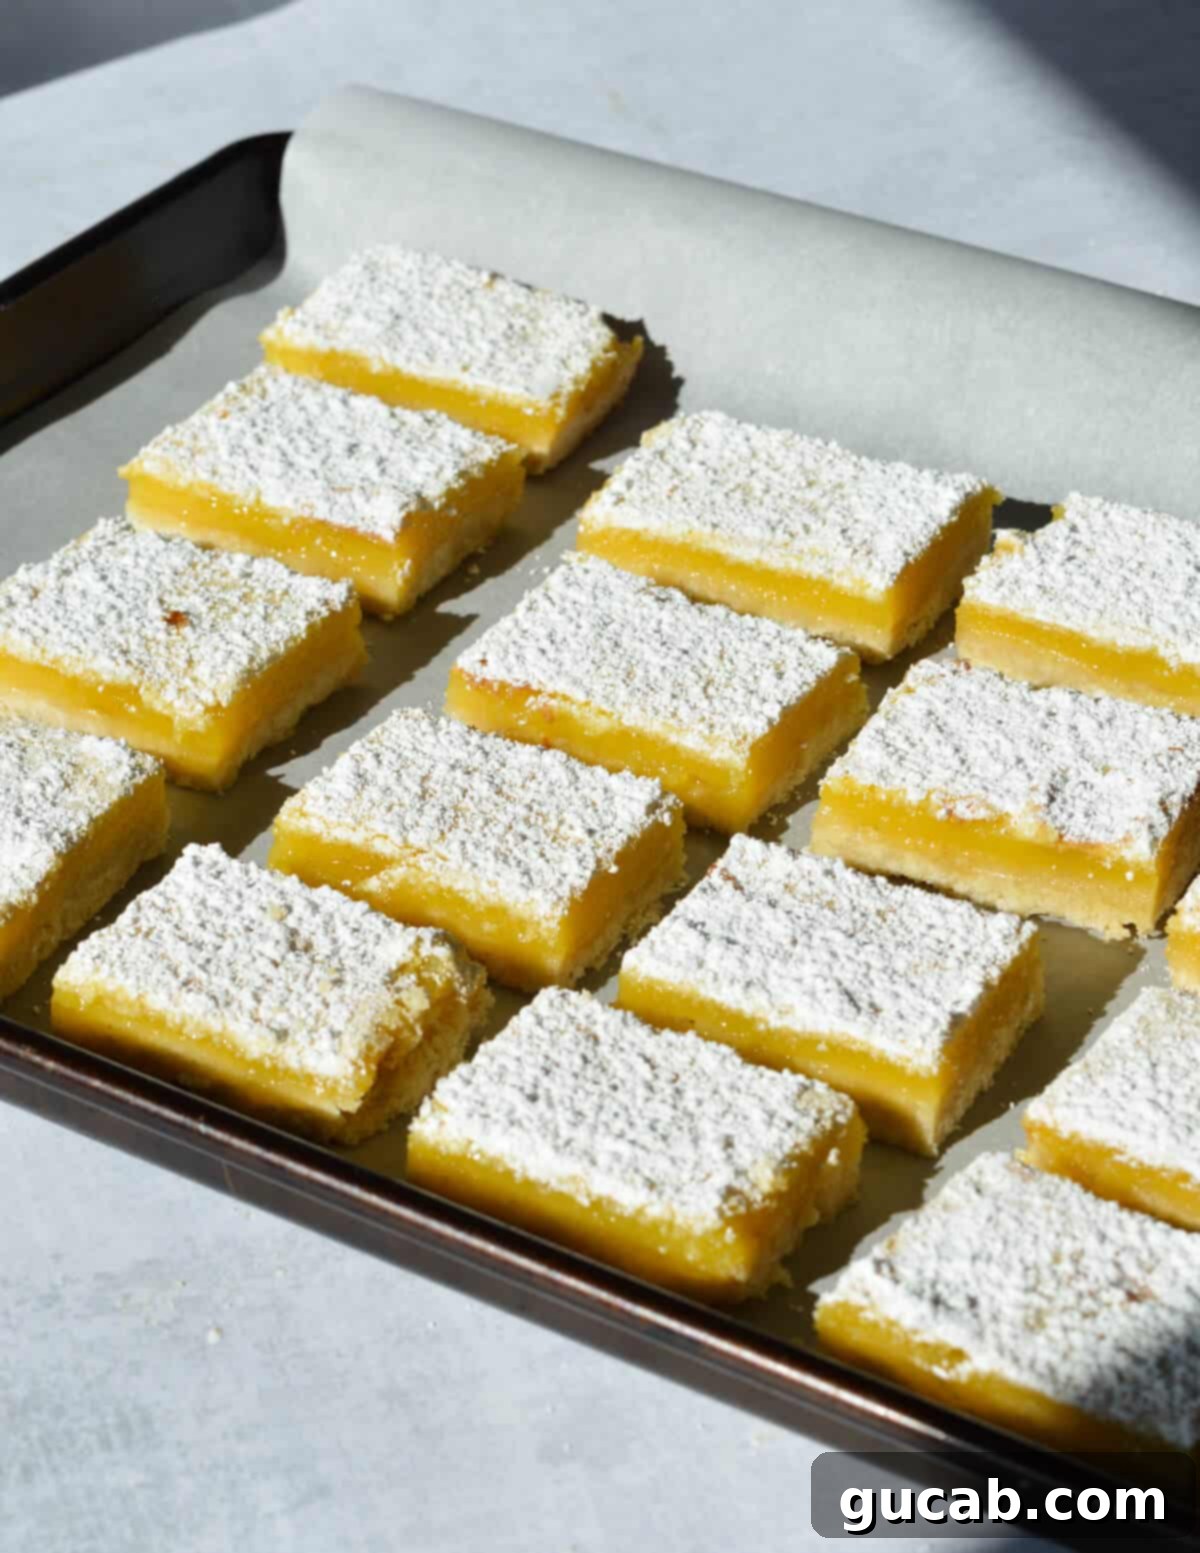
- Line a baking sheet or a large plate with parchment paper. Arrange the cut bars on the lined sheet in a single layer, ensuring they are not touching. This prevents them from freezing into a solid block.
- Place the sheet pan in the freezer and freeze until the bars are solid, typically 1-2 hours.
- Once frozen solid, transfer the bars to an airtight freezer-safe container or a heavy-duty zip-top bag. Layer them with parchment paper between each layer if stacking. They can be stored in the freezer for up to 2-3 months.
- To enjoy, simply remove the desired number of bars from the freezer and let them thaw in the refrigerator for a few hours or at room temperature for about 30 minutes. The texture and flavor will remain wonderfully intact.
Frequently Asked Questions About Gluten-Free Lemon Bars
Even with a straightforward recipe, a few common questions often pop up. Here are some answers to help you achieve lemon bar perfection:
- Why are my lemon bars runny? The most common reason for a runny filling is insufficient baking time or not allowing them to cool and chill completely. The filling needs enough time to set in the oven, and then the chilling process in the refrigerator is crucial for it to firm up into that characteristic sliceable texture. Don’t skip the overnight chill if possible!
- Can I use bottled lemon juice instead of fresh? While you technically *can*, I strongly advise against it. Freshly squeezed lemon juice provides a much brighter, more authentic, and vibrant lemon flavor that bottled juice simply cannot replicate. The taste difference is significant and will elevate your bars from good to truly exceptional.
- Can I add lemon zest? Absolutely! For an even more intense lemon flavor, you can add 1-2 teaspoons of finely grated lemon zest to the lemon filling mixture. Zest contains essential oils that pack a powerful aromatic punch without adding extra liquid.
- My crust is too crumbly/hard, what happened? A crumbly crust might indicate too little butter or not pressing it firmly enough into the pan. A hard crust could be a sign of overmixing the dough or baking it for too long. Ensure your butter is melted but not boiling hot, and mix until just combined.
- What kind of baking dish should I use? A 9×13-inch glass baking dish is ideal for this recipe. Glass bakeware tends to heat more evenly and helps prevent over-browning of the crust. Ensure it’s thoroughly greased and lined with parchment paper for easy removal.
- How do I know when the filling is done baking? The edges of the lemon filling should appear set and slightly golden, while the center might still have a slight jiggle. It will continue to set as it cools, especially during the refrigeration step.
More Delightful Gluten-Free Dessert Recipes
If you’ve fallen in love with these gluten-free lemon bars, you’ll be thrilled to discover more delicious and easy gluten-free dessert recipes to satisfy your sweet tooth:
- Gluten Free Blueberry Pie
- One-Bowl Gluten-Free Brownie Recipe
- Gluten-Free Chocolate Chip Cookies
- Gluten-Free Blueberry Crisp
Gluten Free Lemon Bars
Carolyn
Pin Recipe
Equipment
-
9×13-inch glass baking dish
-
Large Bowl
Ingredients
For the shortbread crust:
- 2 cups Bob’s Red Mill’s 1 to 1 Gluten Free Baking Flour spooned and leveled, see note
- 14 tablespoons unsalted butter, melted (7 ounces)
- ½ cup powdered sugar
- ¼ teaspoon kosher salt
For the lemon filling:
- 2 cups sugar
- 2 tablespoon Bob’s Red Mill’s 1 to 1 Gluten Free Baking Flour
- 5 large eggs, whisked
- ½ cup freshly squeezed lemon juice
Instructions
For the crust:
-
Preheat oven to 350 degrees Fahrenheit. Spray a 9×13-inch glass baking dish with nonstick spray. Cut a piece of parchment paper that fits inside the dish but let the excess hang off the sides.
-
In a large bowl, combine the gluten-free flour, powdered sugar, kosher salt, and melted butter. Use a large spoon to stir until combined.
-
Transfer the mixture to the prepared baking dish and use your hands to press evenly into the dish. Bake for 20 minutes, then set aside to cool for a few minutes while you make the filling.
For the filling:
-
In a large bowl, whisk the sugar and flour to combine. Add the eggs and whisk until smooth and incorporated.
-
Add the lemon juice to the mixture while whisking to incorporate.
-
Pour the filling into the crust and bake for 20 minutes. Carefully tent the baking dish with aluminum foil and bake for 10 more minutes.
-
Remove the baking dish from the oven and dust the top with powdered sugar. Let the bars cool for 30 minutes, then transfer the baking dish to the fridge to set up for at least another 2 hours, preferably overnight.
-
Trim the edges if needed, then use the parchment paper “handles” to remove the bars from the baking dish. Cut into squares and serve.
Notes
Gluten-free flour: I created this recipe with Bob’s Red Mill’s 1 to 1 Gluten Free Baking Flour. It has a good gluten-like taste and texture. I haven’t tested it with another brand yet and all brands react differently in recipes.
Nutrition
